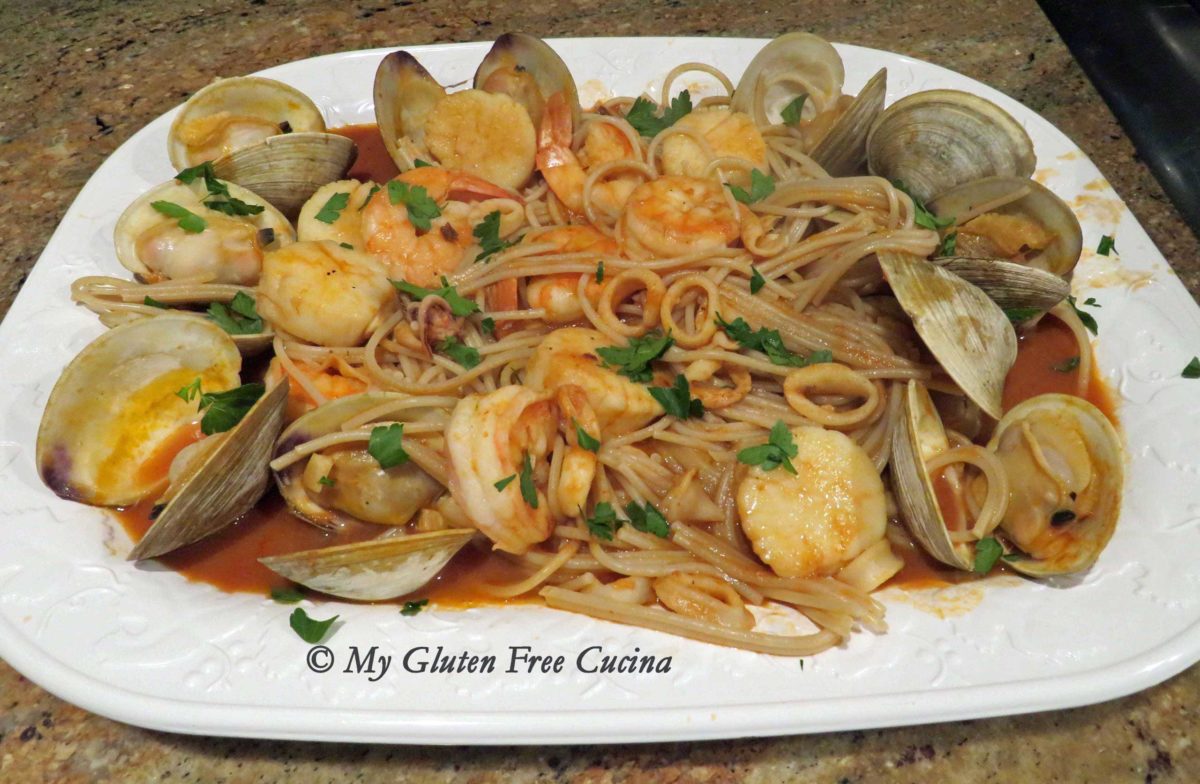
Who said you can’t make a healthy, delicious meal from scratch without spending hours in the kitchen? Here is a light and easy dinner that will become a family favorite. Inspired by a restaurant meal, the original was made with tons of butter and egg noodles, but I’ve made a lighter, gluten free version that is oh so good. Ready in less than 30 minutes, it’s perfect for busy weeknights. Notice that I used a healthy amount of garlic? Yes, the garlic flavor is quite prominent in this dish! You can cut back if you wish, but I encourage you to try it.

-Dinner for two
This post contains affiliate links.
Ingredients:
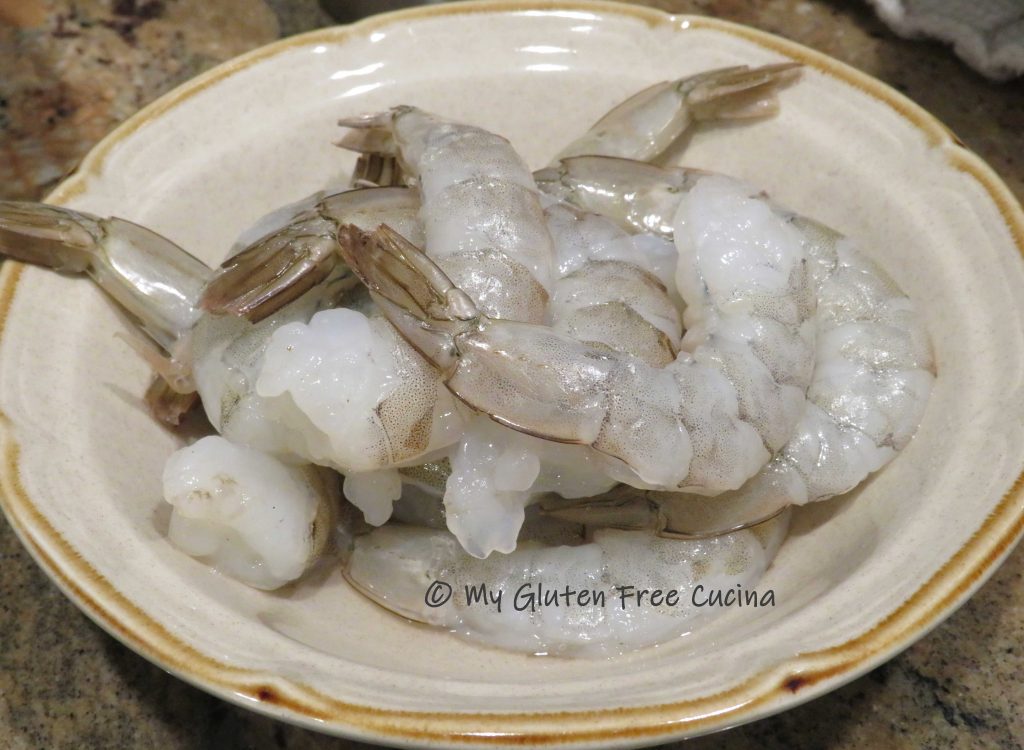
- 12 jumbo raw shrimp
- 4 oz. gluten free noodles *see notes
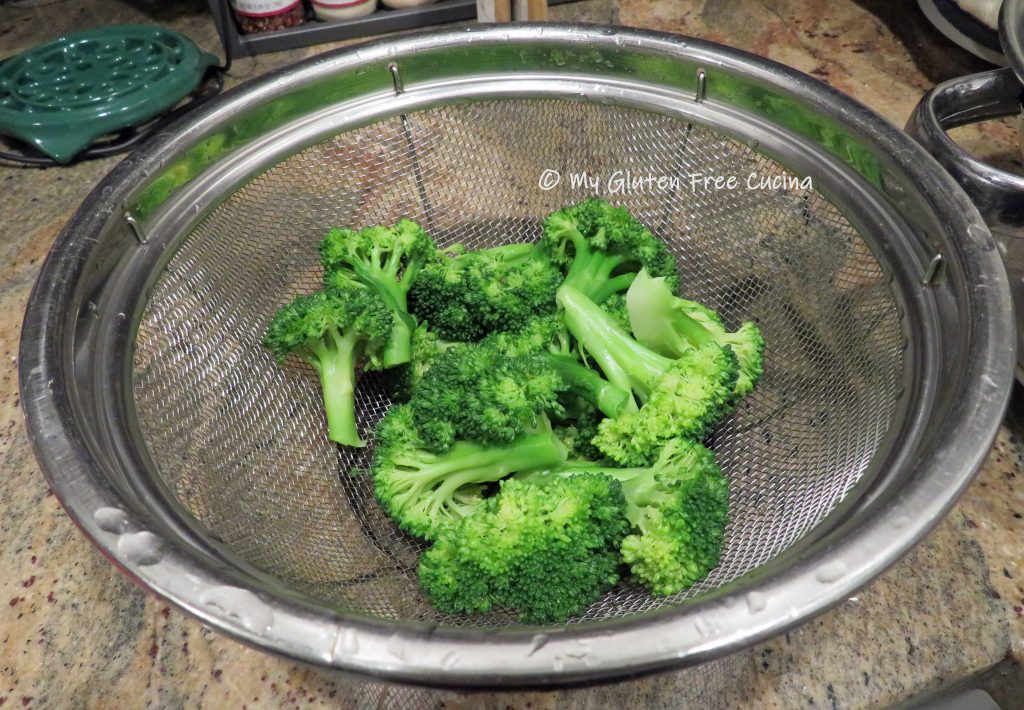
- 1 broccoli crown
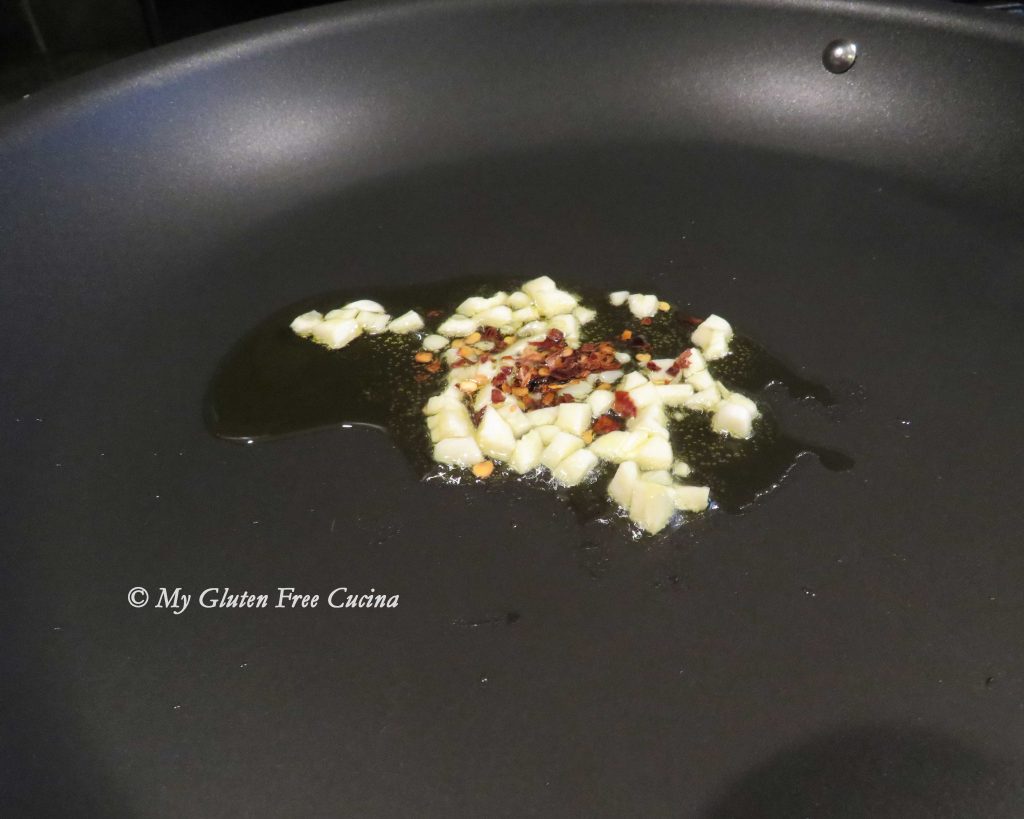
- 1 heaping tablespoon of garlic, minced
- 1 tbsp. olive oil plus more for finishing
- salt and pepper to taste
- pinch of red pepper flakes, optional
- 2 tbsp. butter, divided

Preparation:
This dish comes together in a flash, so you will want to have all your ingredients organized before you begin. If the shrimp are frozen, thaw them under cold water, peel and devein. Cut the broccoli into florets and mince the garlic. Set up a pot of salted water for the pasta.
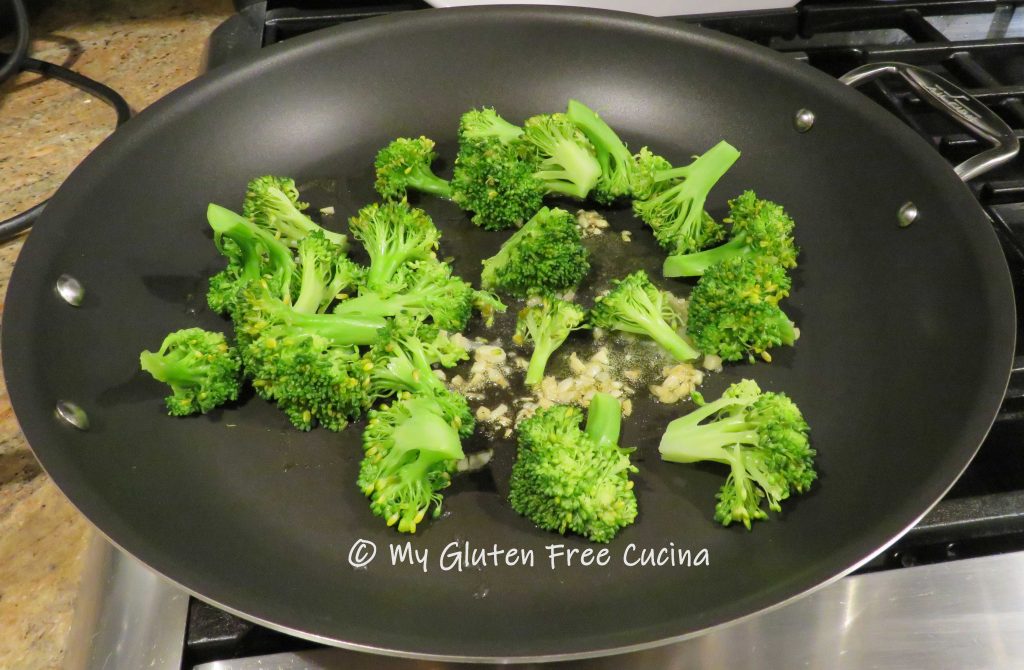
I’m using a large nonstick skillet for this recipe. I started the dish by gently warming the garlic in 1 tbsp. olive oil over lowest heat for 5-10 minutes to mellow the flavor. If you like, add a pinch of red pepper flakes for a pop of heat! Keep that burner on low, you don’t want the garlic to brown or burn.

Steam the broccoli for 3 minutes then run it under cold water to stop the cooking. Drain to remove most of the liquid. Cook the tagliatelle to 3 minutes less than package directions.
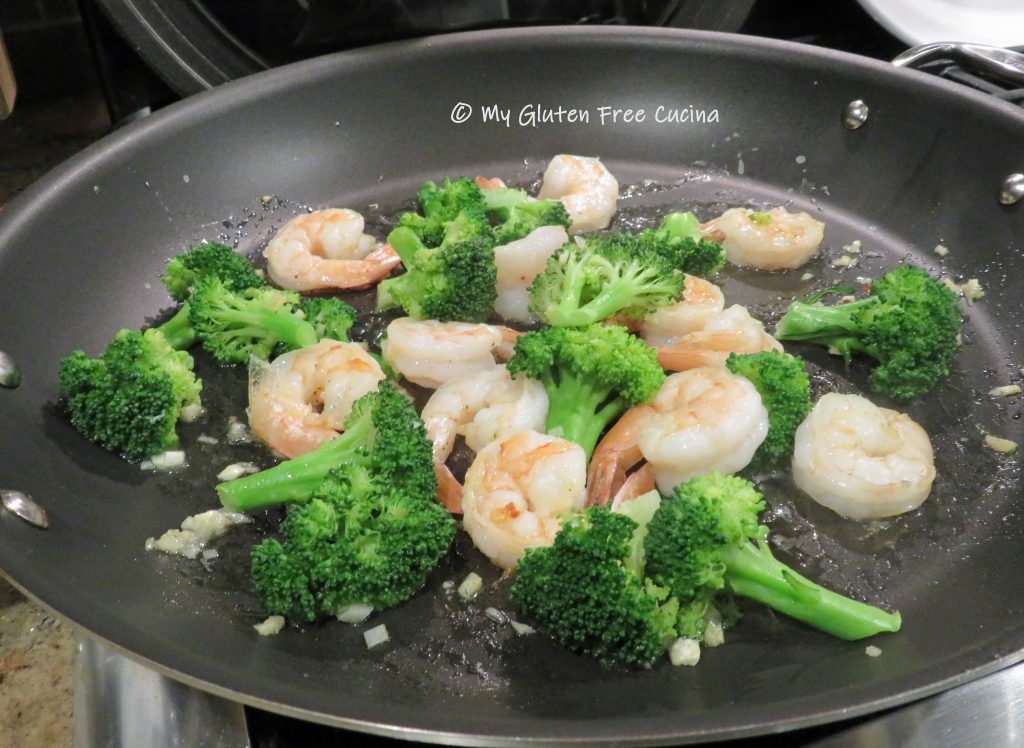
Raise the heat to medium low and add 1 tbsp. butter to the garlic.

Add the broccoli to the skillet and stir to coat.
Add the shrimp, distributing it evenly and making sure it has contact with the pan. (Here’s where that larger skillet comes in handy).
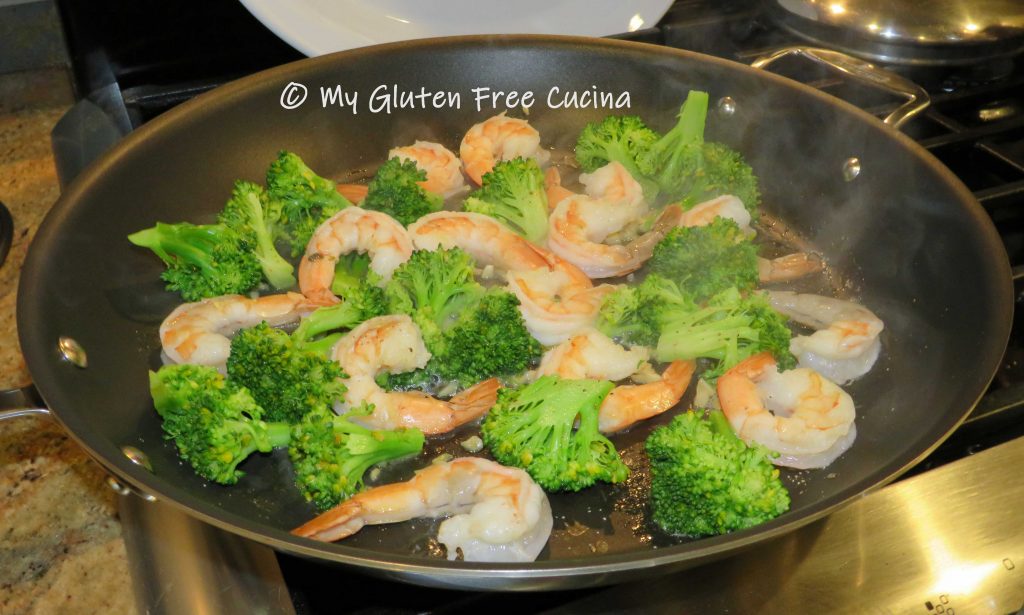
When the bottoms are barely pink turn the shrimp over, 2-3 minutes. Season with salt and pepper to taste. The shrimp are not completely done at this point; they will finish cooking with the noodles.
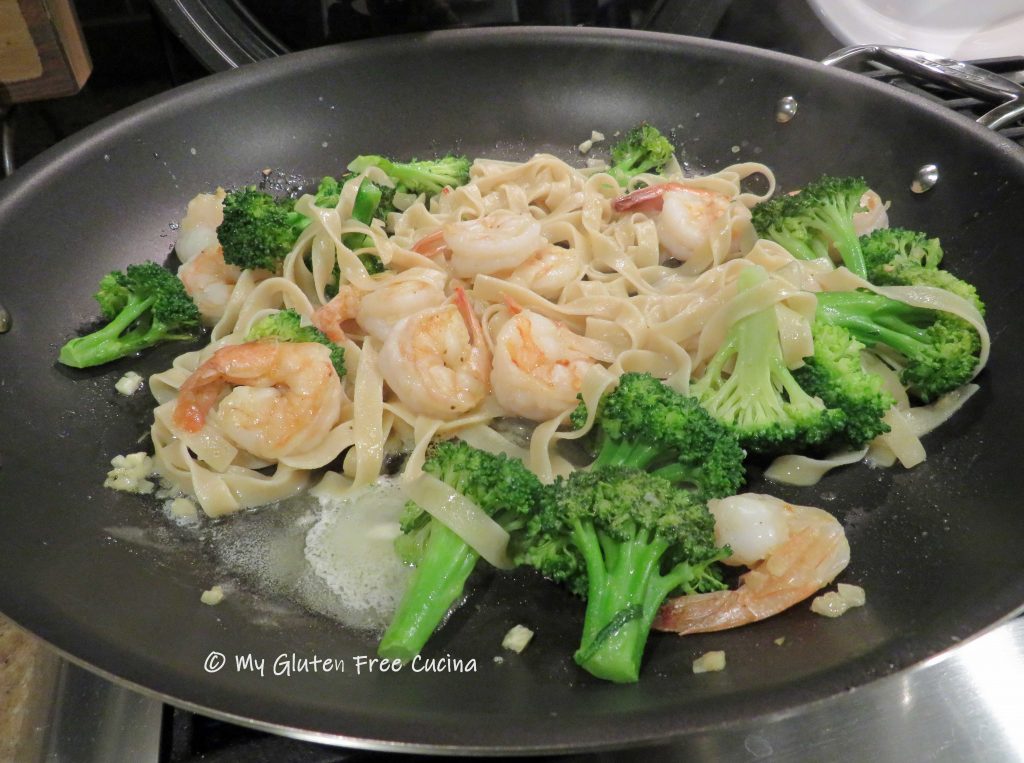
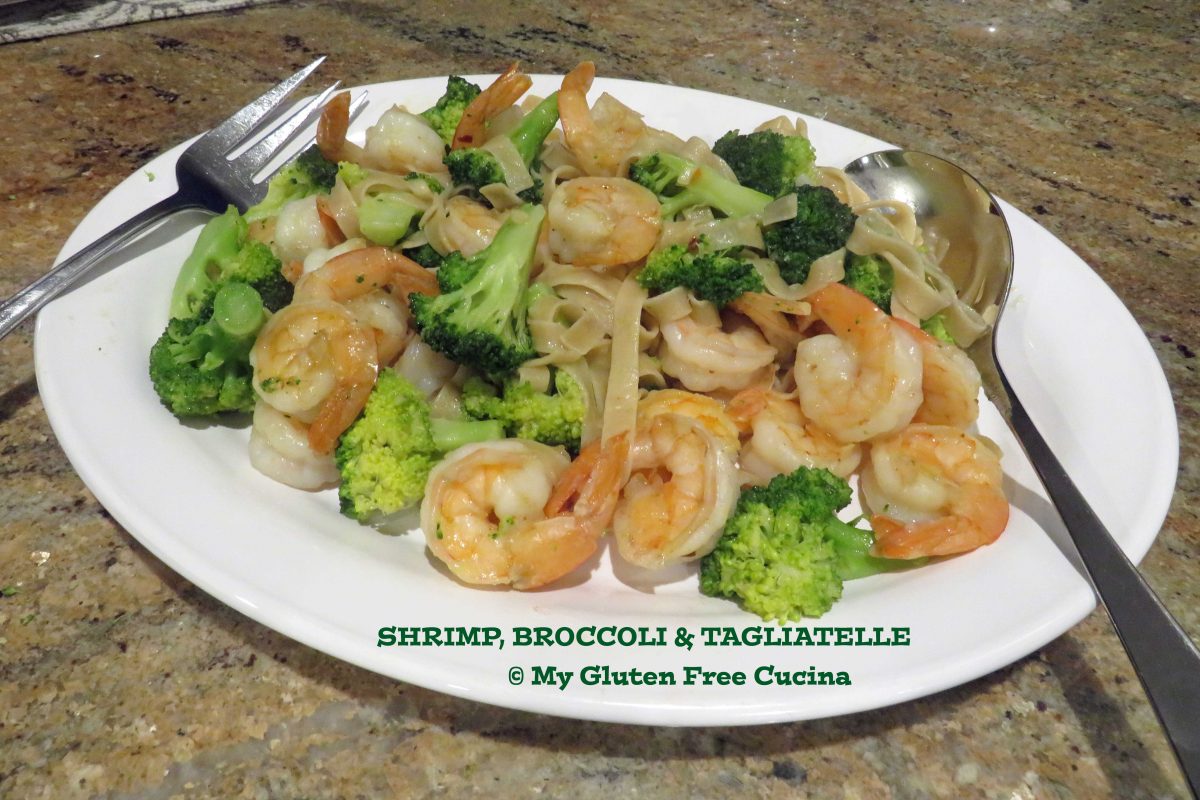
Add the cooked noodles to the skillet with the remaining 1 tbsp. butter. Toss well so all the ingredients are blended and evenly coated with butter and transfer to a serving platter.

Finish with a drizzle of good olive oil.
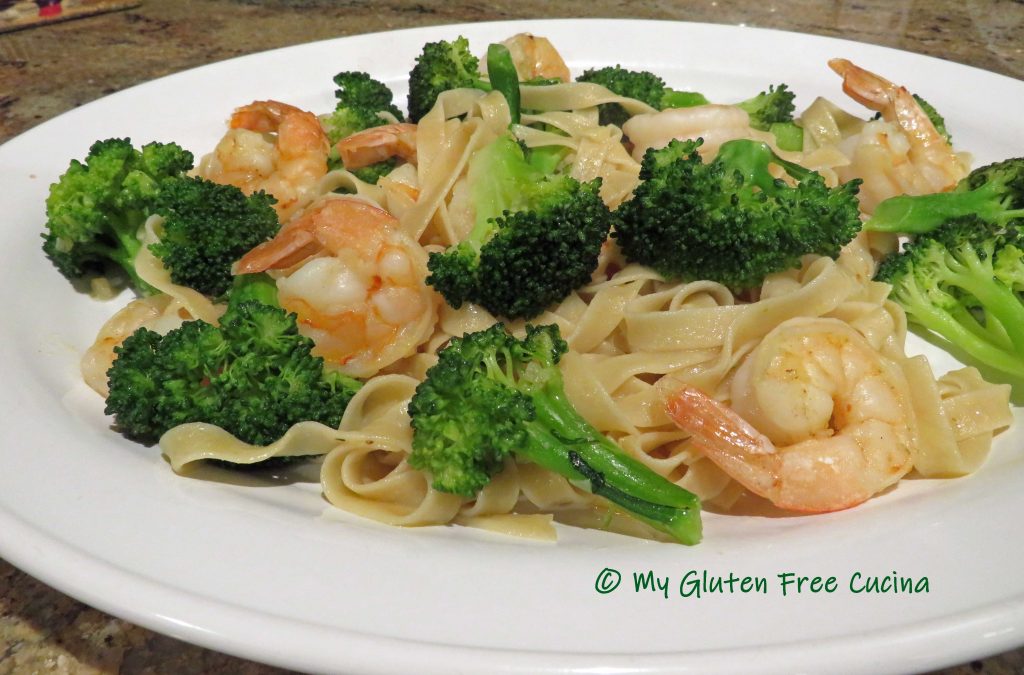
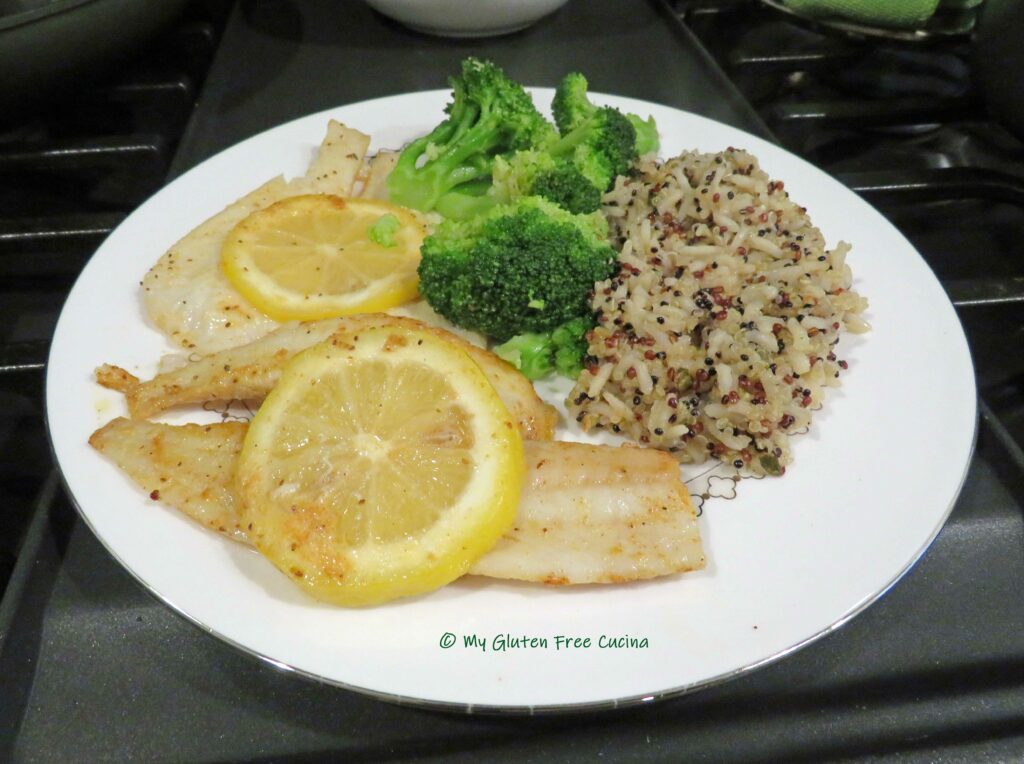
What a beautiful plate to bring to your table. So easy and delicious, and dare I say healthy?

Notes ♪♫ The original entrée that inspired this post was made with egg noodles. I wasn’t able to find a gluten free version of the wide, curly egg noodles that I remembered, but we are loving the gluten free Tagliatelle from Jovial that I used in this recipe. One of my favorite brands, they are delicious and held up well in this dish!


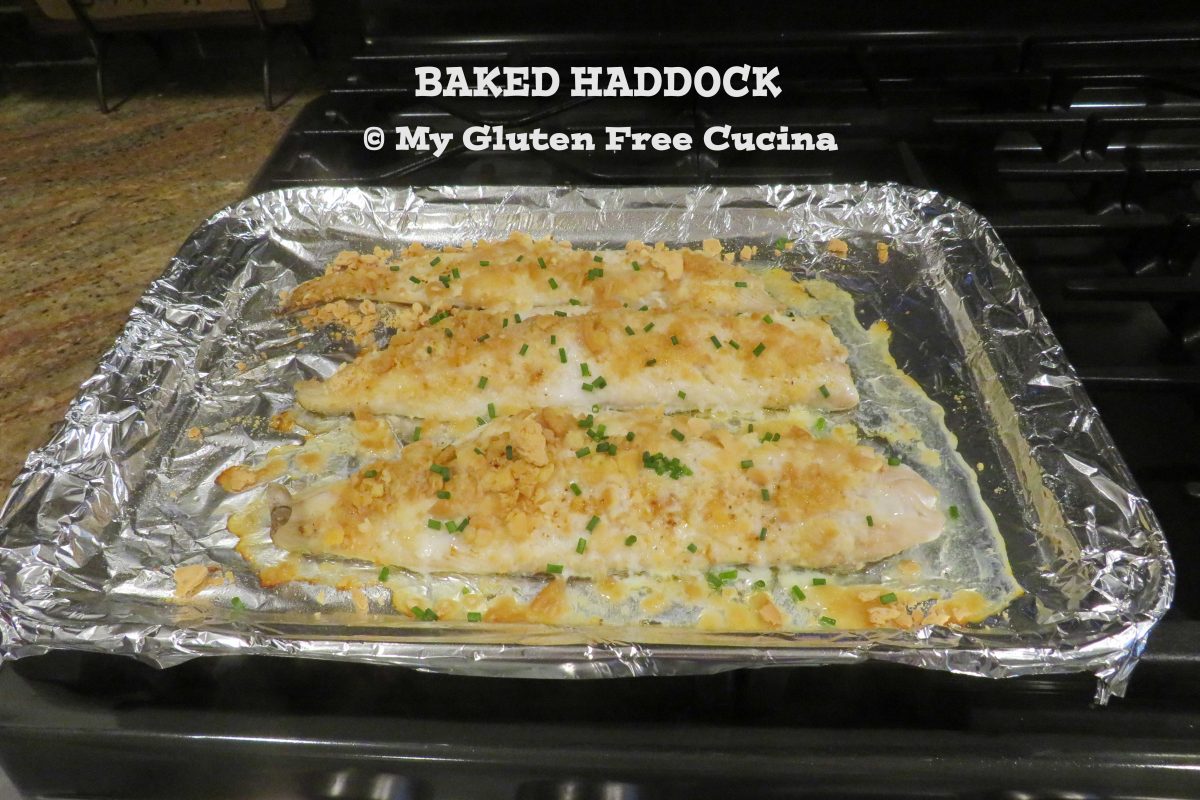
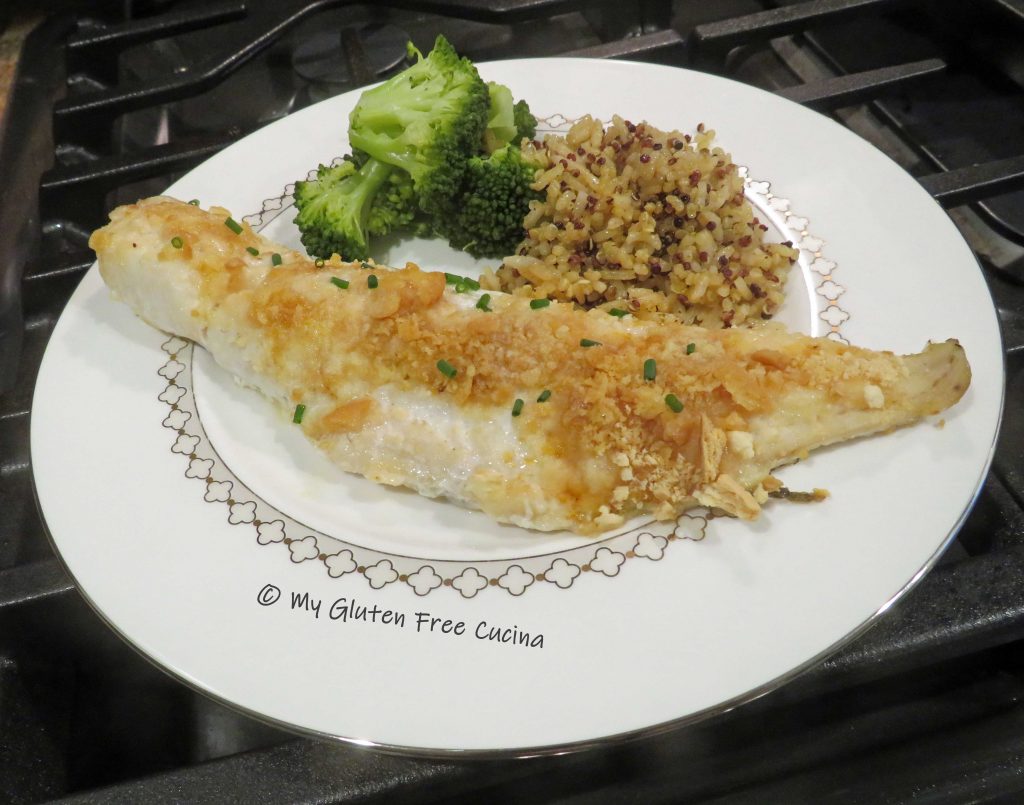
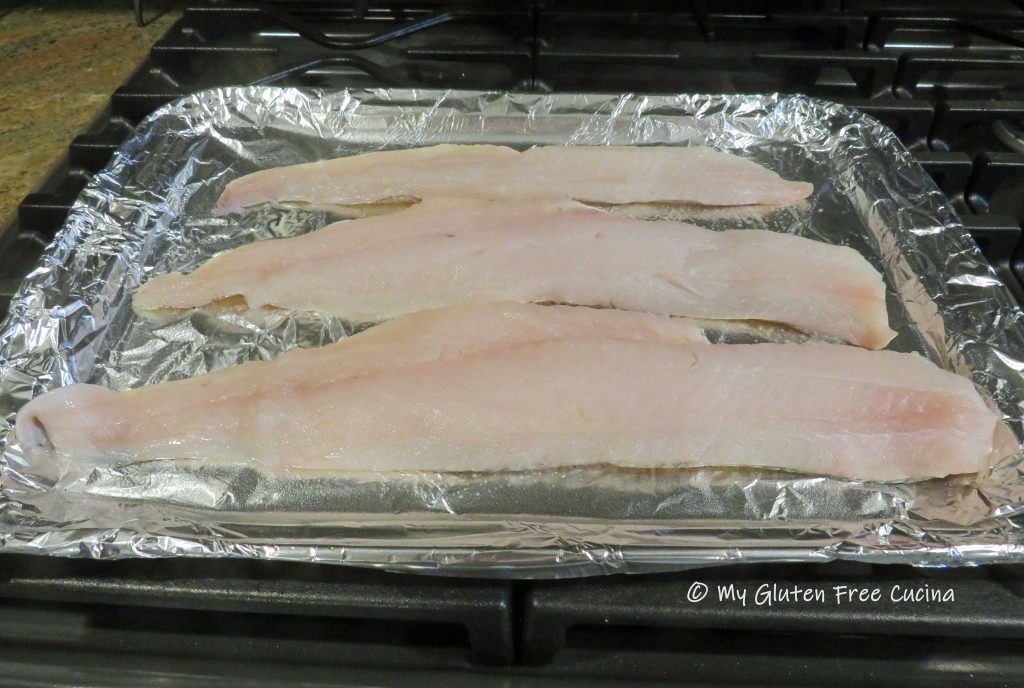
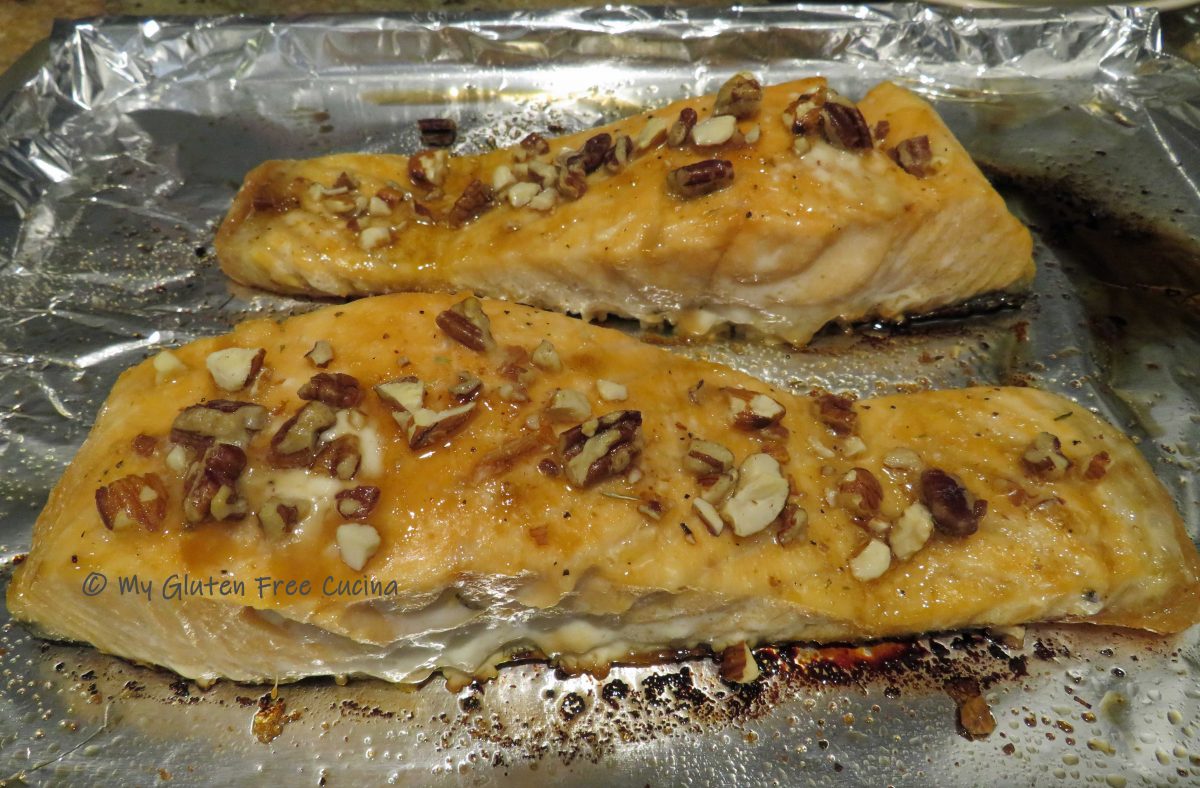
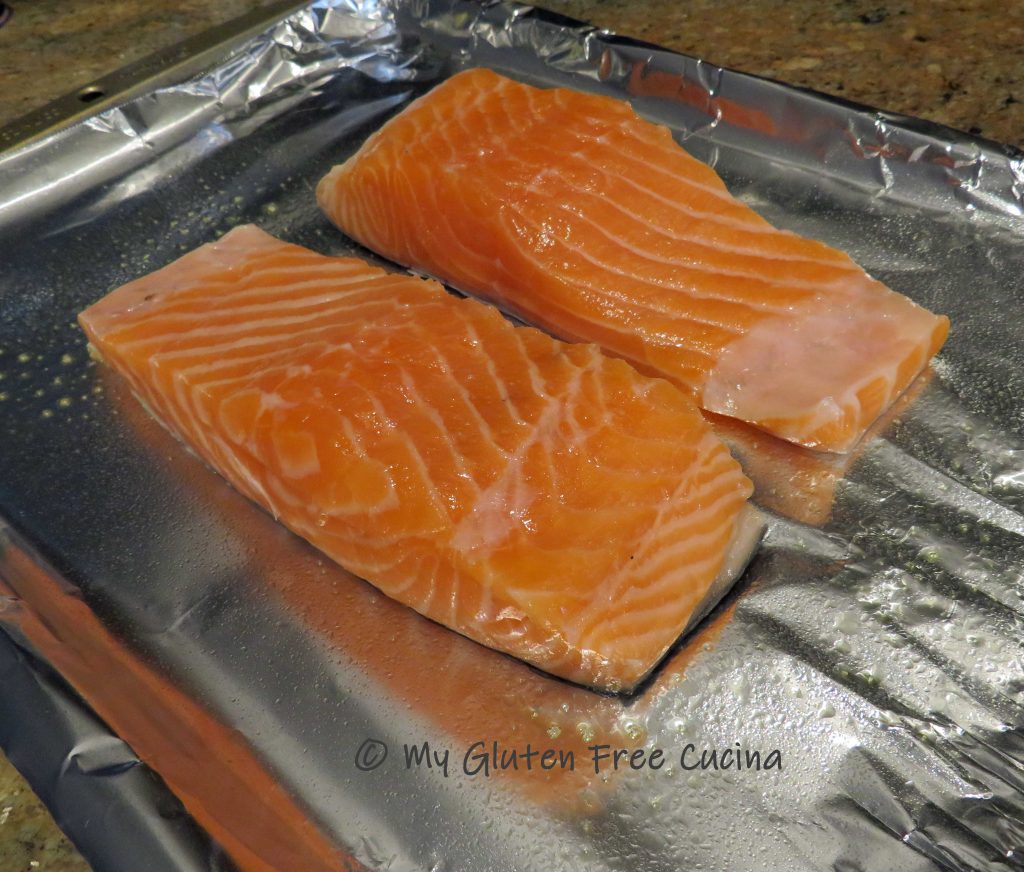
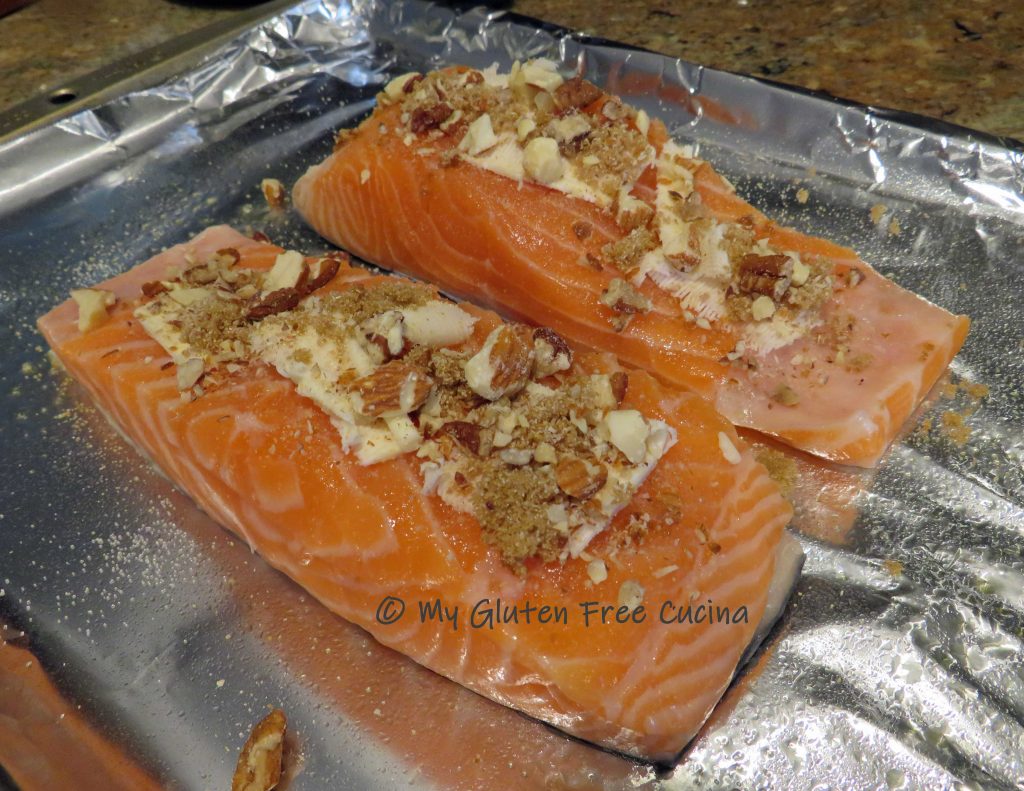
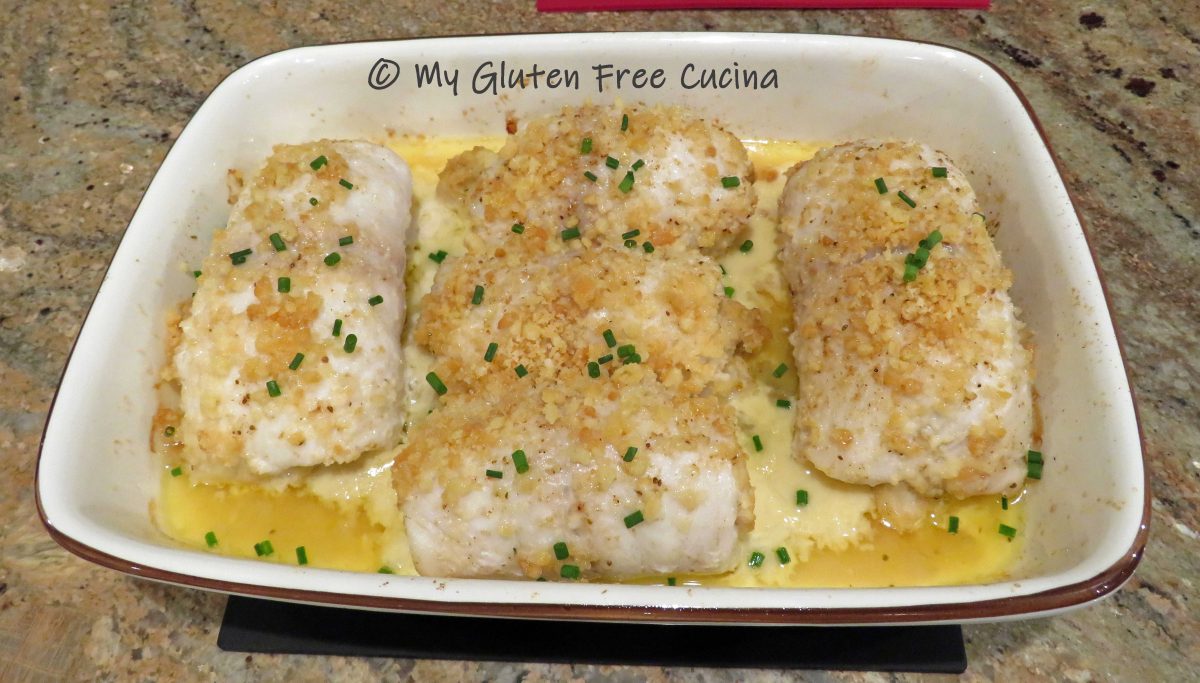
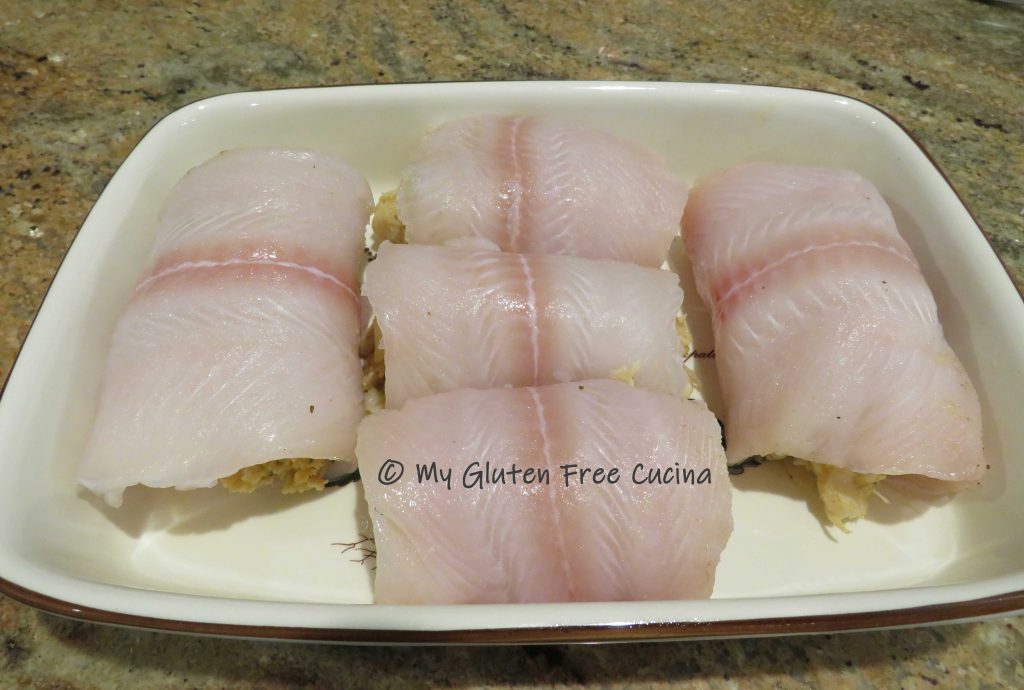
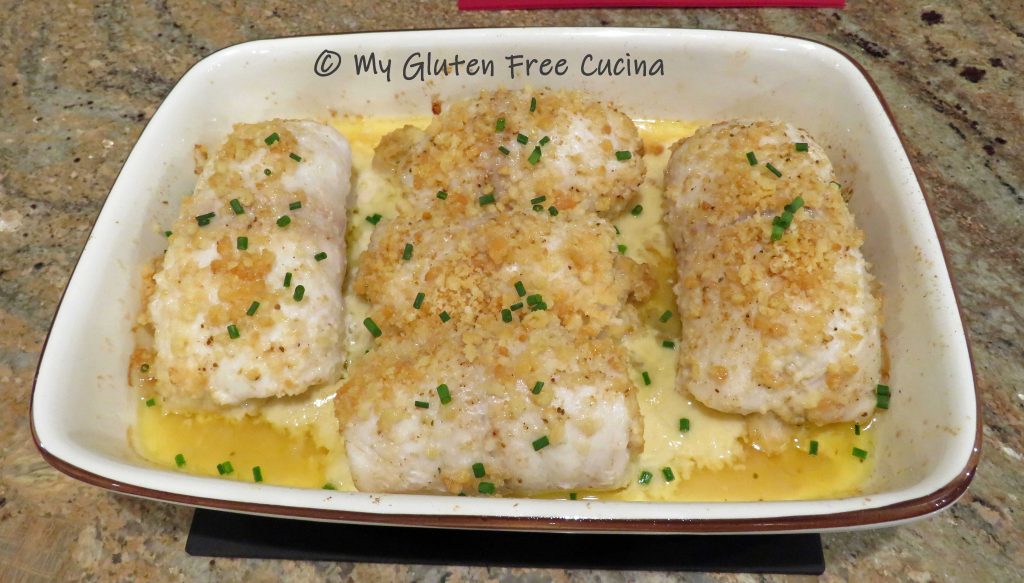
 Pulse the crackers in an electric chopper or place them in a bag and pound into crumbs. Spread the crumbs evenly over the fish. Cut the butter into small pieces and dot the top of the fish.
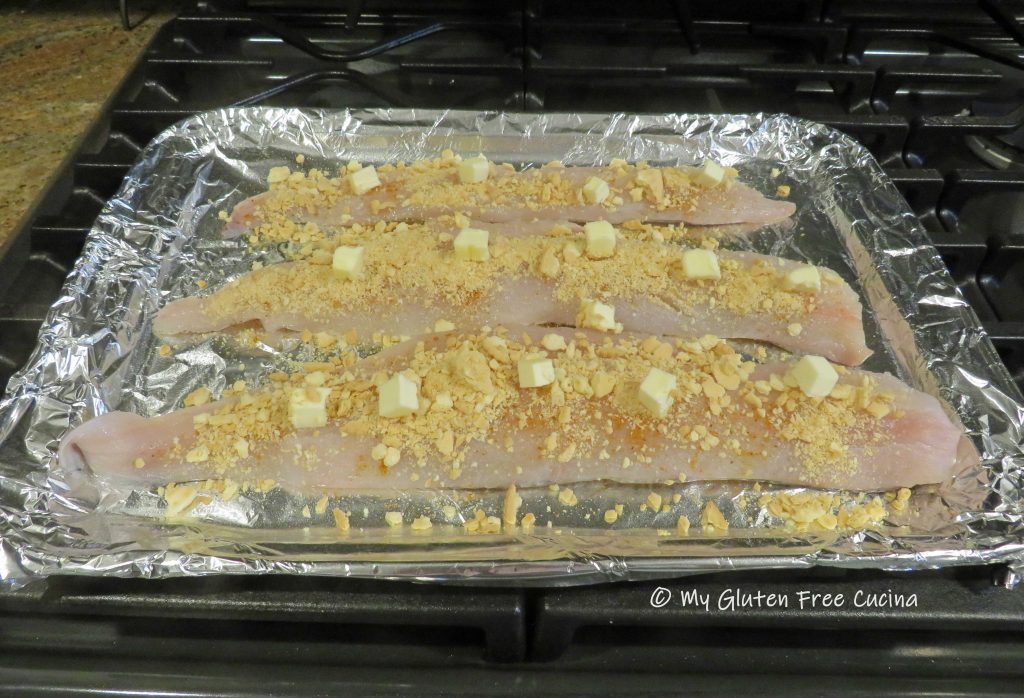
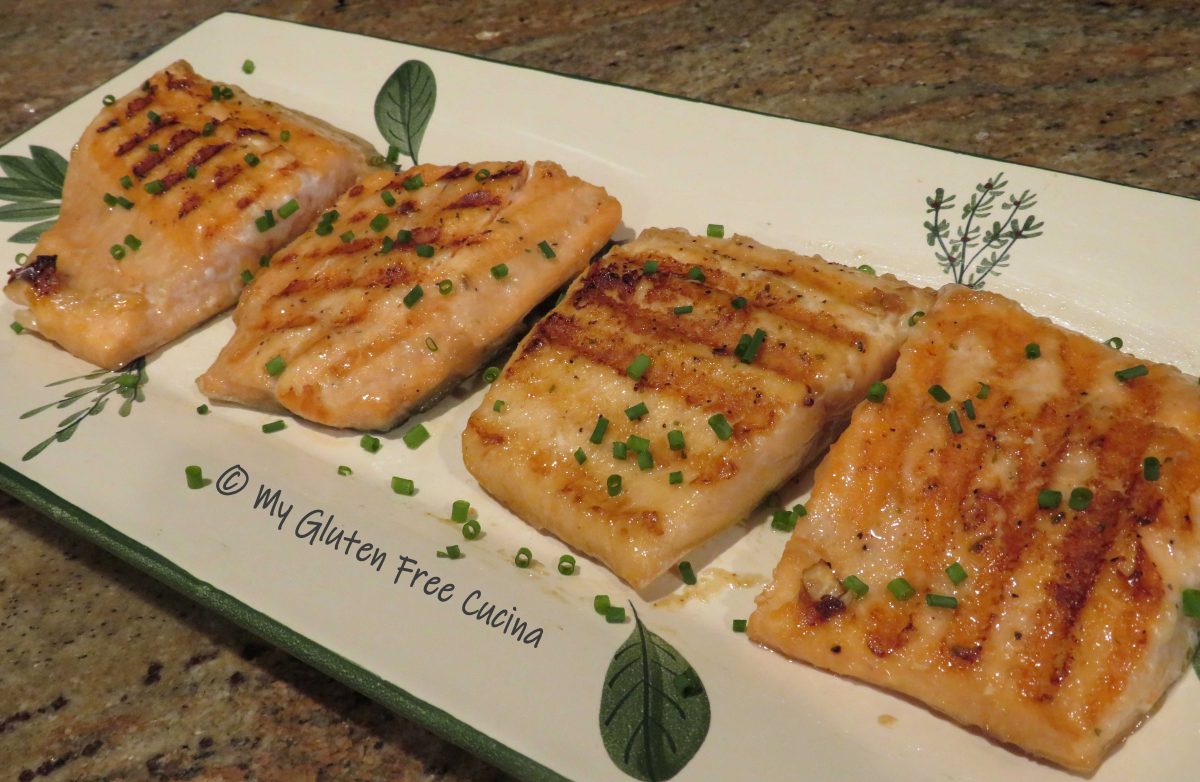

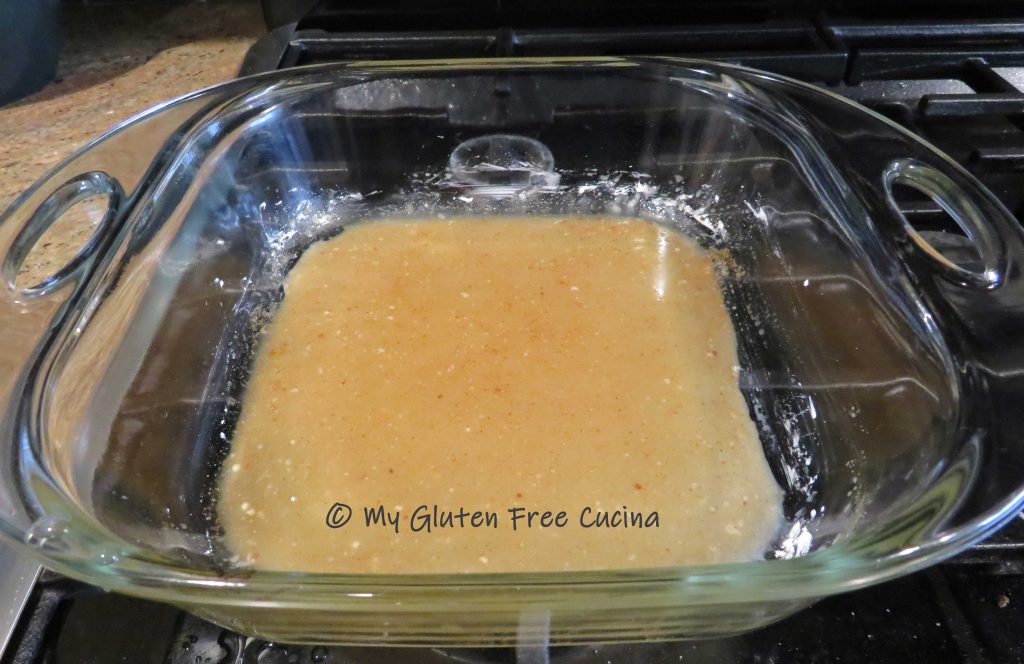
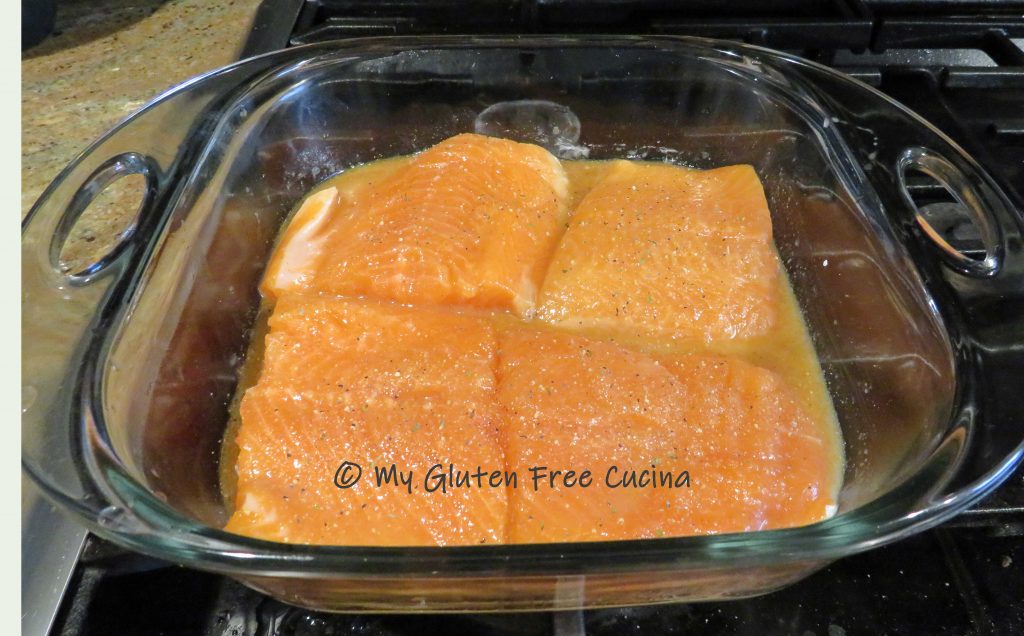


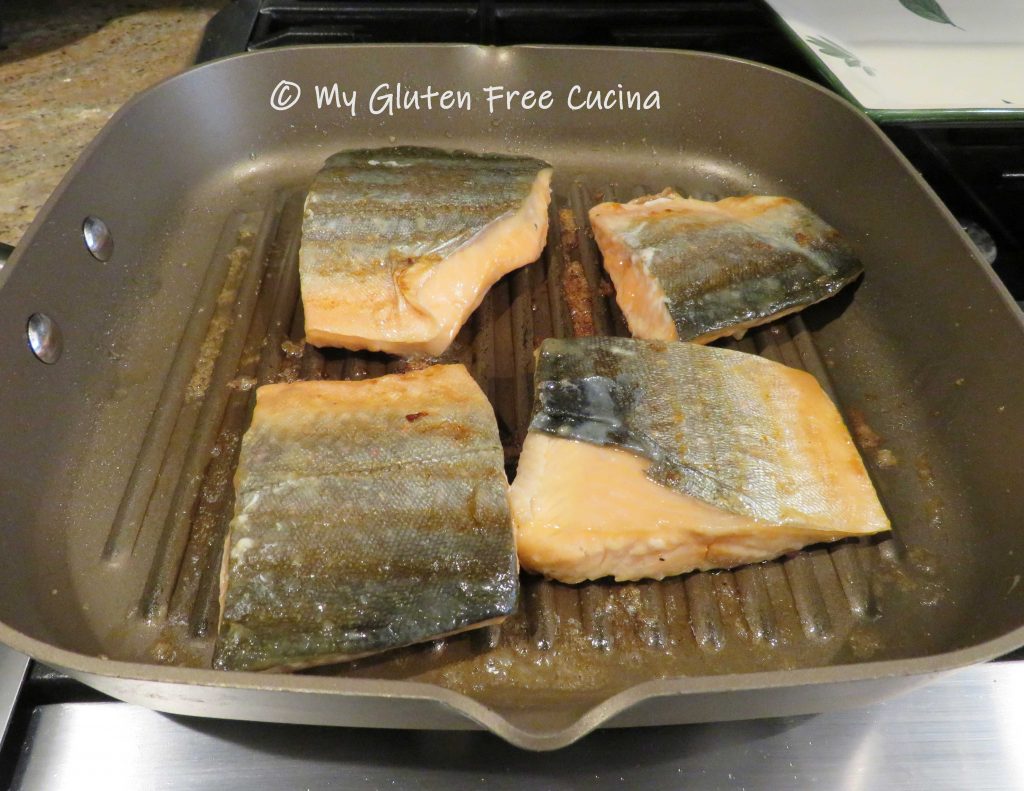


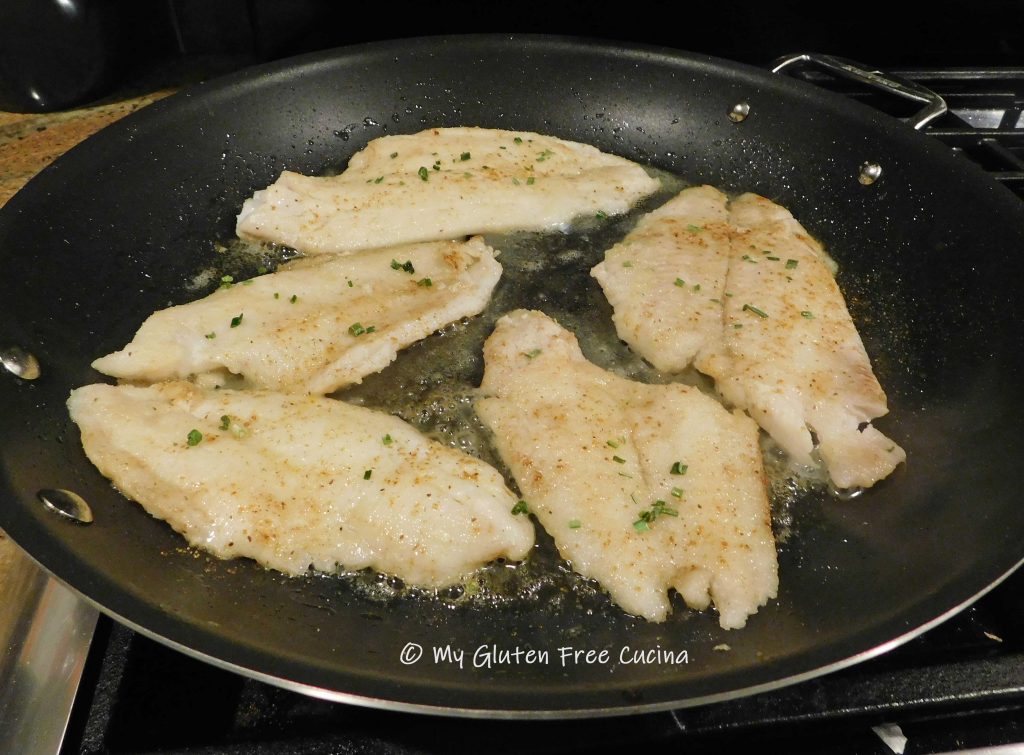


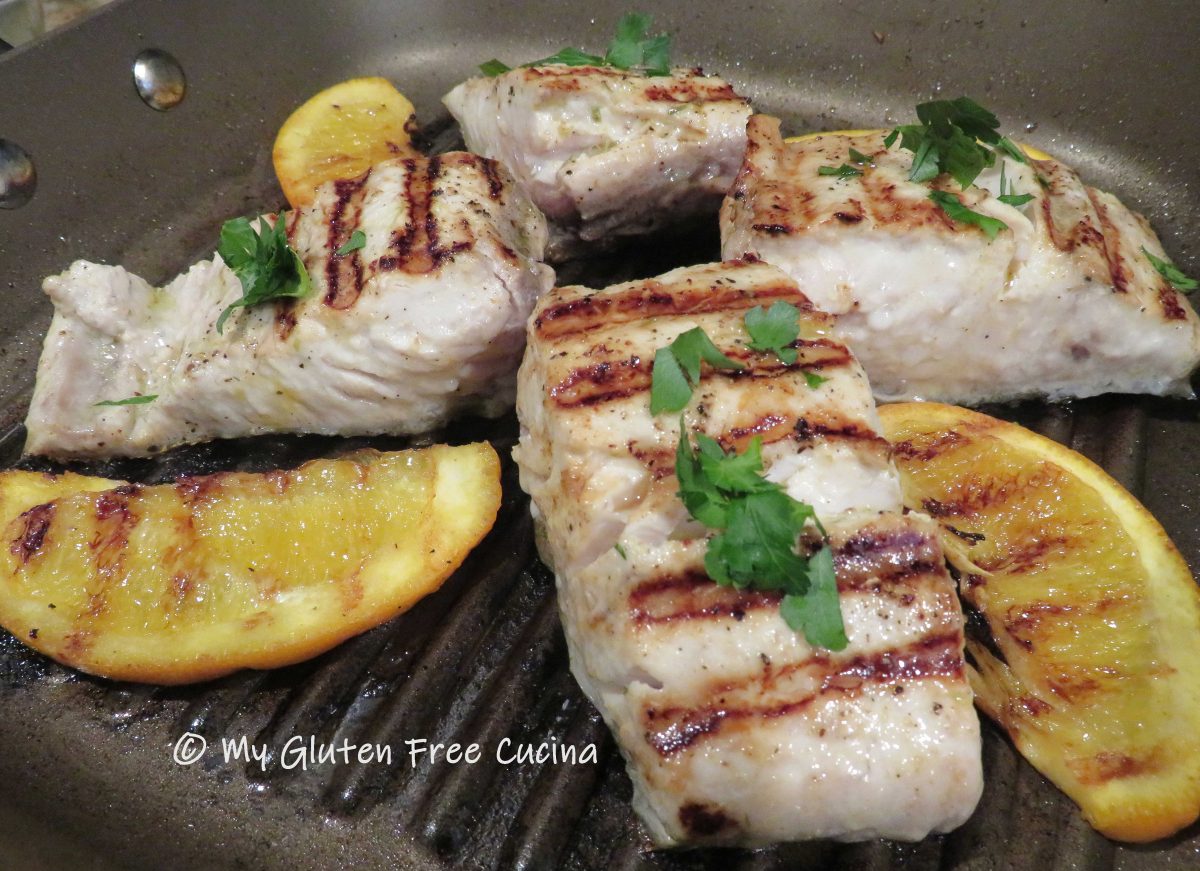


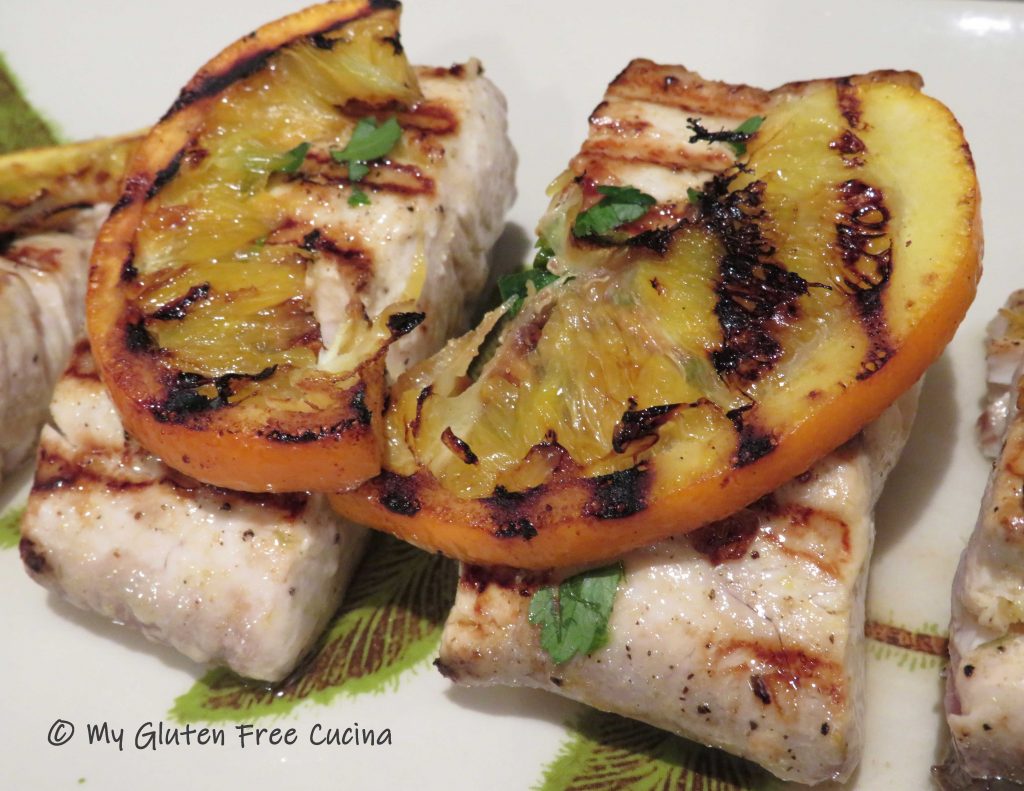
 Cook for 5 minutes over medium heat, then turn the fish and orange slices over and cook 5 more minutes. Drizzle with remaining 2 tbsp. marinade.