Lemon Herb Chicken Breast

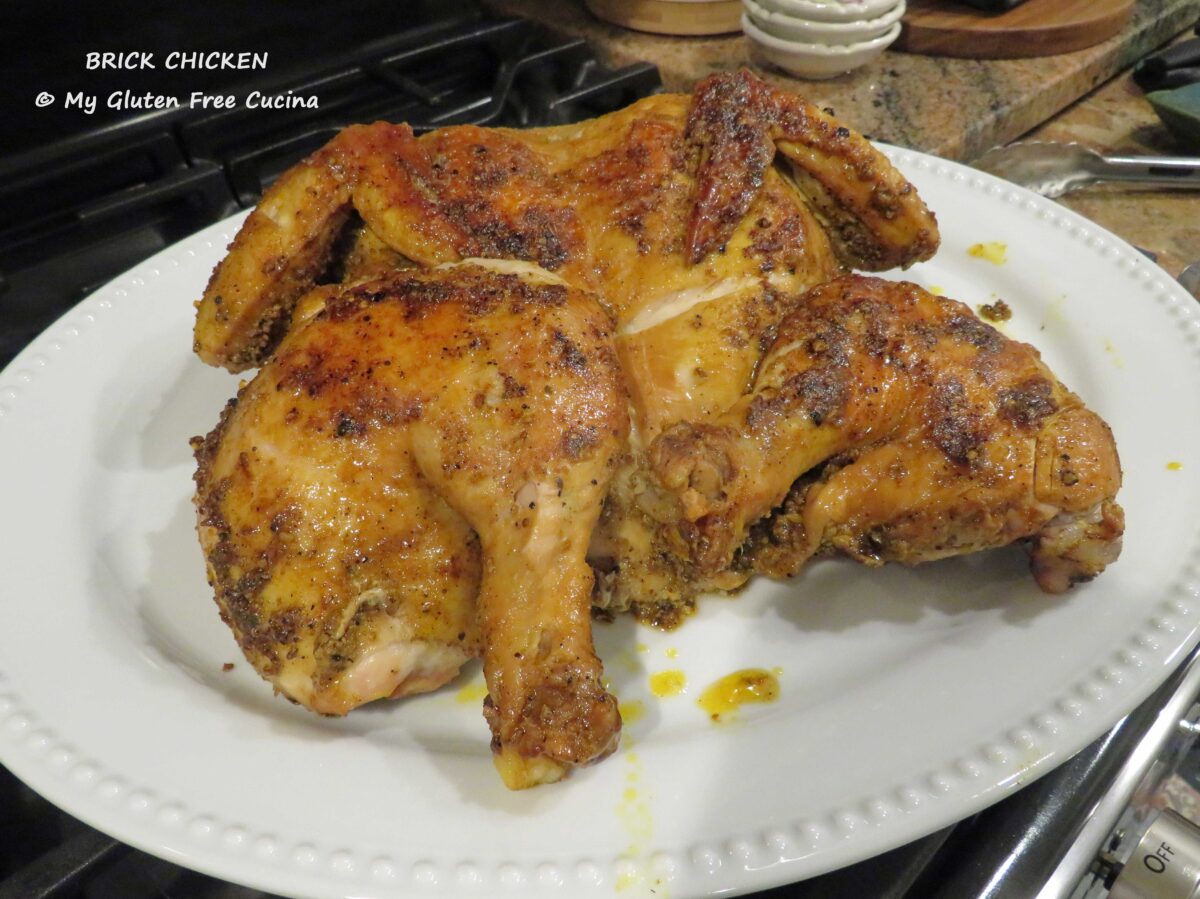
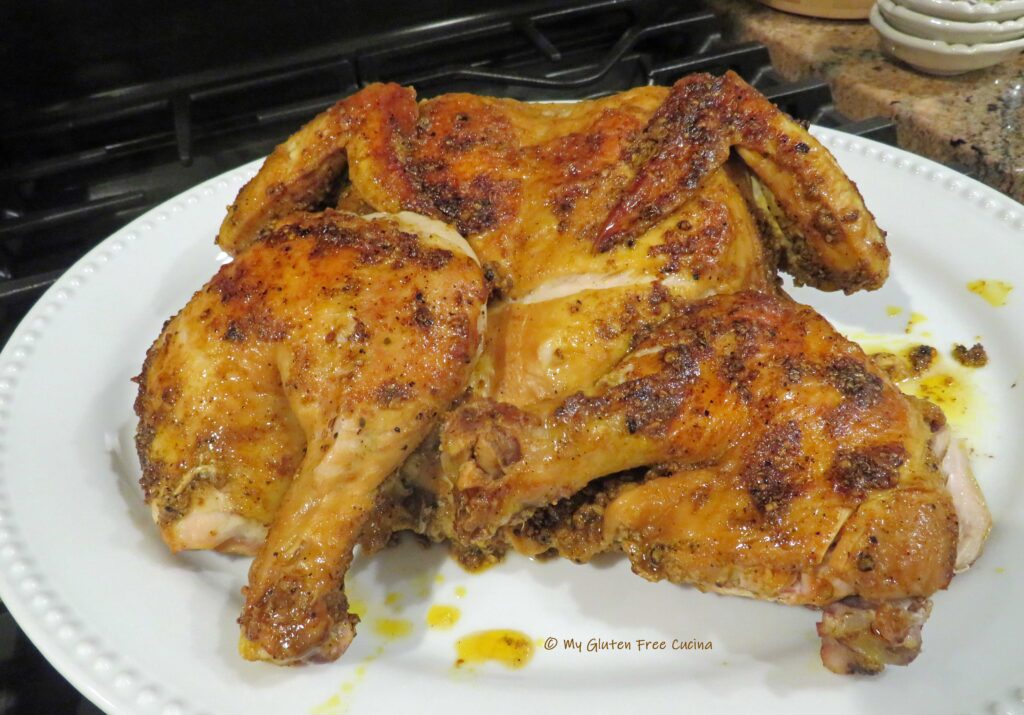
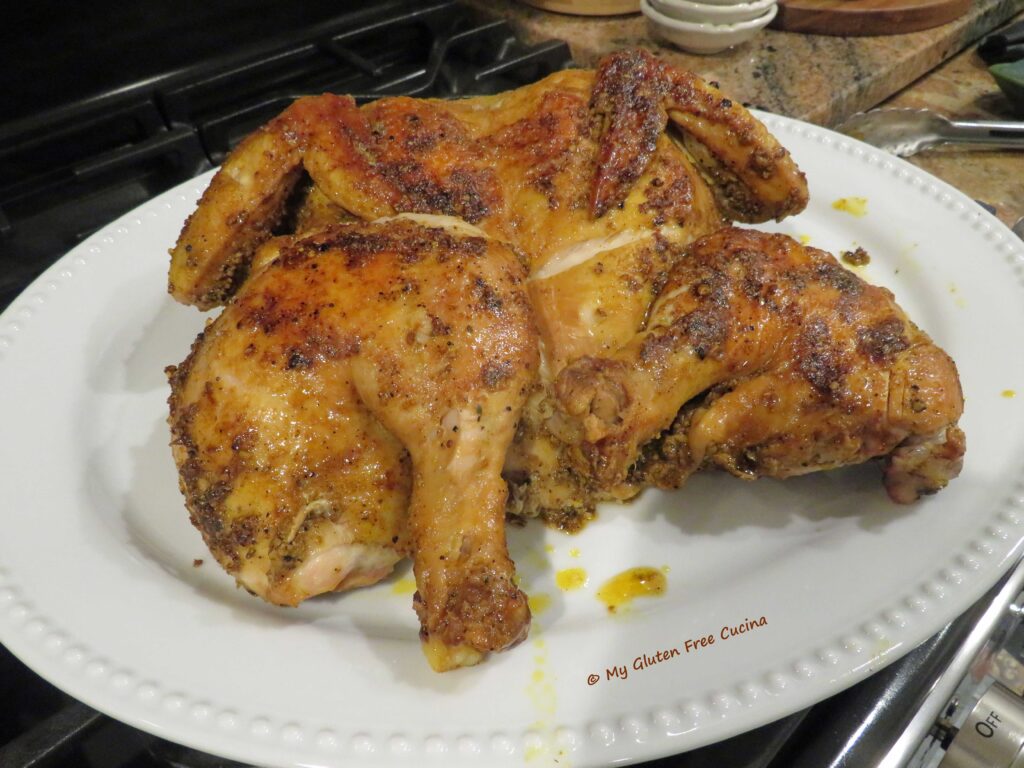
Look at this beautiful platter of roasted chicken!  I definitely had big eyes when I was shopping for chicken breasts, they were much bigger than I imagined, so huge and meaty!  Enough for dinner with leftovers for sandwiches the next day.

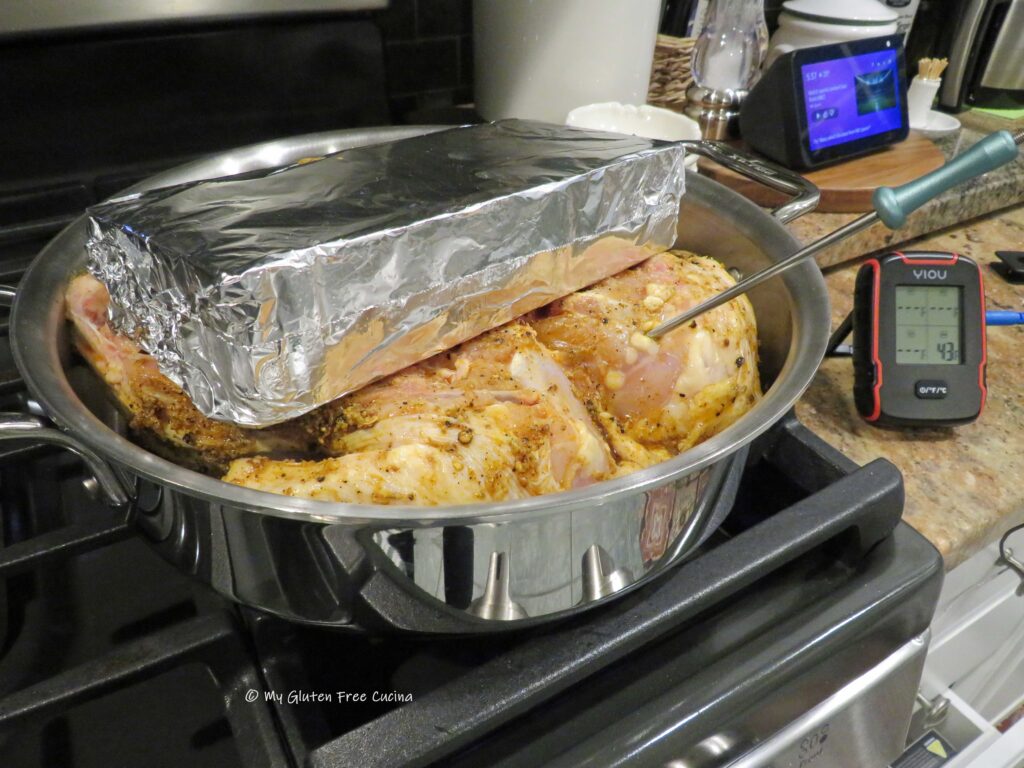
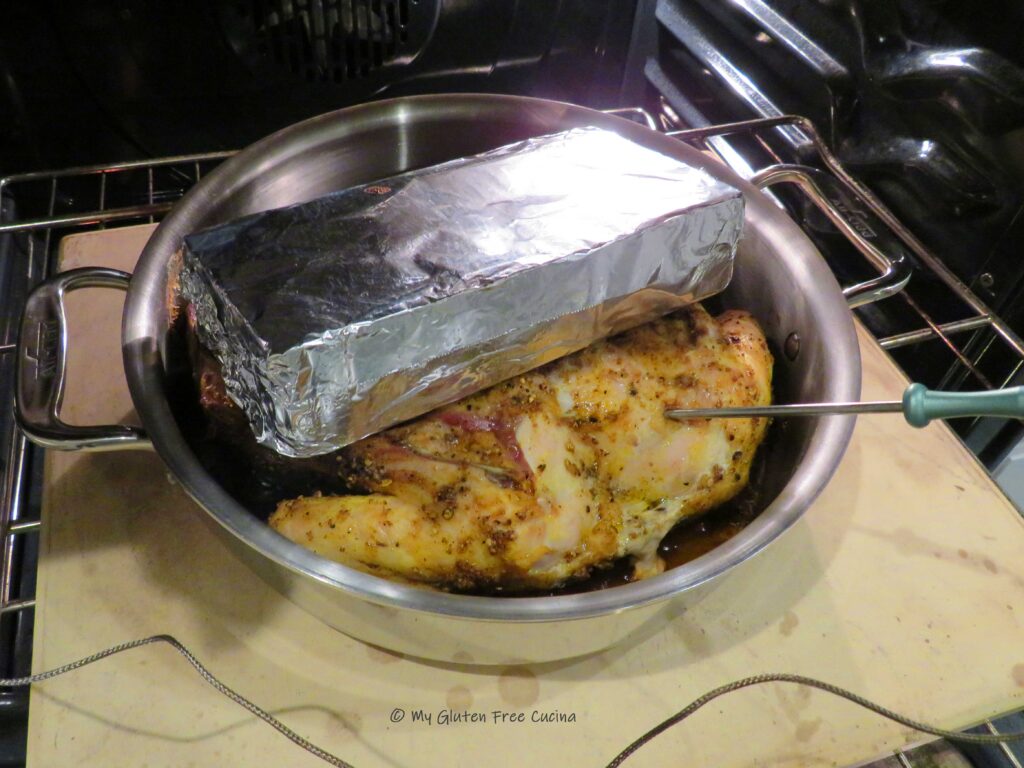
It can be a challenge to cook chicken breast without drying it out.  That’s why bone in, skin on chicken breasts are a great choice for roasting.  The butter and herb rub gives the chicken a nice, crispy skin and helps retain moisture.  Size matters for cook time, so be sure to use a thermometer to check the internal temperature.

I used fresh herbs from my garden to make the herb butter.  The minced sage, thyme and rosemary pair so well with poultry.  If using dried herbs, reduce the quantity to 1 tbsp.

This post contains affiliate links.

The roasting pan you see in the pictures was my mother’s.  Never used, still in the package when I inherited it over 35 years ago, it’s still going strong.  No doubt it came from one of her beloved catalogs that were popular back in the day.  If you are looking for something similar, here’s one that you can order from Amazon.

Ingredients:

  • 1/2 sweet onion
  • 2 celery stalks
  • 2 carrots
  • 4 whole chicken breasts
  • 5 oz. butter, softened
  • 3 tbsp. olive oil
  • 2 tbsp. fresh herbs, minced (I used sage, rosemary and thyme)
  • 2 tsp. Italian seasoning (I like this one)
  • 1 lemon, sliced
  • 1 cup water
  • cooking spray

Preparation:

Preheat the oven to 350º and mist the roasting pan and rack with cooking spray.  Arrange the aromatics (onion, celery and carrots) in the bottom of the pan.  Place the rack in the pan.

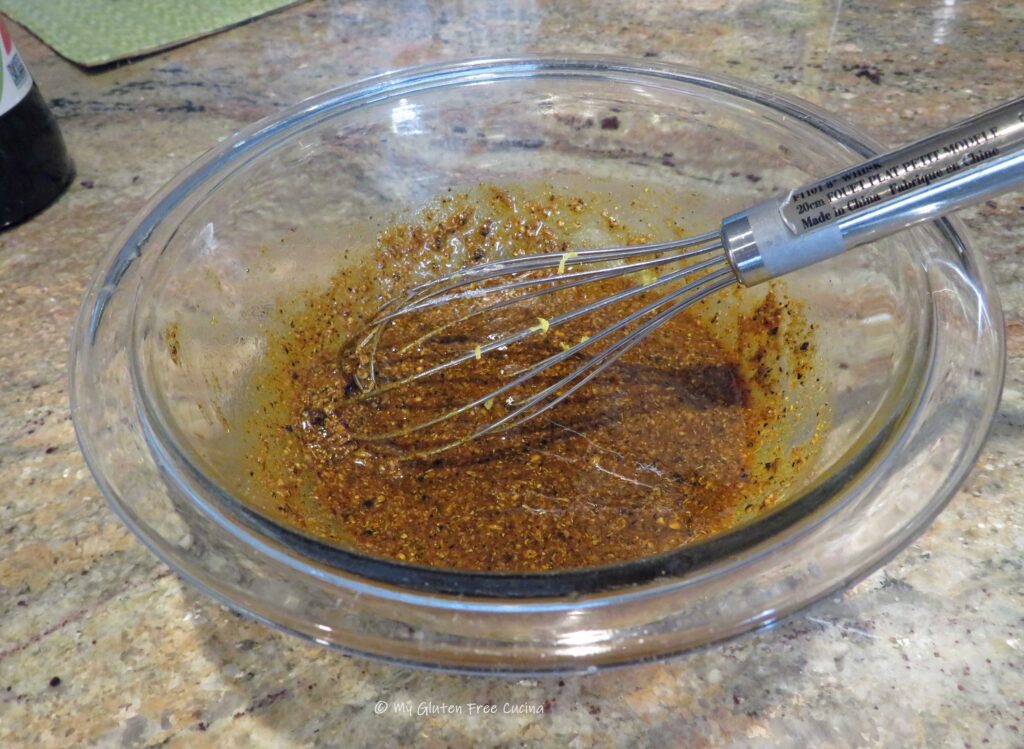
Combine the softened butter, olive oil, minced herbs and Italian seasoning and mash together with a fork.  Rub the mixture over the chicken breasts and top each with a slice of lemon.  Place the chicken breasts on the rack.

Add one cup of water to the bottom of the pan and roast uncovered for 1 hour and 20 minutes or until the internal temperature reaches 170º (again, use a thermometer).

Transfer to a serving dish and serve.

Notes ♪♫ Don’t discard all those goodies in the bottom of the pan.  I like to toss it all into a pot with the chicken bones to make soup stock.  Nothing goes to waste, and you get a second meal!

Print This Post Print This Post

Gluten Free Chicken Adobo

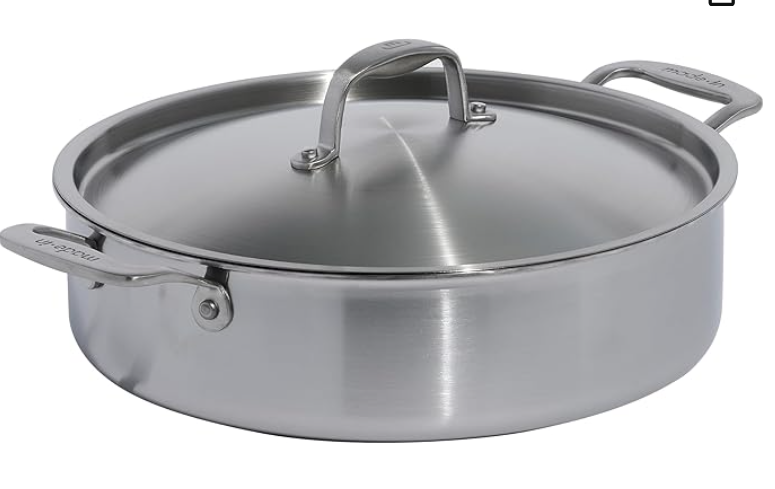
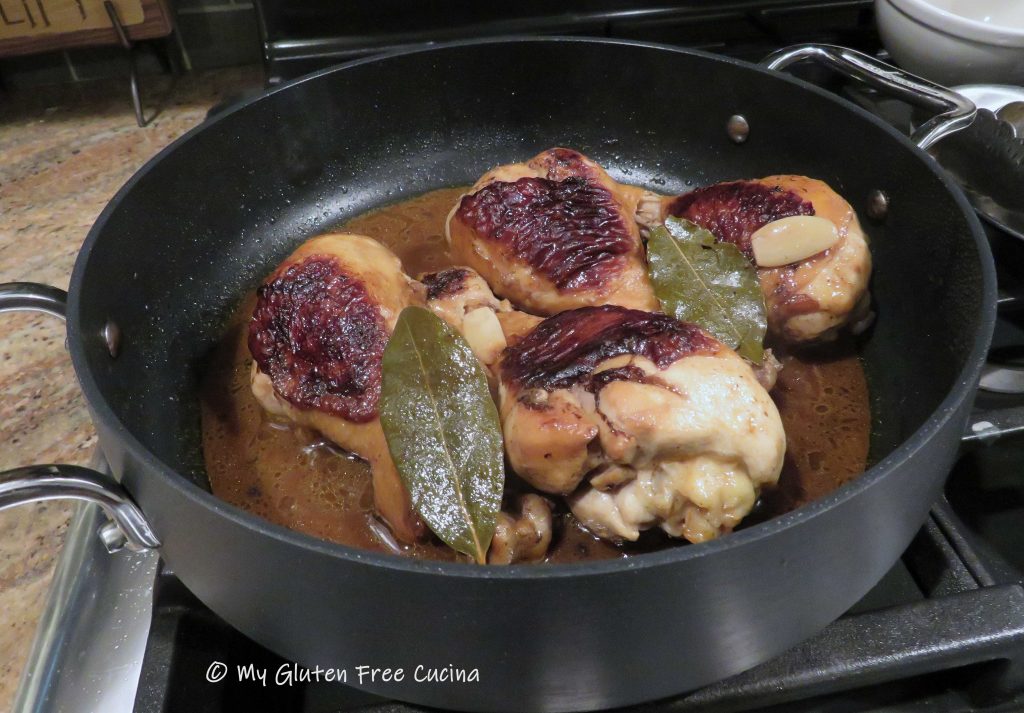
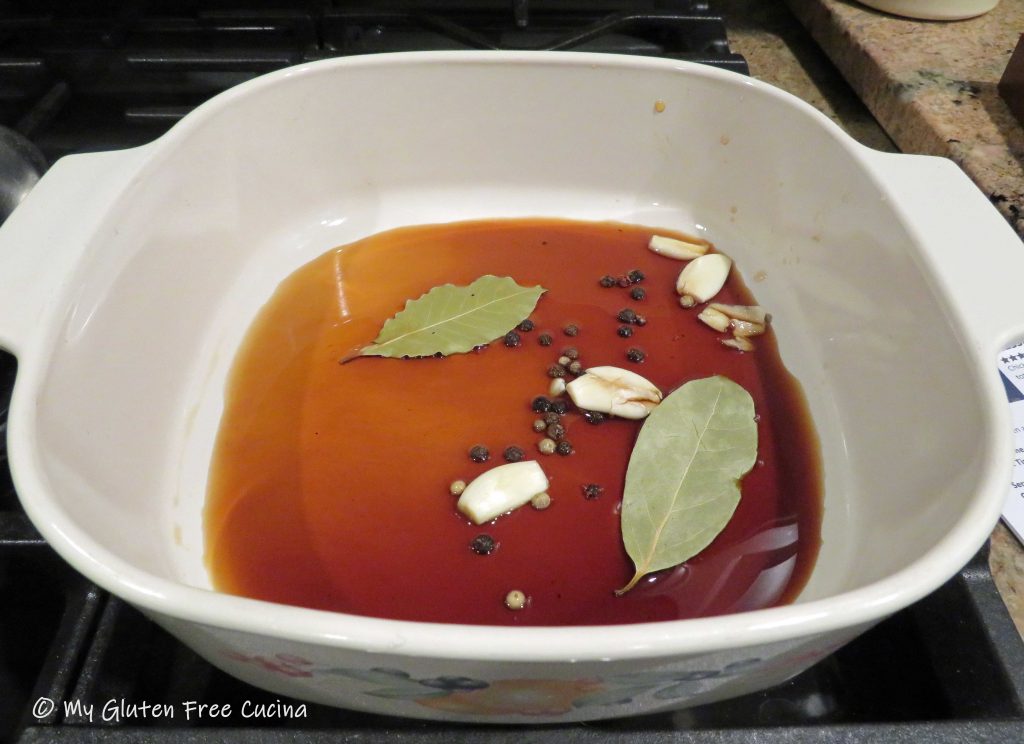
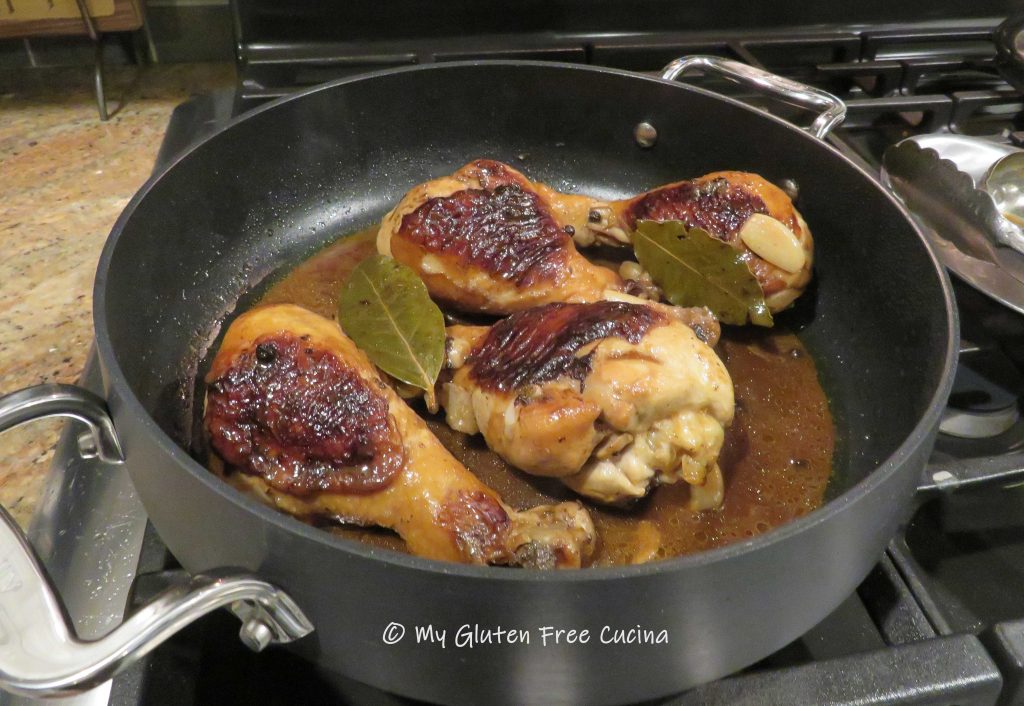
Chicken Adobo is a traditional Philippine dish made with pantry staples.  Vinegar, soy sauce, garlic, peppercorns, and bay leaves are used to create a marinade.  The chicken is marinated, then simmered in the same marinade on the stove top until the meat is cooked through.

Is Chicken Adobo gluten free?

The only gluten containing ingredient in a traditional Adobo marinade is the soy sauce.  By replacing it with either Tamari or Coconut Aminos, the dish is completely gluten free.

4 Servings (can be doubled)

Ingredients:

  • 3 tbsp. red wine vinegar
  • 2 tbsp. coconut aminos
  • 3 garlic cloves, crushed and skins removed
  • 1/2 tsp. whole black peppercorns
  • 2 bay leaves
  • 1 tbsp. olive oil
  • 4 pcs. chicken legs or thighs (about 1 lb.)
  • 1/2 cup water
  • 1 tsp. brown sugar

This post contains affiliate links.

Preparation:

Whisk together the first 6 ingredients, vinegar through bay leaves.  Add the chicken, cover and marinate 1 hour at room temperature, turning every 15 minutes.

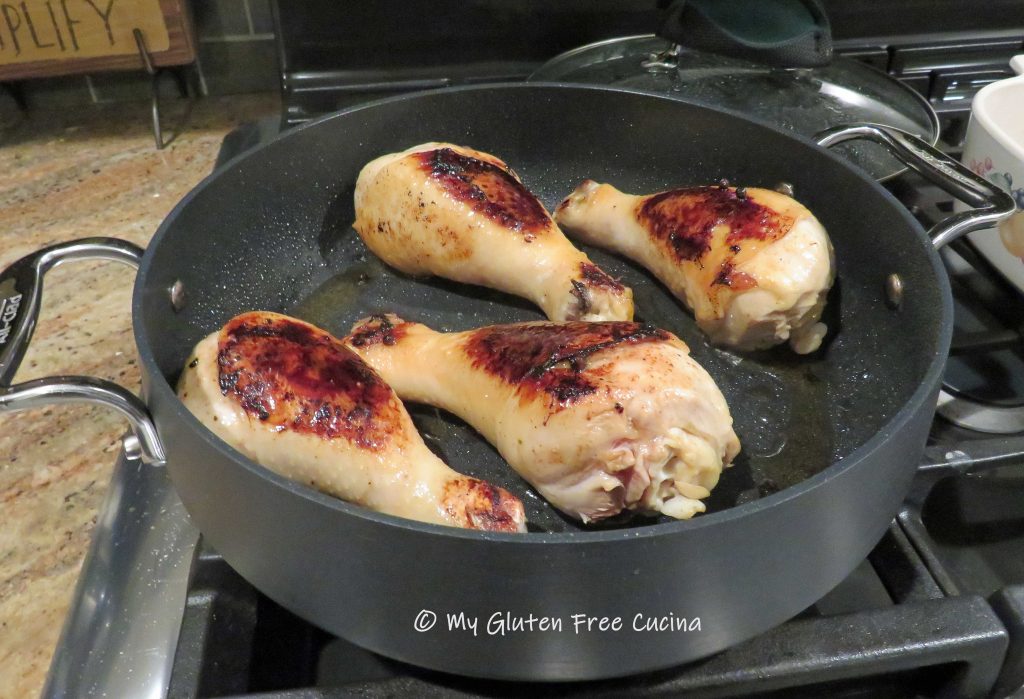
Add olive oil to a deep skillet or Sauteuse pan over medium heat.  Brown the chicken on all sides.

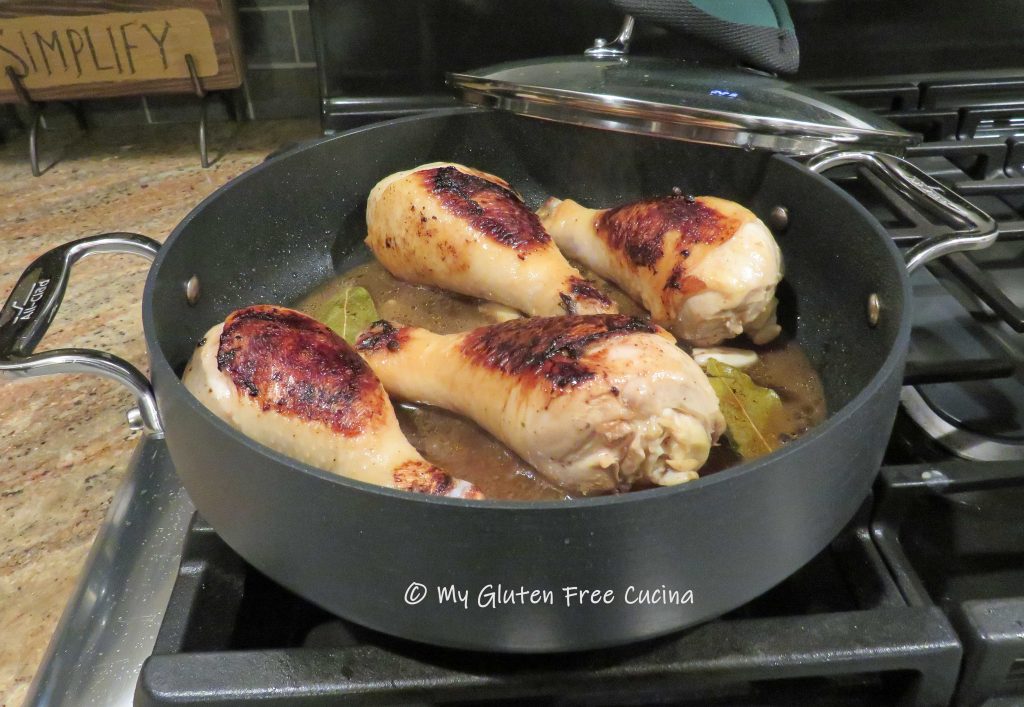
Stir in the water and reserved marinade.  Cover and simmer on lowest heat, 60-90 minutes depending on size, turning every 20 minutes.  When done, the chicken should easily pull away from the bone.

Take the lid off during the last 10 minutes of cooking to thicken the sauce.  Serve with rice.

Notes ♪♫ There are so many variations of this classic dish.  I used red wine vinegar, but many recipes say to use white vinegar.  It’s just a matter of taste.  I used Coconut Aminos, because it is much lower in sodium than Tamari.  If you are not limiting salt, then gluten free Tamari is a great substitute for soy sauce in gluten free recipes.

Print This Post Print This Post


One Pot Chicken Dinner

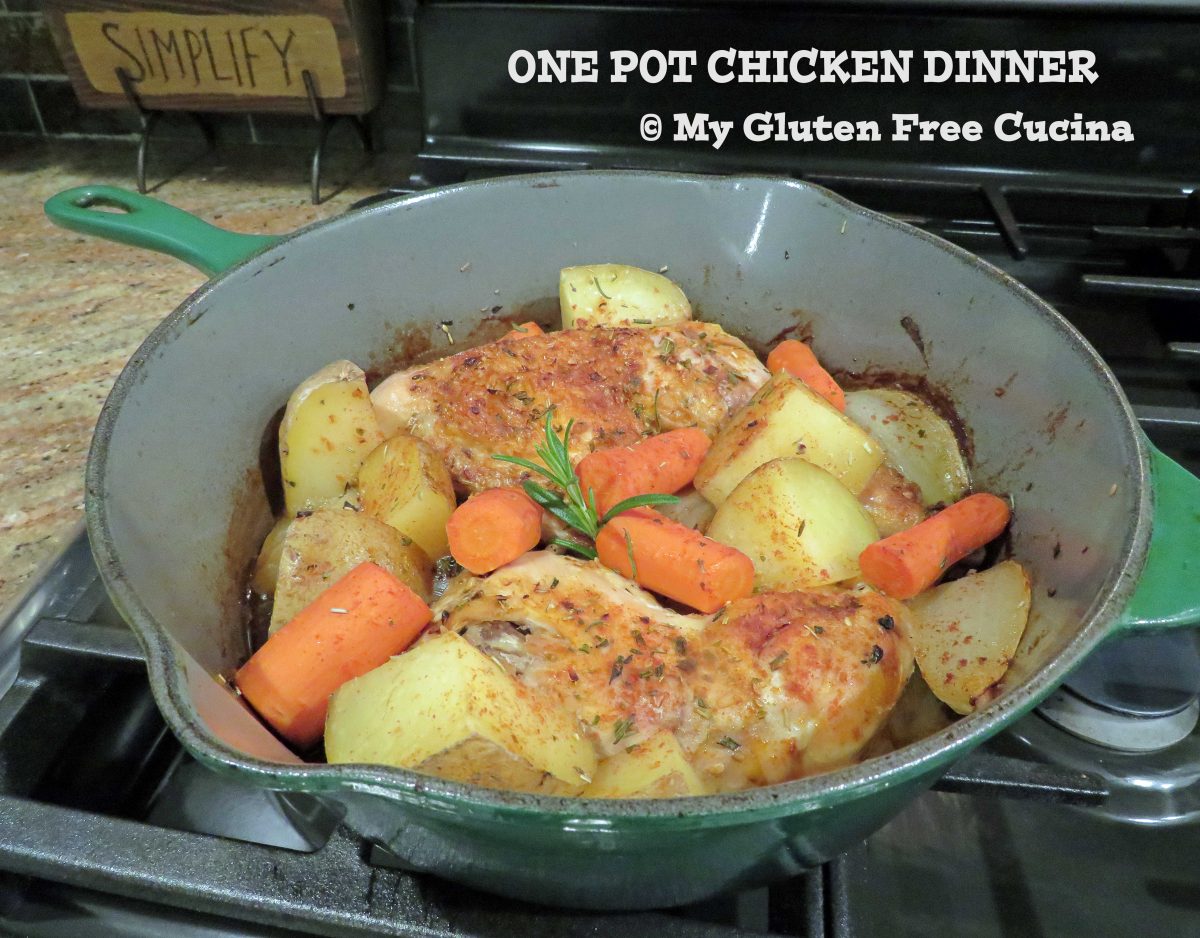
When casual comfort food is on your mind, keep the prep simple with this easy braised dinner.  I used fresh, naturally gluten free ingredients like chicken, potato, carrots and onion.  Slow braising ensures the chicken leg quarters are falling off the bone tender.  As a bonus, this dish goes from oven to table in the same pan for easy cleanup.

This post contains affiliate links.

Dinner for two

Ingredients:

  • 2 chicken leg quarters
  • 2 tbsp. olive oil
  • Italian Seasoning
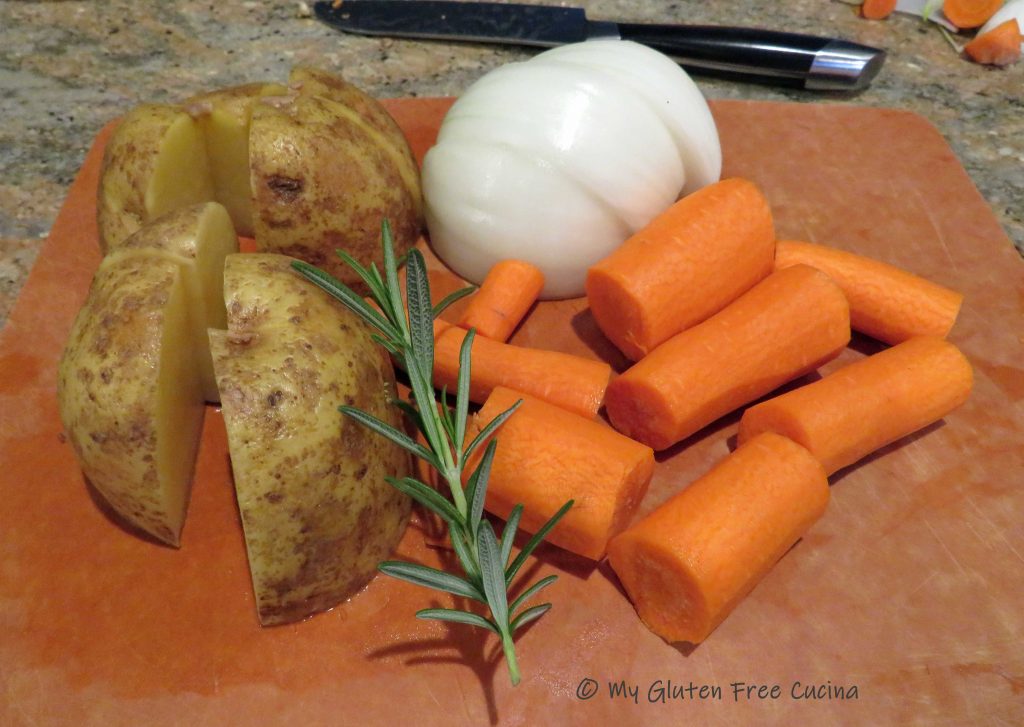
  • 1/2 medium sweet onion, cut into chunks
  • 1 medium potato, cut into chunks
  • 2 large carrots, peeled and cut into chunks
  • paprika
  • fresh rosemary
  • 1/4 cup white wine

Preparation:

Use a heavy, oven safe skillet with cover or a Dutch oven.  With the heat on medium low, add 2 tbsp. olive oil and brown the chicken, skin side down for 10 minutes.

Turn the chicken skin side up.  Add the onion, potato and carrot.  Sprinkle with Italian Seasoning, paprika, and fresh rosemary.

Add a splash of white wine, cover and place in the oven for an hour and 45 minutes (1-3/4 hours) at 300º.  Uncover, and cook for an additional 15 minutes to allow some liquid to evaporate.  Broil on low for 3 minutes to finish.  Garnish with a rosemary sprig and serve it right in the pan.

Notes ♪♫ Gluten free meals do not have to be fancy or difficult!  This recipe, made with naturally gluten free ingredients is delicious and satisfying.

Print This Post Print This Post

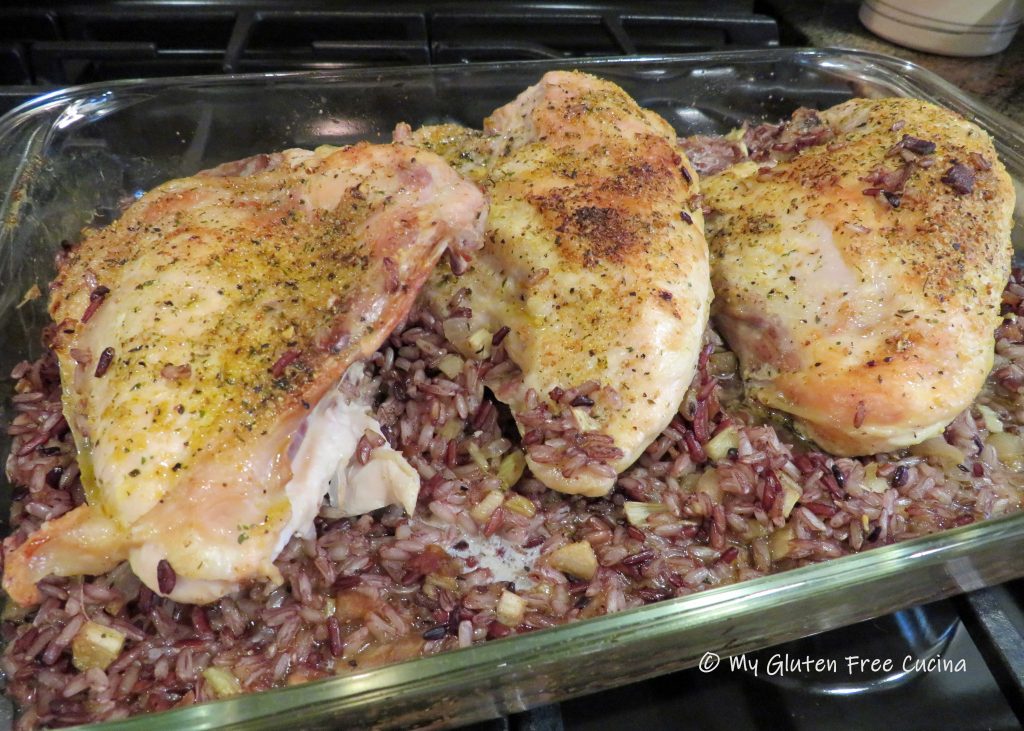
Split Chicken Breasts over Rice Stuffing

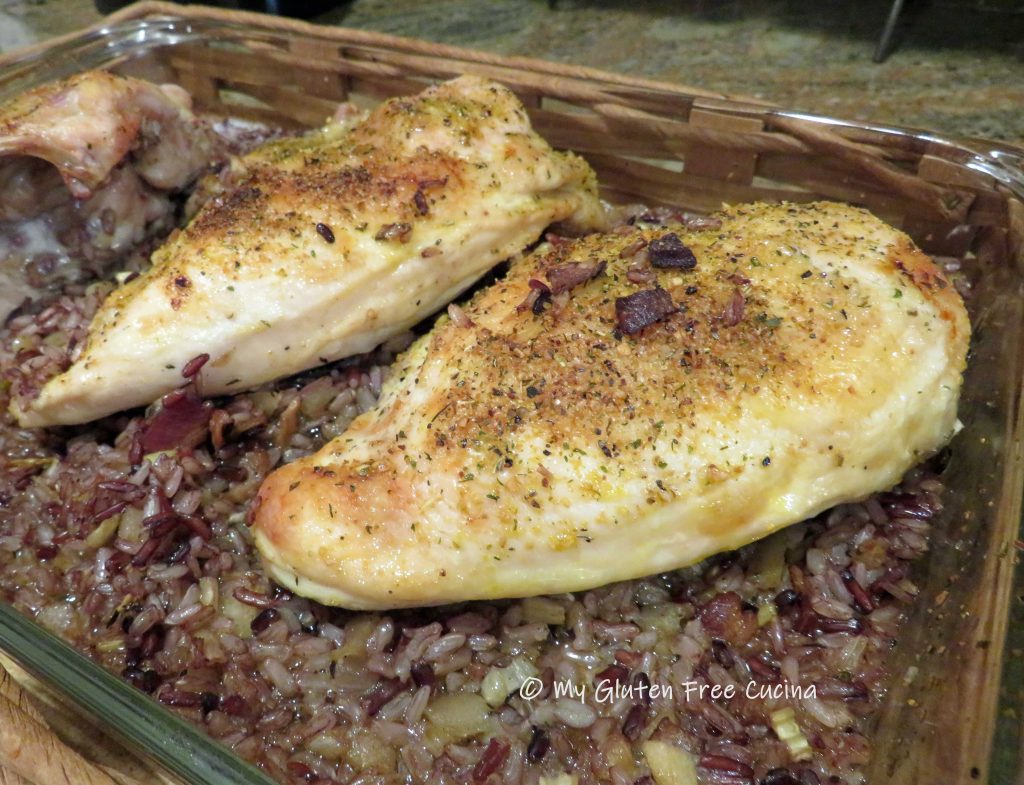
Split Chicken Breasts come out moist and delicious baked over a bed of colorful rice stuffing.  This deconstructed recipe is the easy way to serve Split Chicken Breast without the hassle of stuffing each piece!  Apple and bacon give the stuffing a sweet and savory flavor profile.

This post contains affiliate links.

Here are some tips for making this dinner a success.  Use a baking dish large enough to hold the chicken breasts in a single layer.  Partially cook the chicken before adding the stuffing to the dish.  Drain the baking dish halfway through to remove some of the fat before adding the stuffing.  Choose a firm, short grain rice that will stand up to a longer cook time.

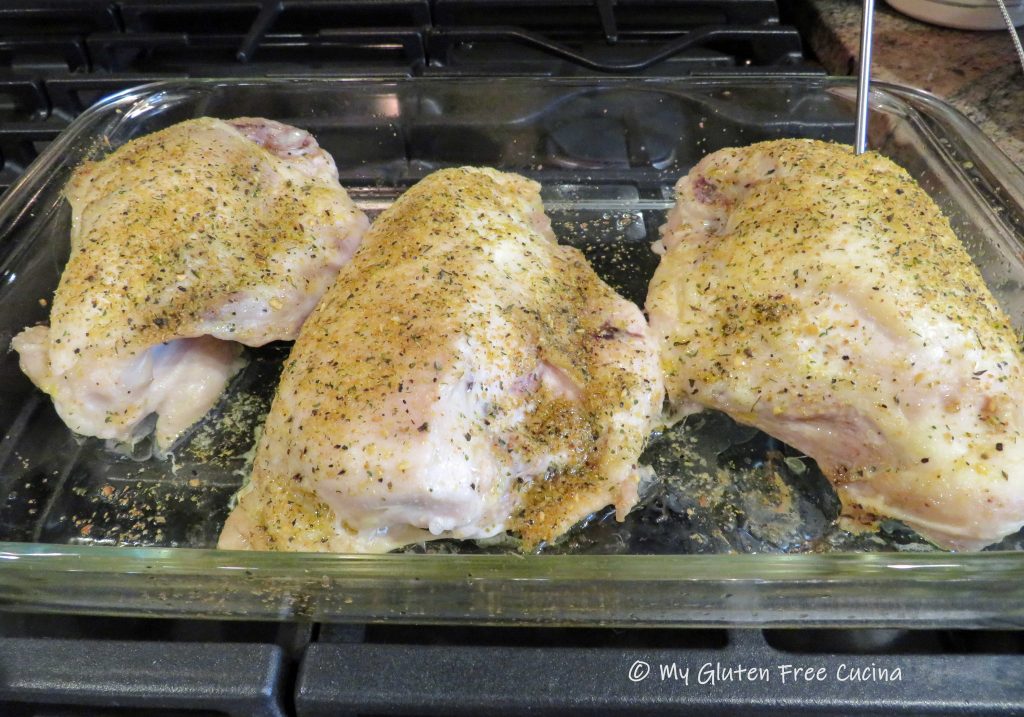
Some of my favorite seasoning blends for chicken are McCormick Montreal Chicken Seasoning, Shallot and Herb Seasoning and Tuscan Seasoning.  Use one or a combination as I have.  These blends are versatile and can be used in so many other dishes like pasta, potatoes and eggs.

This is a great family meal, perfect for casual entertaining!

3 Servings

Ingredients:

For the rice:

For the stuffing:

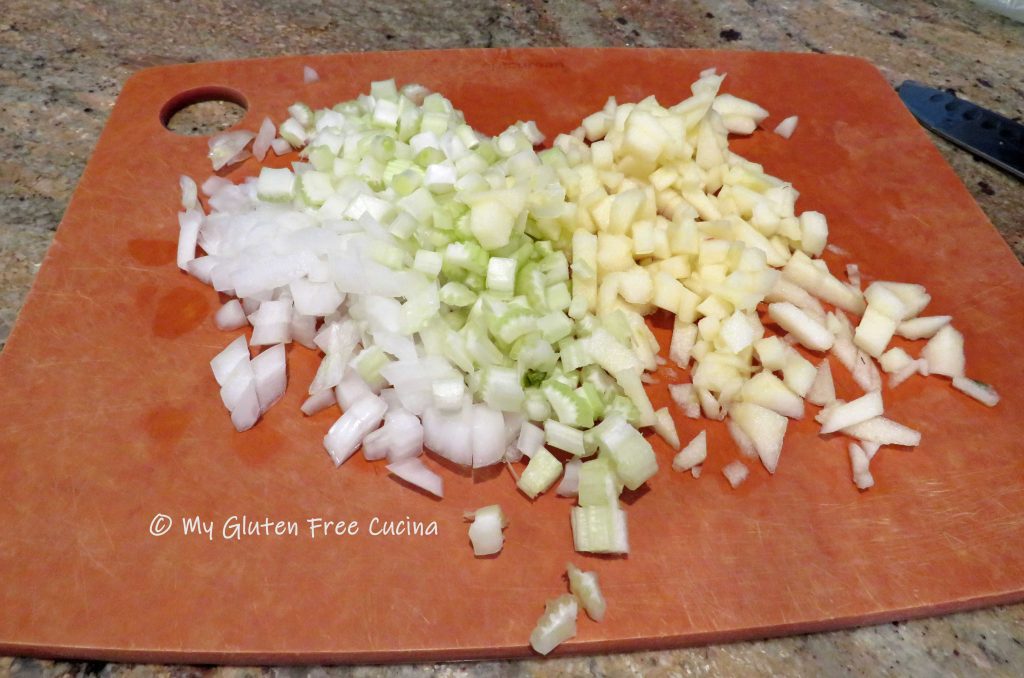
  • 1/2 cup onion, small dice
  • 1/2 cup apple, small dice
  • 1/2 cup celery, small dice
  • 2 strips bacon, cut into 1/2″ pieces
  • olive oil
  • sage
  • thyme
  • salt and pepper to taste

For the chicken:

Preparation:

Rinse the chicken and pat dry.  Brush with olive oil and season.  Coat a 9×13″ baking dish with cooking spray and arrange the chicken in a single layer.  Bake at 350º for 45 minutes.

While the chicken bakes cook the rice.  I cooked 1 cup rice in 2 cups water and 3/4 tsp. seasoned salt.

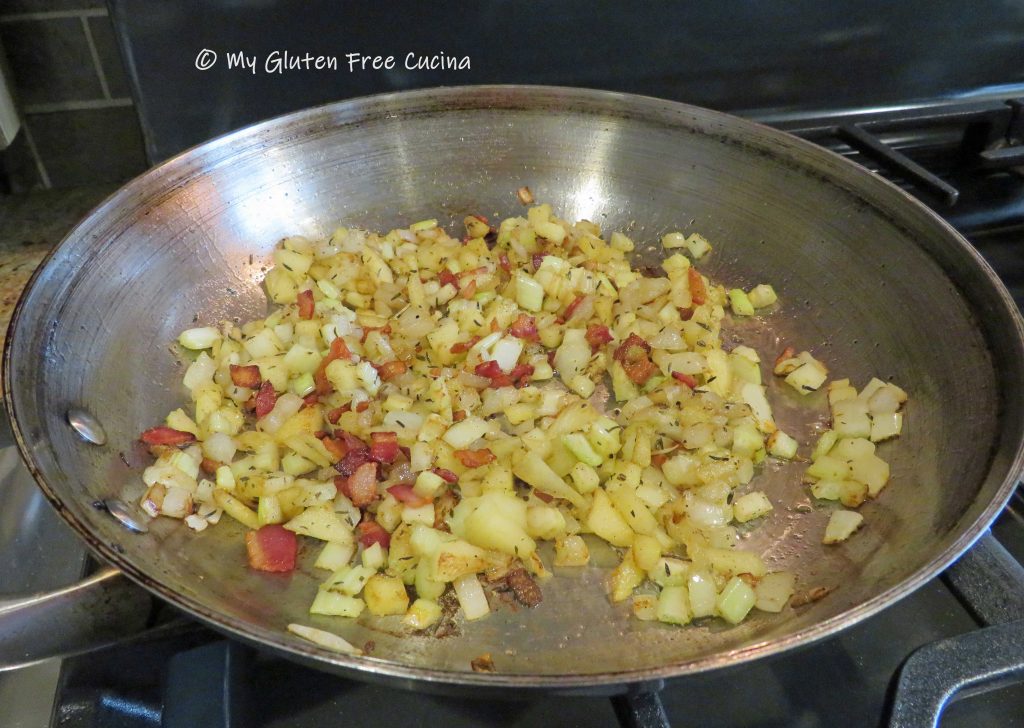
To make the stuffing, begin cooking the diced bacon in a stainless-steel skillet until crisp.  Use a slotted spoon to remove the bacon bits and drain on paper towel, leaving any remaining bacon fat in the skillet.  Add a small amount of olive oil and sauté the onion, celery and apple until crisp tender. Season with sage and thyme then add back the bacon bits.

Add the cooked rice to the skillet with the stuffing and stir well to combine.
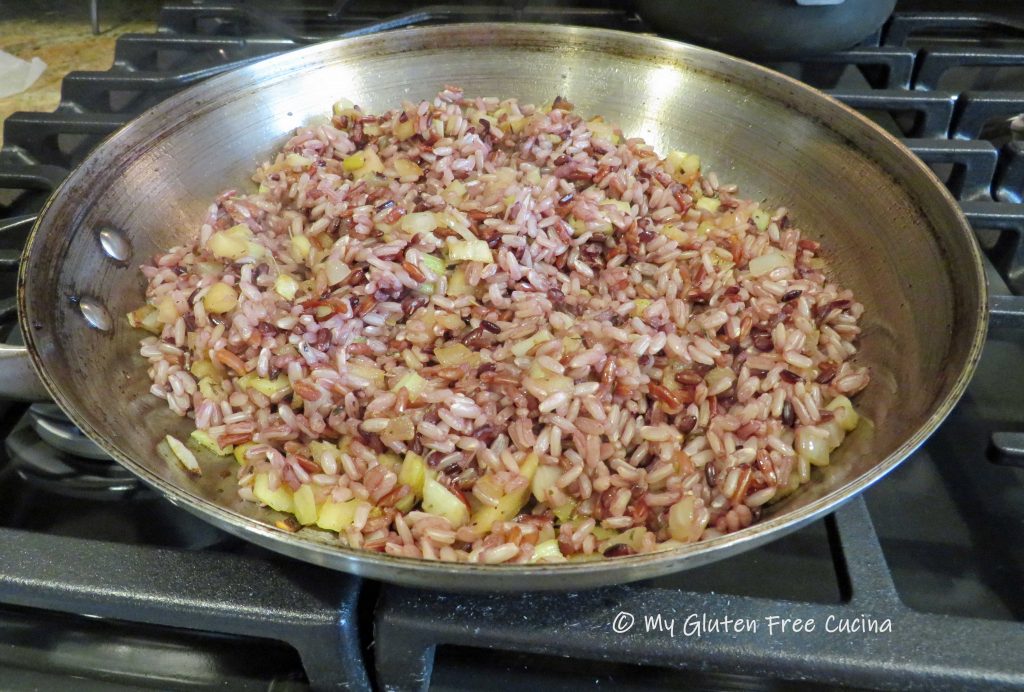
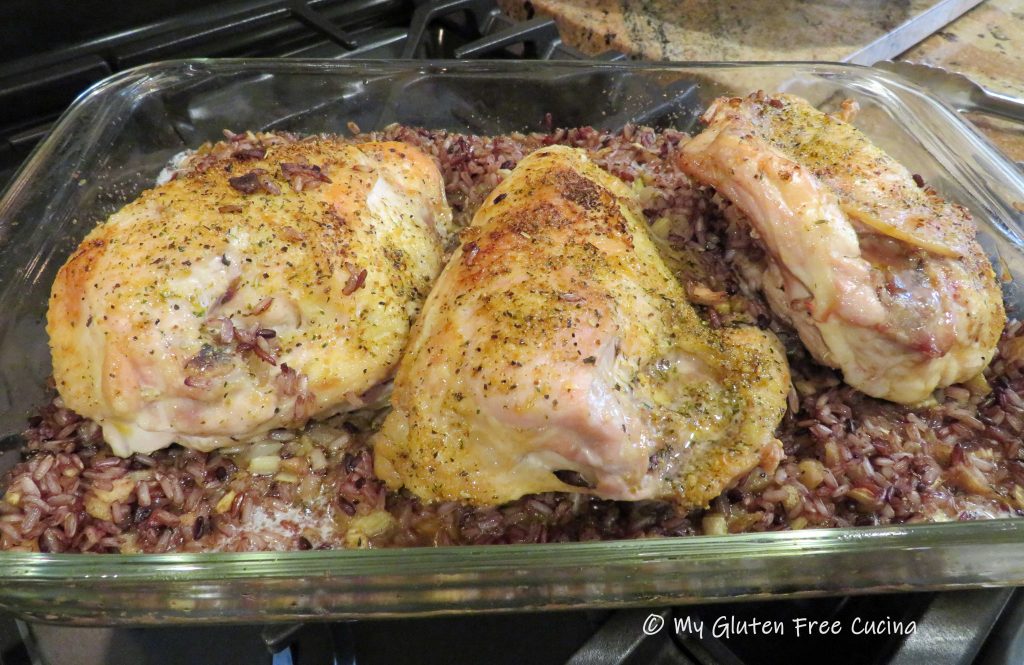
When the chicken has baked for 45 minutes, remove from the baking dish and drain any liquid.  Spread the rice and stuffing mixture evenly in the bottom of the baking dish and add 1/2 cup chicken broth.  Return the chicken to the baking dish and finish baking 45 minutes longer.

If you like a crispy skin, you can broil the chicken for a few minutes at the end of the cook time.

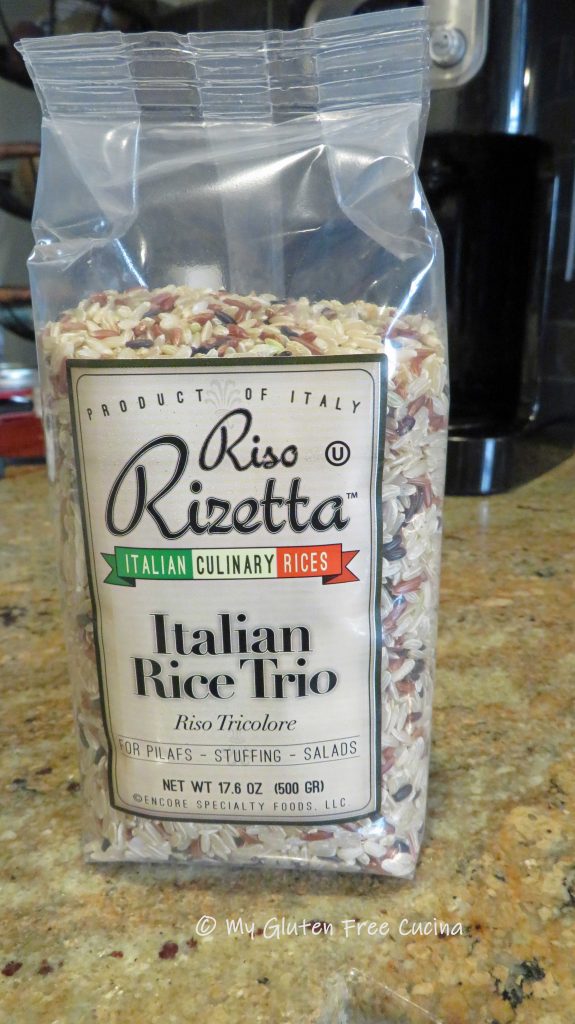
Notes ♪♫ I got this wonderful Italian tri-color rice at a local shop and have also purchased it on Amazon.  If Amazon is out of stock, try Rice Select Royal Blend for something similar.

Print This Post Print This Post

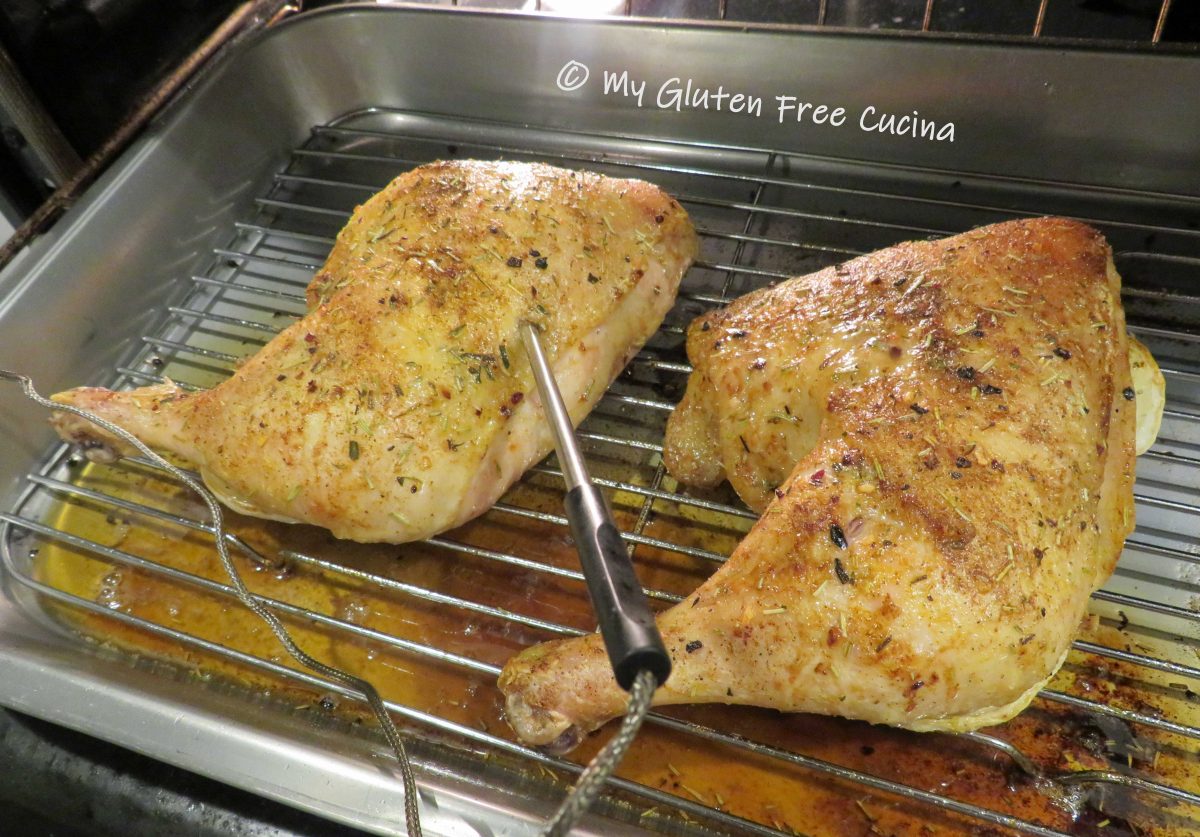
Oven Roasted Chicken Leg Quarters

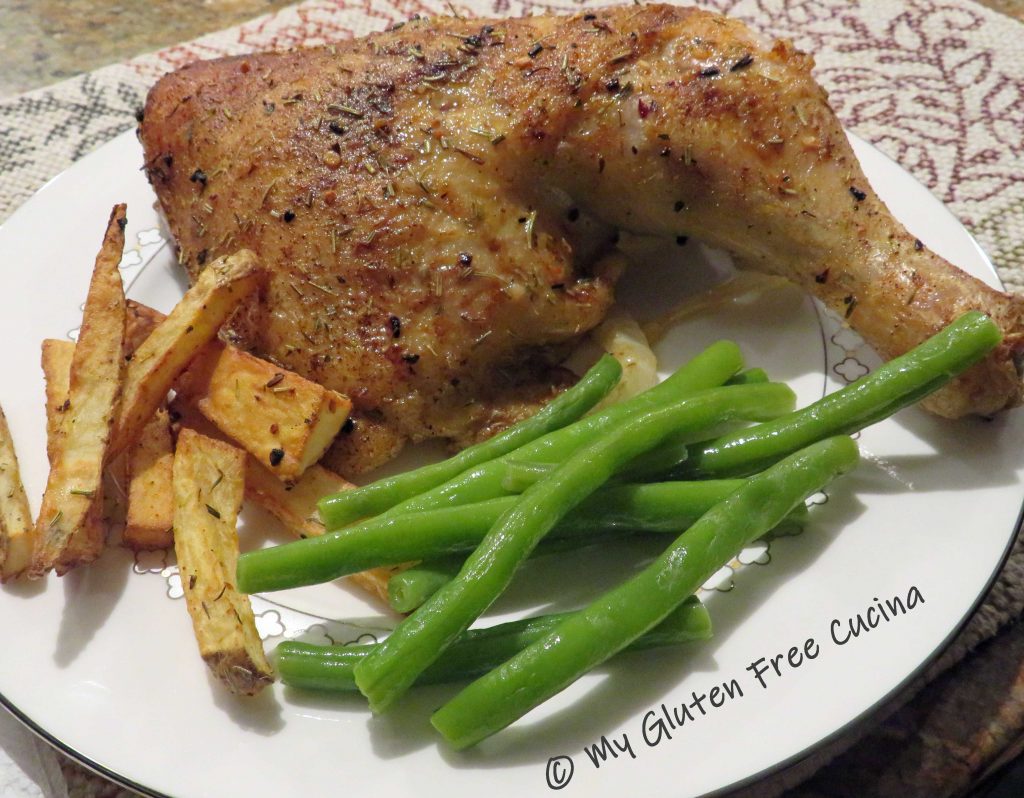
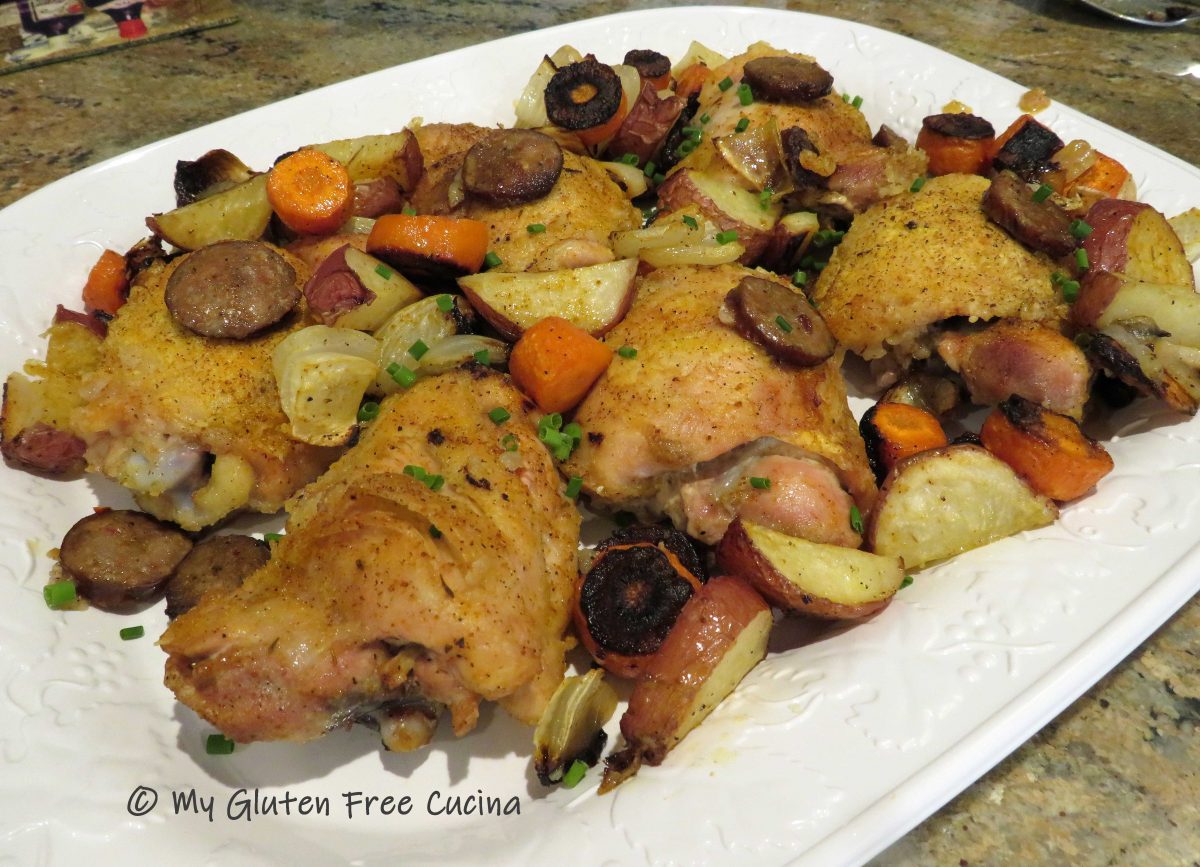
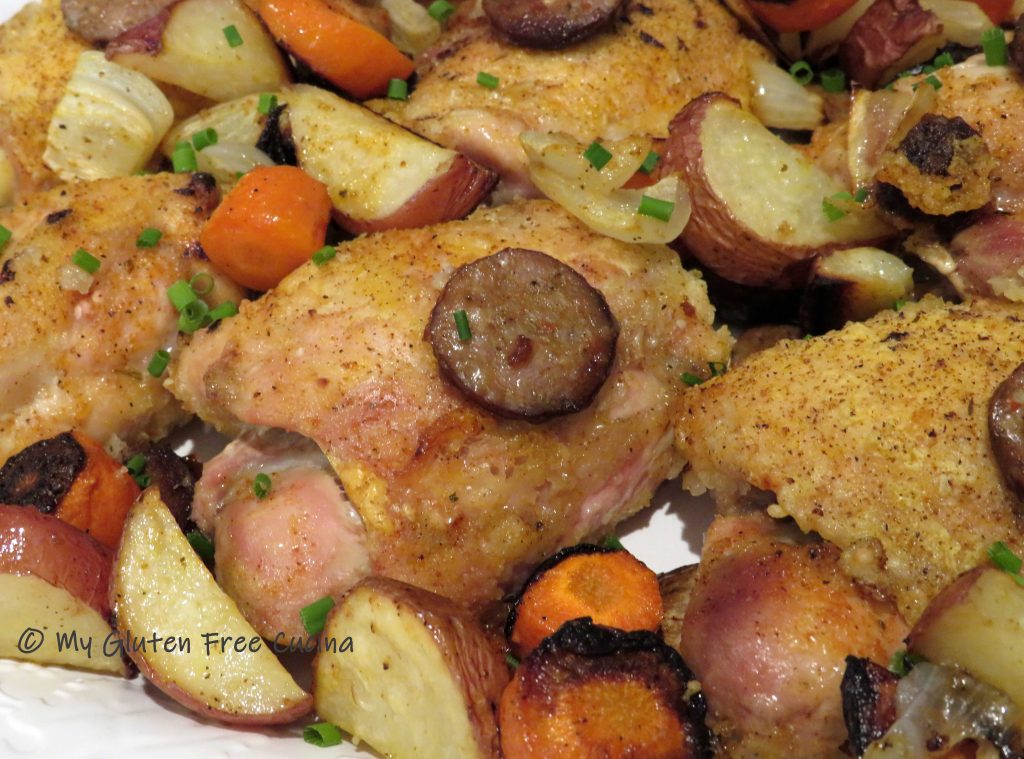
You are going to love this easy roast chicken dinner.  Leg quarters are an inexpensive option and provide a hefty portion for big appetites (we ate half for dinner and saved the rest for lunch the next day).  For this preparation, I sear the leg quarters in olive oil then finish in the oven using a roasting pan with rack.  The result, moist juicy meat with a crispy skin!

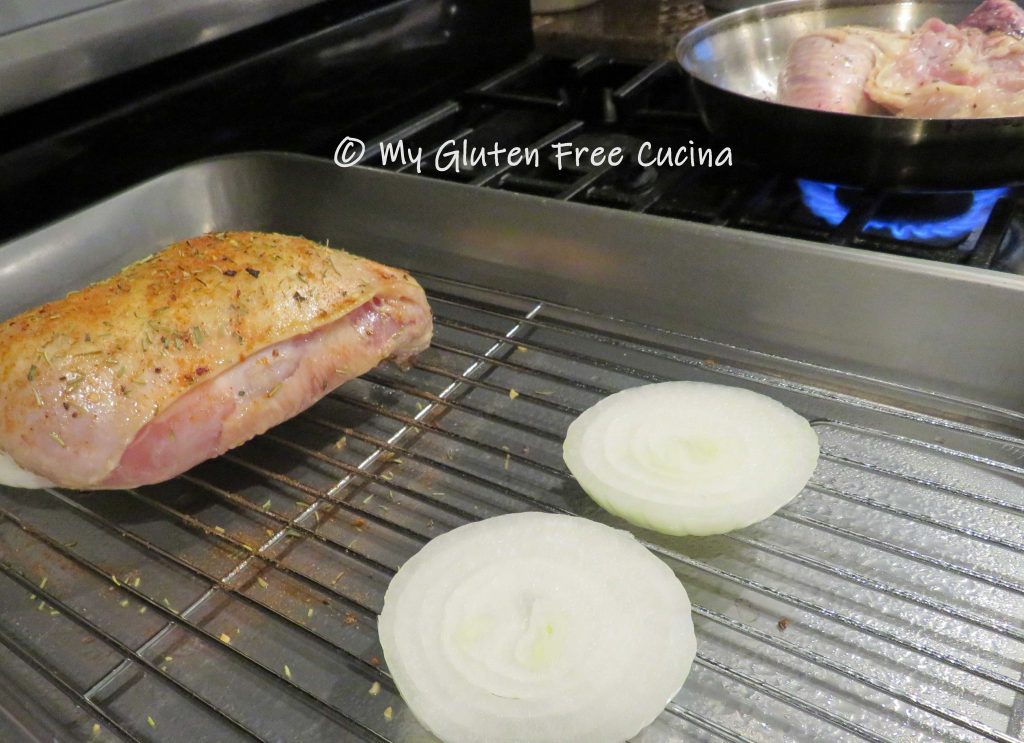
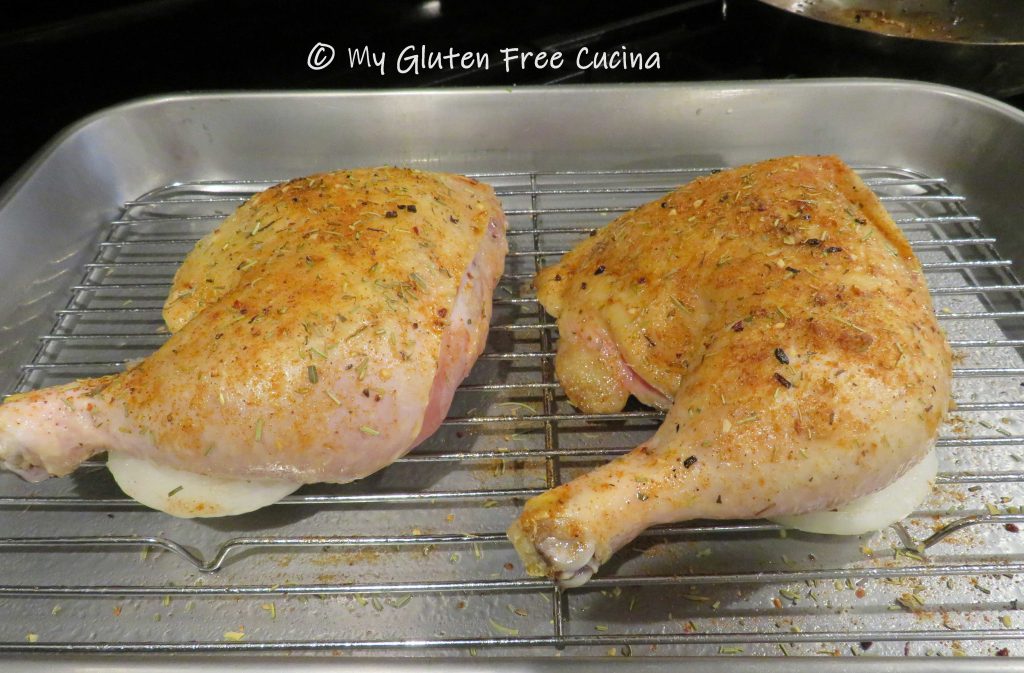
Tip  **Place onion slices under chicken to keep it from sticking to a roasting rack, this works on the grill as well**

Dinner for 2

This post contains affiliate links.

Ingredients:

Preparation:

Preheat the oven to 325º.  Cut the onion into 4 thick slices.  Heat a stainless steel skillet with olive oil and place the leg quarters skin side down for several minutes to get some color.  Don’t crowd the pan, brown the leg quarters one at a time if needed.

Set up a roasting pan with rack.  Mist the rack with cooking spray and arrange the onion slices, 2 on each side.  Lay chicken over the onion slices and sprinkle generously with seasoning of choice, then paprika.

Insert a meat thermometer into the chicken.  Bake for 1-1/2 hours, or until the internal temperature reaches 170º.

I served it with oven fries and green beans.  An excellent meal!

Notes: ♪♫  The roasting pan you see in this post belonged to my mother.  Never used, it passed down to me and decades later it became a part of my kitchen collection.  Although I could not locate this exact model, here is a similar style pan that you can purchase.

Print This Post Print This Post

Gluten Free Chicken Cordon Bleu

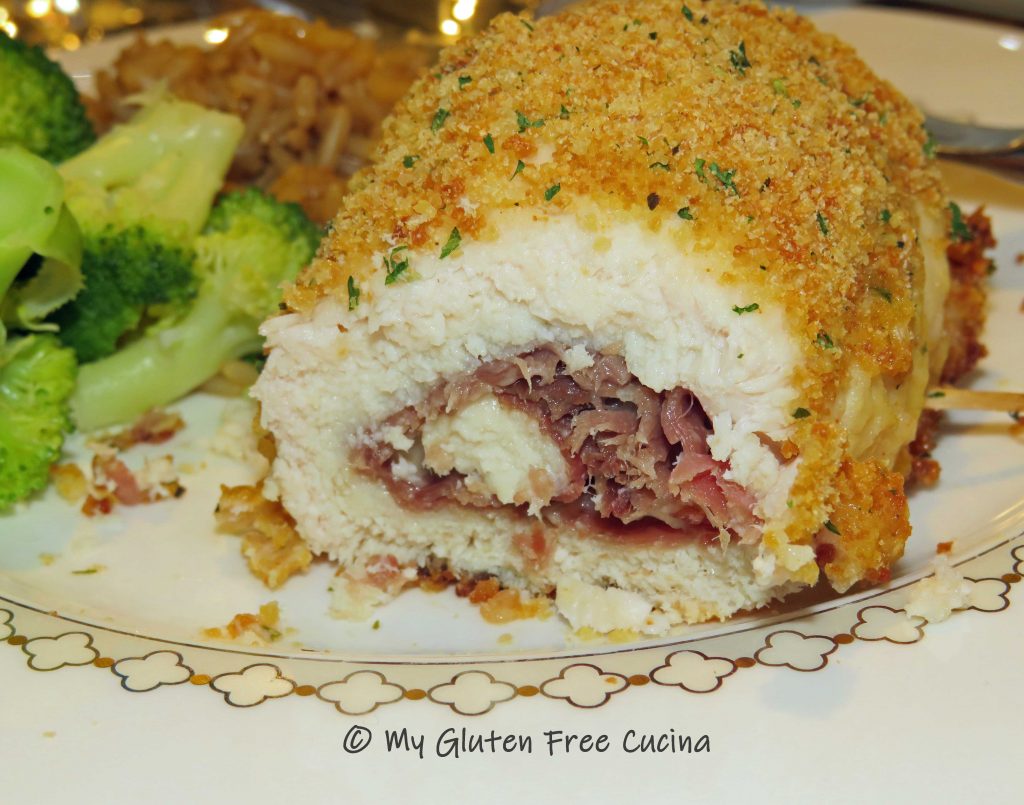
Classic Chicken Cordon Bleu.  Years ago this dish was a restaurant standard, and it has long been on my culinary bucket list to make a gluten free version at home!  Swapping out the flour and breadcrumbs for gluten free was all that was needed.

This is a great dish for a dinner party, or a romantic dinner for two.  When planning your meal, allow about 6 oz. chicken cutlet and 2 slices prosciutto per serving.  For our dinner I had one very large chicken breast that I cut into 3 slices.  You can save a step by purchasing thin sliced chicken breast cutlets.

This post contains affiliate links.

Ingredients:

  • boneless chicken breast cutlets, 6 oz. per serving
  • thin sliced prosciutto, 2 slices per serving
  • grated gruyere cheese, 2-3 tbsp. per serving
  • 1 egg or 1/4 cup egg whites
  • 1/4 cup white rice flour seasoned with paprika
  • 1/2 cup gluten free seasoned breadcrumbs
  • cooking spray

Preparation:

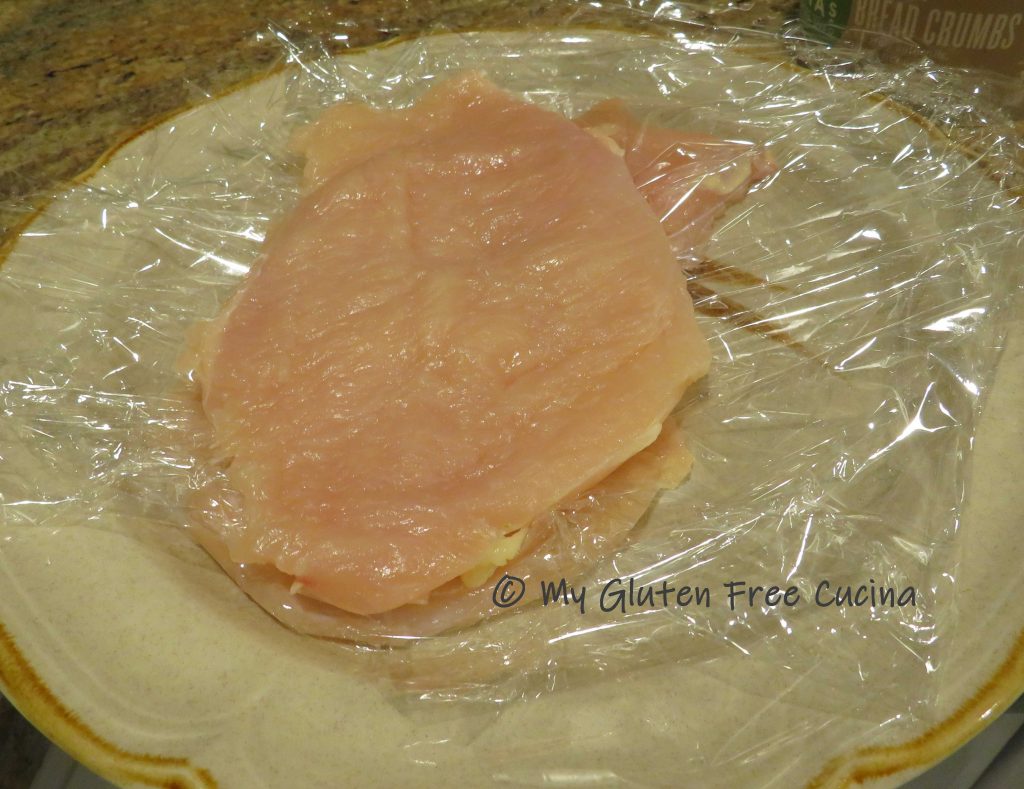
Using a sharp paring knife, slice horizontally through the center of the breast making 1/2″ slices about 6 oz. each.  Cover with plastic wrap and use the flat side of a meat mallet to pound each slice to an even thickness.

Continue with each slice, stacking between layers of plastic wrap.

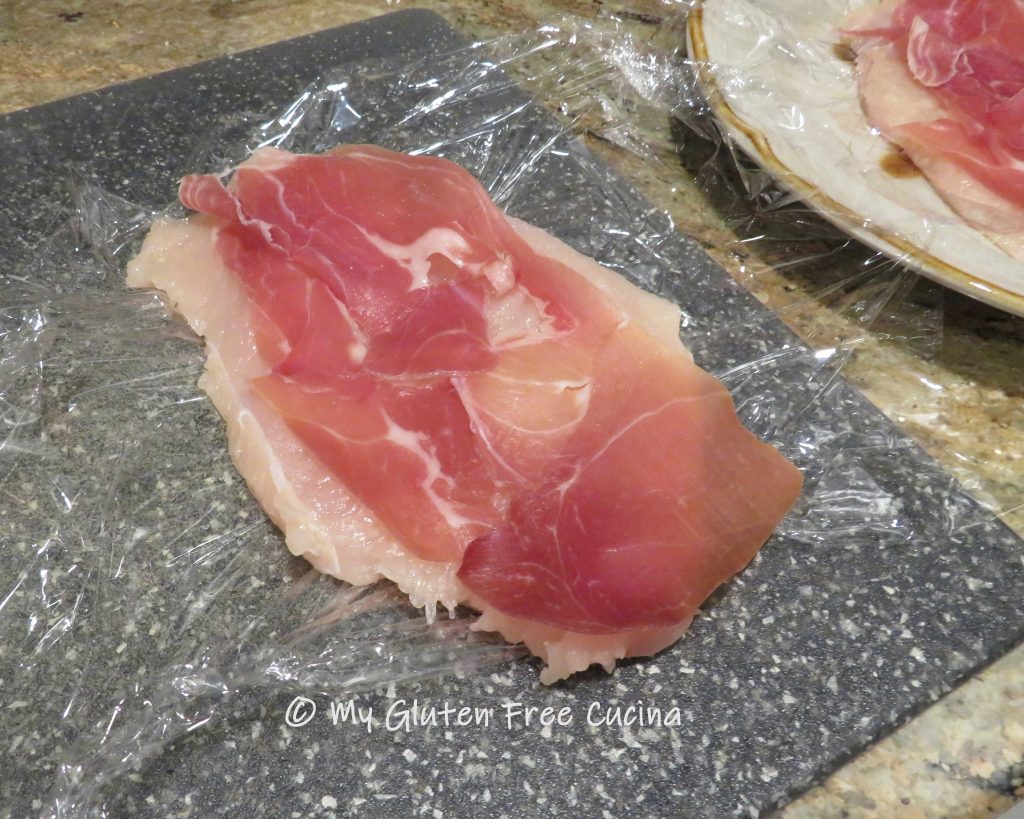
When you are ready to assemble, layer each piece of chicken with 2 slices of prosciutto.

Sprinkle evenly with Gruyere cheese and roll up into a bundle.

If you have the time, roll up the chicken in plastic wrap, twisting the ends like a sausage casing.  Refrigerate for at least 1 hour.  This is a great trick for to help the bundles stay together without using twine or toothpicks!

Pressed for time and don’t have that extra hour?  Don’t worry!  Just secure the bundles with a toothpick, like this.

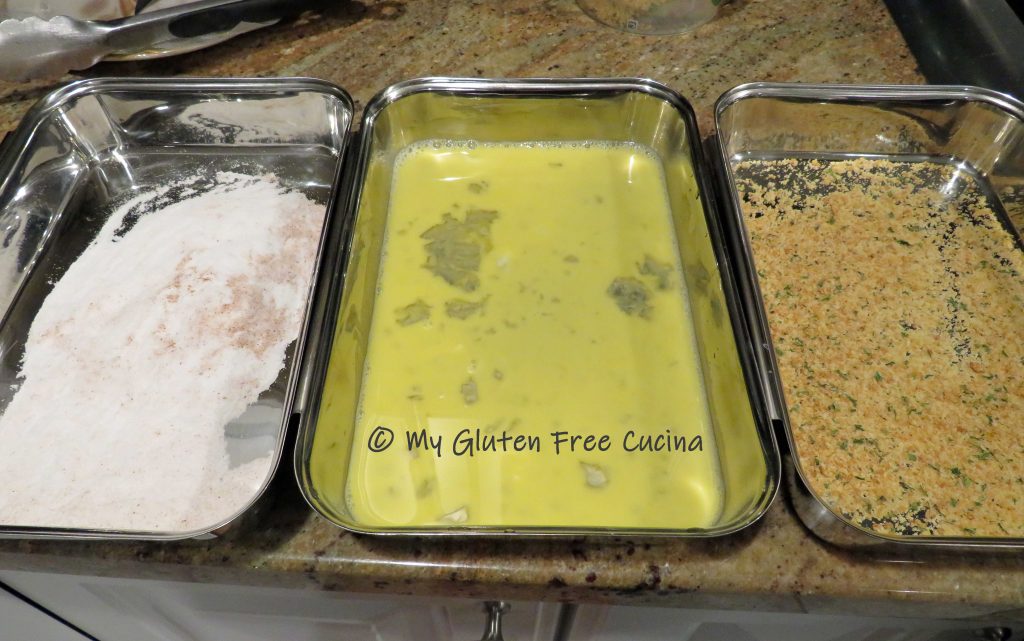
Set up breading trays with the flour, egg and breadcrumbs.

Gently roll the bundles in the flour, then dip in the egg, and finally roll in the breadcrumbs.

Set the bundles seam side down on a baking sheet lined with foil and coated with cooking spray.

Bake for 40 minutes at 350º and rest 5 minutes before serving.

And that’s it friends.  A beautiful plate!

I hope you enjoyed this post and have been inspired to give the recipe a try! Be sure to check out some of my other restaurant classics that you can make at home, gluten free.

Notes ♪♫ Ingredients make the difference!  I used Aleia’s gluten free Italian breadcrumbs in this recipe.  They are simply the best!

Print This Post Print This Post