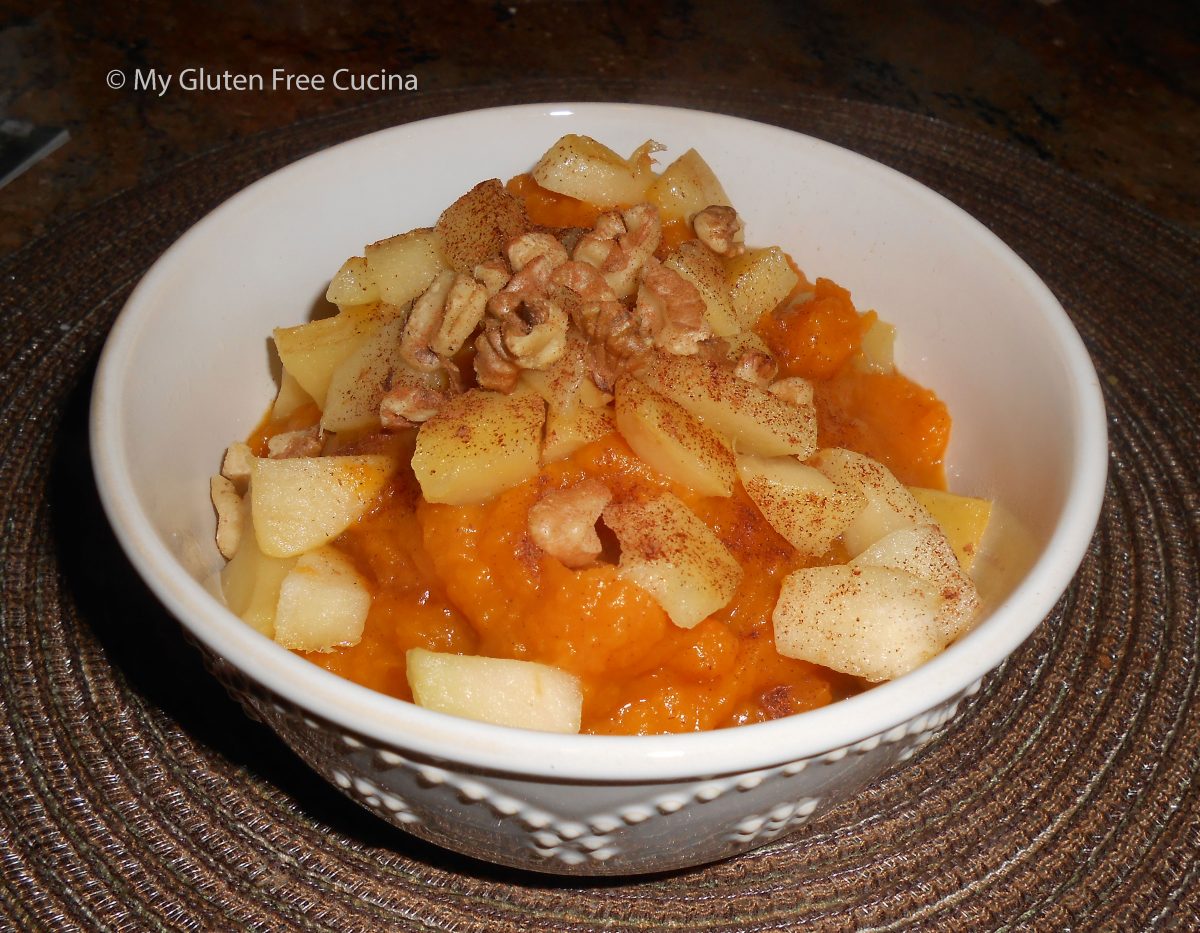
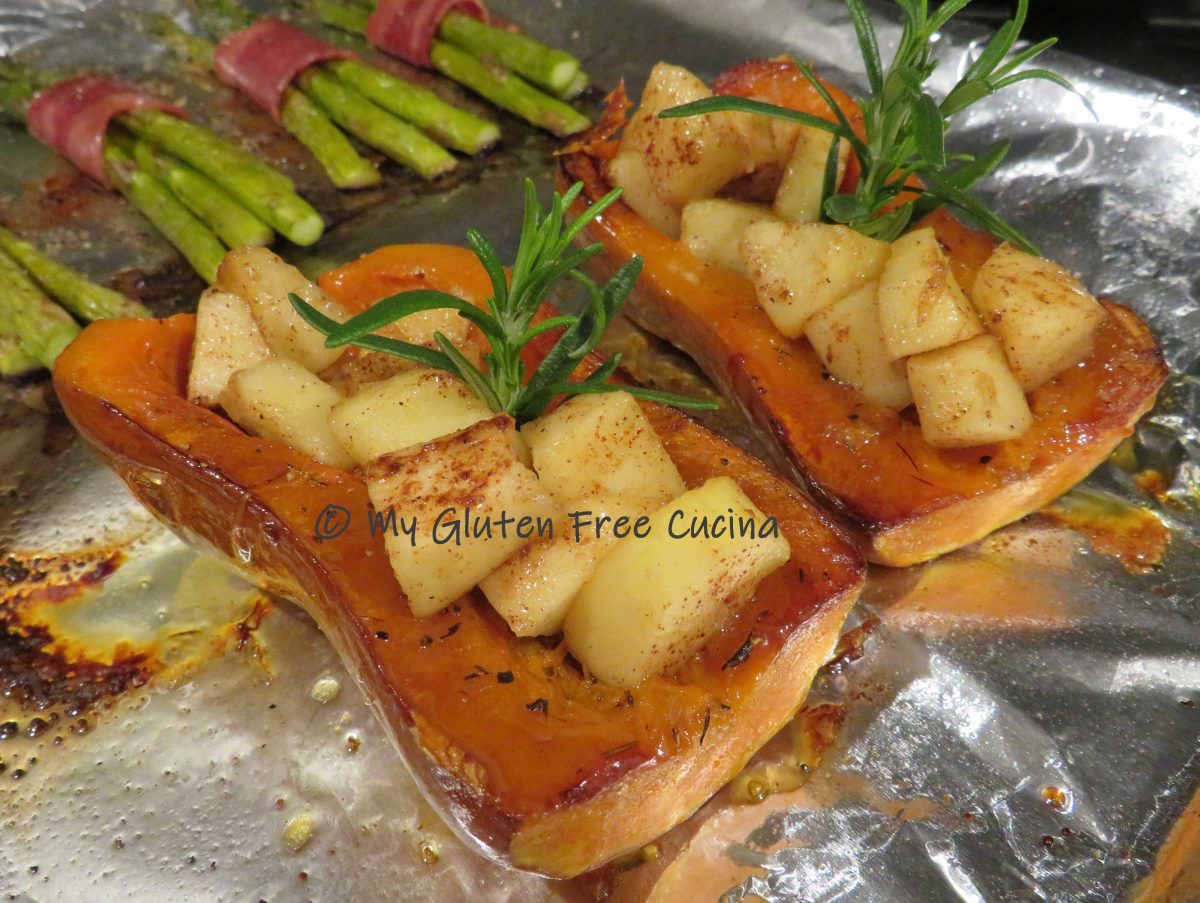
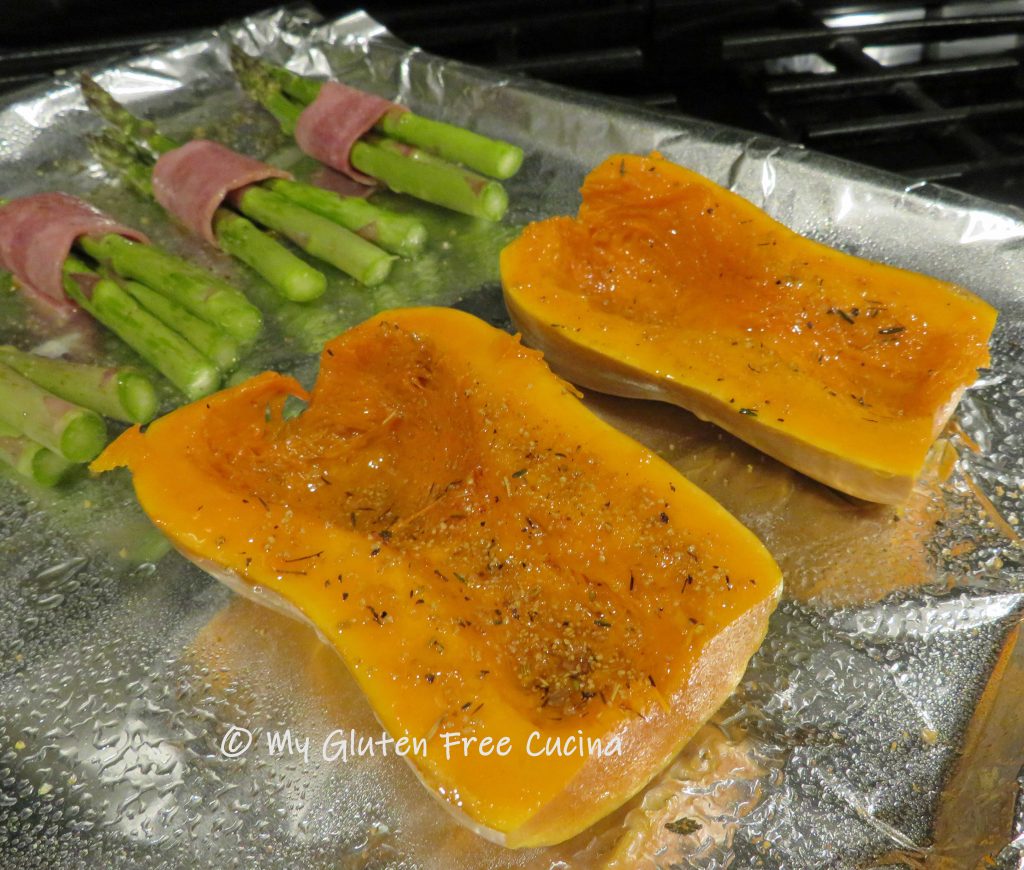
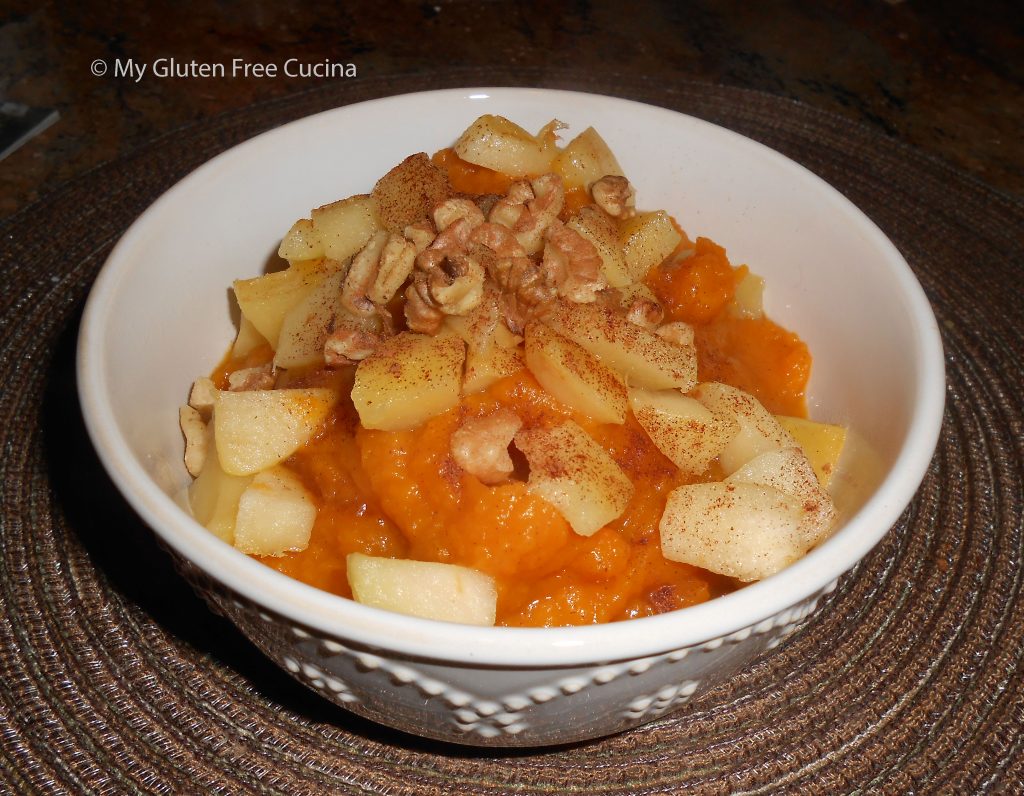
Apple Walnut Butternut Squash

Butternut squash and apple make the perfect pair in this easy autumn side dish.  If you are looking for a fast and easy side for your holiday table, this is it!  Everyone will enjoy it and dare I say it’s healthy?  Nuts are optional, but I think they really add to the flavor.

3-4 servings (double for larger gatherings)

Ingredients:

  • 1/2 butternut squash, peeled and cubed
  • 1 apple, peeled and diced
  • 2 tbsp. chopped walnuts or pecans, optional
  • 1 tbsp. brown sugar
  • 2 tbsp. butter, divided
  • salt, to taste
  • cinnamon

 This post contains affiliate links.

Preparation:

Toast the nuts in a dry nonstick skillet.  Be careful not to burn them, 2-3 minutes should do it.  Remove from the skillet and set aside.

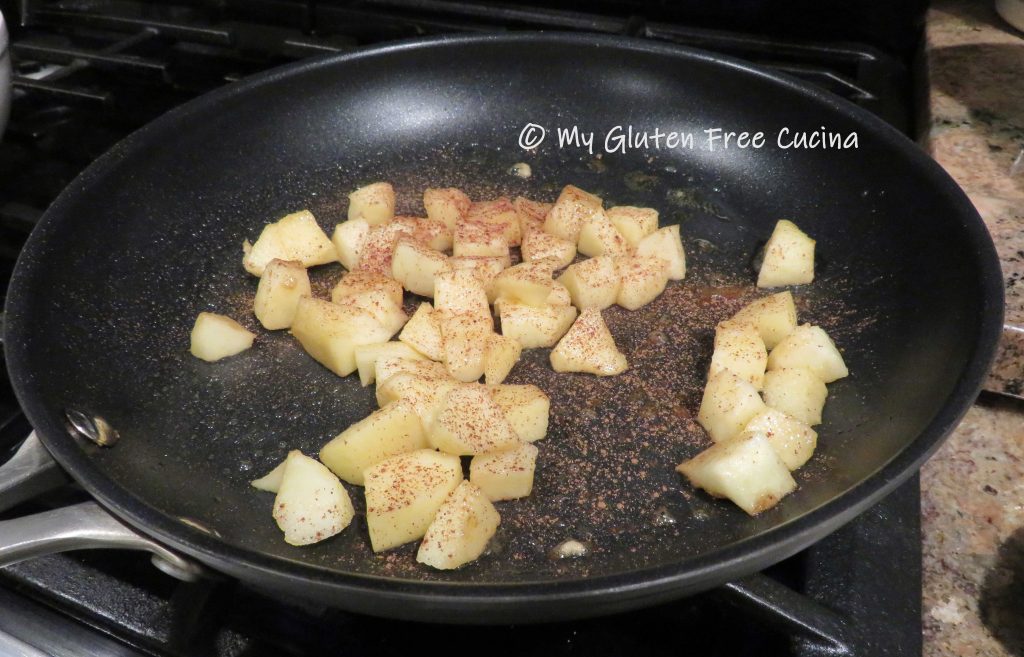
Peel and dice the apple.  Add 1 tbsp. butter to the skillet and sauté the apples for 2-3 minutes.  Remove from heat.

Steam the butternut squash until tender, then puree with a stick blender.  Stir in the remaining tbsp. of butter and brown sugar.

Place the squash in a serving bowl.  Top with the diced apples and the toasted nuts.  Sprinkle with cinnamon and serve!
Notes ♪♫ Speed up prep time by purchasing peeled and cubed butternut squash, it’s usually available this time of year!

Print This Post Print This Post


Gluten Free Pipe Rigate with Brussels Sprouts

This simple side dish has it all, veggies, carbs, and a little protein happily blended together in every bite.  It’s a savory side, with an unexpected hint of sweetness from a drizzle of maple syrup at the end.

The pasta I used in this dish is called Pipe Rigate, an Italian pasta shape that translates to “ridged pipes”.  The short, curved shape with ridges resembles a smoking pipe or snail shell.  I found Gluten Free Pipe Rigate available locally, but you can also get it on Amazon from Le Veneziane.  It was the perfect size pasta to complement the Brussels sprouts in this recipe and I also like adding it to soups.

2 Servings, recipe can be doubled for larger families.

This post contains affiliate links.

Ingredients:

  • 1/2 bag (about a dozen) Brussels sprouts, cleaned and halved
  • 1 strip of bacon, diced
  • 1 tbsp. olive oil
  • salt and fresh ground pepper
  • 1 cup (2 oz.) Gluten Free Pipe Rigate or other small gluten free pasta
  • 1 tbsp. butter
  • 1 tbsp. maple syrup
  • 2 tbsp. shaved parmesan cheese (optional)

Preparation:

Rinse the Brussels sprouts and slice in half lengthwise.  Dice the bacon into 1/2″ pieces.  Arrange in an 8″ baking dish and toss with 1 tbsp. olive oil.  Season with salt and pepper to taste.

Bake at 375º for 30 minutes, stirring every 10 minutes.

While the Brussels are baking, cook the pasta according to package directions.  Drain and set aside until veggies are done.

Remove baking dish from the oven and stir in the cooked pasta.  Finish with 1 tbsp. butter, 1 tbsp. maple syrup and shaved parmesan.  Return to the oven and bake for 5 minutes longer.

Give it a good stir, a few more grinds of black pepper and serve right from the baking dish for easy cleanup.

Just add a protein of your choice and you’ll have dinner on the table in no time!

Notes ♪♫ This recipe was inspired by Savory and adapted to be gluten free by subbing gluten free pasta.

Print_Link

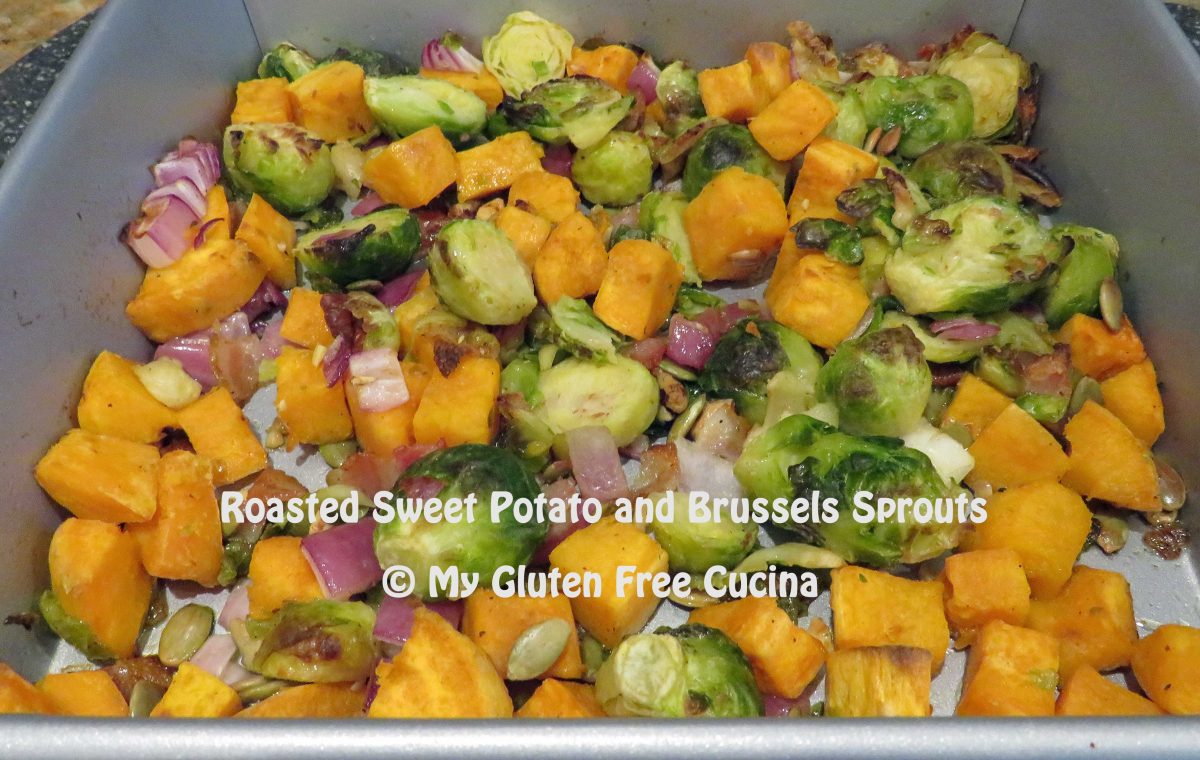
Roasted Sweet Potato and Brussels Sprouts

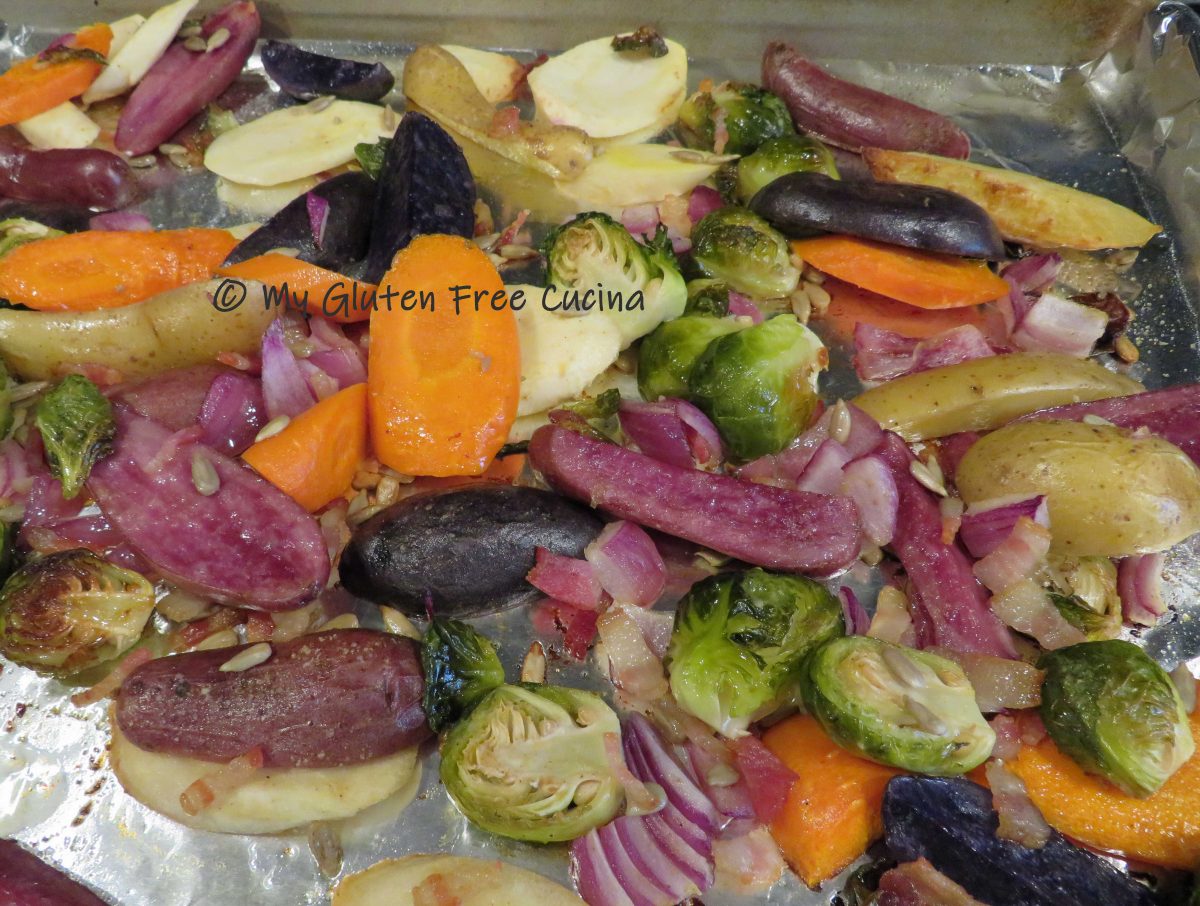
Eat your vegetables!  They are healthy, delicious and naturally gluten free.  Roasting is my favorite way to cook veggies, and a little bacon adds a pop of flavor to well, anything. 🙂  The nuts and seeds give it great texture and crunch.

This post contains affiliate links.

The Lazy Gastronome

Ingredients:

  • 1 large, sweet potato, peeled and diced
  • 1/2 bag frozen halved Brussels sprouts
  • 1/2 small red onion, peeled and diced
  • 3 tbsp. olive or canola oil (or oil of your choice)
  • salt and pepper to taste
  • 1 strip hickory smoked bacon, diced
  • 3 tbsp. chopped almonds, pecans, pumpkin seeds

Preparation:

Preheat the oven to 425º.

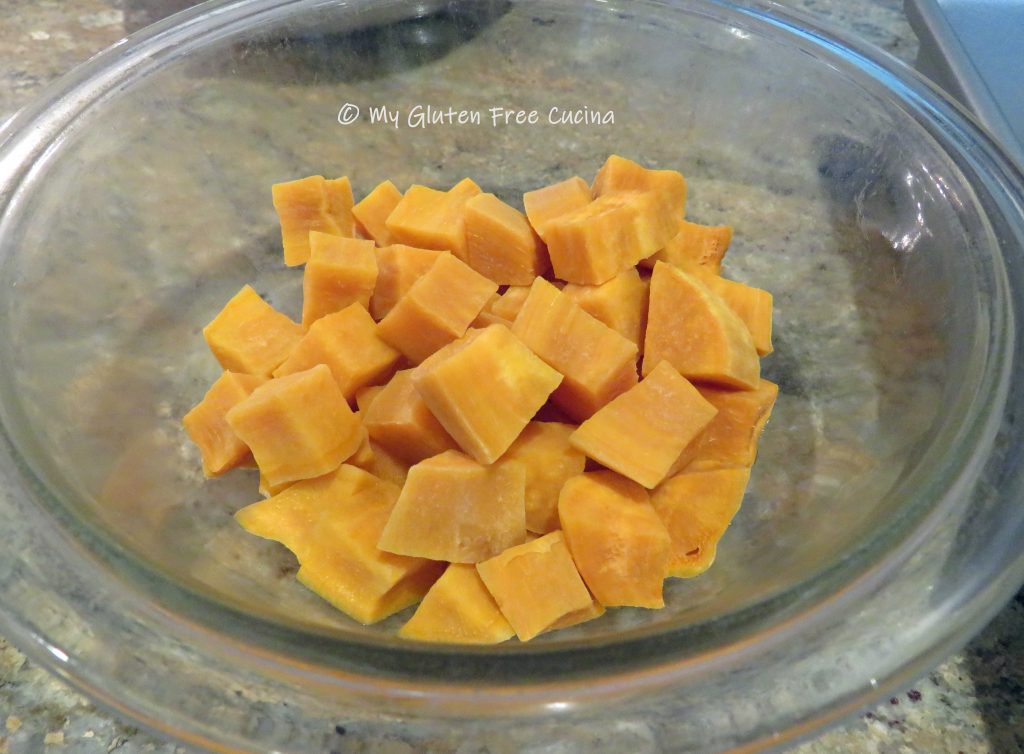
Peel and dice the sweet potato, place in a microwave safe bowl with 1 tbsp. water and microwave for 10 minutes.  Carefully remove the bowl (it will be hot) and set aside to cool.

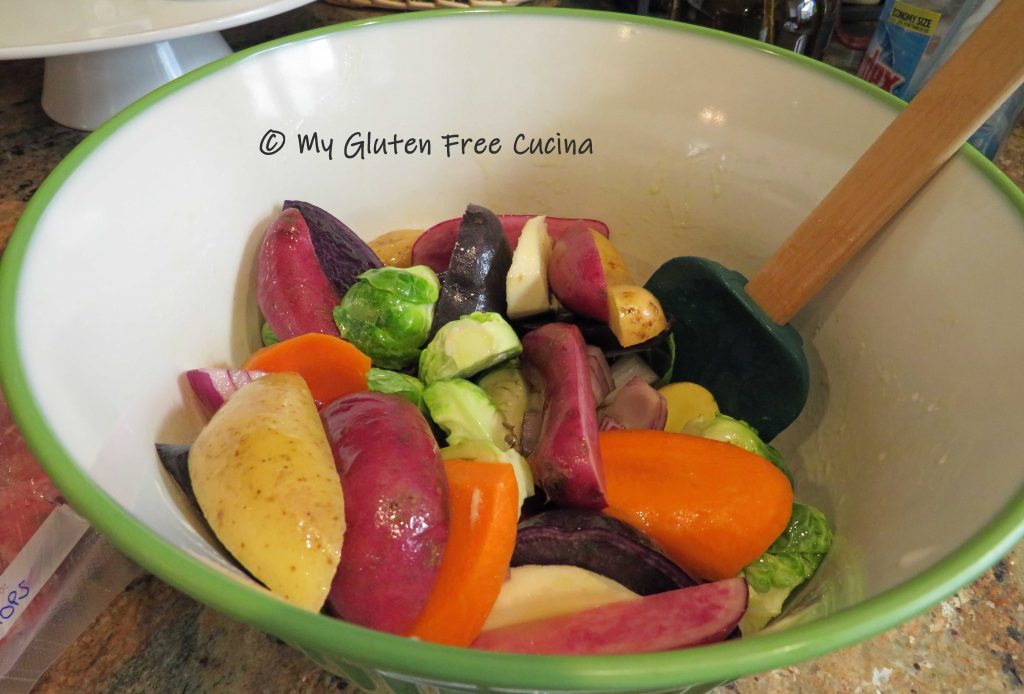
Combine the brussels sprouts, red onion, and bacon in a 9″ nonstick baking pan or parchment lined sheet pan.
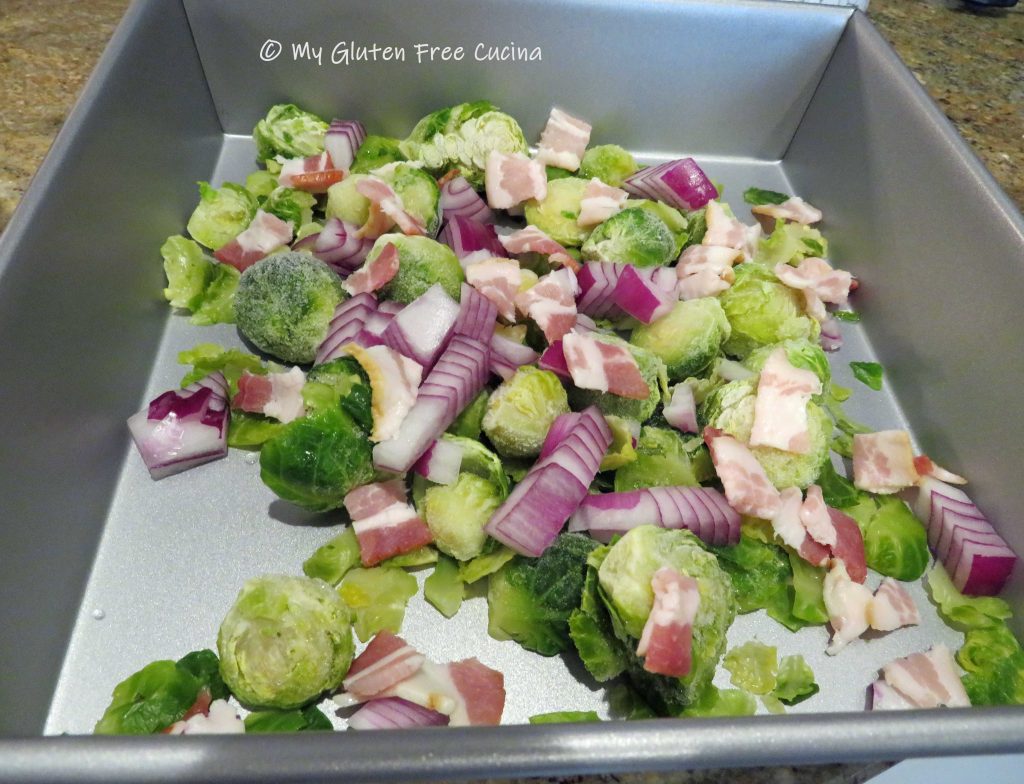
Stir in the cooled potatoes and toss with oil, salt and pepper.  Top with the nuts and seeds and make sure everything is spread in an even layer.
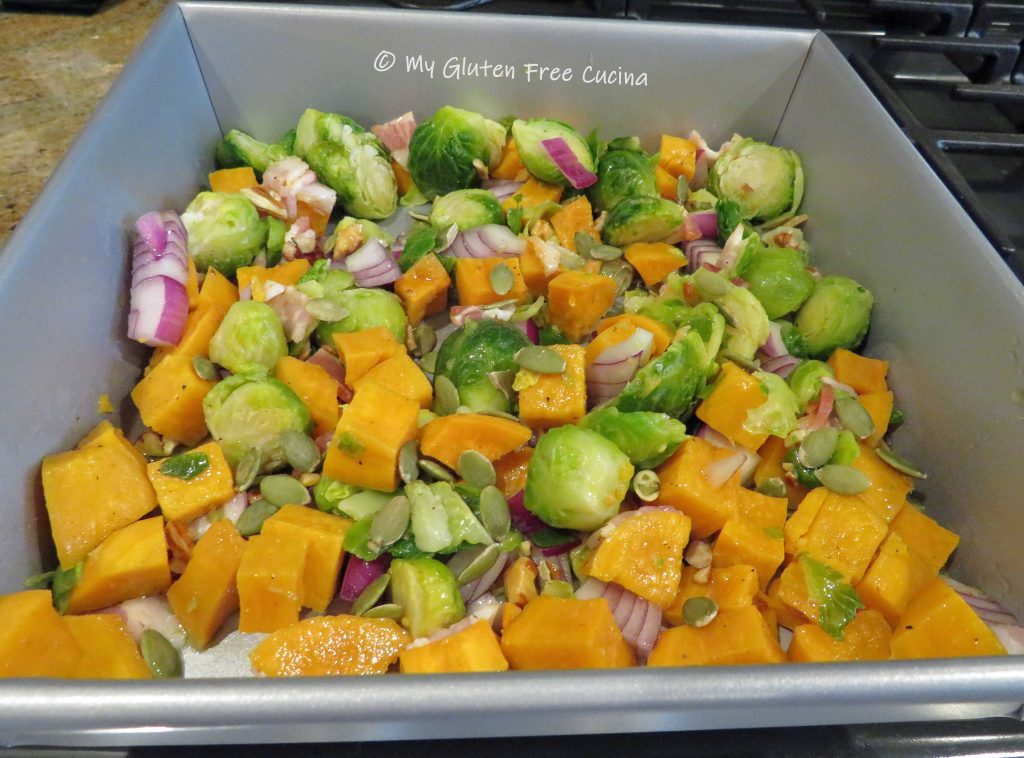
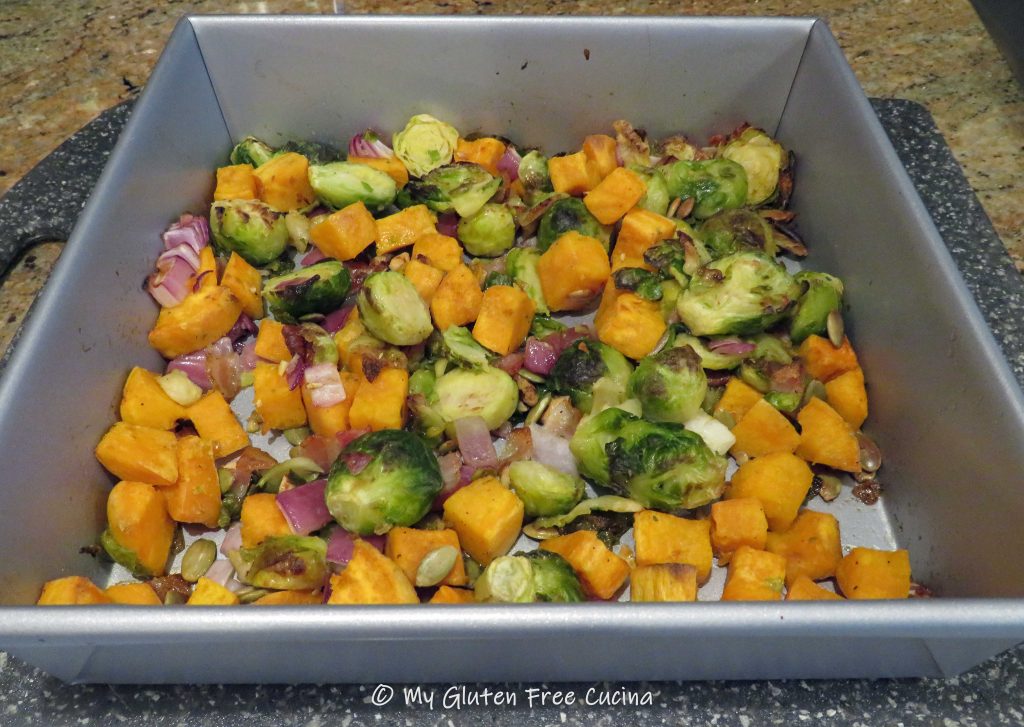
Roast for 25-30 minutes, stirring every 10 minutes.  Finish under the broiler for 2-3 minutes to get a little color on the Brussels sprouts.

Notes ♪♫ For convenience and speed, I precooked the sweet potato in the microwave and used frozen brussels sprouts.  If using raw potato and fresh Brussels sprouts, allow 45 minutes for baking.

Originally published 09/28/2018            Updated 08/26/2023

Print This Post Print This Post

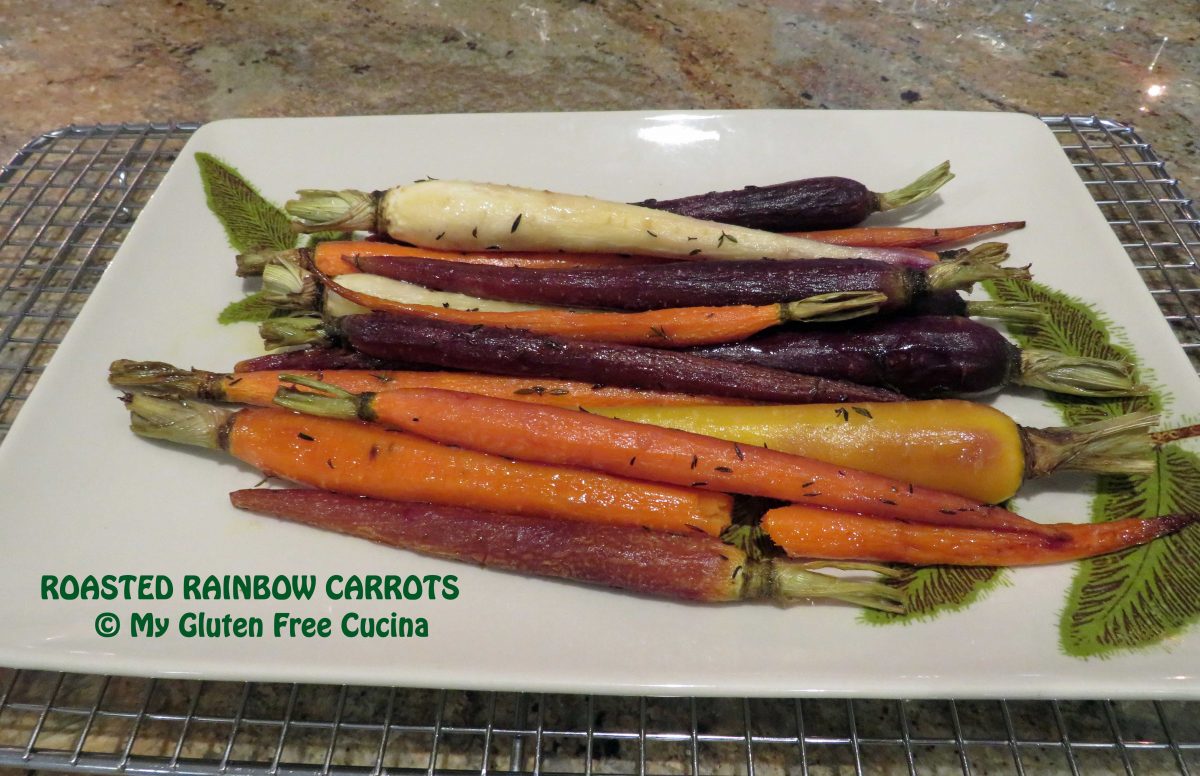
Roasted Rainbow Carrots

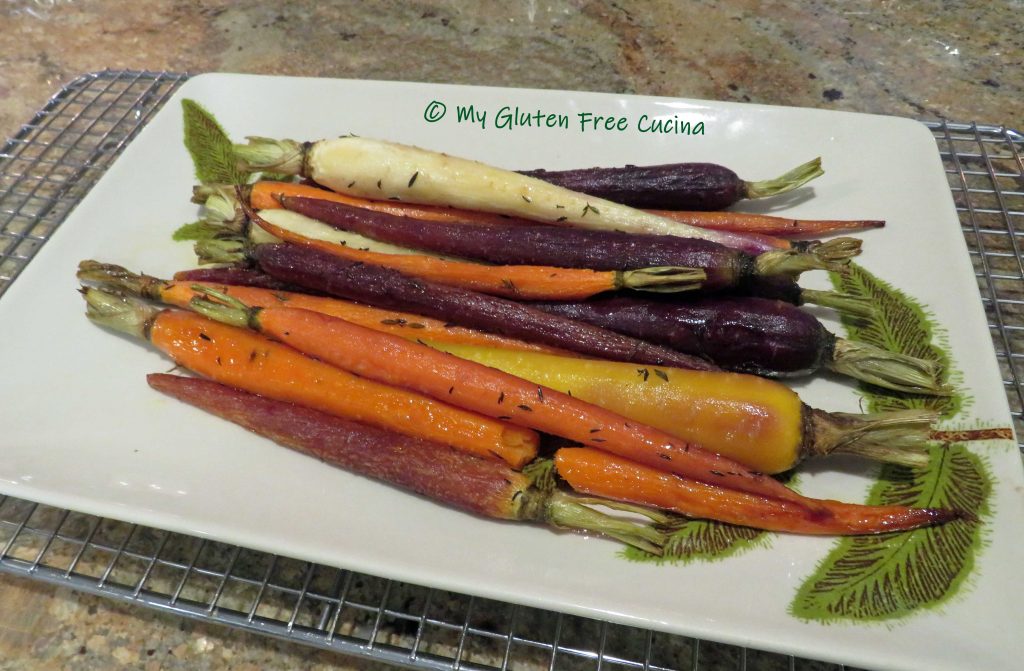
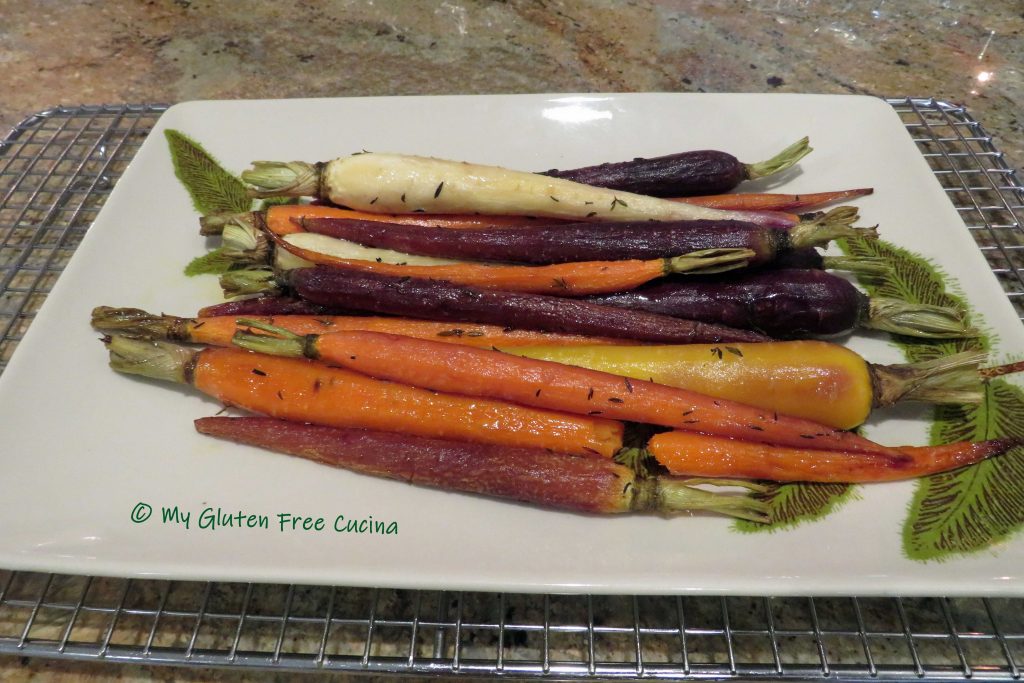
Are you looking for a beautiful and easy side dish for your holiday table?  Roasted Rainbow Carrots are so pretty and go well with a variety of roasts and main courses.  In this easy preparation, I roast them whole with butter and herbs then give them just a brush of maple syrup at the end for sweetness.  Of course, you can do this with regular carrots.  Just be sure to choose slender carrots that are about the same size, so they cook evenly.

This post contains affiliate links.

Ingredients:

Preparation:

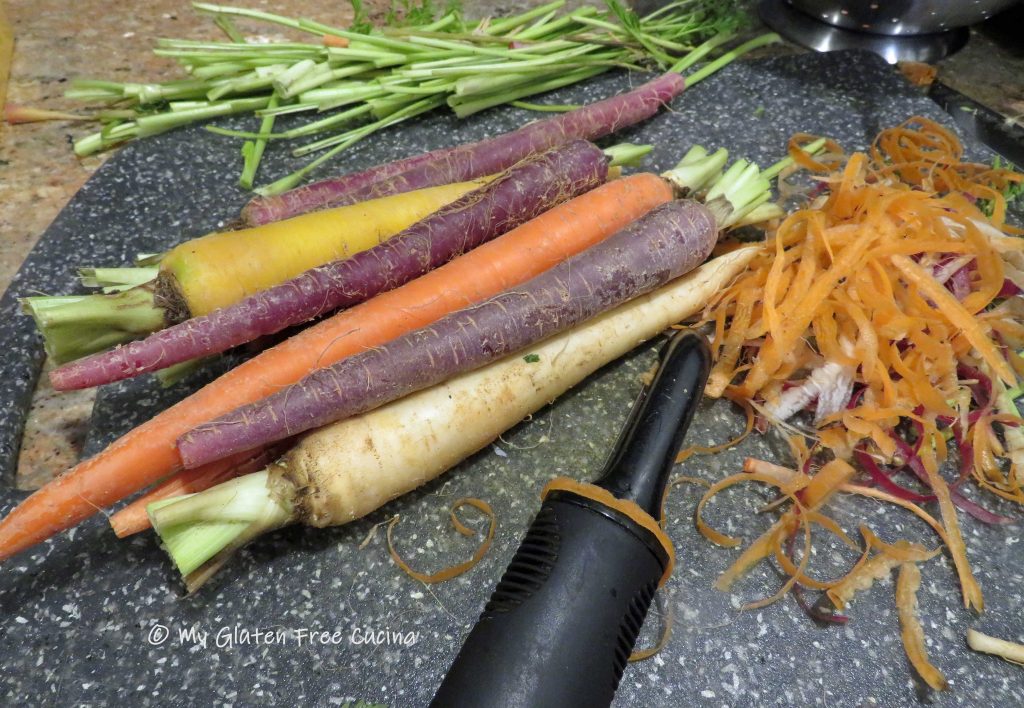
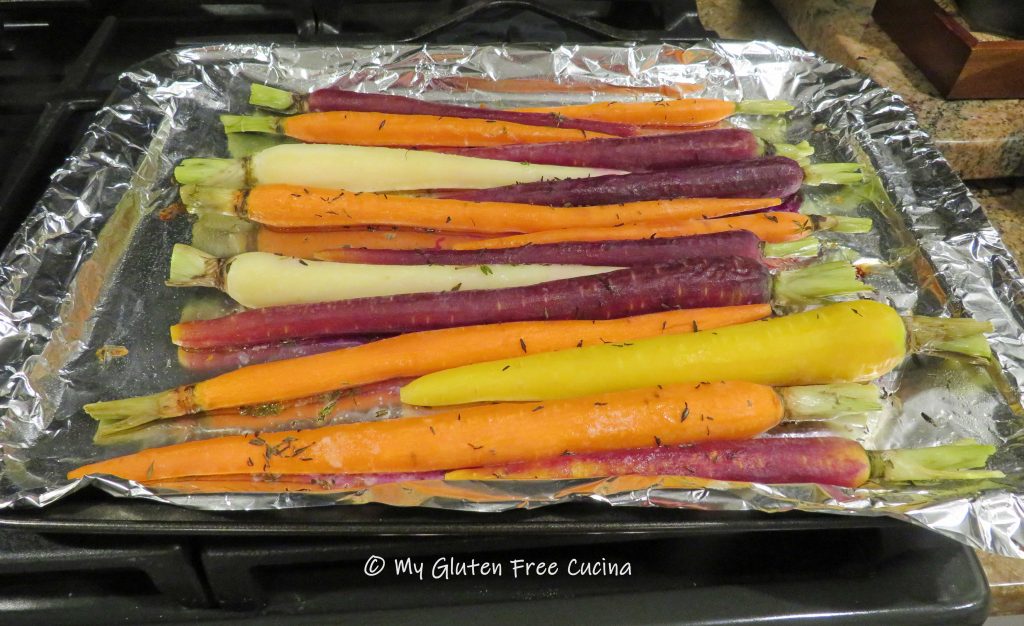
Peel and trim the carrots, leaving a little of the stem (for appearance, not to eat).

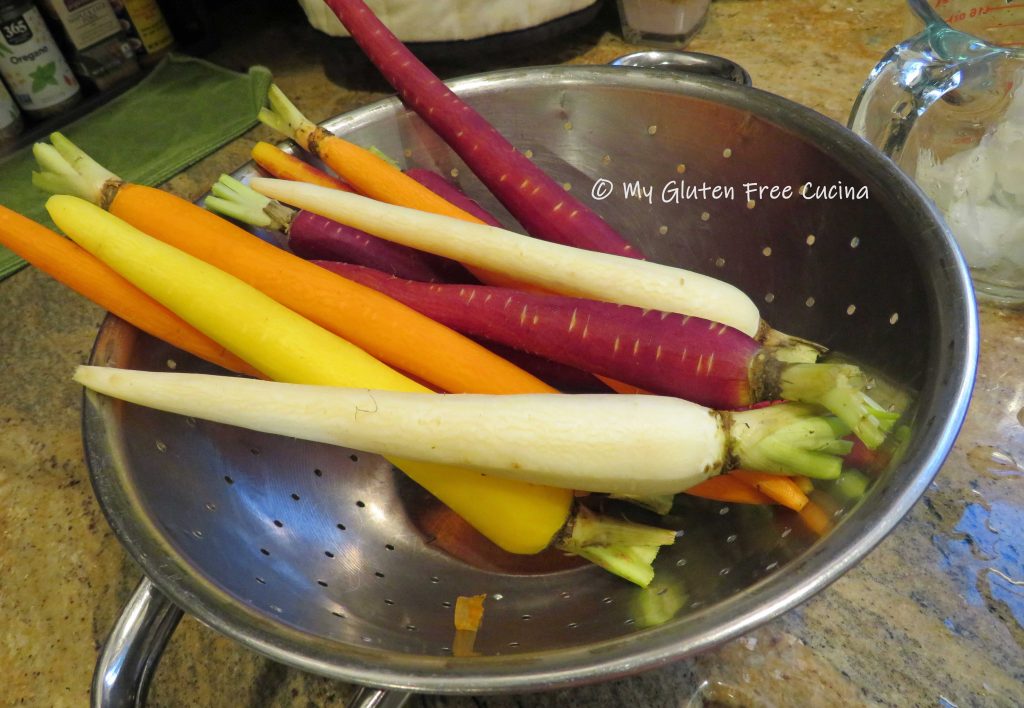
Rinse the carrots and pat dry.

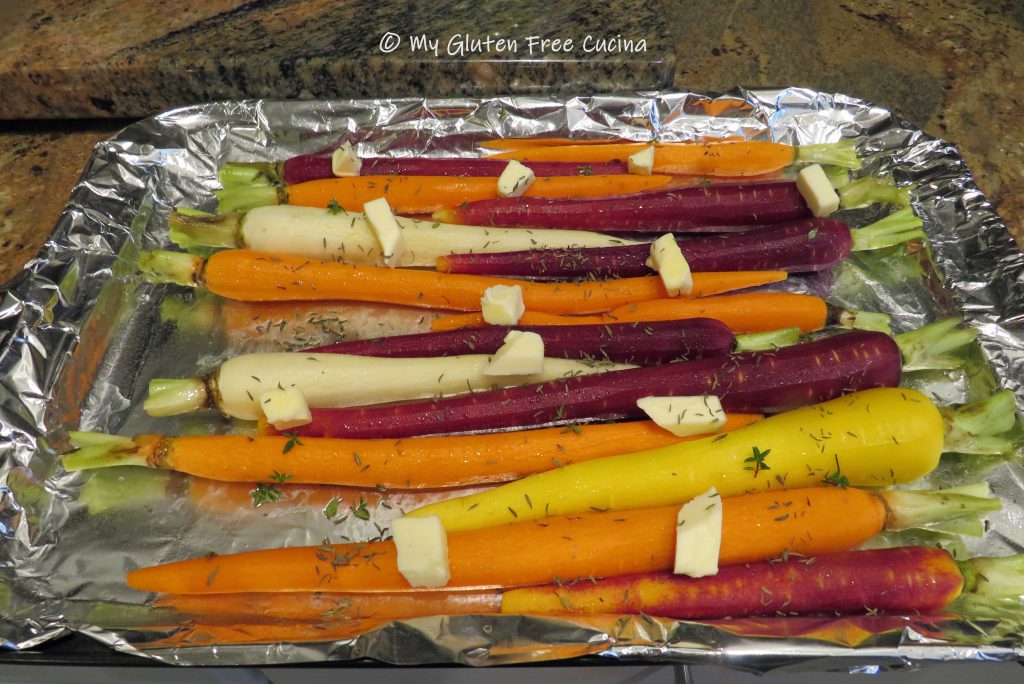
Line a sheet pan with foil and mist with cooking spray.  Arrange the carrots in a single layer, dot with butter and season with salt, pepper and thyme.

Roast at 400º for 20-25 minutes or until they reach the desired softness.

You can prepare to this point the night before and reheat in the morning.  Brush the carrots lightly with maple syrup and return to the oven for 15-20 minutes at 325º.  Transfer to a serving dish.

Notes ♪♫ Thyme pairs beautifully with carrots.  I was fortunate enough to still have fresh thyme from my herb garden when I made this for Thanksgiving.  Look for it in the supermarket, or if you can’t find it, use dried thyme.

Print This Post Print This Post


Garlicky Green Beans

Quite possibly my favorite vegetable, I have always loved green beans.  Maybe because my grandfather used to grow them in his garden years ago.  As a child, I remember seeing rows and rows of beans that he would harvest and can for the winter months.

Like most vegetables, this one is best when you buy fresh.  After a quick 3-minute steaming I’ll finish them in a simple garlic oil with red pepper flakes for a big pop of flavor!

This post contains affiliate links.

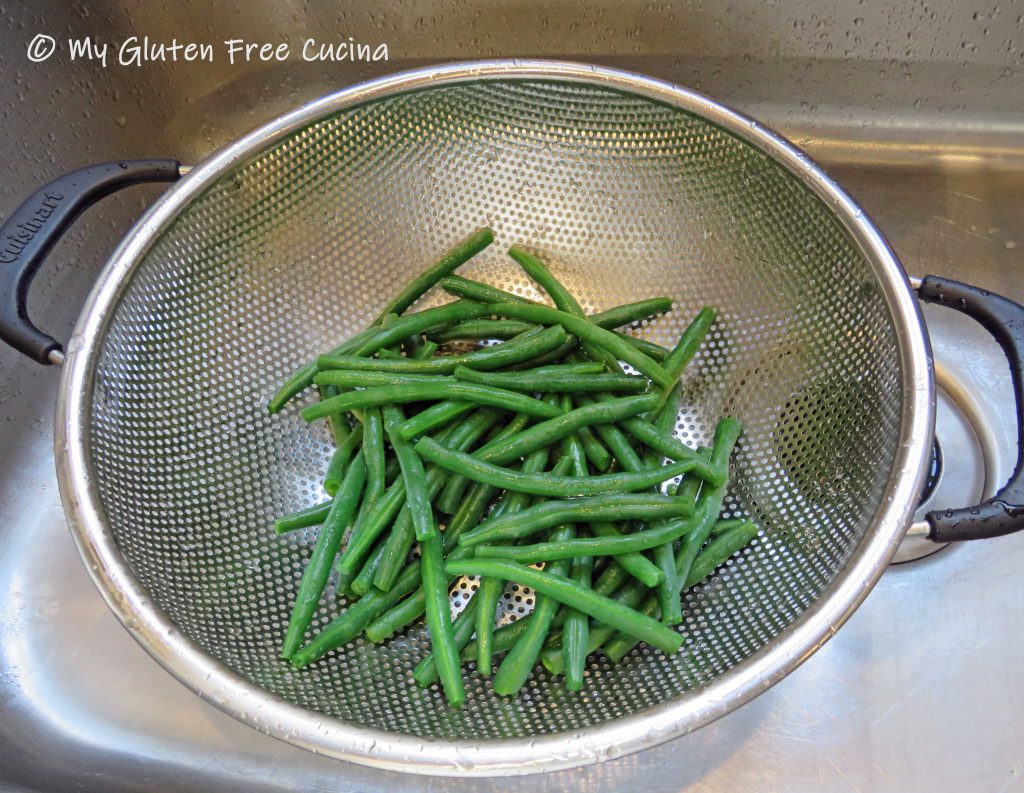
First, wash and trim the ends of the green beans.  You can cut them in half or leave them full length.  I set up a pot of boiling water with a steamer basket and steamed the green beans for 3 minutes.  Do it in batches so you don’t crowd them.

After three minutes, drain in a colander and shock them under cold water to stop the cooking.  This is how you get that vibrant green color!

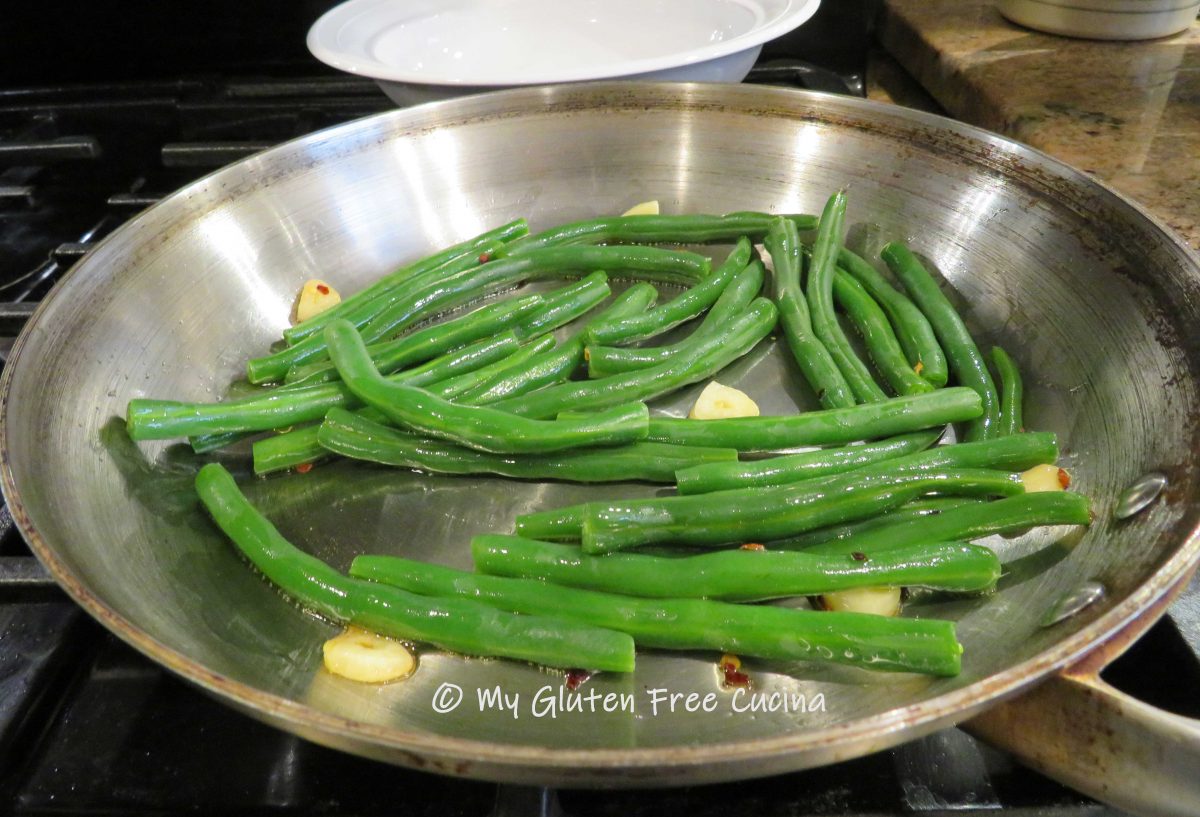
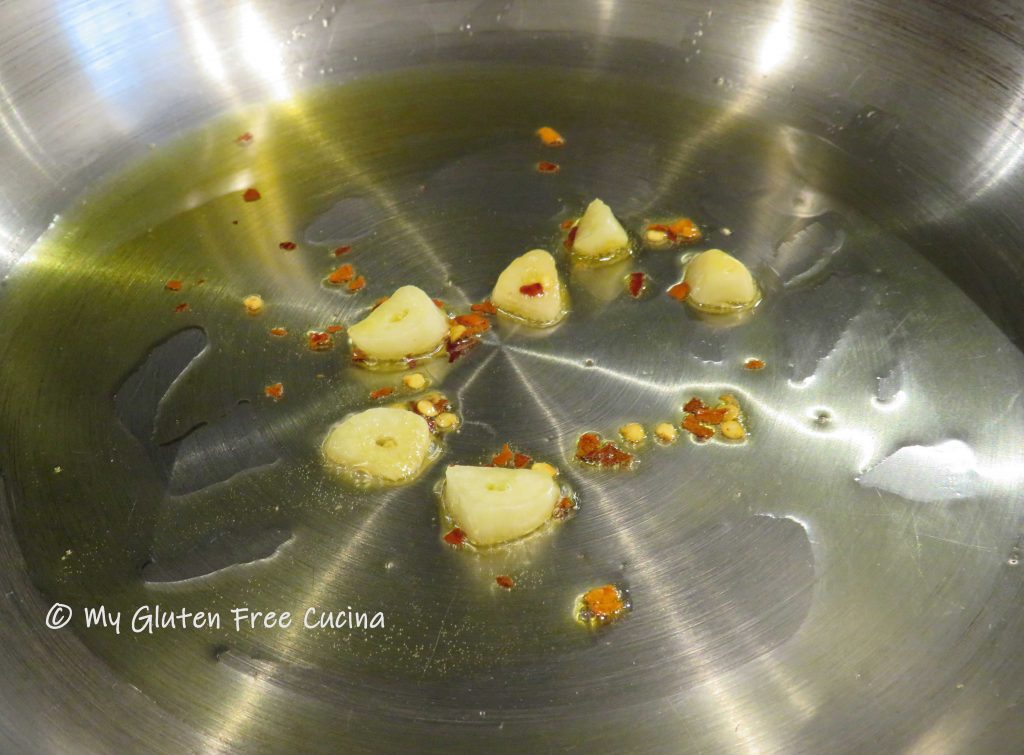
Next, warm a tbsp. of olive oil in a stainless-steel skillet on the lowest heat.  Add one sliced garlic clove and let it mellow and flavor the oil for about 10 minutes.  Don’t let it burn.  Right before adding the green beans, throw in a pinch of red pepper flakes (more if you like the heat) and let them toast for 30 seconds.

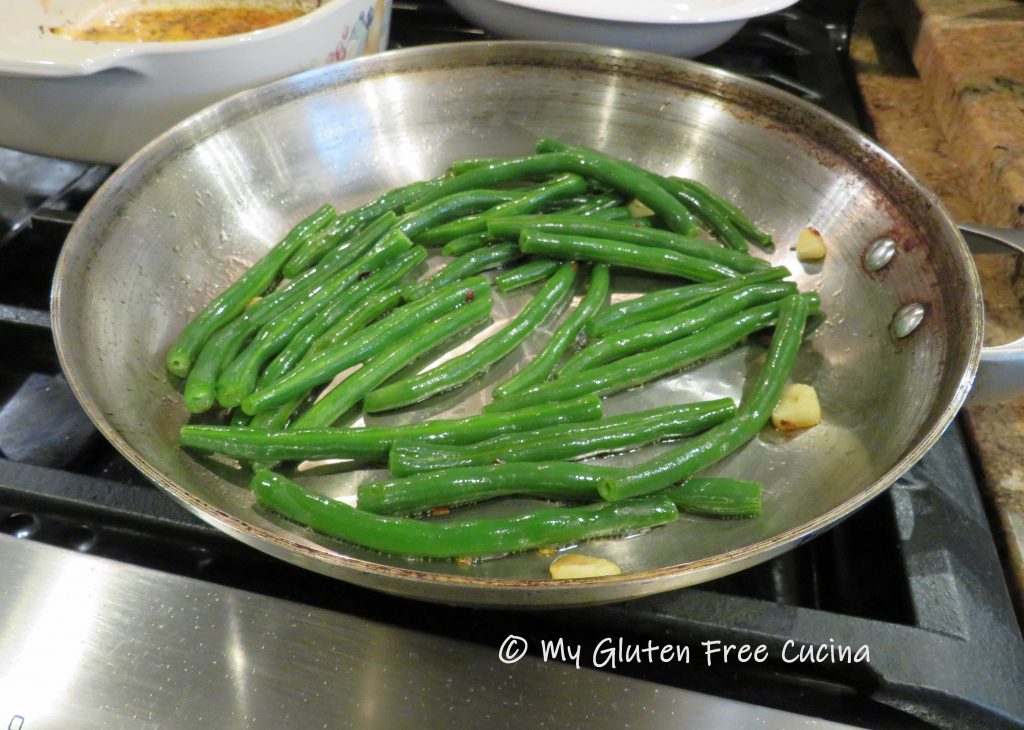
Add the green beans and toss to coat.  You can remove the garlic or leave it in.  How long to cook depends on how you like your beans.  About 2 minutes for crisp tender, or more if you like them softer.  Add salt if you like.

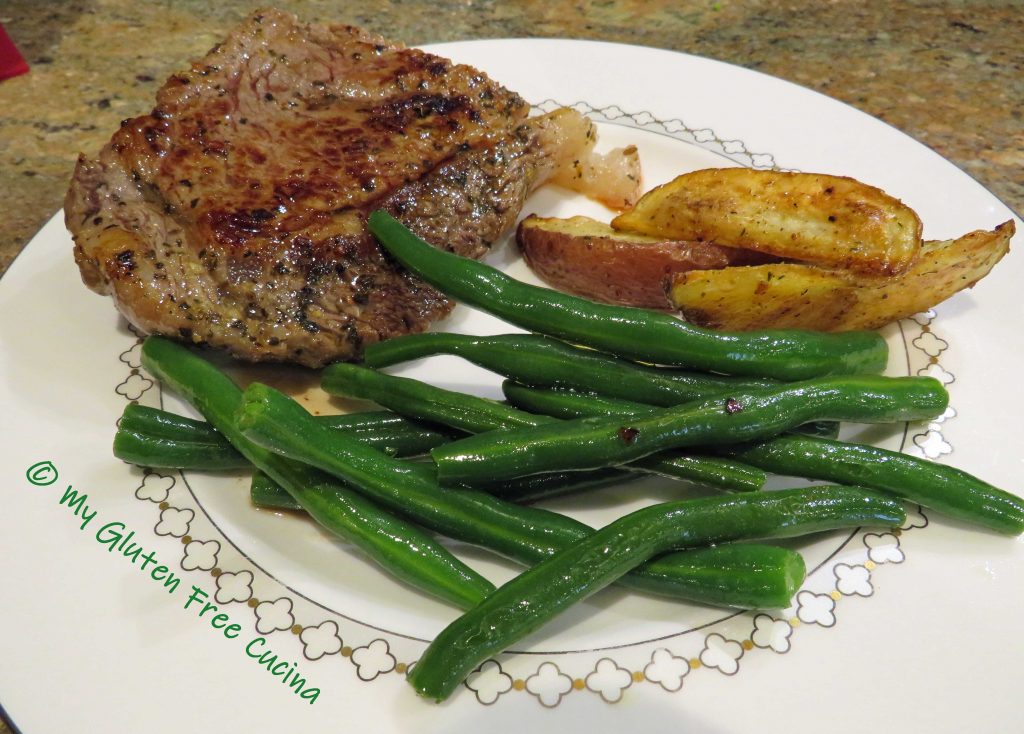
That’s all there is to it, the perfect accompaniment to so many meals.

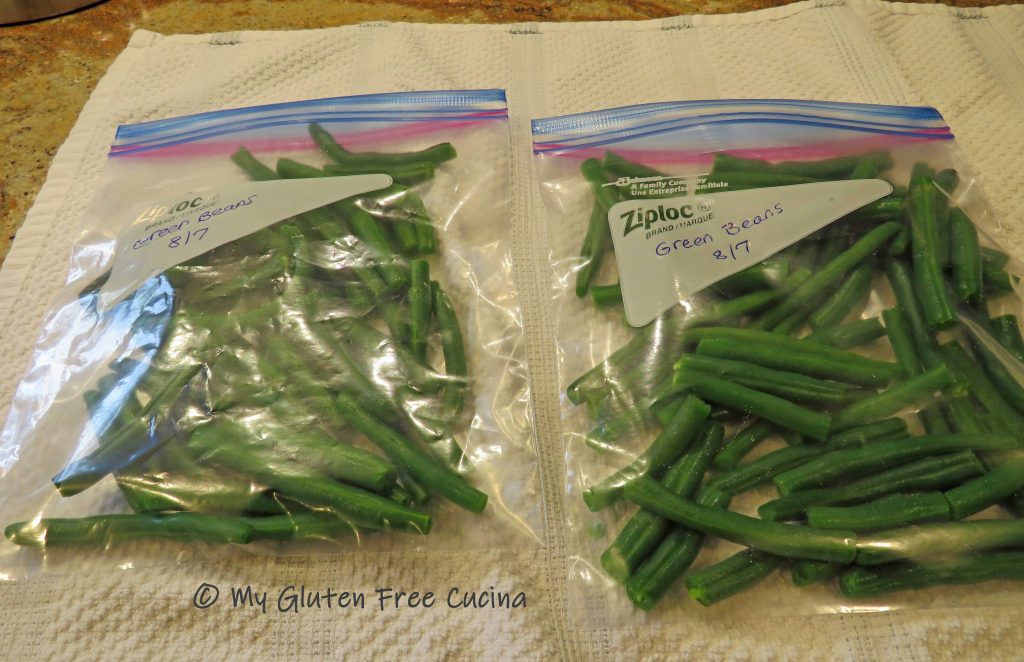
Notes ♪♫ After steaming the green beans for 3 minutes you can store them in the freezer.  You will preserve much of their fresh flavor, color and texture, and still have the convenience of frozen veggies!  Spread them out on a dish towel to dry before freezing, to remove as much moisture out as possible.  Divide them into meal sized portions and place in freezer safe bags.

Print This Post Print This Post

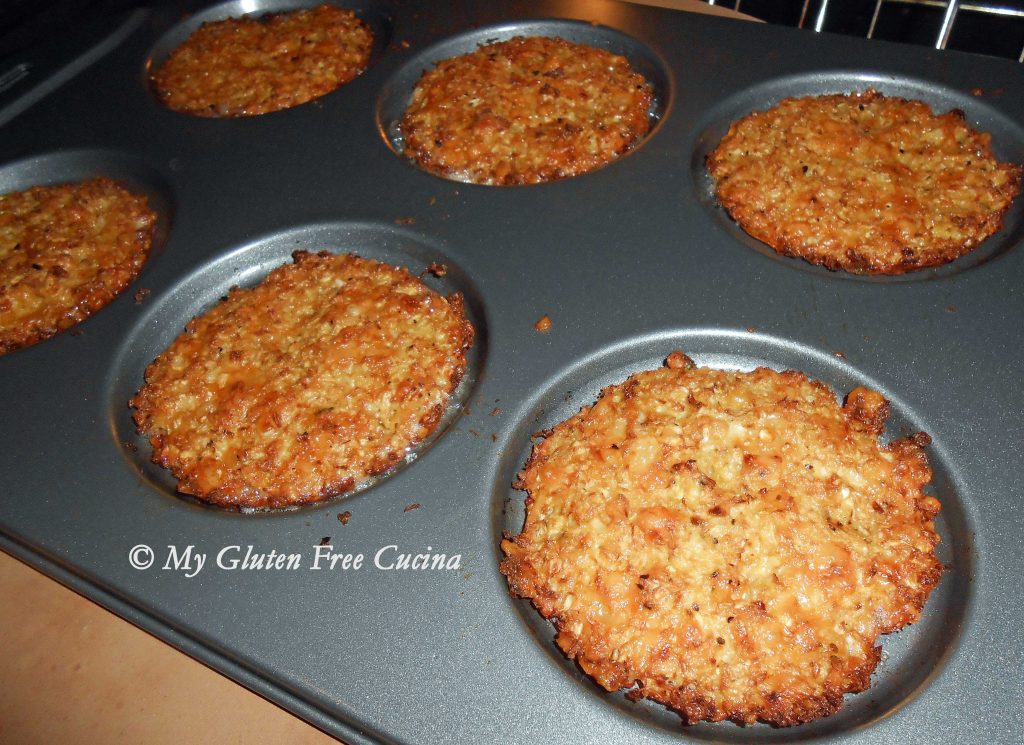
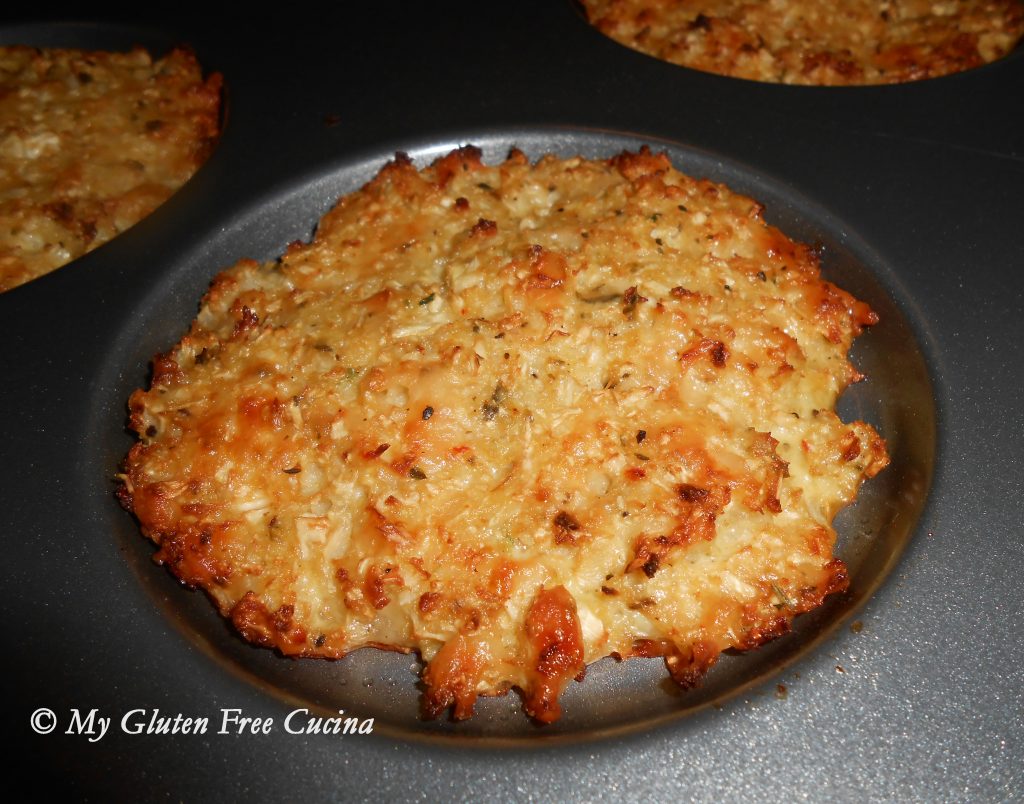
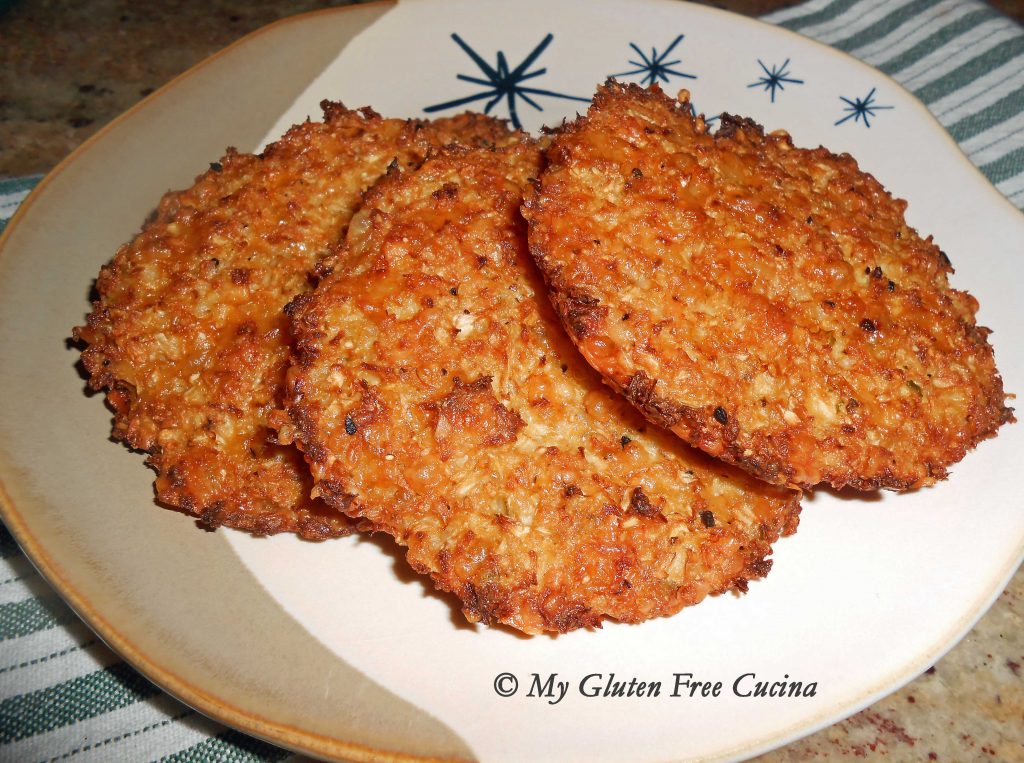
Cauliflower Cakes

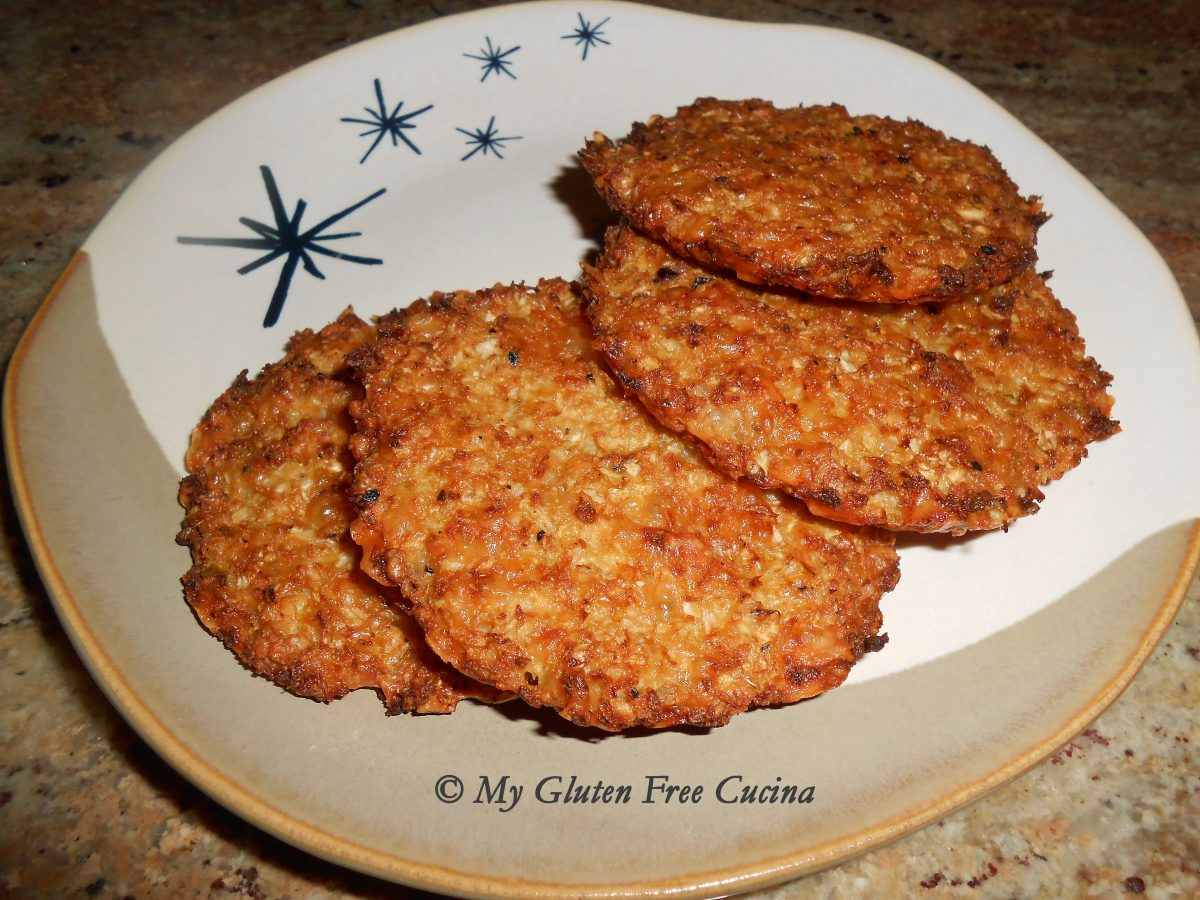
Looking for a side dish that is suitable for both gluten free and low carb diets?  My Cauliflower Cakes are both gluten free and grain free!  So delicious and easy to prepare, with just a few ingredients.  Riced cauliflower is readily available in the produce and freezer section, making the prep quicker than ever.  Of course, you can make your own, using a coarse grater or food processor.  Leftovers keep well for about a week and can be reheated on a pizza stone.

This post contains affiliate links.

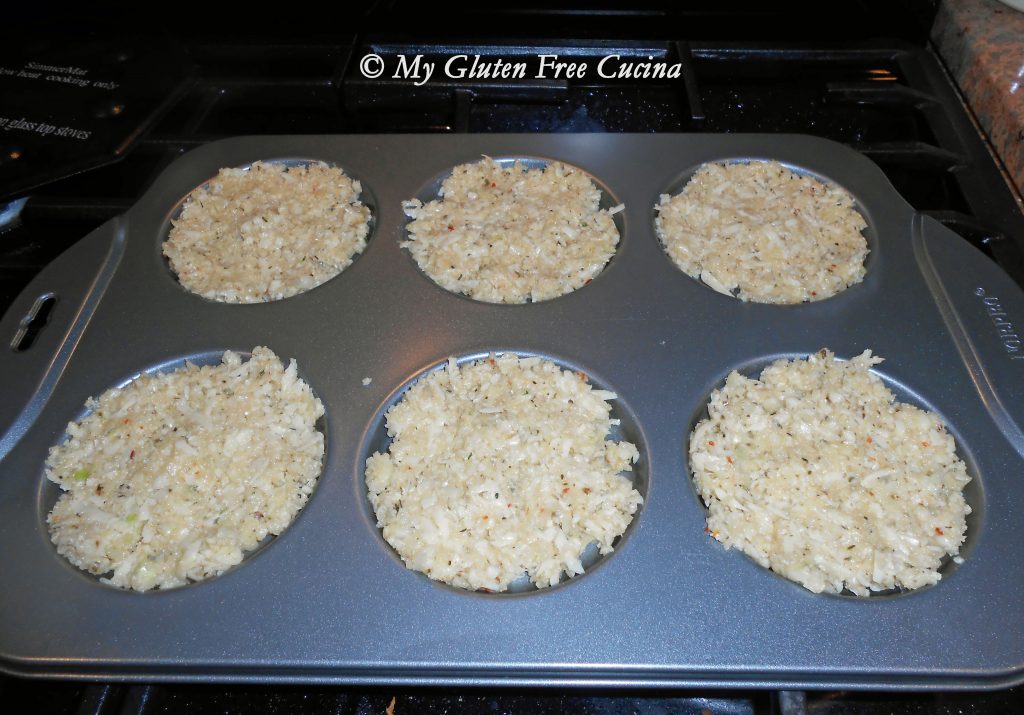
I am having so much fun with my new muffin top pan, it was just perfect for this recipe!  I love the non-stick finish for easy cleanup.

Ingredients:

  • 2 cups grated cauliflower
  • 1 tbsp. olive oil
  • salt and pepper to taste
  • 1/2 tsp. gluten free Italian seasoning or pizza seasoning
  • 1 egg
  • 1 cup grated Gruyere cheese

Preparation:

Heat a large nonstick skillet with a little olive oil on medium low.  Add the grated cauliflower and season with salt and pepper.  Stir and toss for 5 minutes then set aside to cool.

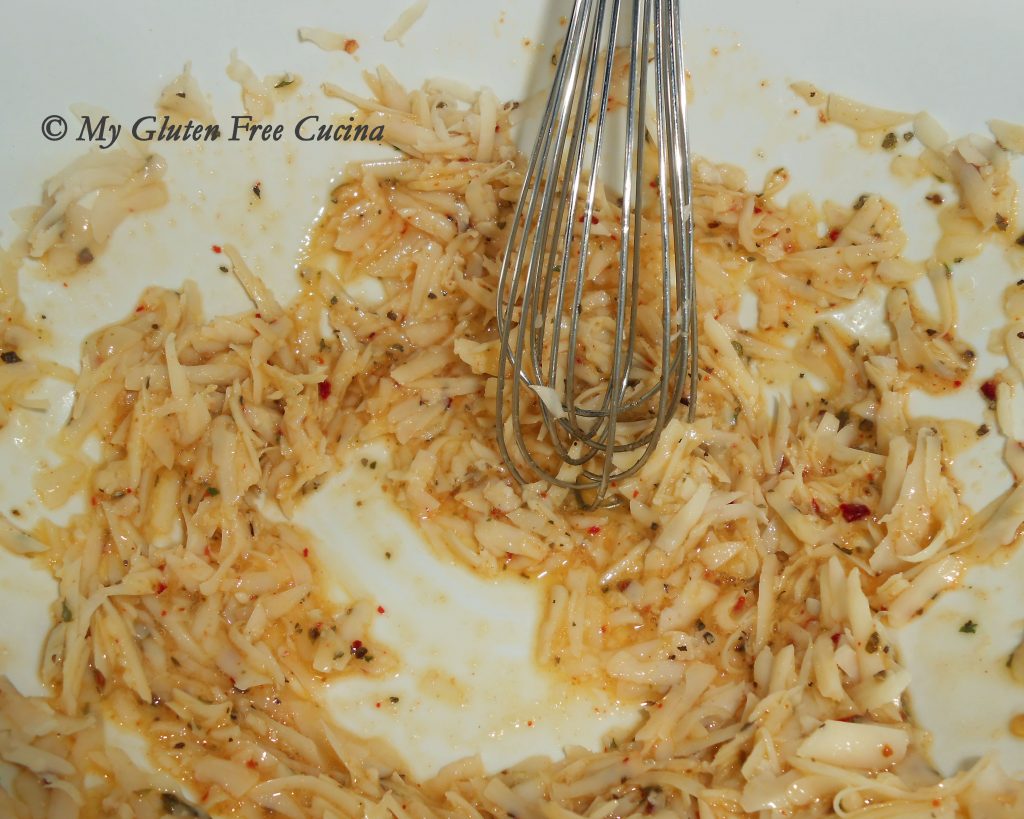
In a separate bowl, whisk the egg, cheese and Italian seasoning.

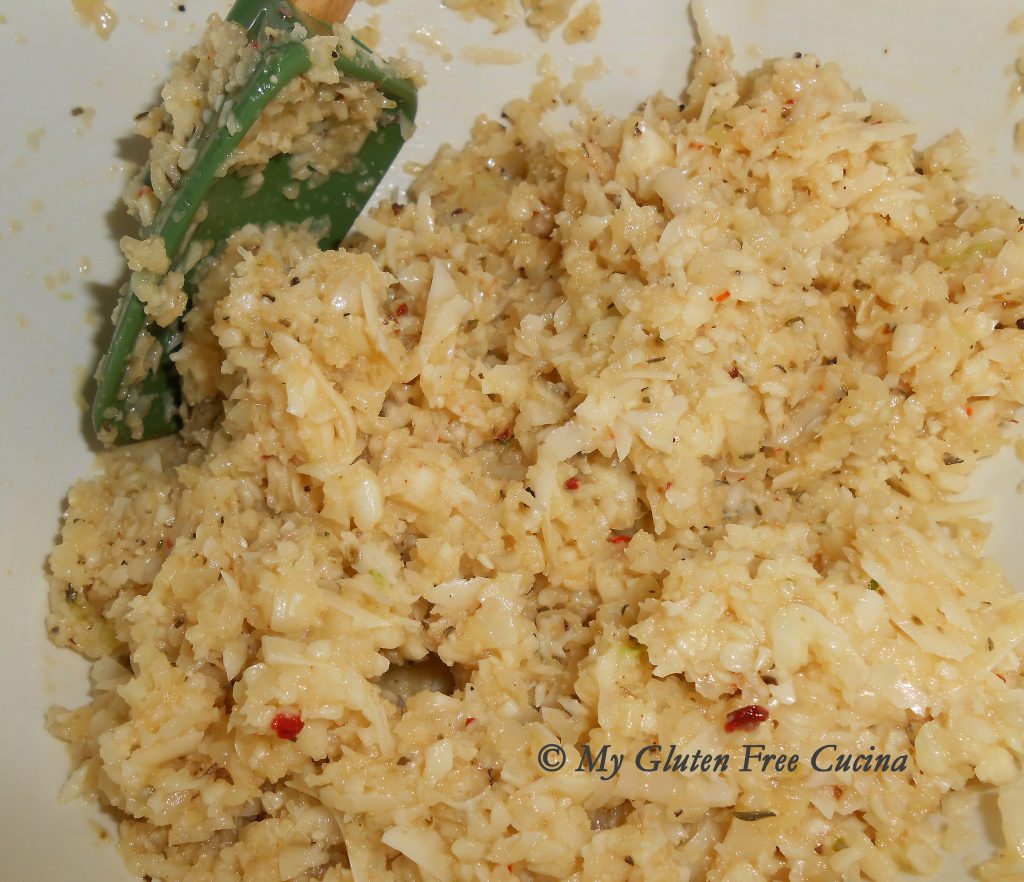
Stir in the cooled cauliflower and combine well.

Divide the mixture evenly into 6 wells and smooth with a spatula.

Bake at 400º for 35 minutes or until nicely browned.

Mmmm, don’t they look good?  The cakes are delicious as is and would also make a great base for mini pizzas.

You can serve them with marinara or BBQ sauce for dipping.

I have made the recipe several times now and it is going to be a regular at our table.

Notes ♪♫ I always buy block cheese and grate it myself to avoid additives in shredded cheese.  Always check seasoning labels for hidden gluten.  I love Rockin’ Rubs Tuscan Temptation seasoning in this recipe!

Were you eyeing that muffin top pan? It was the perfect choice for this recipe, and you can also use it to make my Gluten Free Sandwich Thins.

Print This Post Print This Post