Crab Stuffed Sole is another old restaurant favorite of mine. It is elegant enough for company but easy enough to prepare on a weeknight. Your whole family will love this simplified version, and I’m pretty sure my preparation has much less butter and calories than its restaurant counterpart (and of course no gluten)!
4 Servings
This post contains affiliate links.

Ingredients:
- 1 lb. sole fillets
- 6 oz. can gluten free fancy lump crab meat (I used Crown Prince)
- 1 egg
- chive seasoning
- 12 gluten free crackers (about 1/2 cup total)
- 4 tbsp. butter, melted
- 1 tsp. Worcestershire sauce
- Old Bay seasoning
- fresh chives for garnish
Preparation:
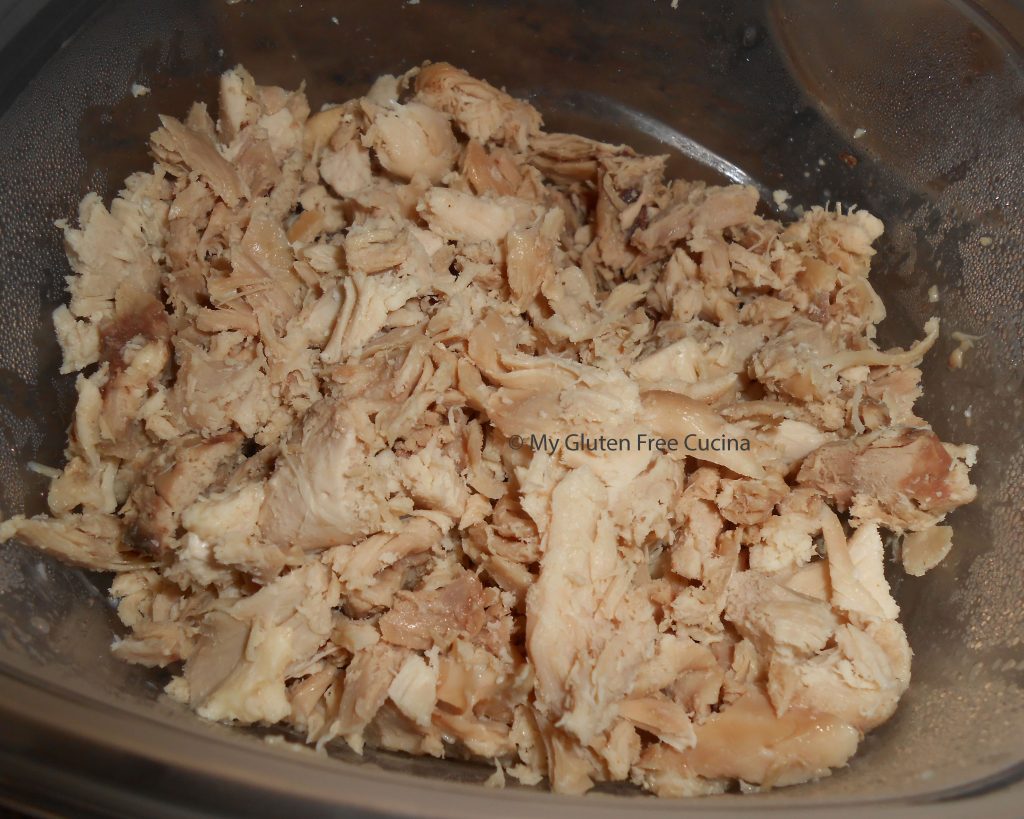
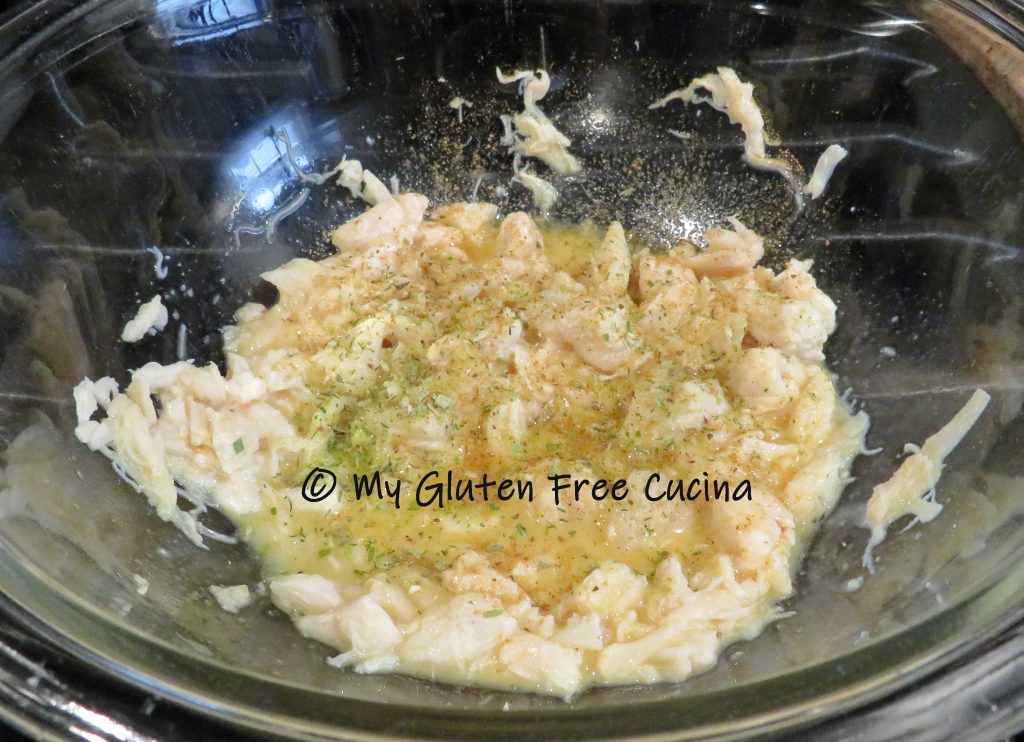
Drain and rinse the crab meat.

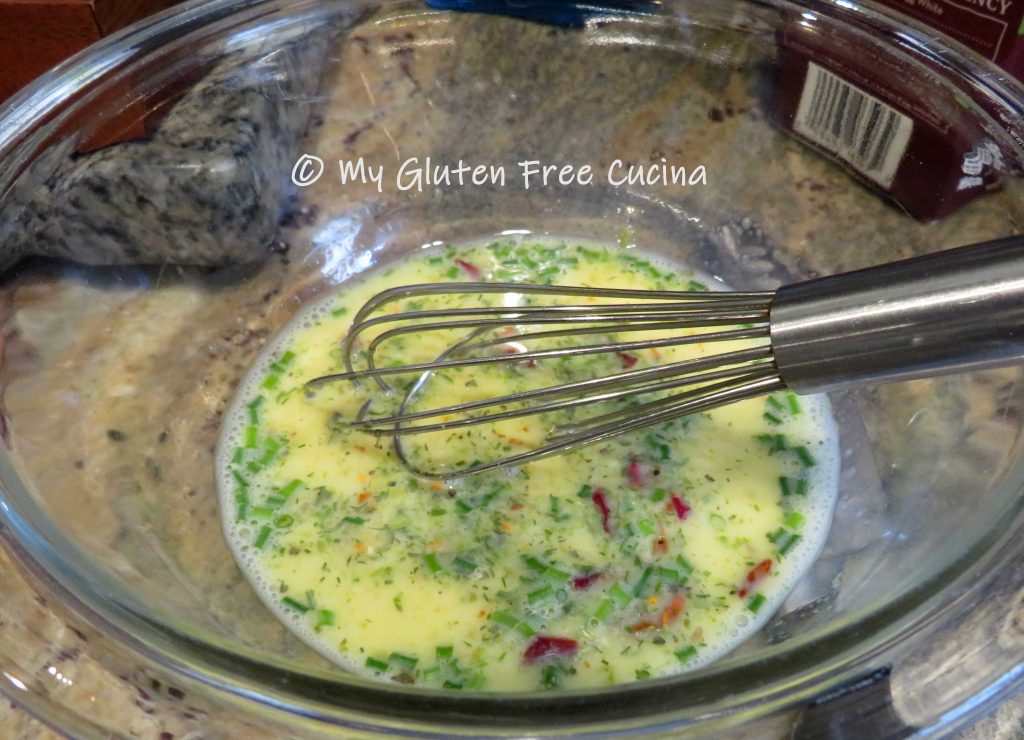
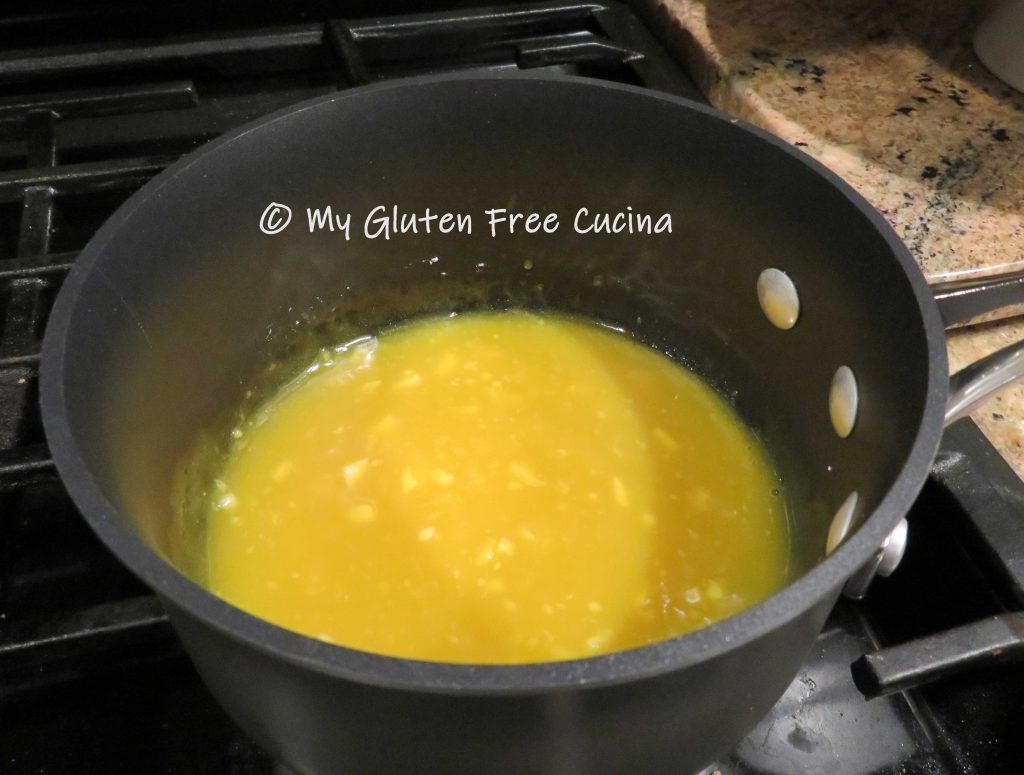
Melt the butter in a small saucepan. Pulse the crackers in an electric chopper or food processor to form coarse crumbs. You will need about 1/2 cup total. In a small bowl whisk together the egg, Worcestershire, crab meat and chive seasoning. Stir in half of the cracker crumbs.

Arrange the fillets on a clean work surface. Brush with melted butter and sprinkle with Old Bay.

Spoon the crab stuffing onto the fillets.

Mist a baking dish with cooking spray. Now roll up each fillet into a bundle, starting with the wide end. Tuck the ends underneath.
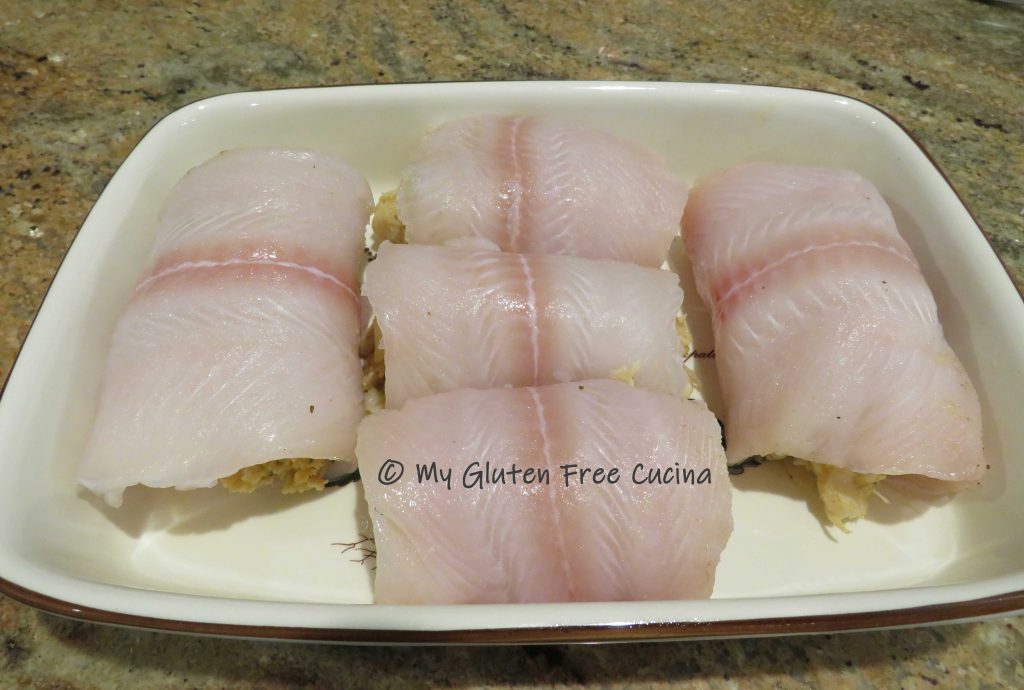
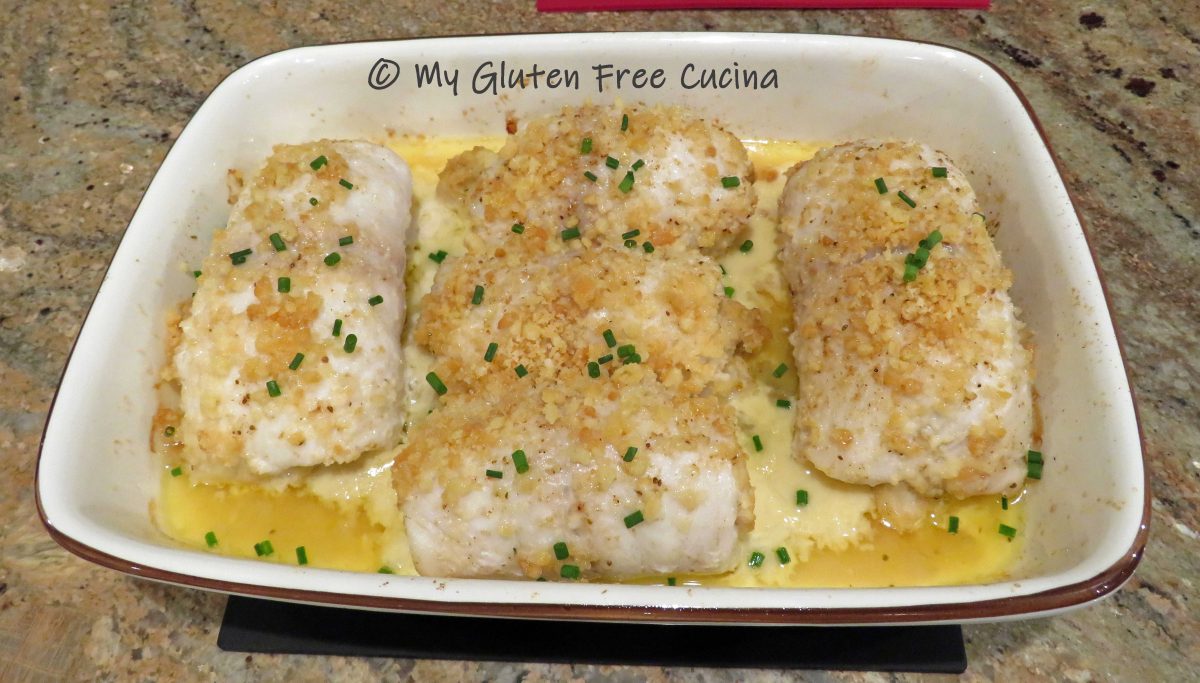
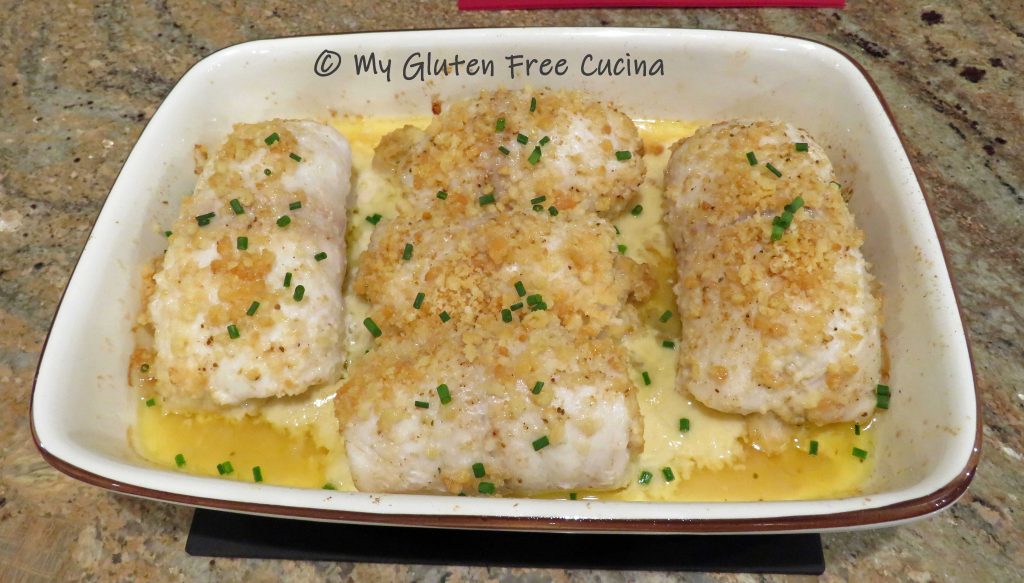
Arrange the fish bundles in the baking dish seam side down, and brush with the remaining melted butter. Sprinkle with Old Bay and top with the remaining cracker crumbs. Bake for 30 minutes at 350°.

There you are friends. Garnish with chives and serve up this elegant main course right in its own baking dish. No one will guess that it’s gluten free 😊.
Notes ♪♫ For seafood dishes like this one nothing beats a Ritz cracker crumb type breading. I have always loved Lance’s Original Gluten Free Crackers, but they are hard to find (at a reasonable price) these days! My recommendation for this recipe is Schar Entertainment Crackers; you can find them online and at most grocers.


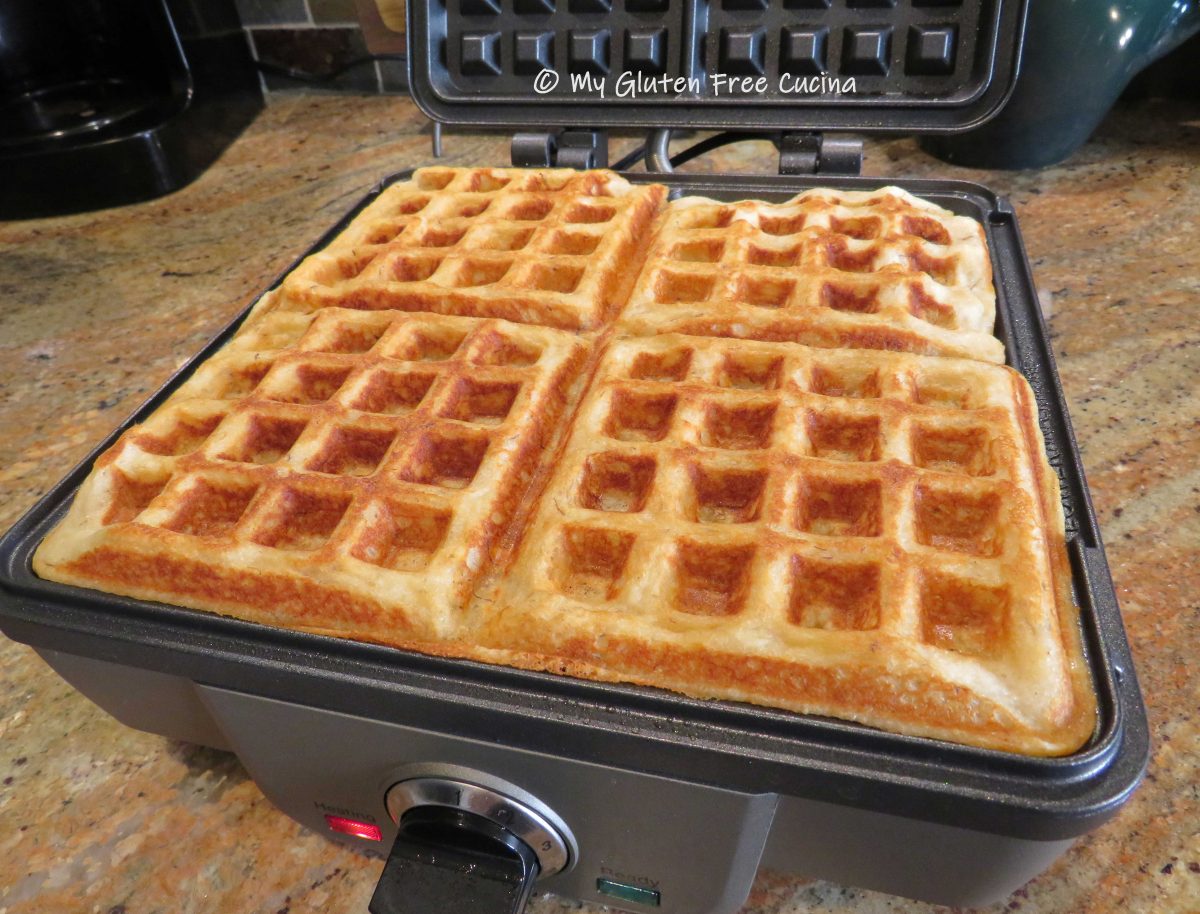


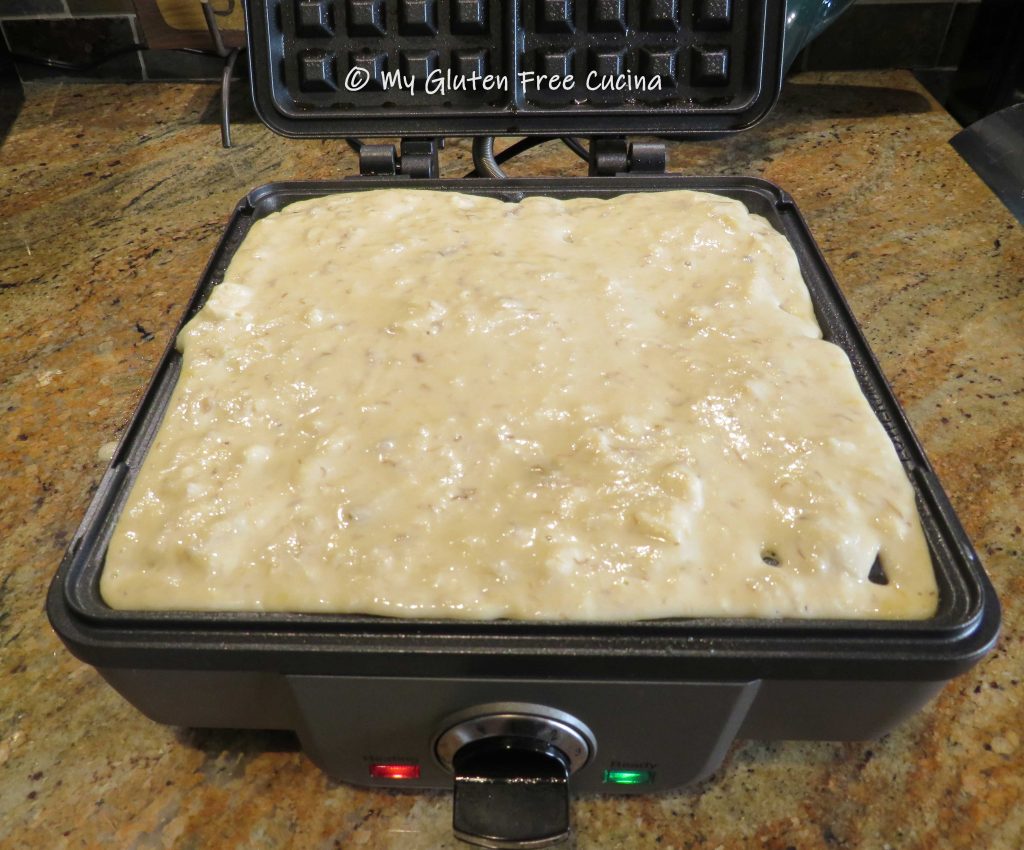
 Before you begin, preheat your
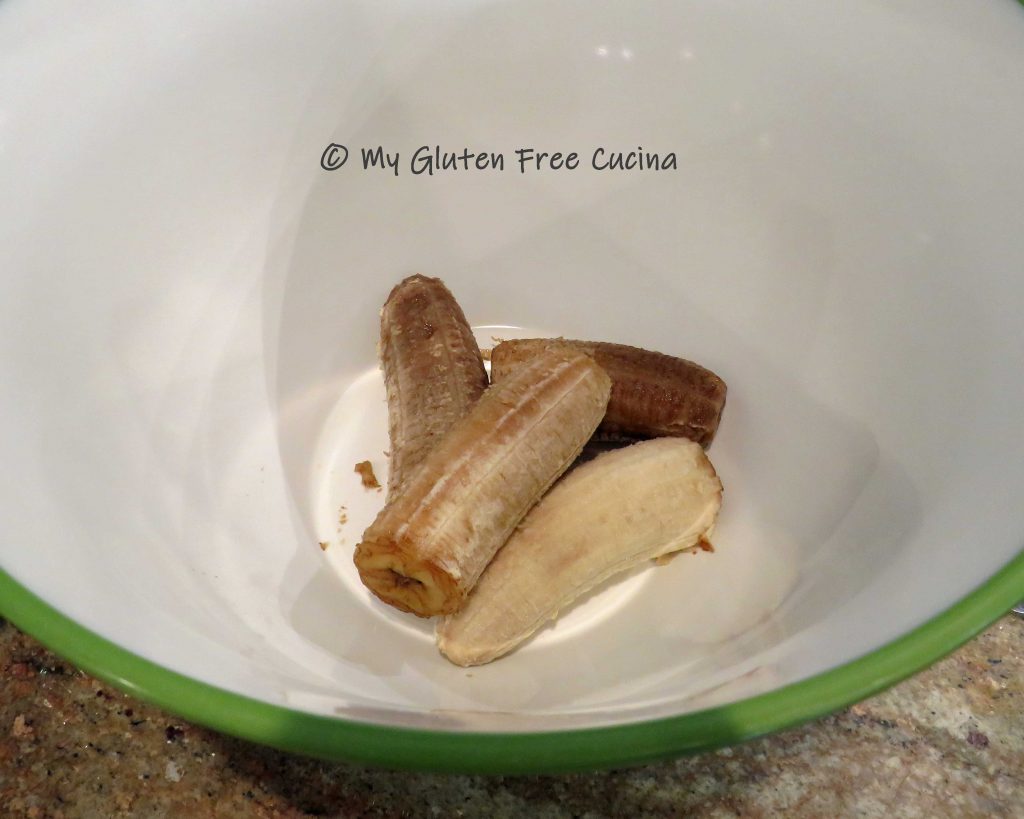
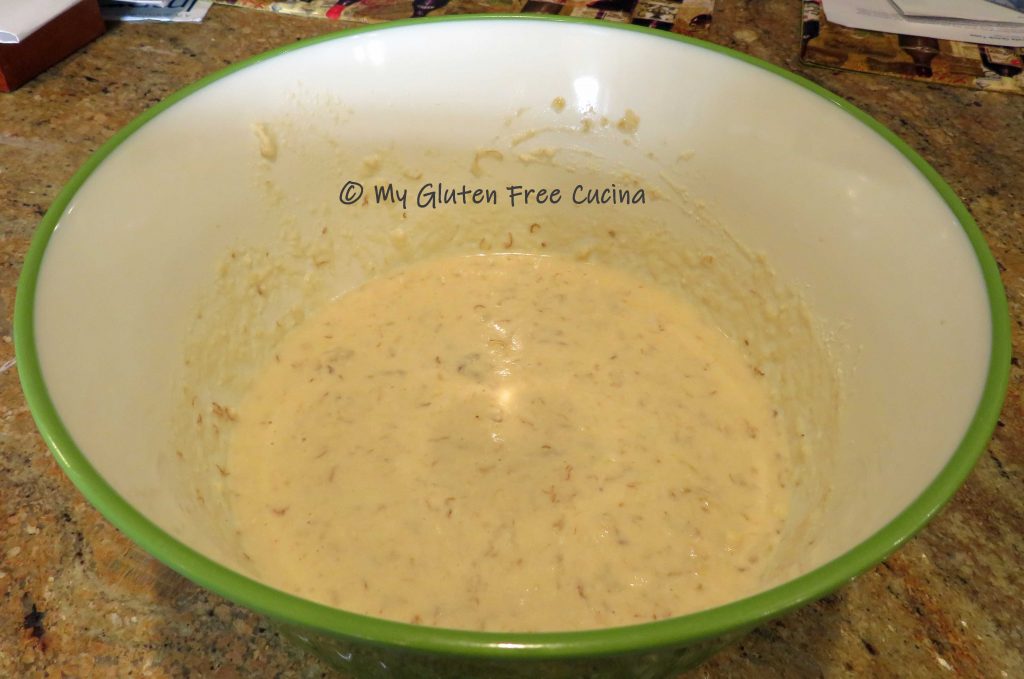
  In a separate bowl, mash the banana with a fork and add the egg, oil, vanilla and milk. Whisk well to combine.
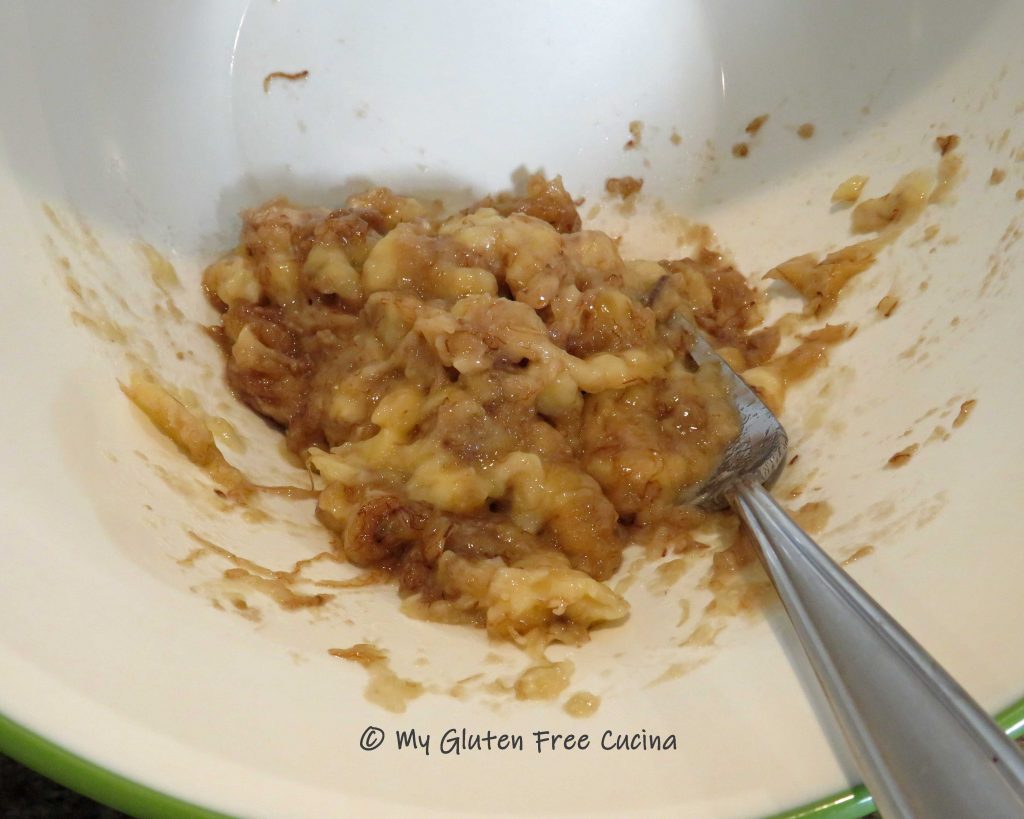


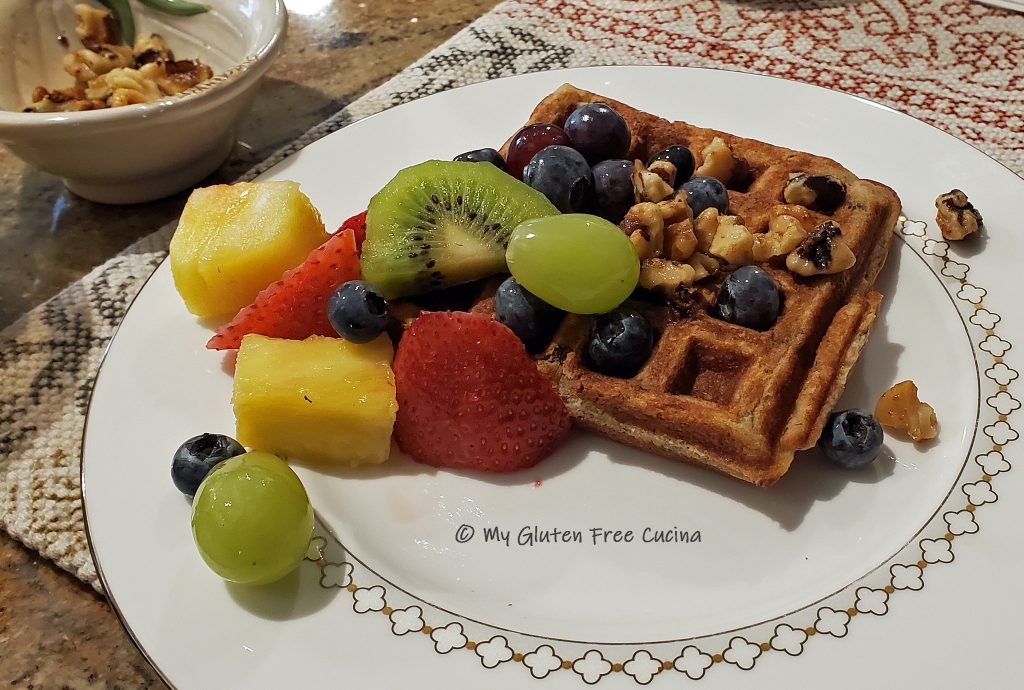
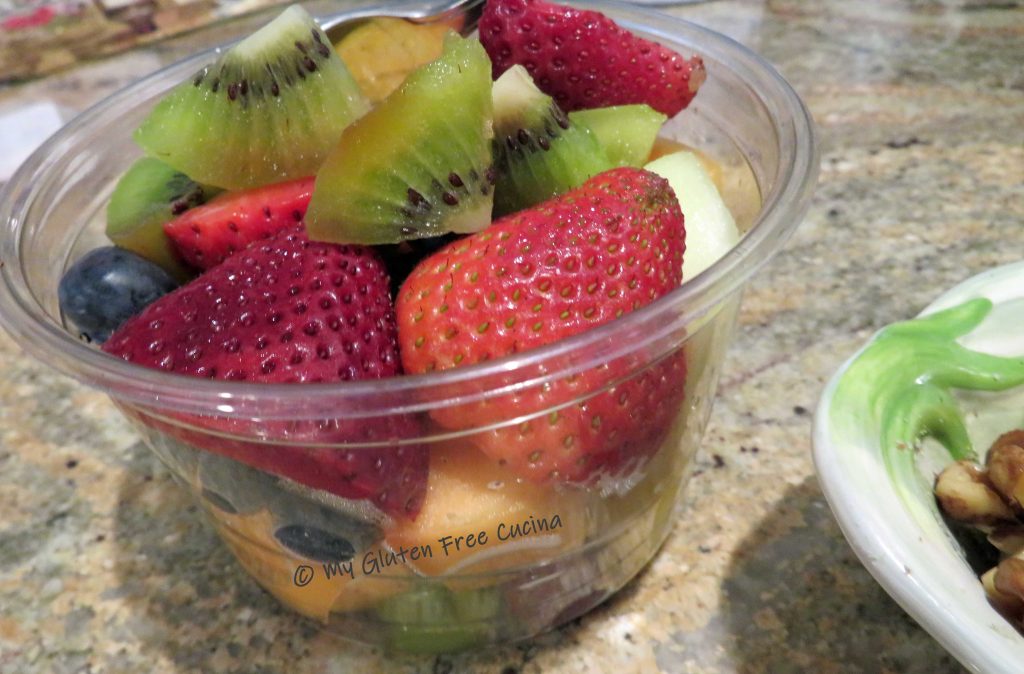 Always use real maple syrup!