Burgundy Beef Tagliatelle

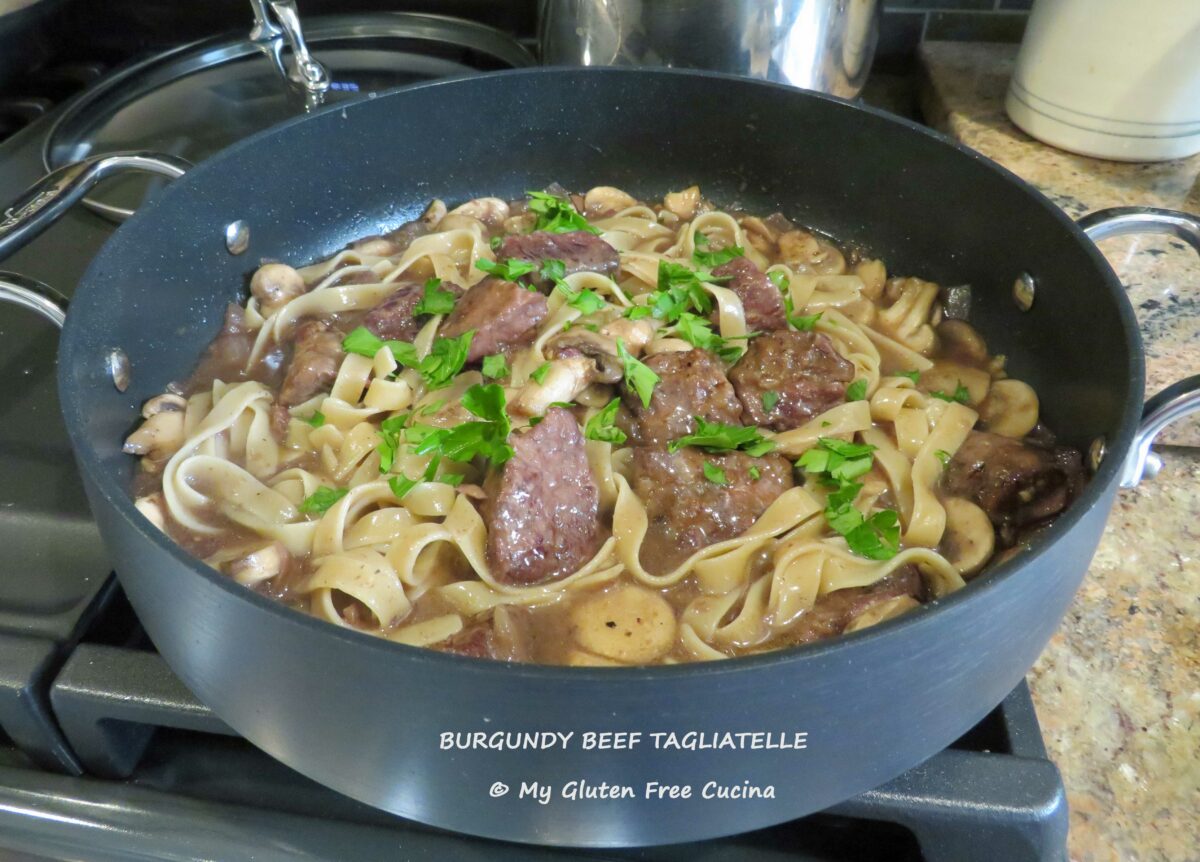
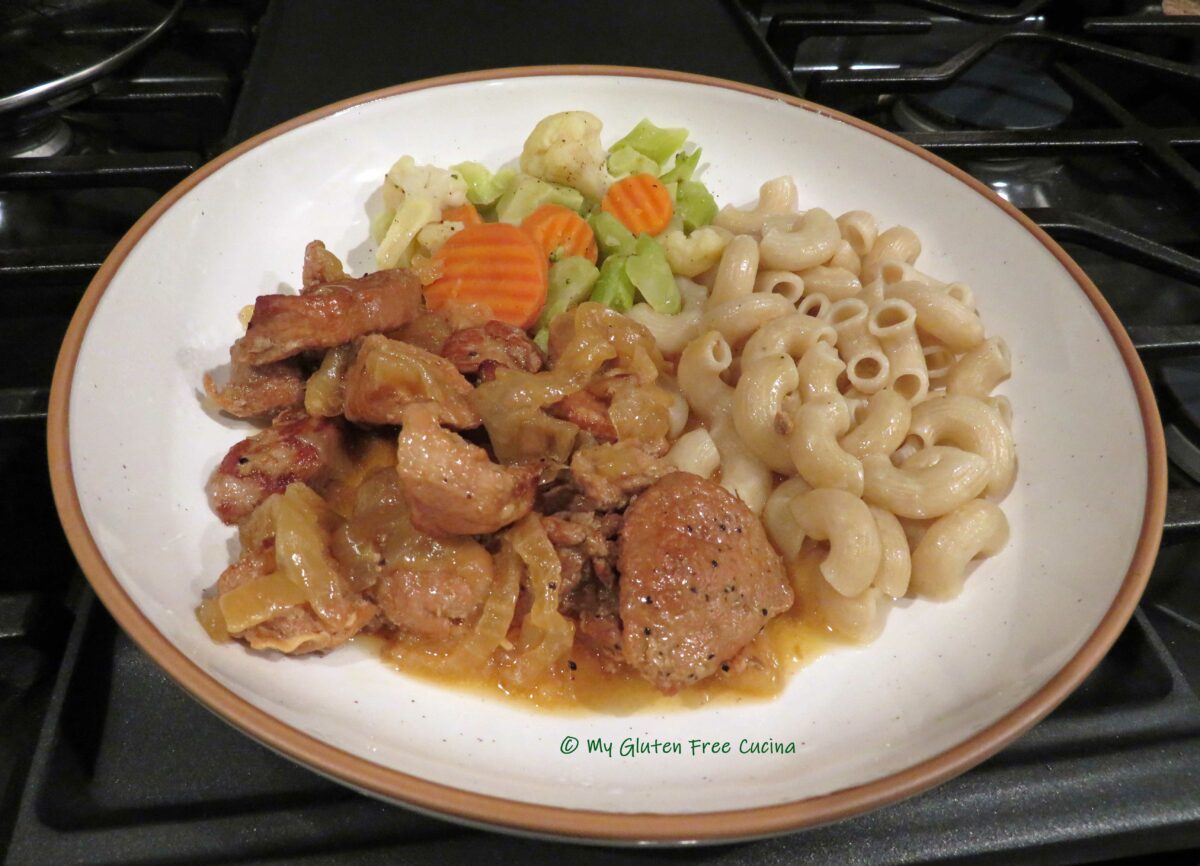
When you have comfort food on your mind, look no further than this hearty meal of sirloin tips, gently braised in a wine and mushroom sauce with gluten free noodles.

Years ago, I had something like this in a restaurant and never got it out of my mind.  It was easy to recreate at home, and I used Jovial gluten free tagliatelle noodles because they have the look and texture of egg noodles that you would traditionally see in a dish like this.  It came out amazing.  A hearty dinner that will satisfy big appetites!

This post contains affiliate links.

4 Servings

Ingredients:

  • 1 lb. sirloin tips
  • 1 tbsp. white rice flour
  • 3 tbsp. olive oil, divided
  • 1/2 of a large, sweet onion, diced
  • 1 tsp. Montreal steak seasoning, divided
  • 3/4 cup red wine (I used merlot)
  • 1 package white or baby bella mushrooms, cut into 1/4″ thick slices
  • 2 tbsp. butter, divided
  • 6 oz. gluten free egg tagliatelle pasta
  • 1/2 cup gluten free broth (beef, chicken or vegetable)
  • 1 tsp. arrowroot *See notes
  • fresh parsley for garnish

Preparation:

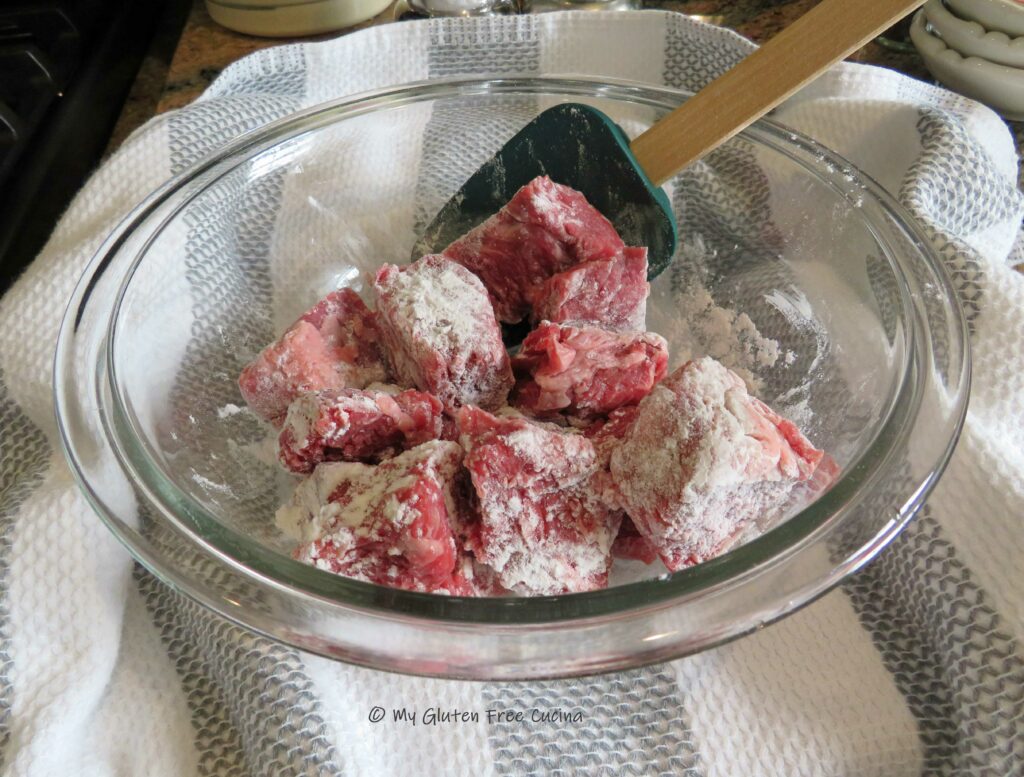
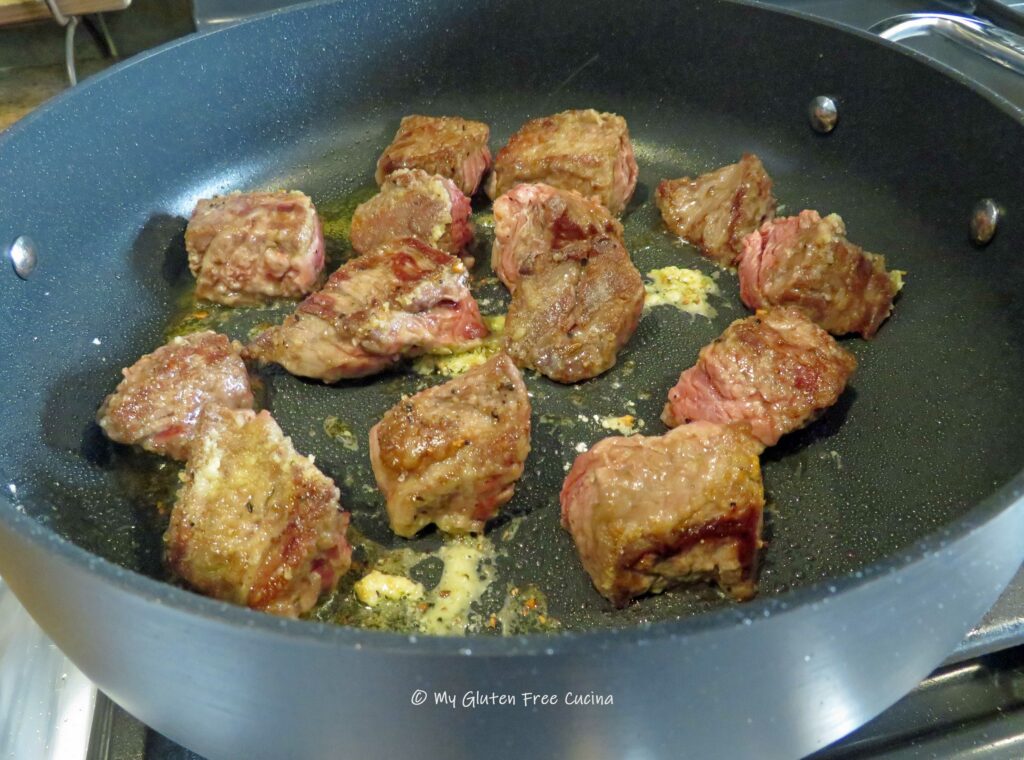
Cut the sirloin tips into 2″ chunks, trimming any excess fat.

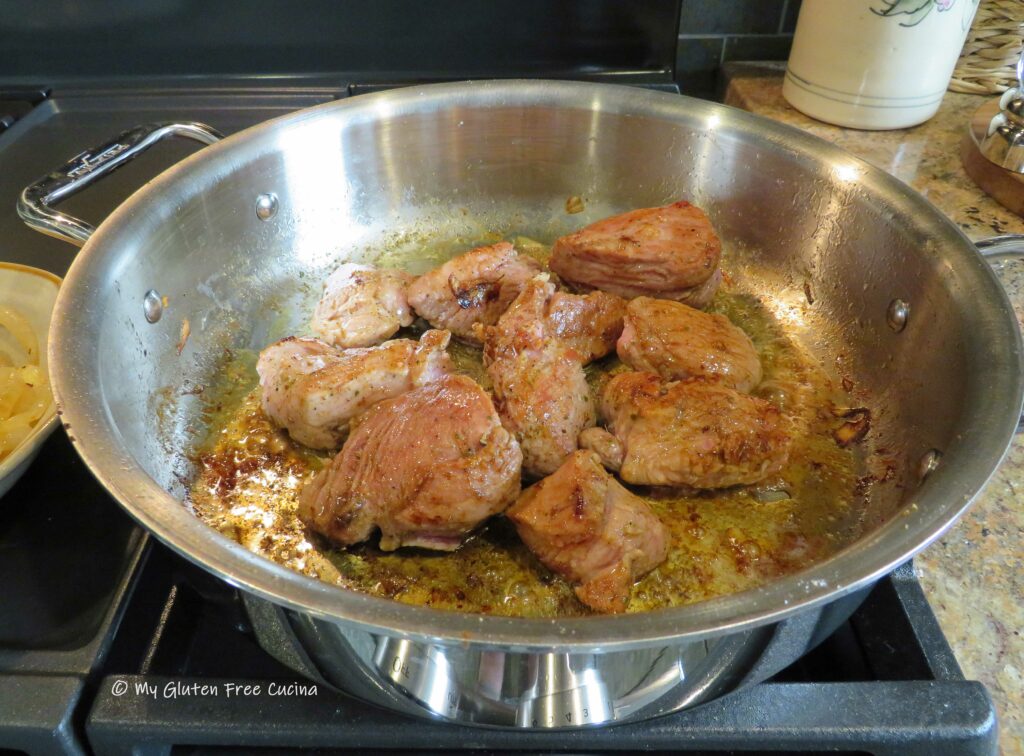
Heat 2 tbsp. olive oil in a heavy skillet or Sauteuse with cover or Dutch oven.  Toss the beef with the white rice flour, and brown in a single layer over medium low heat.

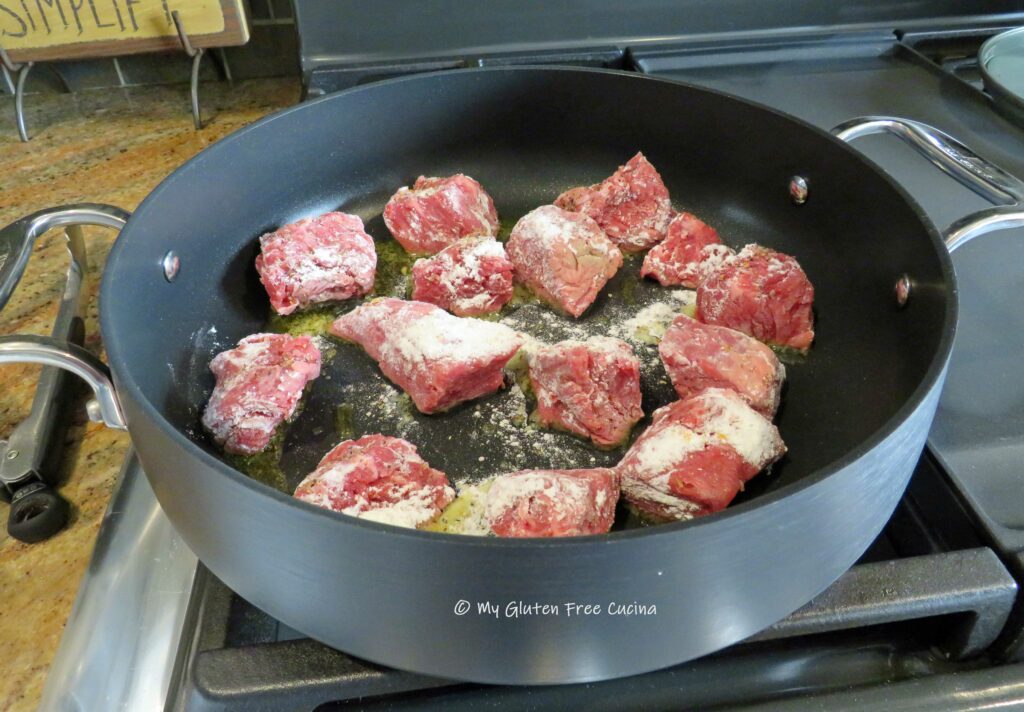
Season with 1/2 tsp. Montreal steak seasoning.

In a few minutes you should have good color on the beef and be able to see some caramelization.

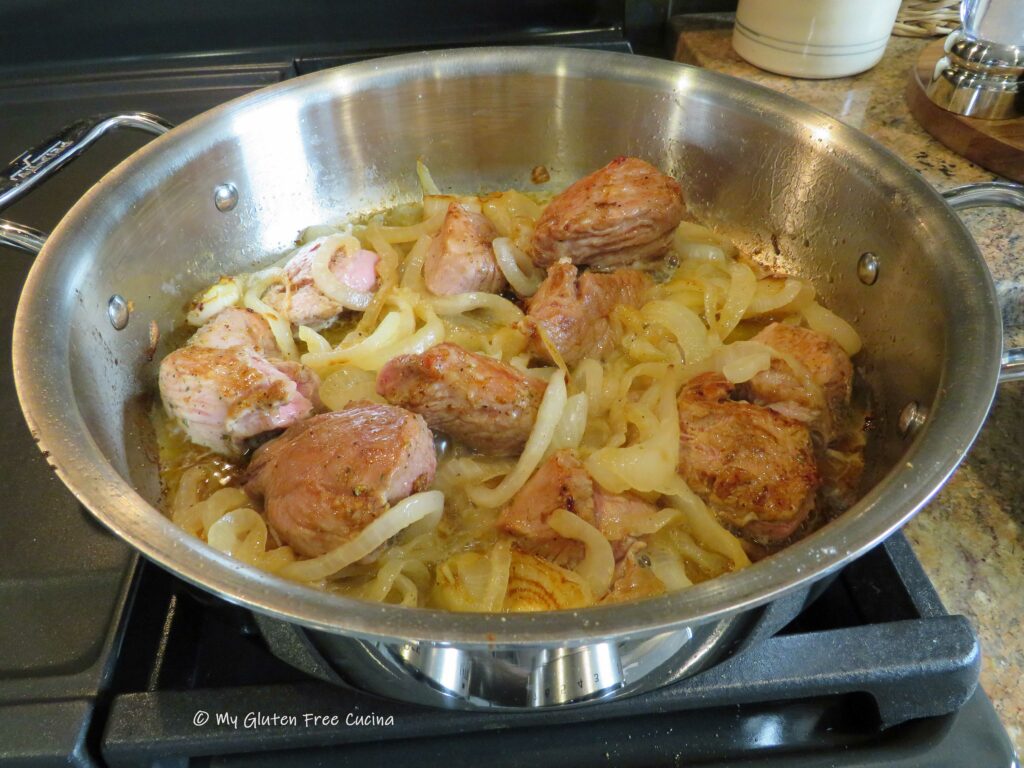
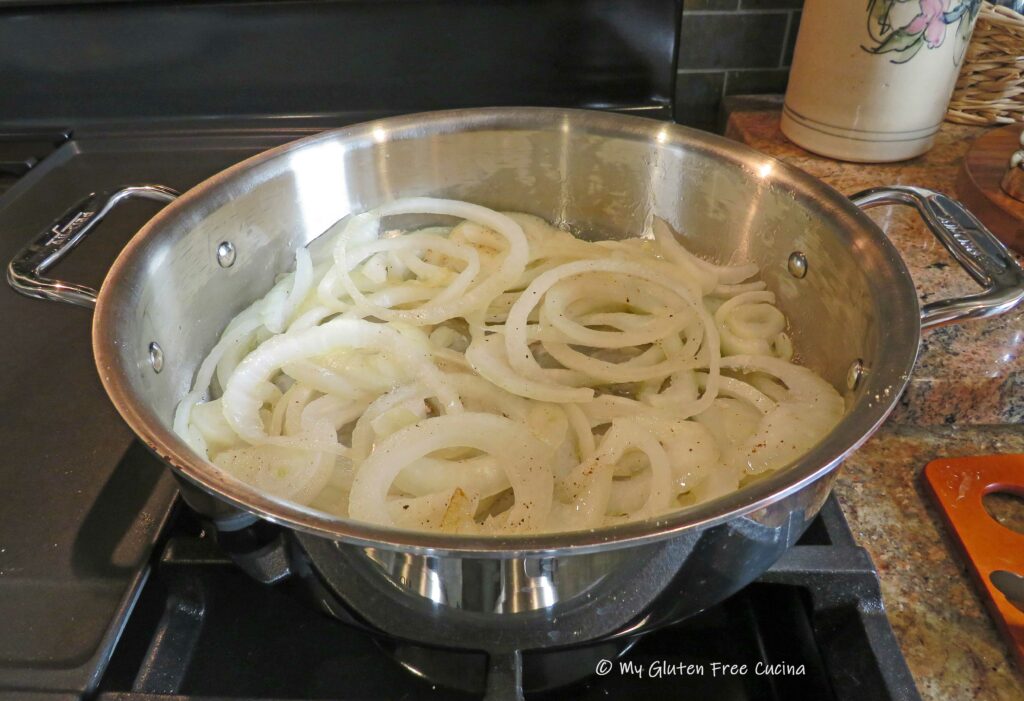
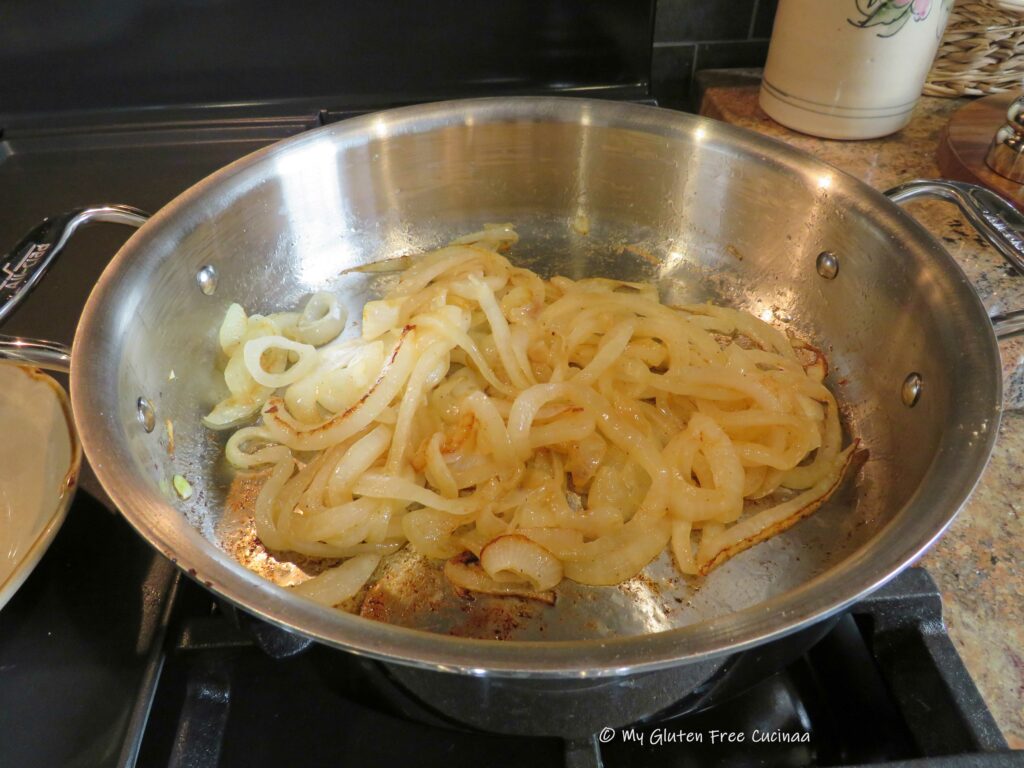
Now add the onions and let them cook down for 3 minutes.

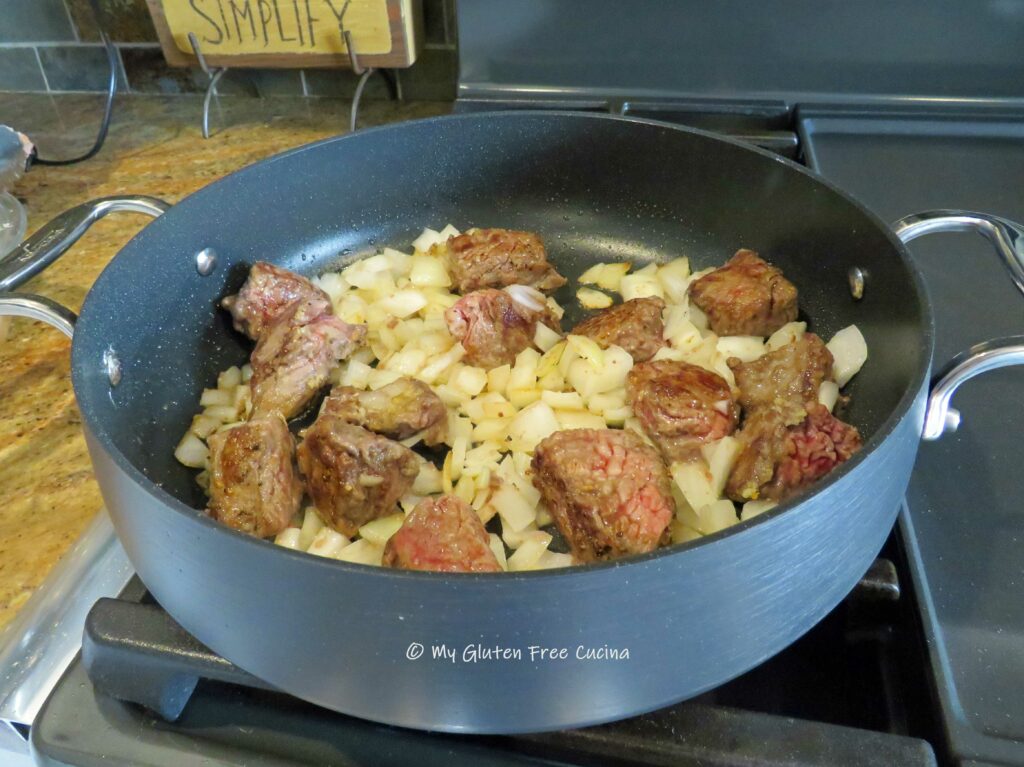
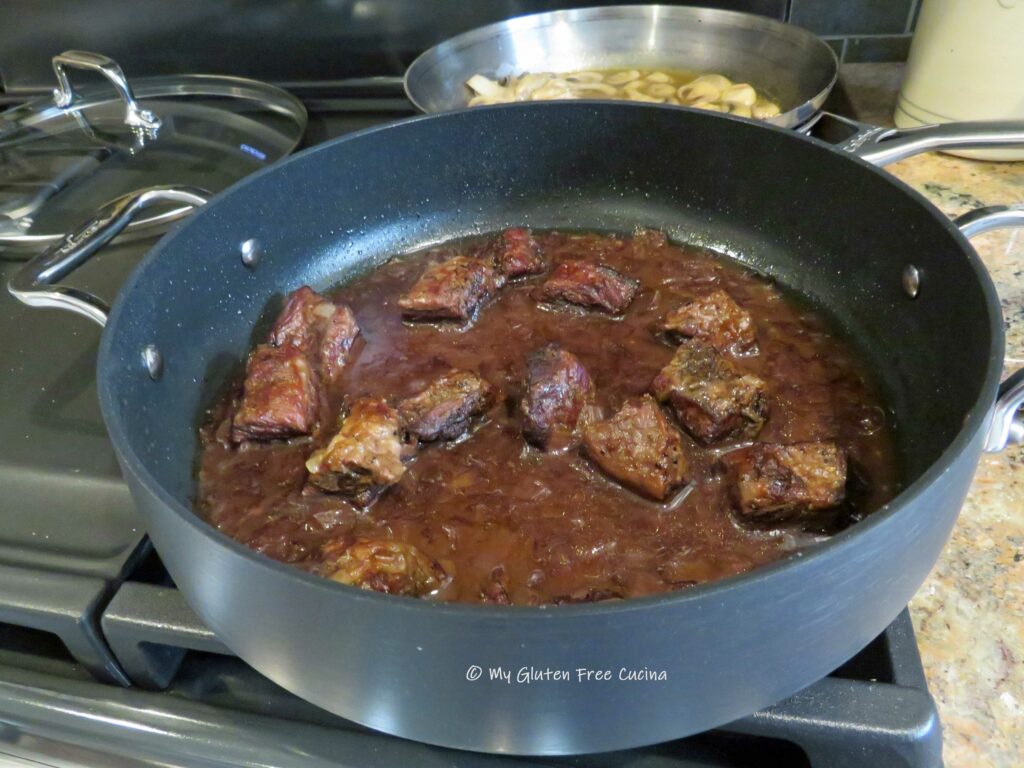
Add the wine and stir gently.  Bring to a simmer, then cover the pan and place in a 225º oven for 3 hours.

In the last 1/2 hour of cooking, heat 1 tbsp. olive oil and 1 tbsp. butter in a stainless-steel skillet (not nonstick).  Cook the mushrooms over low heat, just until they release their liquid and season with 1/2 tsp. Montreal Steak Seasoning.  Whisk the broth and arrowroot together and stir into the mushrooms, simmering to thicken.

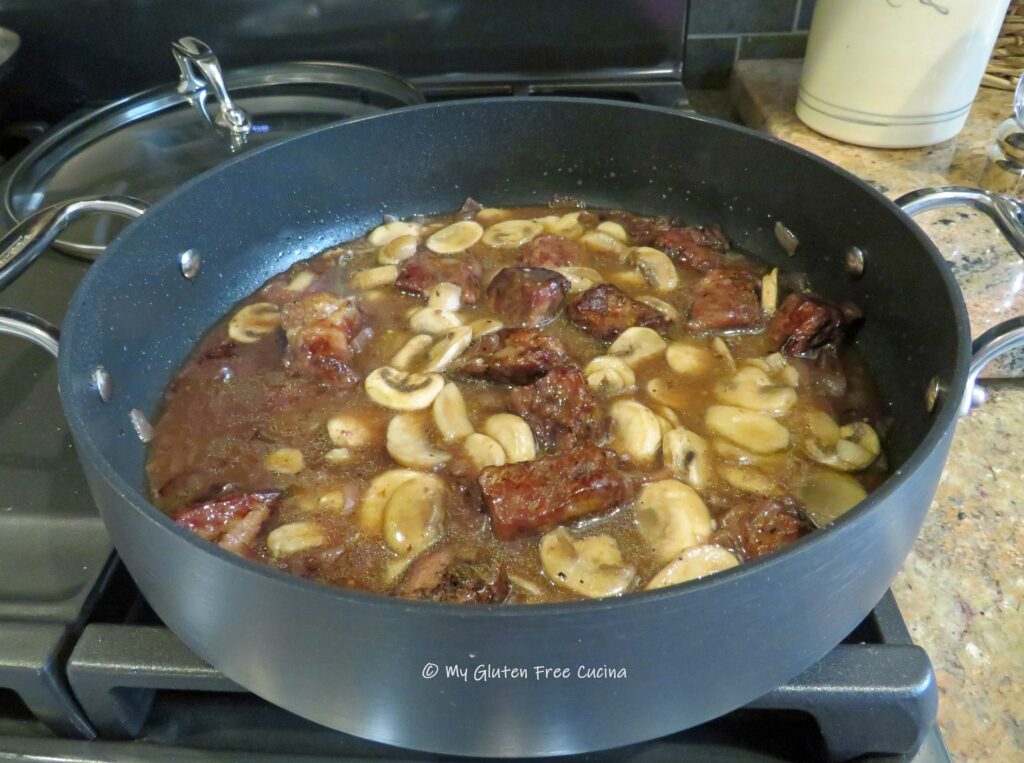
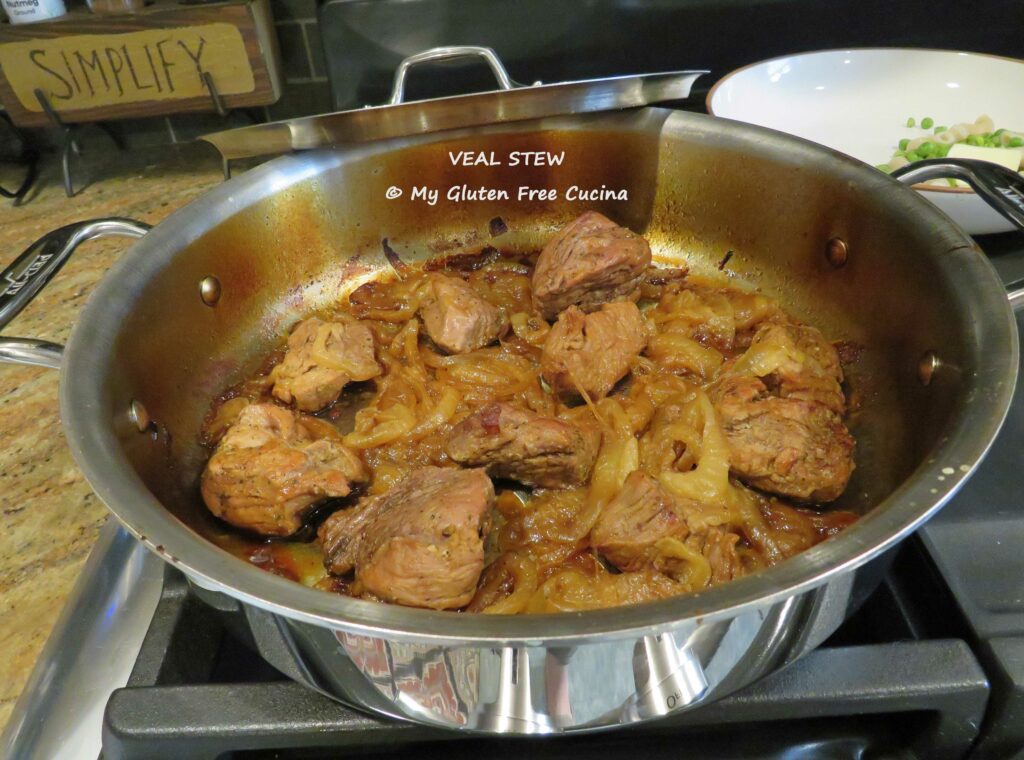
Return the beef to the stovetop and stir in the mushroom mixture.

Keep the heat on low and continue simmering the beef on the stovetop with the lid off.  Allow the liquid to reduce and thicken while you cook the pasta.

Cook the tagliatelle noodles to 2 minutes less than package directions.  When the noodles are ready, drain and add to the pan with a pat or 2 of butter.

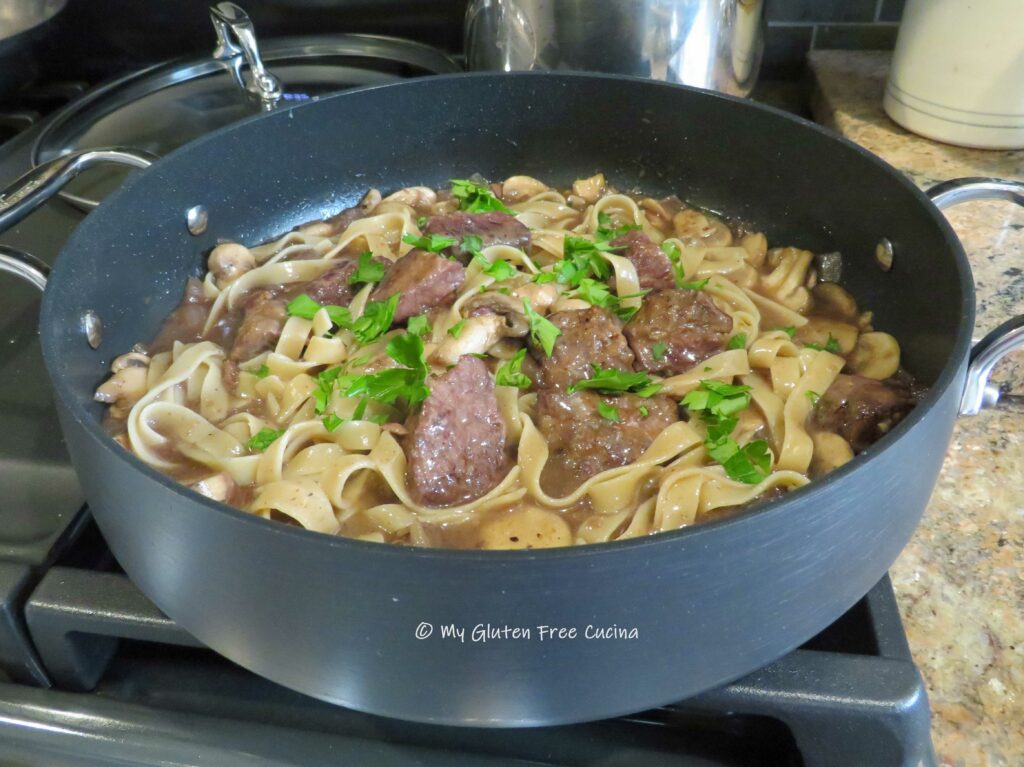
Toss well to combine and cook for a minute longer.  Garnish with parsley and serve right from the pan!

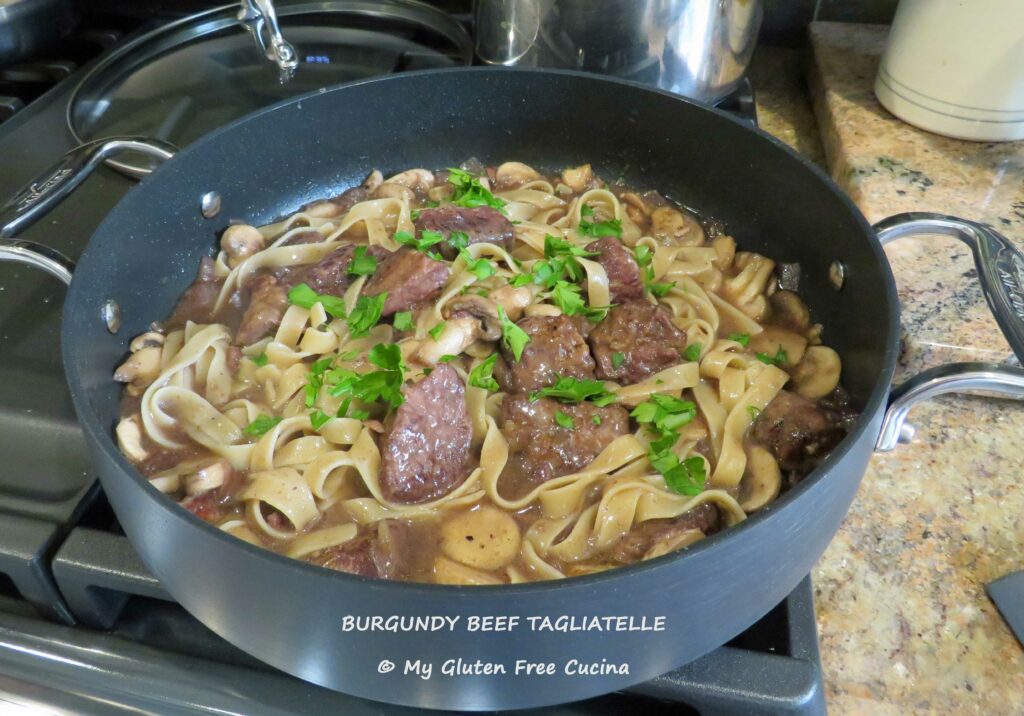
This meal is so good, the pictures don’t do it justice!

Notes ♪♫ Arrowroot flour, also known as arrowroot starch or arrowroot powder is a staple in my gluten free pantry.  Whether I just need a teaspoon for thickening, or more for bread baking, arrowroot is a nice alternative to the usual corn, tapioca or potato starch.  It is superb for making a roux, no lumps ever!

Original post Oct 8, 2021                Rephotographed Jun 28, 2024

Print This Post Print This Post

Gluten Free “Mighty Tasty” Toasting Bread

GLUTEN FREE “MIGHTY TASTY” TOASTING BREAD

Adapted from a recipe by America’s Test Kitchen

Servings: 1 Loaf = about 16 slices

This post contains affiliate links.

One of my favorite gluten free toasting breads, this loaf gets a boost of whole grains from Bob’s Red Mill Mighty Tasty Hot Cereal mix.  A hot cereal breakfast staple, it can also be used to add fiber and whole grains to bread and muffin recipes.  I think it gives the loaf a nice flavor and texture reminiscent of corn bread.  Even your family members who are not gluten free will enjoy this hearty breakfast toast.  It’s on my breakfast menu at least one morning per week!

This recipe has been adapted to yield 1 loaf.  Yes, there are a lot of ingredients, and it will take time.  Embrace the magic of baking from scratch!  I would rather enjoy a slice of delicious, homemade bread than a cardboard loaf from the store.

The pan you see in the photos is a 9 x 4 x 4” loaf pan that is perfect for gluten free bread.  The higher sides are perfect for supporting the dense, gluten free dough as it rises.  Gluten free baking is finicky, which is why I recommend that you use a scale and weigh the dry ingredients to achieve the same outcome.

Ingredients:

  • 1 ½ cups warm water
  • 1 tablespoon instant yeast

***

***

  • 2 eggs
  • 2 tbsp. canola oil
  • 2 tbsp. honey

***

***

  • sesame and poppy seeds

Preparation:

Line a 9 X 4 X 4” loaf pan with parchment paper.  I always bake with parchment, not only to prevent sticking, but also to make lifting the finished loaf out of the pan easier.

Combine 1 ½ cups warm water and 1 tbsp. yeast together in the bowl of your stand mixer, and let it sit for 15 minutes while you gather the other ingredients.

In a separate bowl, whisk together the dry ingredients, white rice flour through salt.  Don’t be tempted to skip any of the ingredients.  Those seemingly tiny amounts of things like gelatin, psyllium husk and xanthan gum are what help to compensate for the body and elasticity normally provided by the gluten in wheat flour.

When the yeast has proofed, add the eggs, canola oil and honey to the bowl and beat with the whisk attachment until frothy.

Switch to the paddle attachment and add the dry ingredients to the bowl.  Beat on low speed for 4 minutes.  Next add the sunflower seeds and up to an additional 4 tbsp. of water, one tbsp. at a time as needed.  Beat for 1 minute longer.  You will have a thick, sticky dough that clings to the paddle like this.

Scrape the dough into the prepared loaf pan and use a spatula dipped in water to smooth the top. Cover with plastic wrap and let rise for about 1 hour.

Preheat the oven to 325º and place a pizza stone on the middle rack.  Remove the plastic wrap and mist the top of the risen loaf with warm water (this helps the seeds to adhere).  Sprinkle liberally with poppy and sesame seeds.

Bake for 75 minutes, or until the loaf reaches an internal temperature of 210º.  It may take a bit more (or less) time in your oven, so be sure to use a thermometer!  Hint, if it smells done, check it!

Let the loaf cool in the pan for 10 minutes, then grasp the parchment on either side to lift it out.  Remove the parchment and let it cool completely on a rack.  See how nicely the loaf shaped up in this pan?

Resist slicing into the loaf until it has completely cooled, or it may be gummy in the center. You’ll want to give it a few hours to rest and set up properly.  Here’s the crumb shot.  You can see that it’s very dense and speckled with whole grains and seeds. It’s perfect!

Like most gluten free breads, this one is best eaten the day it is baked.  Slice it up and toast for about 5 minutes, it’s divine with just a simple pat of butter or jelly.  You can store it at room temperature for up to 1 day, but it is best to freeze the leftovers asap.  I like to freeze mine in individually wrapped slices, so I can easily pull one out for breakfast.

Notes ♪♫ All of the grains used in the flour mix were from Bob’s Red Mill.  The brand is readily available in stores or online.

Originally published 05/05/2019                   Updated 06/17/2024

Print This Post Print This Post

Gluten Free Carrot Cake Pancakes

Take your pancake breakfast to the next level with Gluten Free Carrot Cake Pancakes!  These pancakes have all the flavors of a carrot cake cleverly disguised as breakfast.  The recipe is not difficult and would be a wonderful treat for a special occasion or brunch.  Wouldn’t this be fun for Easter morning?

Yield: 9 pancakes

This post contains affiliate links.

Ingredients:

  • 240 g. gluten free pancake mix (2 cups)
  • 1 tsp. cinnamon
  • 1/4 tsp. nutmeg
  • 1/8 tsp. cloves
  • 2 eggs
  • 1 cup milk (I used 2%)
  • 1 cup shredded carrots
  • butter, for the griddle

Topping:

  • maple syrup
  • Cream cheese
  • Vanilla Greek yogurt
  • ground walnuts
  • grated carrots

Preparation:

I used a box grater to shred my carrots on the medium setting.  My grater has a little measuring cup that fits into the bottom, so you can measure as you go.  Be sure to reserve a tablespoon of the carrots for the topping.

To get started, combine the flour, cinnamon, nutmeg and cloves and whisk well.  Then, in a large bowl, whisk together the eggs and milk.  Stir the wet and dry ingredients together and fold in the carrots.

Let the batter rest for 10 minutes while you heat your griddle or skillet.  Spoon the batter by heaping tablespoons, about 2 tablespoons per pancake.

I used my waffle maker to cook the pancakes.  It has a pancake plate with 4 wells.  I heated it to 350º and brushed the wells with butter.

The pancakes are ready to turn when you can easily slide a spatula underneath.  Mine took some time, almost 10 minutes on the first side, and less than 5 minutes for the second side.  Remember, gluten free pancakes and waffles always take longer to cook than regular.

You can poke the pancakes with a toothpick to be sure they’re done, then serve or place them on a rack to cool.

Toppings are optional, but I wanted to echo the carrot cake theme.  So, I mashed together a little cream cheese with vanilla Greek yogurt, then finished with a drizzle of maple syrup and a sprinkle of walnuts and carrots.

Wow that was good!  You probably won’t have any leftover, but if you do, remember they can be frozen and reheated in the toaster or microwave.  I wrapped my leftovers individually in plastic wrap and placed them in a freezer safe bag labelled with the date.  They will keep for a couple of months, but I’m sure they will disappear long before then!

Notes ♪♫ You know I love Better Batter and always tell you how wonderful their flour is.  But did you know they also have mixes?  I used their Gluten Free Pancake Mix in this recipe, and it did not disappoint.  The pancakes are delicious and sure to be enjoyed by your family or your special someone.

Adapted from Taste of Home

Print This Post Print This Post


Veal Stew with Caramelized Onions

You won’t believe how a few simple ingredients can produce the most tender, flavorful stew.  With today’s prices, you may think that veal is not in the budget, but stew veal is made from those tough but economical cuts that benefit from slow braising, easy on the pocketbook and perfect for Sunday afternoons!

This post contains affiliate links.

The basic stew is quite versatile and pairs well with so many things.  The onions cook down to make a delicious gravy.  You can serve it with risotto, pasta or polenta.  For a New England style dish, you could add potatoes and carrots.  So many possibilities!  And those caramelized onions- oh my!

I used a stainless-steel universal pan to cook this meal, excellent for both caramelizing the onions and browning the meat.

Ingredients:

  • 1 lb. veal stew meat
  • 1 large, sweet onion
  • gluten free Italian seasoning
  • salt and pepper to taste
  • 2 tbsp. olive oil, divided
  • 2 tbsp. butter, divided
  • 1/2 cup white wine

Preparation:

Slice the onion into thin rings.  In a stainless-steel pan with cover, add 1 tbsp. each olive oil and butter.  Begin cooking the onions on low heat.

When the onions are soft and just beginning to brown, remove them from the pan and set aside.  They will finish caramelizing in the oven.

In the same pan, heat the remaining olive oil and butter and begin browning the meat on all sides.  Season with salt, pepper and Italian seasoning.

Add the onions back to the pan along with 1/2 cup of white wine.

That’s it friends.  Cover the pan and place in a 300º oven for 2 hours.

Look at that!  No knife needed to cut this meat- it is melt-in-your-mouth tender.

This was an easy meal that turned out great.  I love comfort food during the winter months and this one is on repeat!   

Notes ♪♫ Be sure to use real white wine (that you would drink) in this recipe.  Do not use cooking wine, it’s full of salt and who knows what!  I do not drink white wine, but I always keep a 4-pack of single serve bottles in the pantry for cooking.  Opening one small bottle at a time for a recipe means there is less waste.  Once opened, the remainder can go in the refrigerator.  If you enjoy the white wine, then pour a glass for the cook (red 🍷for me, please)!  Cheers!

Print This Post Print This Post

Gluten Free Teriyaki Chicken with Grilled Pineapple

Summer has arrived, and I’m welcoming the season with this beautiful platter of Gluten Free Teriyaki Chicken and Pineapple, served with rice and seasonal veggies!  This was the easiest meal to pull together, and SO delicious!  Shop ahead and you can absolutely make it on a weeknight, because I deliberately kept the prep to a minimum.

This post contains affiliate links.

I don’t usually take shortcuts with sauces and marinades, but I couldn’t resist trying this Gluten Free Teriyaki Marinade from Primal Kitchen.  It’s made with coconut aminos, which I often substitute for soy sauce in my recipes.  It was really good, the perfect choice for this meal!  Pick up a pack of boneless, skinless chicken thighs, sliced fresh pineapple, and pre-sliced zucchini and summer squash and we are ready to cook.

4 Servings

Ingredients:

  • 1-1/2 lbs. boneless, skinless chicken thighs
  • 1/2 cup gluten free teriyaki marinade, divided use
  • olive oil
  • 4 slices of fresh pineapple
  • 1/4 cup fresh chives, for garnish (optional)
  • rice and veggies for serving

Preparation:

Combine the chicken and 1/4 cup marinade in a bowl.  Turn the chicken to coat all sides, cover and refrigerate for 2 hours.

Start your rice and veggies first and cook according to package directions.  I made 1 cup of long grain brown rice, along with the zucchini and summer squash.

Add a little olive oil to a grill pan on medium heat.  Add the chicken, cover and cook 4 minutes.

Turn the chicken over and cook 4 minutes longer with the cover off.  Check with a thermometer that the internal temperature has reached 165º, then remove the chicken to a plate and keep warm.

To the same pan, add the pineapple slices.  Cook 2 minutes per side to warm through and get those nice grill lines.  Warm the remaining 1/4 cup of teriyaki marinade in a small saucepan or use the microwave.

To plate, first spread the rice on a serving platter.  Arrange the veggies along one side.  Layer the chicken over the rice, and top with the pineapple slices.  Drizzle with the warmed teriyaki sauce and garnish with fresh chives.

Thanks for stopping by today friends!  I love hearing from you, so please leave a comment if you enjoyed this recipe!

Notes ♪♫ This meal would be fabulous, cooked outdoors on the grill.  If like me you don’t have a grill though, do what I did.  Cook the chicken and pineapple in a grill pan to get those distinctive lines.

Print This Post Print This Post