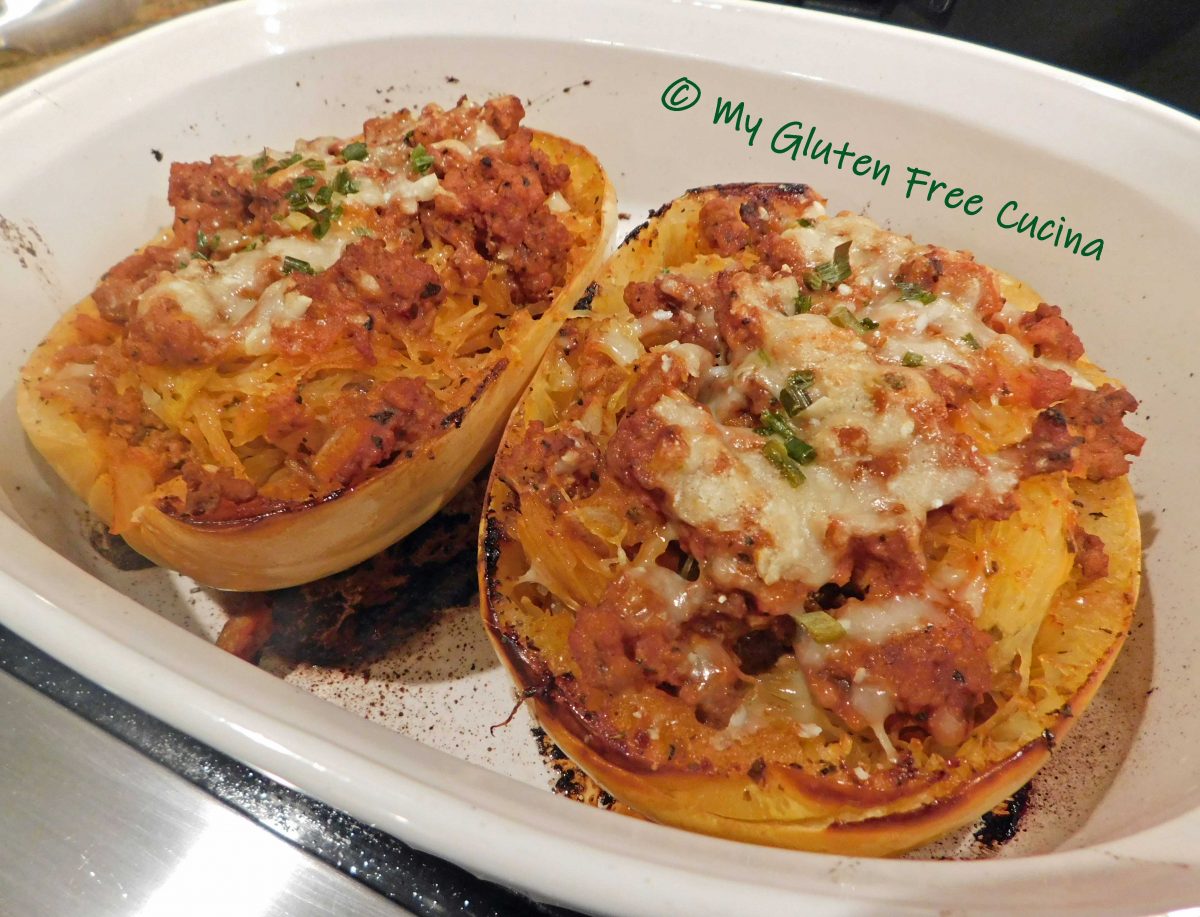
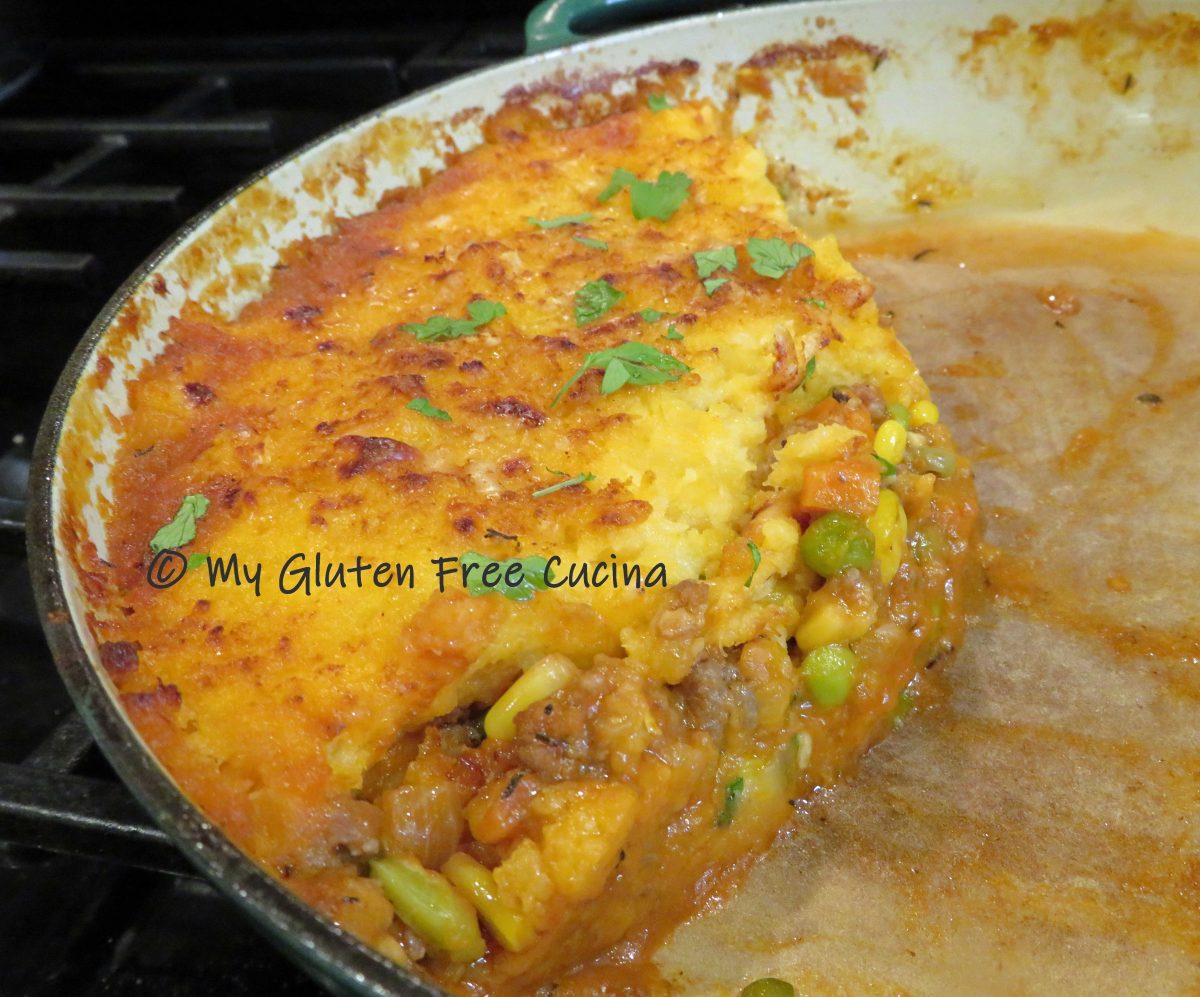
Twice Baked Spaghetti Squash

This gluten free and grain free dish is a satisfying alternative to pasta.  Versatile spaghetti squash is baked, shredded, tossed with meat sauce and baked again in its own shell for a tasty finish.  I could not believe how delicious this was, and how good I felt after dinner!

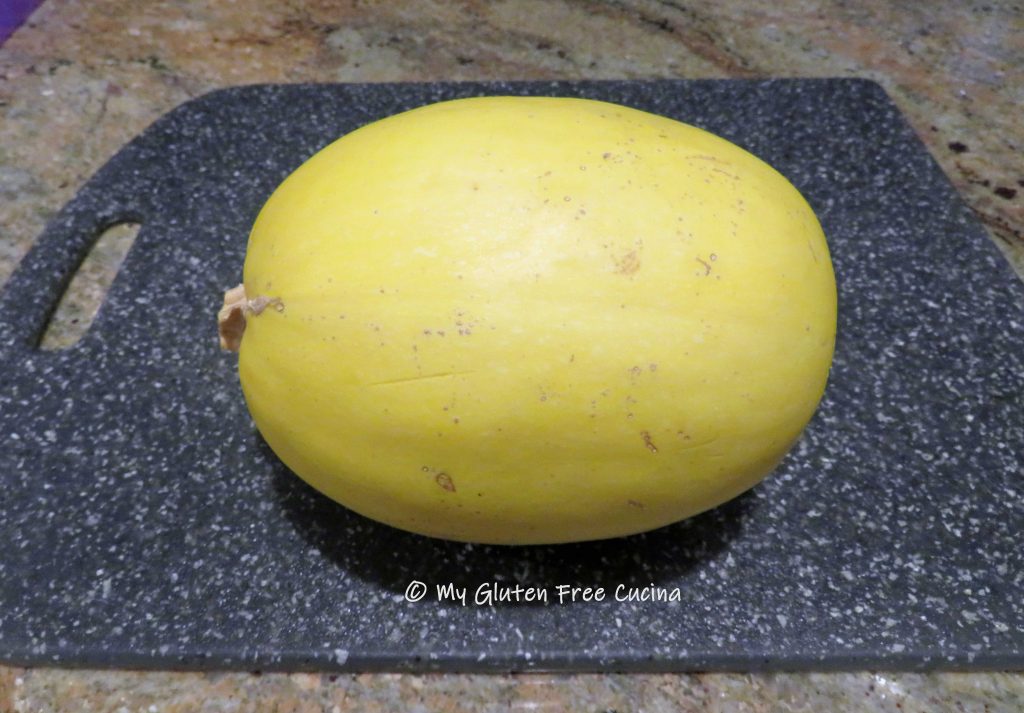
I used a medium sized spaghetti squash (about 8” long) for the two of us.  To double or triple the recipe, choose squash that are all about the same size so that they finish cooking at the same time.
2 Servings

This post contains affiliate links.

Ingredients:

For the Meat Sauce

  • 2 tbsp. Olive oil, divided
  • ½ lb. Lean ground beef
  • Italian seasoning, to taste
  • ½ cup onion, diced
  • 3 garlic cloves, minced
  • 1/2 cup mushrooms, diced
  • ¼ cup carrots, grated
  • 1 tsp. Basil
  • ½ tsp. Oregano
  • 15 oz. can tomato sauce
  • Ground pepper, a few grinds
  • drizzle of olive oil
  • dash of red wine vinegar
  • ½ cup grated parmesan cheese
  • parsley or chives

Preparation:

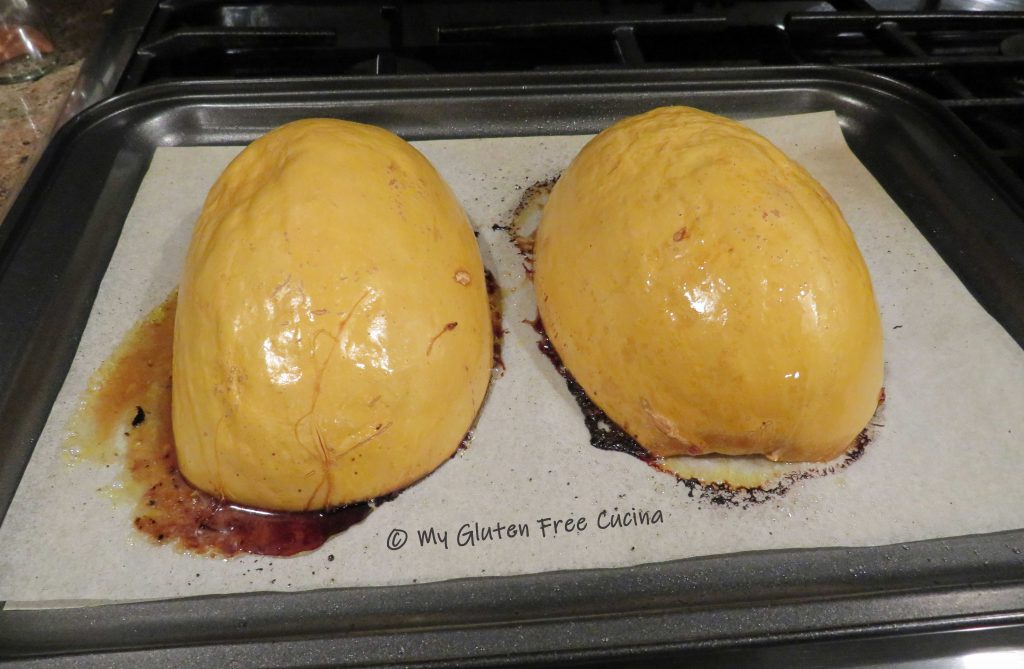
Using a sturdy knife, cut the spaghetti squash in half.  Believe it or not this is the most difficult part of the whole recipe!

Scrape out the seeds with a large spoon.  Brush each half with about 1 tbsp. of olive oil, and sprinkle generously with Italian seasoning.

Place the two halves cut side down on a parchment lined baking sheet.  Bake for 1 hour at 400°.
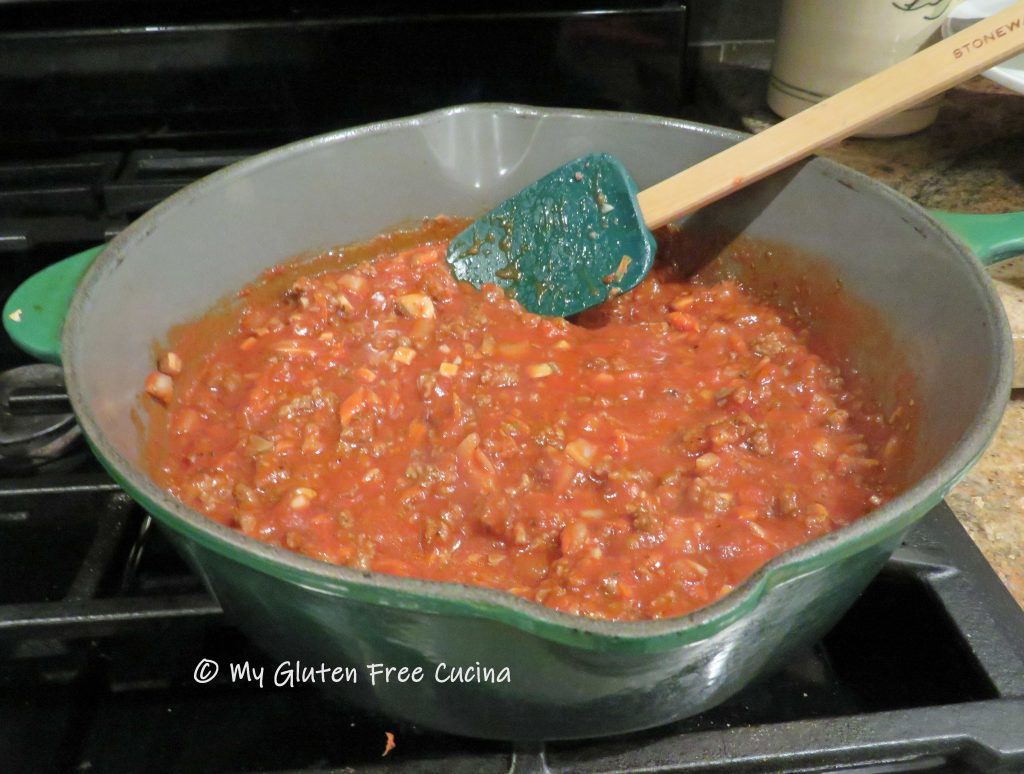
While the squash is baking make the meat sauce.

Heat a deep skillet with one tbsp. olive oil and add the ground beef.  Cook on low heat, turning and breaking up the meat with a meat spatula.

When the beef has browned, stir in the onions, followed by the garlic, carrots and mushrooms.  Sprinkle with Italian seasoning and fresh ground black pepper.  Continue cooking 3-4 minutes, stirring frequently to help the liquid evaporate.

Next add the tomato sauce, basil, and oregano.  Drizzle with 1 tbsp. olive oil and 1 tsp. red wine vinegar.  Simmer on low for about 30 minutes or until the squash is ready.  Stir frequently and watch that it doesn’t burn.
When the squash has baked for 1 hour, remove from the oven.  Use tongs to carefully turn the halves over and let them cool for 10-15 minutes until they are safe to handle.

Use 2 forks to shred and separate the “spaghetti” and transfer it to a bowl.

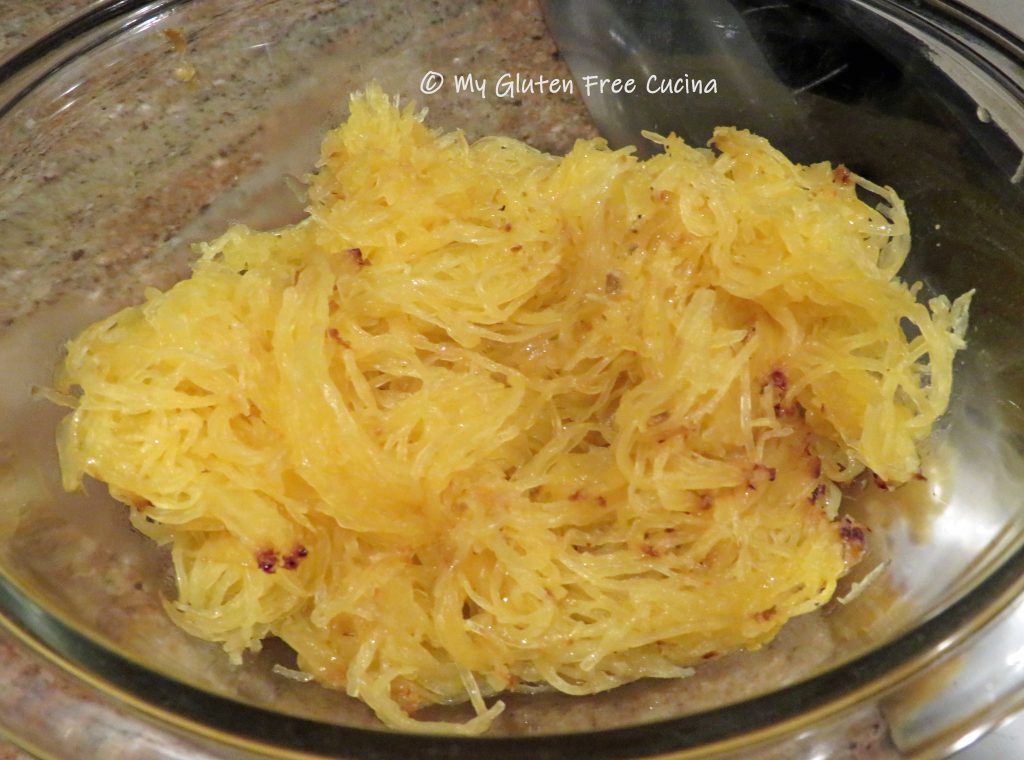
Toss with half of the meat sauce and spoon the mixture back into the squash shells.

Top with more sauce, grated cheese and herbs.  Return to the oven for another 20-30 minutes.
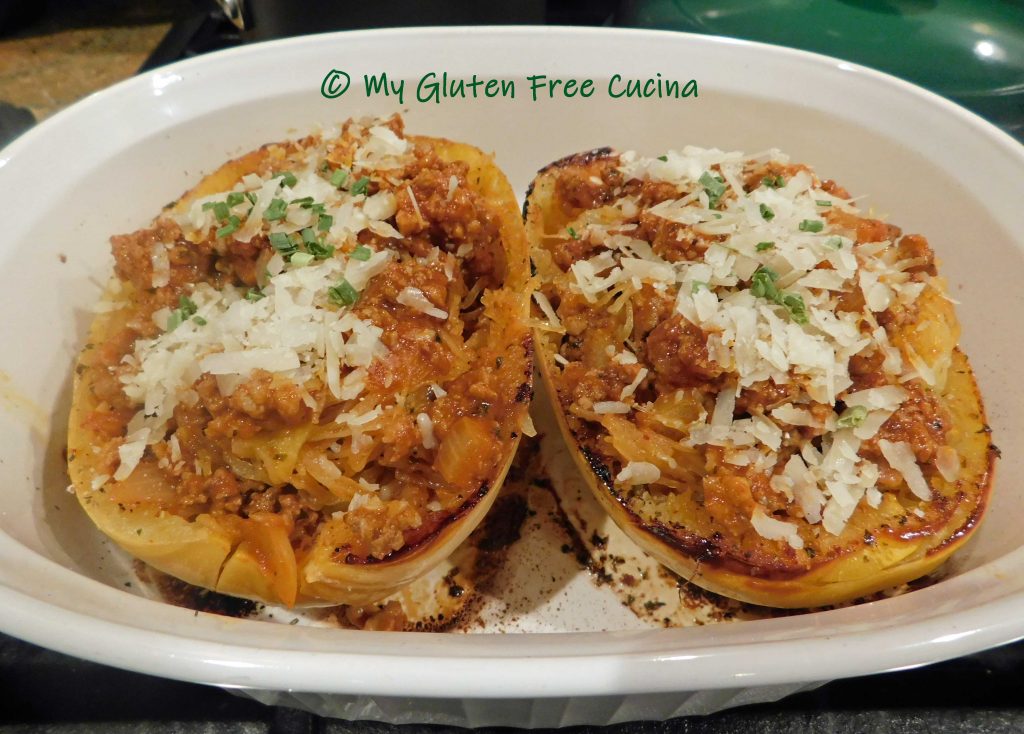
You can finish them off under the broiler for 2-3 minutes to crisp up the edges.

Serve in the shell with extra sauce on the side.

Notes: ♪♫ Roasting is my favorite way to prepare vegetables and spaghetti squash is no exception.  It does require more time than boiling but so worth it – you will taste the difference!

Print This Post Print This Post

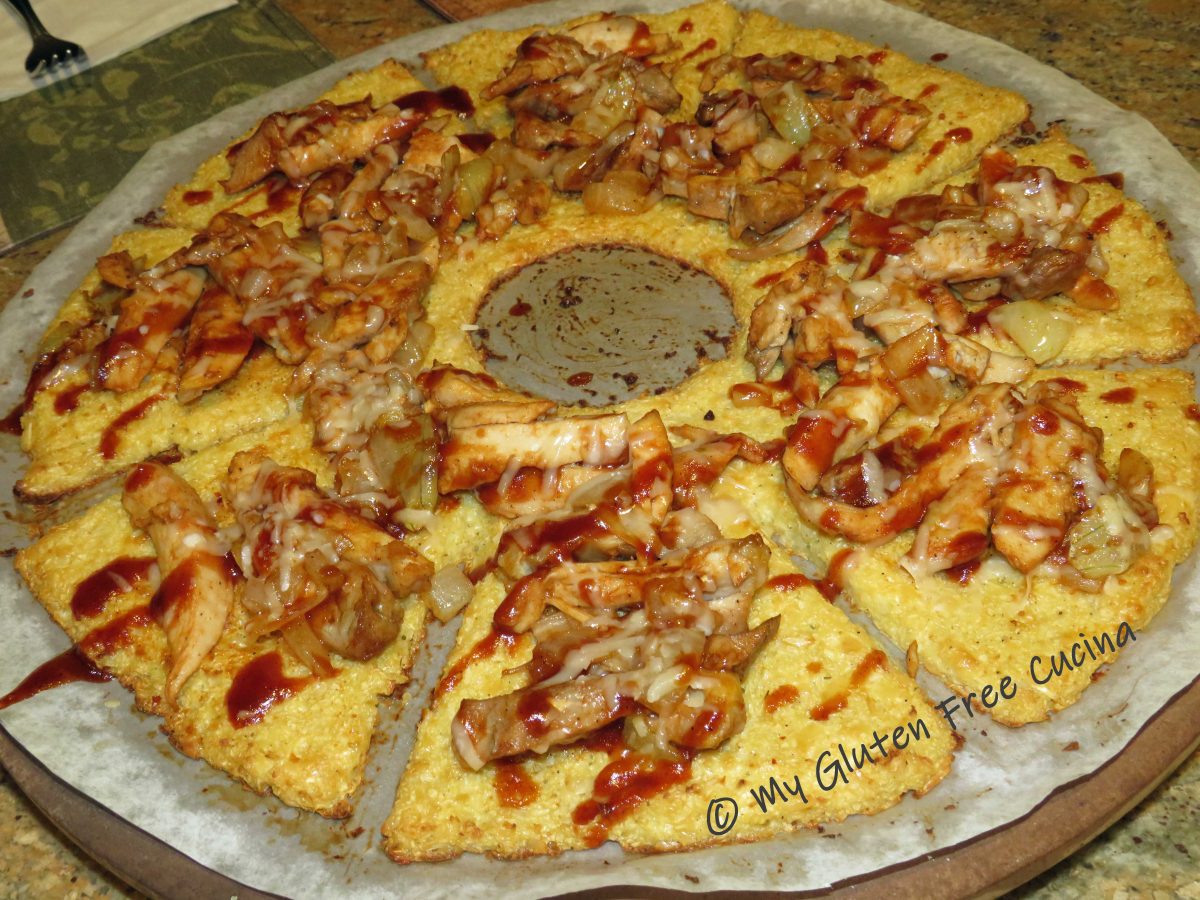
Cauliflower Pizza Wreath

Since this is Christmas week, I thought I would make a festive wreath shaped Cauliflower pizza!  Both gluten free and grain free, try this guiltless indulgence to balance out all those holiday cookies!

This post contains affiliate links.

Ingredients:

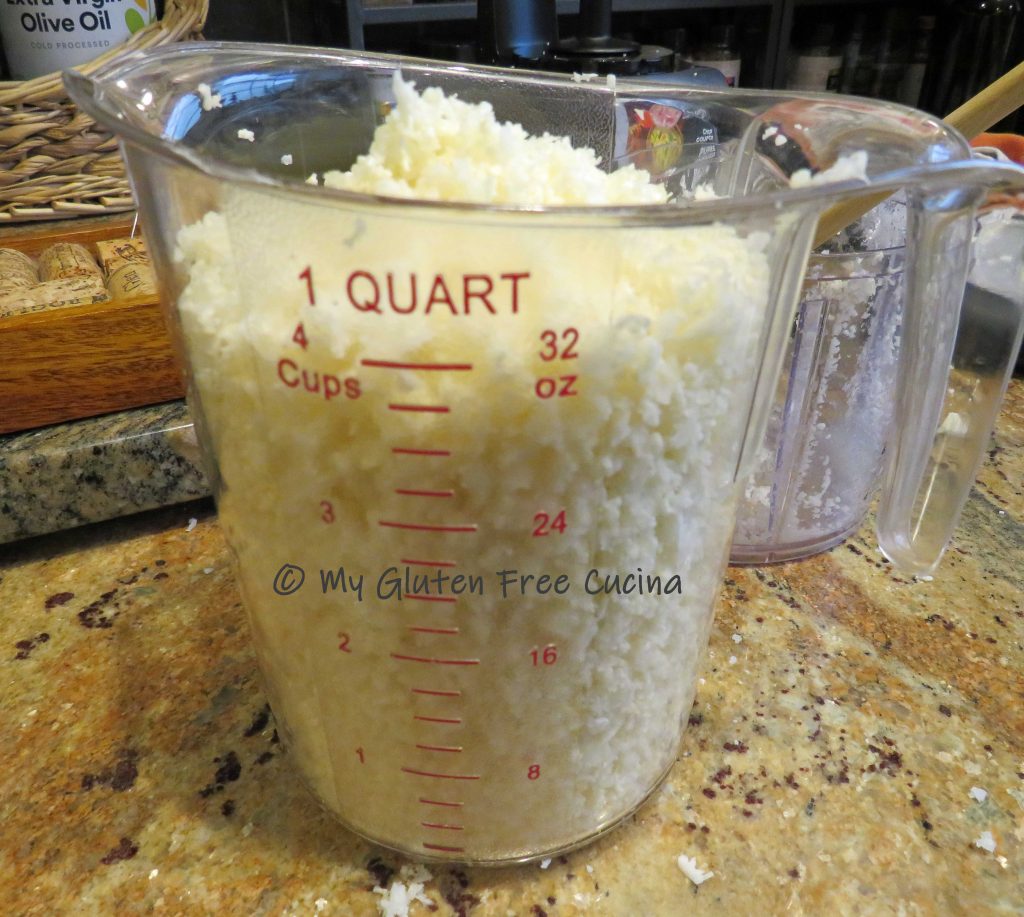
  • 4 cups grated cauliflower
  • 1/4 cup cream cheese, softened
  • 3/4 cup grated gruyere cheese
  • 1/4 cup grated parmesan cheese
  • 2 boneless, skinless chicken thighs
  • 1/2 sweet onion, diced
  • 1/4 cup gluten free BBQ sauce (I love Stubbs)
  • 1 egg
  • Italian seasoning or seasoned salt
  • olive oil

Preparation:

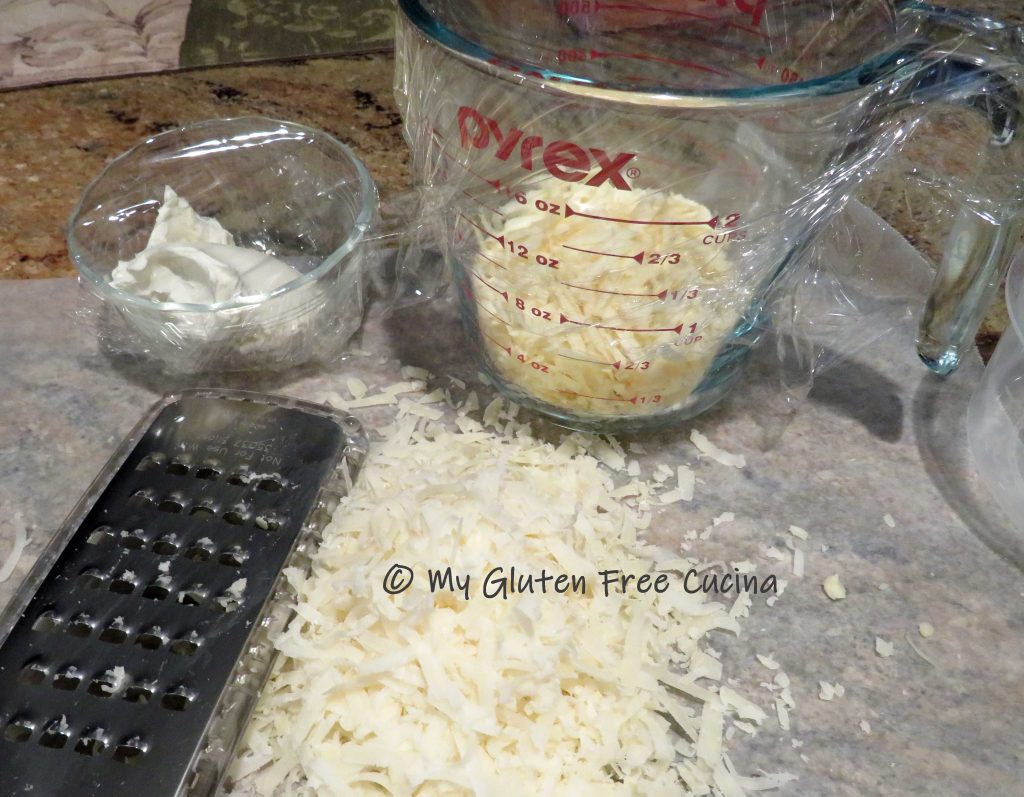
Use a hand grater or electric chopper to make 4 cups of grated cauliflower.  I usually grate my own, but you can purchase pre-grated in the fresh or frozen section.

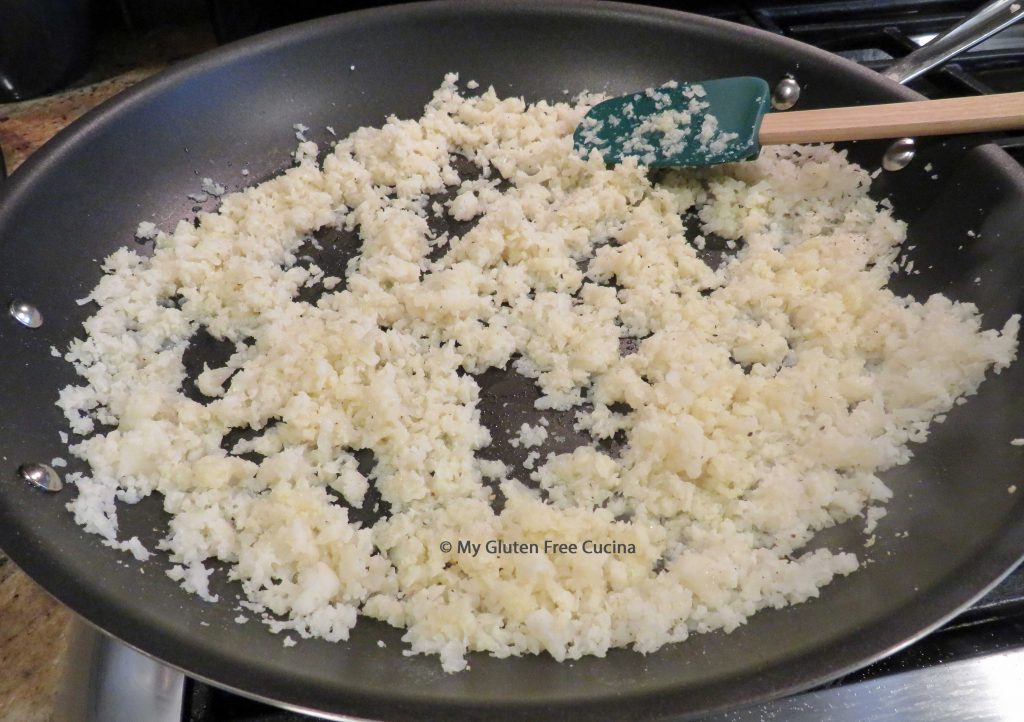
Cook the grated cauliflower for 3-5 minutes in a large nonstick skillet, with 2 tbsp. olive oil and 1/2 tsp. Italian seasoning.  Set aside to cool.

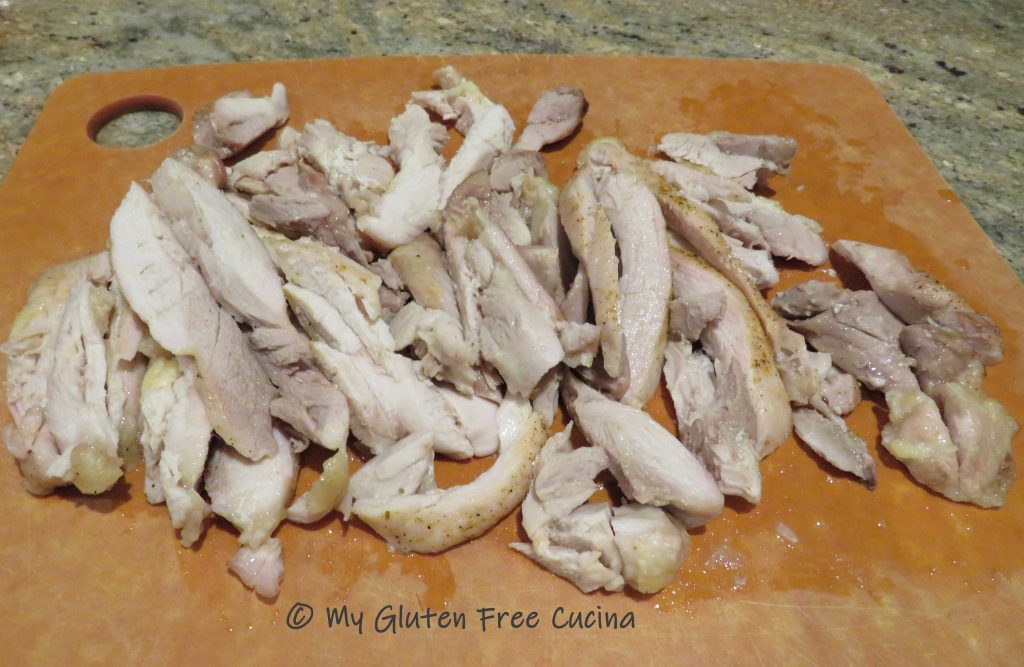
Toss the chicken thighs with 1 tbsp. olive oil and sprinkle with seasoning.  Bake for 1/2 hour at 350º.

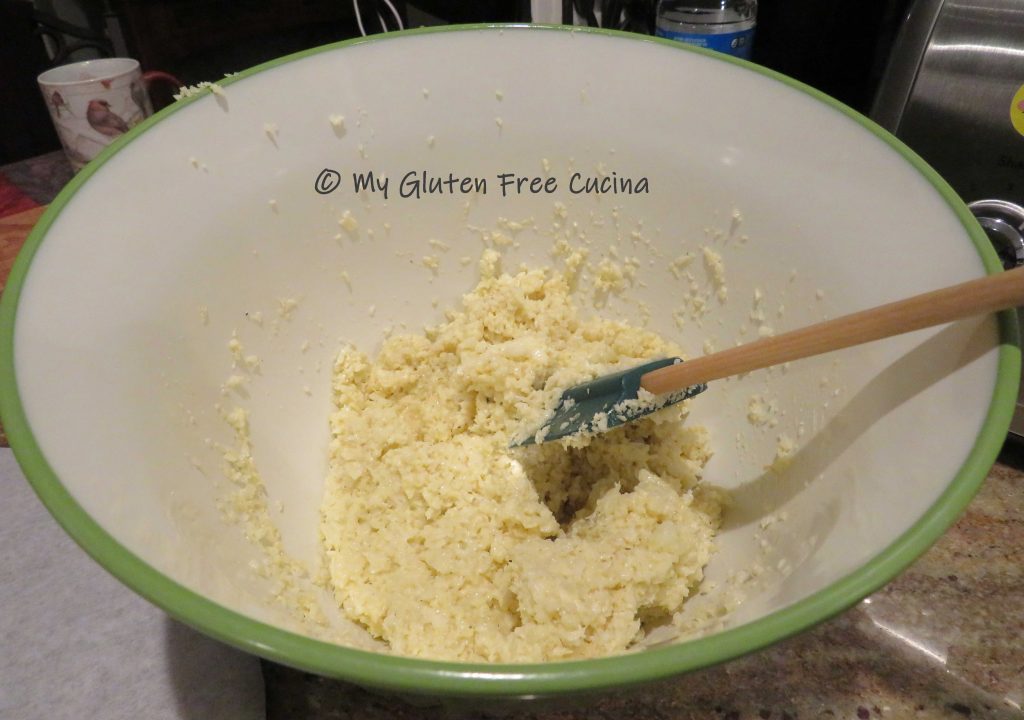
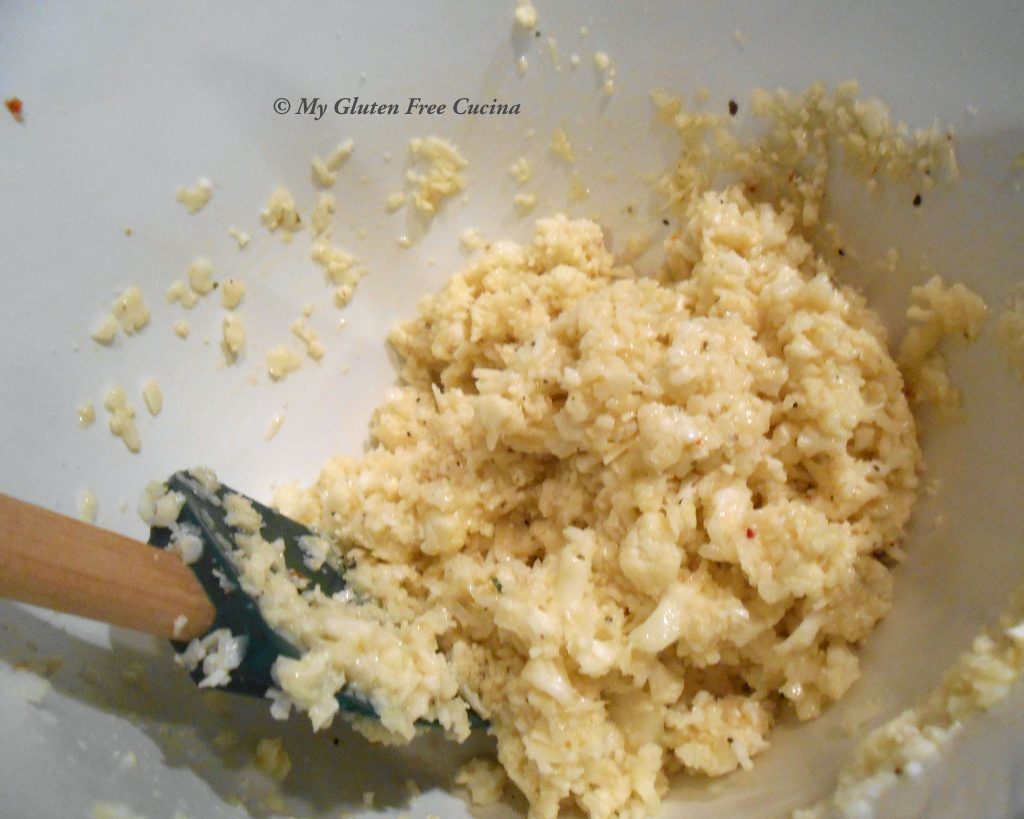
Mix the cooled cauliflower with the beaten egg, cream cheese and gruyere cheese.

Line a pizza stone with parchment paper cut to size.

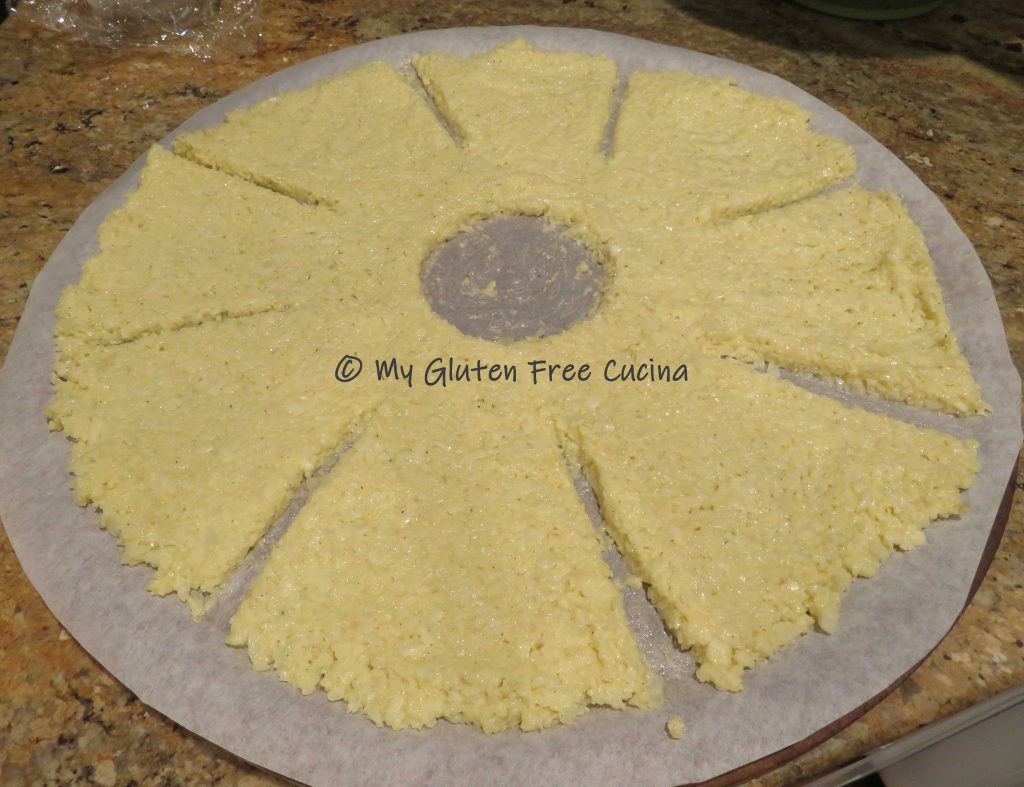
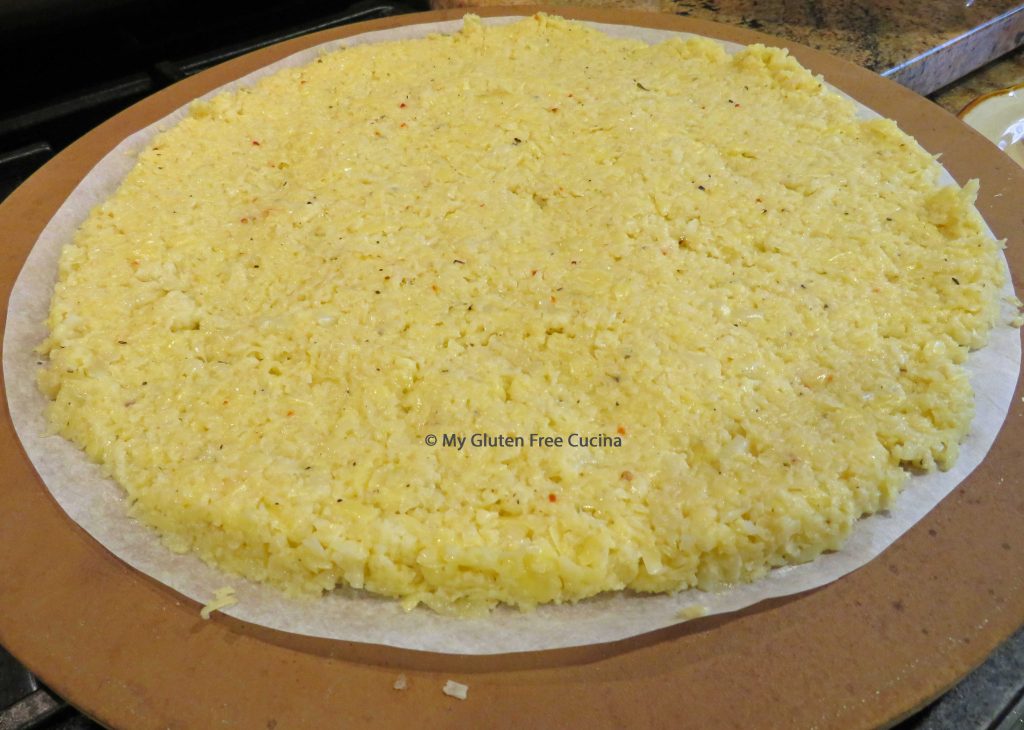
Spoon the cauliflower mixture onto the parchment and spread into a 1/2″ thick circle.

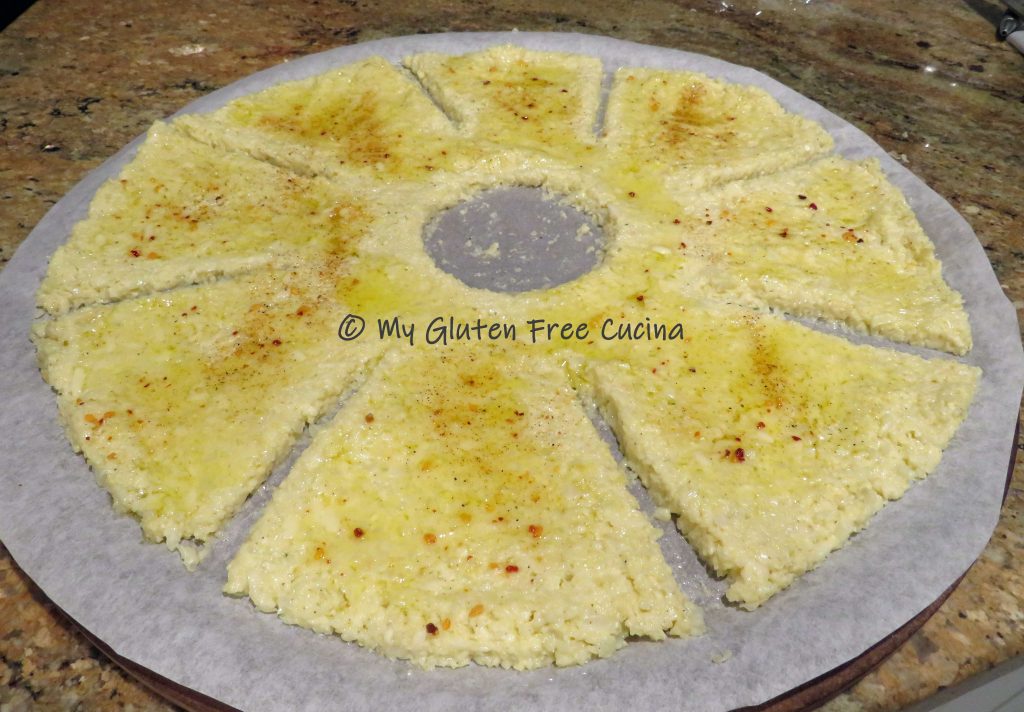
I used a small pinch bowl to make a circle in the center and scooped it out with a spoon.

Next use a spatula to create 8 sections and smooth the edges.  Brush with olive oil and sprinkle with more seasoning.

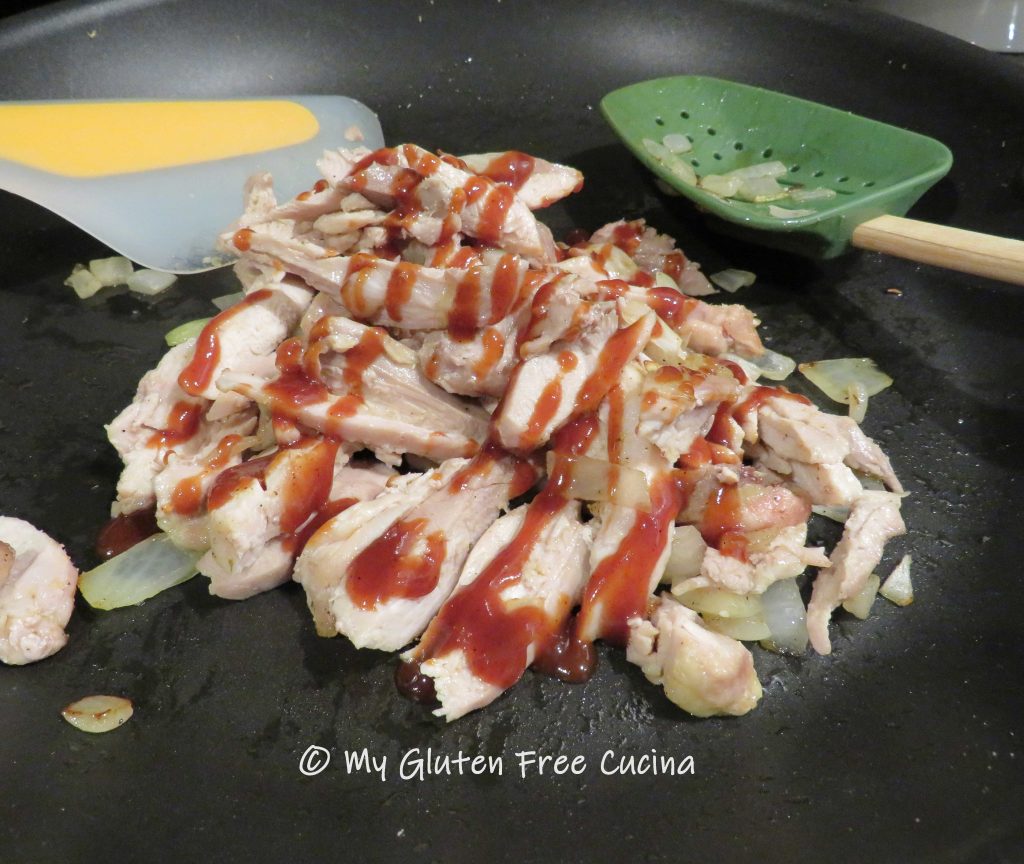
Bake for 25 minutes at 400º.  Meanwhile, cook the onion in a little olive oil until softened.  Chop the cooked chicken and add to the onion, drizzle with BBQ sauce.

Brush the baked cauliflower with more olive oil, especially around the edges and arrange the filling in an even layer.  Sprinkle with parmesan and drizzle more BBQ sauce.

Return to the oven for 5 more minutes to heat the chicken through and melt the cheese.

Notes ♪♫ Remember, a cauliflower pizza crust is baked separately from the toppings, which are added during the final 5 minutes of cook time.  That means any toppings you choose, like our chicken and onions must be fully cooked before adding to the pizza.

If you enjoyed this post, check out my Sausage and Mushroom Pizza on a Cauliflower Crust and my Cauliflower Cakes!

Print This Post Print This Post

Sausage and Mushroom Pizza with a Cauliflower Crust

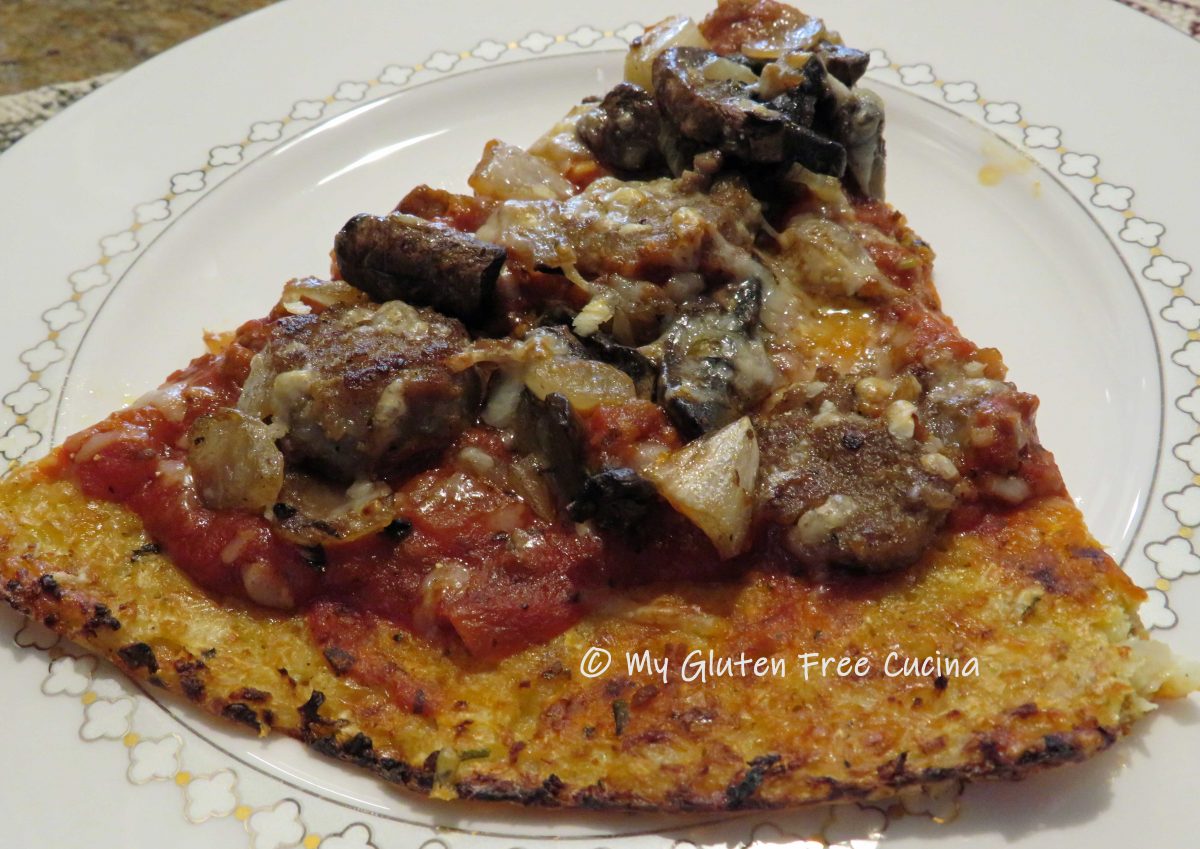
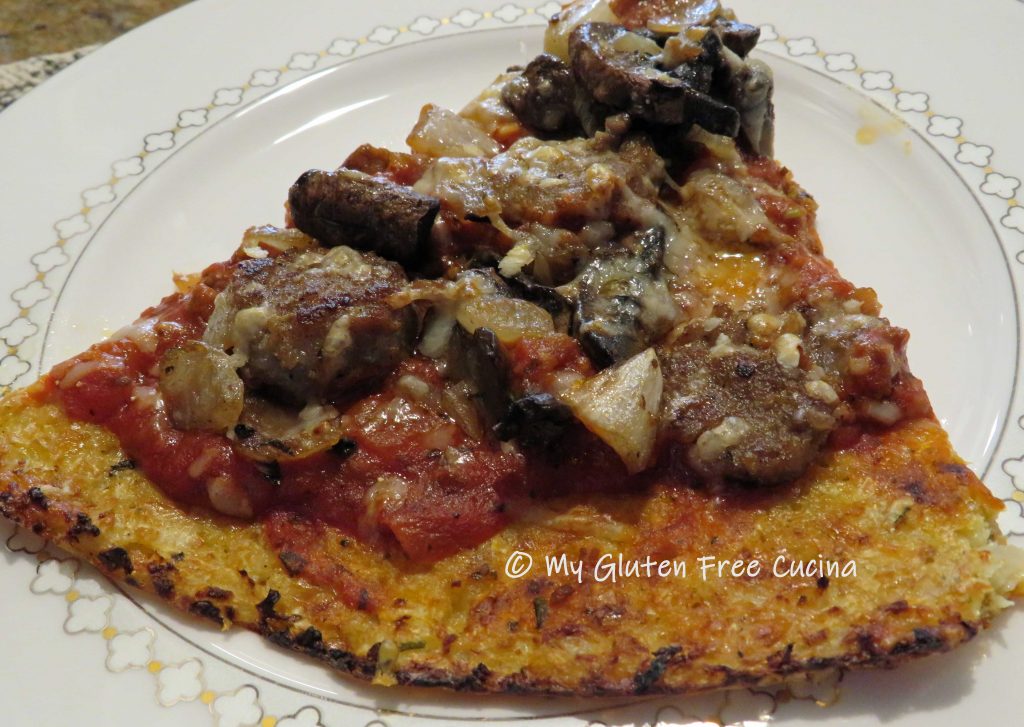
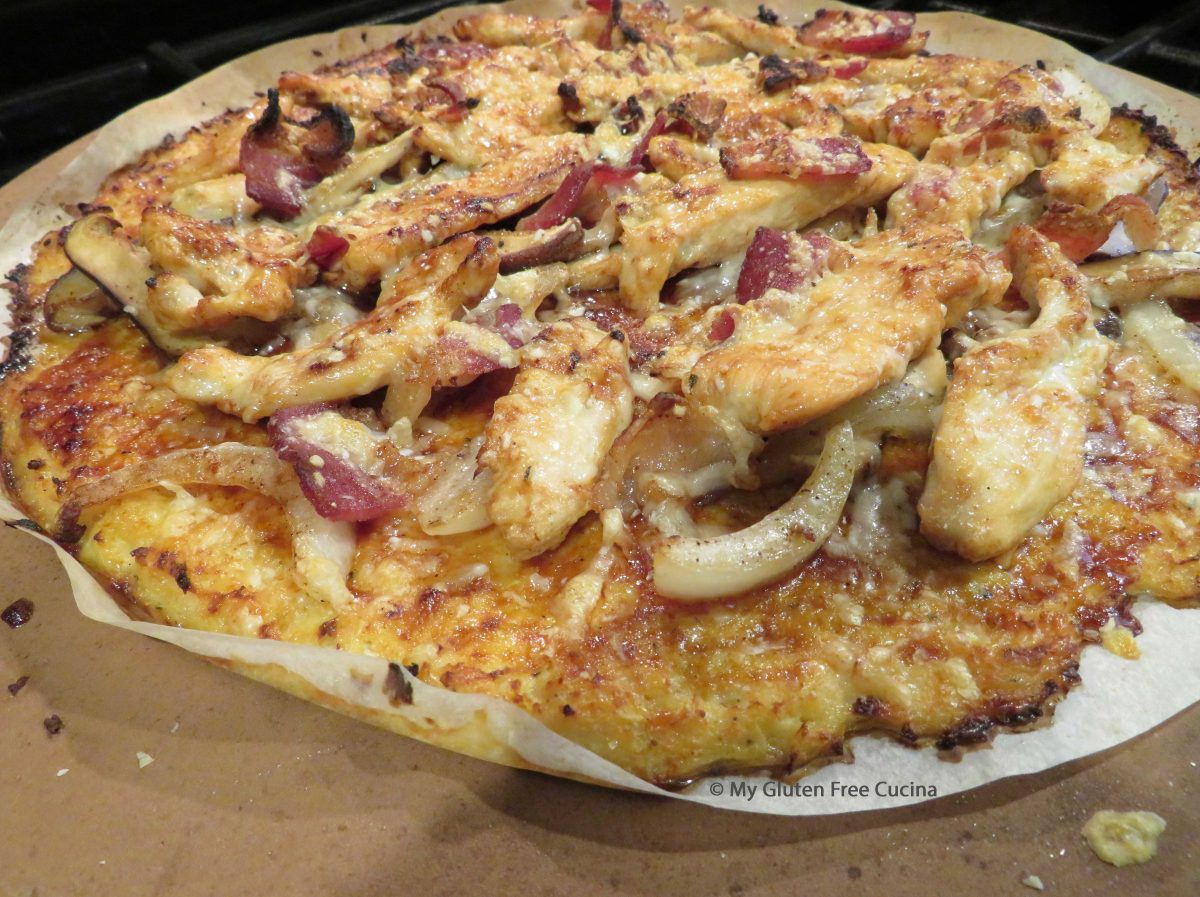
Tonight I made a gluten free and grain free pizza with a cauliflower crust.  If you have never had a cauliflower pizza crust you will be amazed at how tasty it is, and without the grain you won’t be left with that overly stuffed feeling!  The most important thing you need to know about this pizza is that the crust and the toppings are cooked separately.  Only at the end are they assembled and finished together.  This pizza features my favorite Italian style toppings, sausage and mushroom!

As a main course, one pizza will be enough to serve 3 (2 slices each).

Ingredients:

  • 4 cups grated cauliflower
  • 2 tbsp. olive oil
  • salt and pepper to taste
  • 1 tsp. gluten free Italian Seasoning, divided
  • 1 cup Gruyere cheese, grated
  • 1 large egg
  • 6 oz. gluten free sweet Italian sausage, cut into coins
  • 1/2 sweet onion, diced
  • 8 crimini (baby bella) mushrooms, sliced
  • 1/3 cup sauce (use leftover from another meal or jar sauce)
  • 1/3 cup Parmesan cheese, grated
The Lazy Gastronome

Preparation:

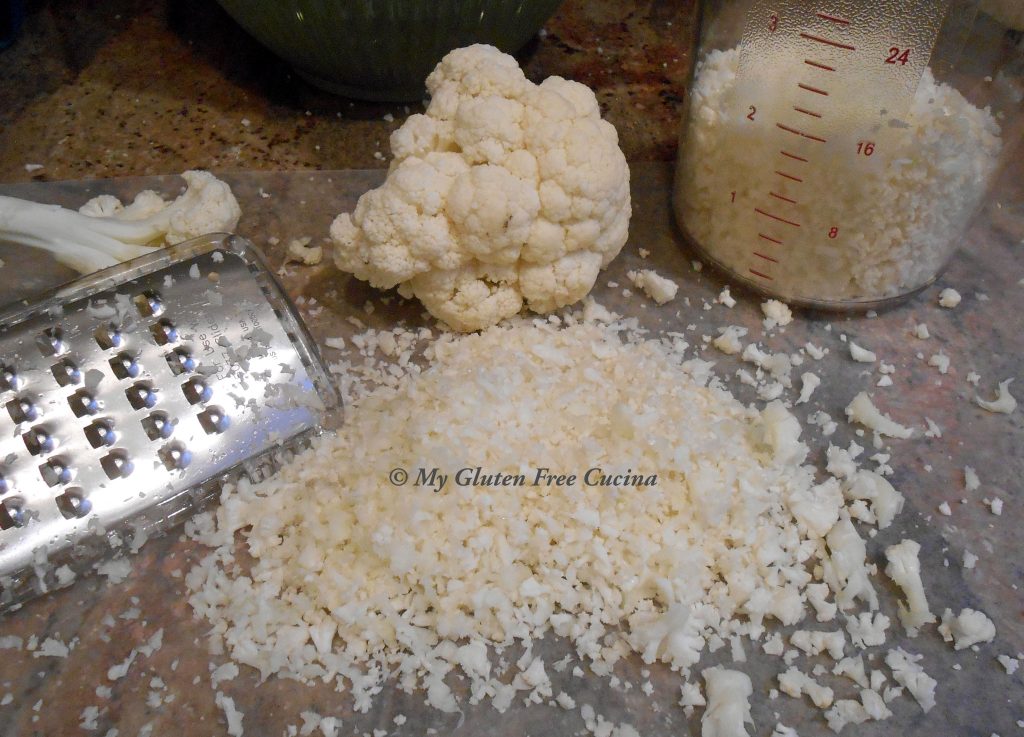
Pulse the cauliflower in a food processor or mini chopper and measure 4 cups.  Do the same with the Gruyere cheese, you will need 1 cup.

Heat 2 tbsp. olive oil in a large nonstick skillet, and cook the cauliflower for about 3 minutes, stirring frequently.  Season with salt, pepper and 1/2 tsp. Italian seasoning.  When finished, transfer the cauliflower to a bowl and cool to room temperature (you don’t want the egg to cook).  To speed things up you can place it in the fridge for 20 minutes.

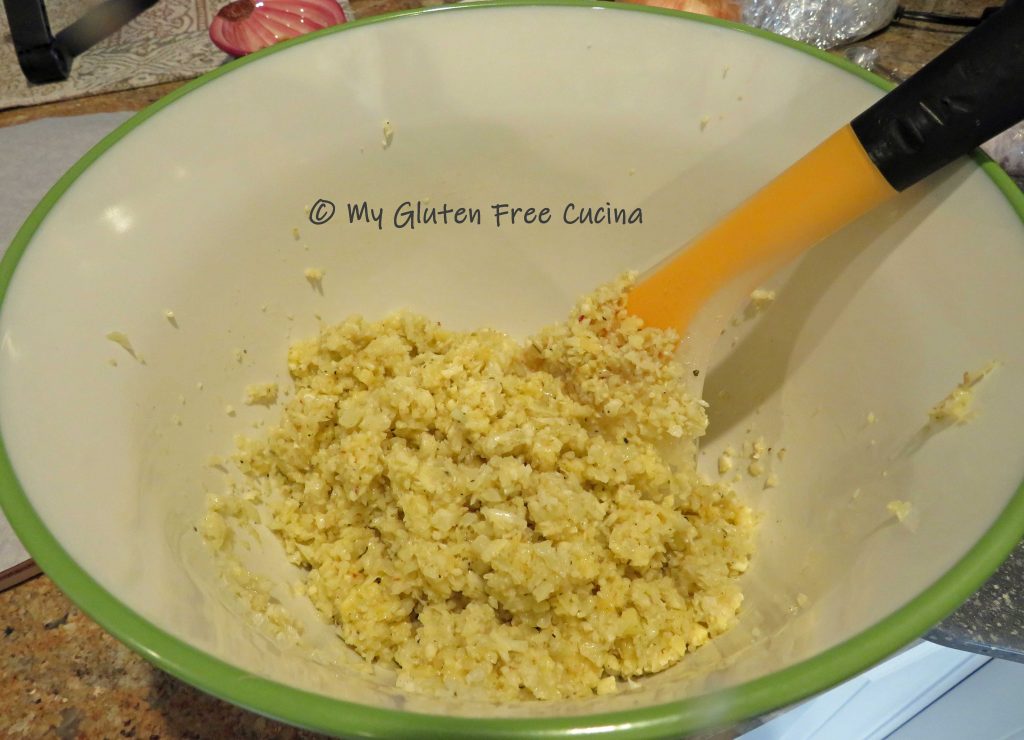
When the cauliflower has cooled, beat the egg, 1/2 tsp. Italian seasoning and the grated Gruyere cheese.  Stir in the cooled cauliflower until thoroughly combined.

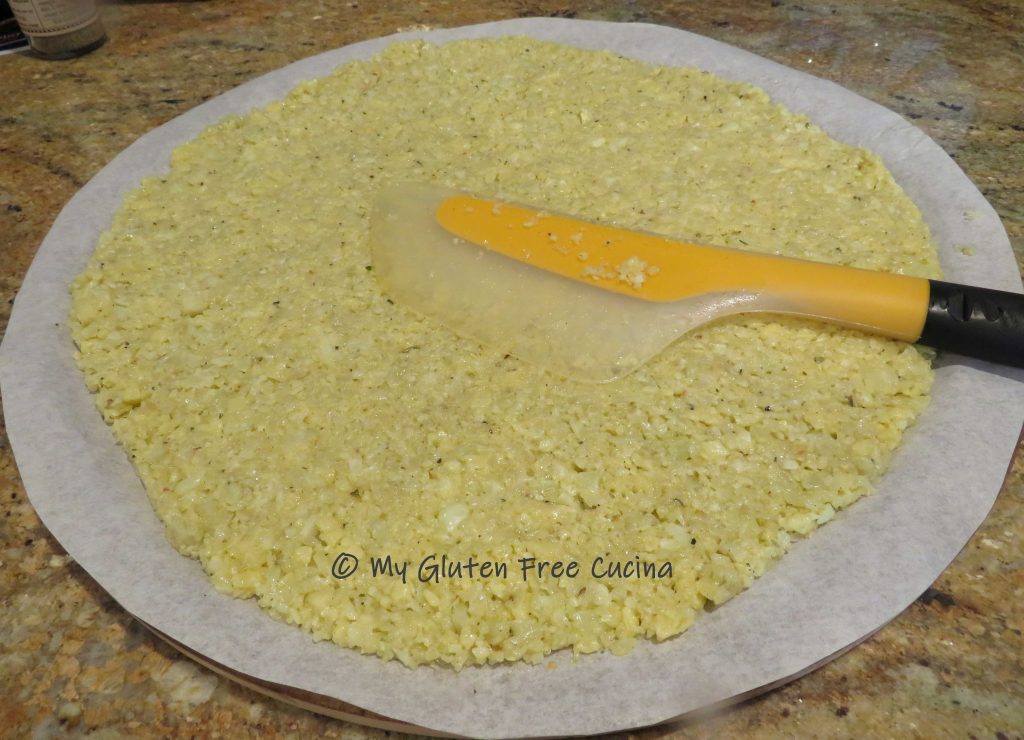
Trace a large sheet of parchment to fit a pizza stone, and turn out the cauliflower mixture onto the parchment.

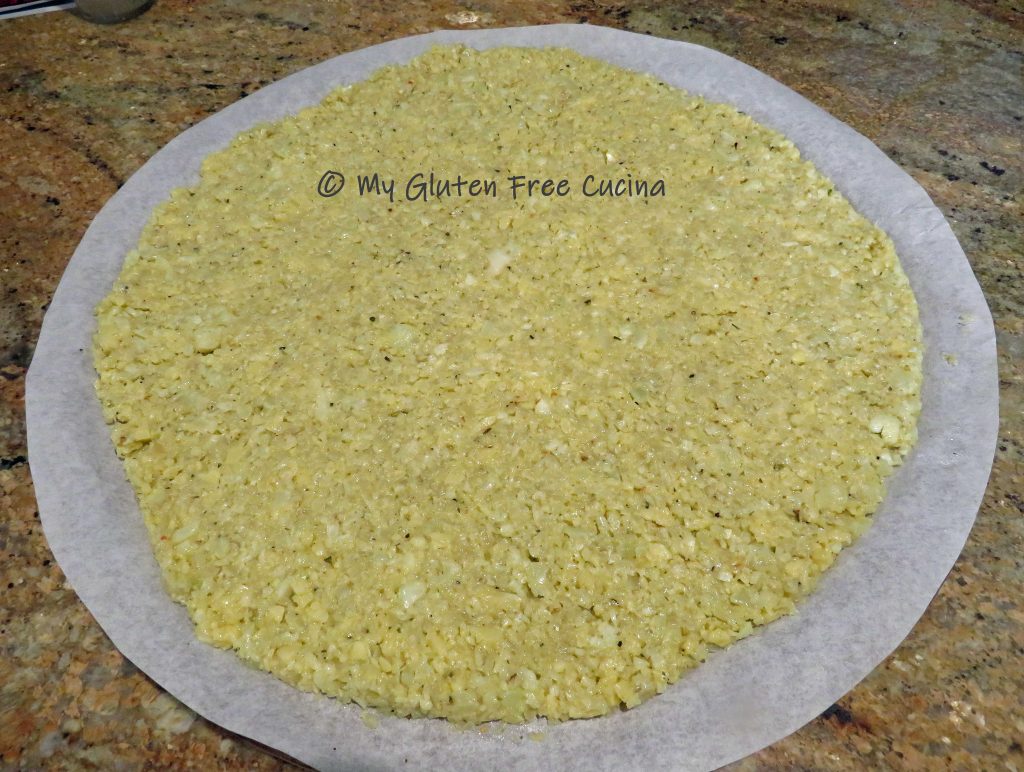
Use a wide spatula to spread the cauliflower in an even 1/2″ layer and neaten up the edges.  This spatula from Oxo was designed for flipping eggs, but I find it is the perfect tool for smoothing out the cauliflower.

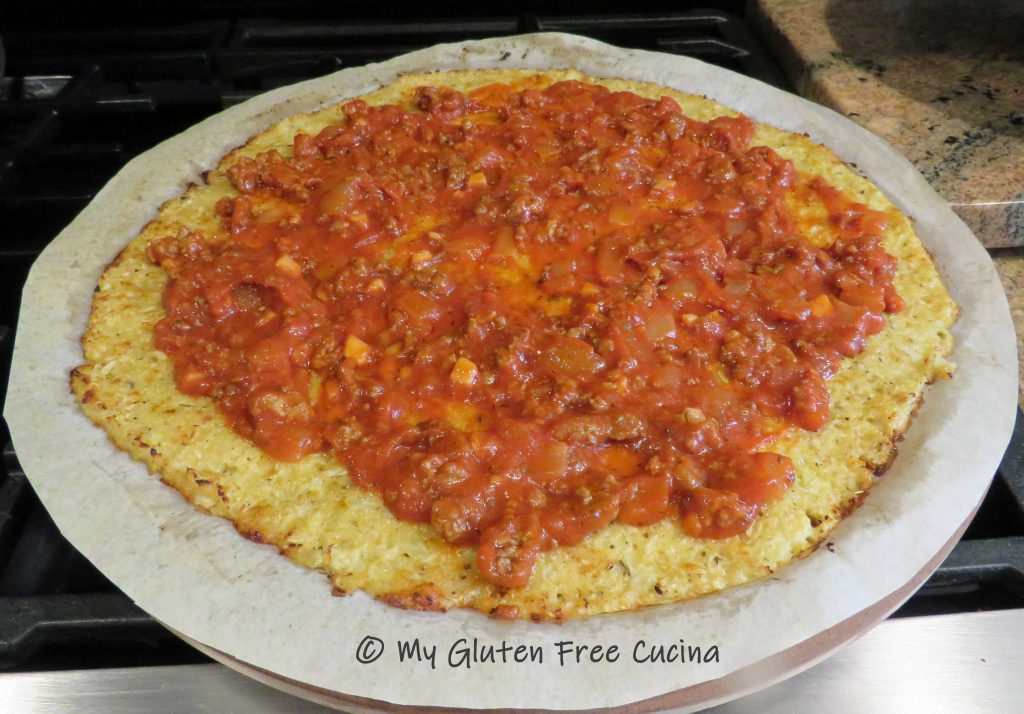
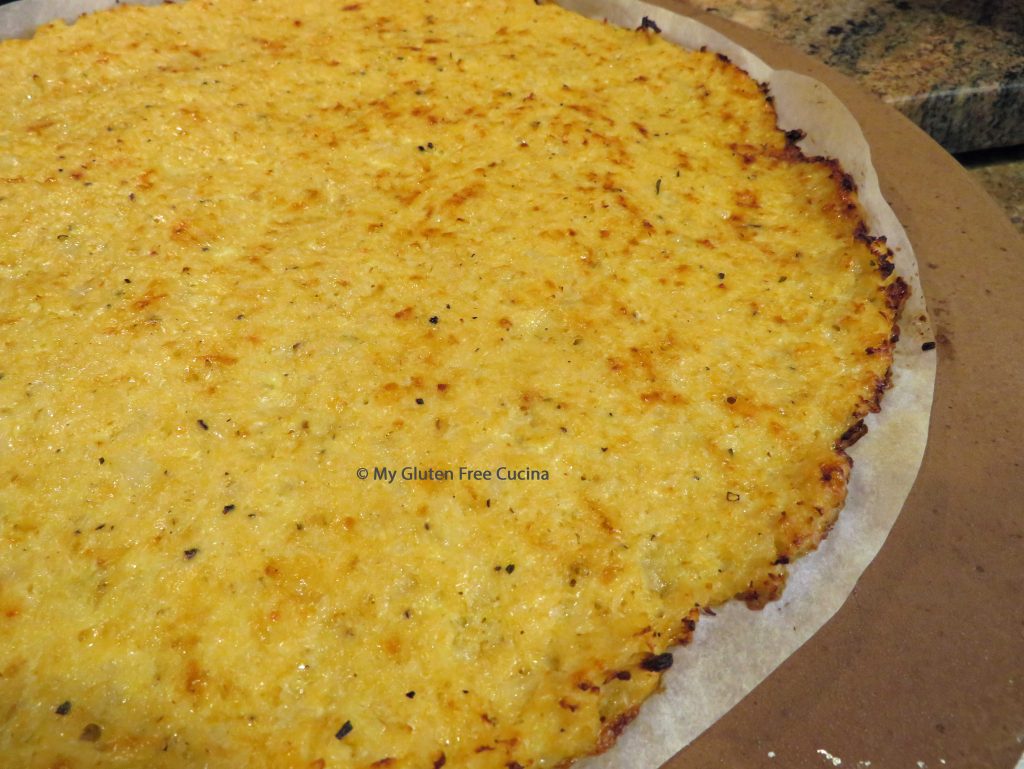
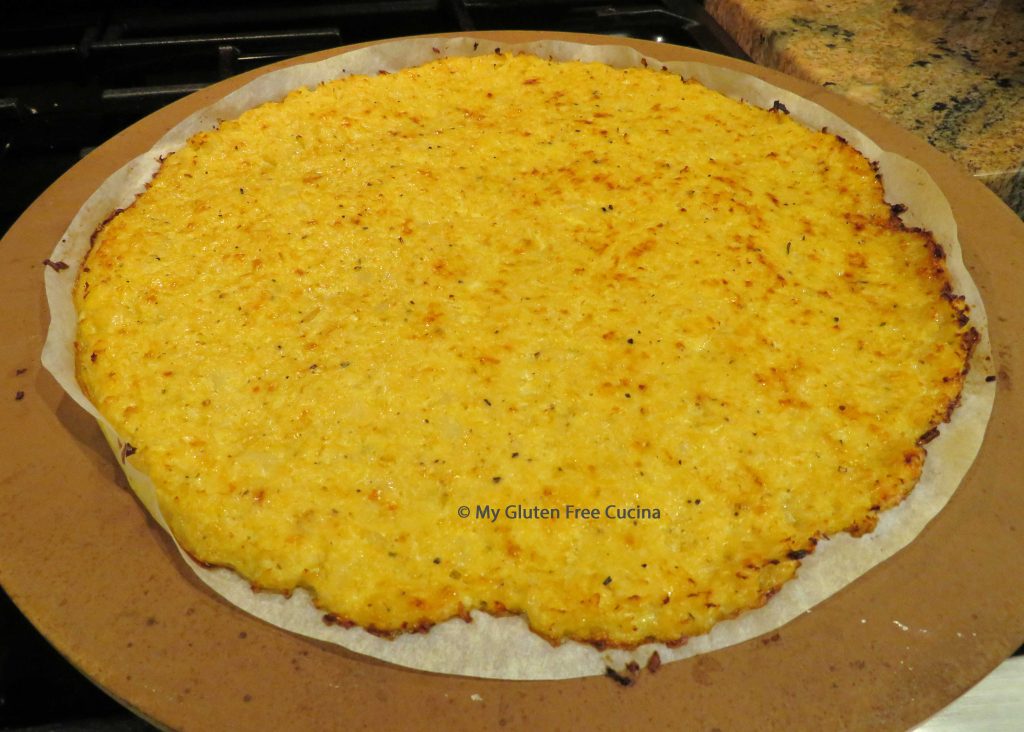
Bake the crust for 20 minutes at 400º, then finish under the broiler for 3 minutes on high.  Here is the baked crust, golden and crisp around the edges.  Brush it lightly with olive oil.

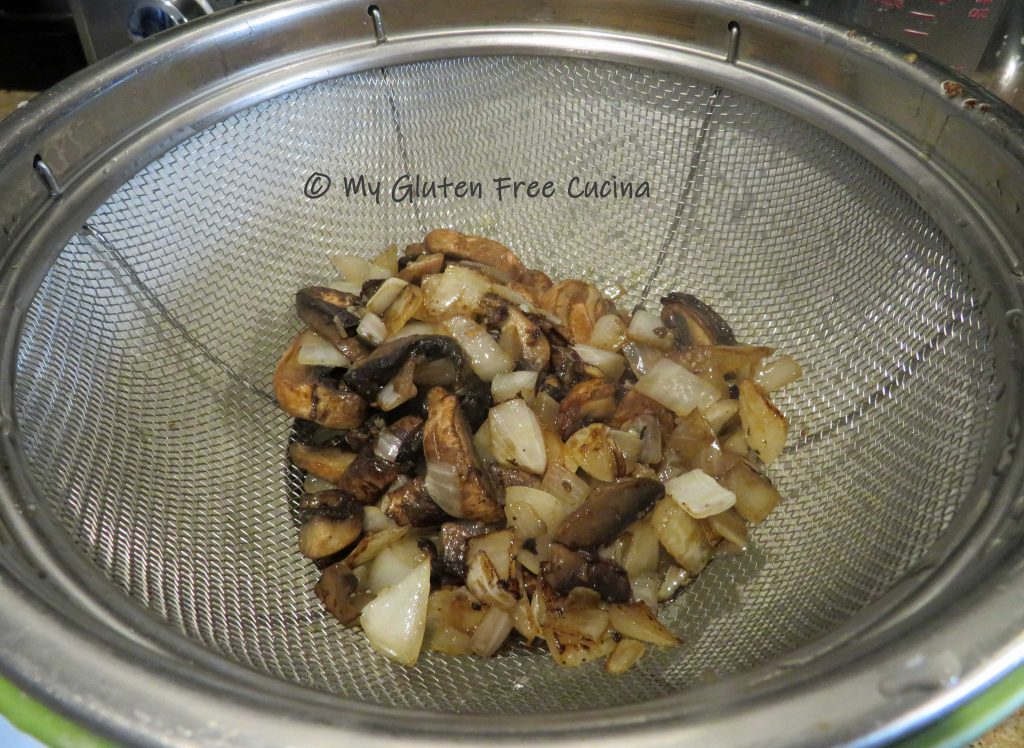
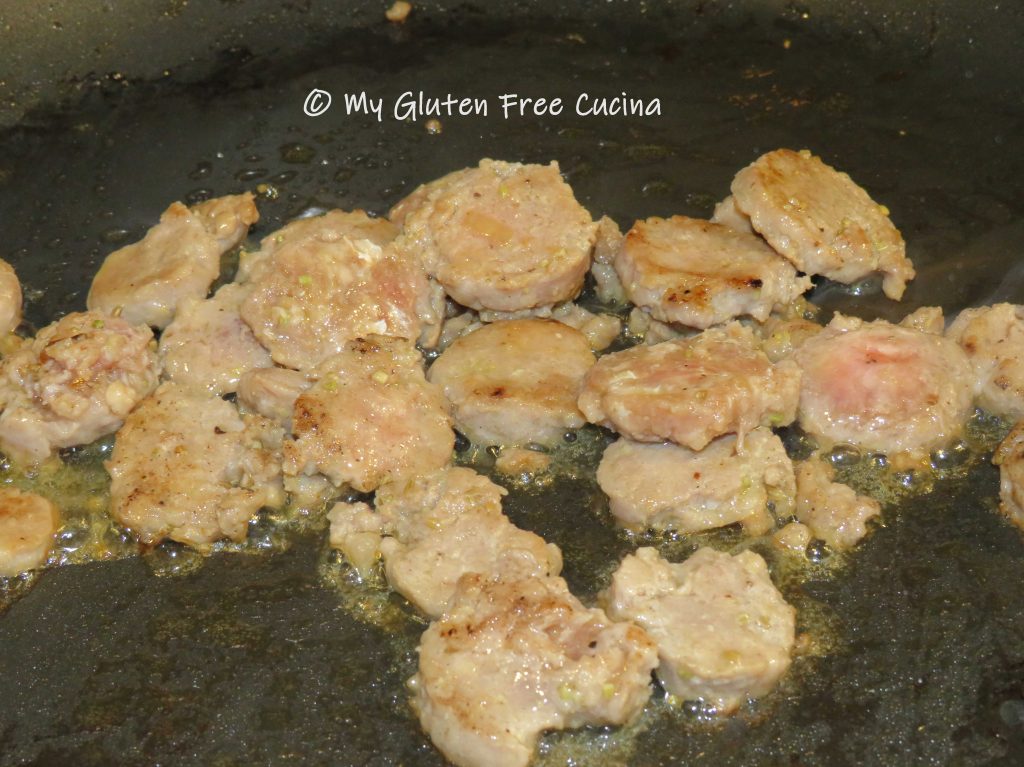
While the crust is baking, cook the toppings in the same skillet with a little olive oil and remaining 1/2 tsp. Italian seasoning.  Remember, all toppings must be cooked through completely.  Drain the toppings after cooking, so they don’t weigh down the crust or make it soggy.

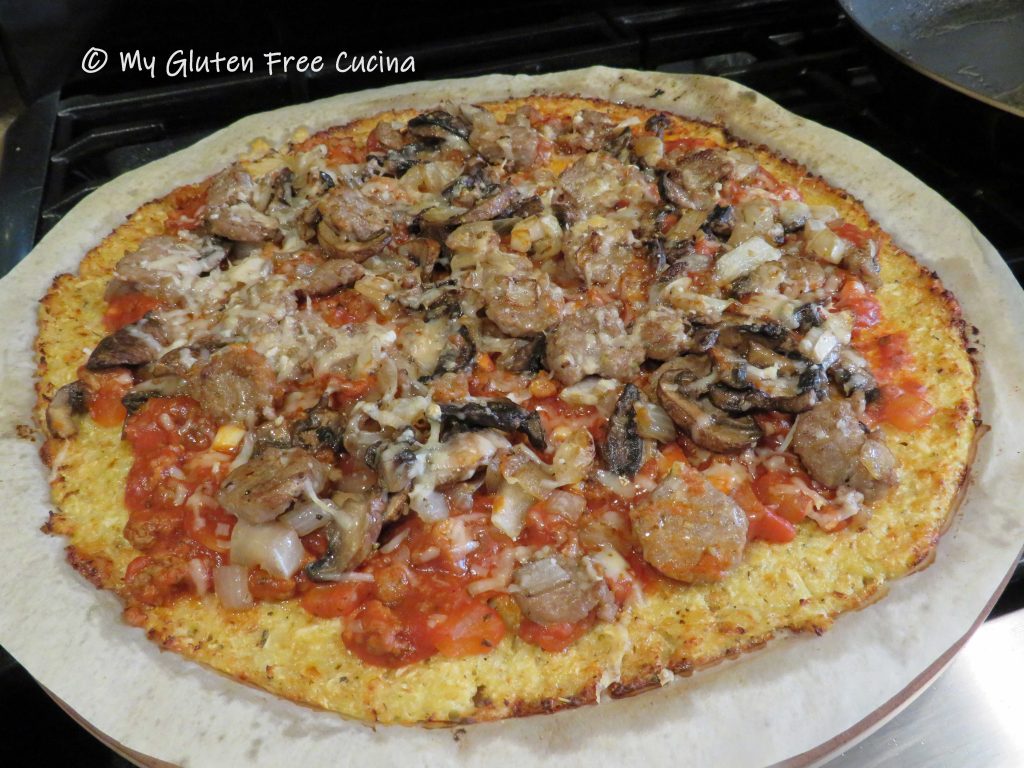
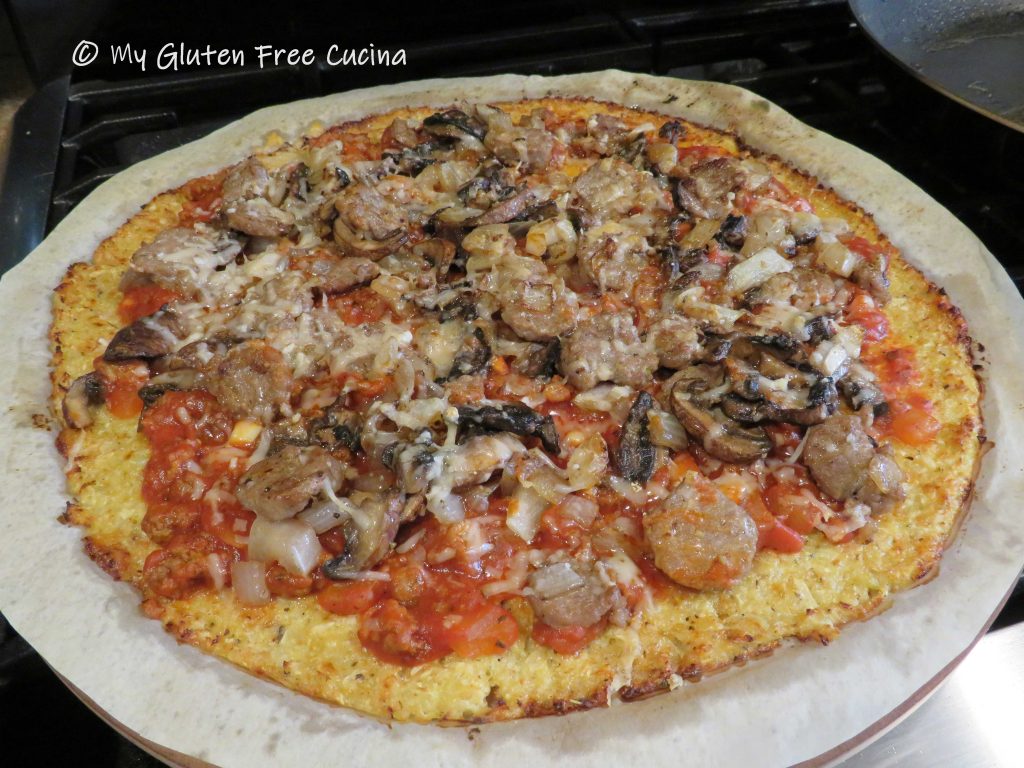
Spread the crust lightly with sauce, and add toppings in an even layer.

Finish with Parmesan cheese and broil for 3 minutes on high.

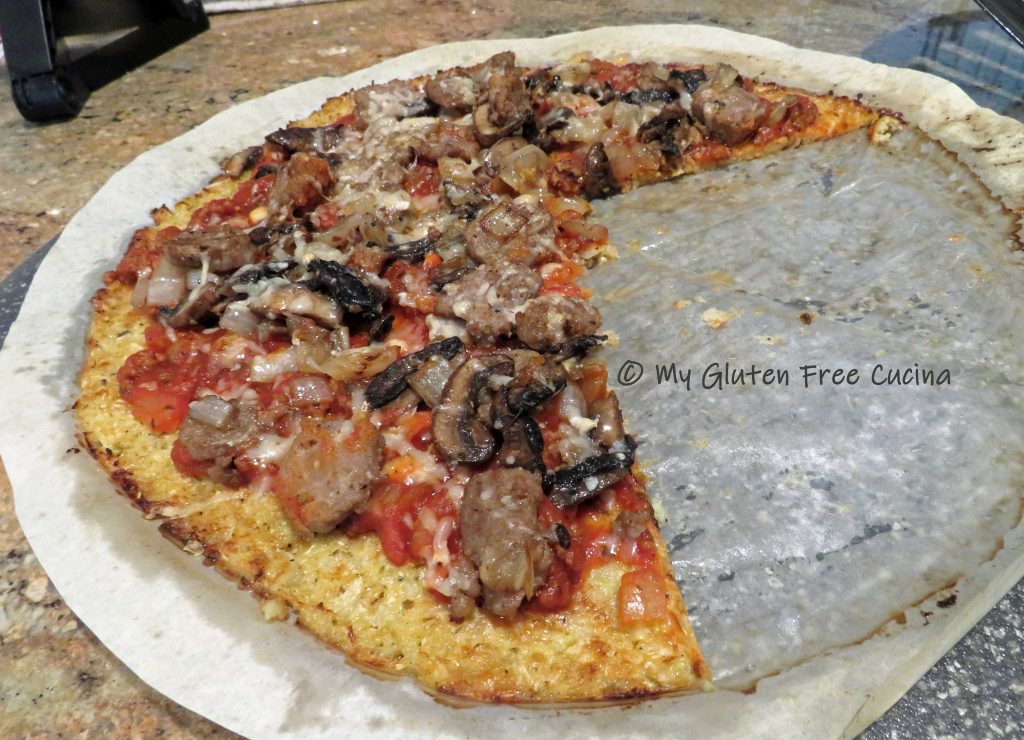
Grab the edge of the parchment and carefully slide the pizza onto a cutting board.  Slice into wedges and use a thin spatula to lift and serve.

Notes: ♪♫  If you enjoyed this post, be sure to check out my Cauliflower Pizza with BBQ Chicken, another gluten free and grain free favorite!
Print This Post Print This Post


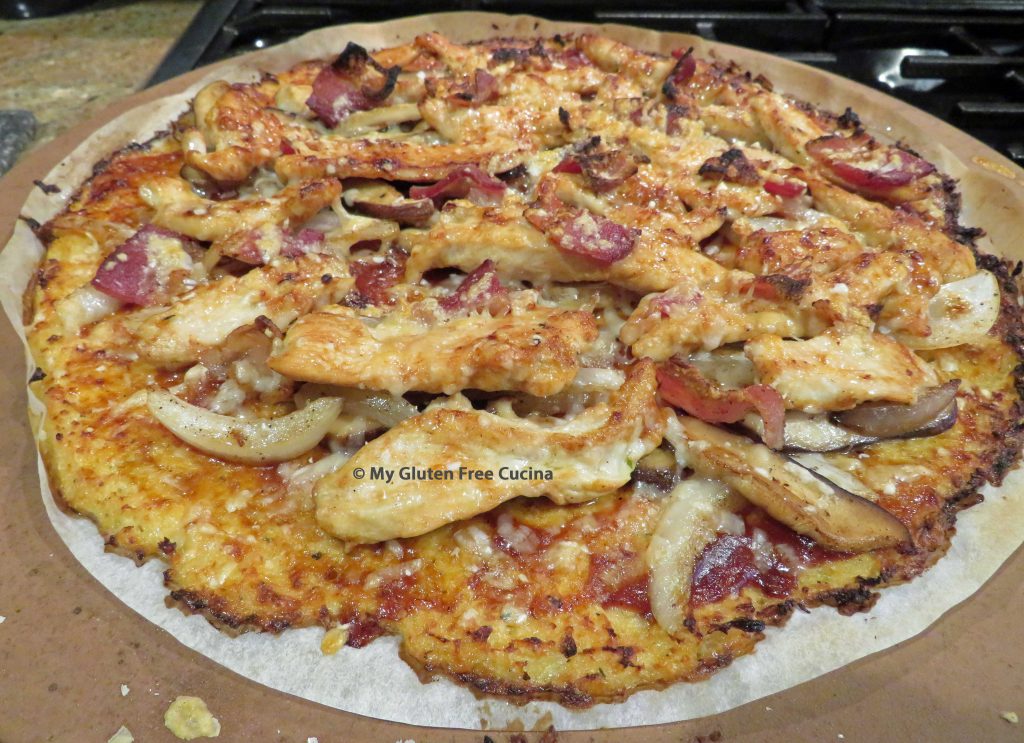
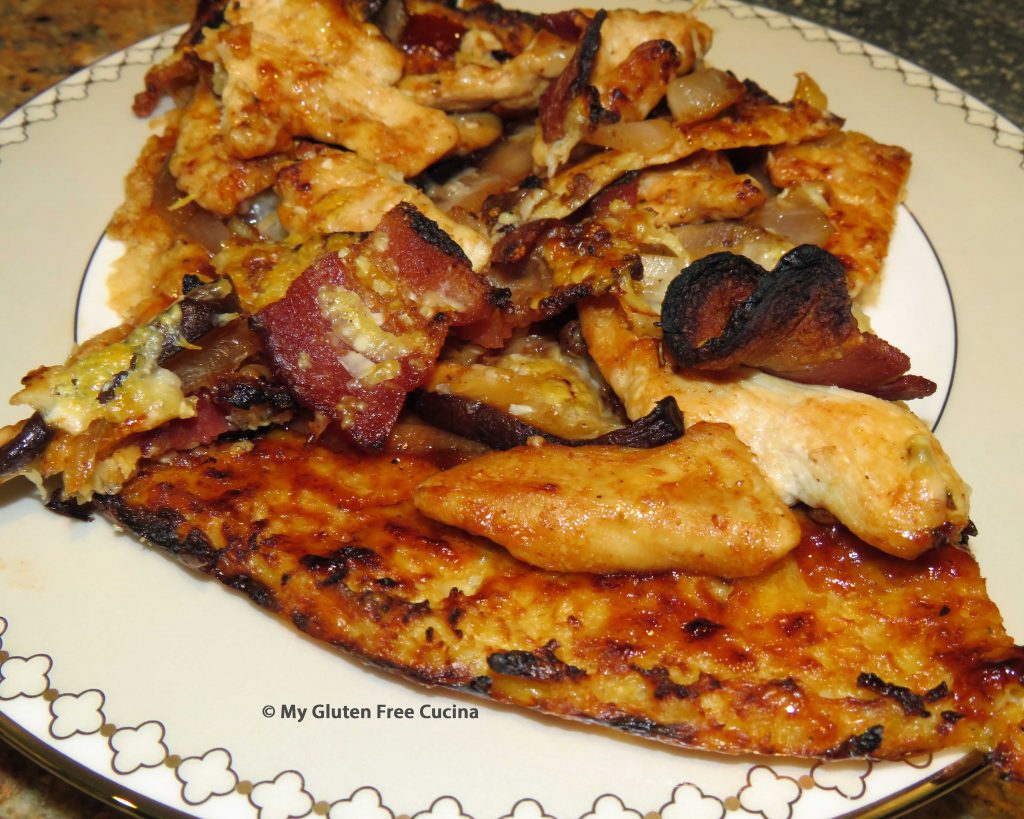
Cauliflower Pizza with BBQ Chicken

Years ago, before I even knew that I had Celiac disease I got into making pizza with a cauliflower crust.  We were trying to lose weight at the time, and I was experimenting with low carb recipes.

Today cauliflower pizza is back in our dinner rotation as a delicious gluten free, grain free option!
This post contains affiliate links.

Grated cauliflower has become so popular, you can find it in both the fresh and frozen food section of your market.  I still hand grate mine as it really doesn’t take that long, and you get the very best flavor and freshness.  If you have a food processor, that is another fast and easy option.

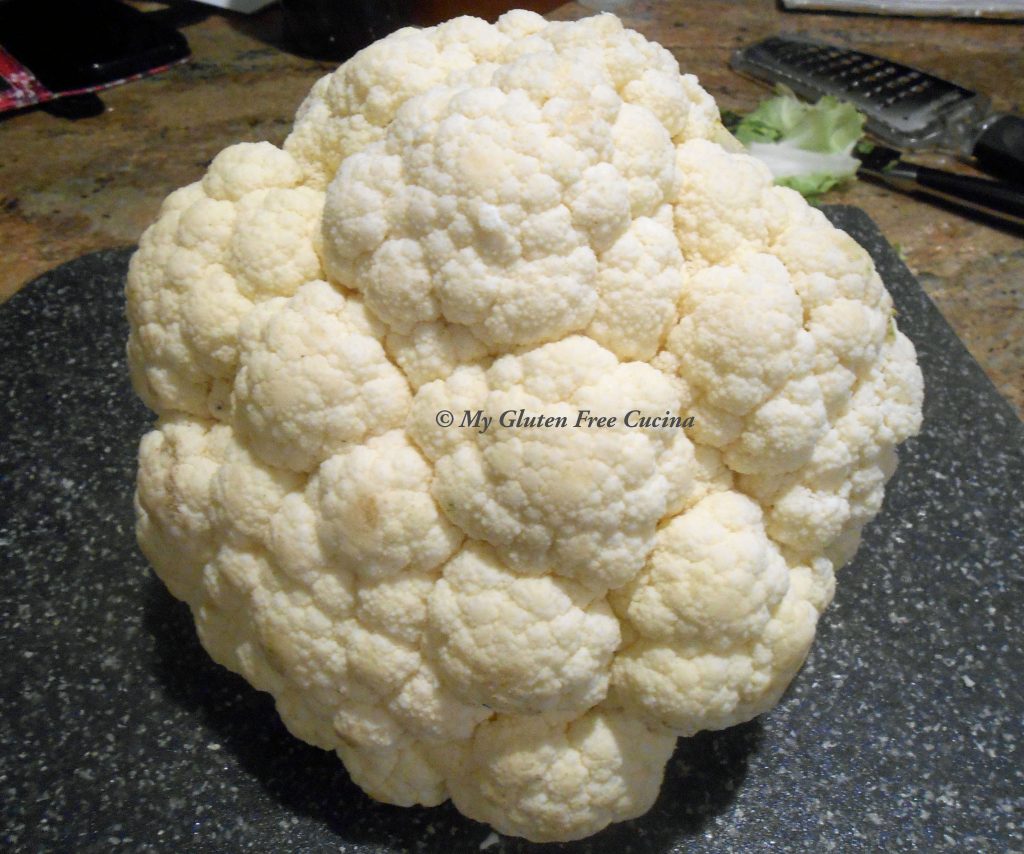
The cauliflower at the market this year have been huge.  This one is going to provide several meals for us.  I will roast florets for an easy side dish and grate the rest for pizzas and cauliflower cakes.

You will see in the preparation that I used a pizza stone for this recipe, but you can also use a regular pizza pan or a sheet pan.  Whichever you choose, you will need parchment paper for easy transfer of the pizza from pan, to oven to cutting board.

Ingredients:

  • 4 cups grated cauliflower
  • 2 tbsp. Olive oil
  • Salt and pepper to taste
  • 1/2 tsp. Italian seasoning
  • 1 cup grated Gruyere cheese
  • 1 egg
  • 1 lb. Chicken tenders
  • ½ sweet onion
  • 2 strips bacon
  • Olive oil
  • Gluten free BBQ Sauce, home made or purchased
  • ¾ cup grated parmesan

Preparation:

Grate the cauliflower using a food processor or hand grater.  Add it to a large non-stick skillet with 2 tbsp. olive oil, salt and pepper.  Cook for 3 minutes, stirring frequently.  Transfer to a bowl to cool.

Beat the egg, Gruyere cheese and Italian seasoning.  Stir in the cooled cauliflower, mixing thoroughly.

Preheat the oven to 400° and line a pizza stone with parchment paper, cut to size.  Spoon the cauliflower mixture onto the parchment and spread it into an even ½” circle.  Use a spatula to smooth it out and neaten the edges.

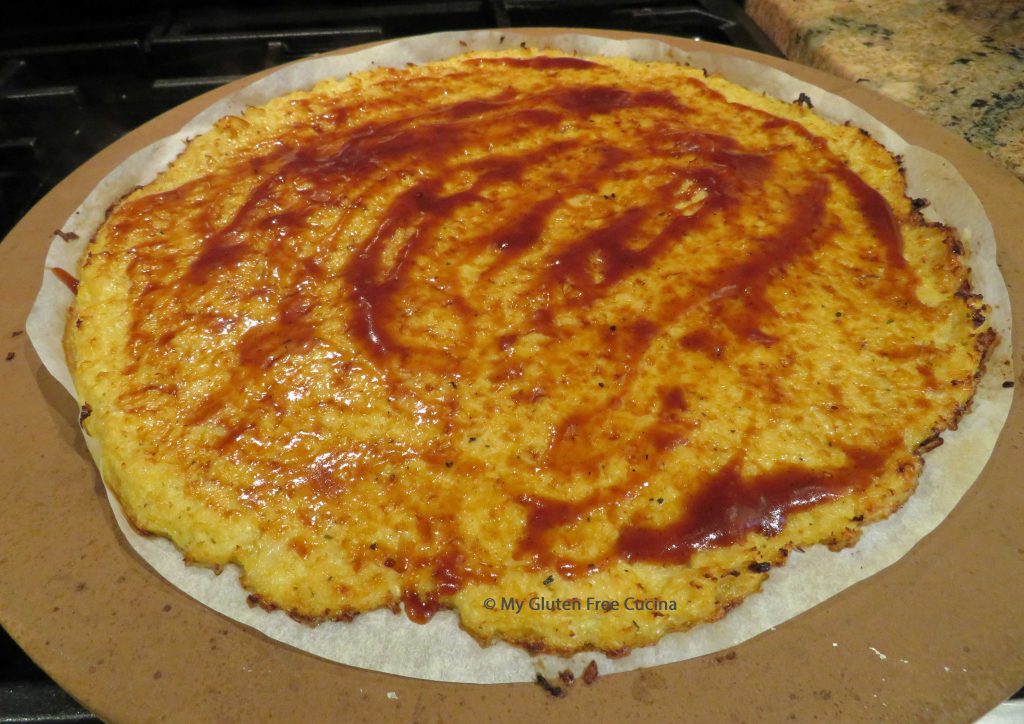
Bake for 20 minutes at 400°, then broil for 3 minutes on high.  Here’s what it will look like.

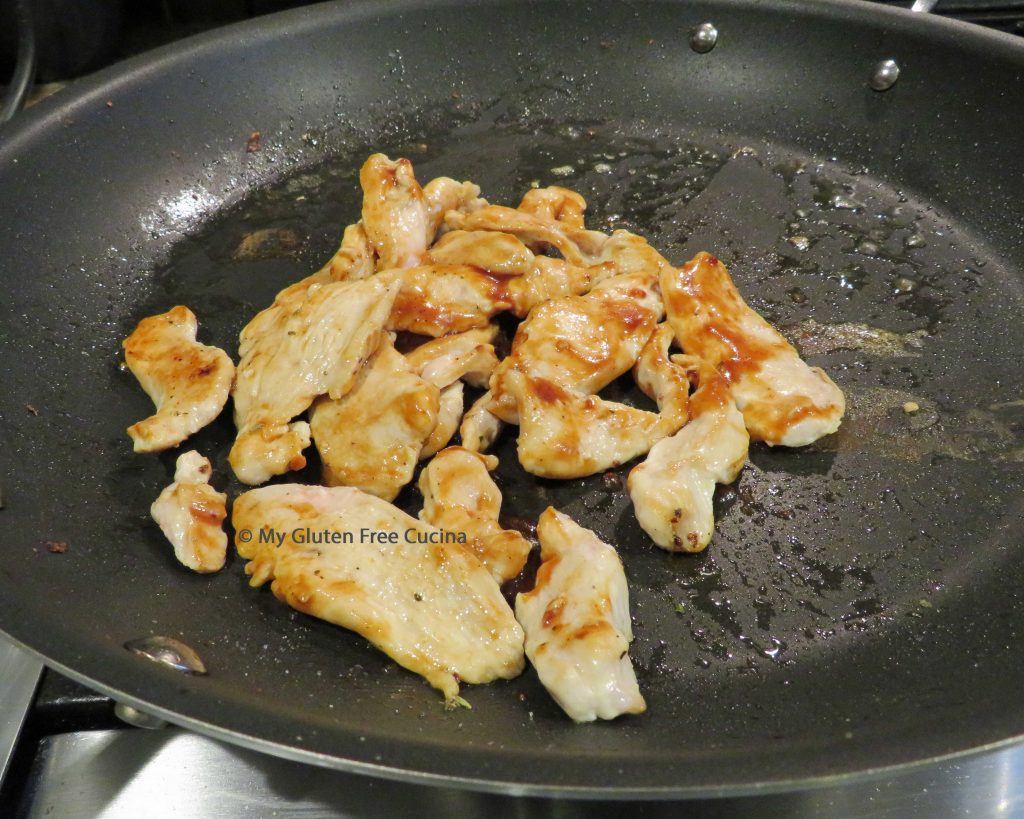
Wipe the skillet clean and begin cooking the bacon.  Drain on paper towels and dice.  Cook the onions in the bacon fat, then push to the side and add the chicken with a little olive oil.  When the chicken has cooked through, drizzle lightly with BBQ sauce.

Brush the crust with olive oil, then lightly spread with BBQ sauce, about 4 tbsp.

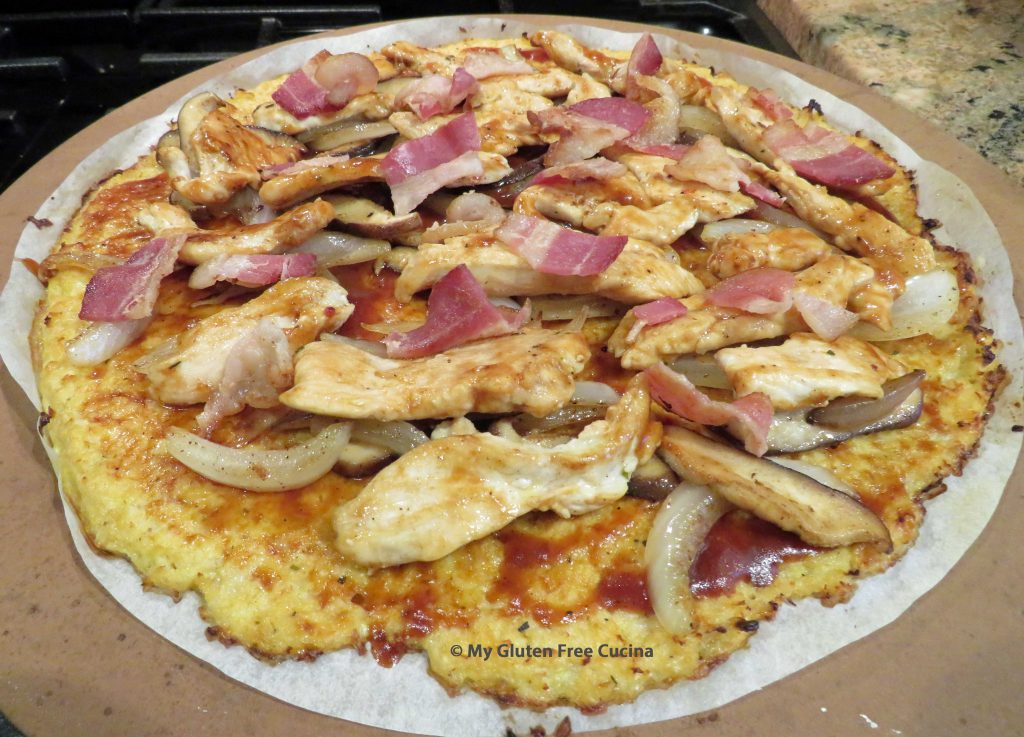
Spread the chicken mixture over the crust in an even layer.

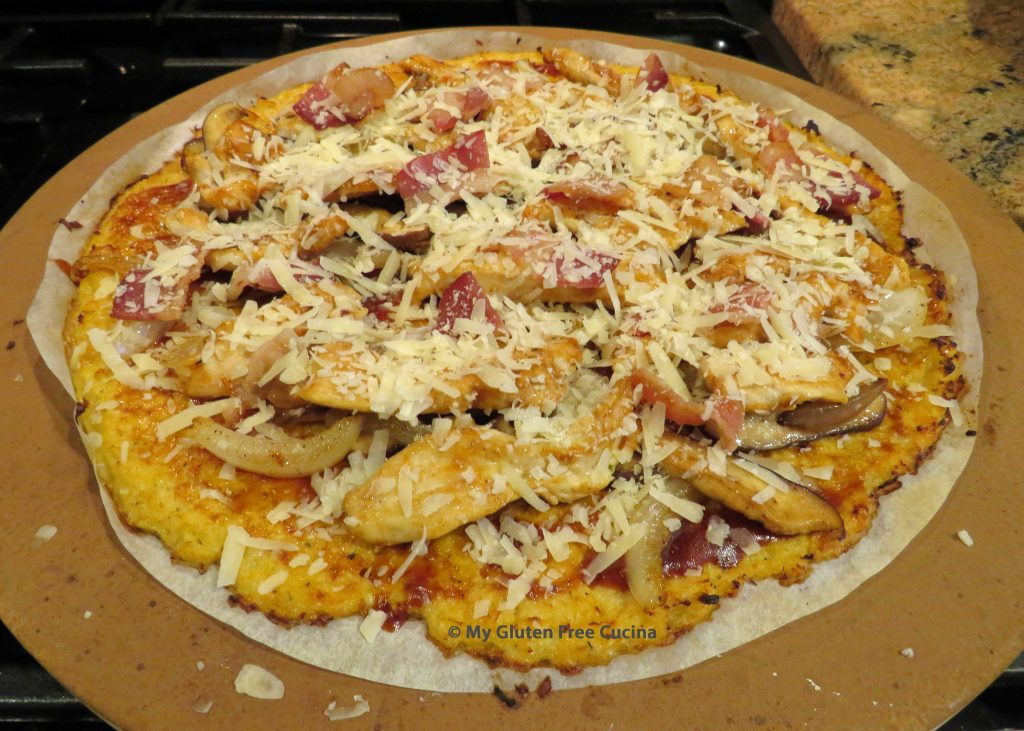
Top with grated Parmesan cheese.

Broil 3 minutes on high, you should have a little nice browning around the edges but watch that it doesn’t burn.

Slide the pizza, parchment and all onto a cutting board.  Slice with a pizza cutter and use a narrow spatula to lift it off the parchment.

Notes: ♪♫ To keep the pizza from being too soggy, bake the crust by itself and add the toppings during the last few minutes of cooking.  Be sure that all toppings are completely cooked and drained ahead of time.

Print This Post Print This Post

Cauliflower Cakes

Looking for a side dish that is suitable for both gluten free and low carb diets?  My Cauliflower Cakes are both gluten free and grain free!  So delicious and easy to prepare, with just a few ingredients.  Riced cauliflower is readily available in the produce and freezer section, making the prep quicker than ever.  Of course, you can make your own, using a coarse grater or food processor.  Leftovers keep well for about a week and can be reheated on a pizza stone.

This post contains affiliate links.

I am having so much fun with my new muffin top pan, it was just perfect for this recipe!  I love the non-stick finish for easy cleanup.

Ingredients:

  • 2 cups grated cauliflower
  • 1 tbsp. olive oil
  • salt and pepper to taste
  • 1/2 tsp. gluten free Italian seasoning or pizza seasoning
  • 1 egg
  • 1 cup grated Gruyere cheese

Preparation:

Heat a large nonstick skillet with a little olive oil on medium low.  Add the grated cauliflower and season with salt and pepper.  Stir and toss for 5 minutes then set aside to cool.

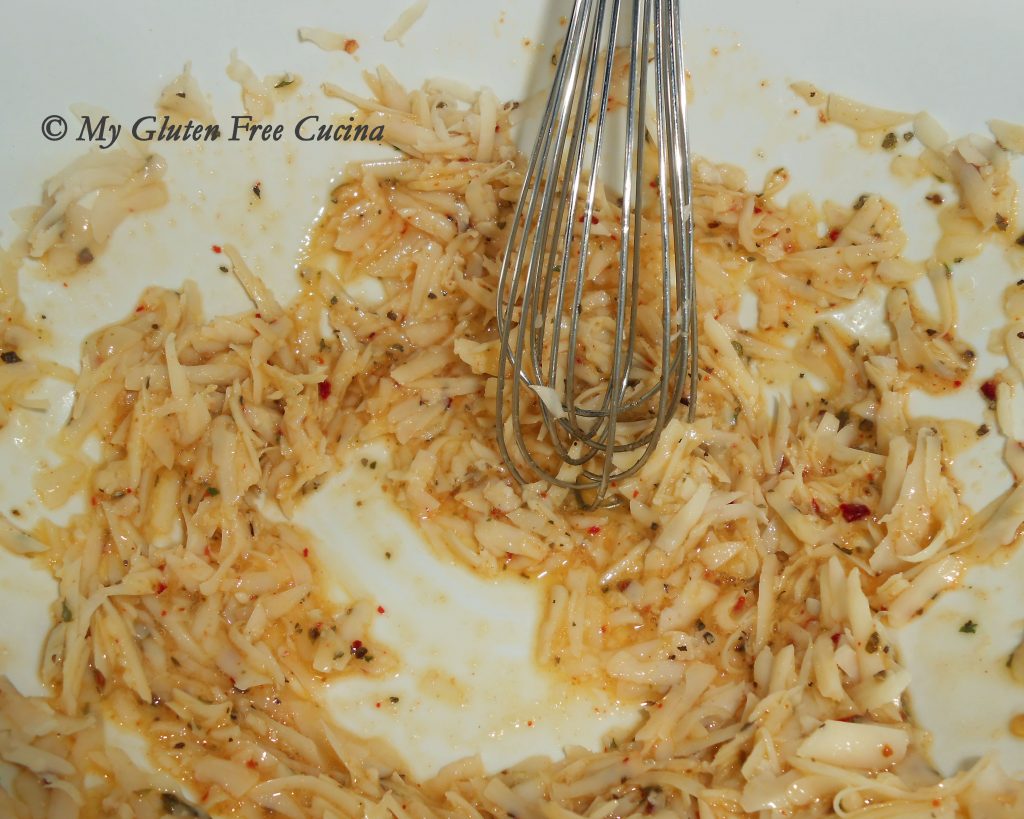
In a separate bowl, whisk the egg, cheese and Italian seasoning.

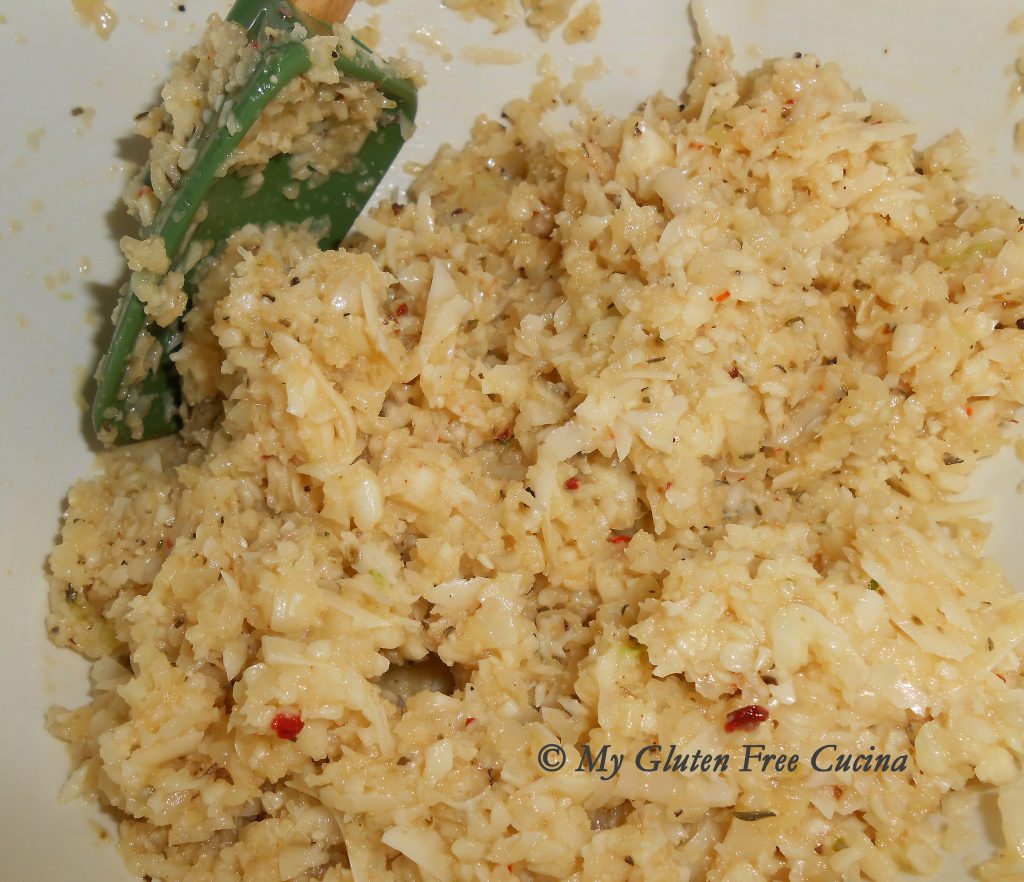
Stir in the cooled cauliflower and combine well.

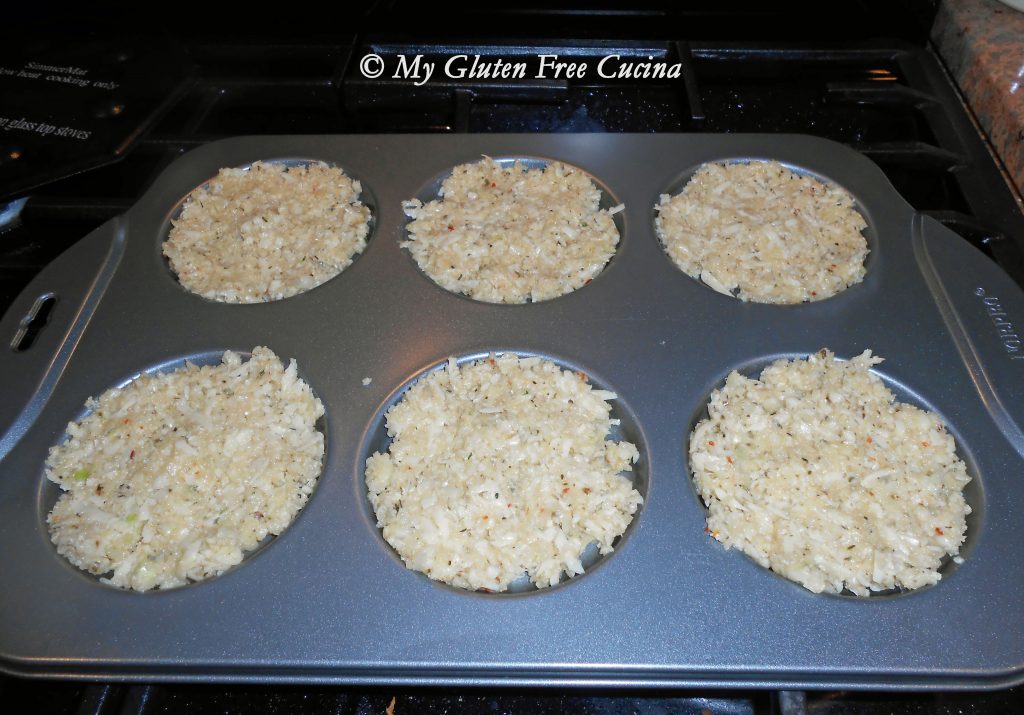
Divide the mixture evenly into 6 wells and smooth with a spatula.

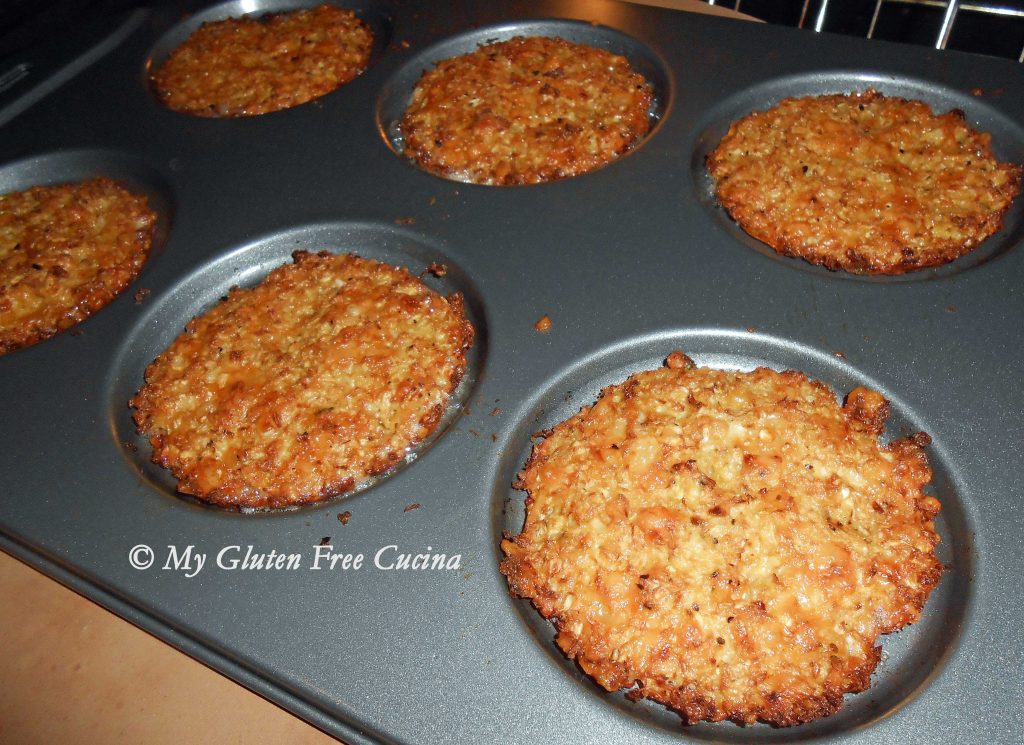
Bake at 400º for 35 minutes or until nicely browned.

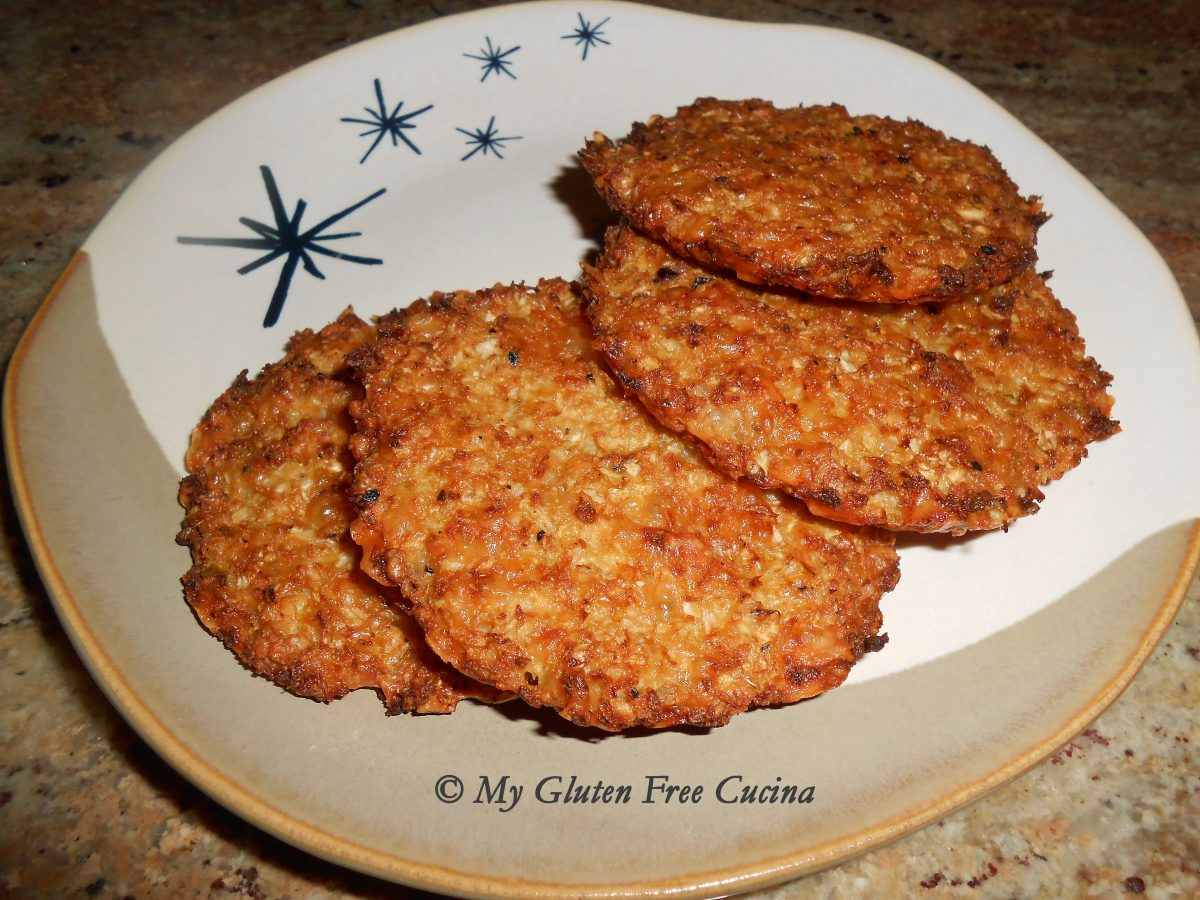
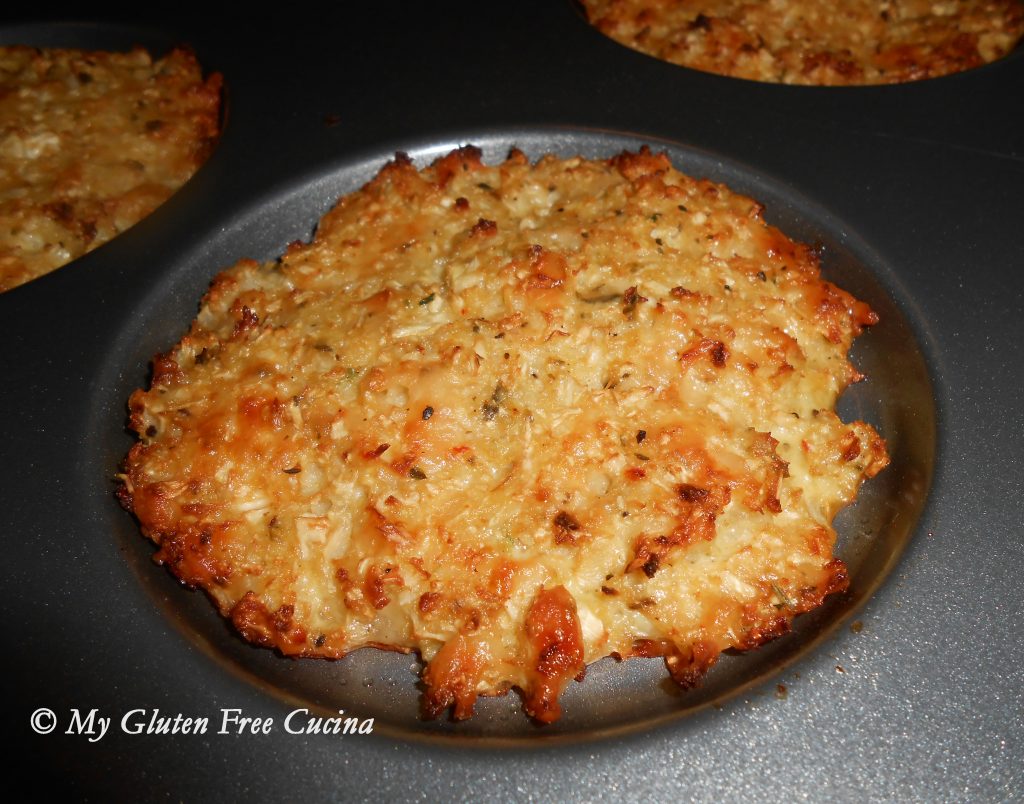
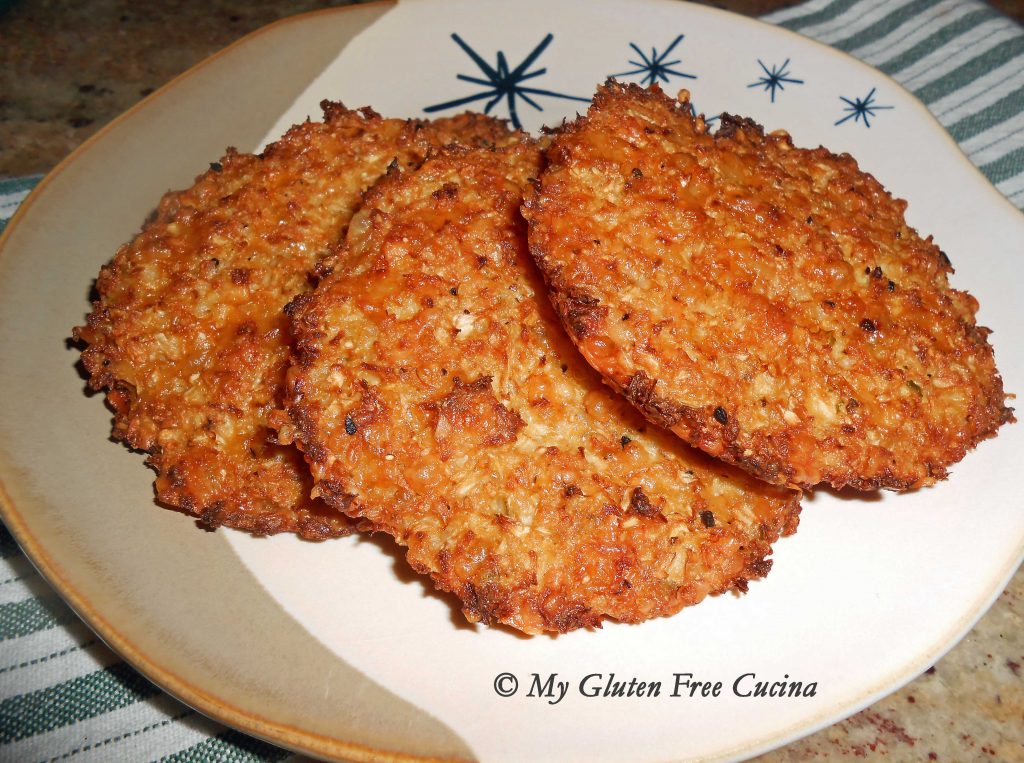
Mmmm, don’t they look good?  The cakes are delicious as is and would also make a great base for mini pizzas.

You can serve them with marinara or BBQ sauce for dipping.

I have made the recipe several times now and it is going to be a regular at our table.

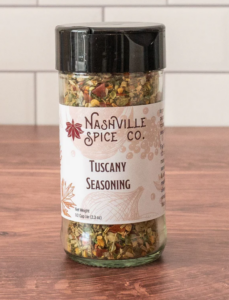
Notes ♪♫ I always buy block cheese and grate it myself to avoid additives in shredded cheese.  Always check seasoning labels for hidden gluten.  I love Rockin’ Rubs Tuscan Temptation seasoning in this recipe!

Were you eyeing that muffin top pan? It was the perfect choice for this recipe, and you can also use it to make my Gluten Free Sandwich Thins.

Print This Post Print This Post

Shepherd’s Pie with Rutabaga

Rutabaga is a gluten free and nutritious root vegetable that can be substituted for potato in many recipes.  For my Shepherd’s Pie, I use mashed rutabaga as a topping instead of the traditional mashed potato.  This meal has been a family favorite for years and it was easy to modify the recipe to a gluten free version.  If you are gluten free, you probably eat a lot of potatoes, so this is a nice change from the usual.  Give it a try, delicious, gluten free Shepherd’s Pie with Rutabaga.

This post contains affiliate links.

4 Servings 


FOR THE FILLINg:

  • 8 oz. lean ground beef
  • 4 oz. gluten free Italian sausage 
  • olive oil 
  • 3 cloves minced garlic 
  • 1/2 medium sweet onion, diced 
  • 2 cups gluten free frozen mixed vegetables (peas, carrots and corn) 
  • 1/2 tsp. thyme 
  • Salt and pepper to taste 
  • 3 tbsp. tomato paste 
  • 1 tbsp. gluten free Worcestershire sauce 
  • 1 cup gluten free broth (beef, chicken or vegetable) 
  • rice flour, for dusting

For the Topping: 

  • 1/2 large rutabaga or yellow turnip 
  • Salt, to taste 
  • 1 cup grated cheese (I used gruyere) 
  • 1/4 cup grated parmesan cheese 
  • 3 tbsp. butter 
  • 1% milk (or use half and half) 
  • paprika 
  • Italian parsley for garnish 

Preparation: 

Peeling the rutabaga is the hardest part of the recipe, so we begin by giving those arm muscles a workout!  Use a good sturdy knife and cut ¼” off the bottom, so you have a flat stable surface.  Then set it on a cutting board and run your knife down the sides to peel.


Cut the rutabaga in half, and slice one half into large cubes.  Reserve the other half for another meal (it makes great oven fries).   

Heat water in a saucepan with a steamer basket.  Steam the rutabaga cubes until soft and easily pierced with a fork.  Add salt to taste, remove from heat and set aside.  This step usually takes 30-45 minutes, so I will often steam the rutabaga a day ahead and reheat it in the microwave when I’m ready to finish the dish. 


I’m preparing this dish in a cast iron Braising pan.  I’ll cook and serve dinner all in the same dish for easy cleanup!  You can also use an oven safe skillet, a Dutch oven, or if you don’t have an oven safe option simply transfer everything to a baking dish or pie dish to finish in the oven.  To get started on the filling, heat a little olive oil in the pan over medium low and add the ground beef and sausage, breaking the meat up with a spatula to brown.  Add the onion and garlic.

You can throw the frozen vegetables right into the pan, they will defrost quickly.  Cook 4 minutes.  Clear a spot in the center of the pan and add the tomato paste.  Let it cook for a minute before stirring into the meat and veggies.  Season with salt and pepper.

Next add the thyme and Worcestershire sauce, then add the broth and reduce heat to low.   Simmer uncovered until most of the liquid has evaporated, about 30 minutes.  You can dust a little rice flour over the mixture to help things along.   

To make the topping I used a stand mixer with the paddle attachment.  You can also use a food processor or potato masher.  Combine the cooked rutabaga (reheat it if you made it the day before) with 1 cup grated Gruyere cheese, 3 tbsp. butter and a big pinch of salt.

The recipe is very forgiving so substitute any cheese that you prefer, even cream cheese will work.

Mix on low speed as you drizzle in a little 1% milk (or use half and half for a richer taste), until the mixture resembles mashed potatoes.

Preheat the oven to 400°.  Spoon the rutabaga mash evenly over the top, using a spatula or the back of a spoon to smooth it out.  If you are transferring to a baking dish, be sure to coat it with cooking spray.

Sprinkle with Parmesan cheese and paprika and bake for 25 minutes, then finish under the broiler for 4 minutes more to brown the top.  Keep an eye on it, after all that work you don’t want it to burn! 

When you remove it from the oven the sides will be bubbling, so let it rest for a few minutes before serving.  I like to garnish it with Italian parsley before bringing it to the table.  Mmmm, it is so delicious, and you will be surprised at how filling it is!  I hope you will try the recipe, it’s an interesting twist on this traditional comfort food dish. 


Notes ♪♫ As always, check ingredient labels and make sure all prepared foods such as the broth do not contain hidden gluten.  I used Lea and Perrin’s Worcestershire sauce in this recipe but watch labeling as it is gluten free in the US but may not be in Canada.  Goya frozen mixed veggies are labeled gluten free.  For the cheese, I always buy a block and grate my own.  If you use shredded cheese, be sure to check the ingredients, some additives may contain gluten. 


Print This Post Print This Post