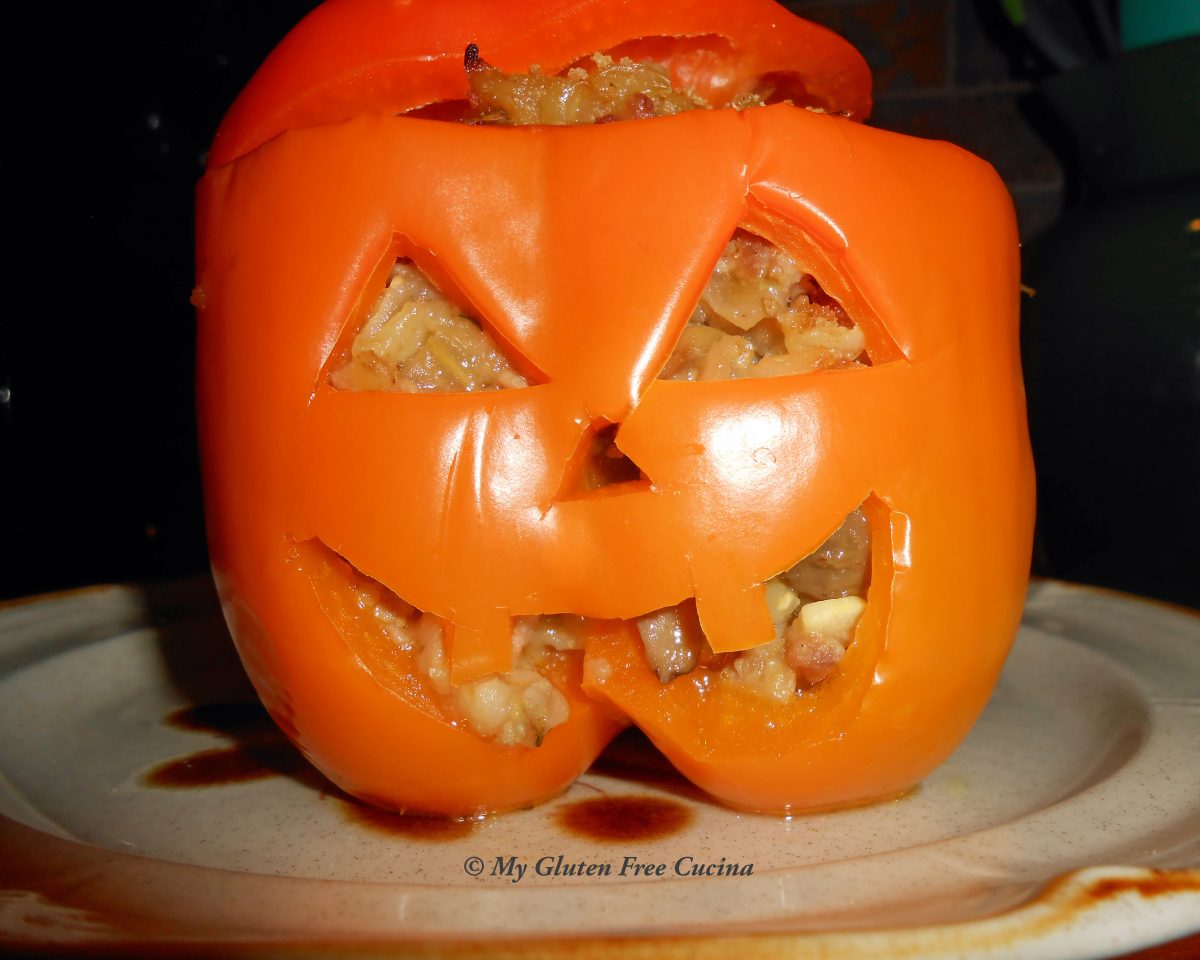
It’s been a while since I’ve made these pumpkin inspired stuffed peppers! I love jambalaya, and while I do make it now and then, this time I went a step further and used it as a stuffing for these beautiful orange bell peppers. The orange color really speaks to October, autumn and Halloween!
Carving out the cute little jack-o-lantern faces takes some patience! Are they Pinterest worthy? Probably not, but you get the idea! At any rate they were delicious. If you like comfort food with a spicy New Orleans kick give this one a try! What a fun way to spend time in the kitchen!

Yield: 6-8 stuffed peppers, depending on size
This post contains affiliate links.
Ingredients:
- ¾ cup uncooked brown rice
- 1 cup water
- 1 cup gluten free low sodium chicken broth
- 8 oz. Chicken breast, cut into 1” dice
- 8 oz. Shrimp, cut into 1” dice
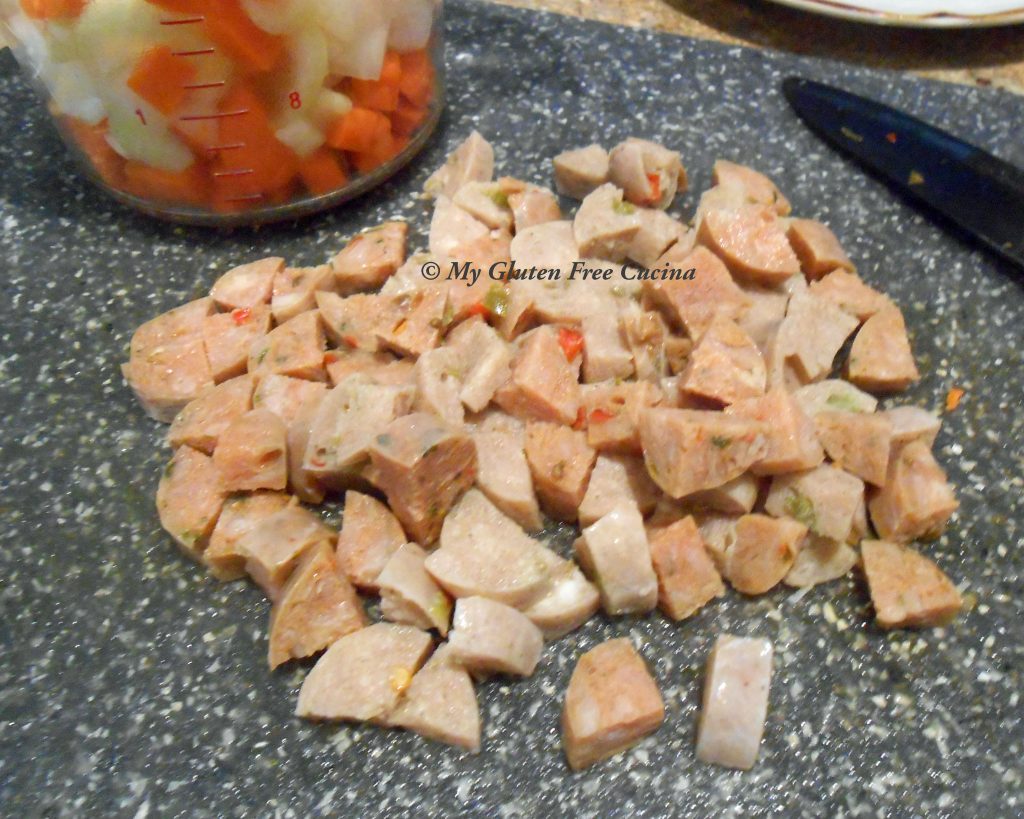
- 3 oz. Andouille sausage, sliced
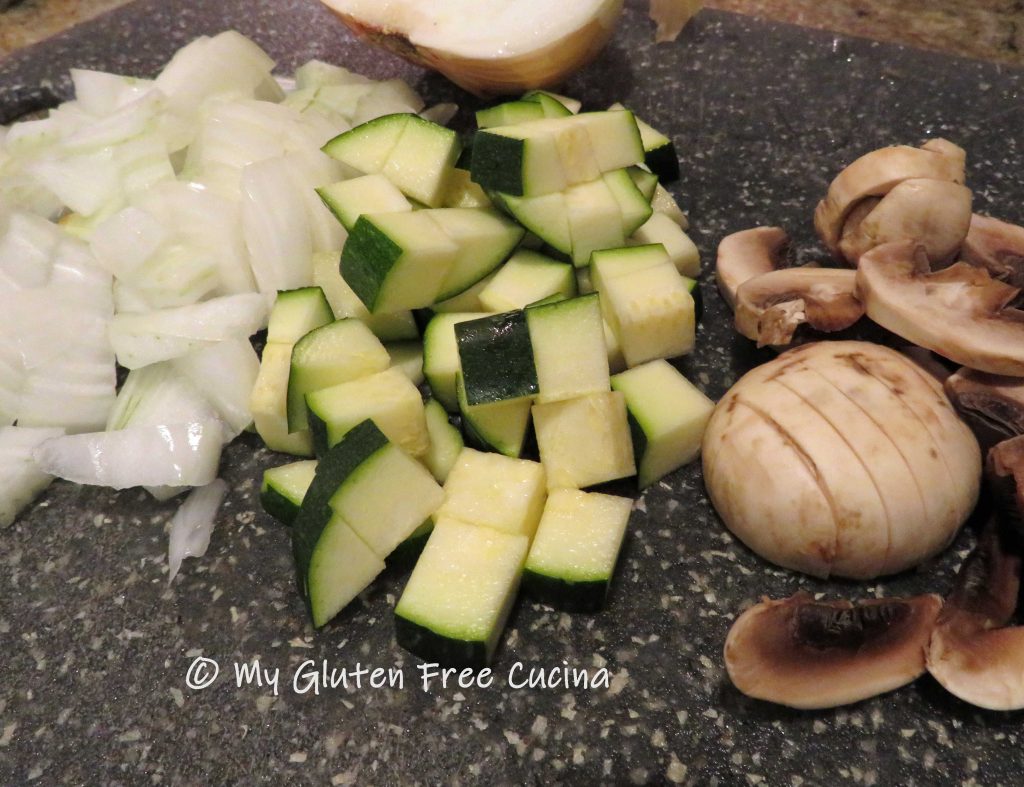
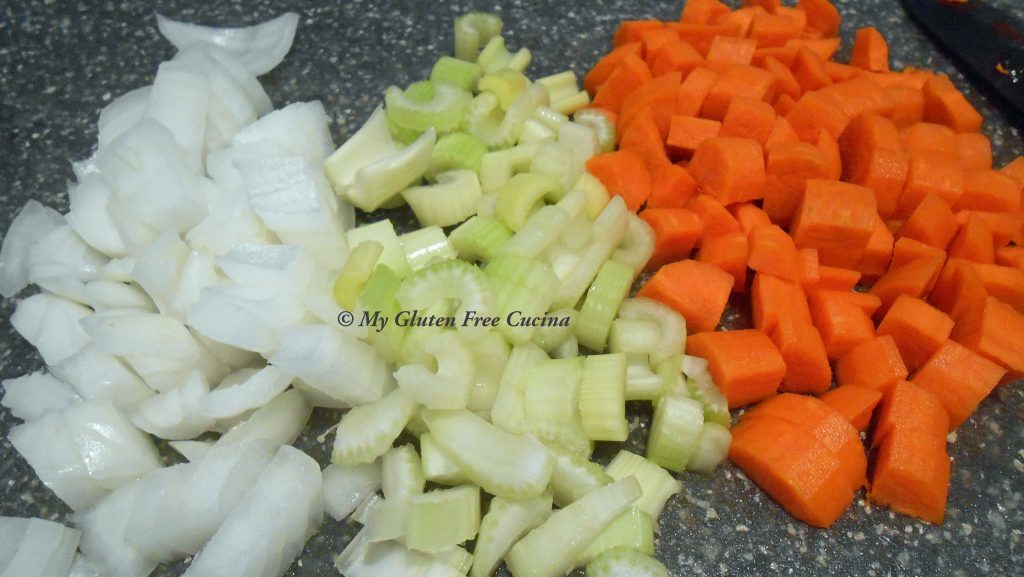
- ½ sweet onion, diced
- ¼ cup bell pepper, diced
- 2 garlic cloves, minced
- ¼ cup tomato paste
- Olive oil
- 1 cup gluten free low sodium chicken broth
- ½ tsp. Creole seasoning
- Orange bell peppers
- Cooking spray

Preparation:
Heat a large pot of salted water for blanching the peppers.
Cook ¾ cups brown rice according to package directions. I cooked mine in a rice cooker using 1 cup water, one cup chicken broth and ½ tsp. seasoning.
Cut the tops off the peppers, then remove the seeds and ribs. For a fun fall twist, use a small paring knife to carve out a jack-o-lantern face. Don’t discard those cutout pieces, chop them up to add to the filling!

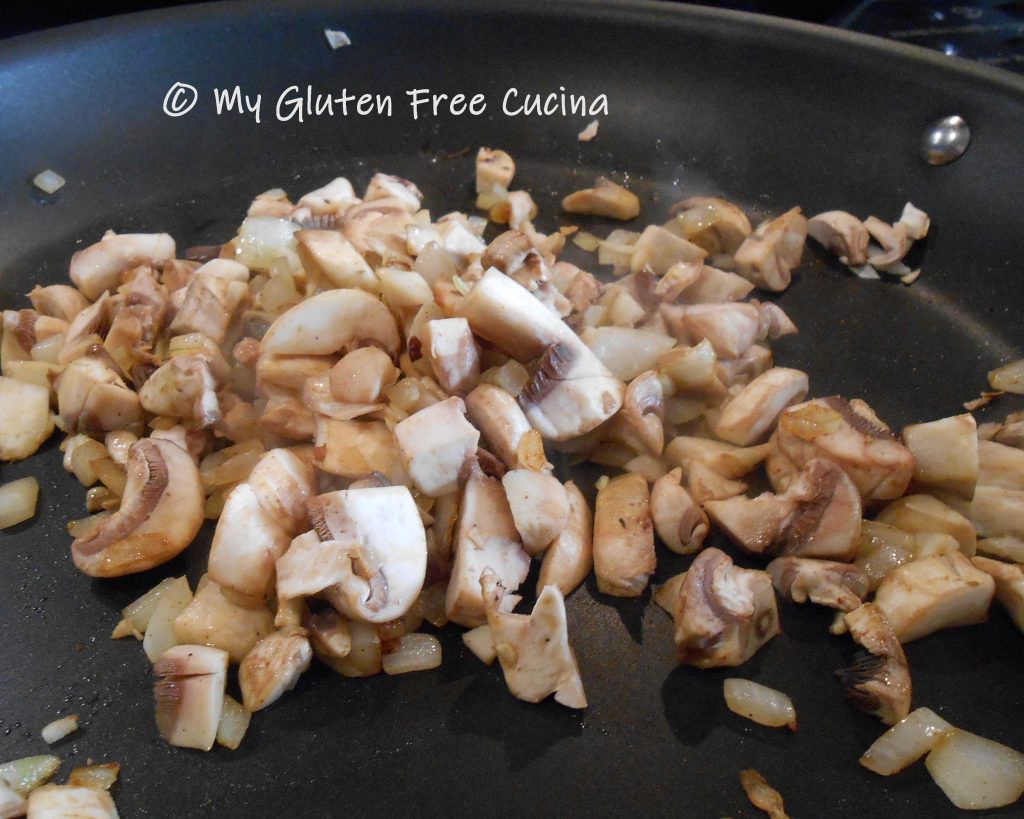
Heat a large non-stick skillet and begin browning the sausage. When cooked through, transfer the sausage to a bowl and leave any remaining fat in the pan to flavor the other ingredients. Add more olive oil as needed.

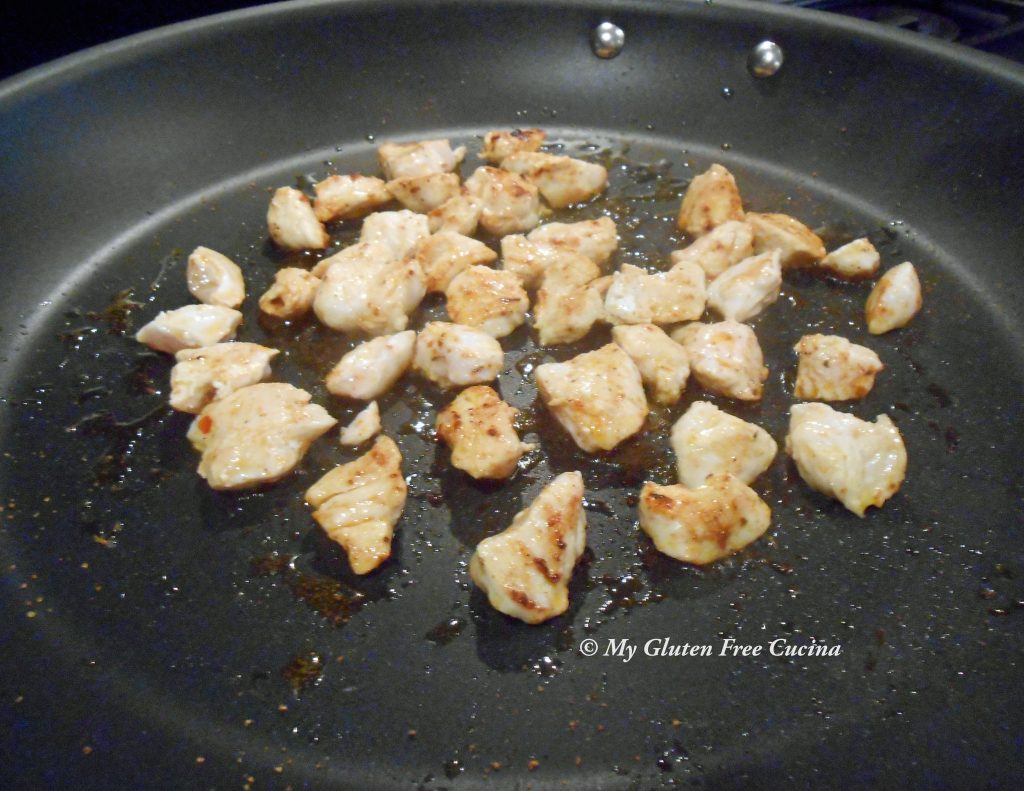
Next sprinkle the chicken with seasoning and brown on all sides. Remove and set aside.
Add the shrimp and cook just until they turn pink. I diced most of the shrimp but left a couple whole for garnish. Remove and set aside.

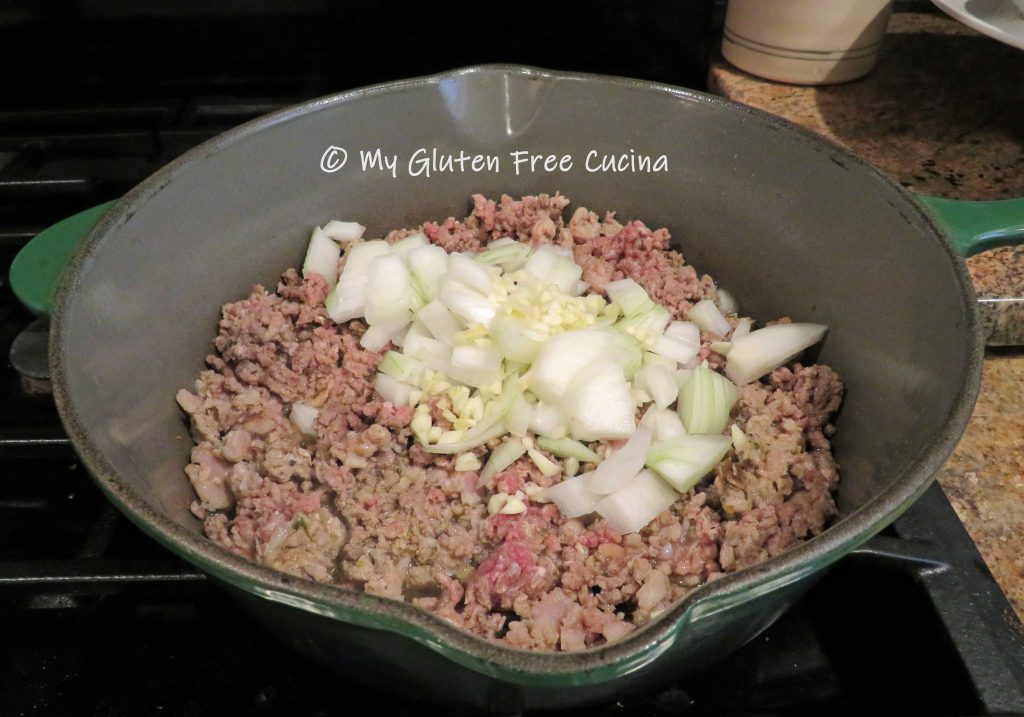
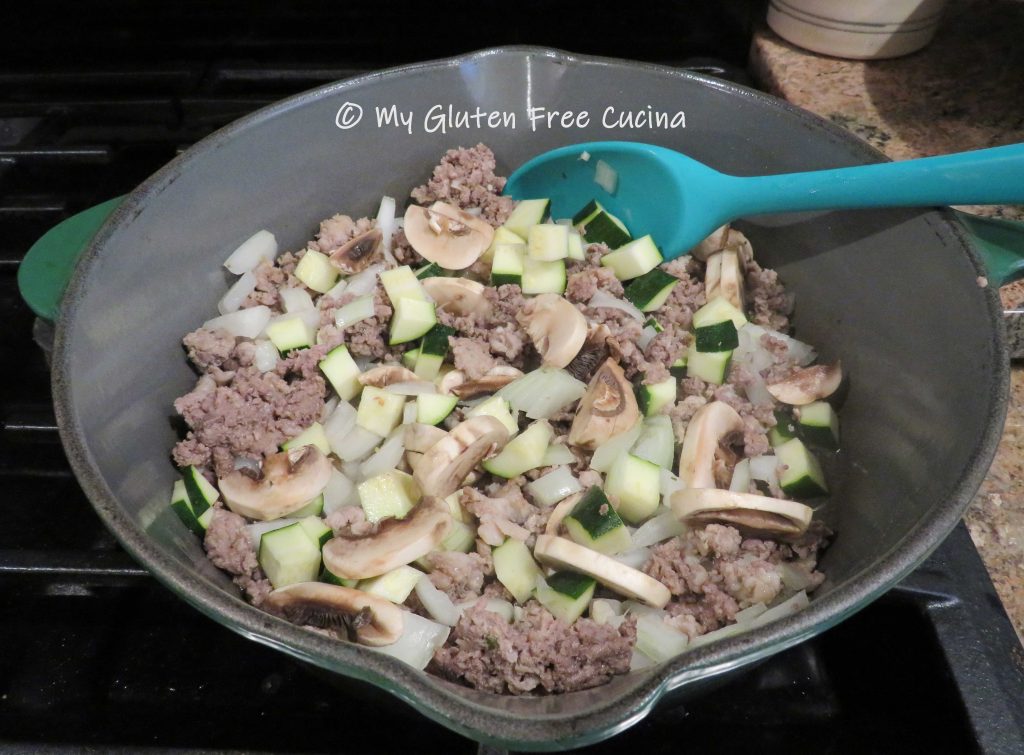
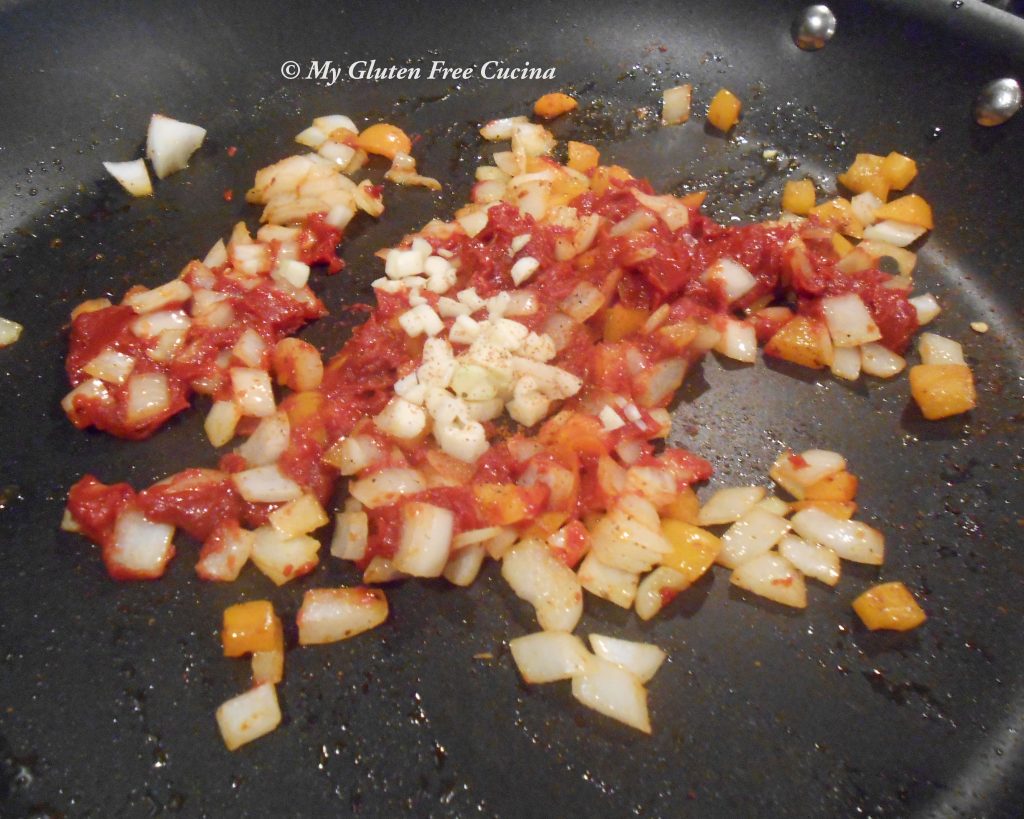
Finally, add the onions, bell pepper and garlic to the skillet with a little more olive oil. Cook for 2 minutes then push the veggies to the side of the pan and add the tomato paste. Let the paste cook for a minute, breaking it up with a spatula before stirring it into the veggies.
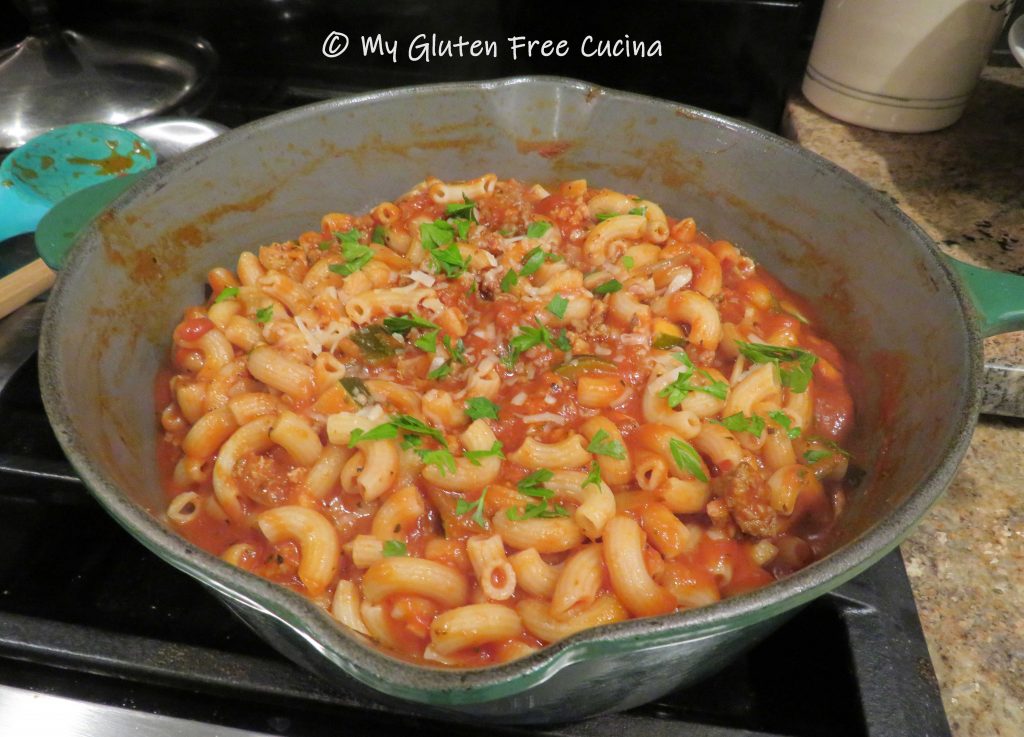
To finish the jambalaya, whisk in 1 cup of chicken broth then stir in the meat and rice, tossing well to combine.

 Blanch the peppers for 3 minutes in boiling water. Drain well and arrange in a baking dish that has been misted with cooking spray.

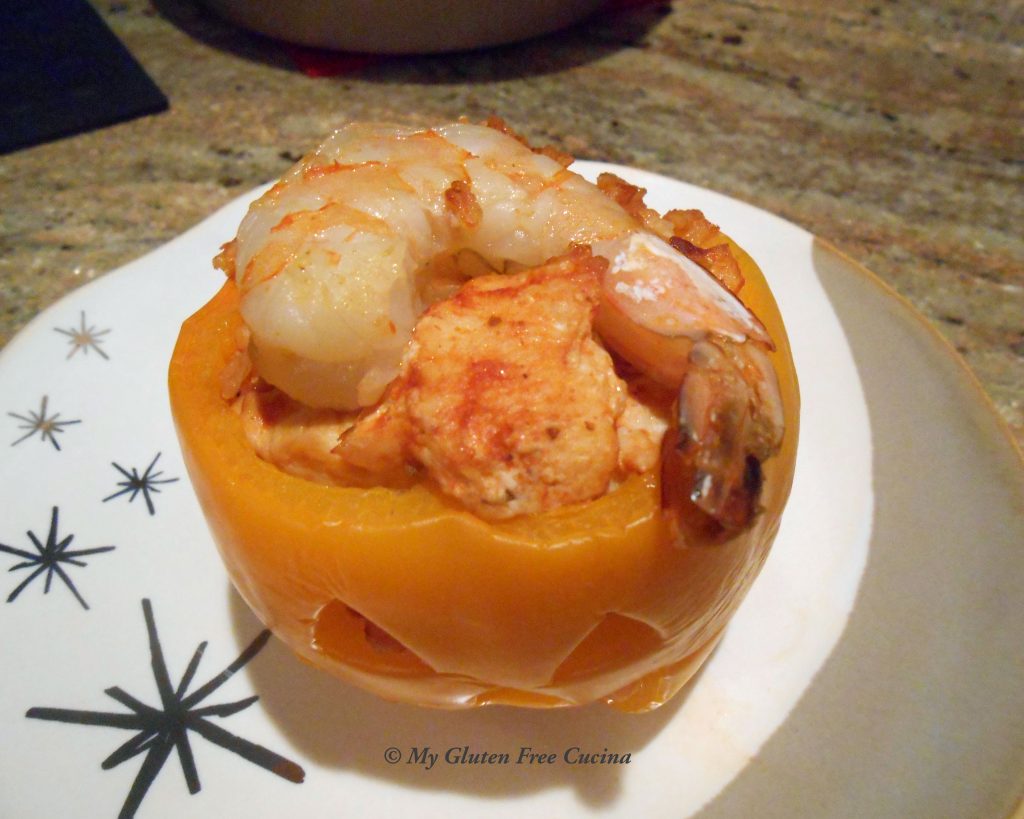
Spoon the jambalaya mixture into the peppers and bake for 20 minutes at 350°. Top peppers off with a whole shrimp.
 Notes ♪♫ I made a few stuffed peppers, and there was plenty of the jambalaya left over. You could make 6 to 8 stuffed peppers from this recipe. They freeze well too, just wrap in tin foil and freeze in an airtight freezer safe container.