Gluten Free Apple Zucchini Muffins

Sometimes gluten free muffins turn out dry and crumbly, but not these Apple Zucchini Muffins!  The name says it all, these muffins are loaded with little bites of apple and zucchini that you can see and taste.  They keep the crumb nice and moist too.  And what a great way to sneak fruits and veggies into your breakfast!

This post contains affiliate links.

Dry Ingredients:

  • 180 g. gluten free all-purpose flour (I used Better Batter Original blend)
  • 1/2 tsp. salt
  • 1 tsp. cinnamon
  • 1/4 tsp. nutmeg
  • 1/8 tsp. ginger
  • 1/8 tsp. cardamom
  • 1/2 tsp. baking soda
  • 1/8 tsp. baking powder

Wet Ingredients:

  • 2 large eggs
  • 1/4 cup softened butter
  • 1/4 cup canola oil
  • 2 cups apple and zucchini, chopped
  • 1/4 cup ricotta
  • 1/4 cup white sugar
  • 1/4 cup brown sugar
  • 1 tbsp. melted butter, for finishing

Preparation:

Mist a 12-cup muffin tin with cooking spray and preheat the oven to 400º.

Use an electric chopper or a knife to mince the apples and zucchini into 1/4″ pieces.

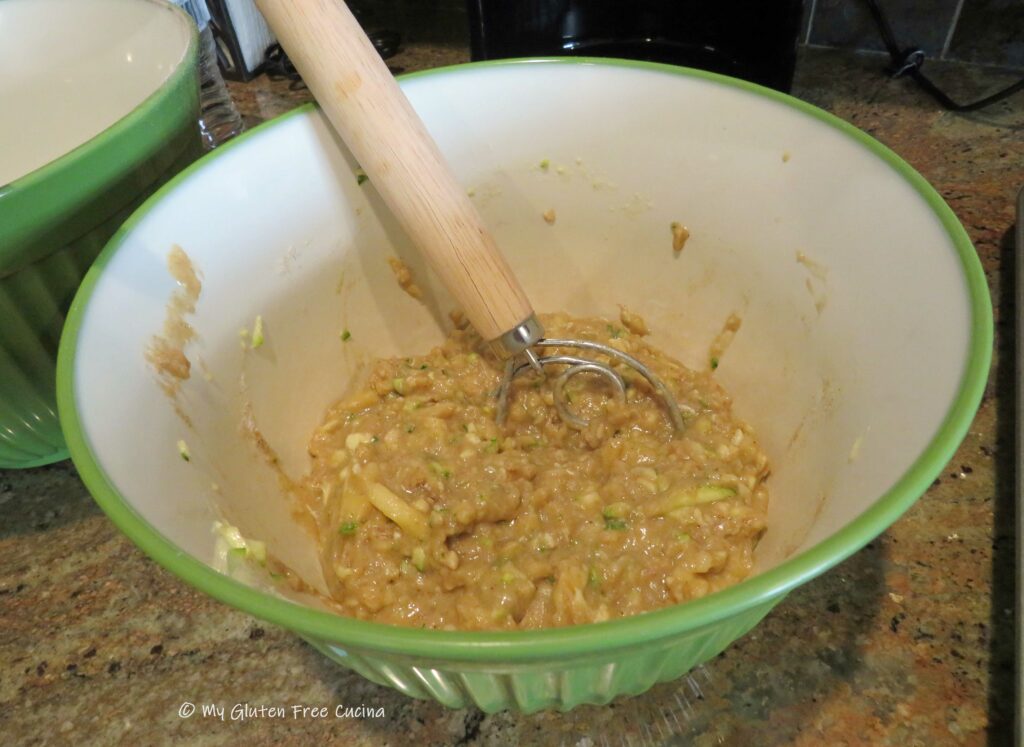
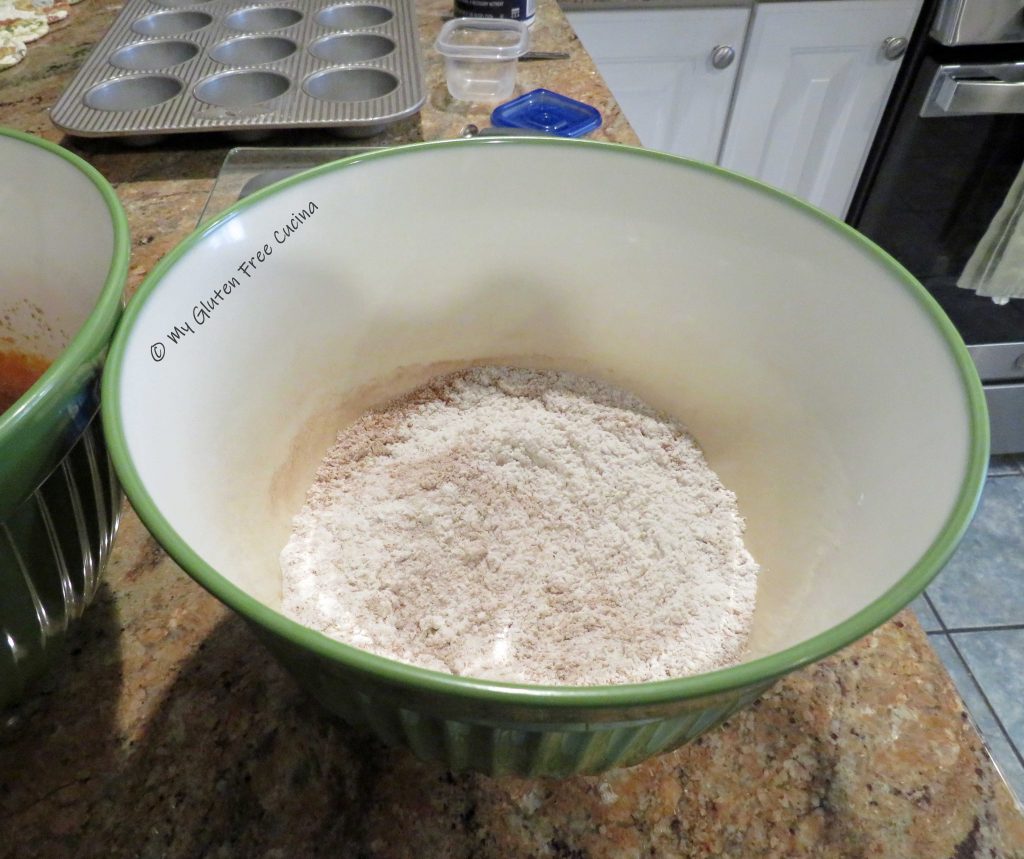
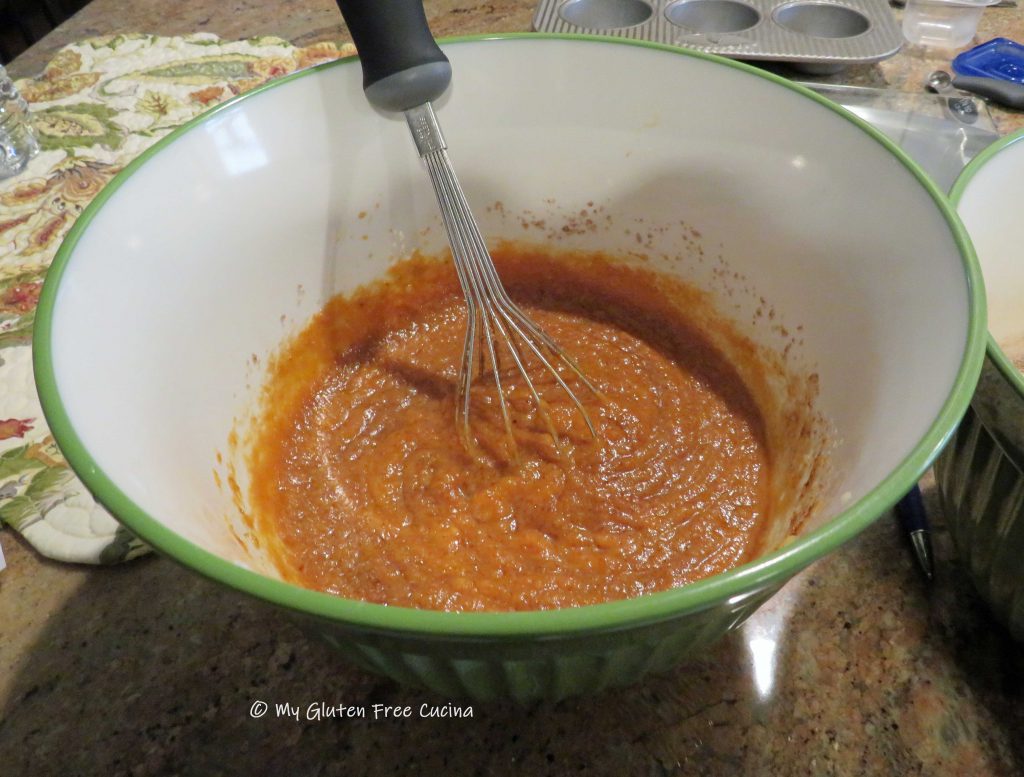
Whisk the dry ingredients together in one bowl.  In a second bowl whisk together the wet ingredients.

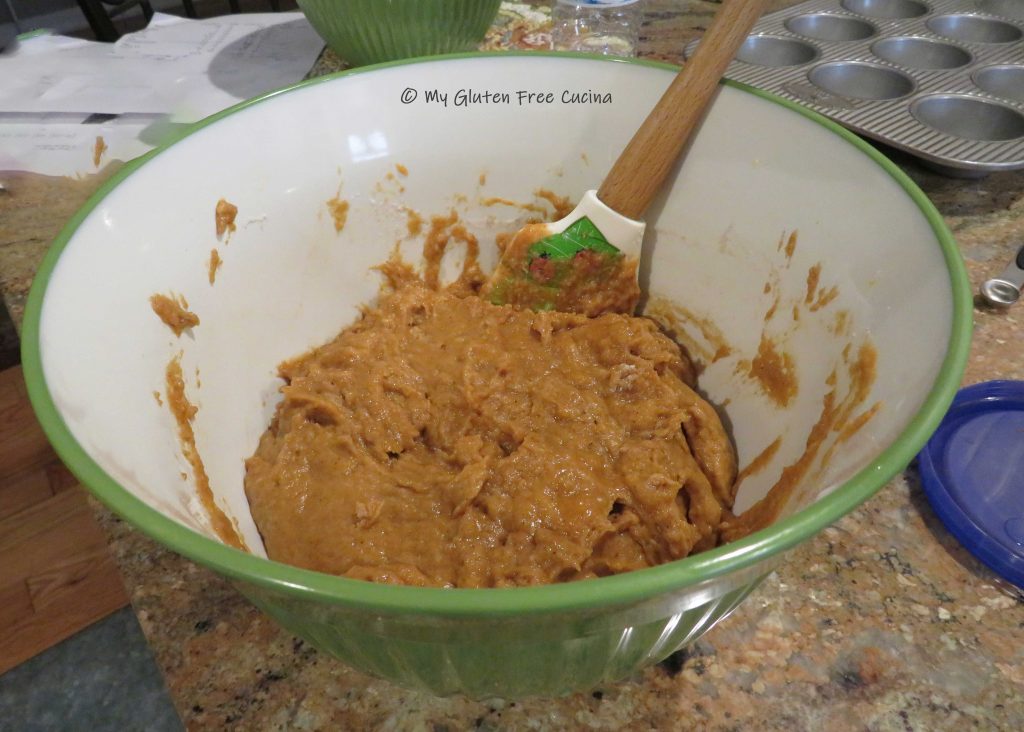
Stir the wet and dry ingredients together until thoroughly moistened, then let the batter rest for 15 minutes.

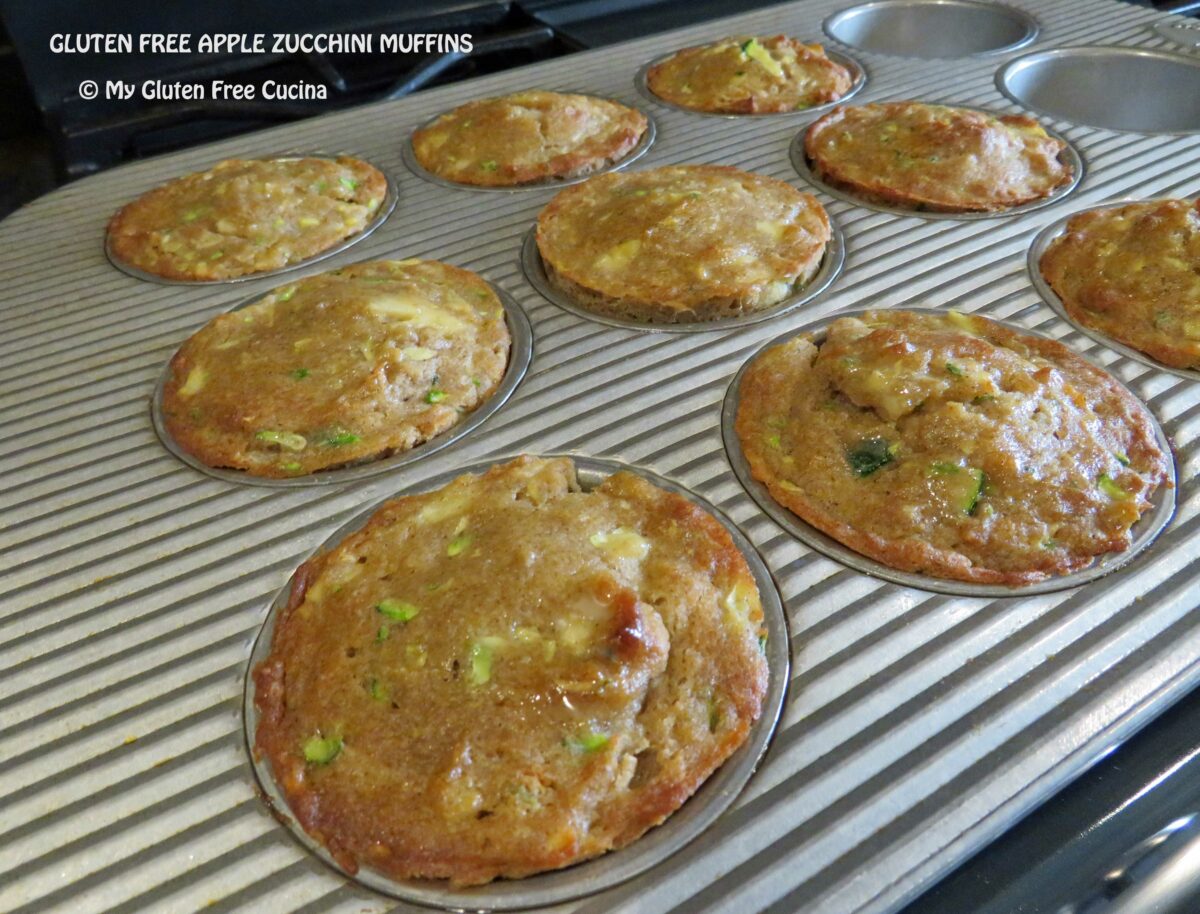
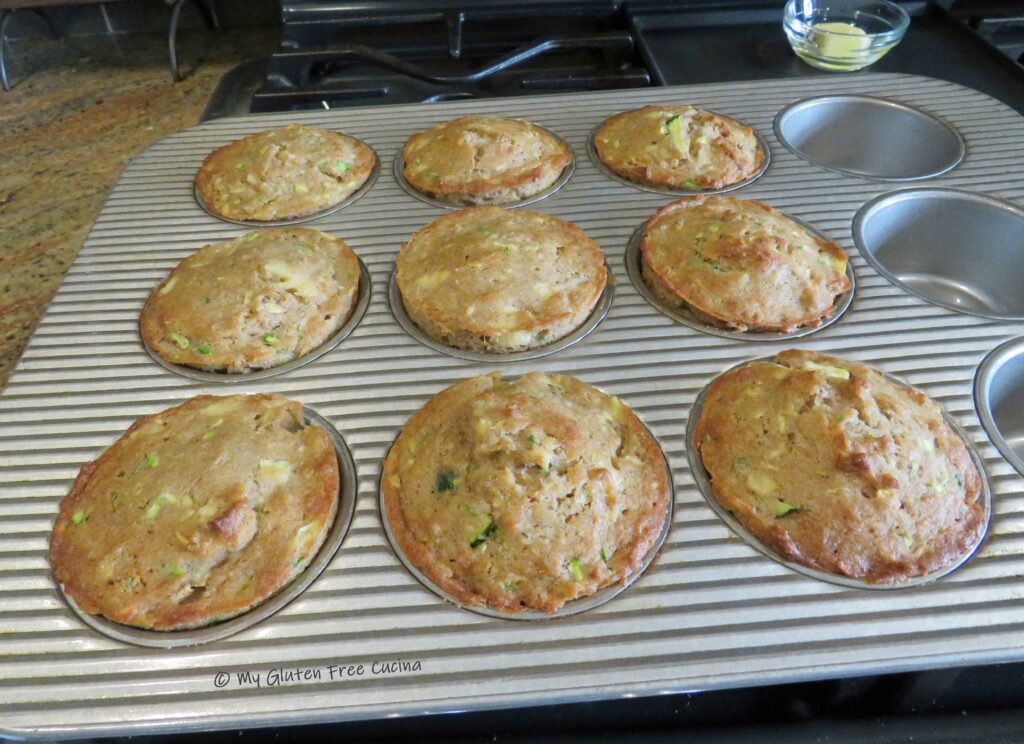
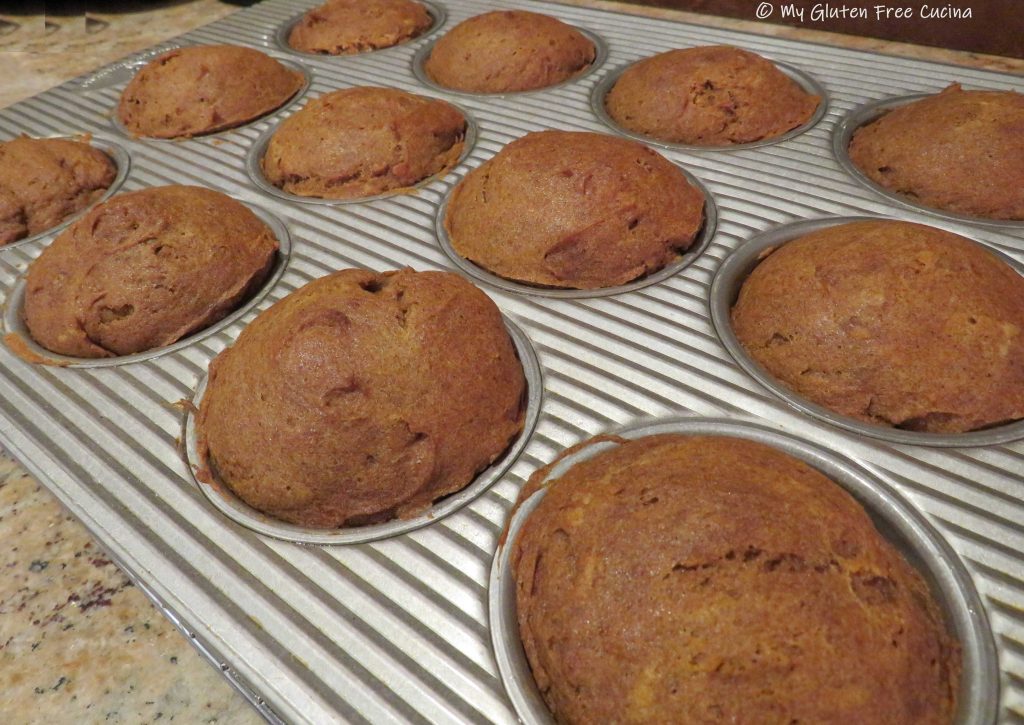
Fill the prepared muffin cups.  I wanted my muffins to be a little larger, so I made 9.  The recipe will make 12 if you portion the muffin cups 2/3 full.

Smooth out the tops with a spatula dipped in water and bake for 20-23 minutes depending on size.  Test the center with a toothpick.

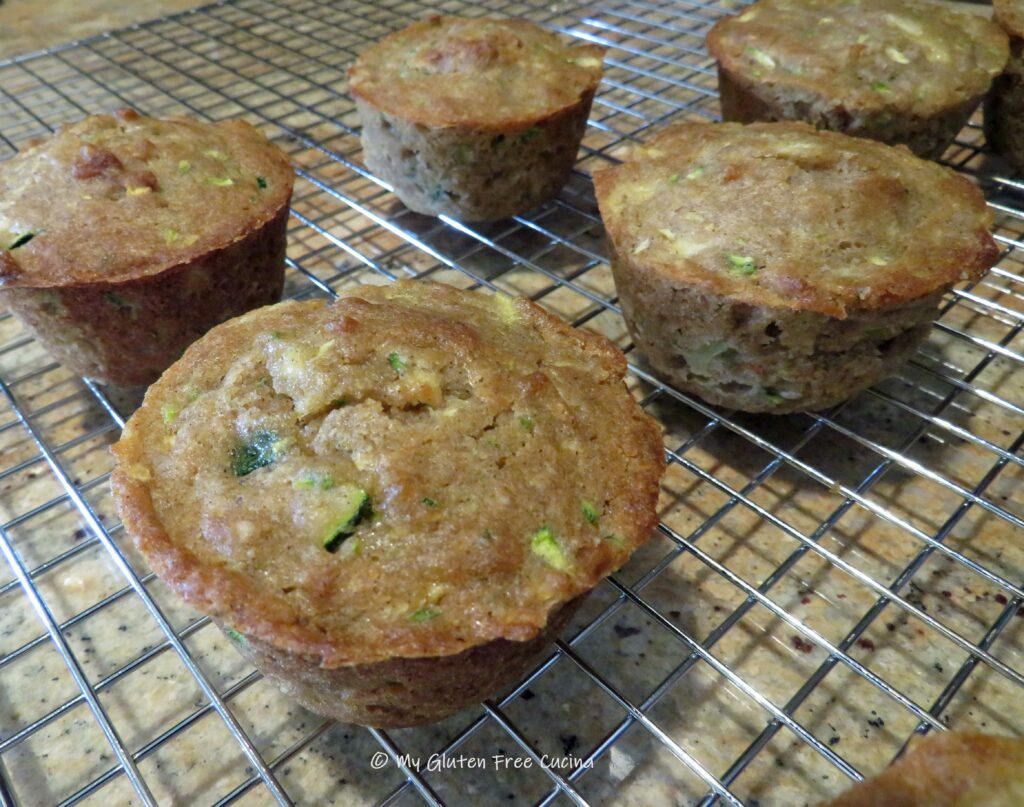
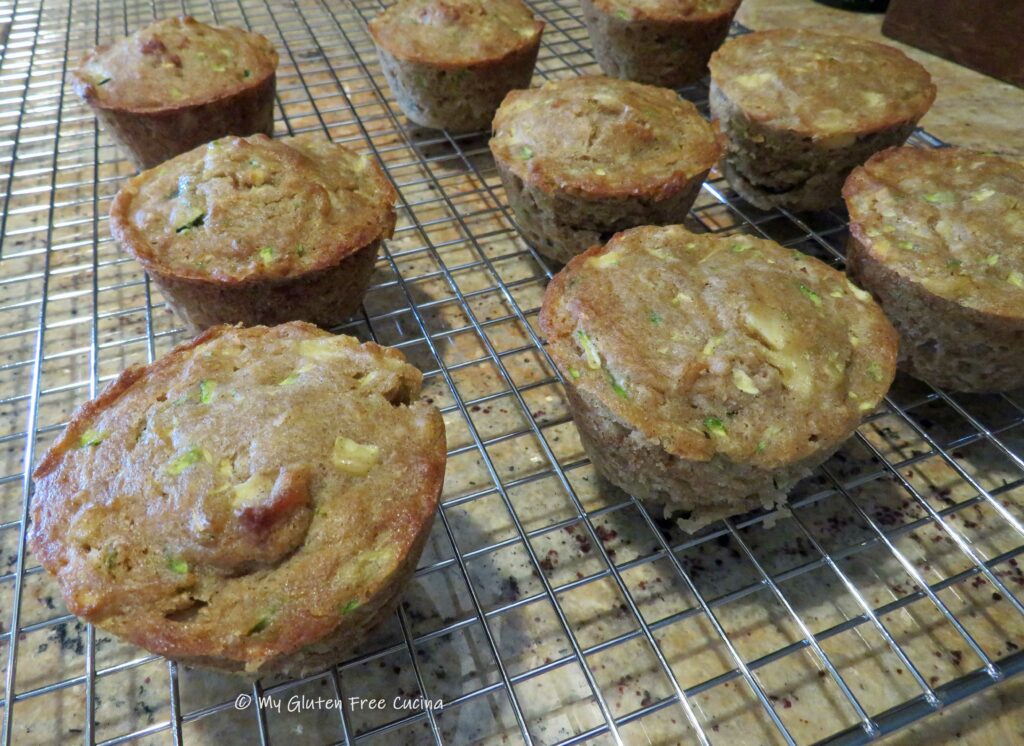
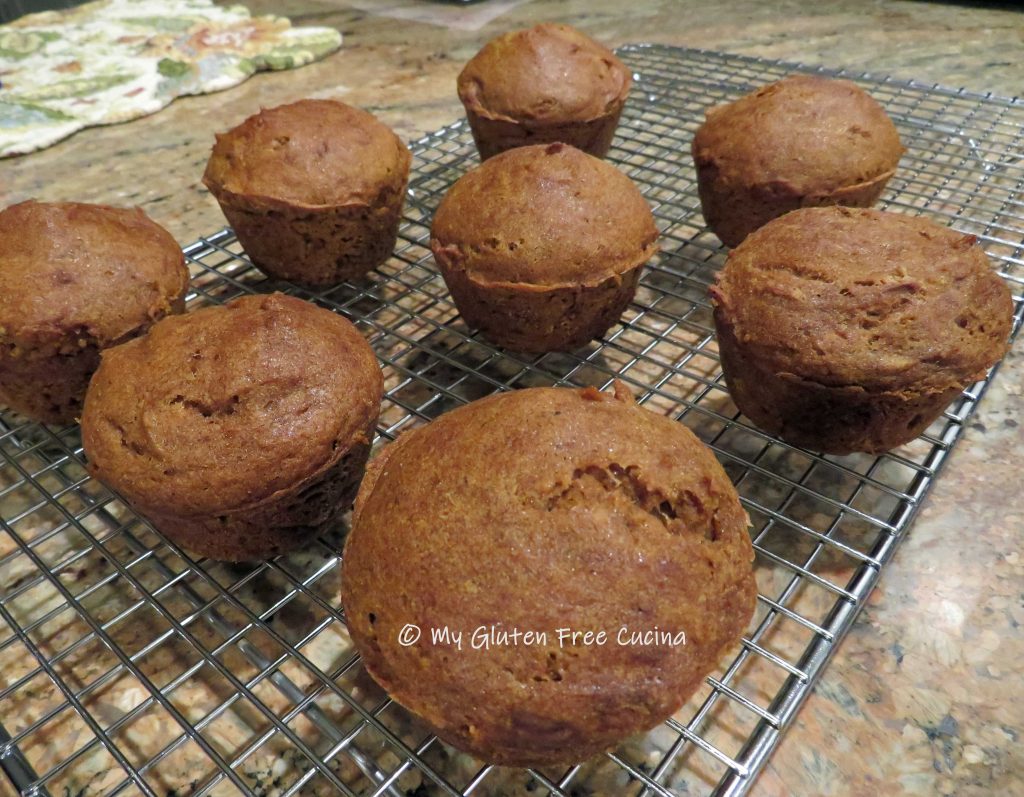
Brush the muffins with melted butter for a nice shine, then cool in the pan for 20 minutes.  Transfer to a rack.

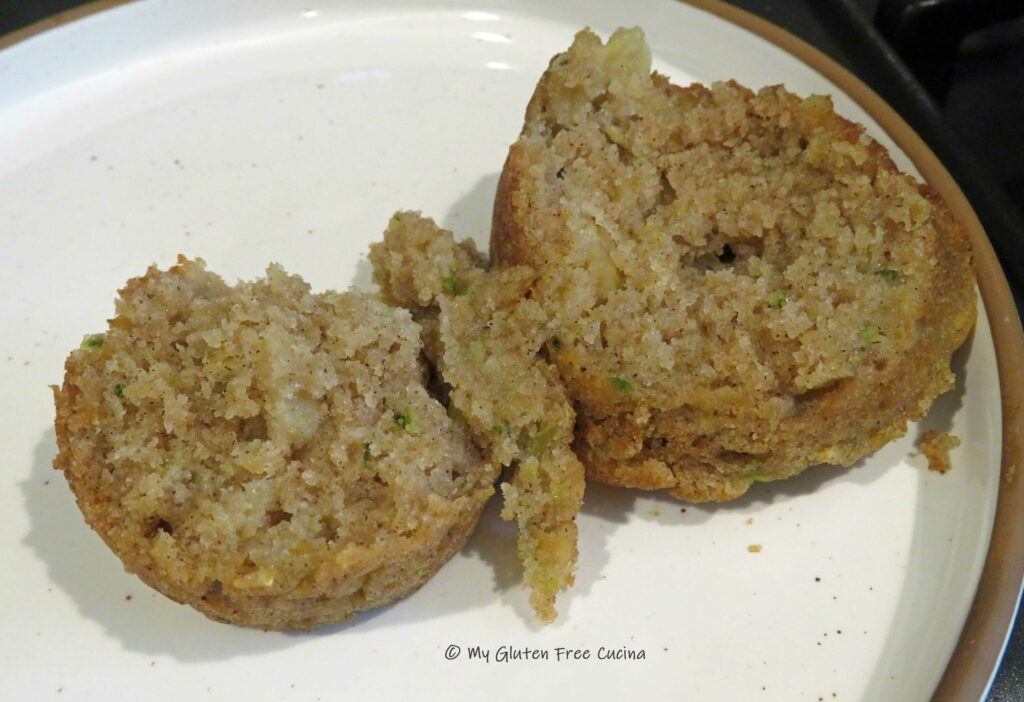
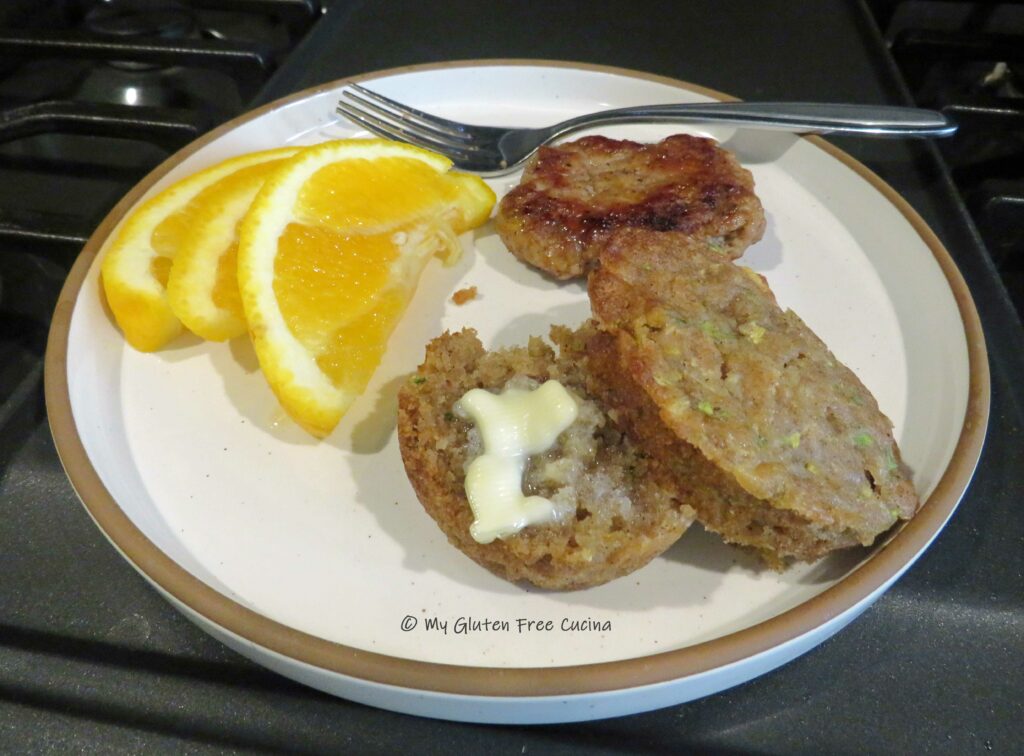
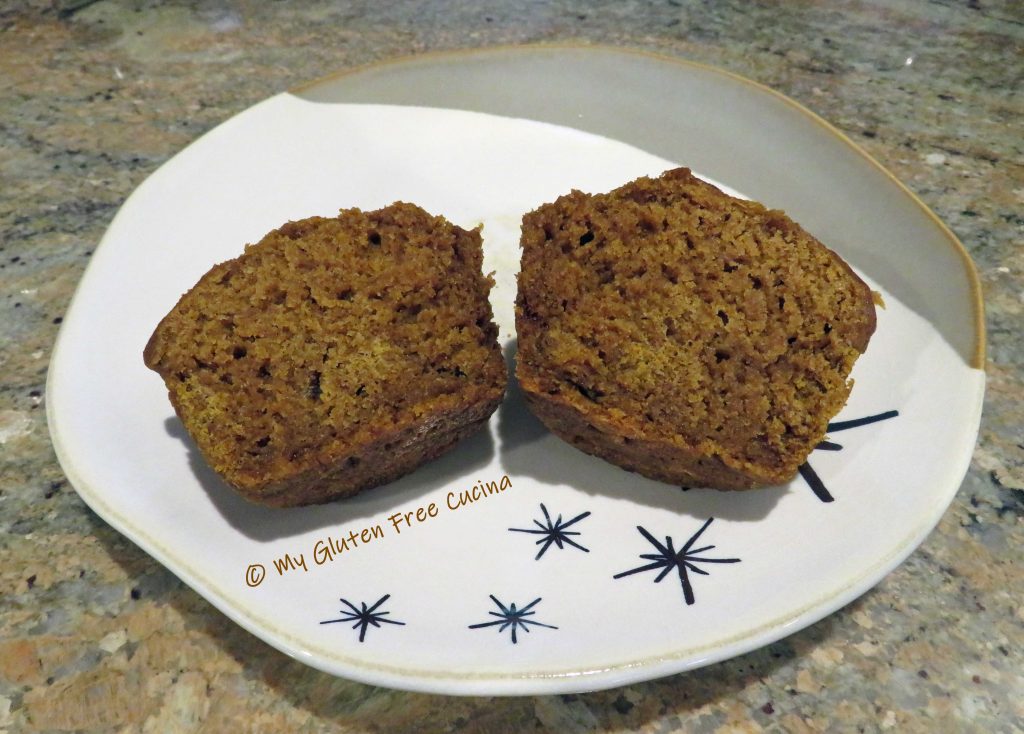
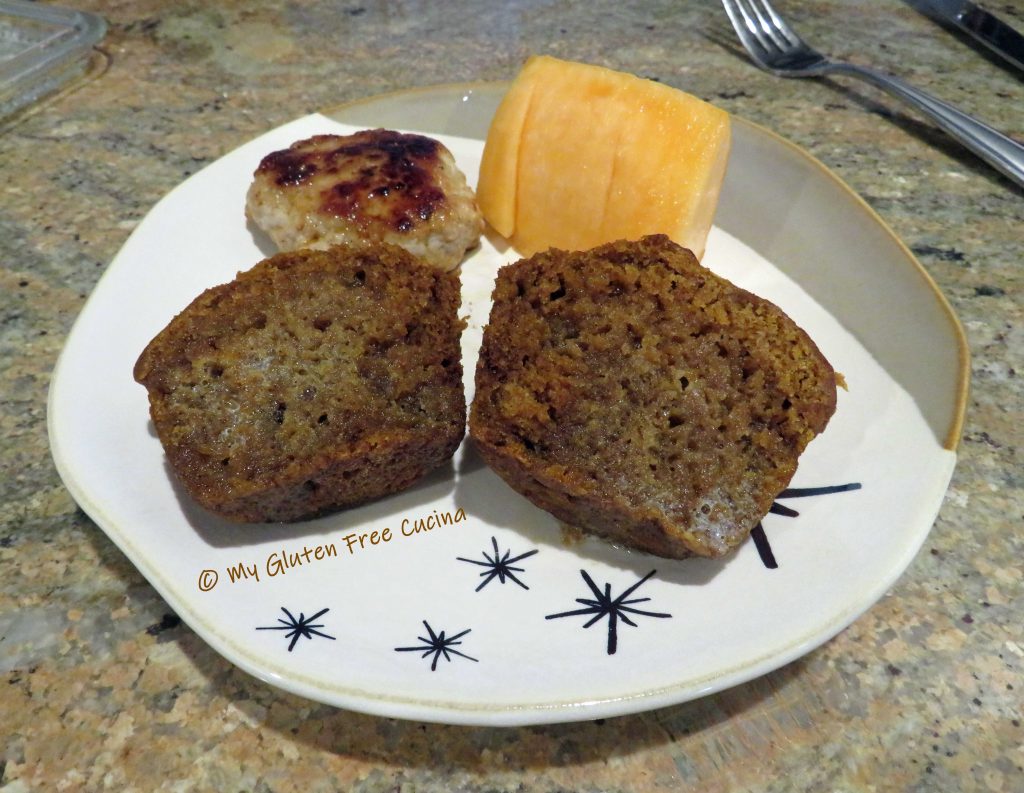
Look at that beautiful moist crumb!

Muffins can be stored at room temperature for up to one day or frozen.  My prediction is that they will disappear before you have to worry about it!

Notes ♪♫ I adapted this recipe from a quick bread that I used to make pre-Celiac.  It worked beautifully with gluten free flour, and as always, I recommend Better Batter.  I used their Original Blend, perfect for all your favorite muffins and quick breads.

Print This Post Print This Post


Gluten Free Pumpkin Applesauce Muffins

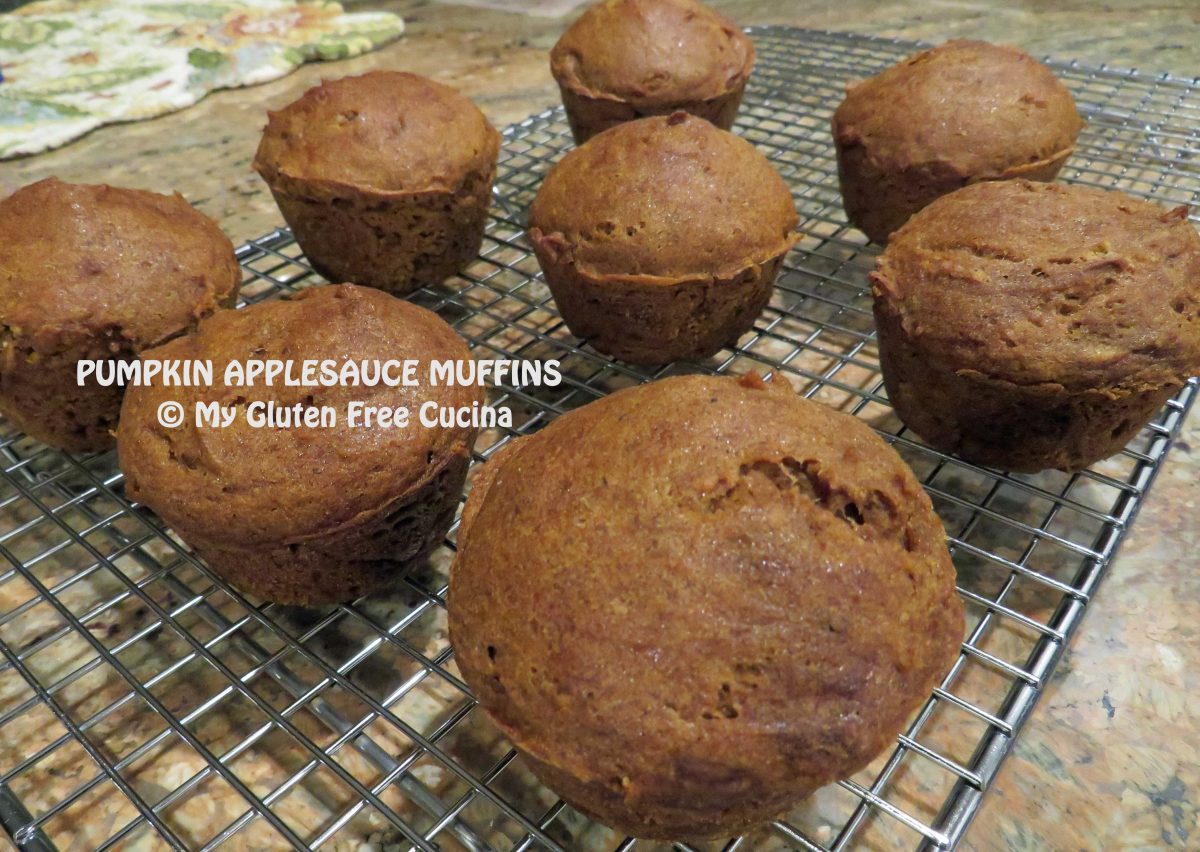
Are you team pumpkin or team apple?  With these Pumpkin Applesauce Muffins, there’s no need to take sides!  You get the best of both fall flavors in every bite!

Think all gluten free baked goods are dry and crumbly?  Wait until you bite into one of these muffins, they are super moist and delicious.  What’s more, no one will guess that they are gluten free!

This post contains affiliate links.

Ingredients:

Dry ingredients

  • 285 g. (~2-1/3 cups) gluten free flour (I use and recommend Better Batter Original)
  • 1-1/2 tsp. baking soda
  • 1-1/2 tsp. cinnamon
  • 3/4 tsp. ginger
  • 1/4 tsp. cloves
  • 3/4 tsp. nutmeg
  • 3/4 tsp. salt

Wet ingredients

Get 30% off full price at Better Batter with code MGFC30

Preparation:

Whisk the dry ingredients together in one bowl.  In another bowl, whisk together all the wet ingredients.

Stir the dry ingredients into the wet, until all of the flour is moistened.  Cover and let the batter rest for 20 minutes while you preheat the oven to 350º.

Mist the muffin tin with cooking spray and spoon the batter into the 12 cups.

Use a small spatula to smooth out the tops, this will give the muffins a nice dome.

Bake for 30 minutes.  Test with a toothpick, it should come out dry.

Cool in the pan for 15 minutes then place on a rack until completely cooled before storing, about 2 hours.

Muffins will keep at room temperature for a day or two.  Reheat them in the microwave for 30 seconds.  I like to wrap leftovers individually and freeze them for a quick breakfast or snack.

Notes ♪♫ Don’t skip the 20-minute resting time.  This important step allows the flour to hydrate so that there will be no gritty texture in the finished muffin.  This is a great tip for gluten free baking in general, and will give better results for your breads, muffins and cakes.

Print This Post Print This Post

Gluten Free Apple Pie

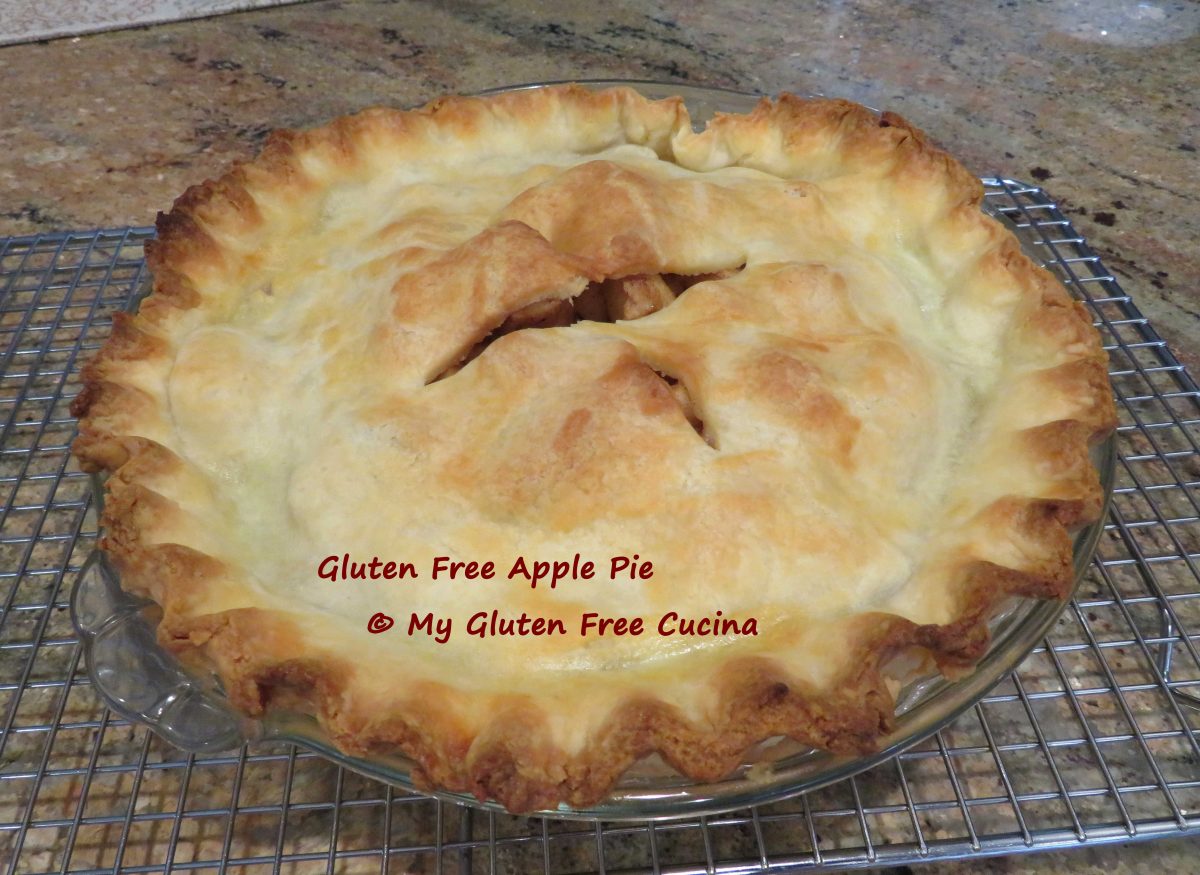
There is nothing like a homemade pie for a special occasion.  Just look at that crust!  Apple pie was the first pie that I learned to make, and it is still my favorite!

Before my Celiac diagnosis, I used to buy the refrigerated pastry dough in the red box (remember those days?) for my pies.  Today I use this easy make ahead Gluten Free Pie Crust, and always keep it on hand in my freezer so I’m ready to make a dessert pie, meat pie or quiche.

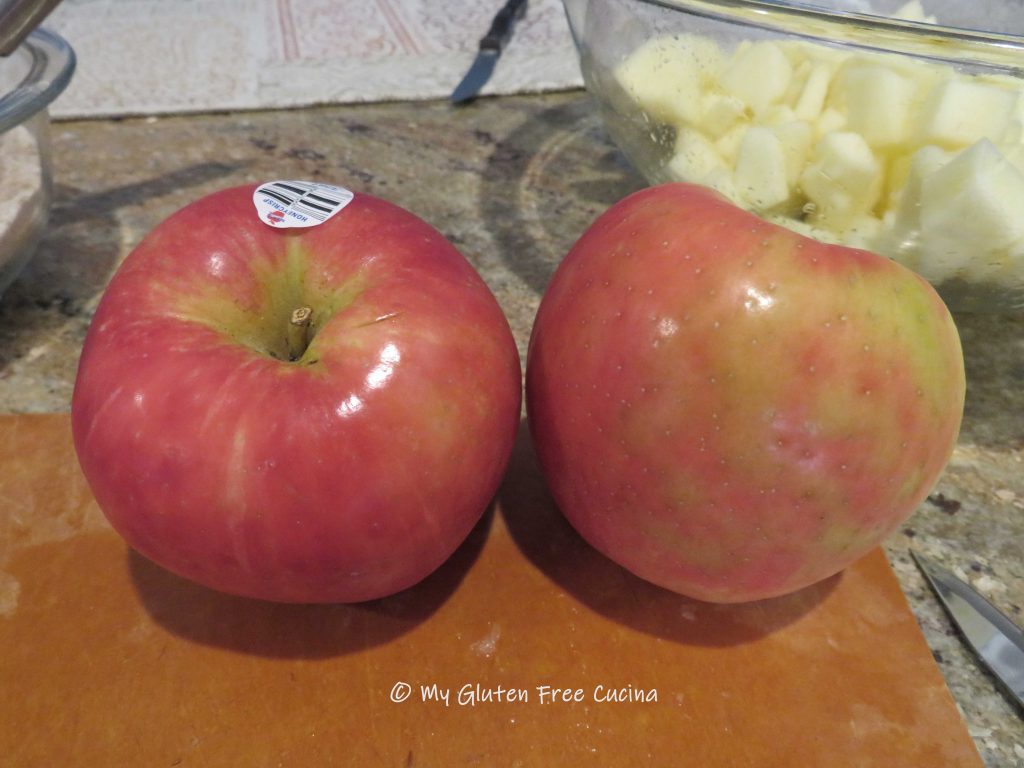
The filling was adapted from Taste of Home, an old classic from back in the day.  I always use Honeycrisp apples for pie, they are excellent for cooking and baking.  You can use other firm apples like Braeburn, Cortland or Granny Smith.  My apples were quite large, so I only used 4 for this recipe.  For medium sized apples you will need 5-6.

This post contains affiliate links.

Ingredients:

  • gluten free pastry dough for double pie crust (recipe here)
  • 5-6 medium apples, peeled and diced
  • 1 tbsp. lemon juice
  • 1/2 cup sugar
  • 1/2 cup brown sugar
  • 3 tbsp. gluten free flour (I used Better Batter Original)
  • 1 tsp. cinnamon
  • 1/4 tsp. ginger
  • 1/4 tsp. nutmeg
  • 1 tbsp. butter
  • 1 tbsp. egg whites

This post contains affiliate links.

Preparation:

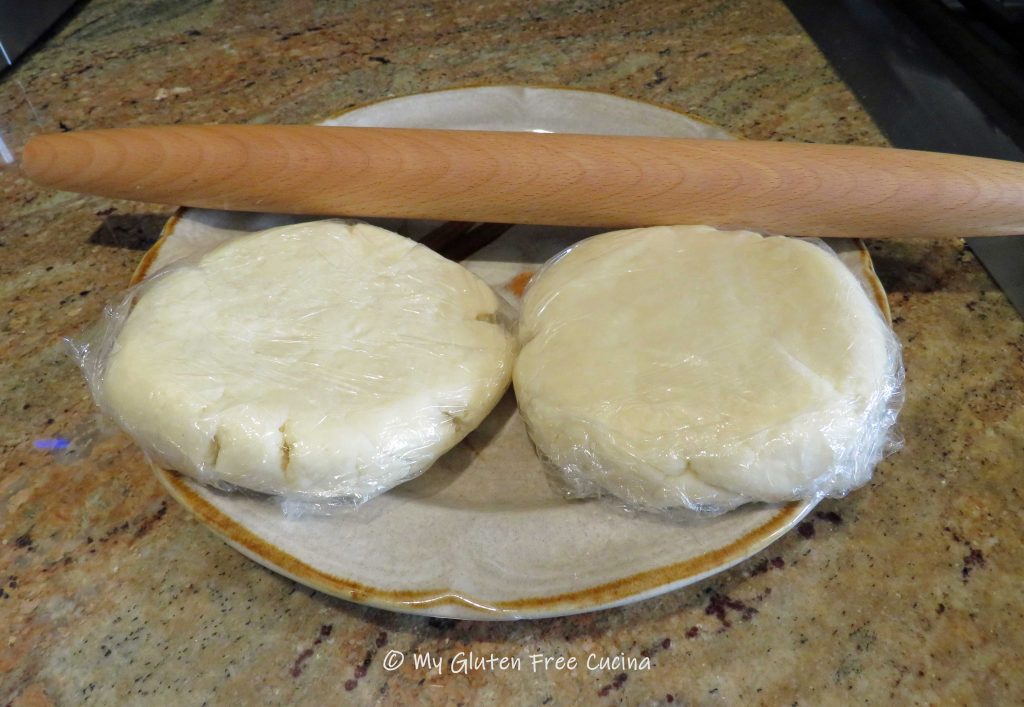
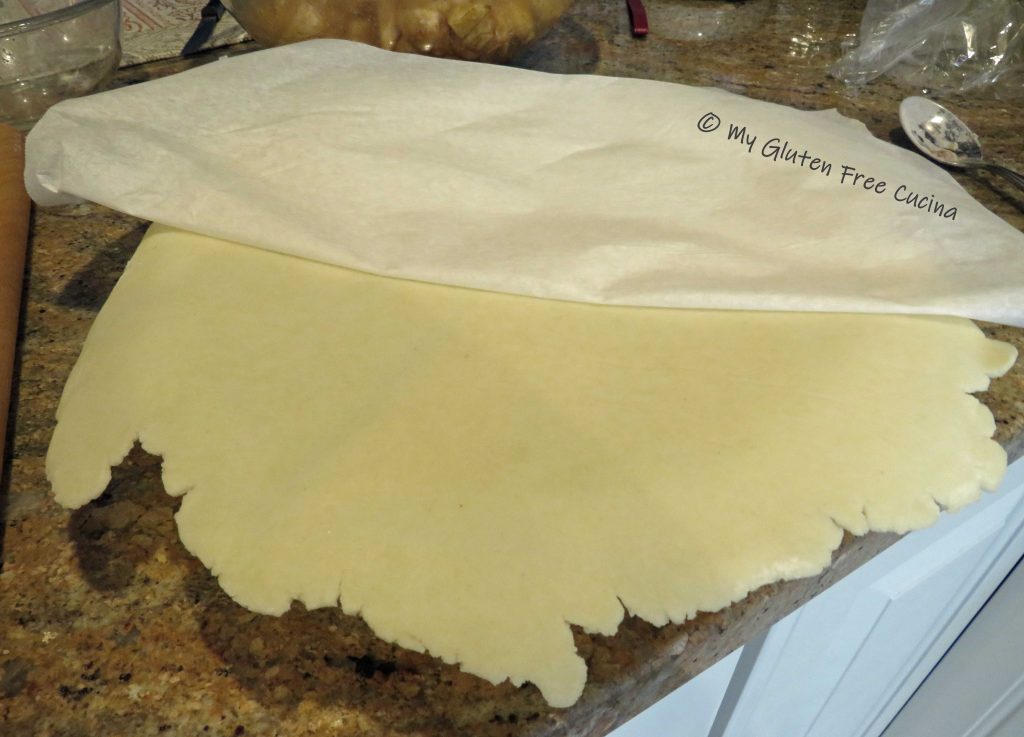
The first thing you’ll want to do is roll out that pie dough.  If you had it in the freezer, let it defrost in the refrigerator the day before then leave at room temperature for 20 minutes before rolling.

The easiest way to roll the dough is to lay it on a sheet of lightly floured parchment and cover with a sheet of plastic wrap.  Take your time rolling the dough, until it is large enough to fit your pie dish.  Place the rolled-out dough in the refrigerator while you make the filling.

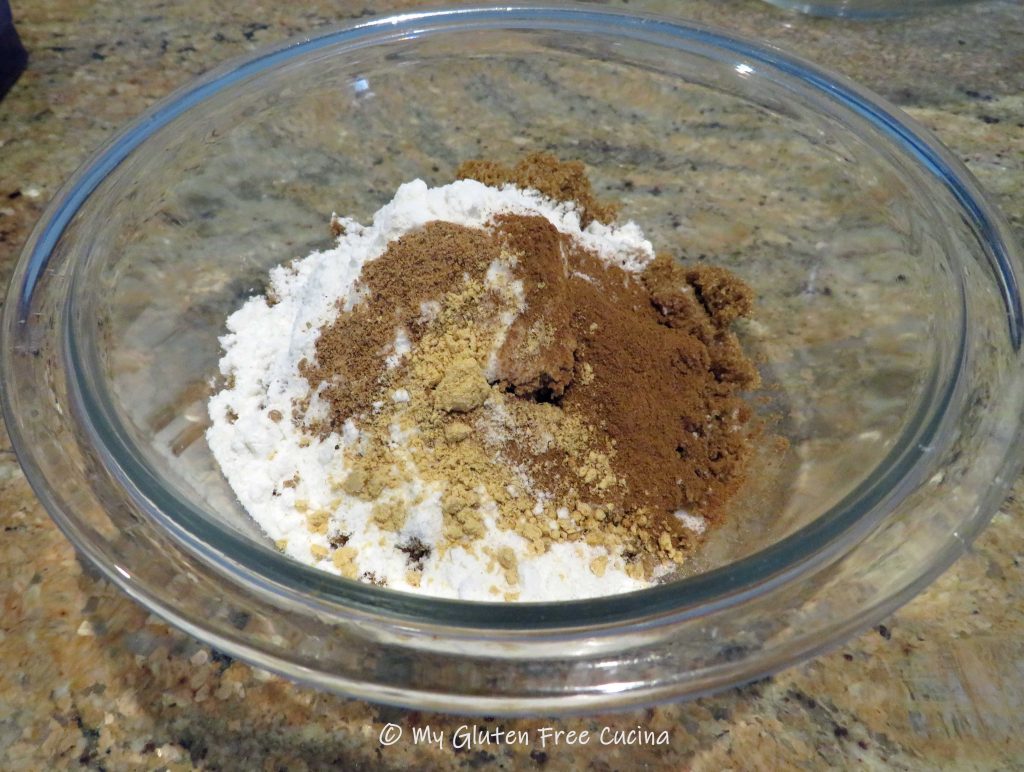
Next, whisk together the sugars, flour, cinnamon, ginger and nutmeg in a small bowl.

Squeeze the lemon juice into a large bowl.  Peel and dice the apples and add to the bowl, tossing with the lemon juice after each addition.

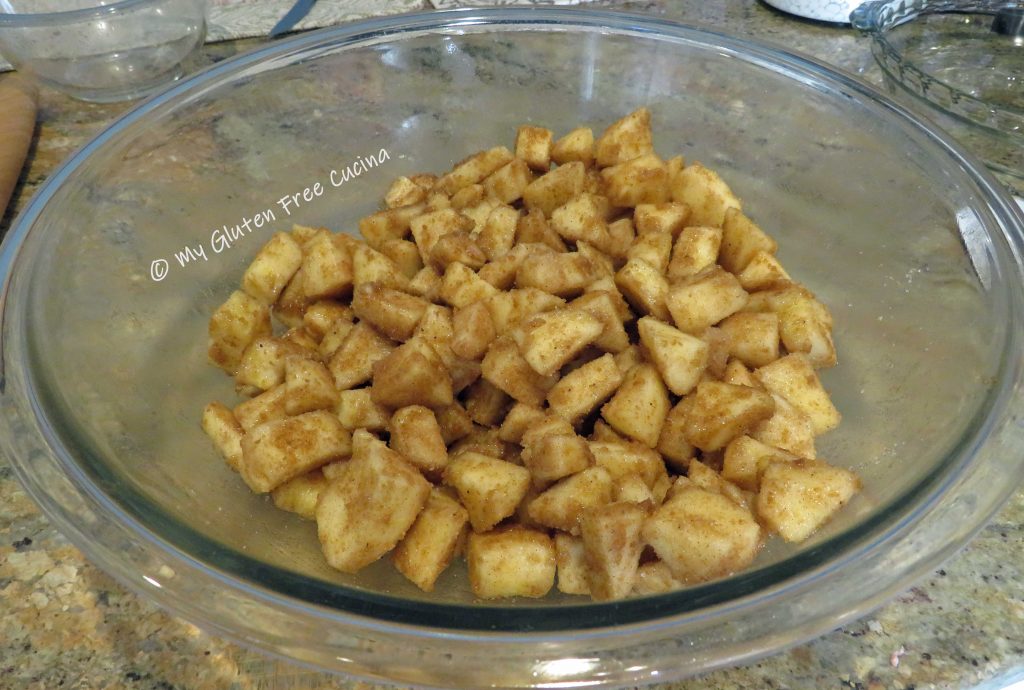
Combine the sugar mixture with the apples and toss well to coat.

Now for the moment of truth.  Place one sheet of pastry dough in the pie dish.  The easiest way to do this is to remove the plastic wrap and flip the dough onto the pie dish.

Carefully peel away the parchment and ease the dough into the dish like this.
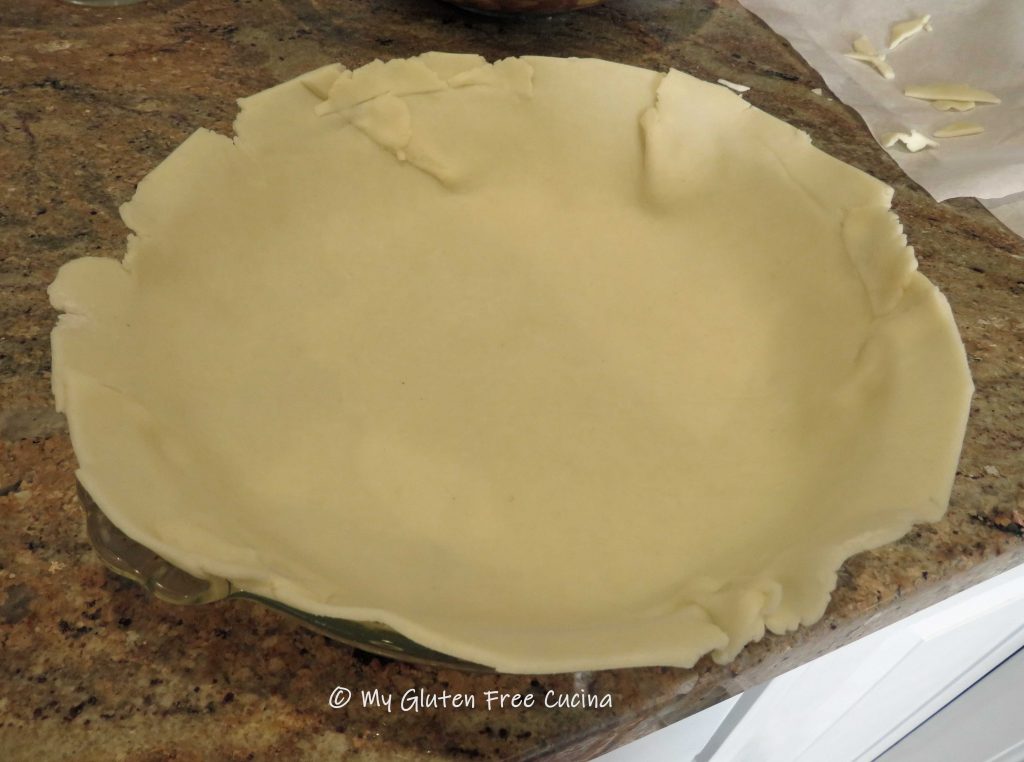
Whew, look at that it worked!  Now trim the edges and use the extra pieces to patch any cracks or holes.

Fill with the apple mixture and dot with the butter.

Use the same technique to place the top sheet of pastry dough.  Fold the edges over and crimp, it doesn’t have to be fancy.

Cut slits to allow steam to escape.  Whisk the egg white, and brush all over the top.

Place the pie on a sheet pan (in case it drips) and arrange strips of foil loosely around the edges.  Don’t press the foil into the dough (it may stick).

Bake for 25 minutes at 375º.  Use tongs to remove the foil then bake an additional 25 minutes.

Cool at least 2 hours before slicing.  It smells so good you will have a hard time waiting!

Notes ♪♫ Pie crust has always been my nemesis.  That is, until I learned to make this incredible Gluten Free Cream Cheese Pie Crust, then a whole new world of gluten free baking opened up.  Try it, I promise it is easy to prepare and rolls like a dream!

Apple Pie filling adapted from Taste of Home

Print This Post Print This Post

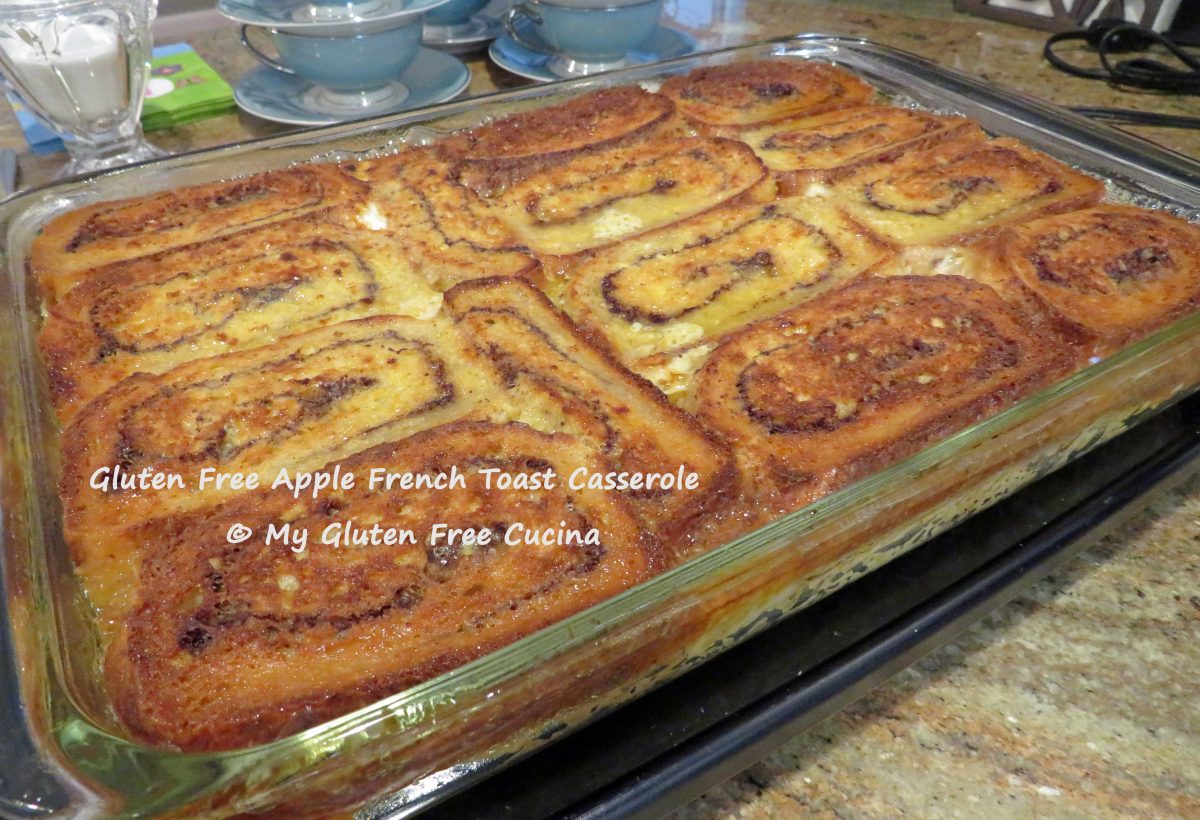
Gluten Free Apple French Toast Casserole

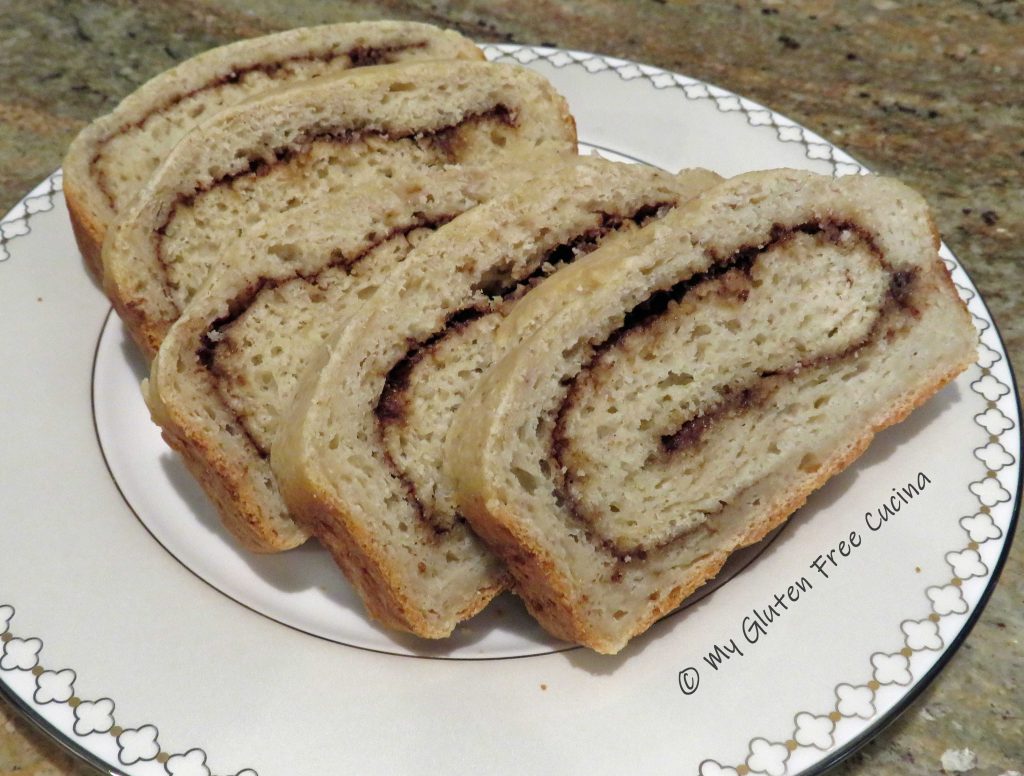
Did you see the Gluten Free Cinnamon Swirl Bread I posted a few weeks ago?  If not, check it out here!   I used that same recipe to make this overnight Apple French Toast for Easter.  The cinnamon swirl bread goes so well with apples!  This is a wonderful make ahead recipe for a brunch, get it ready the night before and bake in the morning!

Ingredients:

  • 1 loaf Gluten Free Cinnamon Swirl Bread
  • 1/2 cup dark brown sugar
  • 1/2 cup butter (1 stick)
  • 2 tbsp. maple syrup
  • 3 apples (I used Honey crisp)
  • 7 eggs
  • 1-3/4 cups milk (I used 2%)
  • 1 tsp. vanilla extract
  • 1/2 tsp. cinnamon
  • cooking spray

This post contains affiliate links.

Preparation:

Make the Cinnamon Swirl Bread 2 days before and store at room temperature.

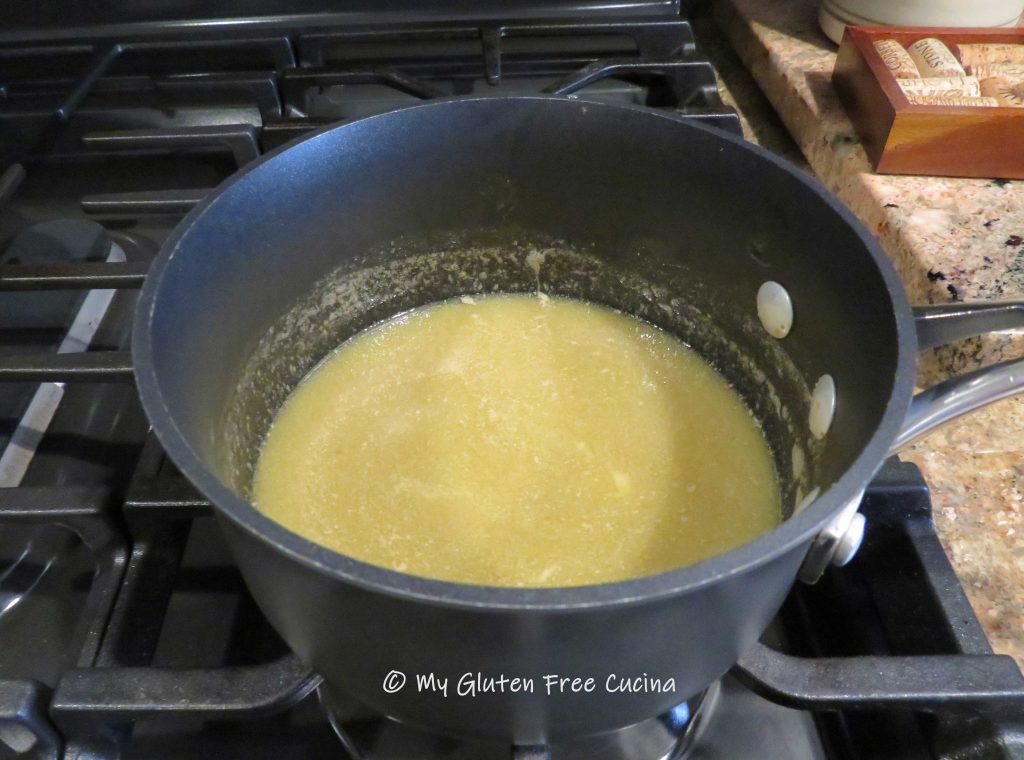
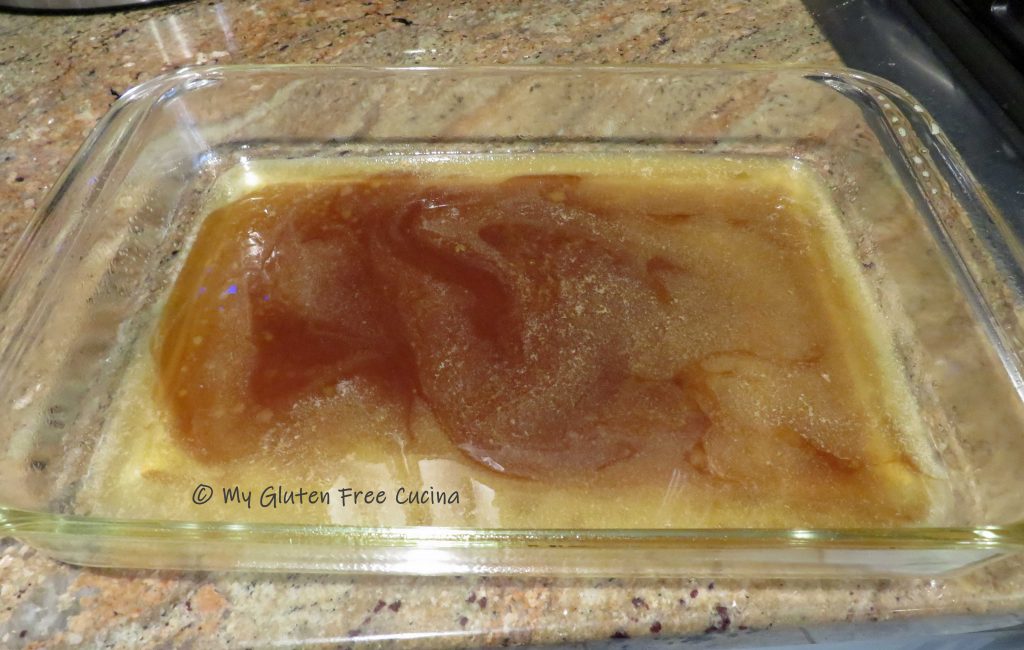
The night before your brunch, melt the butter, brown sugar and maple sugar in a small saucepan.  Stir occasionally to dissolve the sugar.

Mist a 9 x 13″ glass baking dish with cooking spray and pour the butter mixture into the dish.

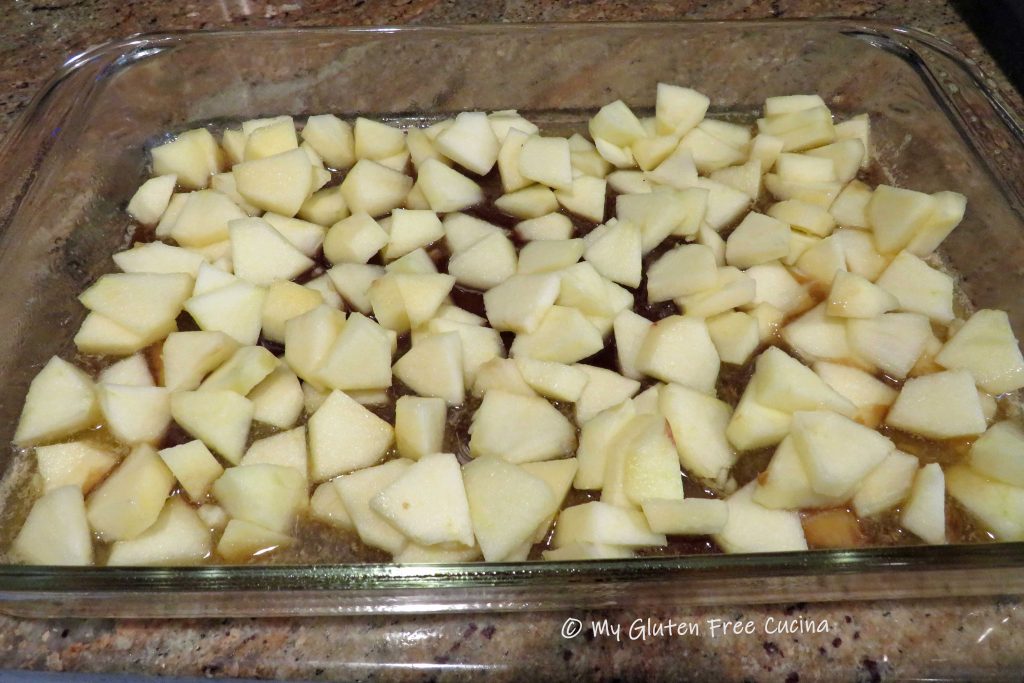
Peel and slice the apples and spread them over the butter mixture in a single layer.

Cut the bread into 3/4″ slices and arrange over the apples.

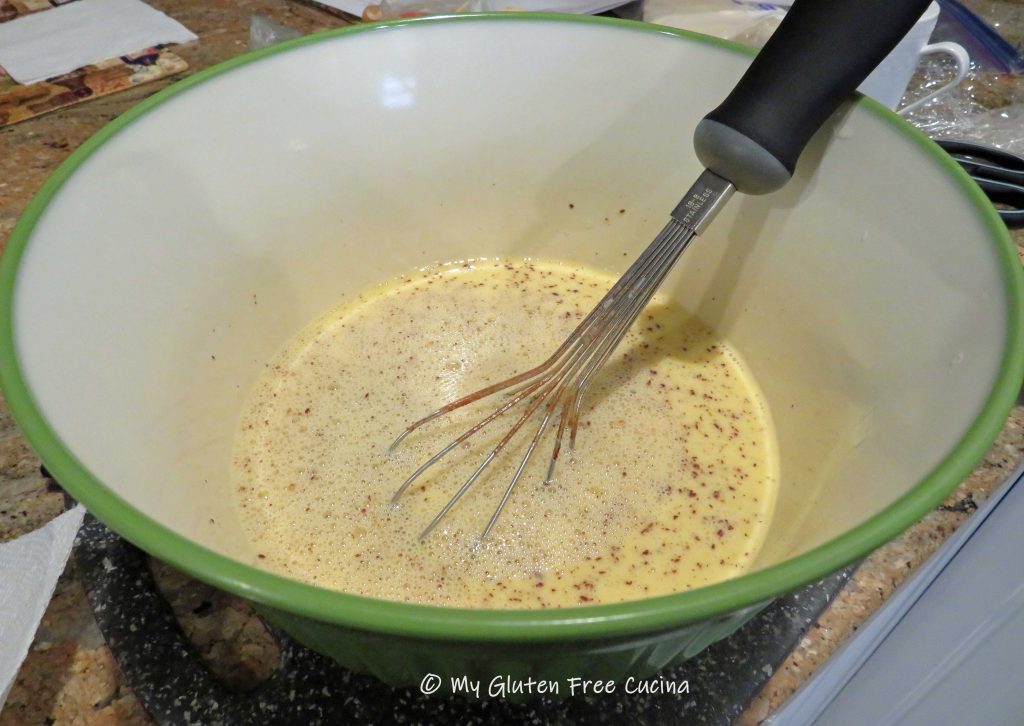
Whisk together the eggs, milk, vanilla and cinnamon.

Pour the egg mixture over the bread slices and press down with a spatula.
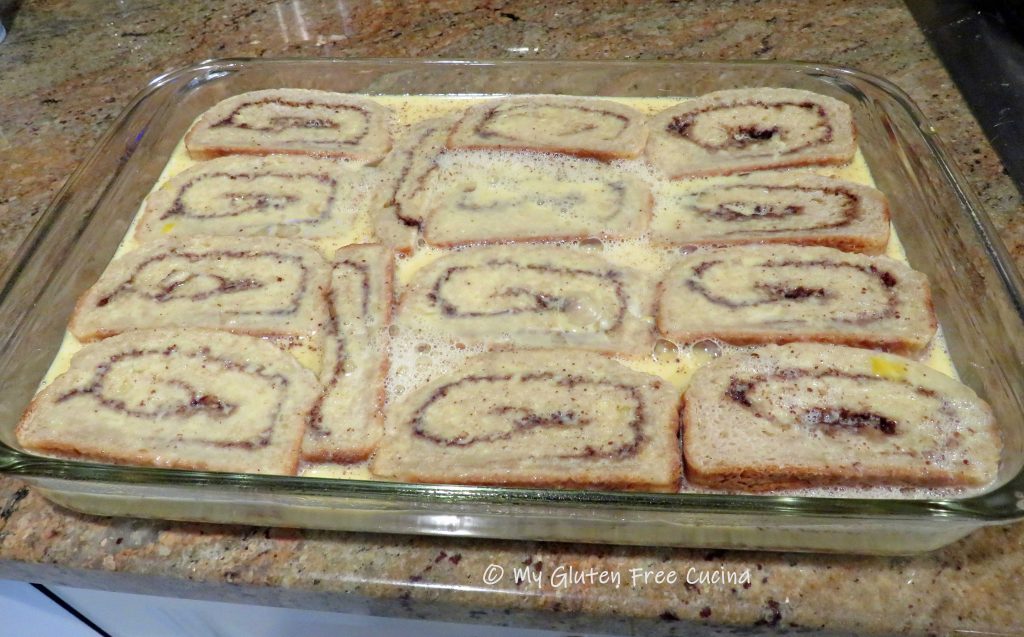
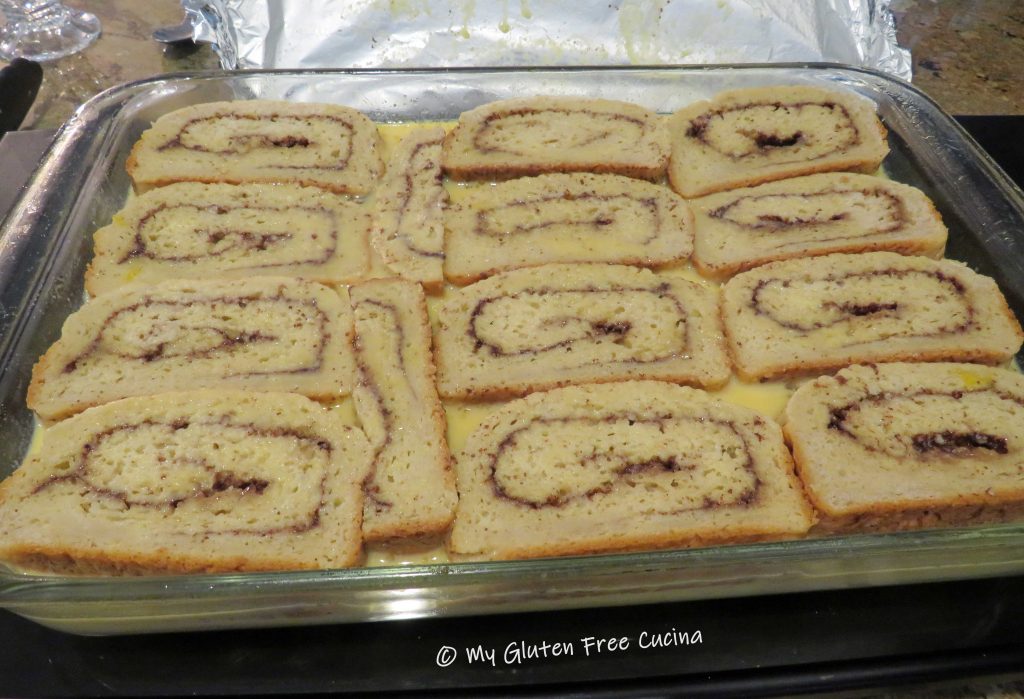
Mist a sheet of foil with cooking spray, cover the casserole and press down with your hands to be sure the bread slices are submerged in the egg mixture.  Refrigerate overnight.  Here’s what it should look like in the morning.

In the morning, take the baking dish out of the refrigerator and let it sit on the counter to warm up for at least 30 minutes before baking (going directly from refrigerator to oven may shatter a glass baking dish).  Bake uncovered for 40-50 minutes at 350º then broil for 2-3 minutes to finish.

You can dust with powdered sugar (optional) and serve with real maple syrup!

Notes ♪♫ There are many breads that will work well in this recipe.  Check out my Gluten Free Millet Bread that I often use for French Toast recipes.  Be sure to make the bread two days before assembling the casserole, a drier loaf will better absorb the eggs.

Print This Post Print This Post