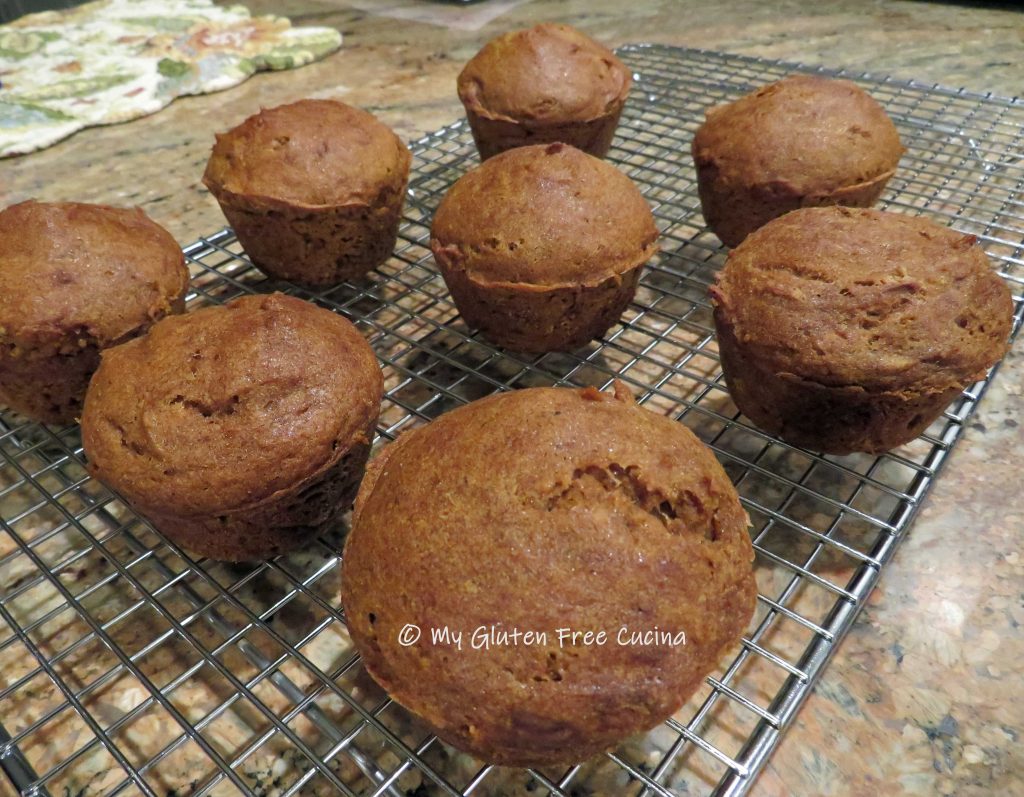
Gluten Free Applesauce Prune Muffins

Here is a hearty breakfast muffin that will satisfy your morning hunger.  Mildly sweet and loaded with fiber (because who doesn’t need more of that?), they are reminiscent of bran muffins, with flax standing in for the wheat bran.  The prunes are pureed with the applesauce and have a similar texture to raisins.  (If the idea of prunes doesn’t excite you, then raisins can be substituted, but I encourage you to give this a try.)

This post contains affiliate links.

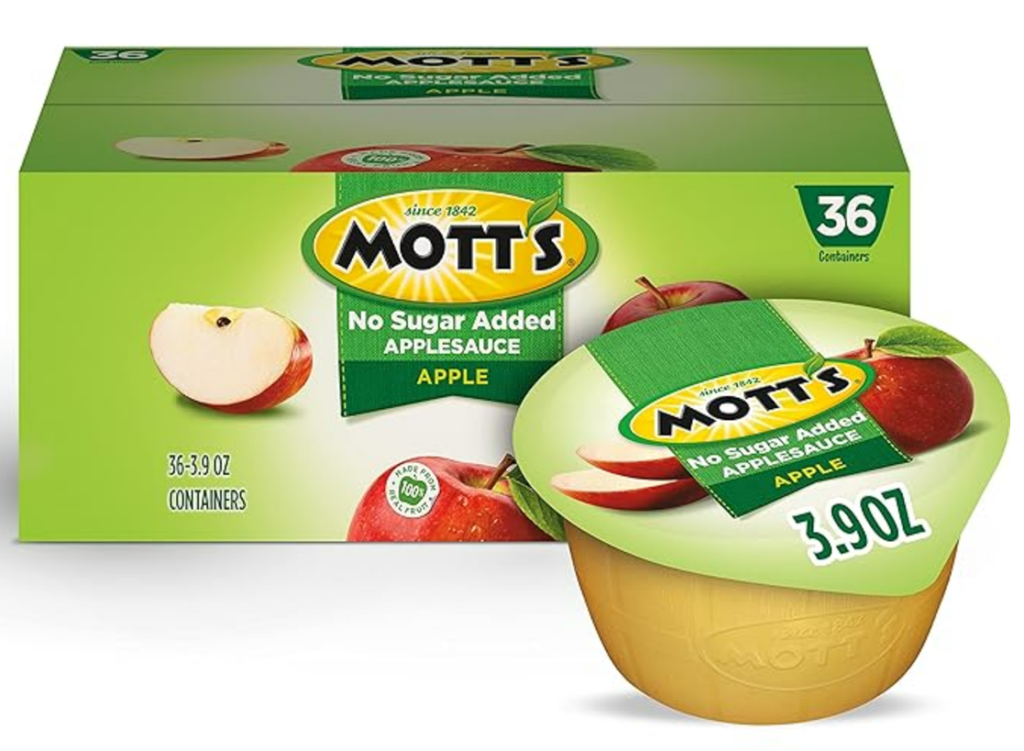
I like to buy unsweetened applesauce cups for recipes like this one, because you don’t have to open an entire jar only to have it go to waste.  This recipe uses 2 of the 3.9 oz cups.

I prefer golden flaxseeds to brown.  I process them in a coffee grinder when needed for a recipe.  You can buy ground flaxseed meal, but if you don’t use it quickly it can go rancid. By grinding the seeds when you need them, they will always be fresh.

Ingredients:

Dry Ingredients:
Wet Ingredients:

Preparation:

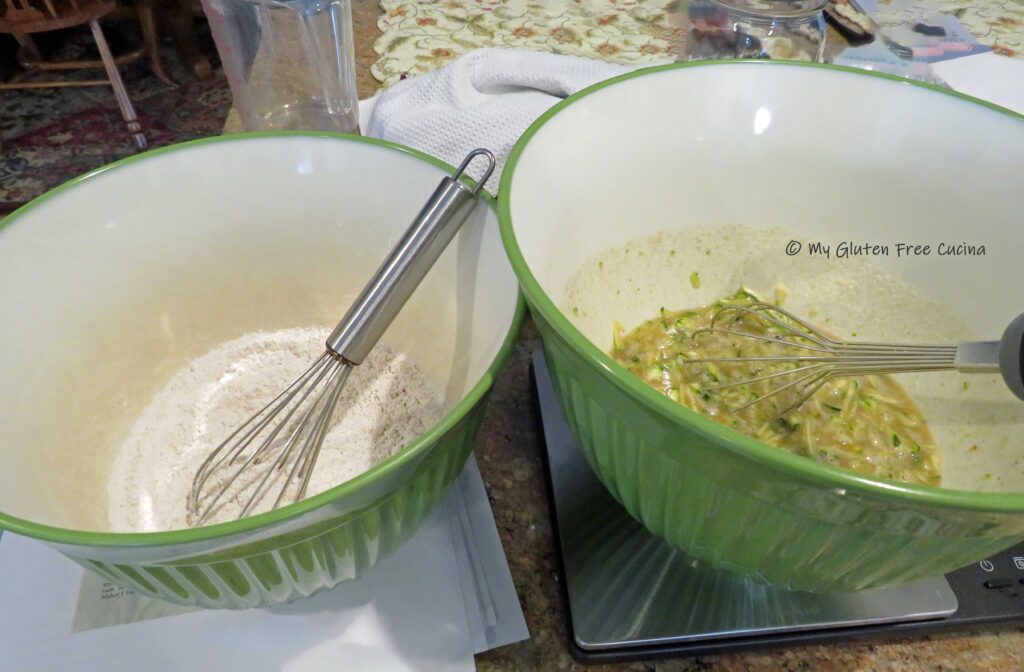
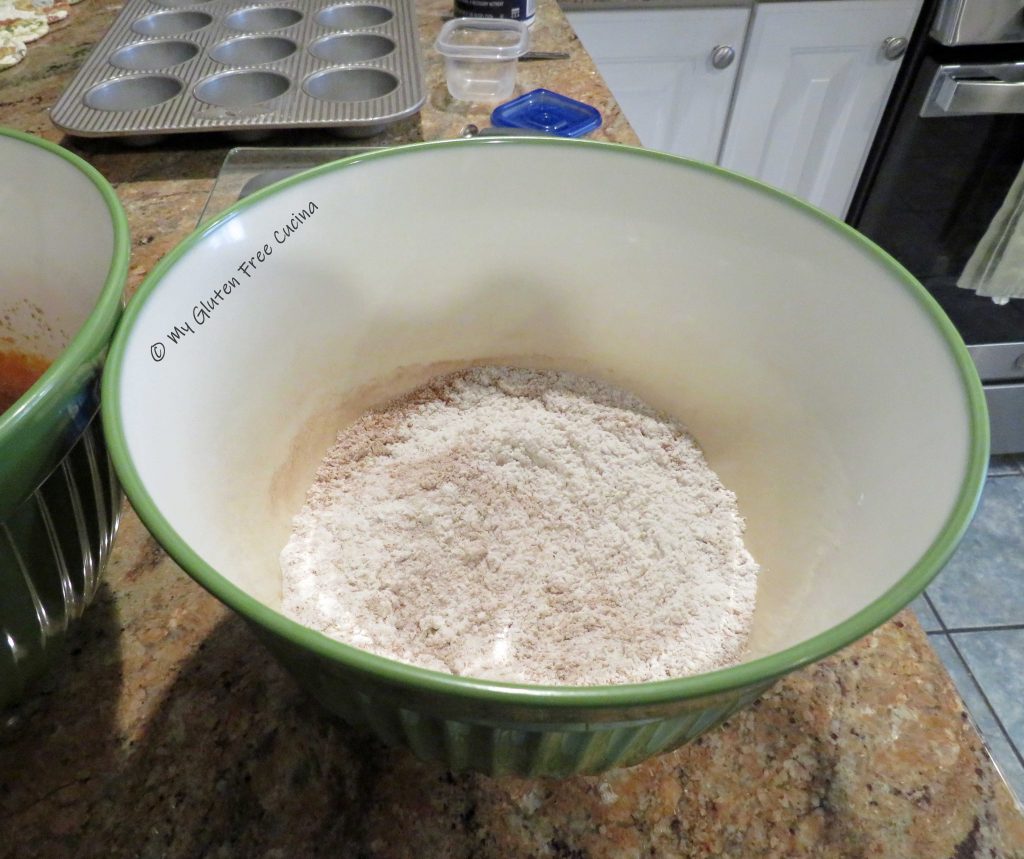
Combine the dry ingredients in a bowl and whisk well.

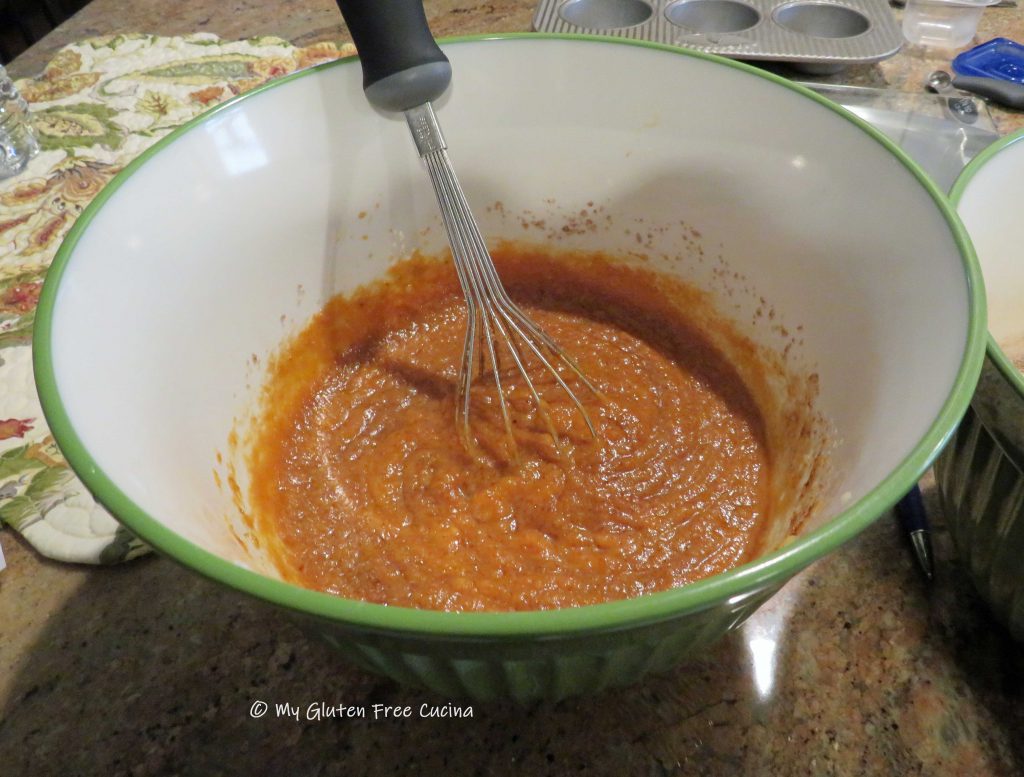
Puree the applesauce and prunes in an electric chopper or food processor.  Add to a separate bowl with the remaining wet ingredients and whisk to blend.

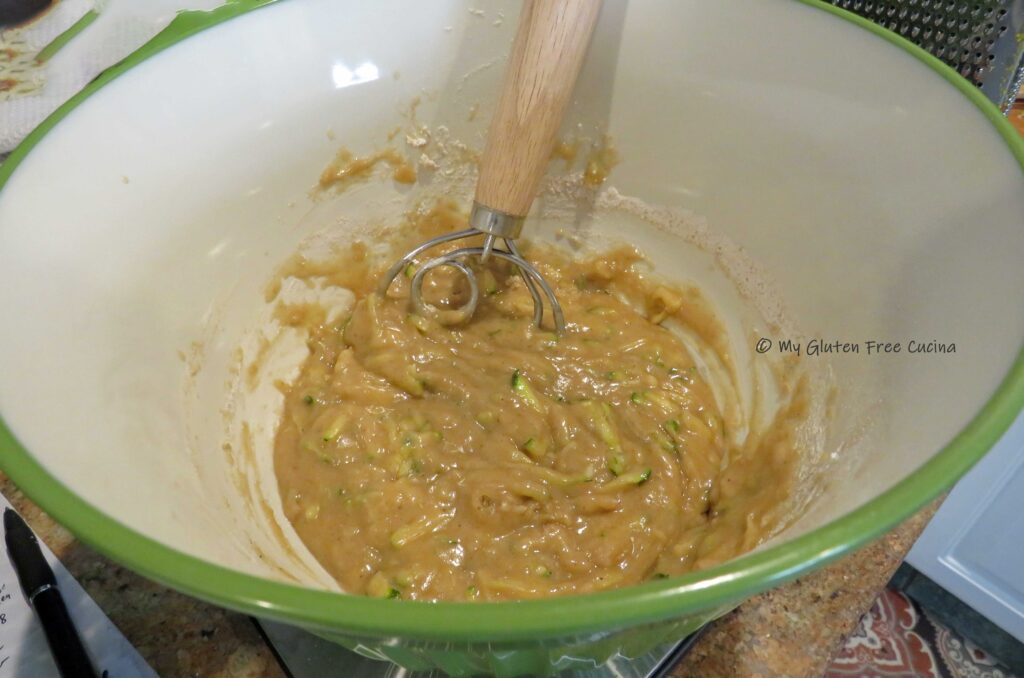
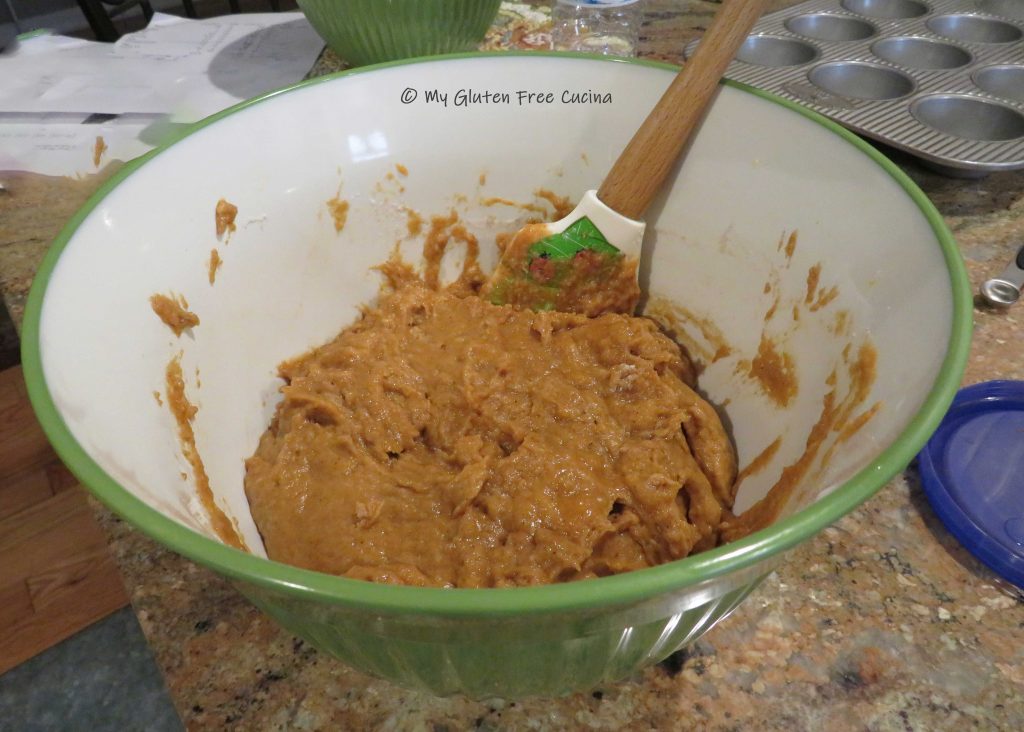
Preheat the oven to 400º.  Add the dry ingredients to the wet and use a batter whisk to combine.  Scrape the sides of the bowl with a spatula to be sure all of the dry ingredients have all been incorporated.

Let the batter rest while the oven preheats, then spoon into a 12-cup muffin tin.  Dip a small spatula in water and smooth the tops in a circular motion.

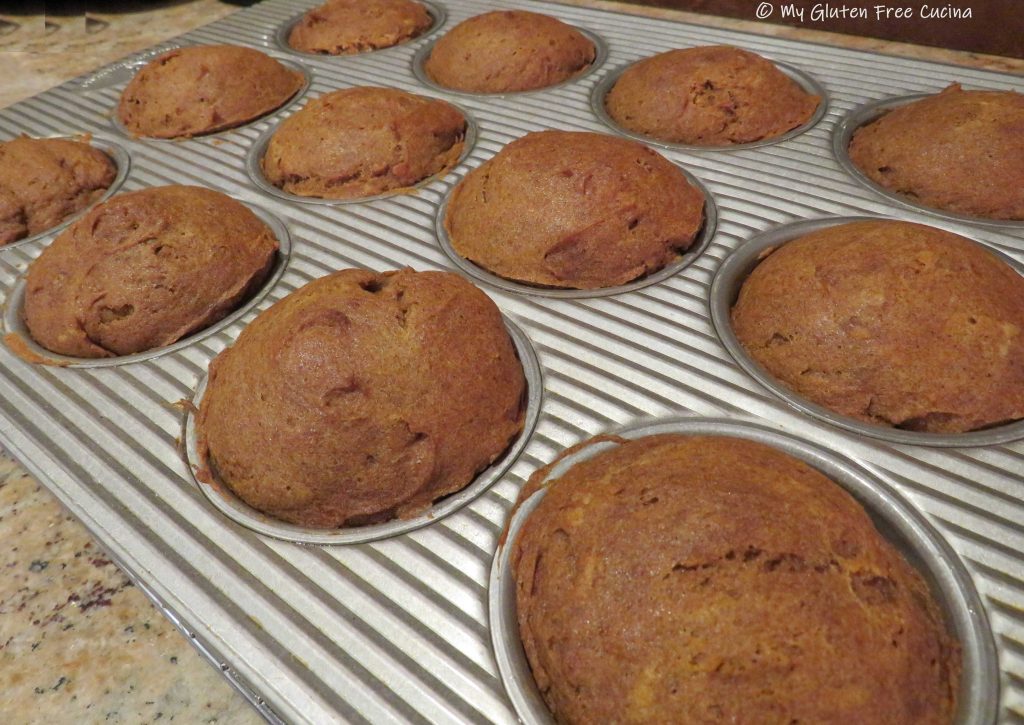
Bake for 20 minutes and check that they are done with a toothpick.

Cool in the pan for 15 minutes, then transfer to a rack.

If not serving immediately, you can cool to room temperature then wrap individually in plastic wrap and store in a freezer safe bag.  I usually freeze muffins to have for breakfast during the week.

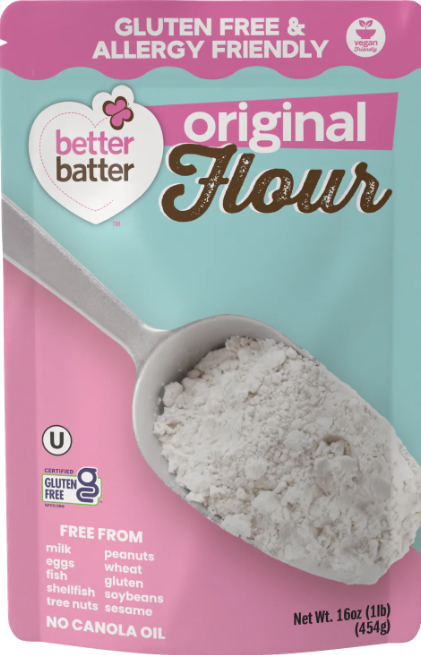
Notes ♪♫ Better Batter Original Blend is my flour of choice for muffins, quick breads and cookies.  Remember to use my Promo Code MGFC30 for 30% off!

Print This Post Print This Post


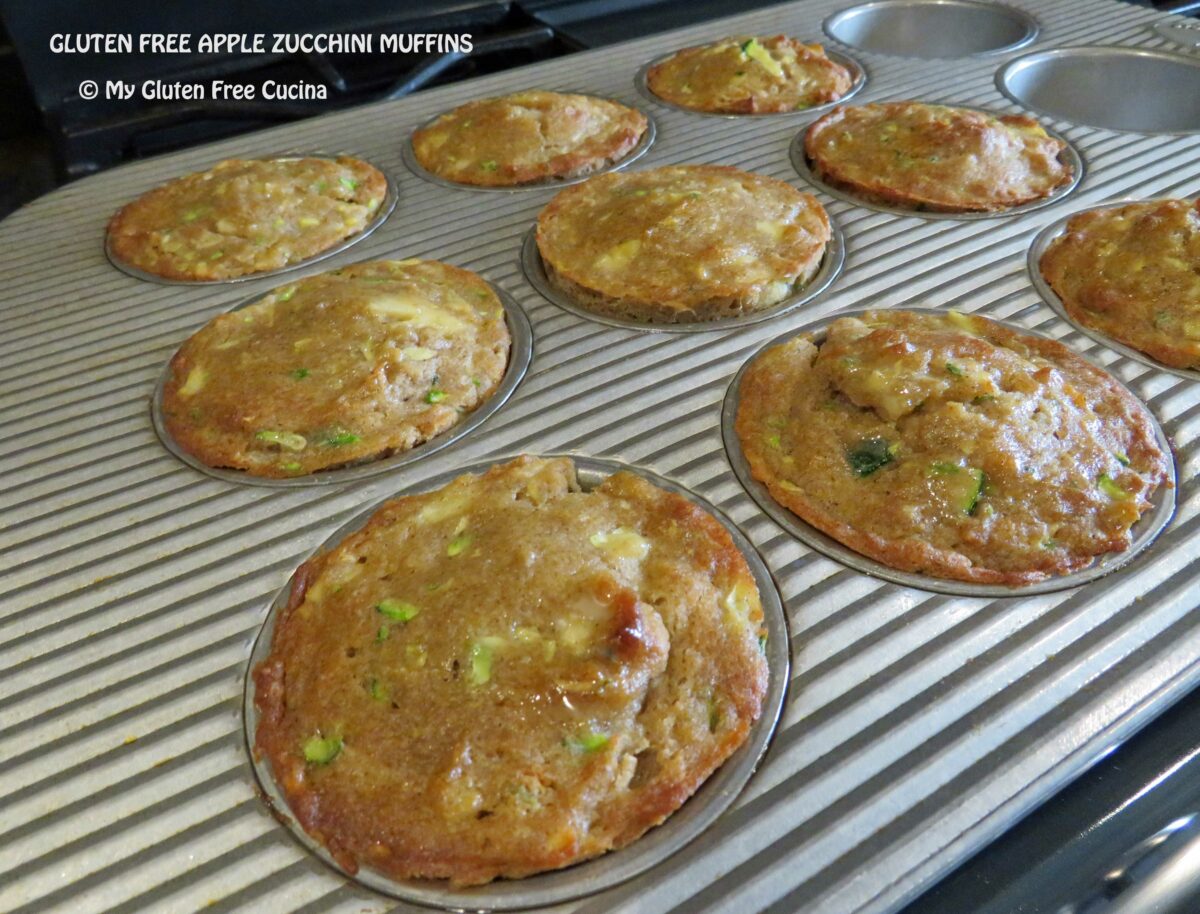
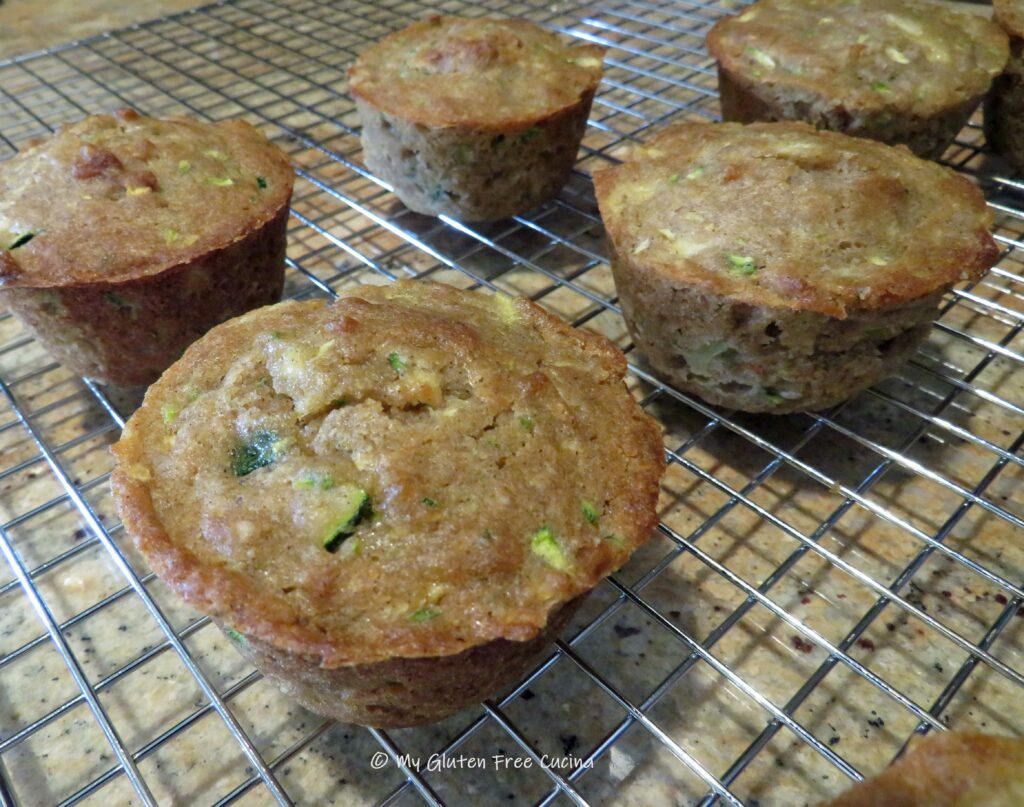
Gluten Free Apple Zucchini Muffins

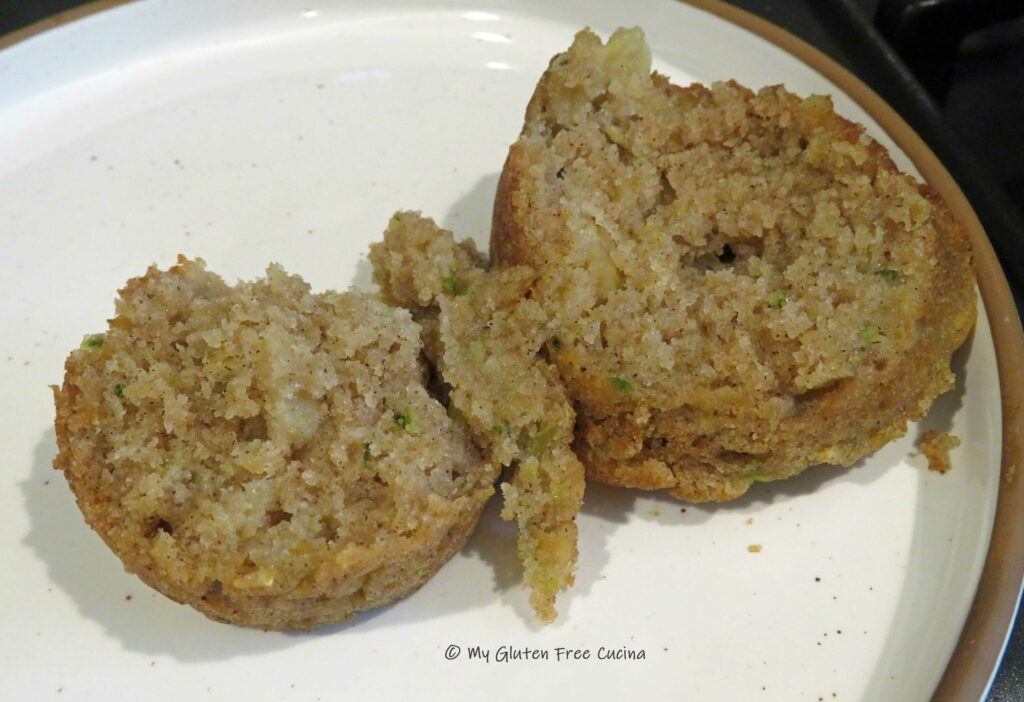
Sometimes gluten free muffins turn out dry and crumbly, but not these Apple Zucchini Muffins!  The name says it all, these muffins are loaded with little bites of apple and zucchini that you can see and taste.  They keep the crumb nice and moist too.  And what a great way to sneak fruits and veggies into your breakfast!

This post contains affiliate links.

Dry Ingredients:

  • 180 g. gluten free all-purpose flour (I used Better Batter Original blend)
  • 1/2 tsp. salt
  • 1 tsp. cinnamon
  • 1/4 tsp. nutmeg
  • 1/8 tsp. ginger
  • 1/8 tsp. cardamom
  • 1/2 tsp. baking soda
  • 1/8 tsp. baking powder

Wet Ingredients:

  • 2 large eggs
  • 1/4 cup softened butter
  • 1/4 cup canola oil
  • 2 cups apple and zucchini, chopped
  • 1/4 cup ricotta
  • 1/4 cup white sugar
  • 1/4 cup brown sugar
  • 1 tbsp. melted butter, for finishing

Preparation:

Mist a 12-cup muffin tin with cooking spray and preheat the oven to 400º.

Use an electric chopper or a knife to mince the apples and zucchini into 1/4″ pieces.

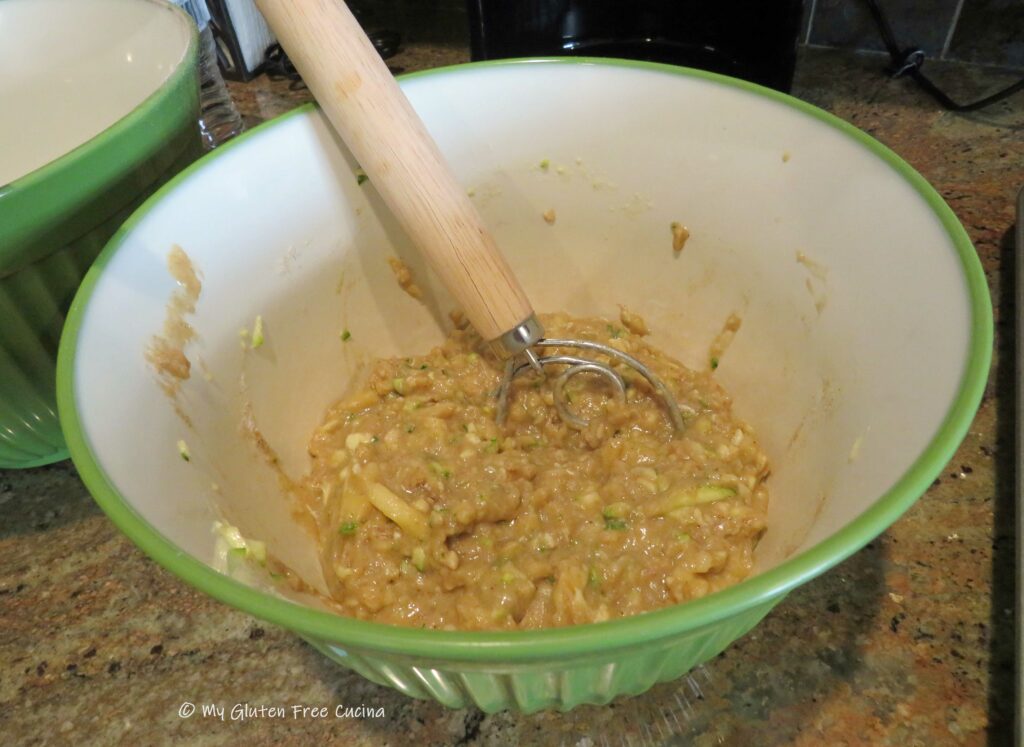
Whisk the dry ingredients together in one bowl.  In a second bowl whisk together the wet ingredients.

Stir the wet and dry ingredients together until thoroughly moistened, then let the batter rest for 15 minutes.

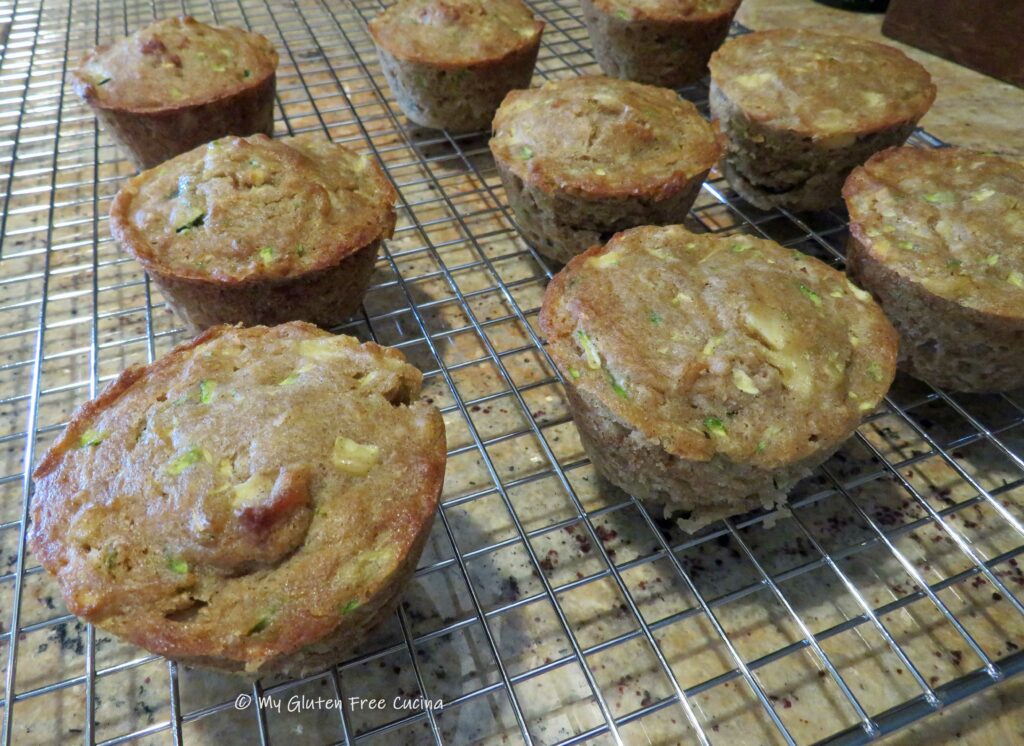
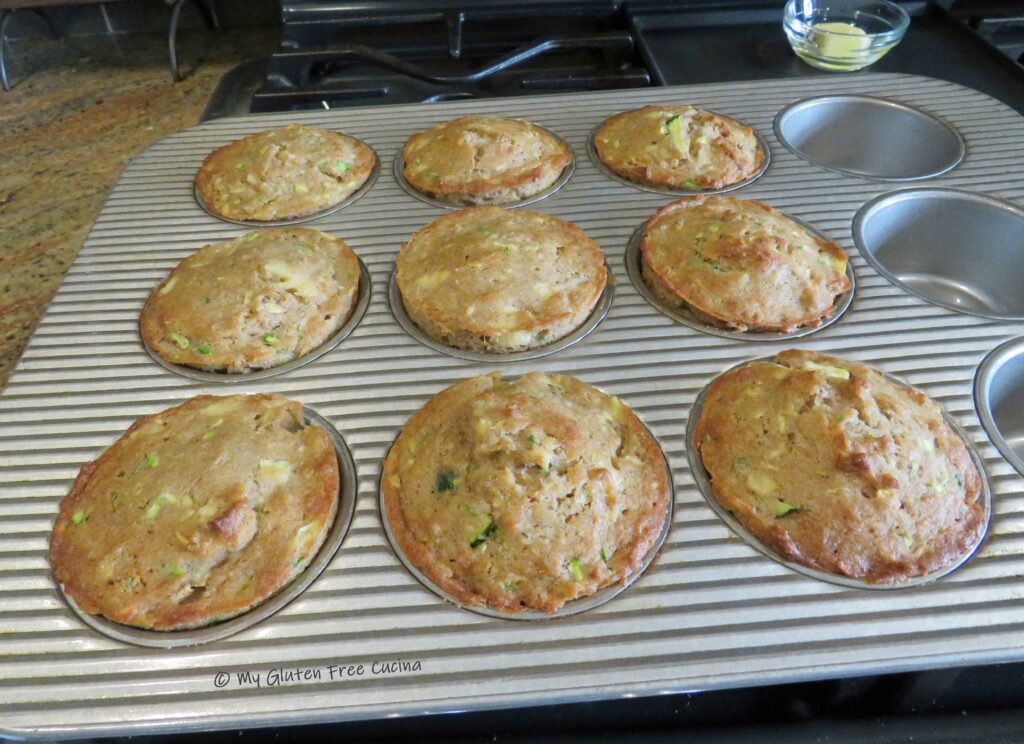
Fill the prepared muffin cups.  I wanted my muffins to be a little larger, so I made 9.  The recipe will make 12 if you portion the muffin cups 2/3 full.

Smooth out the tops with a spatula dipped in water and bake for 20-23 minutes depending on size.  Test the center with a toothpick.

Brush the muffins with melted butter for a nice shine, then cool in the pan for 20 minutes.  Transfer to a rack.

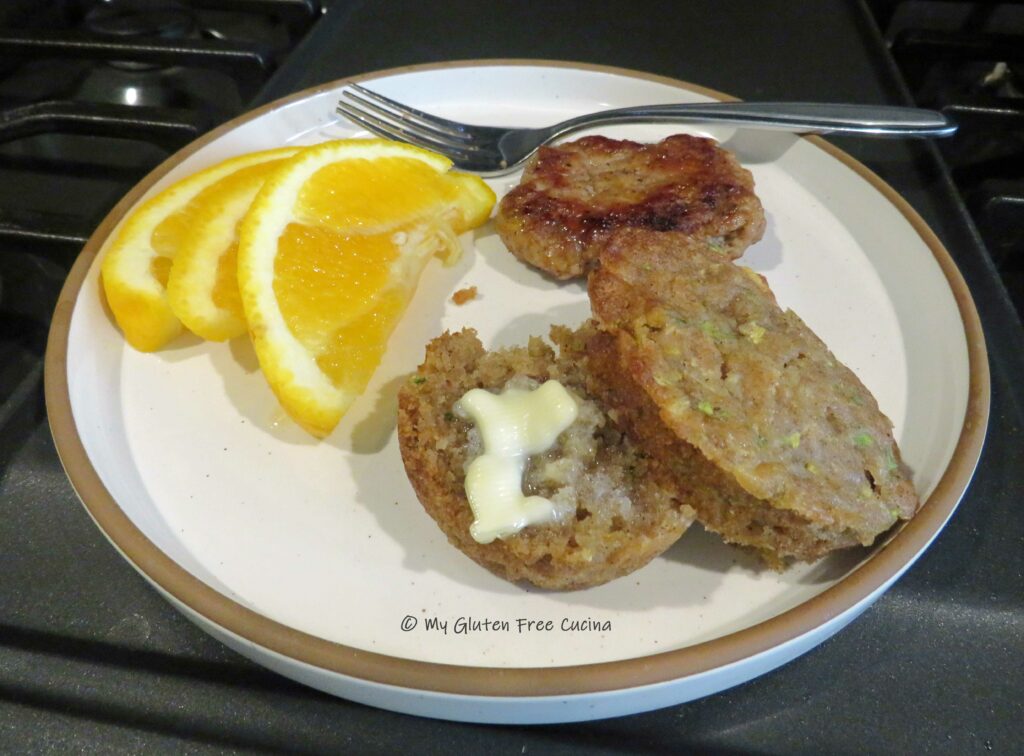
Look at that beautiful moist crumb!

Muffins can be stored at room temperature for up to one day or frozen.  My prediction is that they will disappear before you have to worry about it!

Notes ♪♫ I adapted this recipe from a quick bread that I used to make pre-Celiac.  It worked beautifully with gluten free flour, and as always, I recommend Better Batter.  I used their Original Blend, perfect for all your favorite muffins and quick breads.

Print This Post Print This Post


Gluten Free Carrot Zucchini Muffins

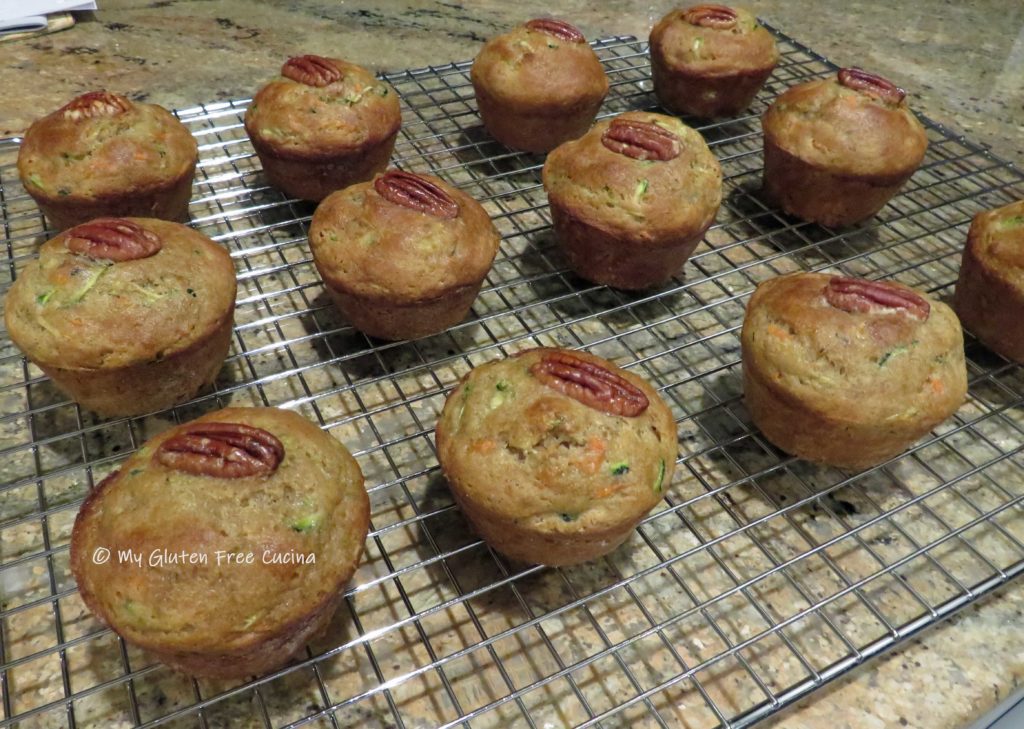
Carrot and Zucchini muffins are perfect for breakfast on the go, coffee breaks and spring brunches!  The first time I made this gluten free muffin, I was so pleased with the high rise and moist crumb.  They are the not overly sweet and so are a great choice for breakfast.  As with all my muffin recipes, I think you will find that this gluten free preparation is as easy as traditional baking.

12 Muffins

This post contains affiliate links.

Ingredients:

  • 240 g. gluten free all-purpose flour *see notes
  • 2 tsp. baking powder
  • 1 tsp. baking soda
  • 1/2 tsp. salt
  • 1 tsp. cinnamon
  • 1/4 tsp. nutmeg
  • 1/8 tsp. cardamom
  • 1/8 tsp. ginger
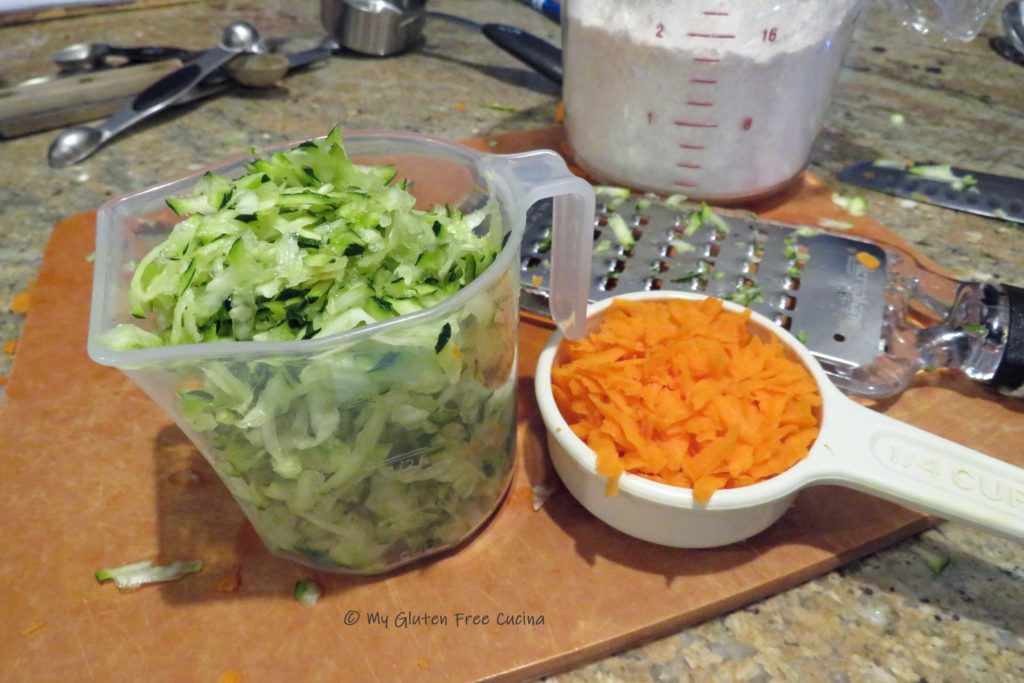
  • 3/4 cup grated zucchini
  • 1/4 cup grated carrot
  • 2 large eggs
  • 1/3 cup sugar
  • 1/3 cup brown sugar
  • 3 tbsp. olive oil
  • 3/4 cup + 2 tbsp. milk
  • 1 tsp. lemon juice
  • cooking spray, if your pan isn’t nonstick
  • 12 pecan halves, optional
  • 1 tbsp. melted butter, for glazing

Preparation:

Whisk together the dry ingredients, flour through ginger.  Grate the zucchini and carrots.

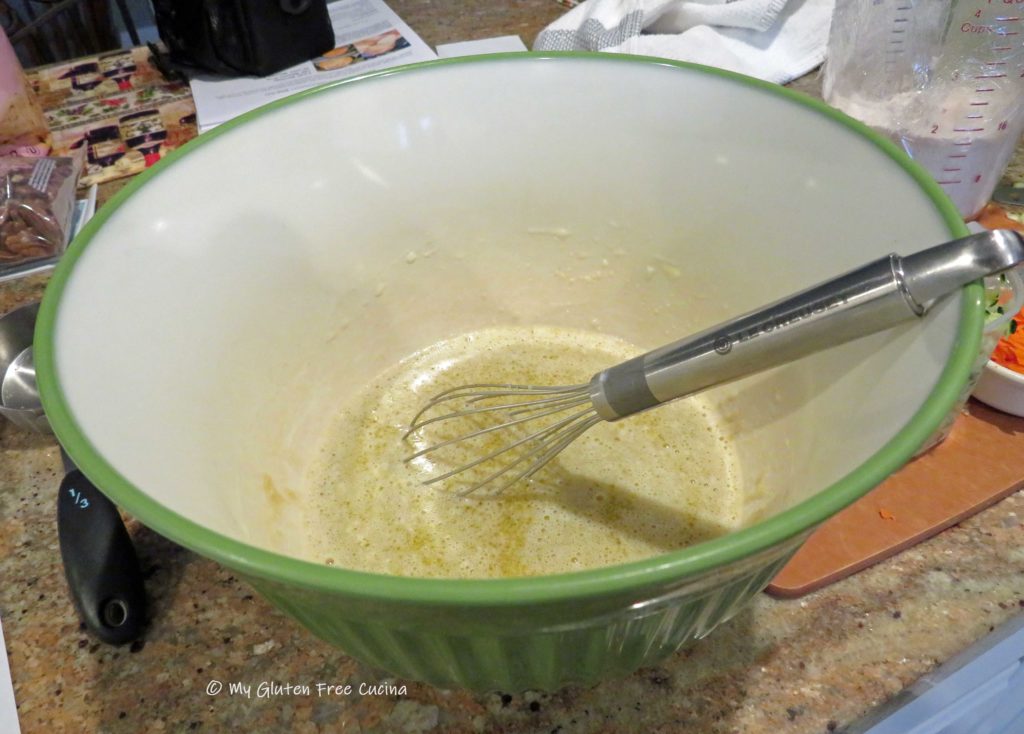
Whisk together the eggs, sugar, olive oil, milk and lemon juice.

Add the zucchini and carrots to the egg mixture, then fold the dry ingredients into the wet.

Let the batter rest for a few minutes while you preheat the oven to 400º.

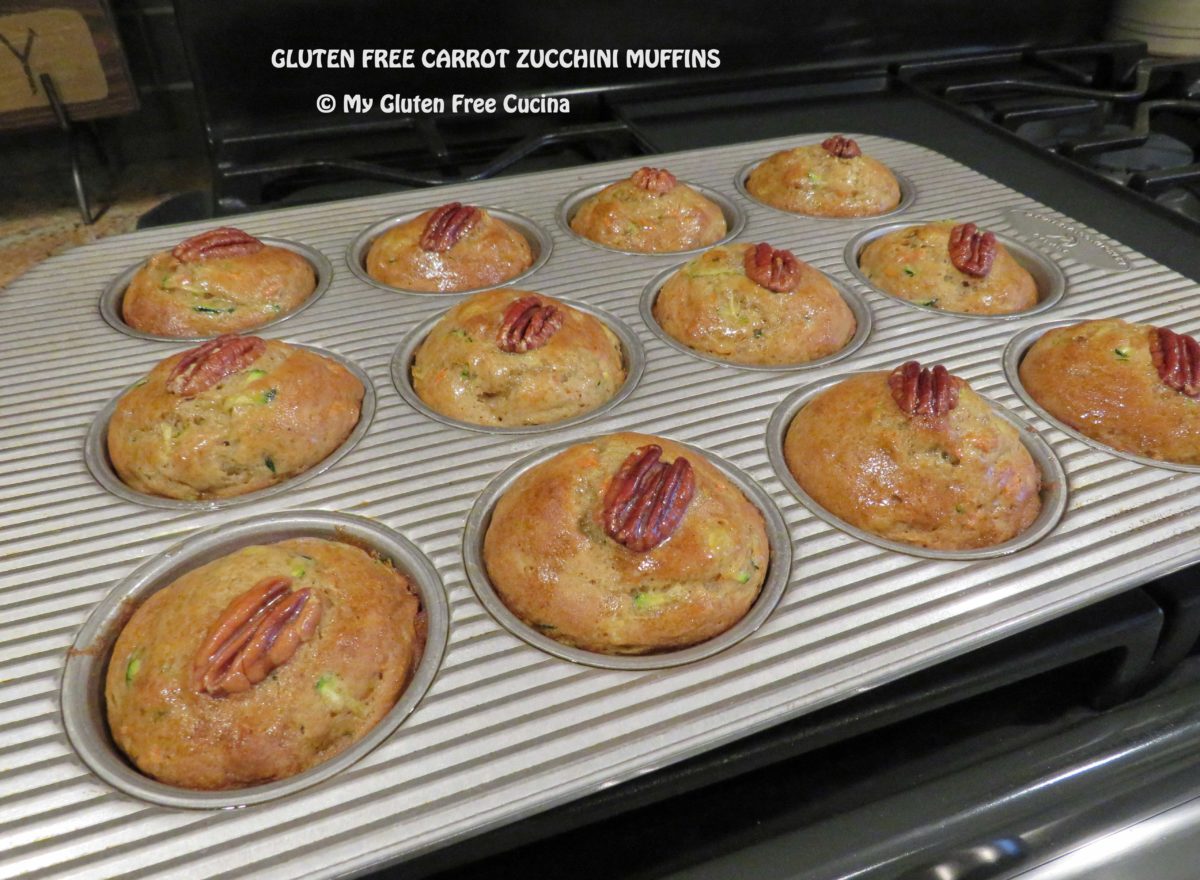
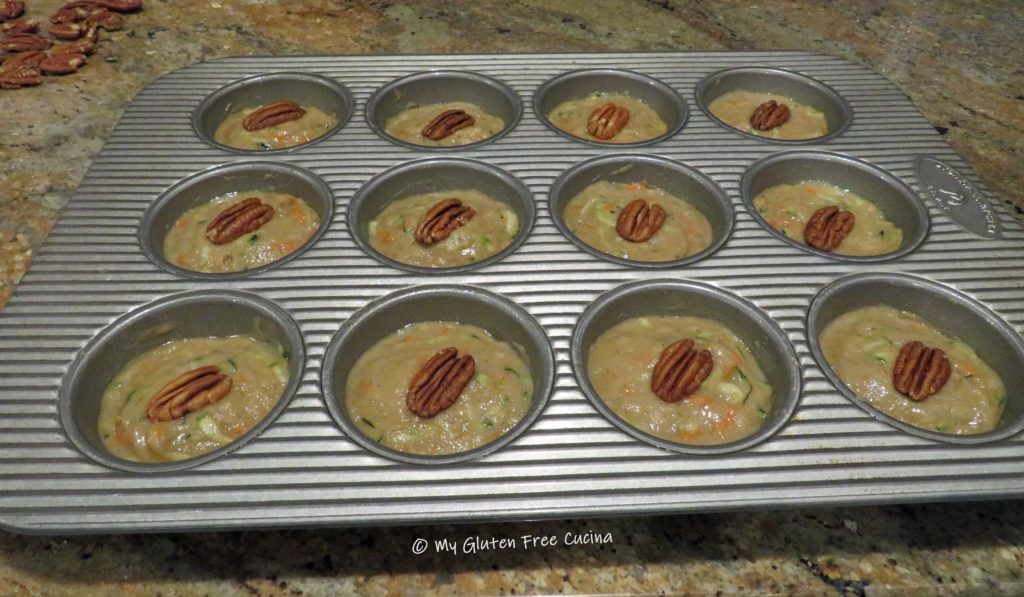
Now use a spoon to scoop out the batter, dividing it equally into the 12 muffin cups.  Use a spatula dipped in water to smooth the tops.  If you like, press a pecan into the top of each muffin.  It makes a nice presentation if you are serving these for a brunch.

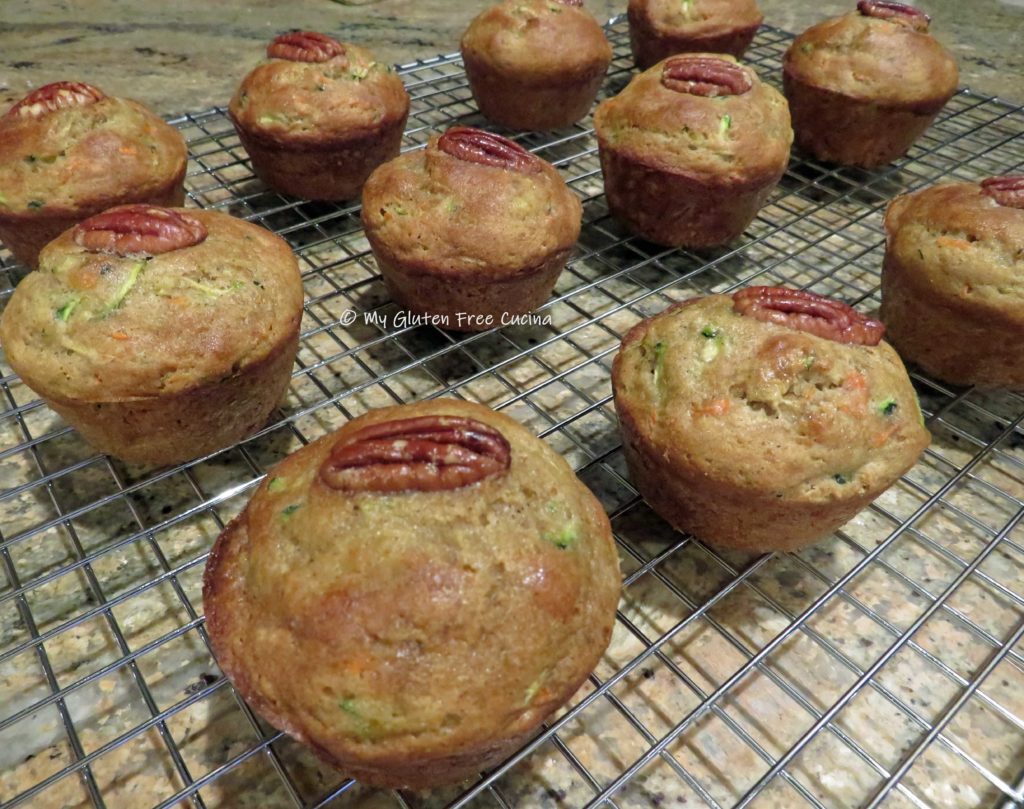
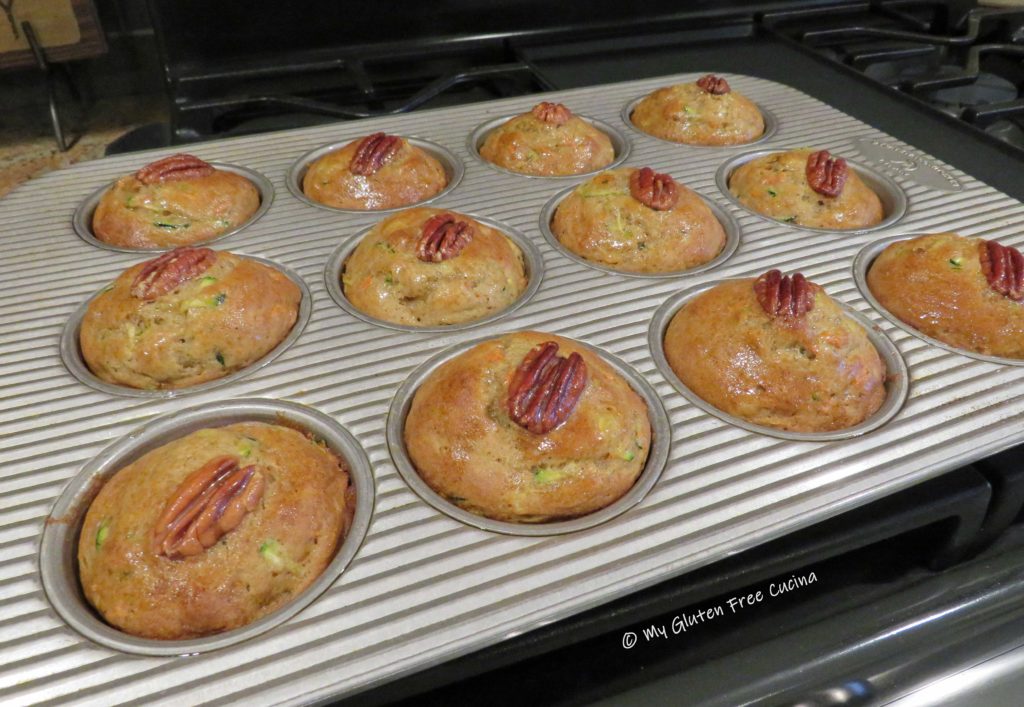
Bake 20 minutes at 400º.  Aren’t they beautiful?  I love how you can see the green and orange flecks throughout.  While still in the pan, brush the tops with 1 tbsp. of melted butter to give them a nice shine.

Cool in the pan for 5 minutes then transfer to a rack.

If not serving immediately, you can store the muffins in an airtight container at room temperature for a couple of days.  They will refresh nicely in the microwave.  I recommend freezing leftovers, wrap them individually with Saran and store in a freezer safe bag.  Now that you know easy it is, I hope you will give this recipe a try.  Let me know, will you be adding it to your breakfast rotation?

Notes ♪♫ I used Better Batter original all-purpose flour in this recipe.  If you use a different flour blend that does not contain xanthan gum, you will need to add 1-1/2 tsp.

Originally published 04/12/2018     Updated 02/19/2024

Print This Post Print This Post

Gluten Free Jordan Marsh Blueberry Muffins

If you are from the Northeast and of a certain age, you will no doubt remember Jordan Marsh, the iconic department store.  It was my mother’s favorite store back in the day, and I vividly recall buying one of my prom dresses there, 50 years ago (eek!).

Before food courts and fast food, the Jordan Marsh Bakery was a popular destination for shoppers to refuel and continue on with their day, i.e., you didn’t have to go home if you got hungry- smart!

Although the store chain closed in the 1990’s, their Blueberry Muffins remain legendary to this day.  I recently read an interesting article about the origins of this recipe in the New York Times, which claimed it was adapted from an 1847 cookbook called The New England Economical Houskeeper and Family Receipt Book.

Wherever its origin may have been, the muffins are not only delicious, but only require a substitution of one ingredient to be gluten free.  How about that?

This post contains affiliate links.

Ingredients:

  • 300 g. (about 2 cups) Better Batter Original Gluten Free Flour
  • 1/2 tsp. salt
  • 2 tsp. baking powder
  • 1/2 cup milk (I used 2%)
  • 1 stick of unsalted butter, softened (not melted)
  • 1 cup of sugar
  • 2 large eggs
  • 1 tsp. vanilla extract
  • 6 oz. package (1 cup) fresh blueberries

*** Get 30% off your full price purchase at Better Batter when you use my code MGFC30 at checkout! ***

Preparation:

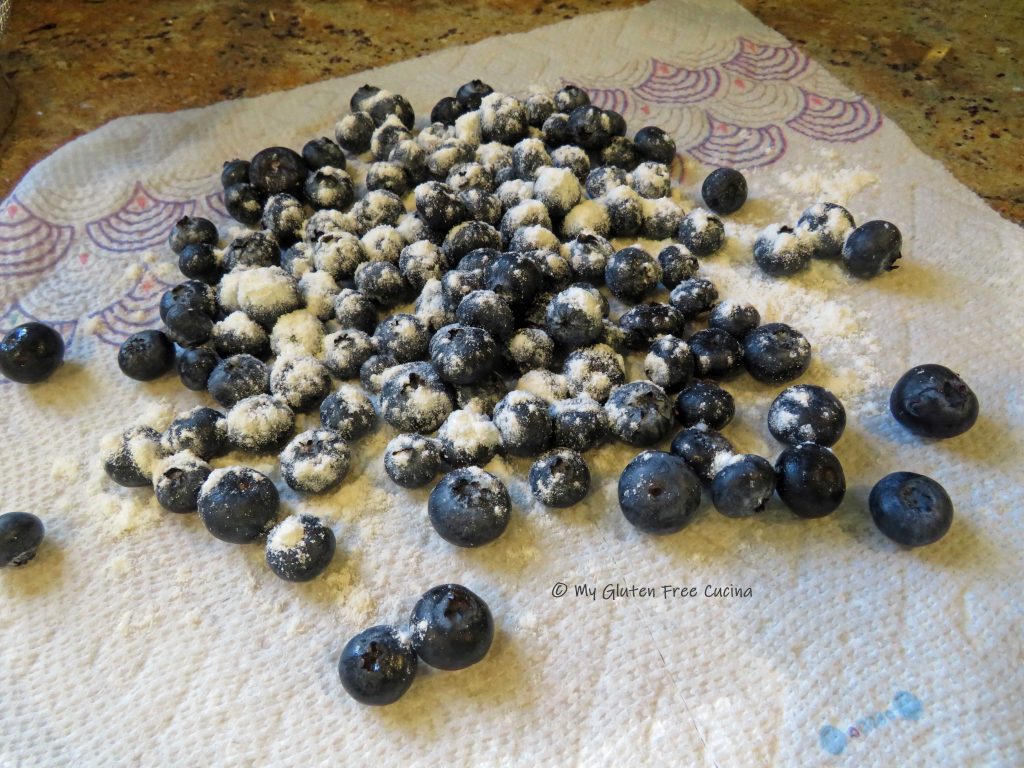
Take the butter out of the refrigerator and let it soften at room temperature.  Mist a 12-cup muffin pan with cooking spray and preheat the oven to 375 degrees.  Rinse and dry the blueberries on a clean dishtowel.

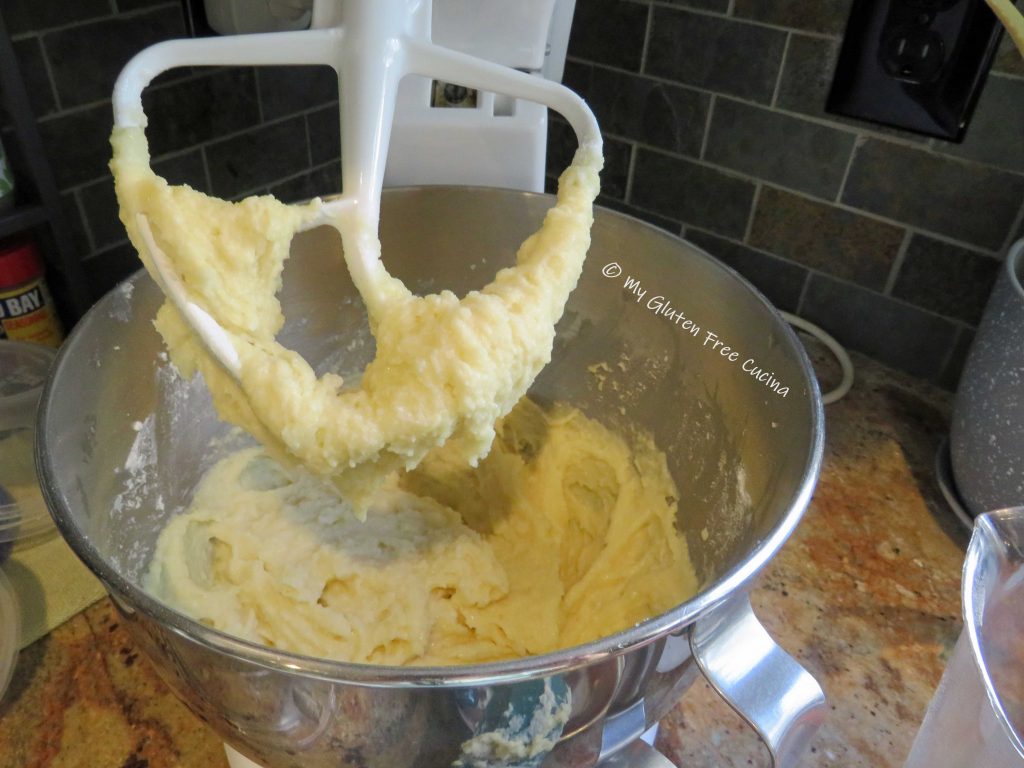
In the bowl of a stand mixer, cream together the softened butter and sugar with the whisk attachment.  Add the eggs and vanilla extract and beat until well combined.

In a separate bowl, whisk together the flour, salt and baking powder.  Reserve 1 tbsp. to sprinkle over the blueberries.

Add the dry ingredients to the mixer bowl along with the milk and combine with the paddle attachment until moistened.

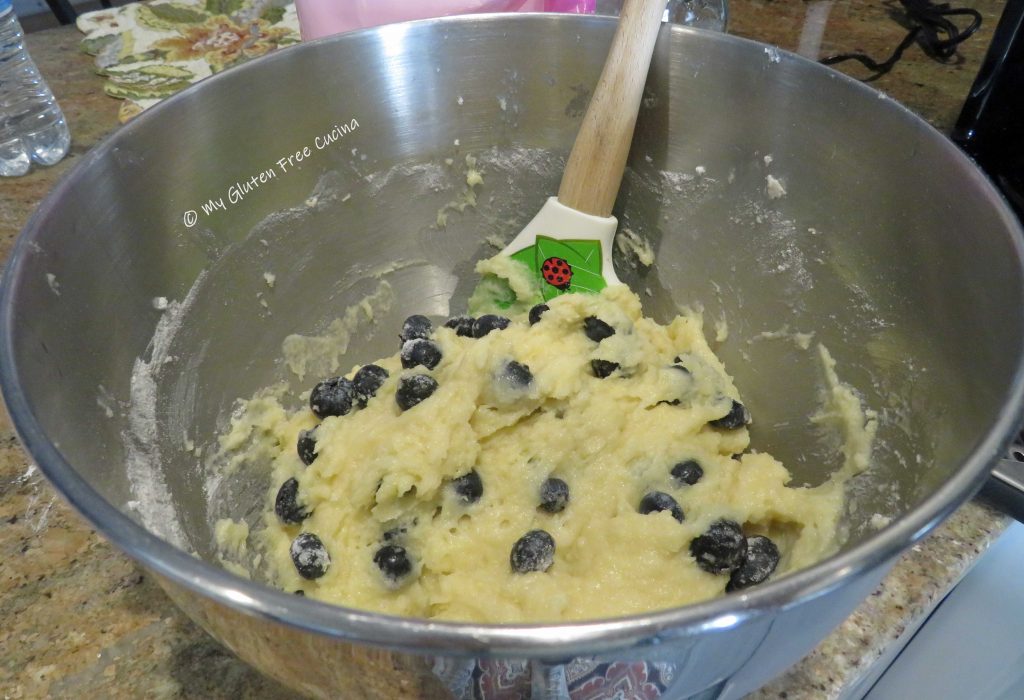
Crush half of the blueberries with a fork and fold into the batter with the remaining whole blueberries.

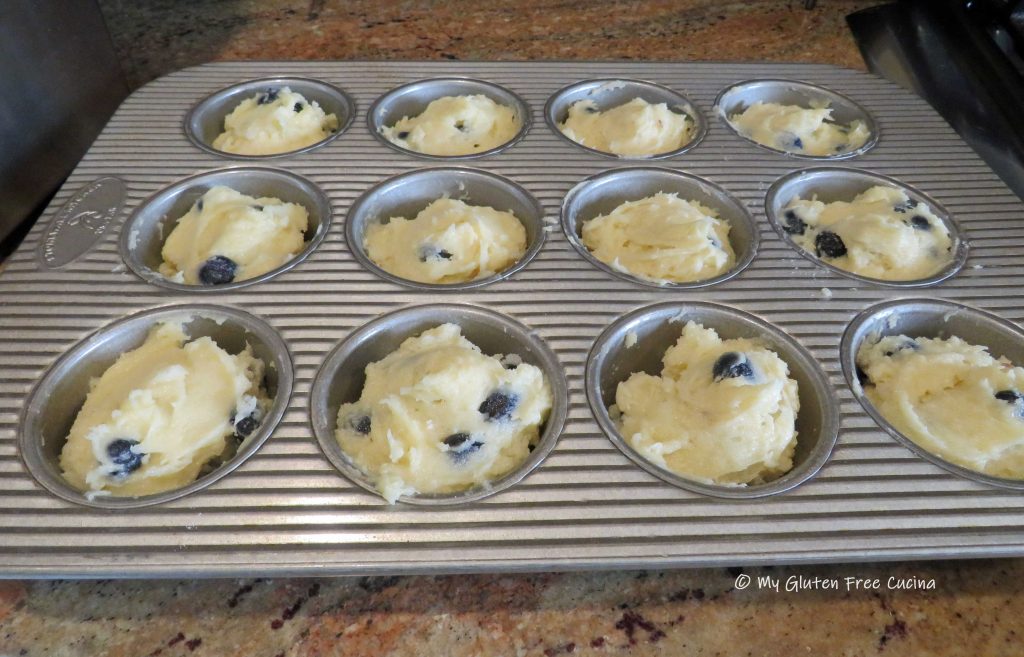
Spoon the batter evenly into the prepared muffin pan.  Dip a small spatula in warm water and use it to smooth out the tops.  If you wish, you can sprinkle the tops of the muffins with more sugar.

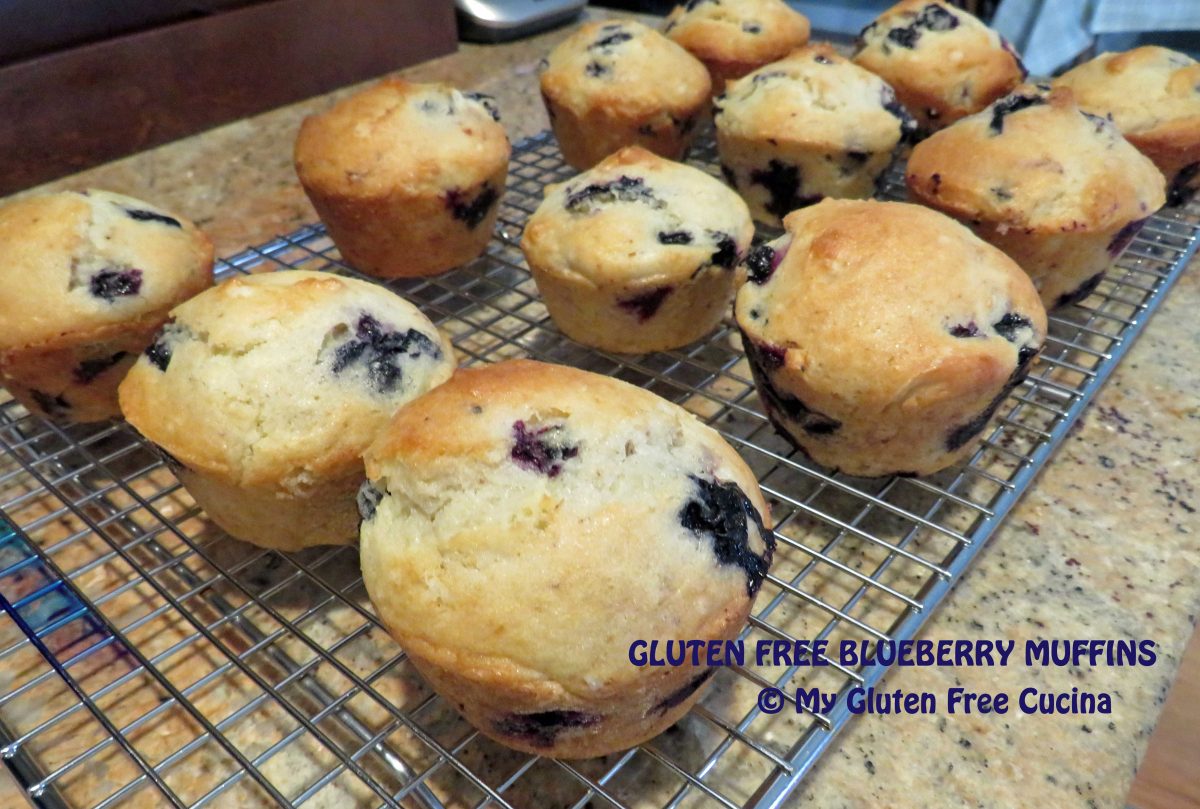
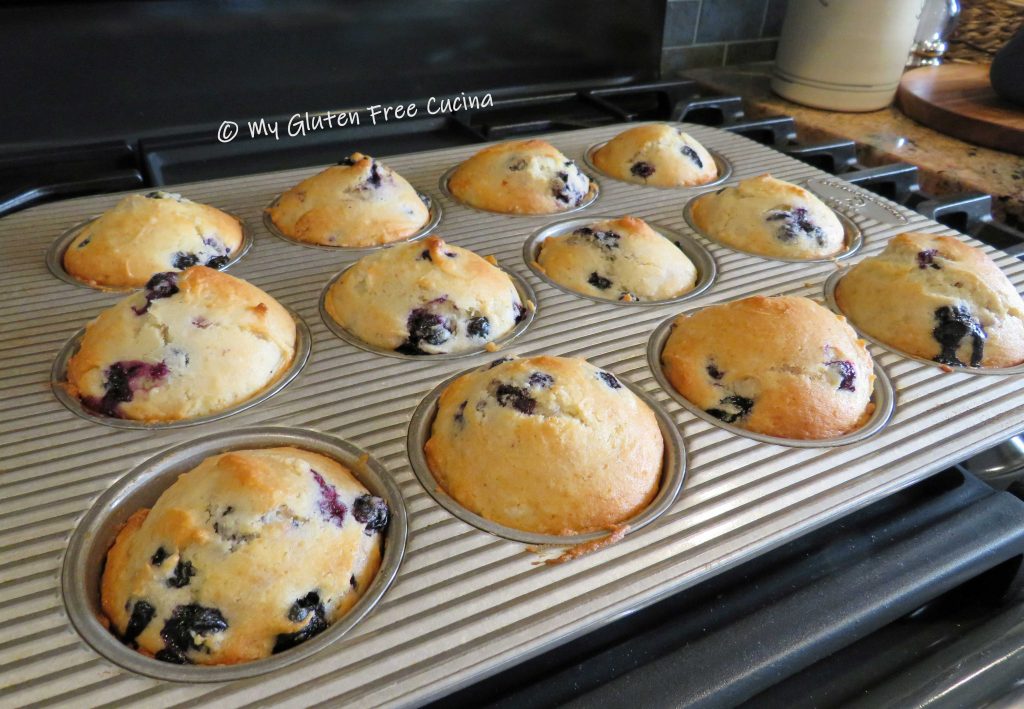
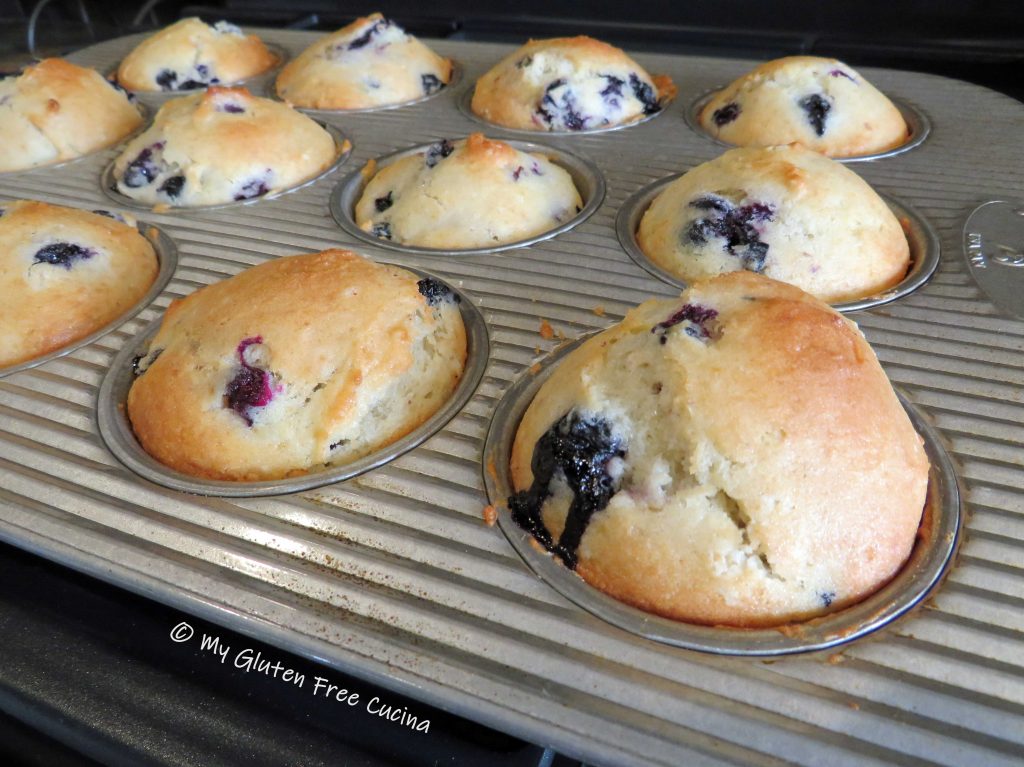
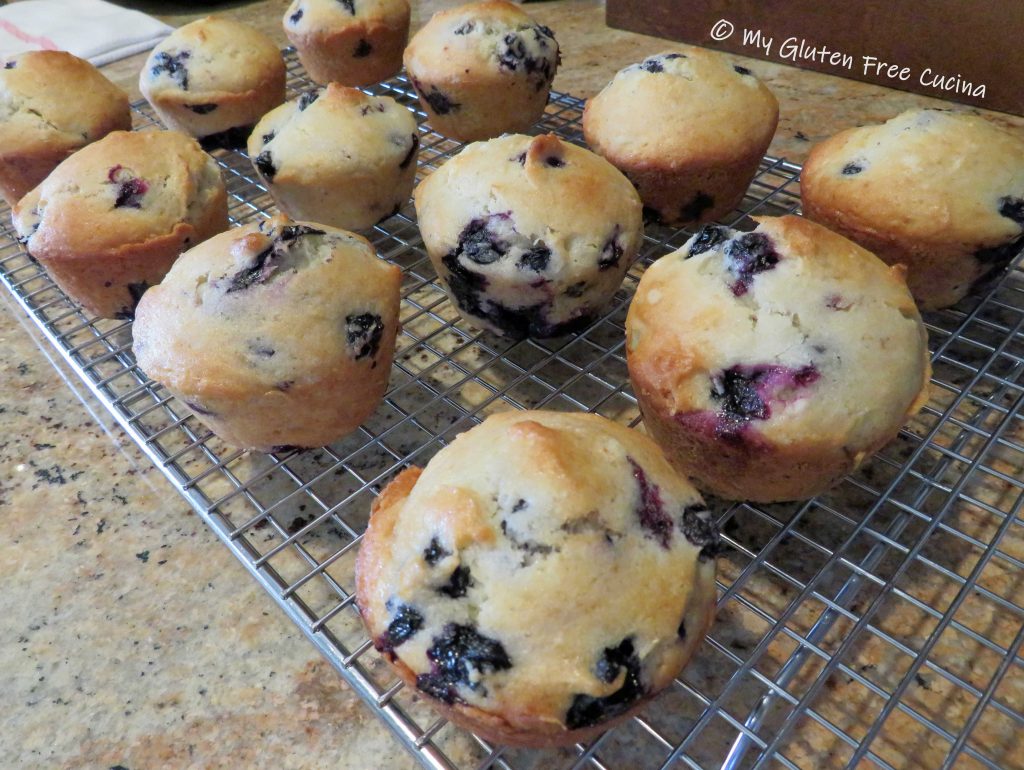
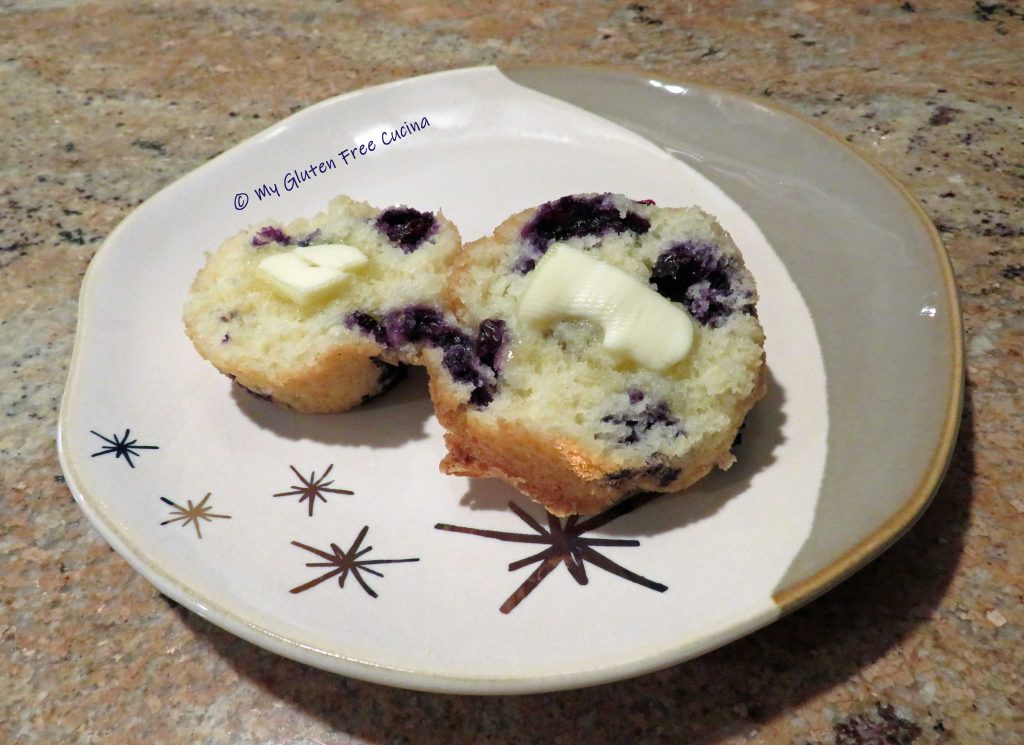
Bake for 25 minutes at 375 degrees.  Test with a toothpick.  Cool in the pan for 10 minutes then transfer to a rack.  Let them stand at room temperature for at least 4 hours.  I’ve got my eye on that big one in front!

Leftovers, if you have any can be frozen for an easy breakfast.

Notes ♪♫ For muffins and quick breads, I use and recommend Better Batter Original Gluten Free Flour.  Most recipes can be converted at 120-150g. per cup.  If you use a different brand, be sure that your flour contains xanthan gum.  Even if you do not weigh any of your other ingredients, I encourage you to invest in a kitchen scale to weigh the flour.

Print This Post Print This Post

Gluten Free Pumpkin Applesauce Muffins

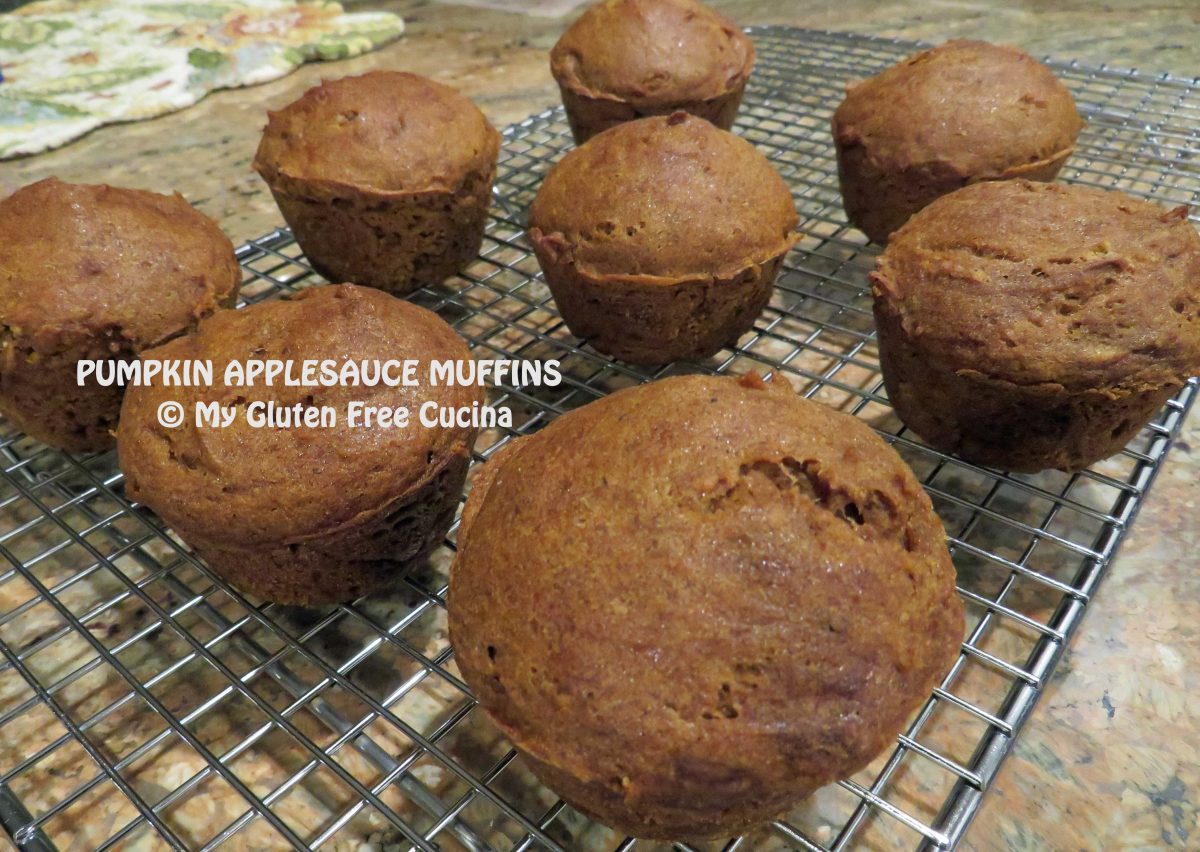
Are you team pumpkin or team apple?  With these Pumpkin Applesauce Muffins, there’s no need to take sides!  You get the best of both fall flavors in every bite!

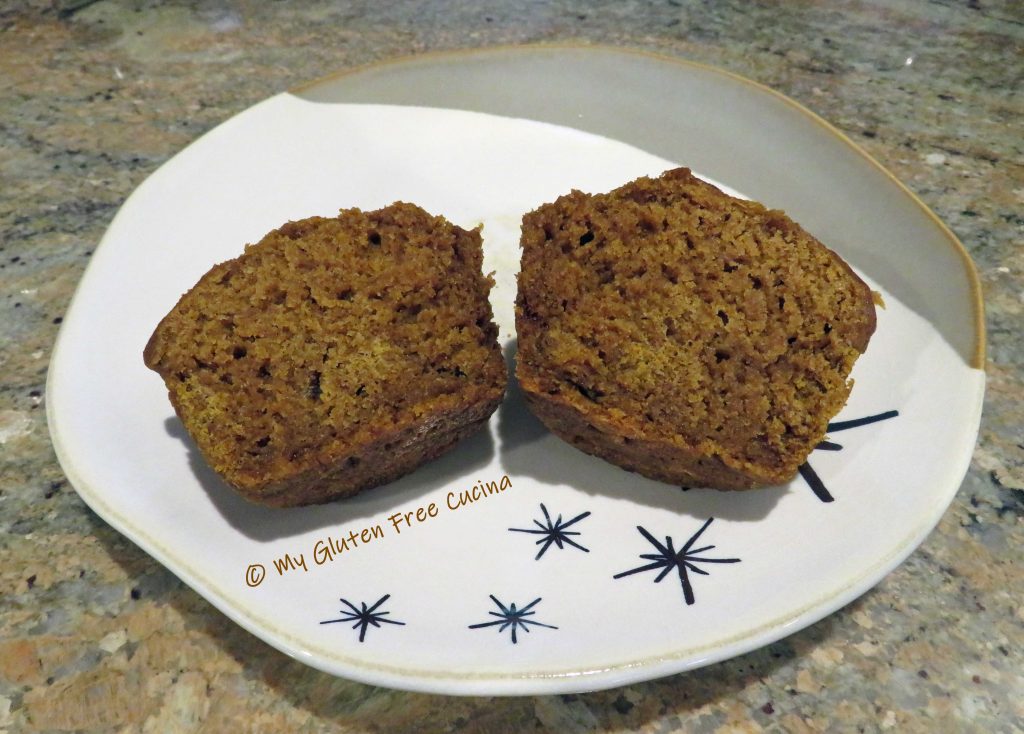
Think all gluten free baked goods are dry and crumbly?  Wait until you bite into one of these muffins, they are super moist and delicious.  What’s more, no one will guess that they are gluten free!

This post contains affiliate links.

Ingredients:

Dry ingredients

  • 285 g. (~2-1/3 cups) gluten free flour (I use and recommend Better Batter Original)
  • 1-1/2 tsp. baking soda
  • 1-1/2 tsp. cinnamon
  • 3/4 tsp. ginger
  • 1/4 tsp. cloves
  • 3/4 tsp. nutmeg
  • 3/4 tsp. salt

Wet ingredients

Get 30% off full price at Better Batter with code MGFC30

Preparation:

Whisk the dry ingredients together in one bowl.  In another bowl, whisk together all the wet ingredients.

Stir the dry ingredients into the wet, until all of the flour is moistened.  Cover and let the batter rest for 20 minutes while you preheat the oven to 350º.

Mist the muffin tin with cooking spray and spoon the batter into the 12 cups.

Use a small spatula to smooth out the tops, this will give the muffins a nice dome.

Bake for 30 minutes.  Test with a toothpick, it should come out dry.

Cool in the pan for 15 minutes then place on a rack until completely cooled before storing, about 2 hours.

Muffins will keep at room temperature for a day or two.  Reheat them in the microwave for 30 seconds.  I like to wrap leftovers individually and freeze them for a quick breakfast or snack.

Notes ♪♫ Don’t skip the 20-minute resting time.  This important step allows the flour to hydrate so that there will be no gritty texture in the finished muffin.  This is a great tip for gluten free baking in general, and will give better results for your breads, muffins and cakes.

Print This Post Print This Post

Gluten Free Apple Walnut Muffins

Here is another delicious gluten free muffin that you can enjoy for breakfast and snacks!  This muffin has crisp bites of apple and toasted walnut baked into a lightly spiced batter.  The recipe was one of my first posts, when I started this blog in 2018.  Five years later, it was in need of an update!  No, I did not change the recipe, it’s a keeper.  My photography though, has improved vastly over the last few years (or is it the camera?).  You be the judge.

This post contains affiliate links.

dry Ingredients:

Wet Ingredients:

  • 1 apple, cut into small dice (about 1 cup)
  • 2 large eggs
  • 63 g. (1/3 cup) granulated sugar or Truvia
  • 52 g. (1/3 cup) brown sugar or Truvia
  • 3 tbsp. canola oil
  • 3/4 cup + 2 tbsp. milk (I used 2%)
  • 1 tsp. lemon juice
  • cooking spray
  • 1 tbsp. butter, for brushing

Preparation:

Mince the walnuts in an electric chopper, about 3 pulses, then lightly toast them in a dry skillet for 3-4 minutes.  Set aside to cool.

Whisk together the dry ingredients.

Chop the apple in an electric chopper (I used Honey Crisp, my favorite), then combine it with the remaining wet ingredients, through lemon juice in a separate bowl.

Stir the wet ingredients into the dry, just until moistened.  A dough whisk is great for muffins and quick breads.

Use a wet spoon to divide the batter into 12 muffin cups, then use a spatula dipped in water to smooth out the tops.  Gluten free batter doesn’t always spread well by itself, so this step will ensure a nice, rounded shape.

Bake for 20 minutes at 400º, the muffins should rise high with nicely rounded tops.  Check the center with a toothpick.

I melted a little butter and brushed it over the baked muffins for a nice shine.

Cool on a rack and serve warm or at room temperature.

Here’s the crumb, nice and moist.  They taste great and you would never know that they were gluten free.  They freeze well too!

Notes ♪ I used my favorite gluten free all-purpose flour from Better Batter in this recipe.

When you shop Better Batter, use my Promo Code MGFC30 at checkout to receive 30% off any non-sale item! 

Notes ♫ Try using a sugar substitute like Truvia if you need the muffins to be diabetic friendly, or a sodium free baking powder substitute, if you need to lower the sodium.

Notes ♪♫ If you don’t have apple pie spice, you can use 1-1/8 tsp. cinnamon, 1/4 tsp. nutmeg and 1/8 tsp. ground allspice.

Original Post 6/10/2018                  Updated 6/10/2023

Print This Post Print This Post

Megan’s Gluten Free Irish Soda Bread

St. Patrick’s Day is right around the corner, and I can’t wait to make this delicious Gluten Free Irish Soda Bread.  The recipe comes to us courtesy of Megan at “Megan P Gluten Free”, who shared the recipe with me last year.  One look at this bread and I knew that I had to make it, especially when I learned that she used my favorite flour, Better Batter!

Thank you, Megan, for the recipe!  You can follow Megan on Instagram, where she shares great content on how to travel, cook and eat gluten free!  Be sure to visit and tell her I sent you!

This post contains affiliate links.

Megan’s Lucky Gluten-Free Irish Soda Bread 

Ingredients:

Note:  When you shop Better Batter and use my code MGFC30 at checkout, you will receive 30% off any non-sale item! CLICK HERE

Preparation:

Preheat the oven to 375°F.  In a large mixing bowl, combine the sugar, flour, baking powder, baking soda, salt, raisins, and caraway (if using).  Stir until the mixture is thoroughly combined and the raisins are fully coated with the flour mixture.

In a separate bowl, mix together the yogurt, buttermilk, and eggs until combined.  Make a well in the middle of the dry mixture.  Pour the wet ingredients into the dry.  Mix the dry and wet ingredients together until well combined with a spatula – no mixer or beater required.

The batter will be slightly sticky.  Grease an 8” round pan (see notes***) and sprinkle with a very small amount of flour.  (I added a few strips of parchment for extra insurance.)  Spoon the batter into the pan.  Gently press the dough with your fingers, leaving the rough surface for an authentic look, but you can smooth it down if you prefer.  Sprinkle a very small amount of flour on top.  Take a paring knife and cut a cross on the top of the loaf.  Place into the hot oven on the middle rack and bake for 60 minutes.  Then cover loosely with aluminum foil if already golden brown and bake for another 20-25 minutes or until the outside is firm and crusty.

The loaf should sound hollow when tapped when it is cooked through.  Remove from the oven and let cool for 10 minutes before turning out onto a wire rack.  Allow the loaf to fully cool before slicing. Slather with good quality Irish butter and enjoy!

Notes ♪♫

**Megan’s recipe called for 4 cups of flour, which she measured by spoon and level method.  I always bake by weight and used 600g. of Better Batter Original Blend (converted at 150g. per cup).

***Megan used an 8″ cake pan.  I used my 8” KAF bread baking bowl and it was just perfect to create a nice round loaf.  You can find the bowl here on the King Arthur website.

Print This Post Print This Post

Gluten Free Banana Date Muffins

Say goodbye to those dry, bland tasting gluten free muffins at the grocery store.  These Banana Date Muffins are incredibly moist and hearty, a real stick to your ribs breakfast!

Dates are wonderful for baking, and they give a natural sweetness to these muffins, not to mention a fiber boost.  I also added a little brown sugar substitute to the mix, but you can omit this or use real brown sugar.

This post contains affiliate links.

Ingredients:

Wet Ingredients

Dry Ingredients

280g. Better Batter all-purpose gluten free flour blend (use my Code MGFC30 at checkout for 30% off!)

  • 1 tsp. baking soda
  • 1 tsp. baking powder
  • 1/2 tsp. salt
  • 1 tsp. cinnamon

Other

  • cooking spray
  • 1 tbsp. butter for brushing

Preparation:

Preheat the oven to 400º.  Mist a 12-cup nonstick muffin pan with cooking spray or use paper liners.

Boil water and add the dates.  Cover and remove from heat, then let them soak for 15 minutes.

Melt the butter in a small saucepan.

Whisk together the dry ingredients.  In a separate bowl, whisk together the remaining wet ingredients (eggs, mashed banana, honey, vanilla and brown sugar).

Pour the soaked dates and their water into a blender, food processor or electric chopper.  Puree into a paste, do it in 2 batches if needed.

Combine the pureed dates with the melted butter and cool 10 minutes.

Next combine the date mixture with the other wet ingredients.  Add the dry ingredients to the wet and stir together with a dough whisk just until moistened.

Fill the 12 muffin cups, level to the rim.

For nice, rounded domes, smooth the tops of the muffins with a small spatula.

Bake for 20-22 minutes.  Check that a toothpick inserted in the center comes out clean.

Melt the remaining tbsp. of butter, and brush over the tops of the muffins.  Cool in the pan for 15 minutes.

Remove the muffins and serve warm, or cool on a rack to freeze.

Thaw frozen muffins in the refrigerator.  To reheat microwave for 1 minute.

Notes ♪♫ I used Better Batter Original All Purpose Flour Blend in this recipe (be sure to use my code MGFC30 at checkout for 30% off your non-sale purchase at Better Batter!).  If you are using a different flour blend that does not contain xanthan gum, I recommend adding 1/2 tsp. to the dry ingredients.

Print This Post Print This Post

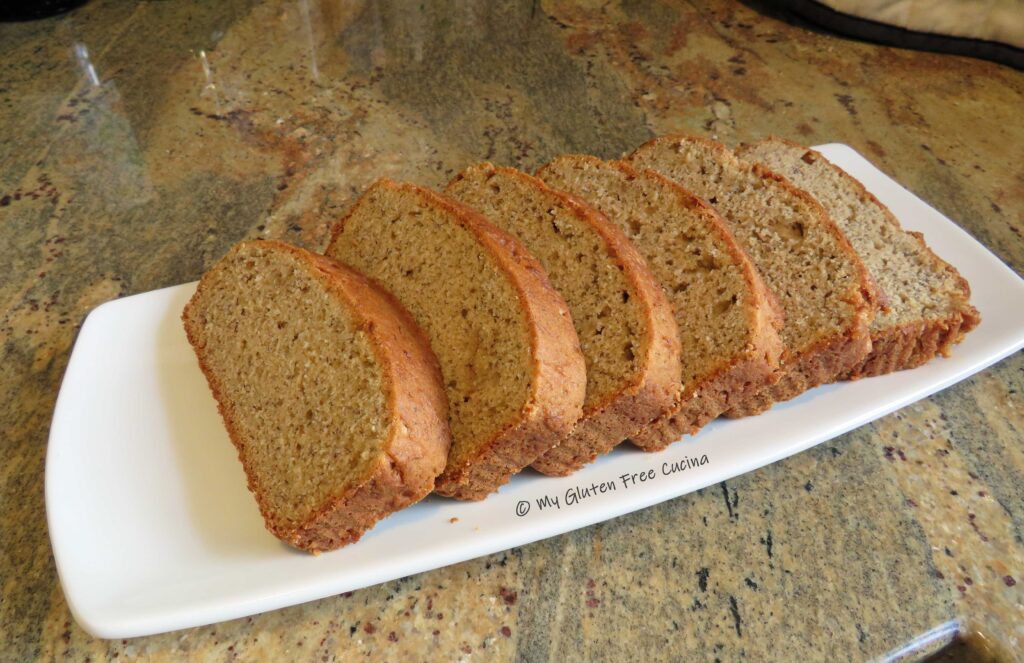
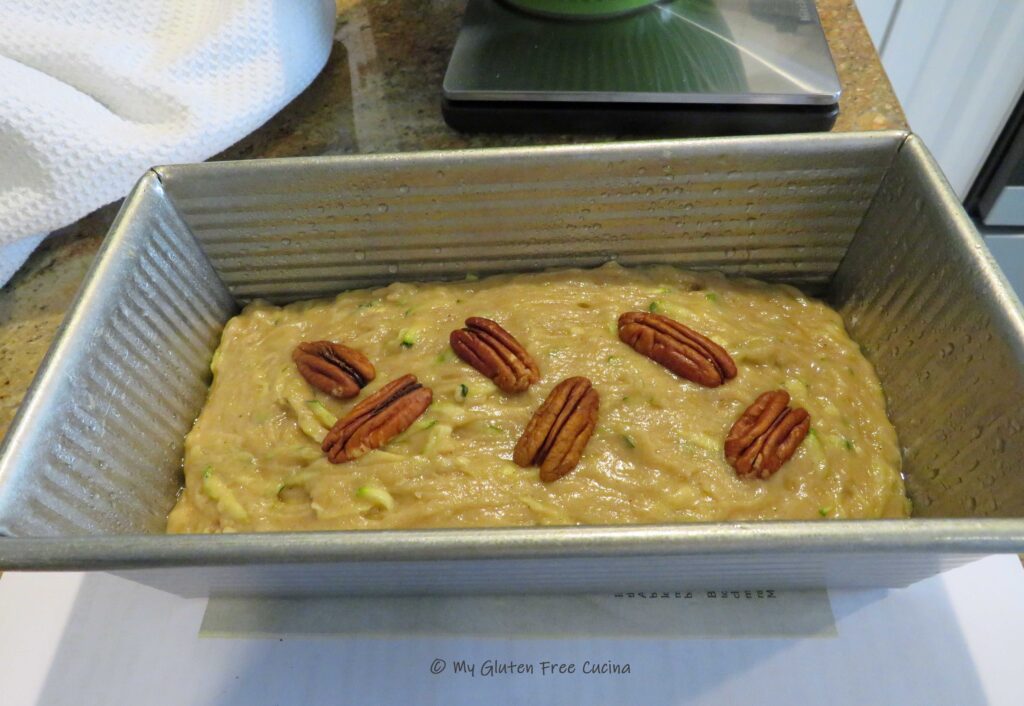
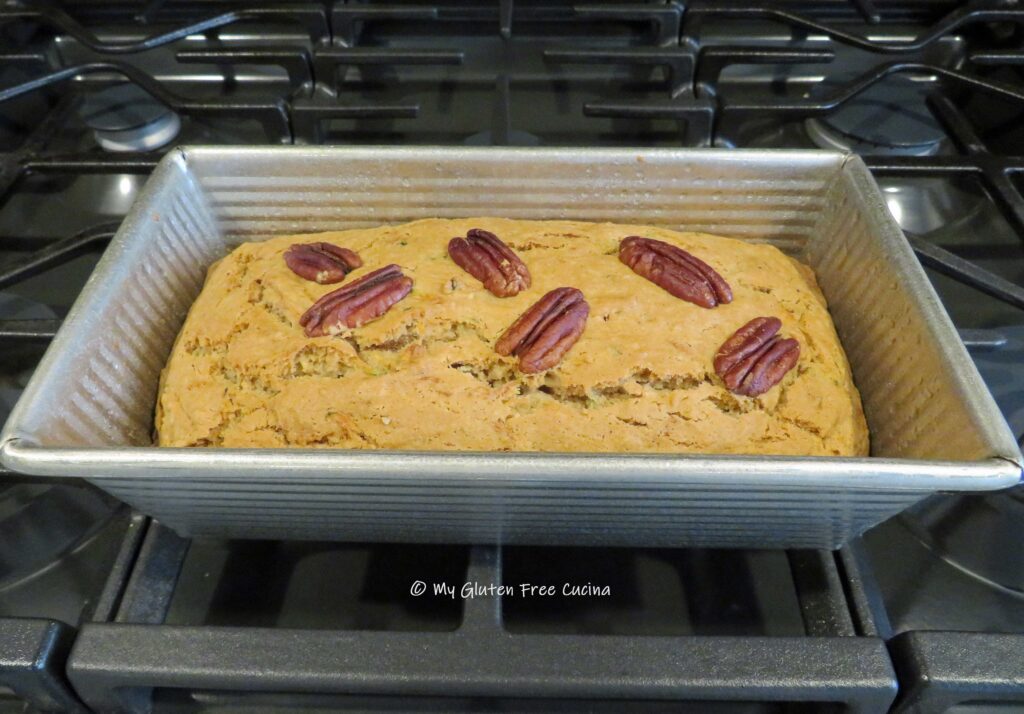
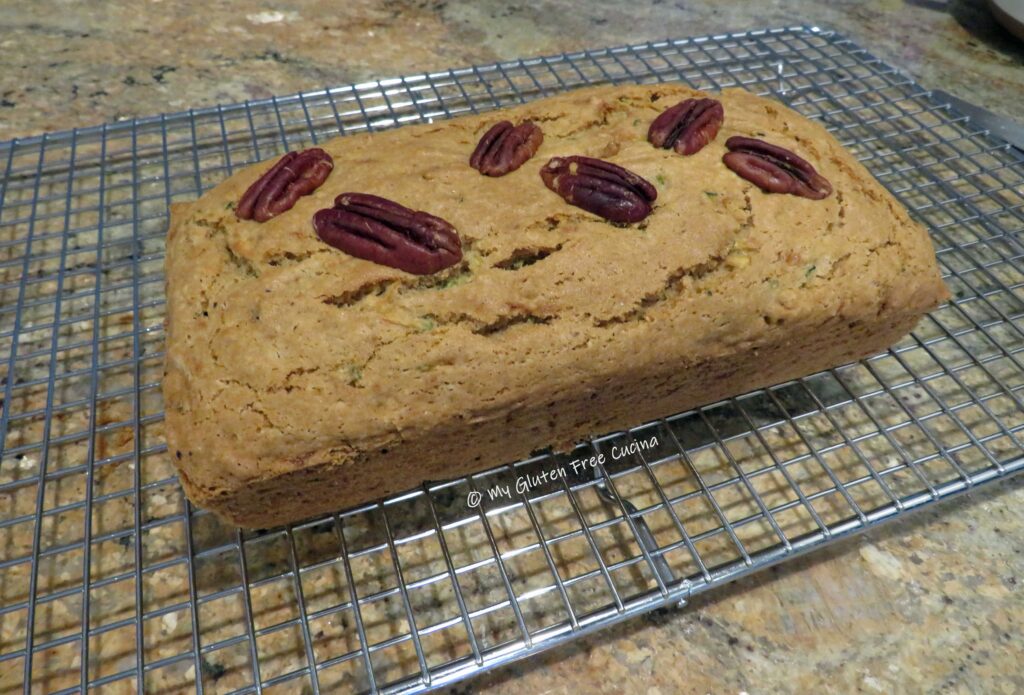
Gluten Free Spiced Applesauce Loaf

Don’t wait for apple season to make this delicious, Spiced Applesauce Loaf!  It’s perfect for coffee breaks, brunches, and snacks.  It would be lovely to take along when visiting a friend or neighbor.  So easy to prepare, and everyone will love it, kids and adults alike.

First, check out the ingredient list.  You probably have most of these items right in your pantry!  Then, in addition to being gluten free I also give you some options to lower the sugar and sodium, as I know many of you have these additional restrictions.

This post contains affiliate links.

Dry Ingredients:

Wet Ingredients:

 Preparation:

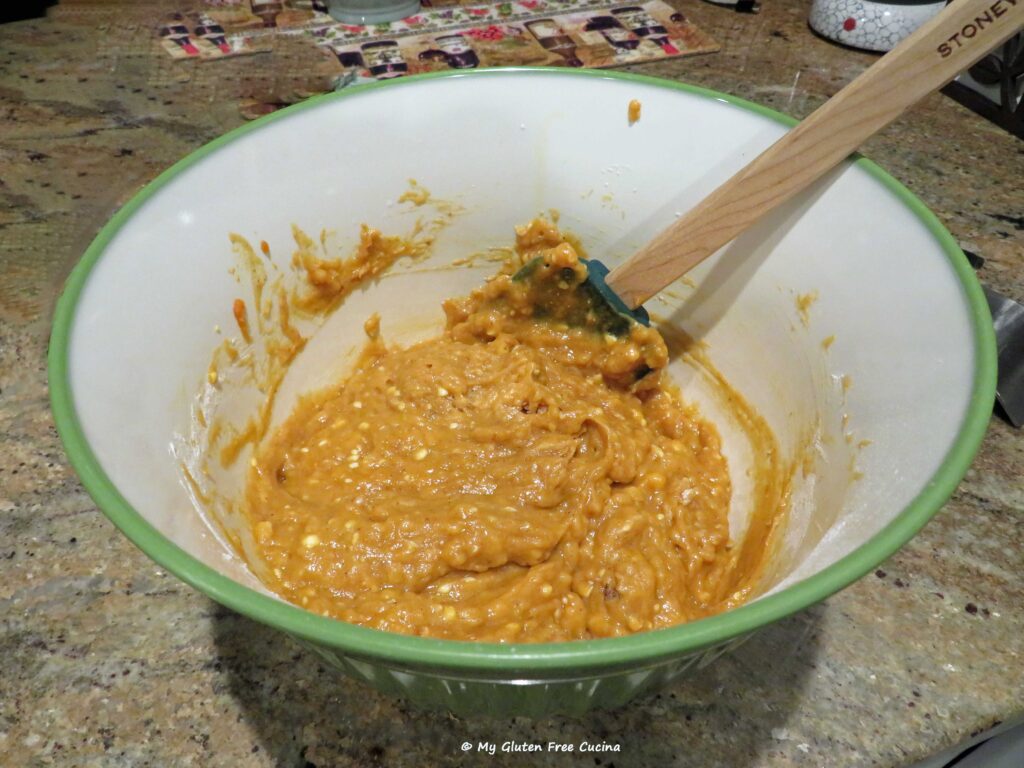
Whisk together all of the dry ingredients.  Combine the wet ingredients in the bowl of a stand mixer with the paddle attachment and beat until smooth.  Add the dry ingredients to the wet and blend together just until moistened.

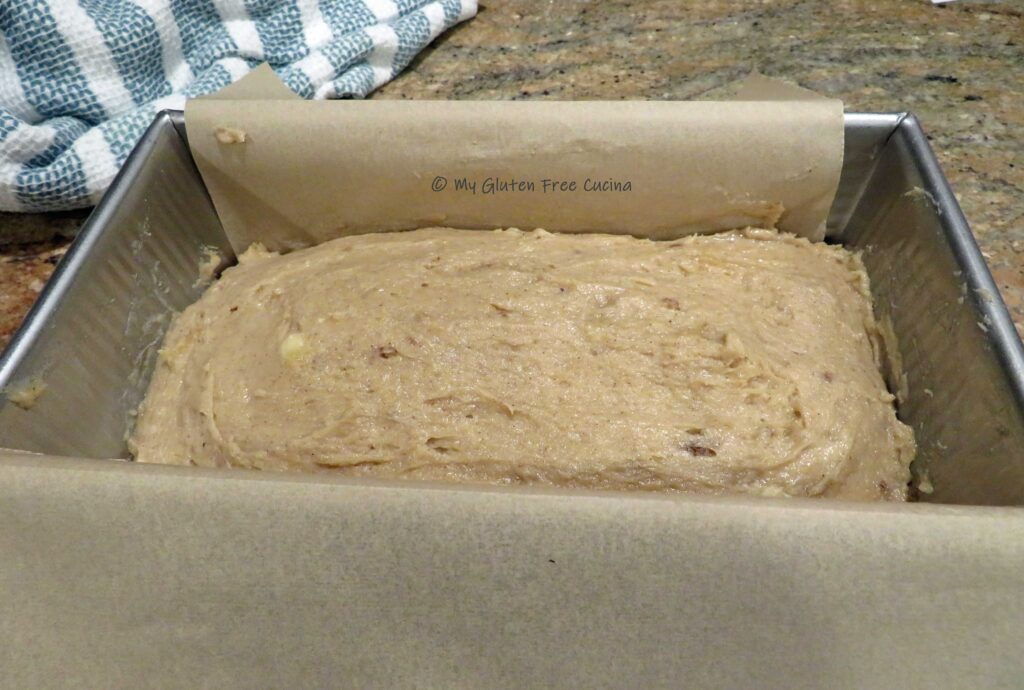
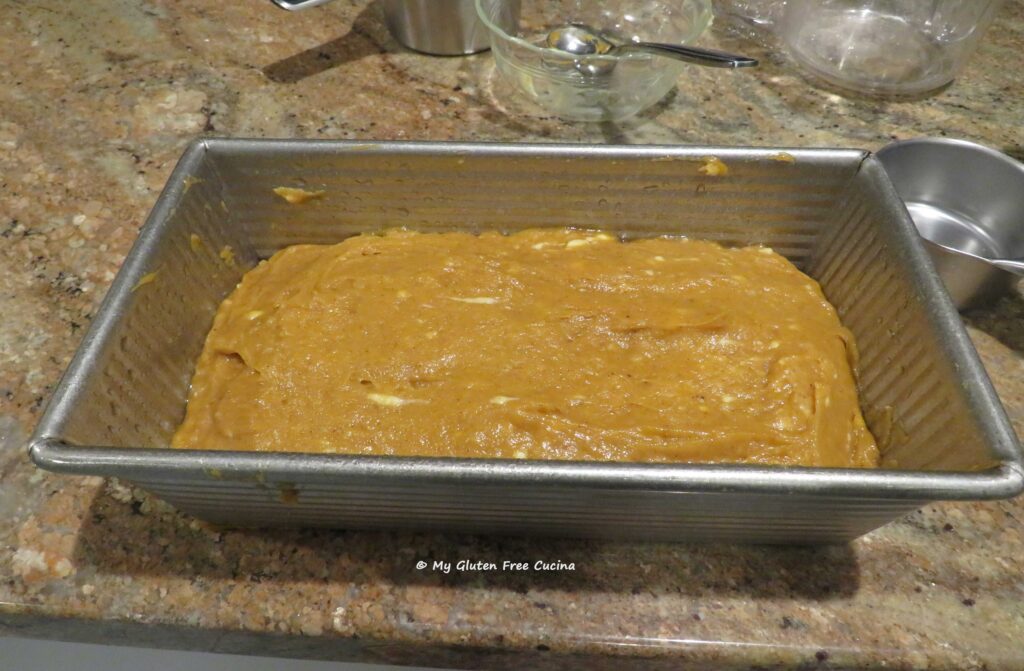
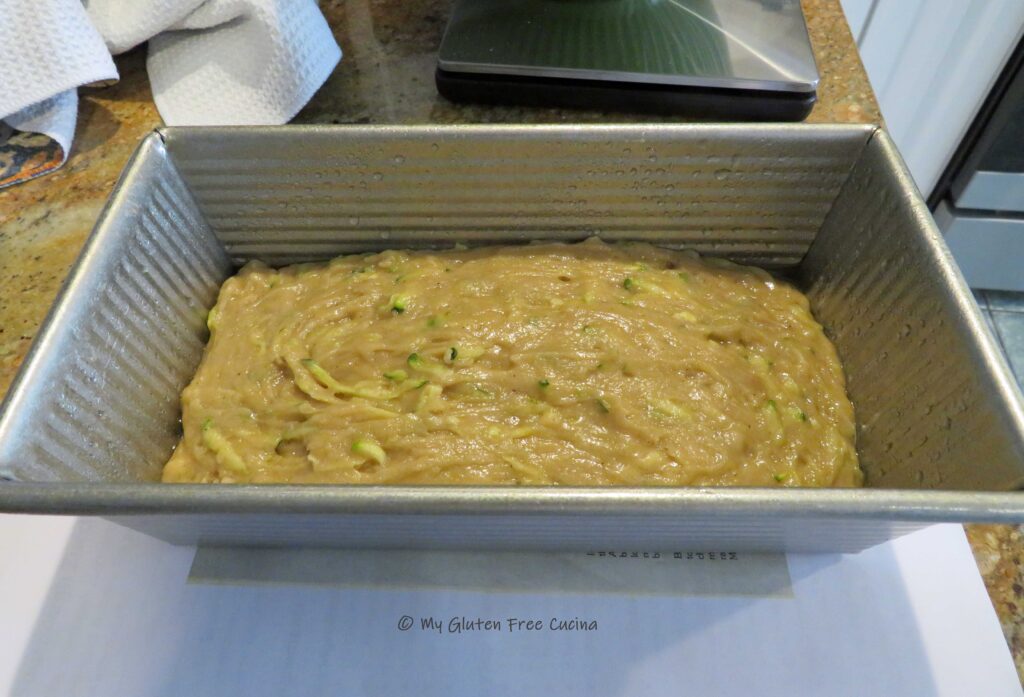
Line an 8″ loaf pan with parchment and scrape the batter into the pan.

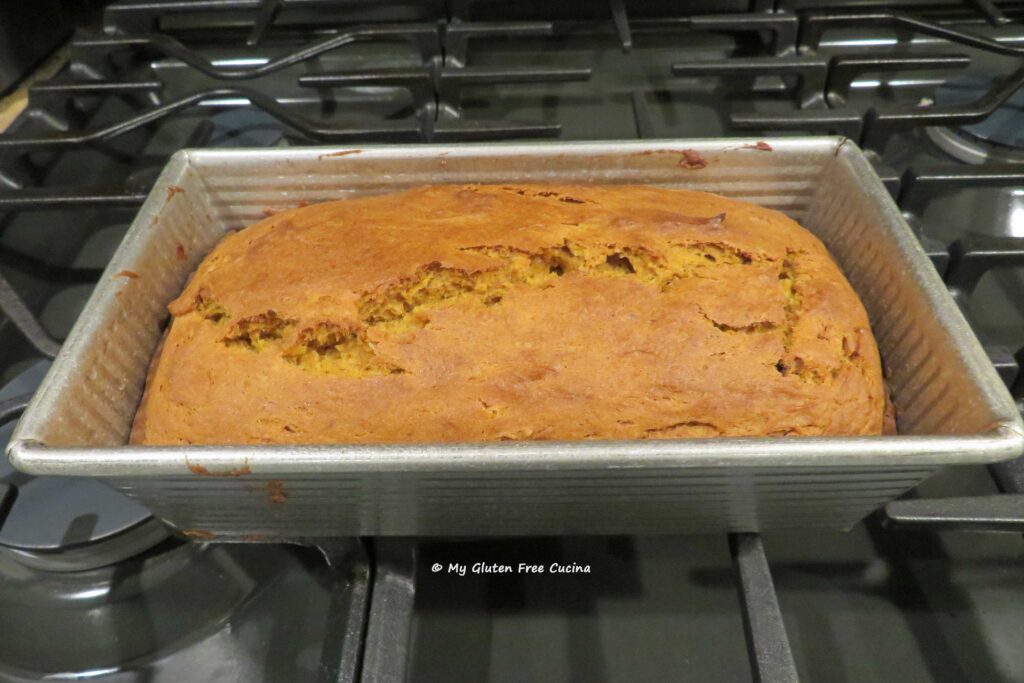
Bake for 1 hour at 350°.  When it’s done, the loaf will have risen almost to the rim of the pan and the top will crack.  If you’re not sure it’s done, check with a toothpick in the center of the loaf.

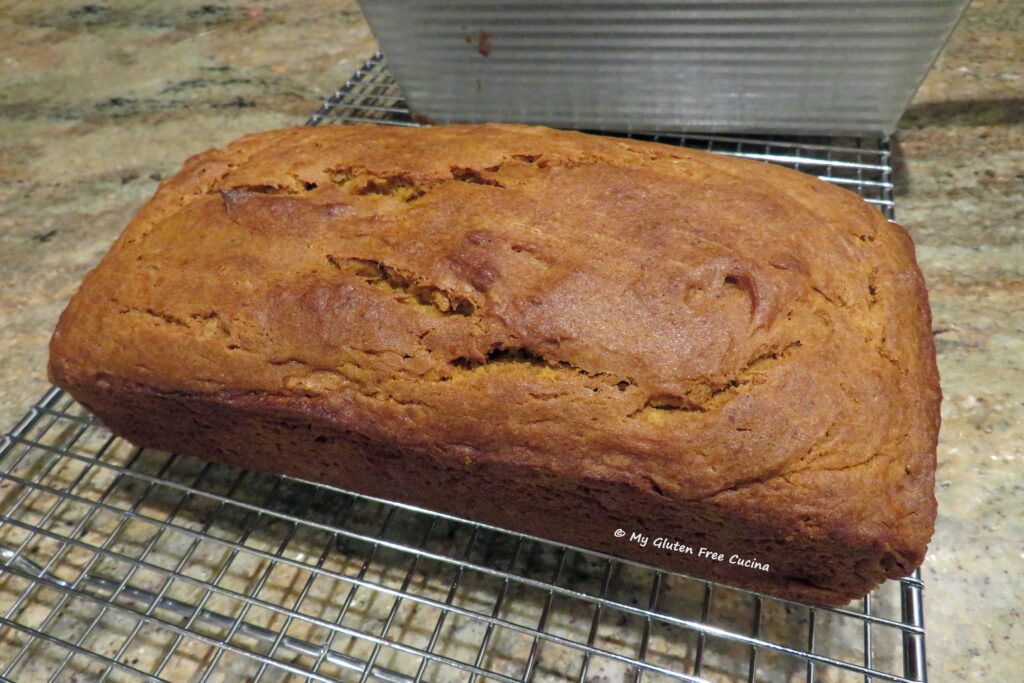
Cool in the pan for 1/2 hour, then grasp both sides of the parchment and lift the loaf onto a cooling rack.

Carefully remove the parchment and continue cooling to room temperature.  Try to resist cutting into it right away, to minimize crumbling.

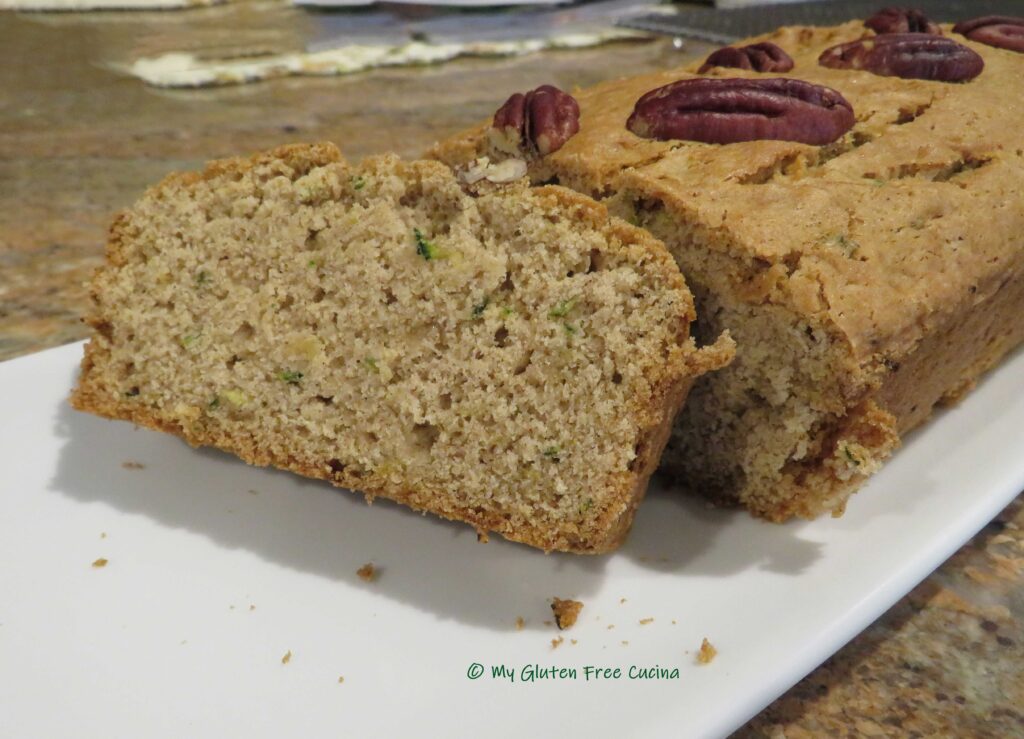
You could dust the top with confectioners’ sugar, or drizzle with a simple icing.  Honestly though, this cake is so moist and delicious it really needs no other adornment.  Slice with a serrated knife and arrange on a serving dish.

Look at that nice moist crumb!  You’ll have to take it from me, it tastes great!

Notes ♪♫ I have always loved quick breads.  This is an old recipe of mine that I converted to gluten free.  For muffins and quick breads, I use and recommend Better Batter Original Blend gluten free flour.  When you shop Better Batter, be sure to use my code MGFC30 at checkout for 30% off full price!

Print This Post Print This Post


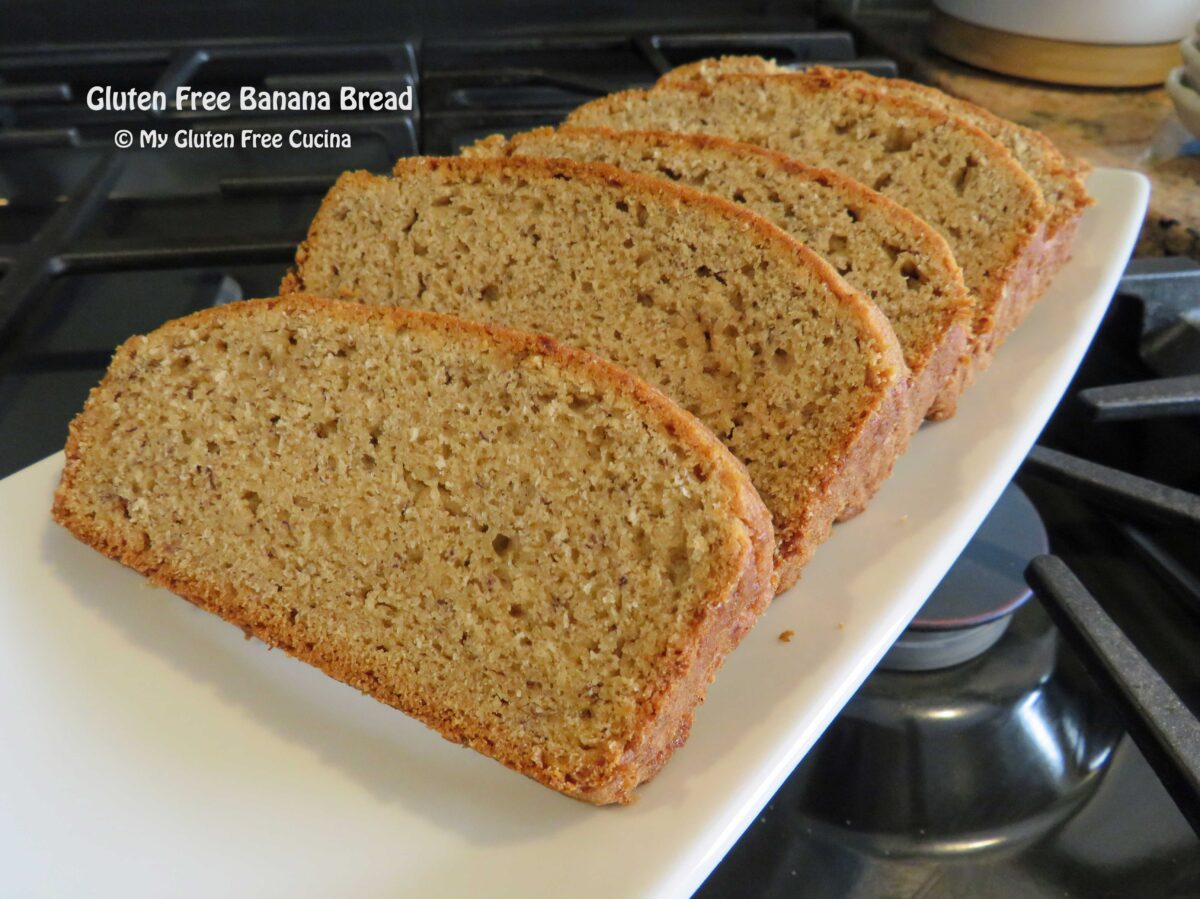
Gluten Free Banana Bread

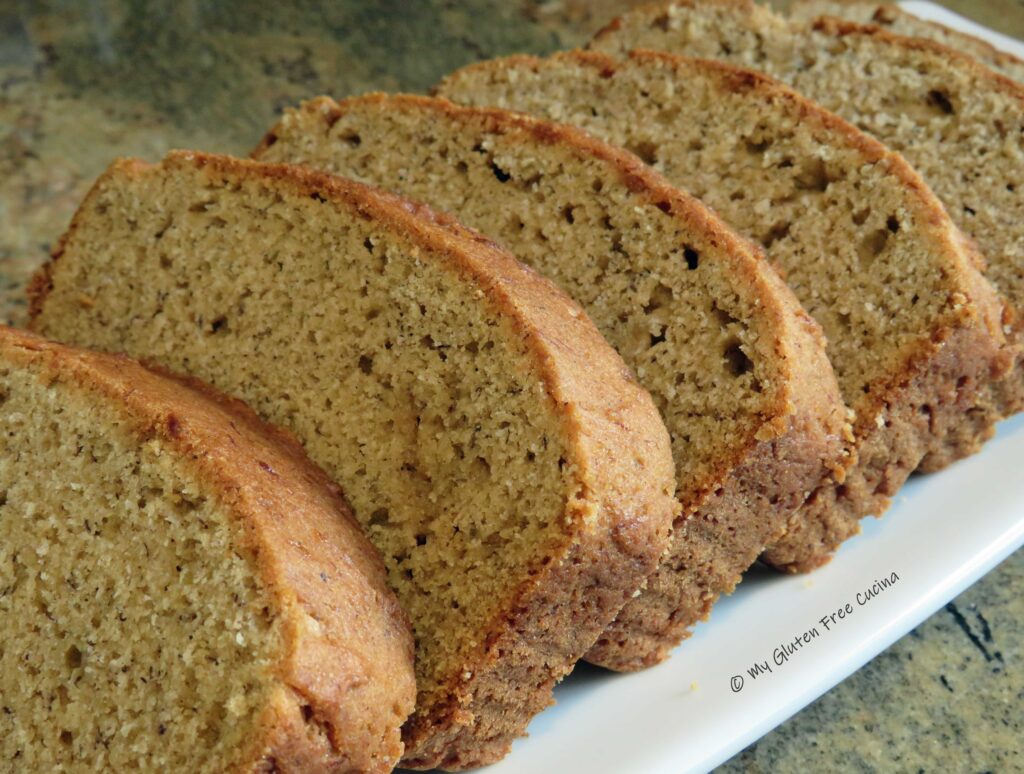
Making a quick bread used to be so second nature to me that I could throw one together without a recipe!  Today things are different in my gluten free world, but I still love a good quick bread.  Here is a delicious, moist gluten free loaf that will make you smile.  It tastes just like a classic banana bread.
Ingredients:

  • 3/4 cup white rice flour
  • 1/2 cup sorghum flour
  • 1/2 cup cornstarch
  • 1/4 cup potato starch
  • 2 tsp. xanthan gum
  • 1-1/2 tsp. baking powder
  • 1/2 tsp. baking soda
  • 1/2 tsp. salt
  • 1 tsp. cinnamon
  • 1/4 tsp. nutmeg
  • 1/8 tsp. cardamom
  • 1/2 cup granulated sugar
  • 1/2 cup dark brown sugar
  • 1 stick of butter, cubed
  • 1 cup mashed bananas (2 small)
  • 1/3 cup ricotta
  • 2 large eggs
  • 1 tsp. vanilla extract

Preparation:

Preheat the oven to 350º.  Line a 9 x 5″ loaf pan with parchment paper (do this, you’ll thank me later).

Whisk together the dry ingredients, rice flour through cardamom.  In the bowl of a stand mixer with the paddle attachment, beat together the sugars and the cubed butter.  Add the eggs, vanilla, bananas and ricotta.

Finally add the dry ingredients and beat until smooth.
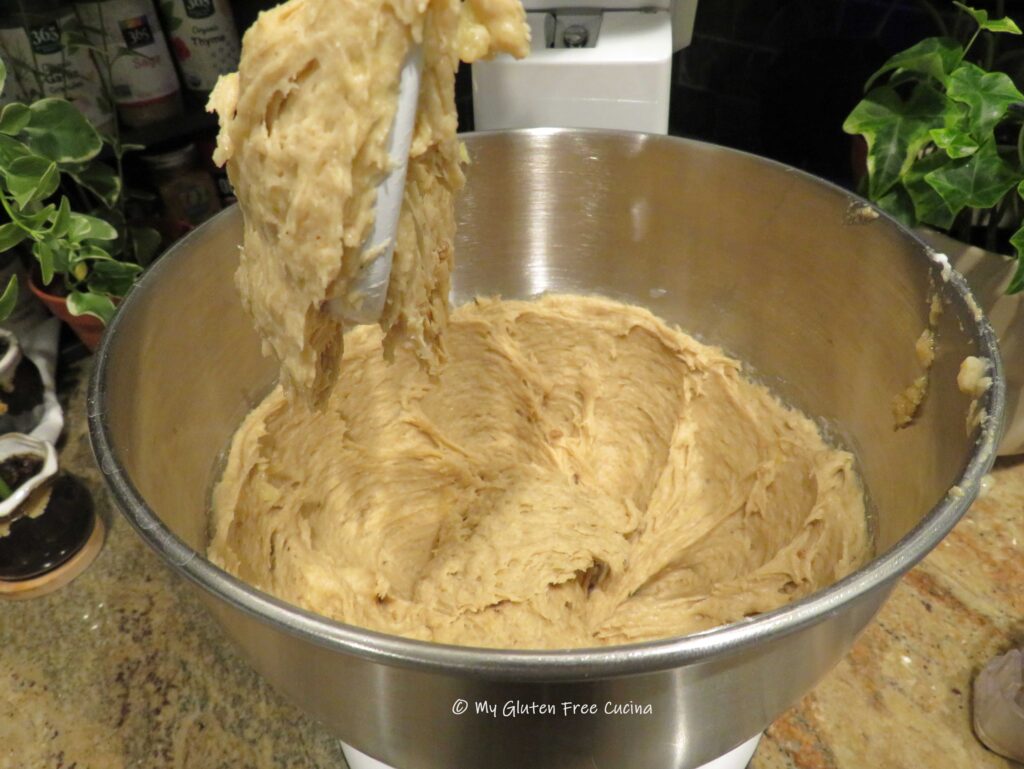
Transfer to the prepared loaf pan and use a wet spatula to smooth the top out.
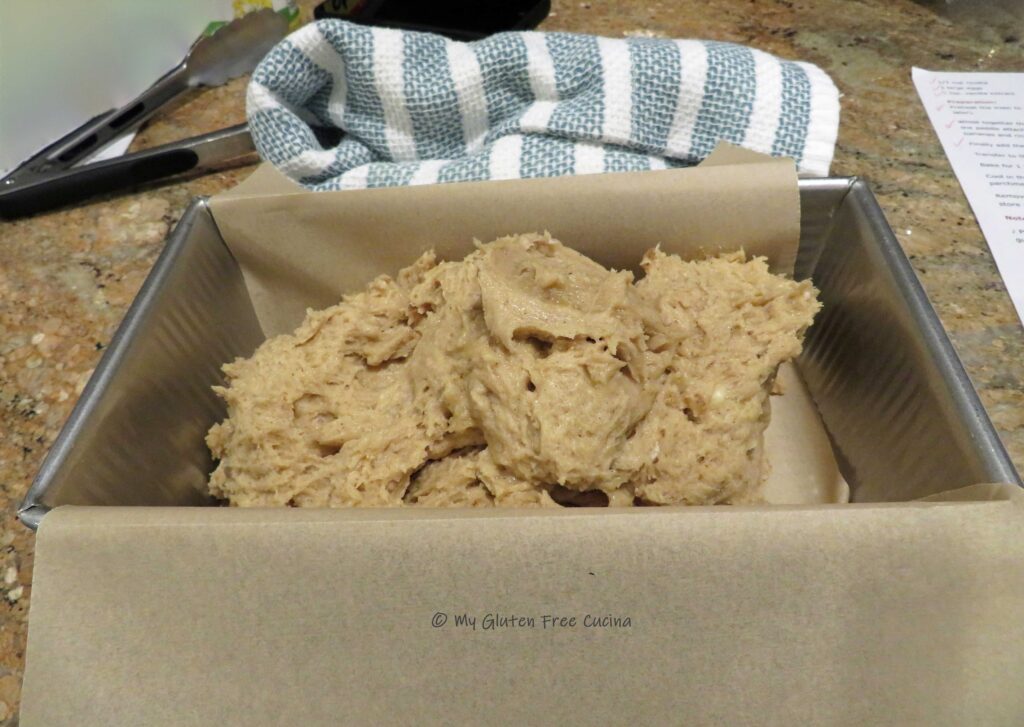
Bake for 1 hour and check the center with a toothpick.  The top should be nice and golden brown.
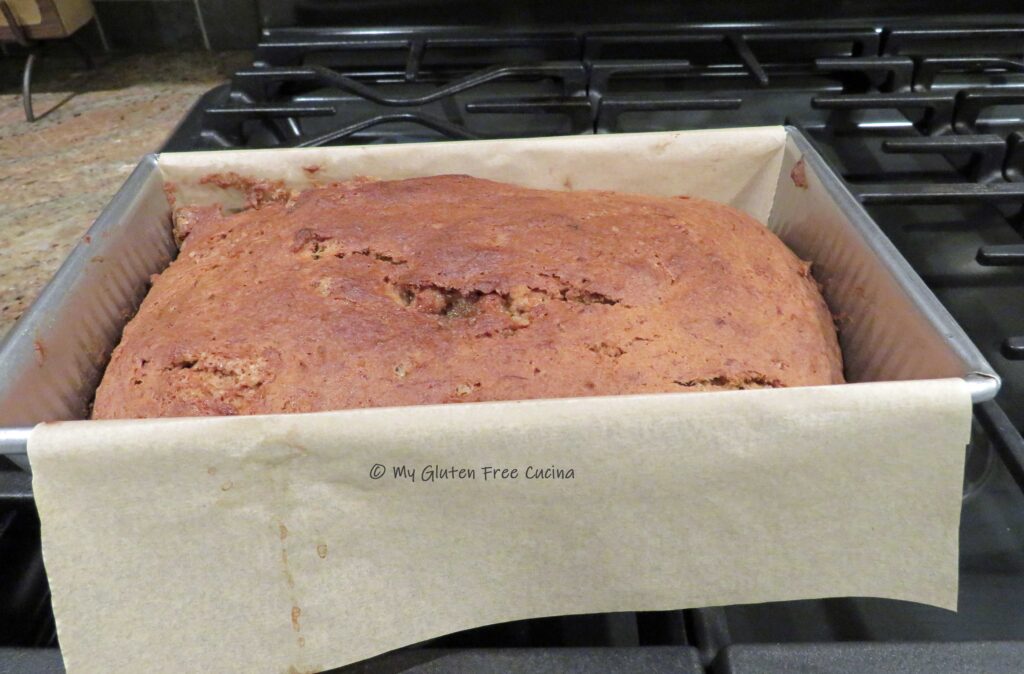
Cool in the pan for 10 minutes, then lift the loaf out of the pan by grasping both sides of the parchment paper (you’re welcome).
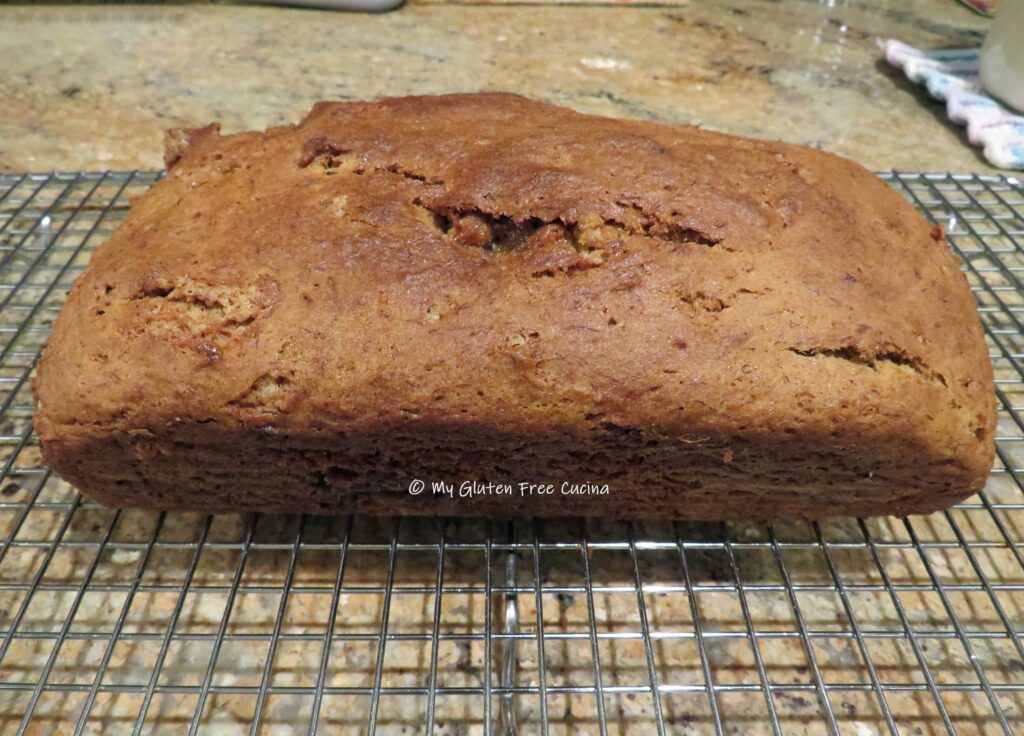
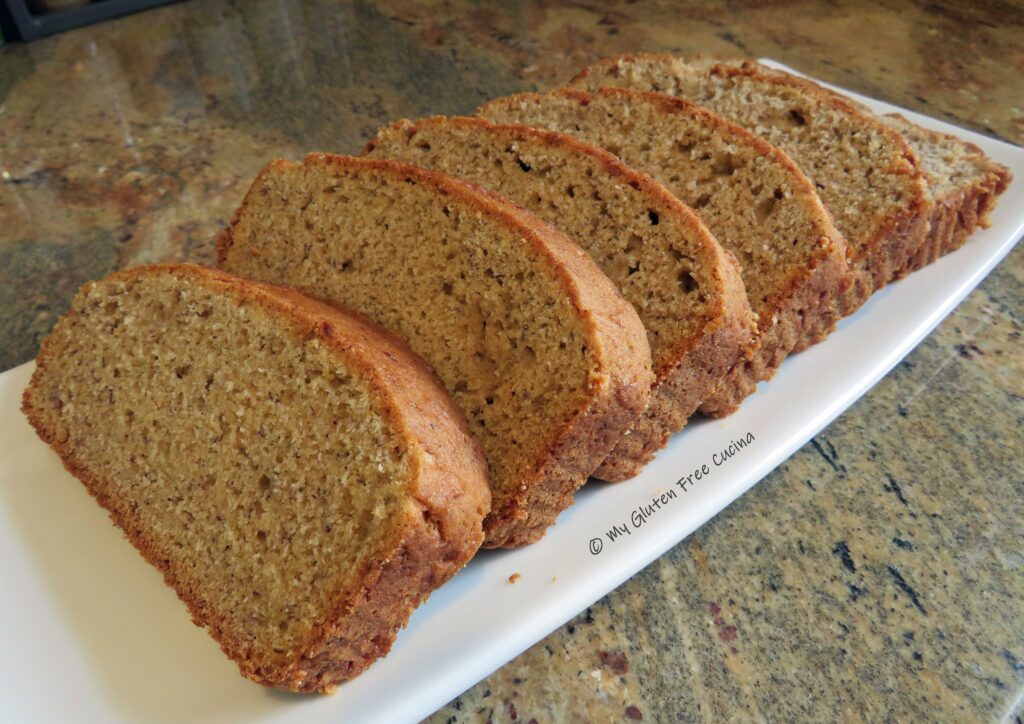
Remove the parchment and cool on a rack before slicing.  Cover any leftovers in plastic wrap and store at room temperature for up to 3 days.
Notes: ♪♫ Parchment paper provides an easy way to lift the finished loaf out of the pan without tipping and guarantees that your loaf won’t stick to the bottom of the pan.  But there’s more.  If like me, you have loaf pans that were once upon a time used to bake gluten filled treats, or perhaps your kitchen is not yet 100% gluten free, parchment provides an extra layer of protection from any hidden remnants of gluten that might be lurking in the corners of your favorite baking pan.  Better safe than sorry! 
Print This Post Print This Post