
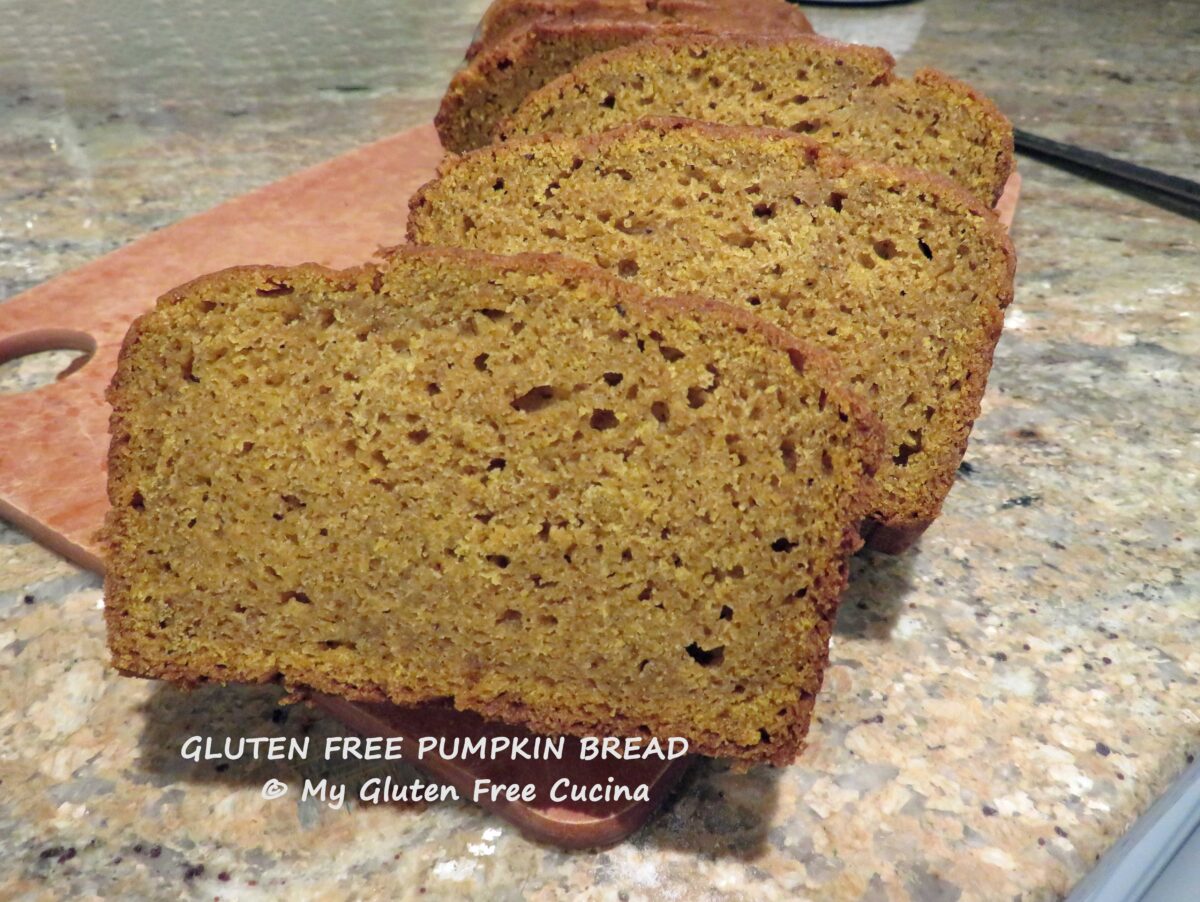
Gluten Free Pumpkin Bread
🎃
Looking back at my recipe notes, I was surprised to find that I have not made Pumpkin Bread since 2013. Why I don’t know, because I had a really good recipe that everyone enjoyed.
So, this week I decided to dust off that old favorite and give it a gluten free makeover. Would you believe, the only ingredient that had to be changed was the flour? I find that’s the case with so many recipes.

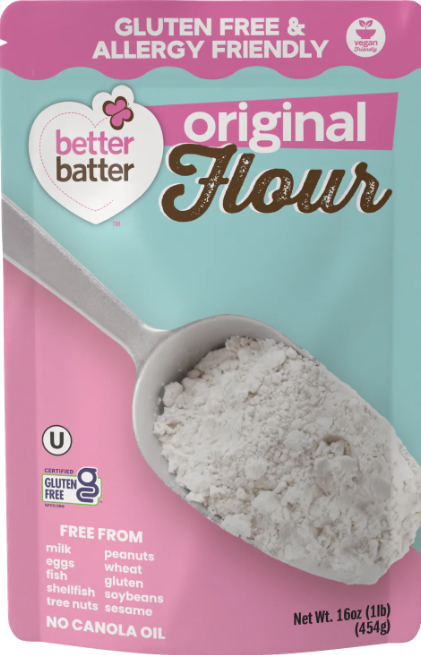
For my Gluten Free Pumpkin Bread, I used Better Batter Original Blend.
 This easy pumpkin bread is super moist! Serve it with ice cream for dessert and have the leftovers for breakfast! It would be a fine addition to your Thanksgiving breadbasket.
This post contains affiliate links.
Ingredients:
Dry Ingredients:
- 200g. gluten free all-purpose flour
- 1/2 tsp. salt
- 1 tsp. cinnamon
- 1/2 tsp. nutmeg
- 1/4 tsp. allspice
- 1/2 tsp. baking soda
- 1/4 tsp. baking powder
Wet Ingredients:
- 2 large eggs
- 1/4 cup softened butter (1/2 stick)
- 1/4 cup canola oil
- 1 cup Pumpkin Puree
- 1/4 cup milk (I used 2%)
- 1/2 cup white sugar
- 1/2 cup brown sugar
Use my Promo Code MGFC30 for 30% off at Better Batter!
Preparation:
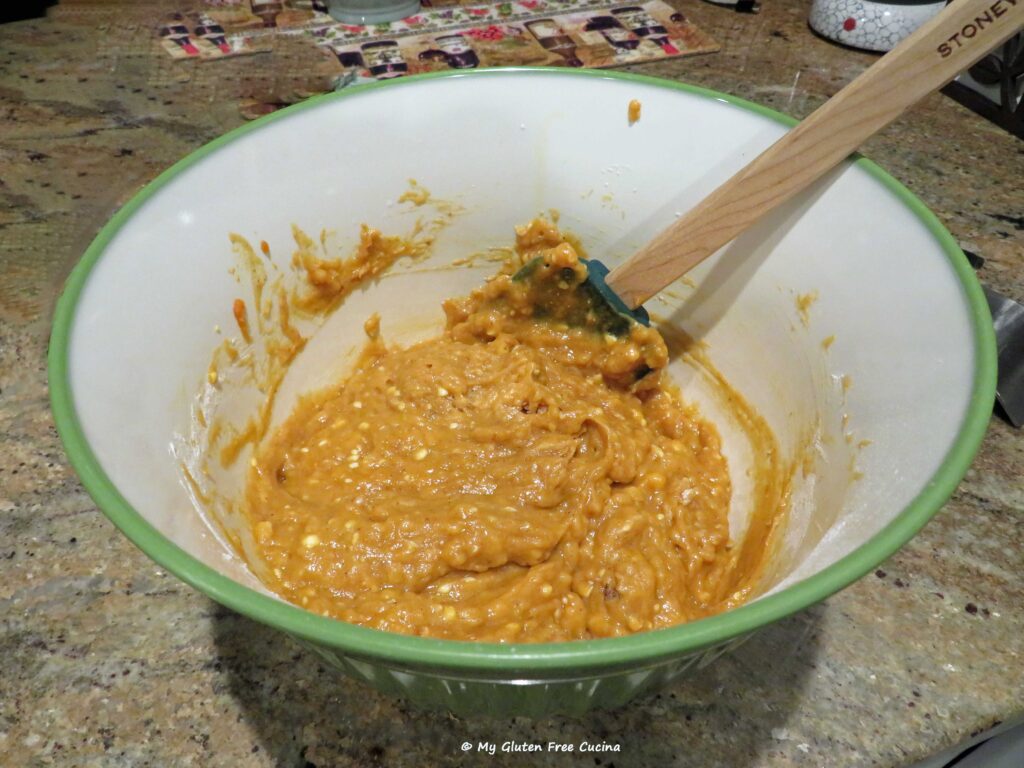
Whisk together all of the dry ingredients. Combine the wet ingredients in a separate bowl and whisk until smooth and the butter breaks down into little bits.
Add the dry ingredients to the wet, and fold with a spatula just until moistened. Let the batter rest while you preheat the oven to 350º.
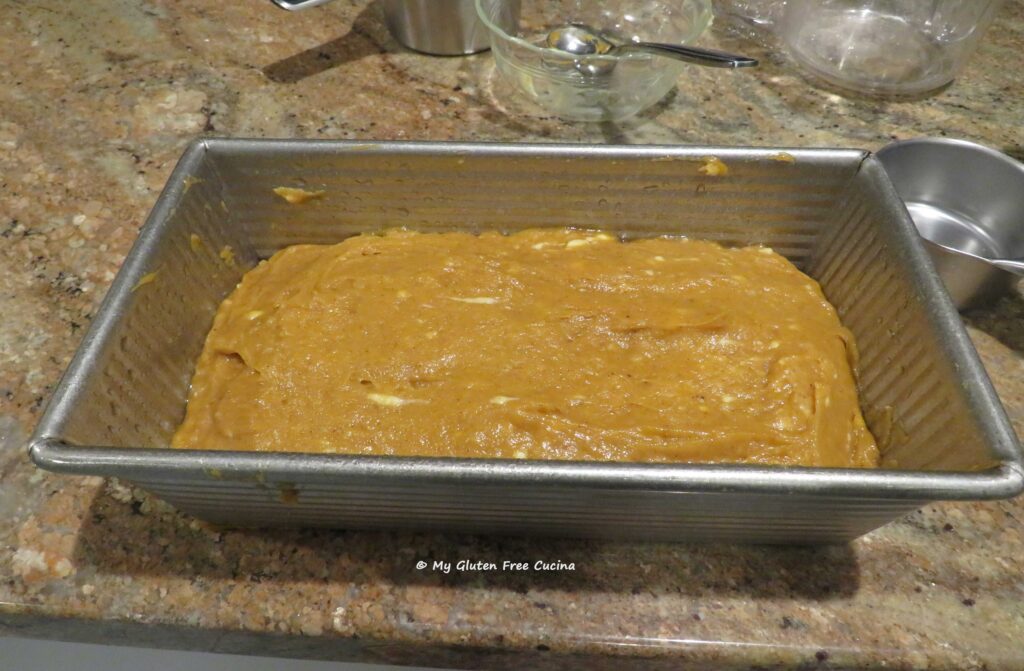
Scrape the batter into a greased 1 lb. loaf pan (8″ x 4″) and smooth it out evenly. Bake for 60-65 minutes.
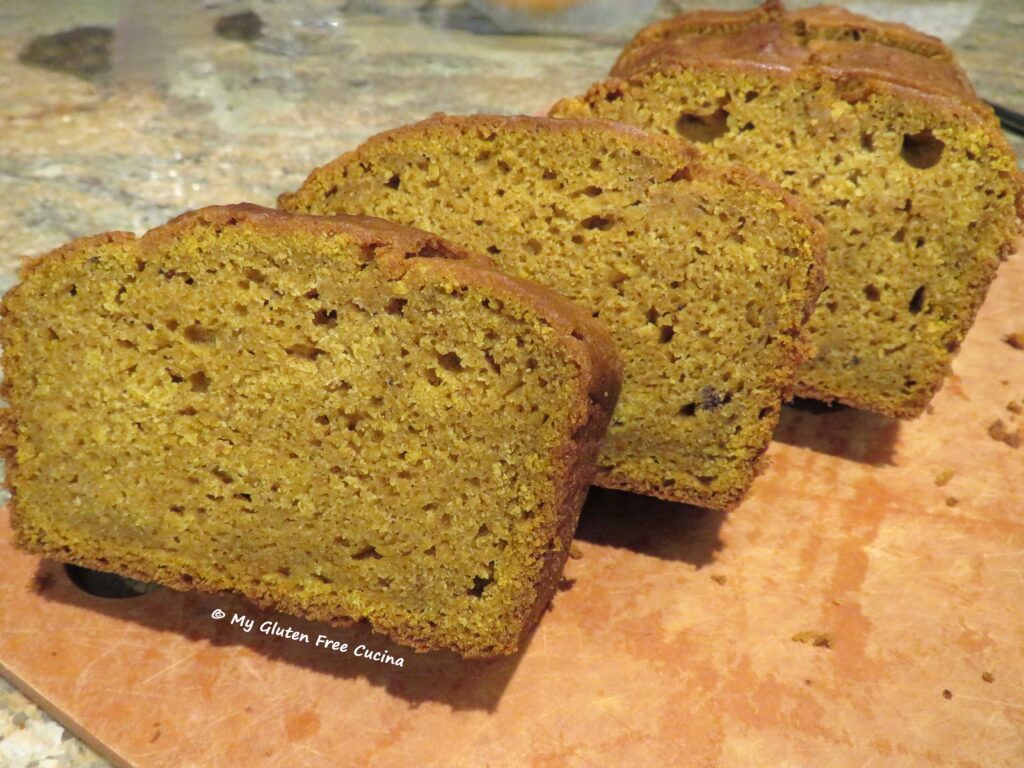
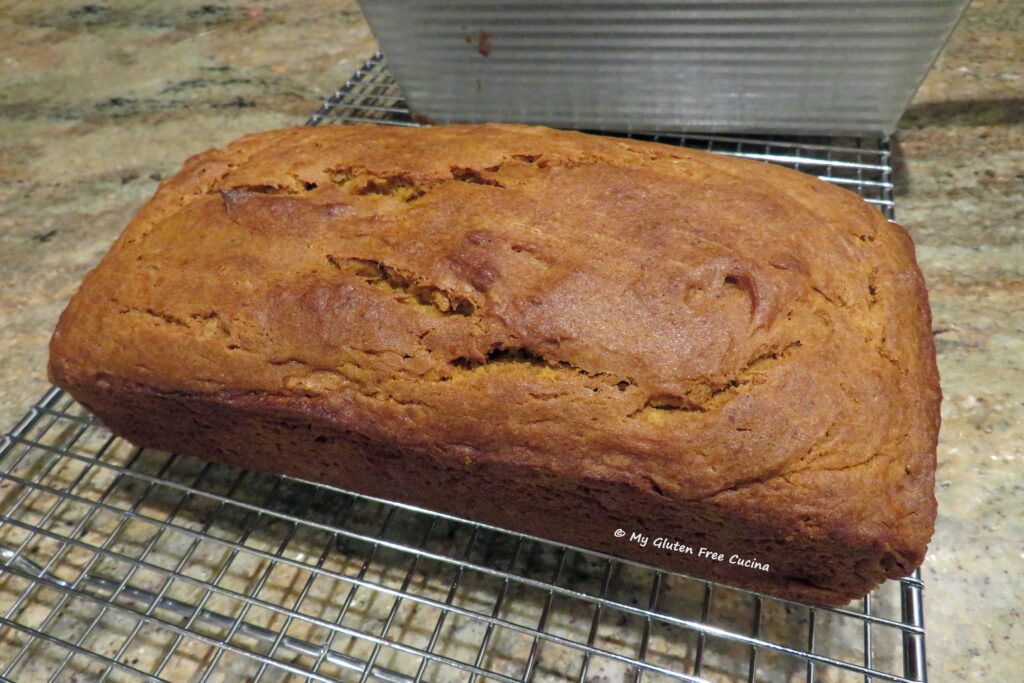
Test with a toothpick, it should come out clean, and the loaf will be starting to pull away from the sides of the pan. Cool in the pan for 10 minutes then slide a thin spatula around the edges. The loaf should remove easily. Allow it to cool for at least 2 hours. Bet you’ll have hard time waiting!

I let mine cool to room temperature, then stored it in a plastic bag on the counter overnight. Look at that beautiful color! 🎃
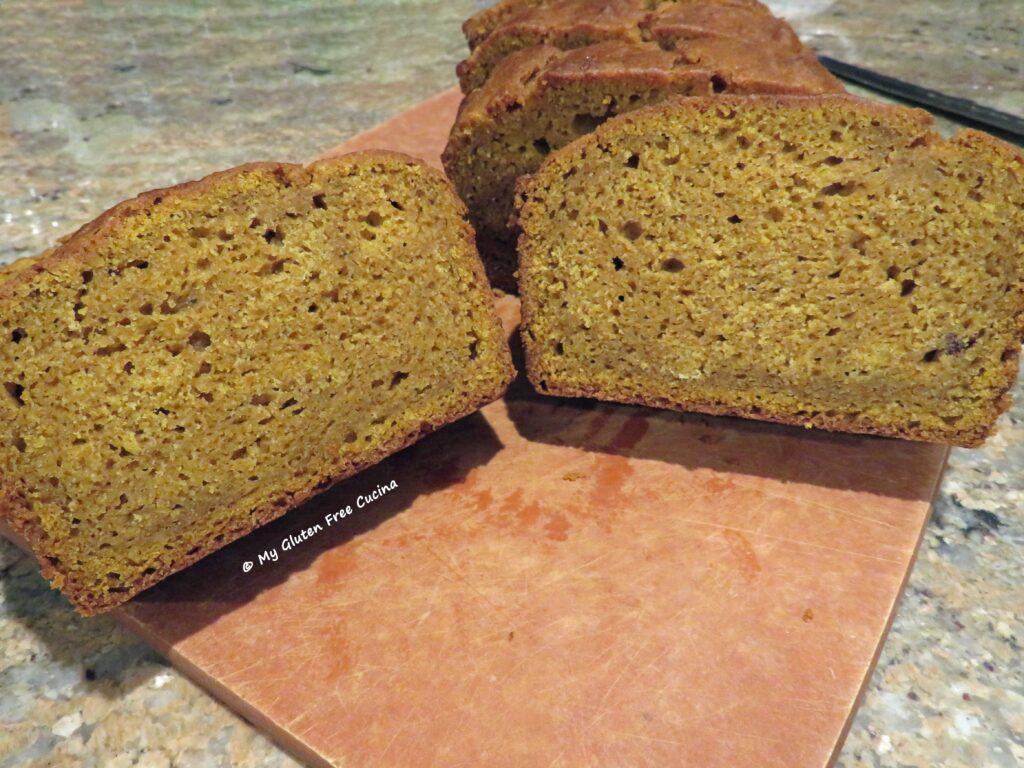
I sliced my Pumpkin Bread into nice thick pieces and wrapped a few individually for the freezer.
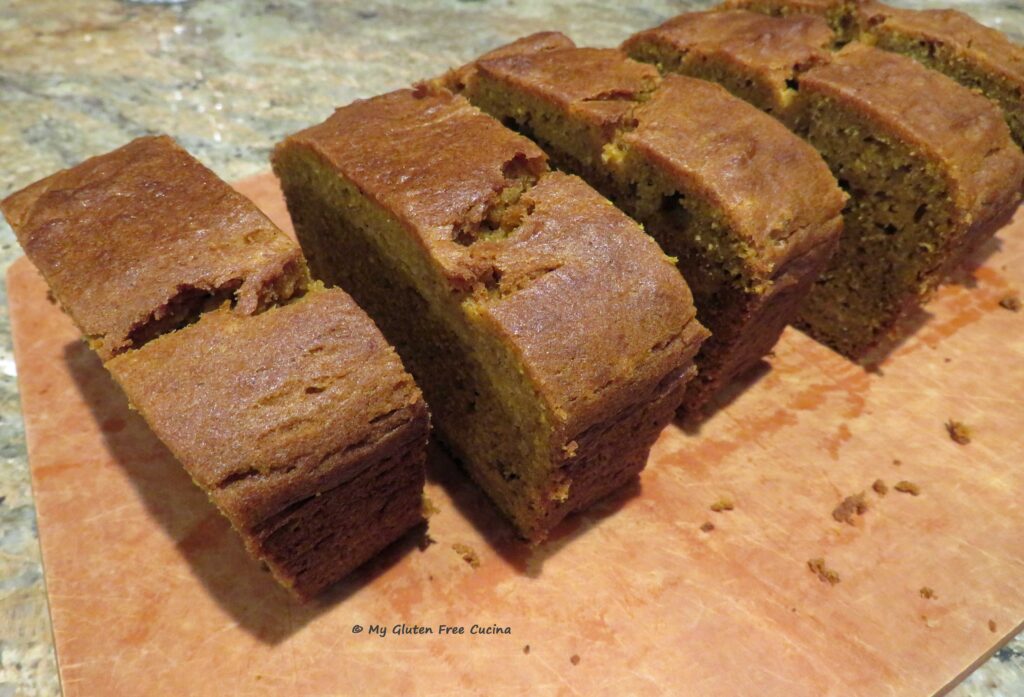
I ate the 2 end slices on the spot (had to taste test!), then had another big slice for breakfast! SOOOO good!
Notes ♪♫ Pan size is important. Be sure to use a 1 lb. metal loaf pan. I like this one, from USA Pan. Larger loaf pans, like a 1.25 lb. pan will change the height and width of the loaf, as well as the cook time.


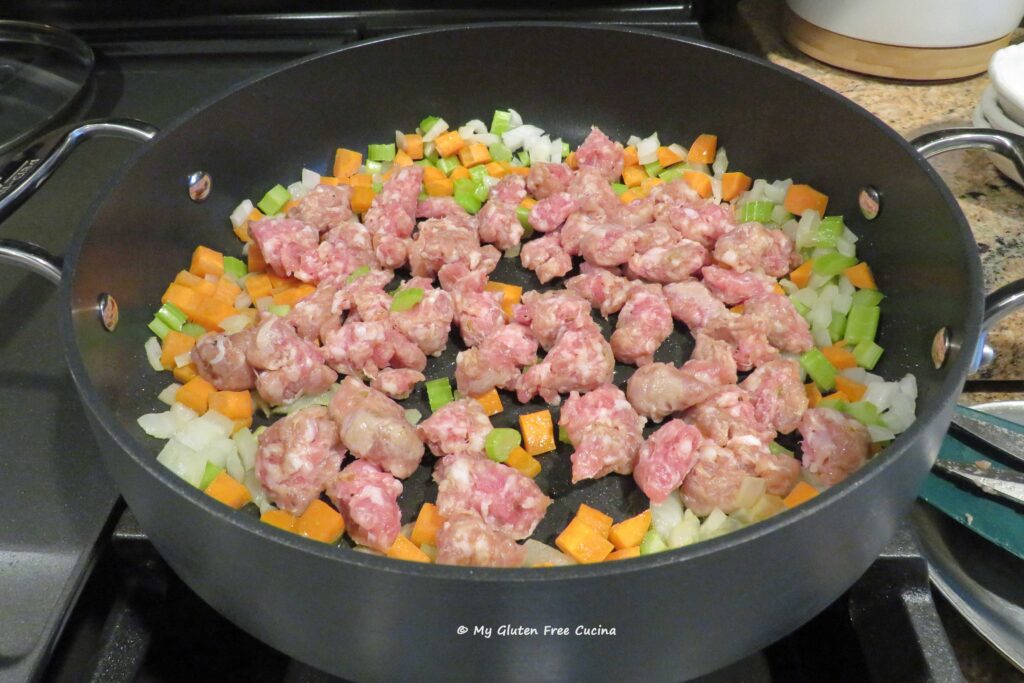
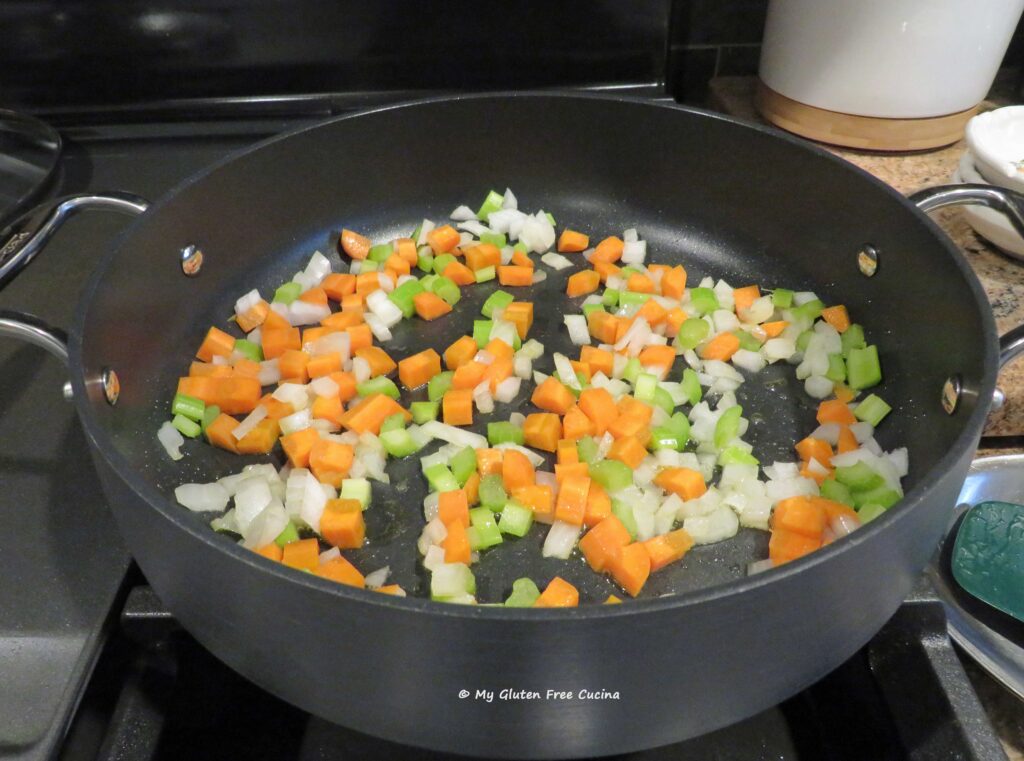 Remove the sausage casings and cut the sausage into small pieces. Add to the skillet with the veggies.
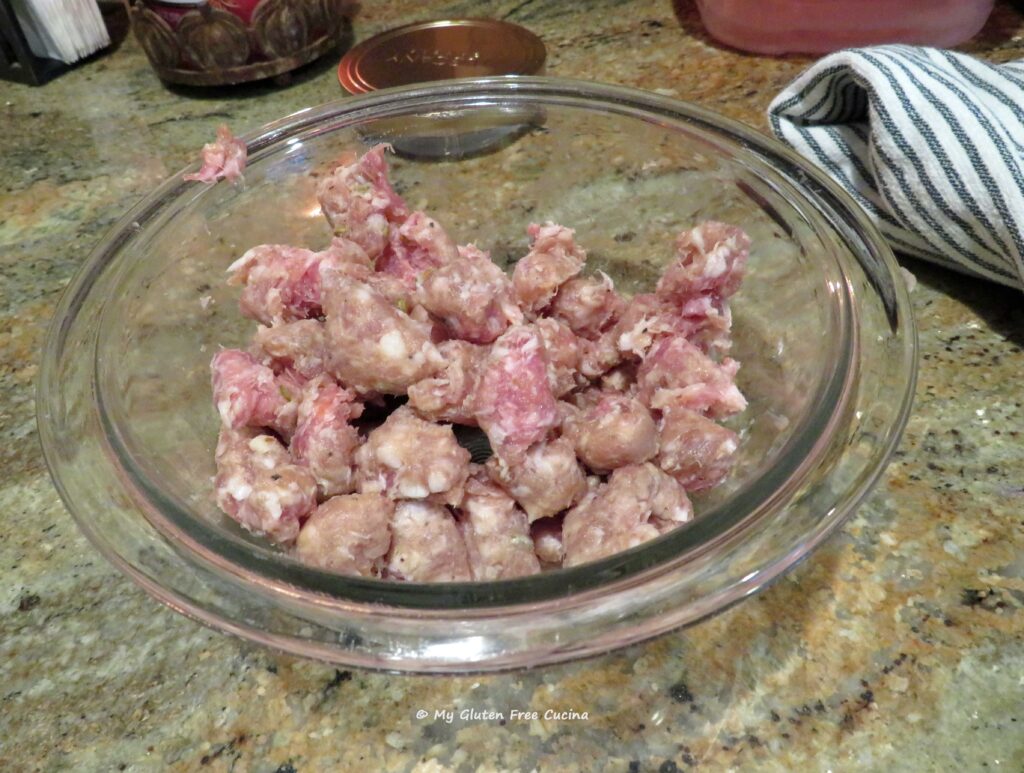
 When the sausage starts to brown, push the meat and veggies to the sides of the pan and add the tomato paste in the center.
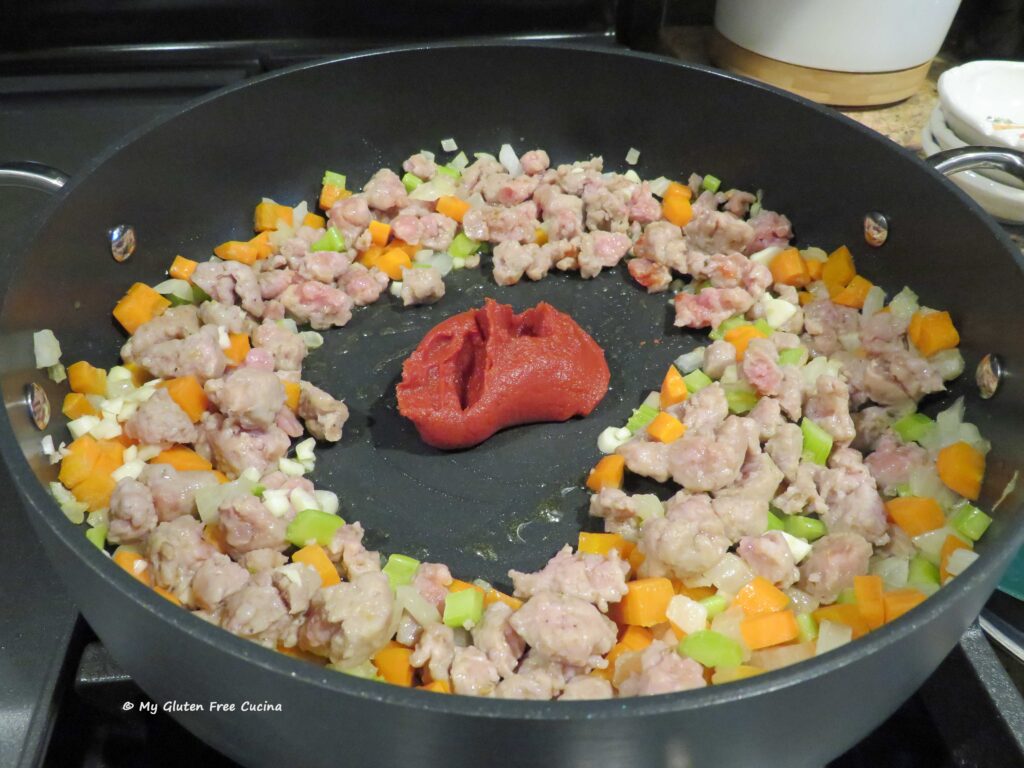 Let it toast for a few minutes, then stir it into the sausage and veggies.
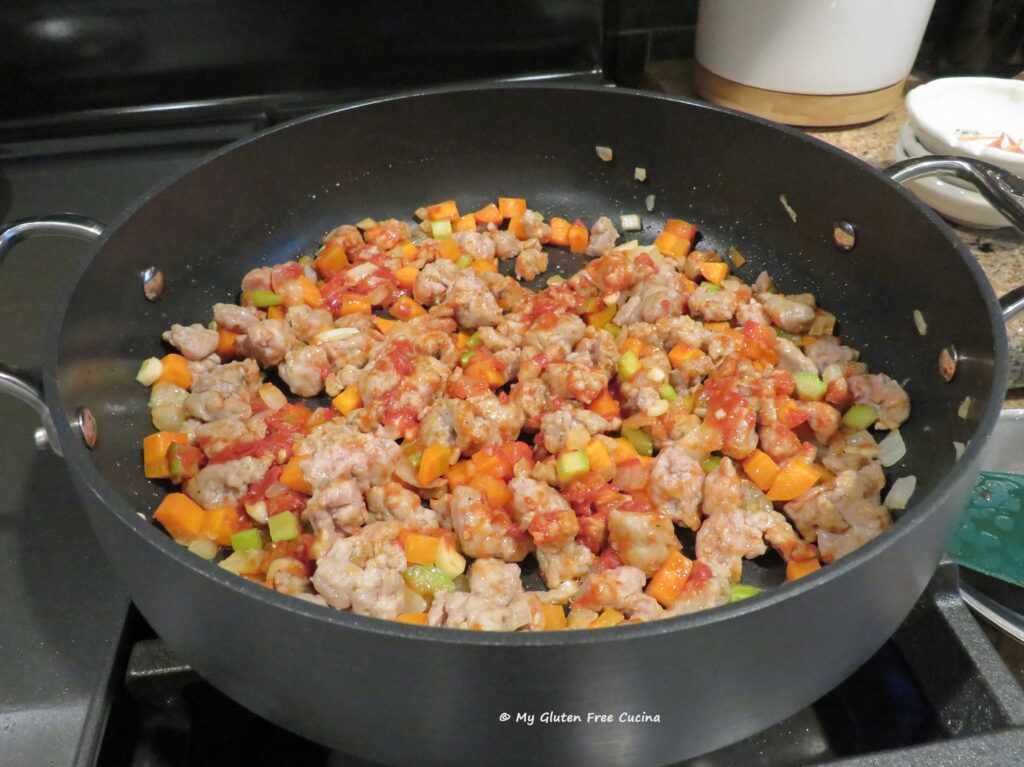 Add the wine, and saffron water, garlic, basil, oregano and bay leaf.
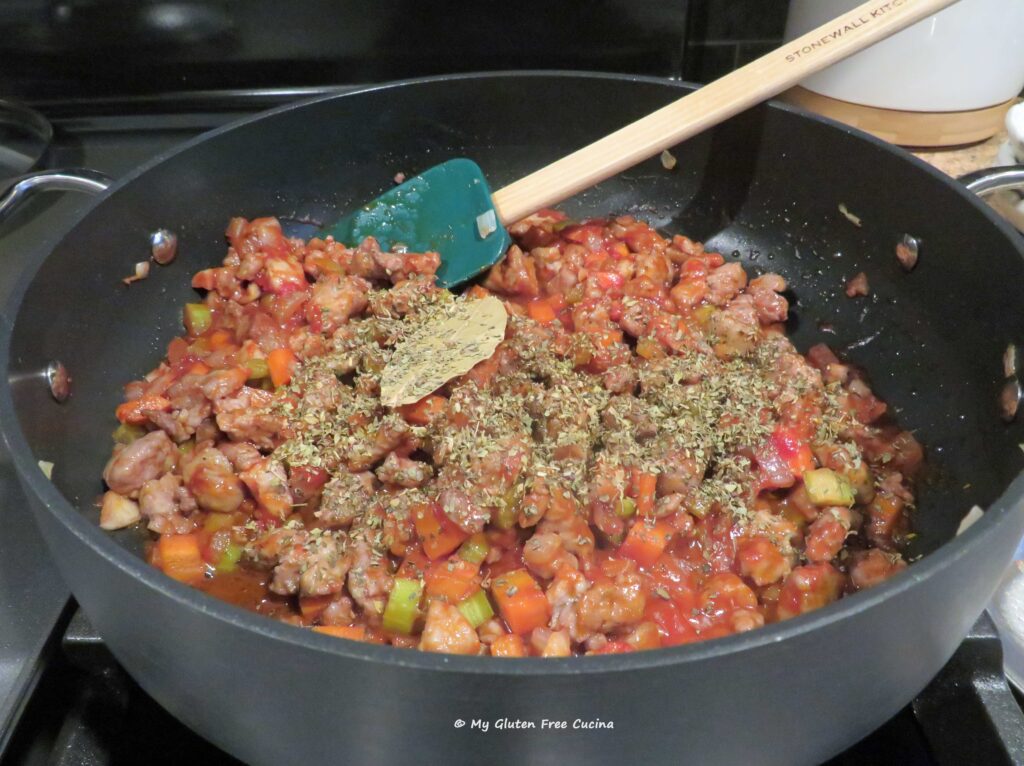 Let the wine cook off for a few minutes, then add the crushed tomatoes and the tomato sauce. Stir well, and simmer 30-45 minutes with the lid slightly ajar to allow the sauce to thicken as it cooks. Stir the sauce every 10 minutes while it simmers.
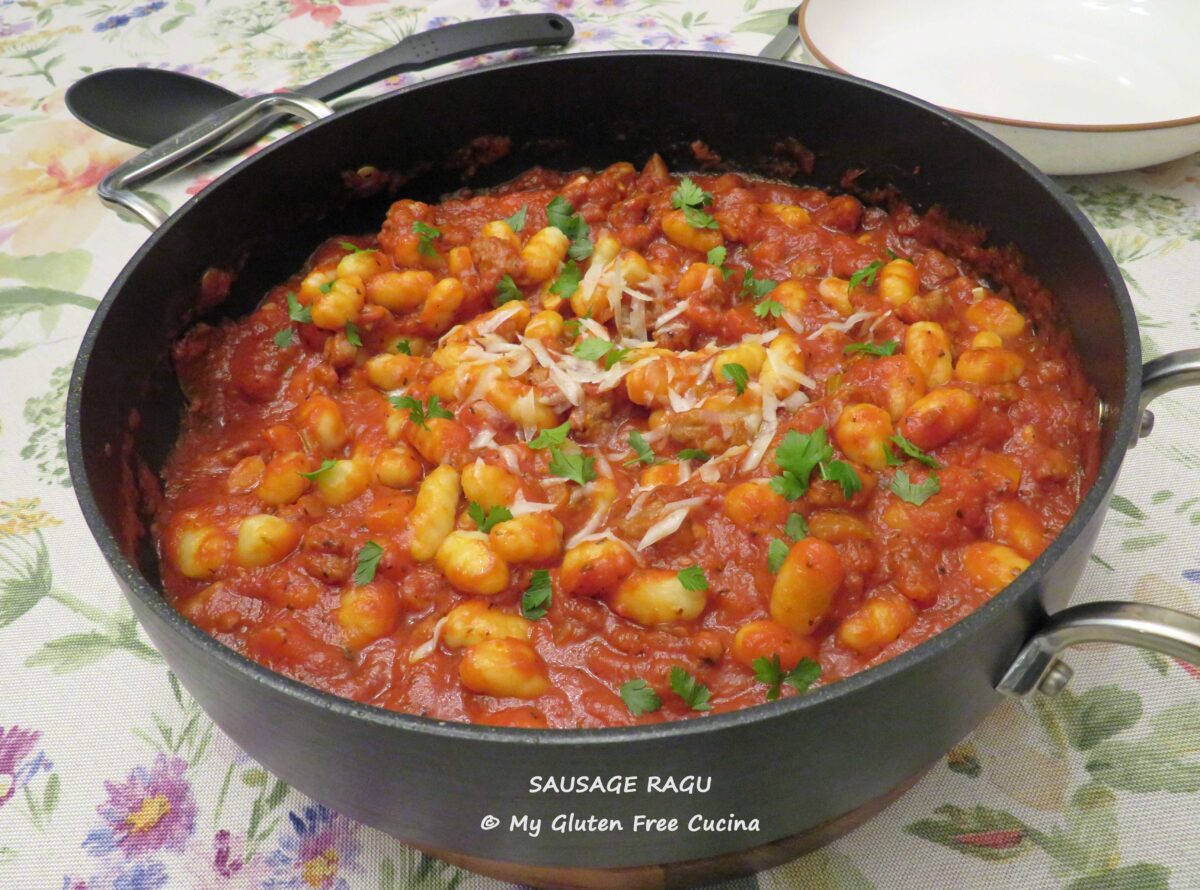
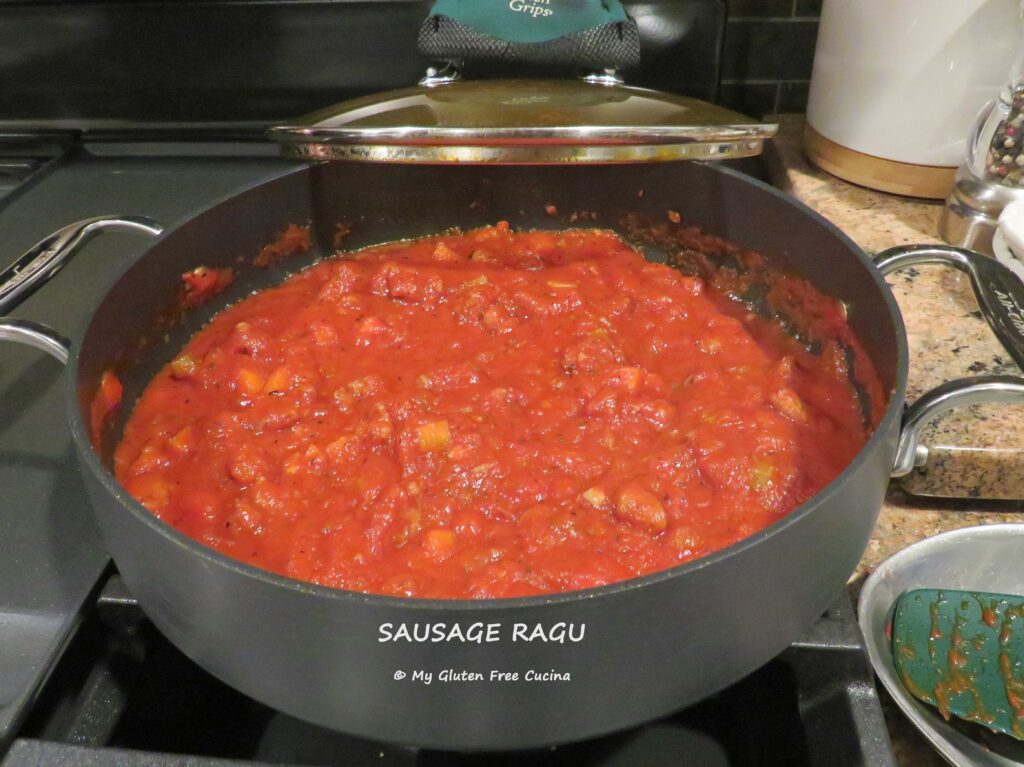 Serve this wonderful sauce over your favorite pasta and finish with grated cheese. Pecorino Romano is traditional with this dish, but you can use Parmigiano Reggiano.
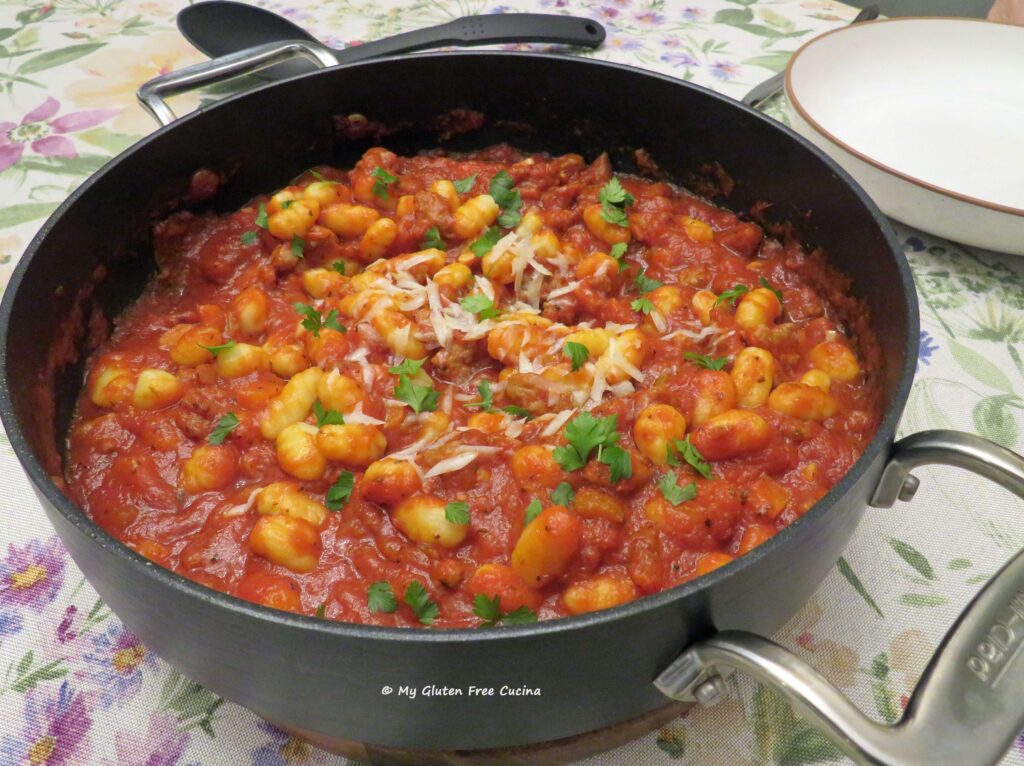 Notes ♪
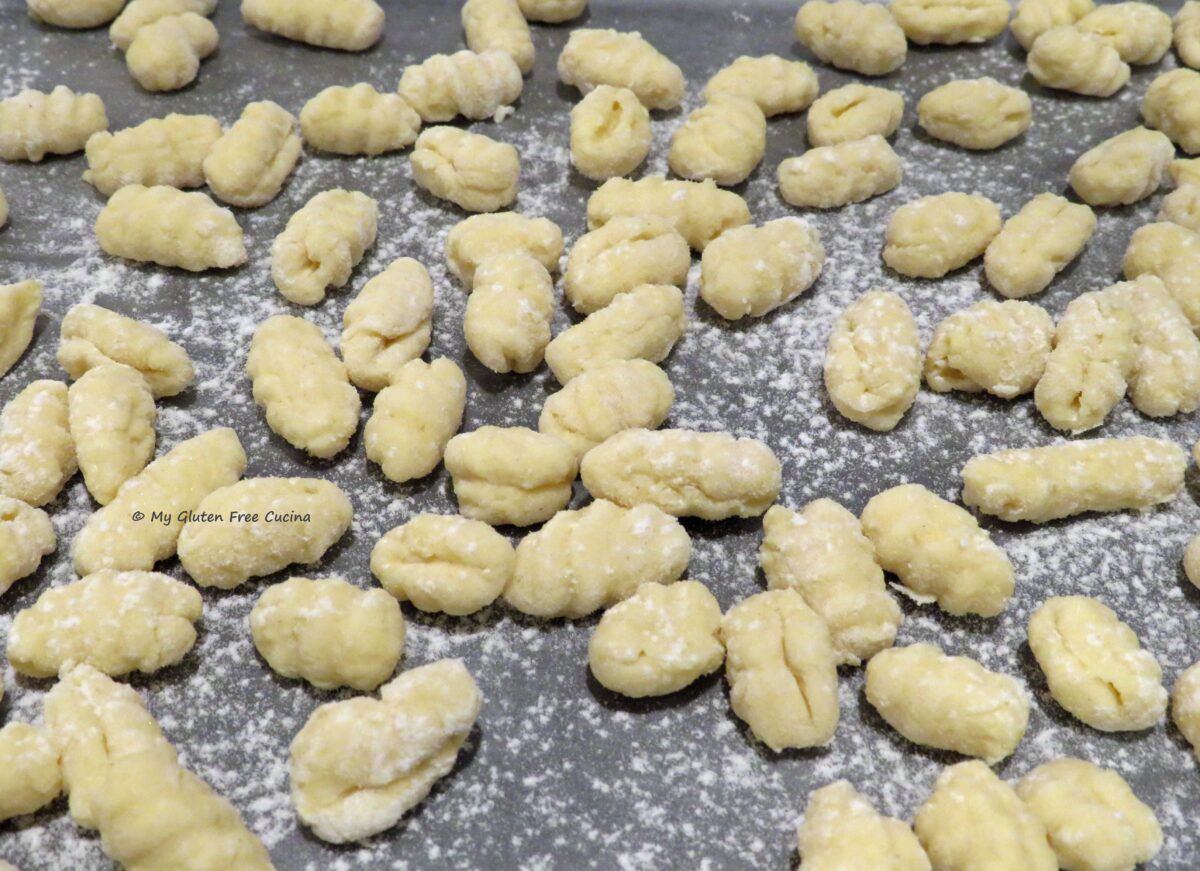
 What about gluten?
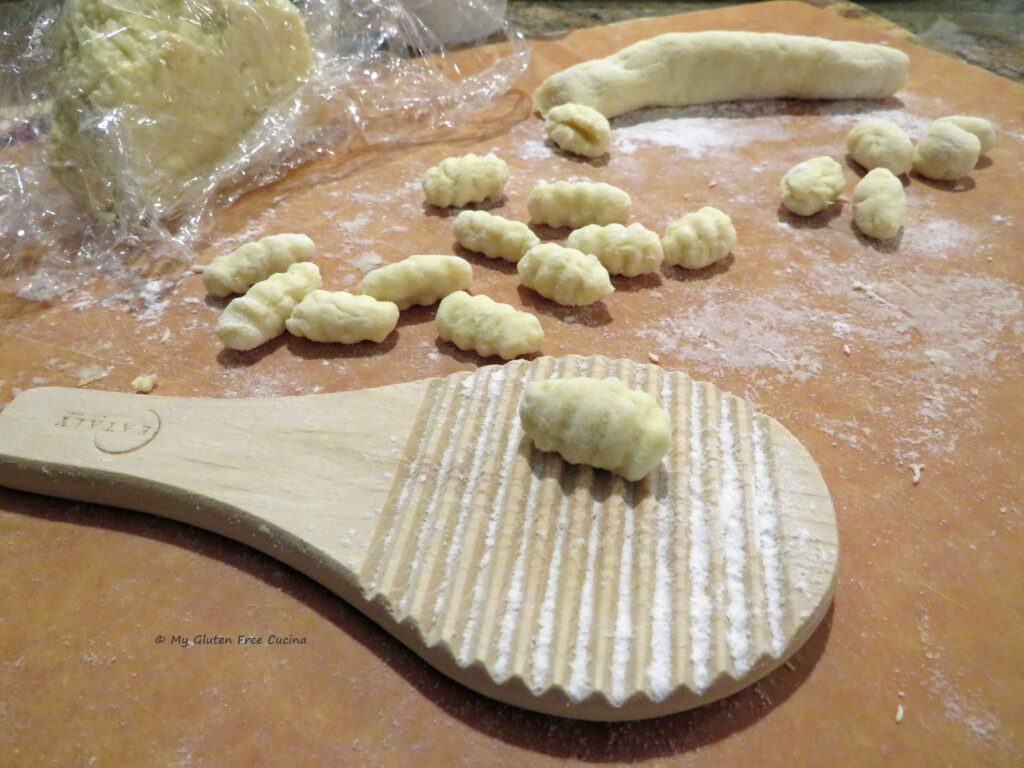 Wait, no eggs?
 Another unique feature.
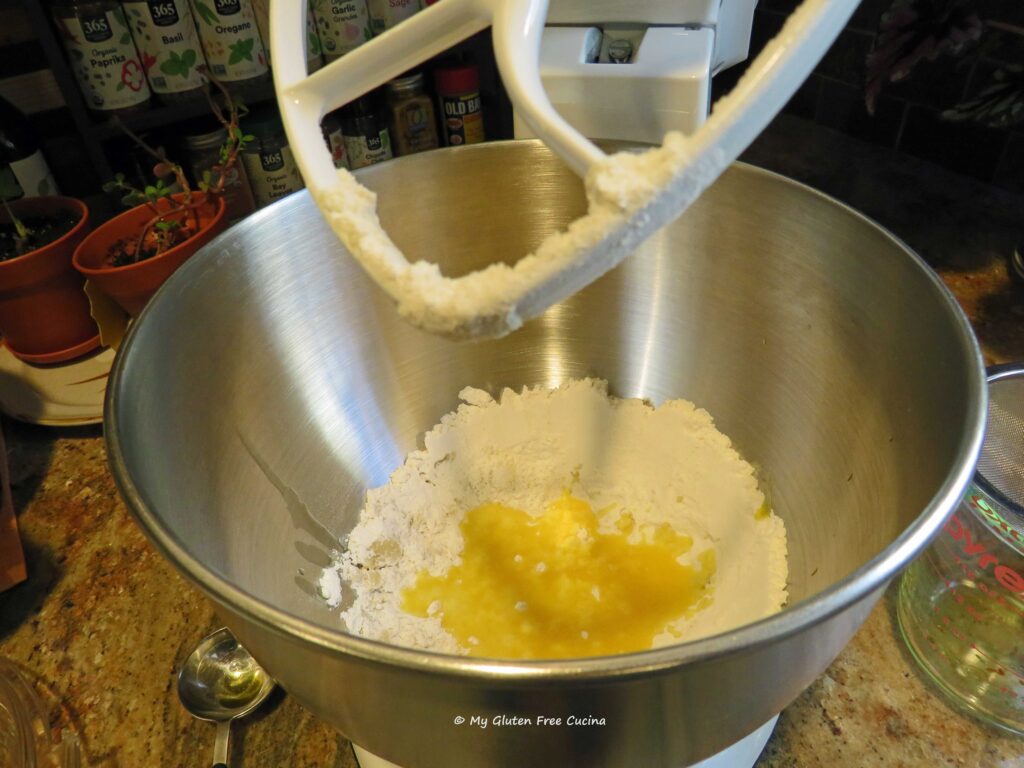 This post contains affiliate links.
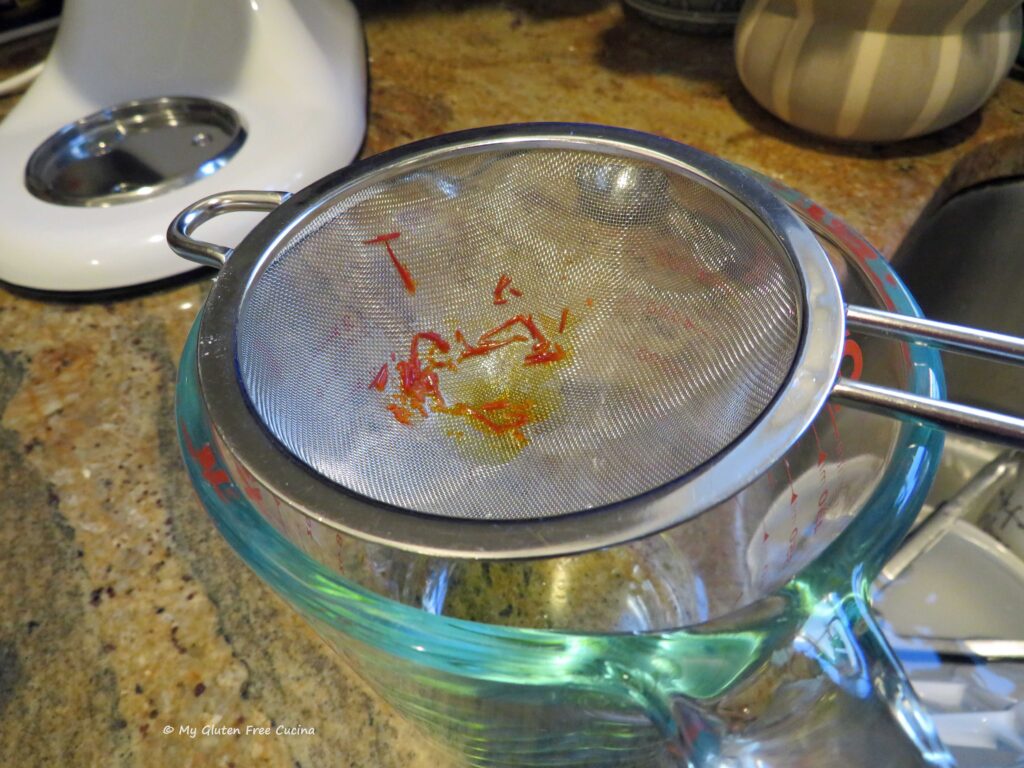
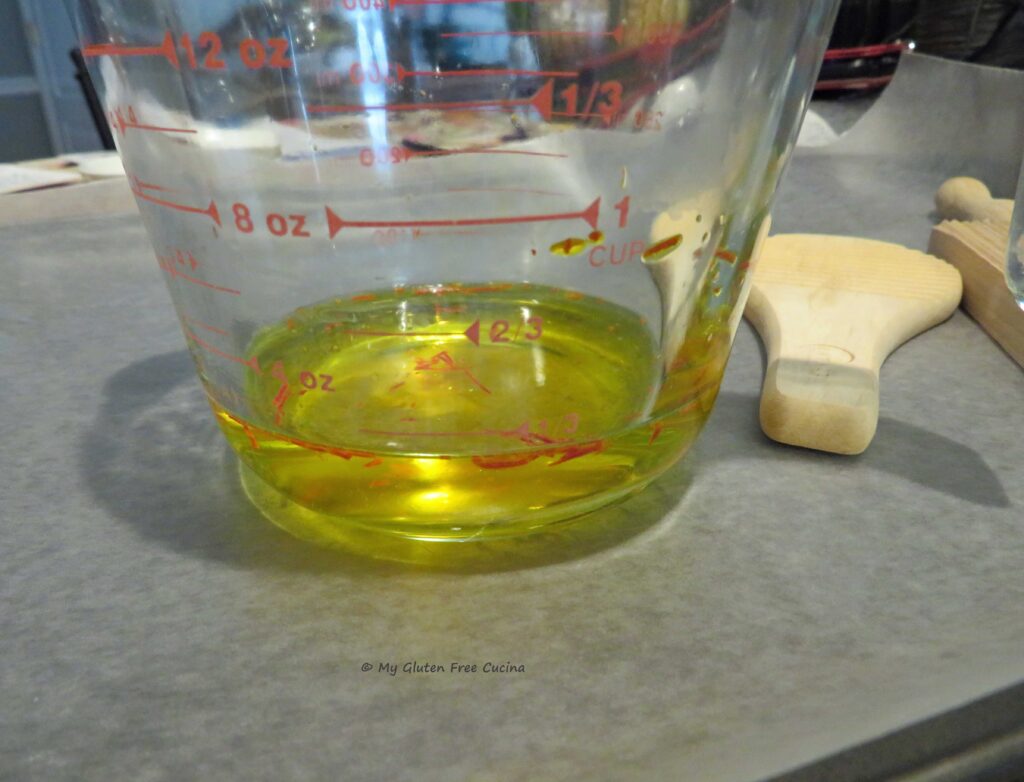 Whisk together the flour and salt in the bowl of a stand mixer. Pour in the infused liquid through a sieve, reserving the saffron threads.
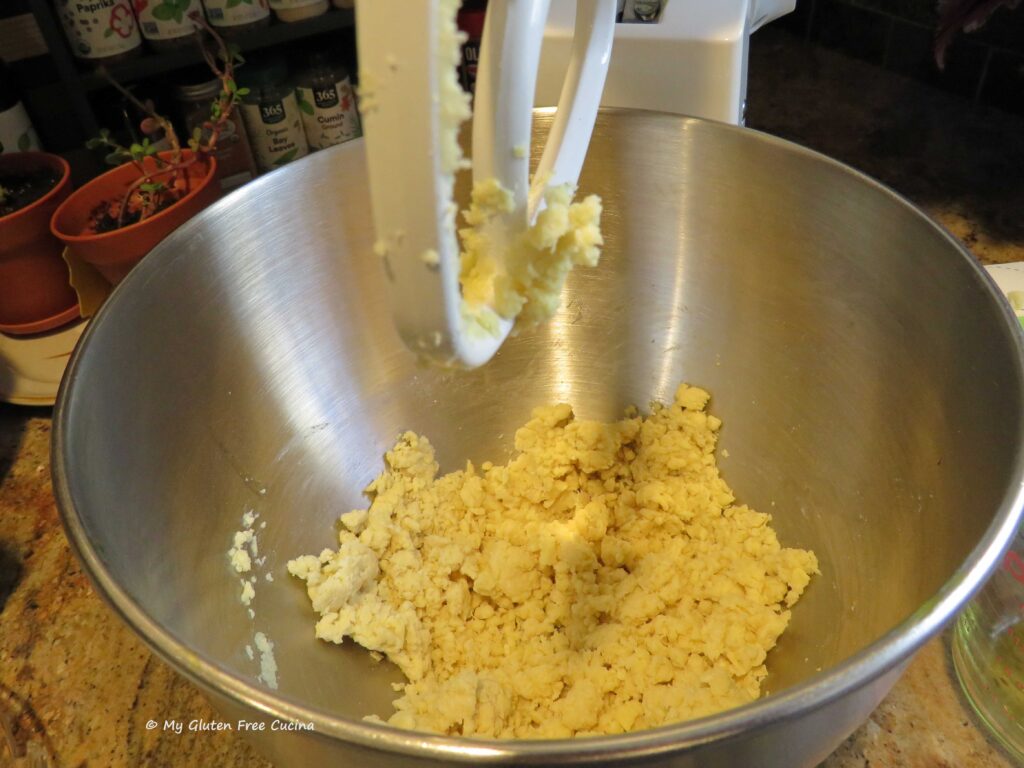 Add the remaining water 1 tbsp. at a time until you have a very soft, smooth dough, like this.
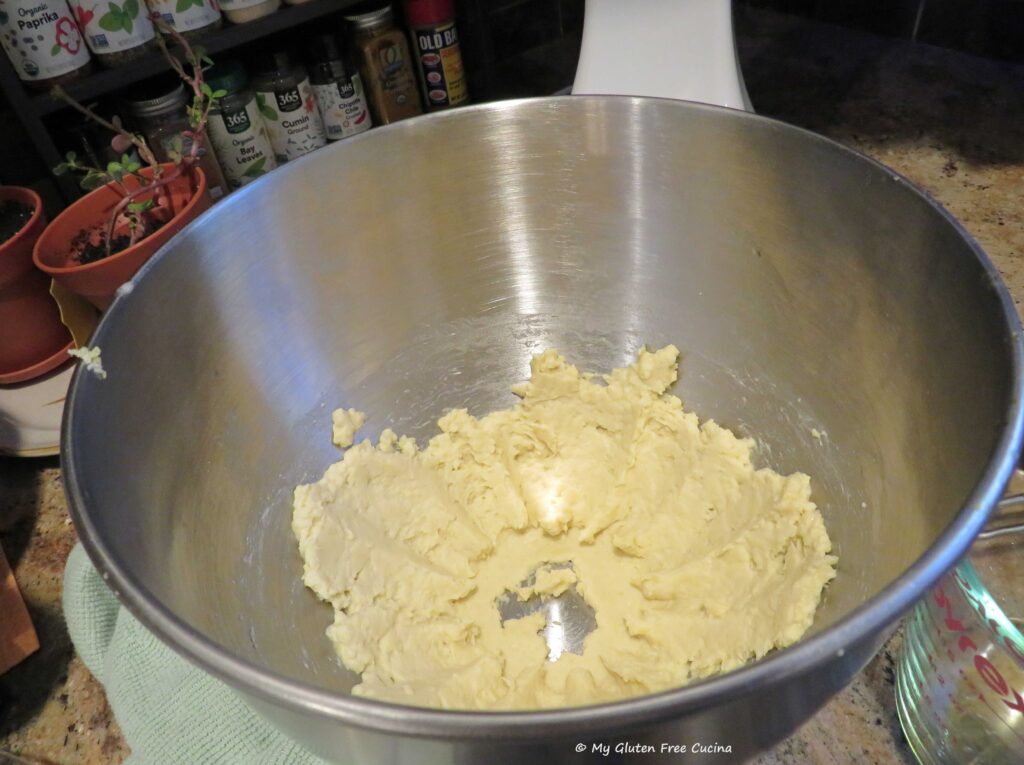
 Use a spatula to gather the dough into a ball, then cover and let it rest at room temperature for about 20 minutes.
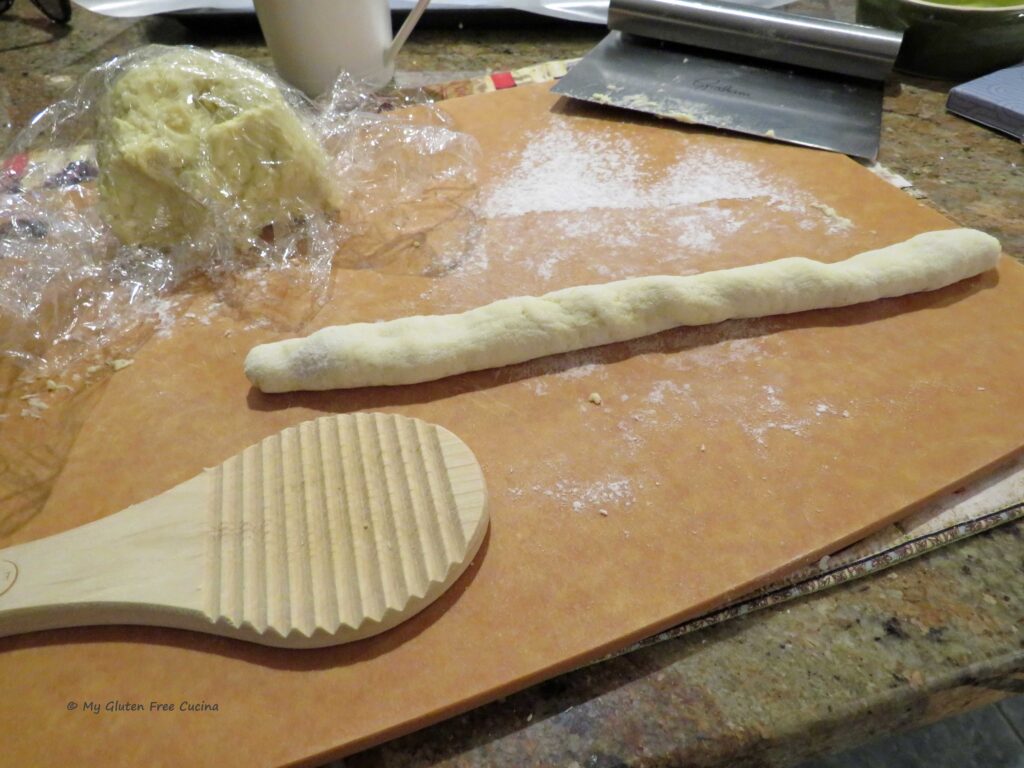
 Now roll each piece over the Malloreddus paddle, you can use your fingers or a bench knife. Be sure to keep the paddle generously floured as you work. A
 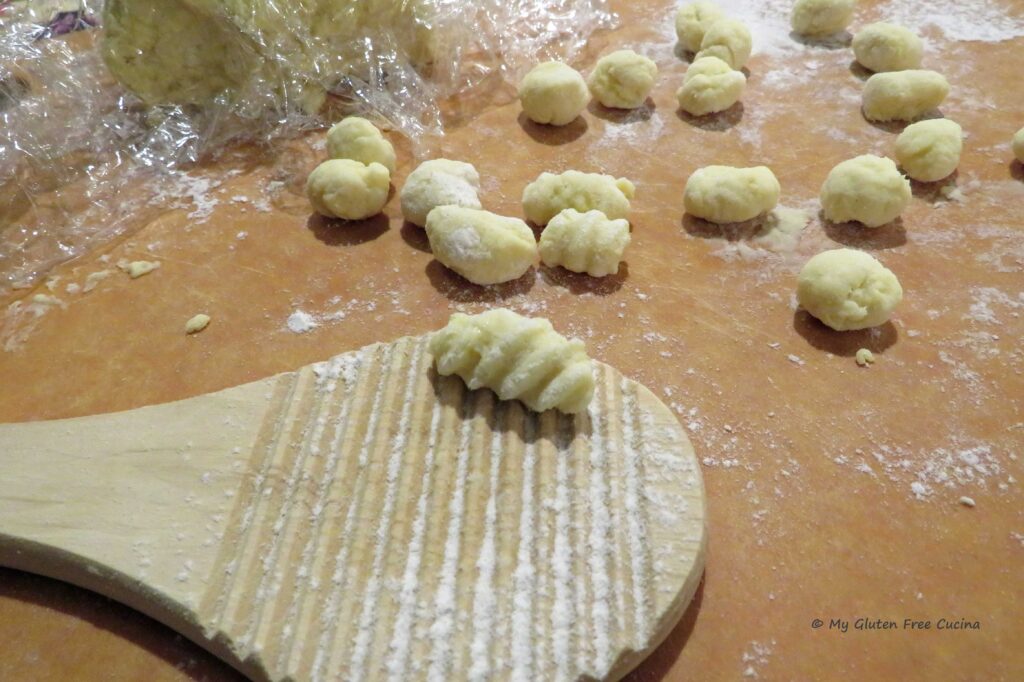 Arrange the pasta on a lightly floured baking pan in a single layer. I lined mine with wax paper. At this point, you can cover the pasta with plastic wrap and refrigerate it until you are ready to start cooking.
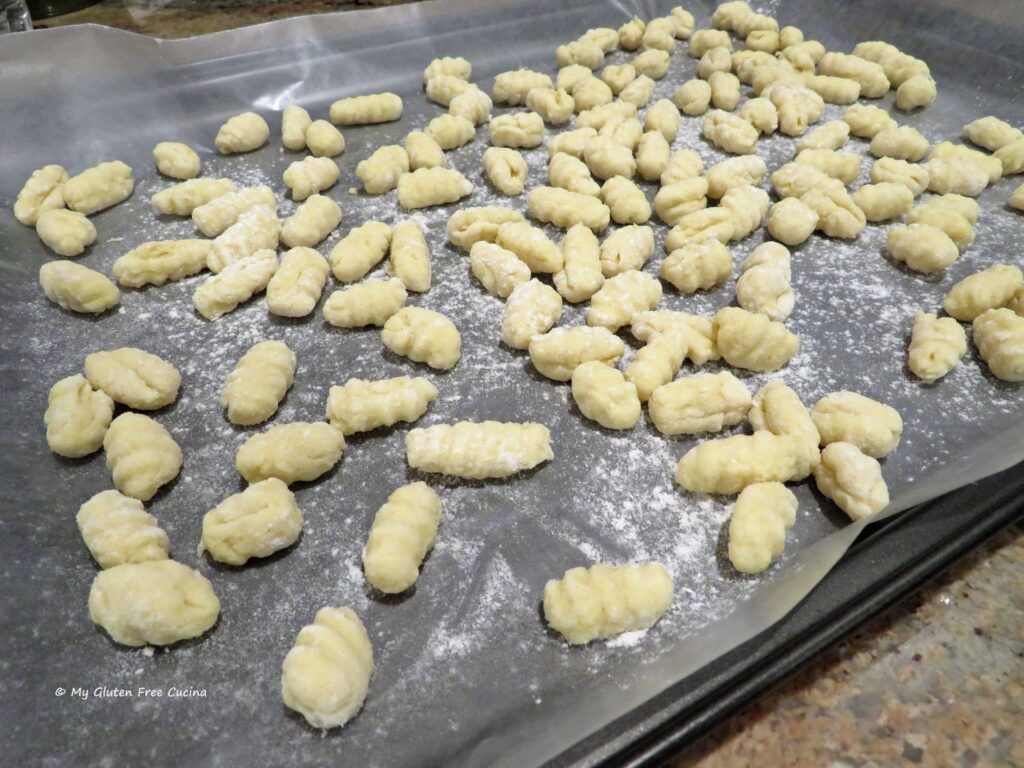 For longer term storage, place the pan in the freezer for a few hours, then transfer the pasta to a freezer safe bag.
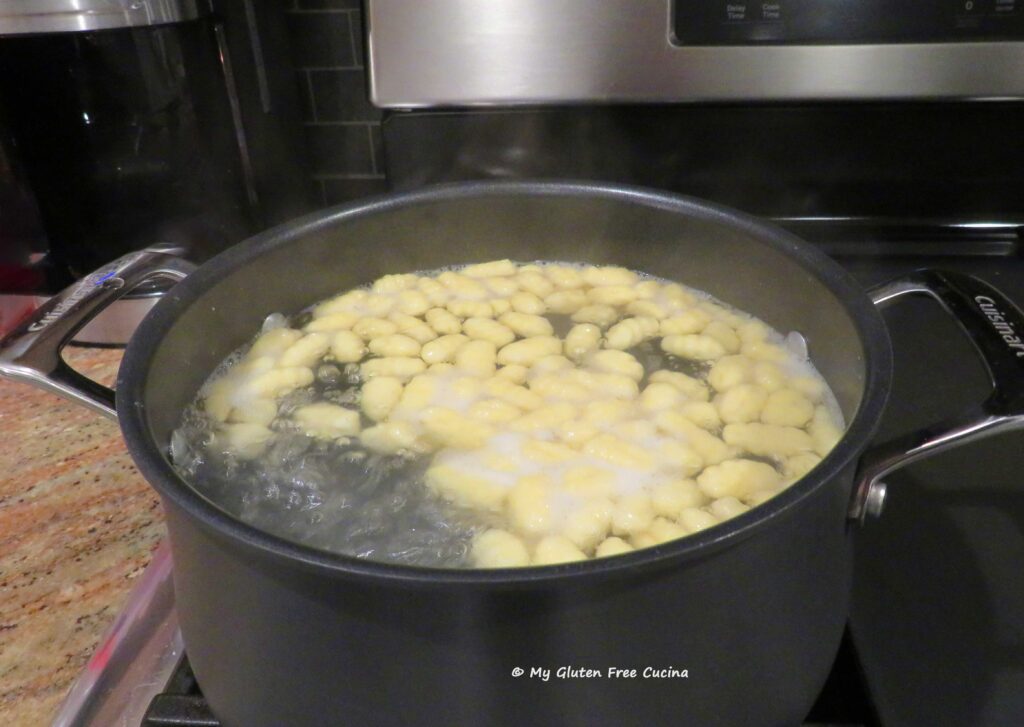


 Ingredients:
 Mist a muffin tin with cooking spray.
  Bake for 15 minutes. Check the center with a toothpick, and if it comes out dry, they are done.
 Brush the tops with melted butter, then transfer to a rack to cool.
 Muffins can be stored at room temperature for one day, and any leftover after that can be frozen.