I’m pretty excited about these Italian Torpedo Rolls! When I was a kid, we always had them, fresh from the Italian bakery at every party and family gathering. I can still remember tearing one apart, the chewy texture of the crust giving way to the soft pillowy white bread inside. This recipe is as close as I have ever come to replicating those bakery rolls.
 Yes, they are gluten free!
 You are going to love this recipe!
Just 5 ingredients! Mix up the dough, rest on the counter overnight and bake in the morning. Use a stand mixer, or don’t! Try it and see if anyone can guess that these rolls are gluten free.
This post contains affiliate links.
About the flour
My bread friends know that I am a big fan of Better Batter flour for bread baking. So, which one is my favorite? Their Artisan Flour Blend is at the top of my list. It produces incredible breads with great flavor and texture every time. But their new Bread Flour is a star in its own right, especially if you want a true white bread.
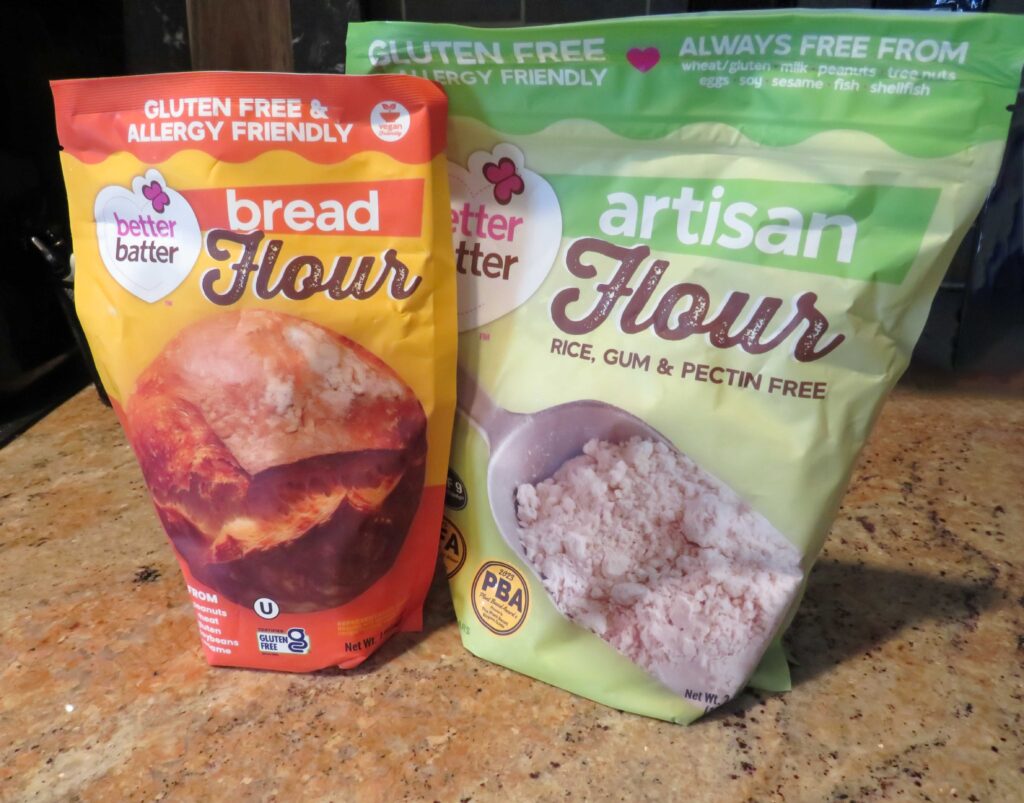 This recipe is another of my experiments with blending these 2 flours together. I really think I have hit on the perfect flavor and texture of Italian Bread that I was looking for. You can use all bread flour if preferred.
Remember to use my Promo Code MGFC30 when you shop at Better Batter, for 30% off full price items!
Enough talk, time to bake!
 Ingredients:
- 490 g. Better Batter Bread Flour
- 90 g. Better Batter Artisan Flour Blend
- 8 g. salt
- 2 g. instant yeast (about 1/2 tsp.)
- 560 g. (about 2-1/2 cups) warm water
Preparation:
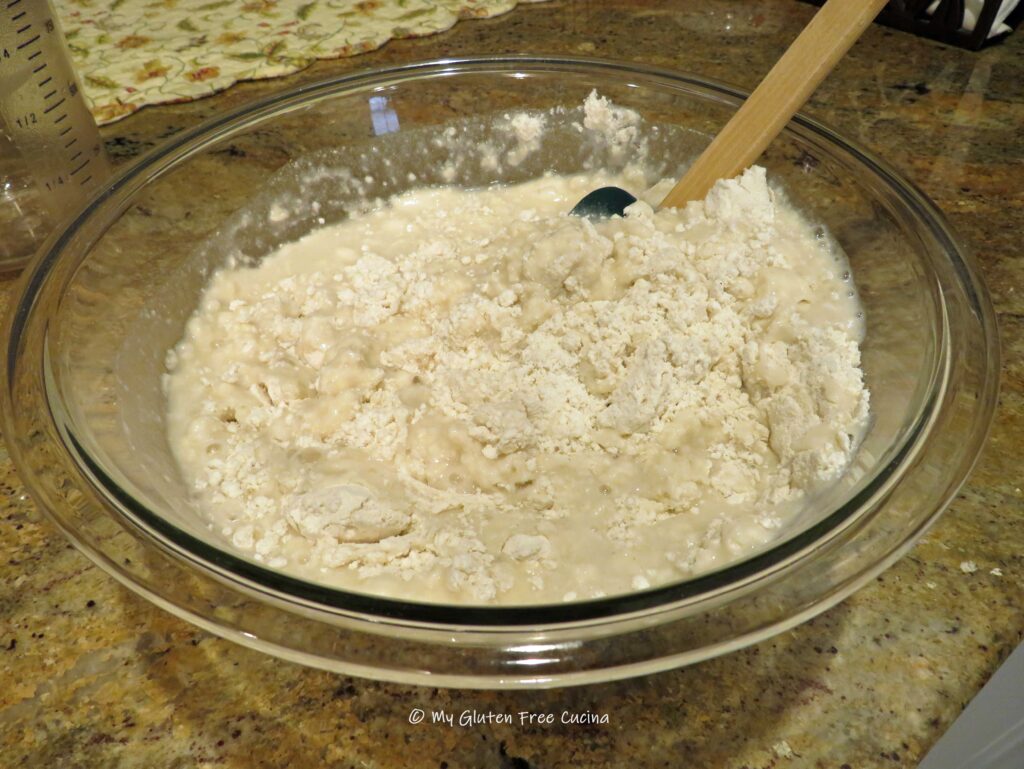
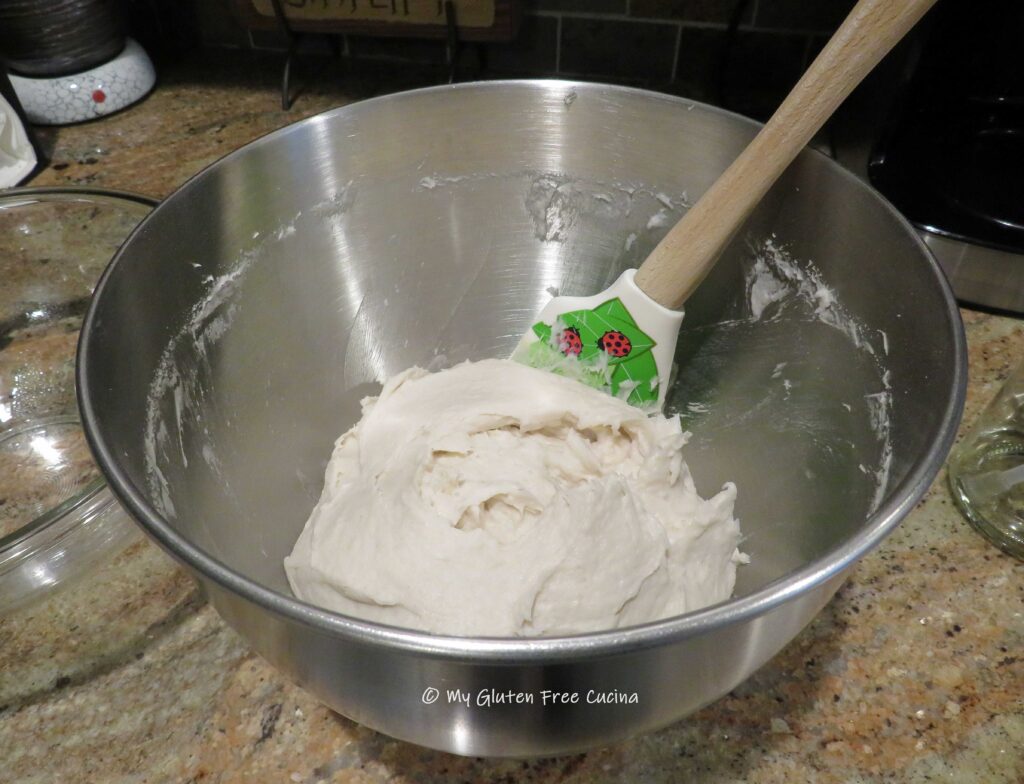
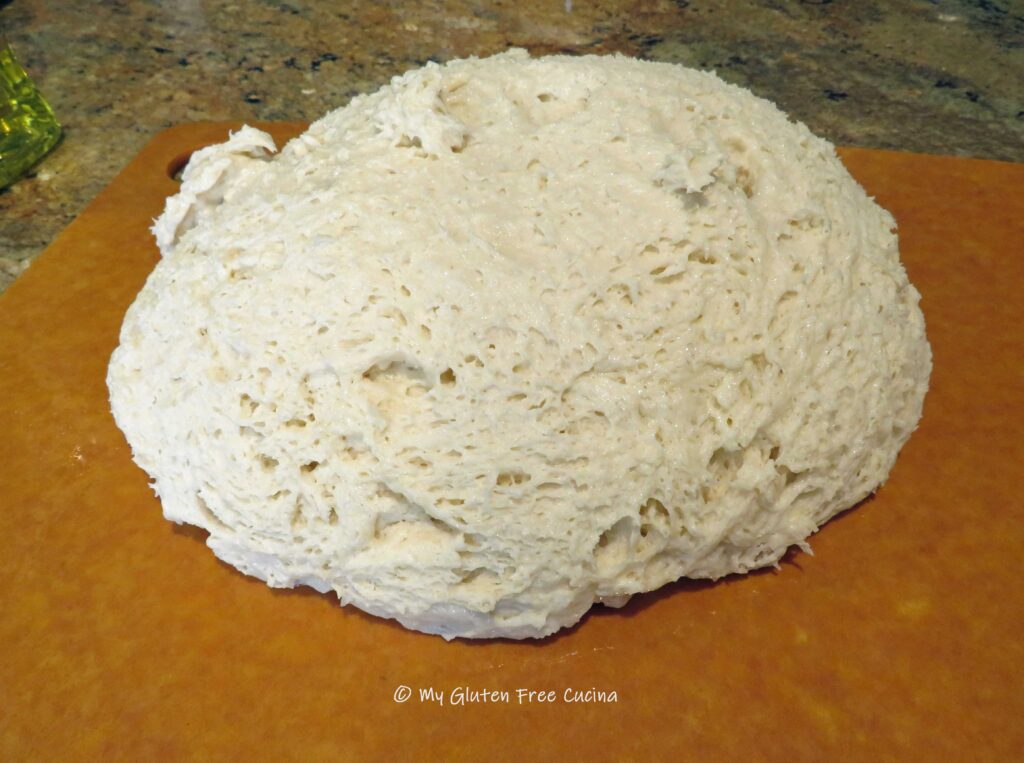
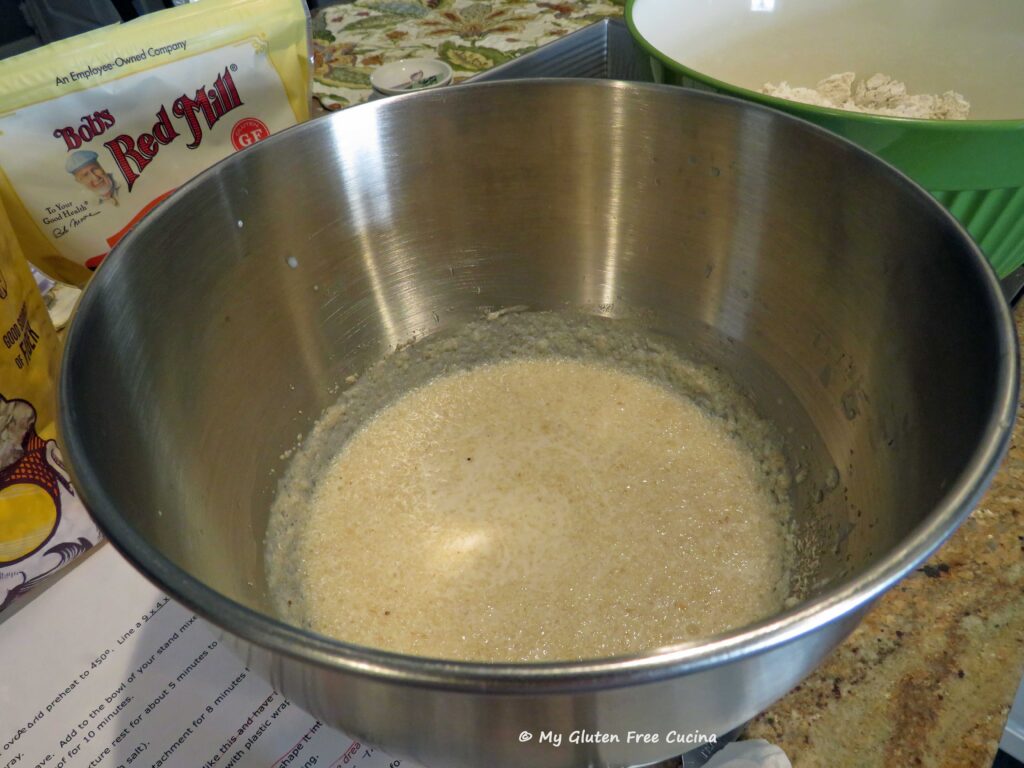
Weigh all the ingredients (yes, even the water, use a scale!). Combine the flours, salt and yeast in the bowl of a stand mixer and whisk well. Add the water and beat for 6 minutes on low speed with the paddle attachment.
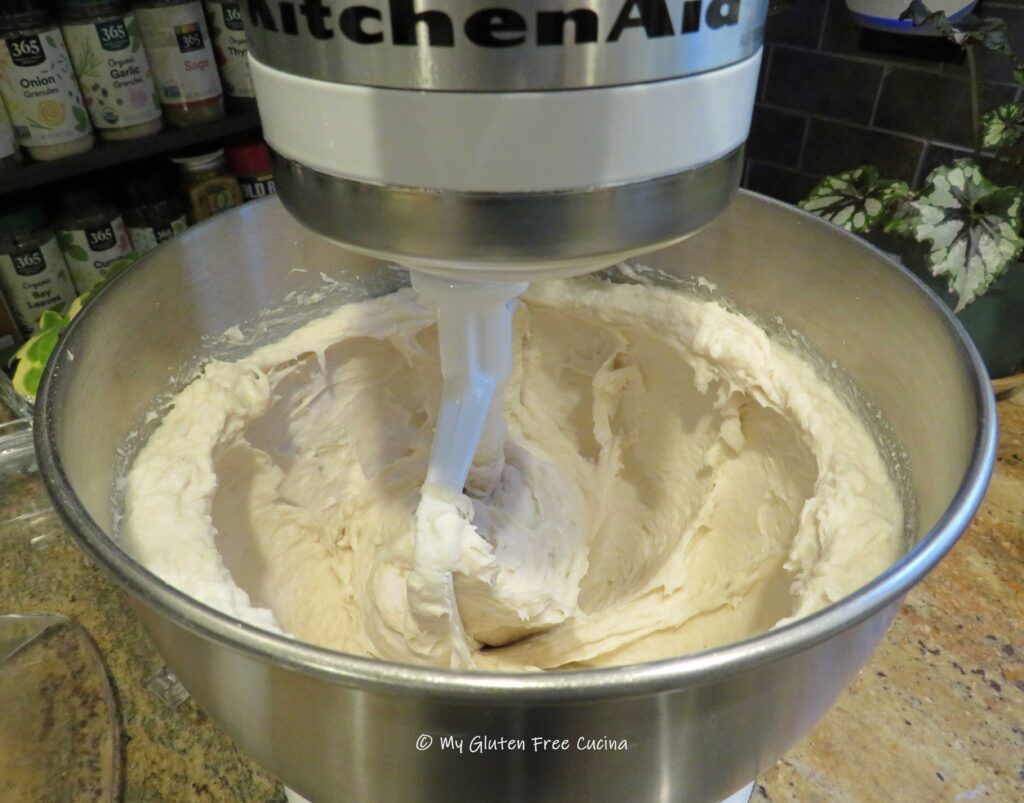 No stand mixer? You can combine everything in a large bowl with a dough whisk. Be sure to turn the dough over on itself a few dozen times, while rotating the bowl to ensure the ingredients are well incorporated.
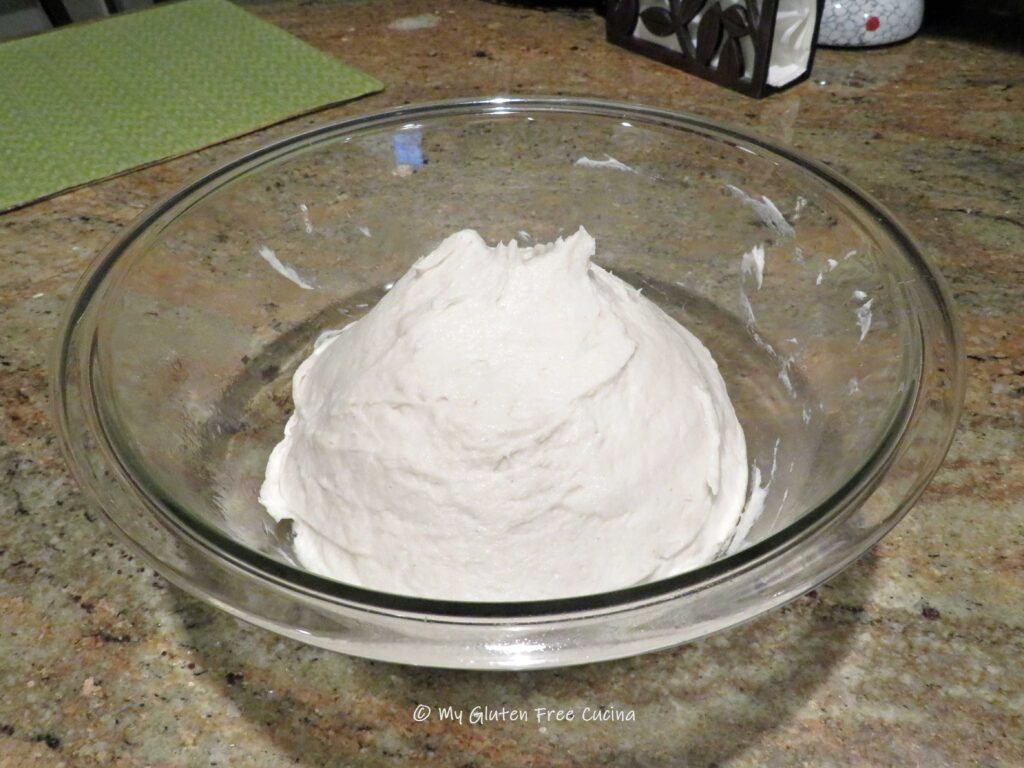
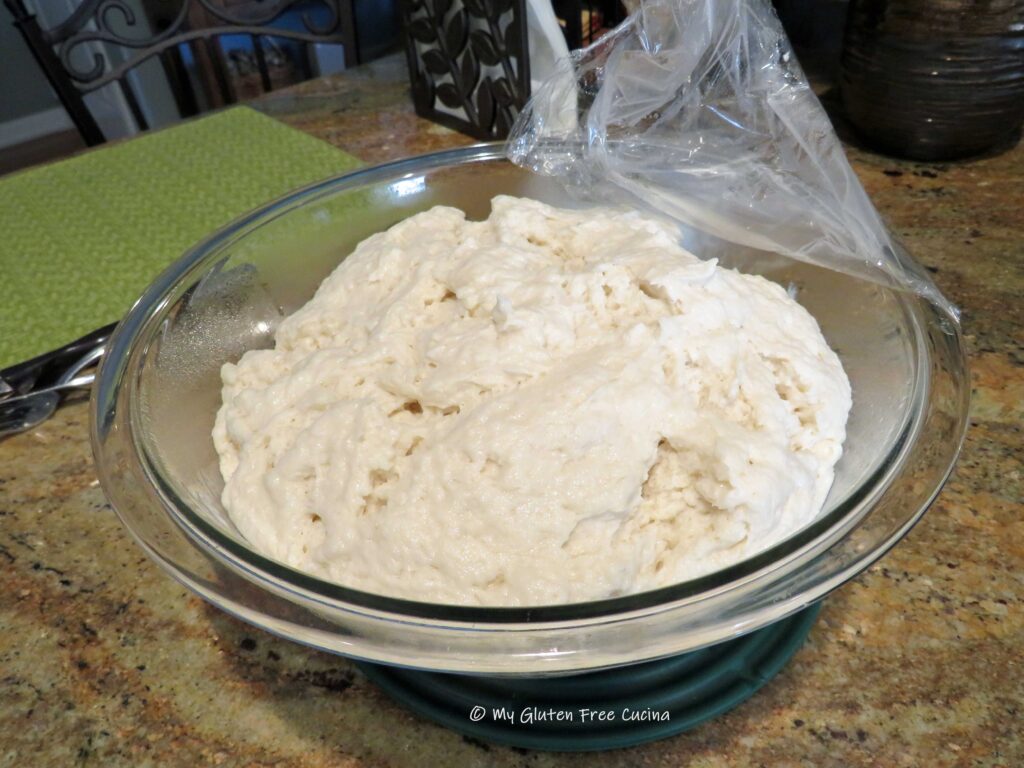
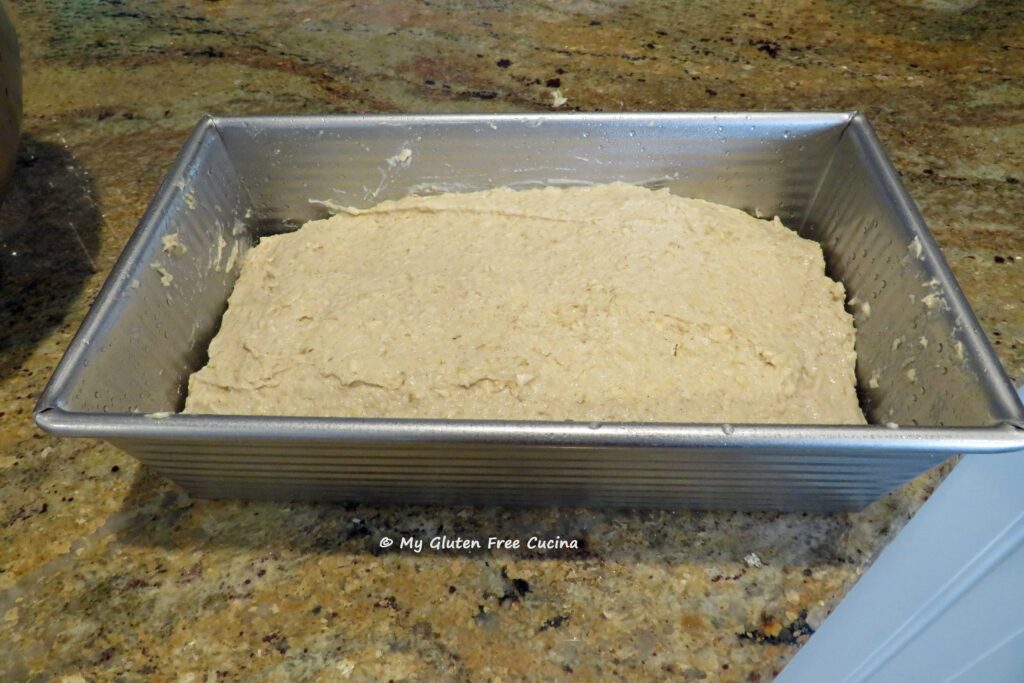
 Now cover the bowl with plastic wrap and leave it on the counter (room temperature) overnight for 12-13 hours. I like to make my dough around 8pm, then shape the rolls while I’m having coffee the next morning, around 9am.
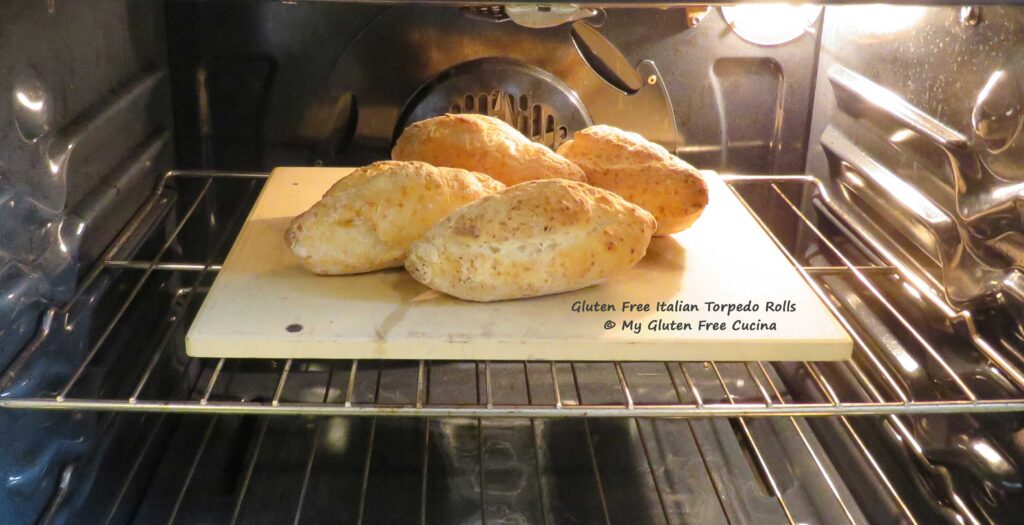
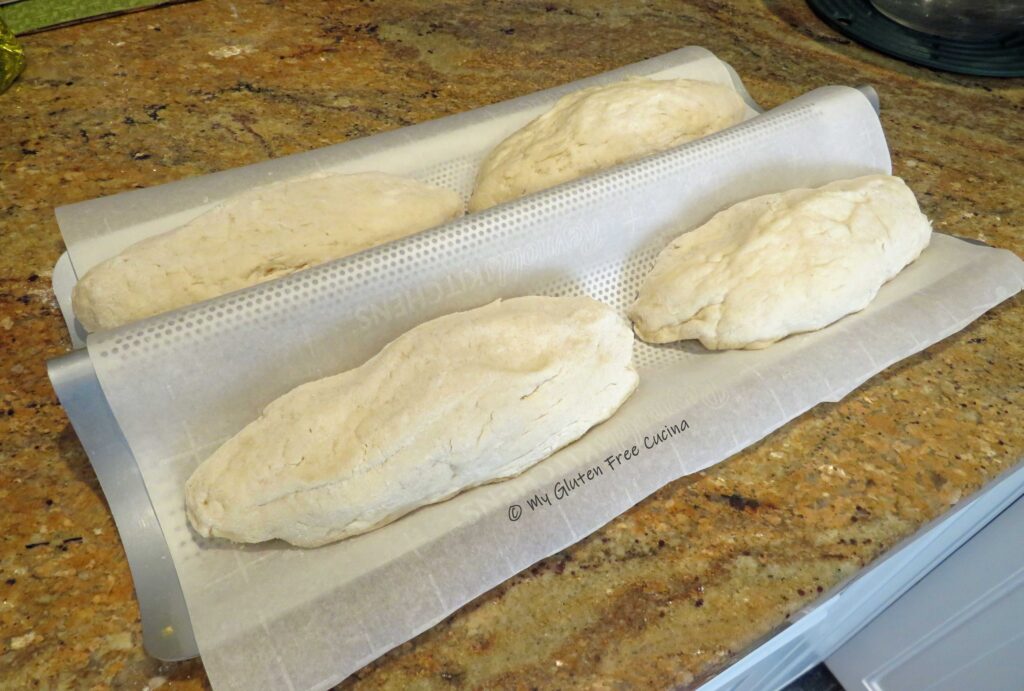
 In the morning, preheat the oven to 475º with a baking stone on the middle rack. Turn the dough out onto an oiled cutting board. Use a bench knife to divide it into 4 sections.
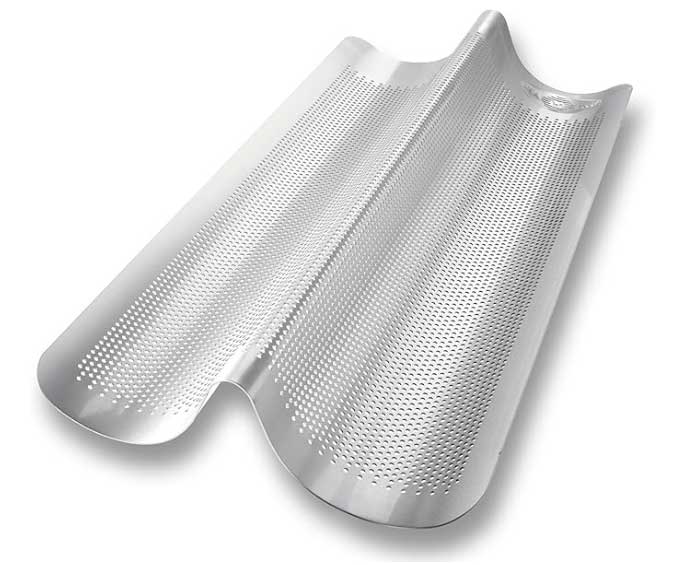
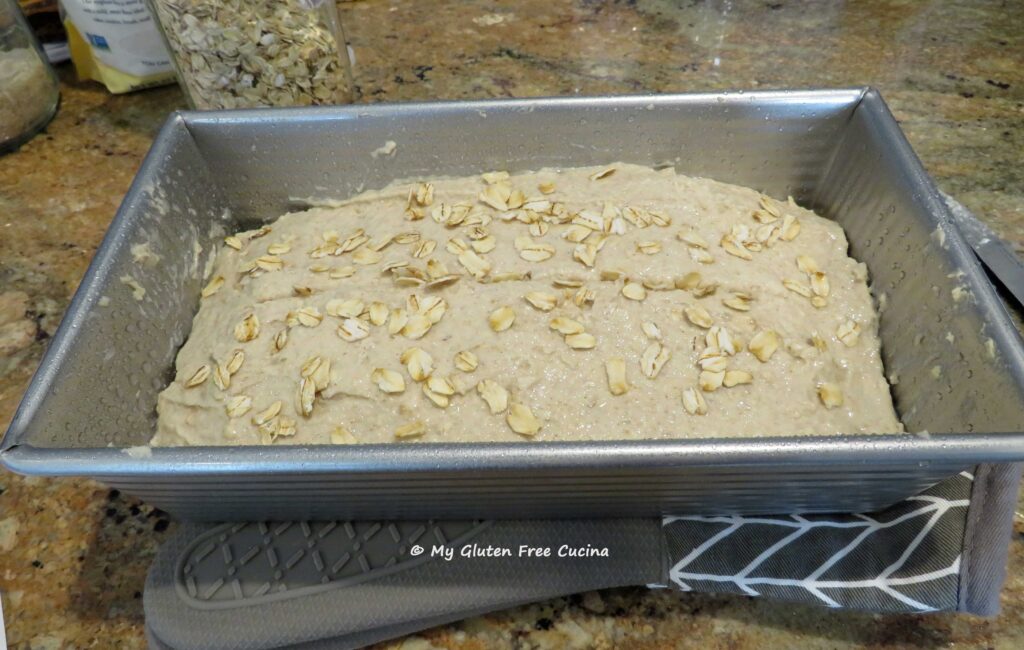
 Flour your work surface and gently roll each section into a torpedo shape (oval with tapered ends). Arrange them on a lightly floured baking sheet lined with parchment or use a perforated loaf pan. Score the rolls with a sharp knife or a lame positioned at an angle.
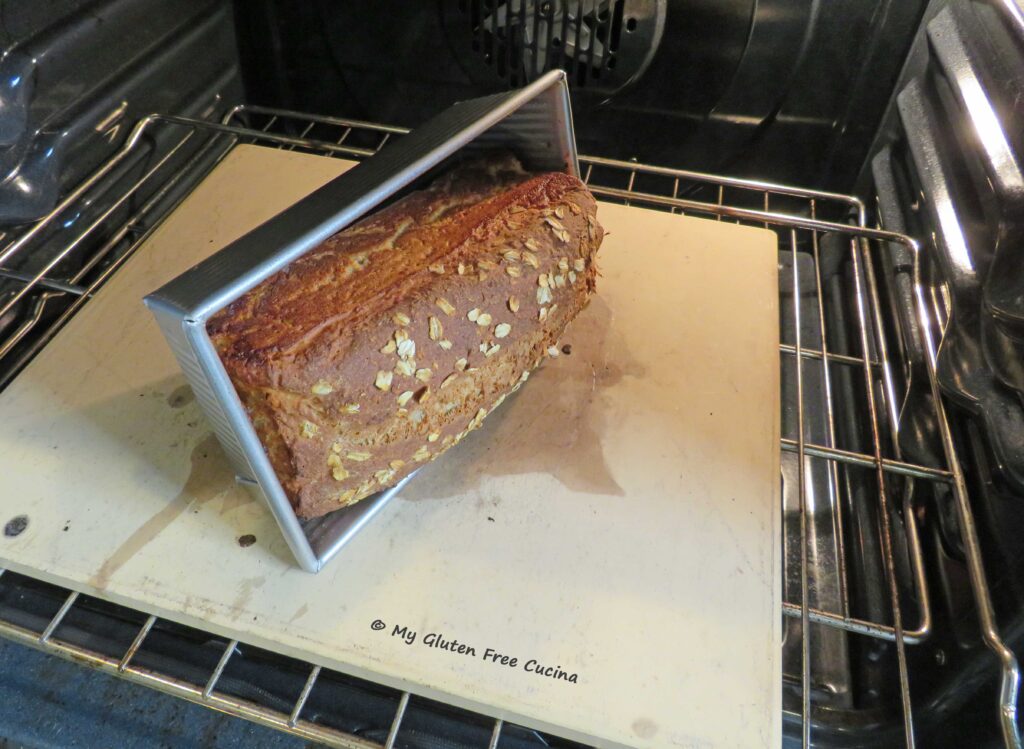
 Place in the oven and spray the rolls and sides of the oven with water to create steam. Bake for 35 minutes at 475º, then remove from the pan and bake directly on the stone during the last 10 minutes.
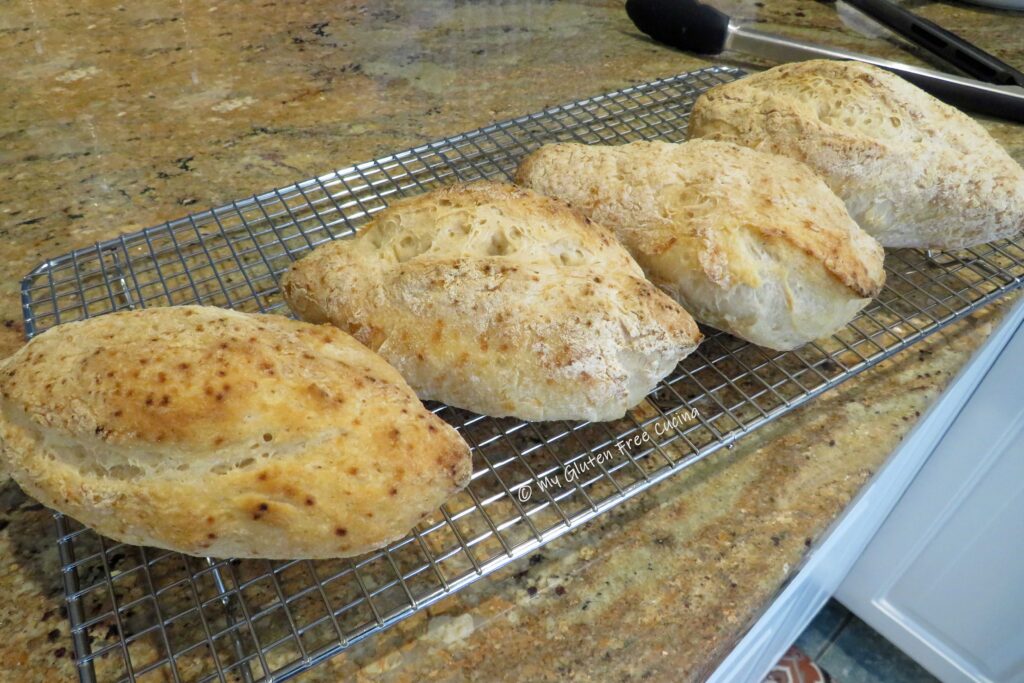
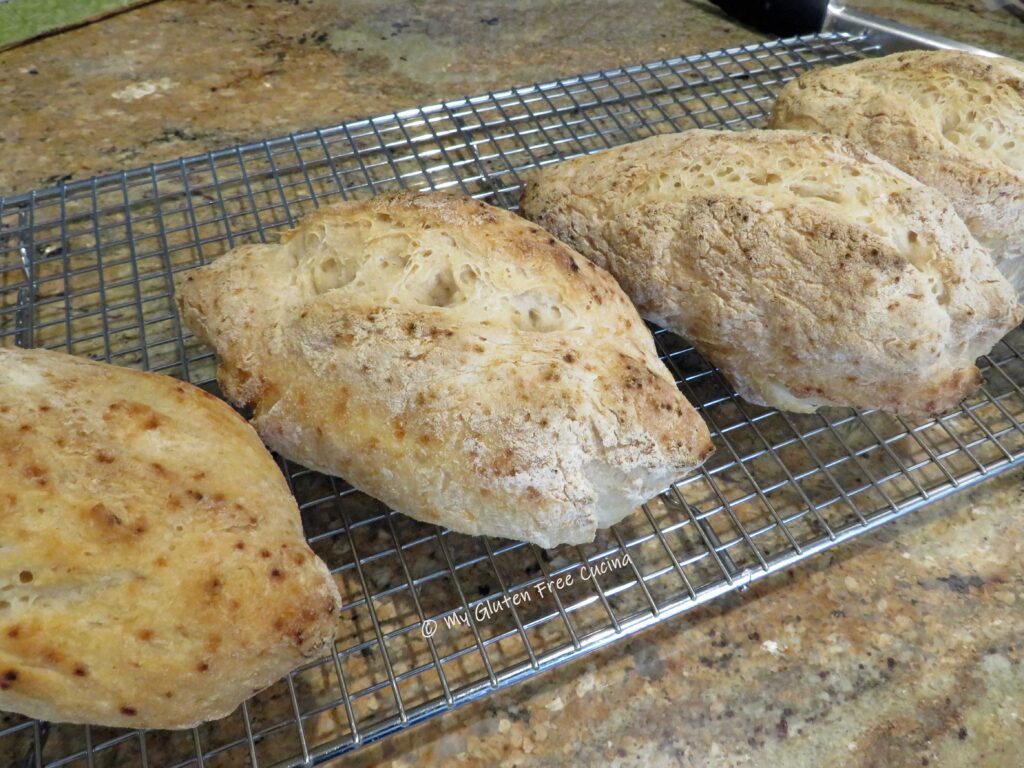
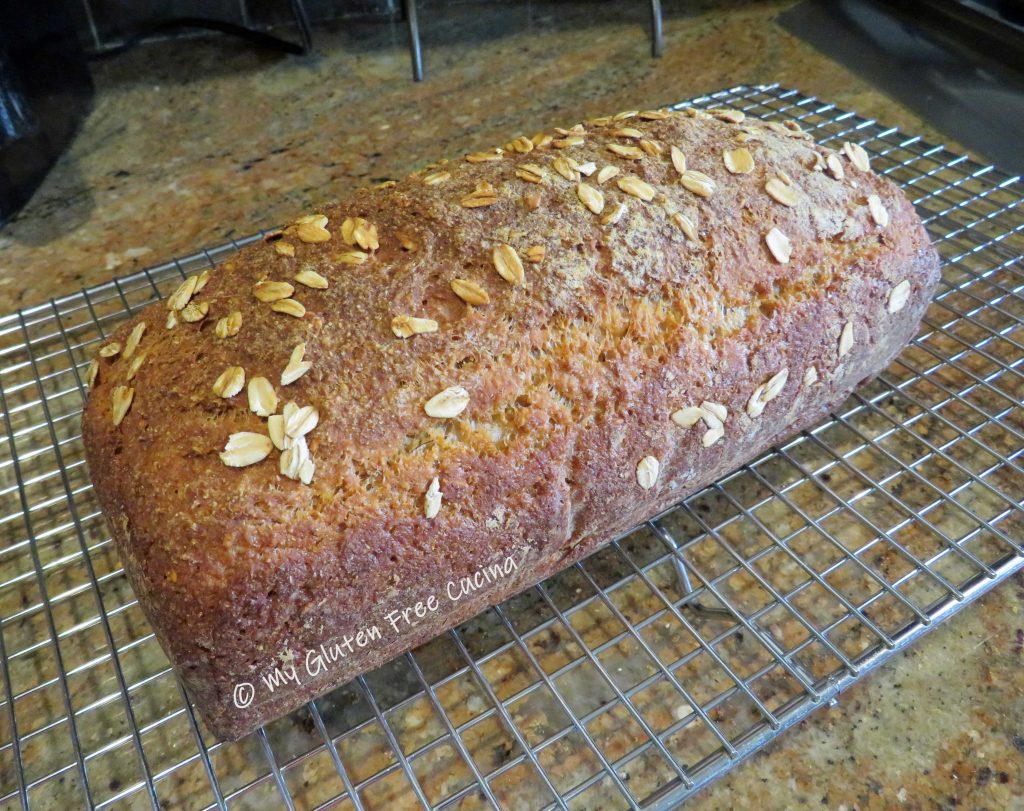
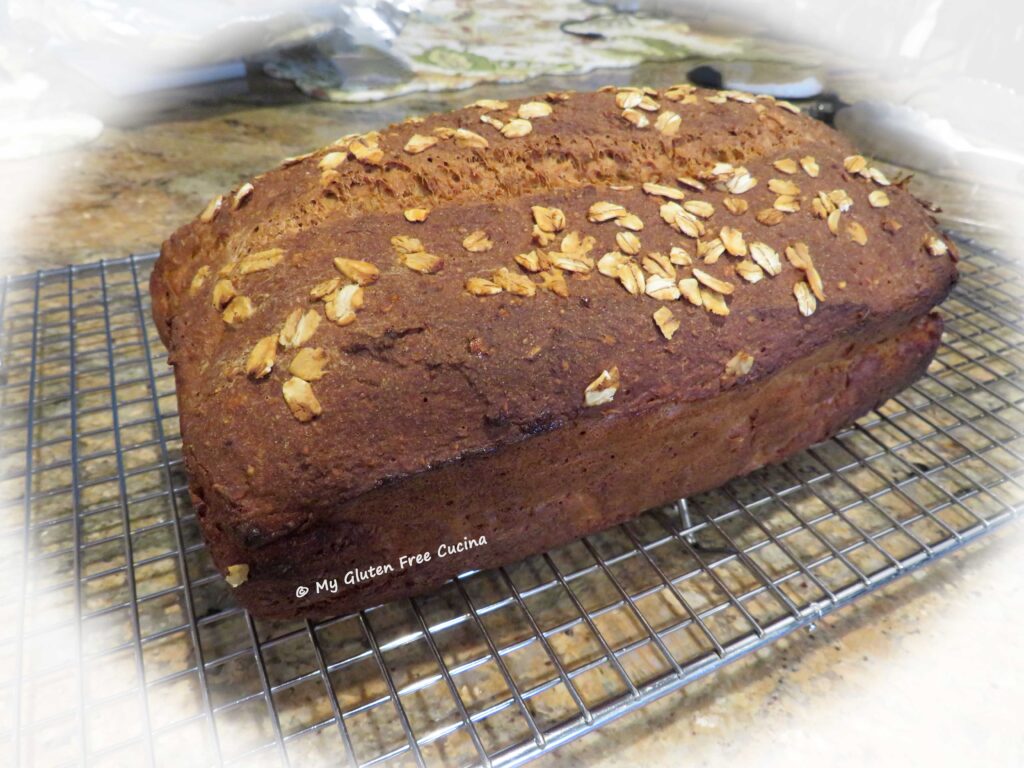
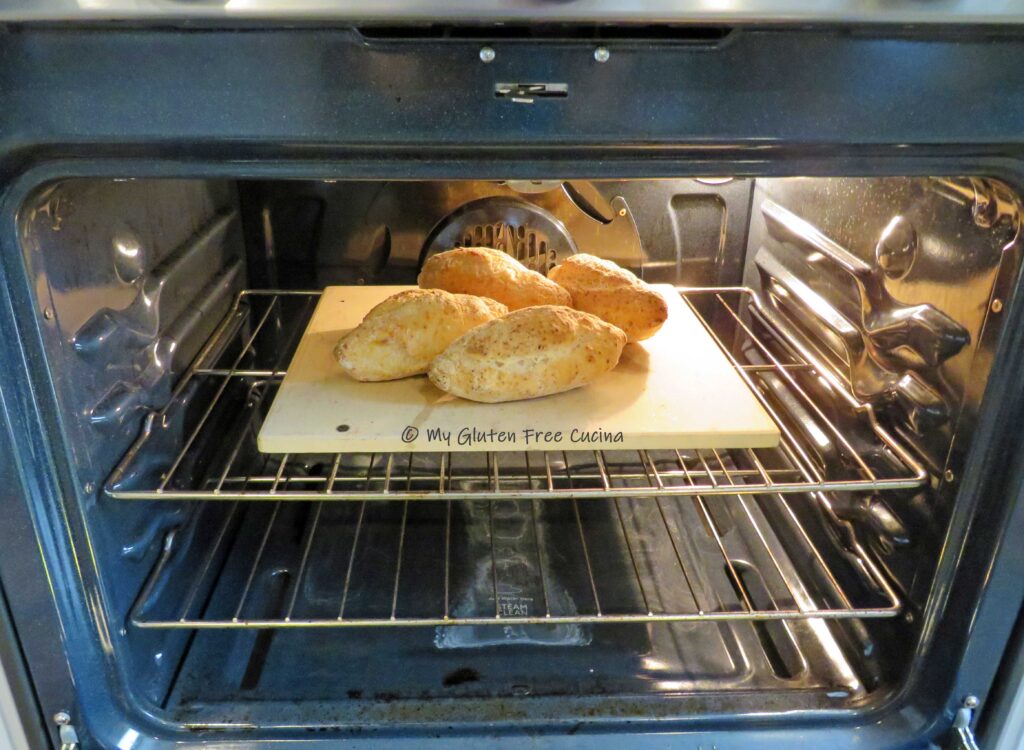 Rolls are done baking when the internal temperature reaches 210º. The crust should be firm and dry, and you will get that hollow sound when you give the rolls a sharp tap. Remove from the oven and place on a rack to cool.
Wait for at least 8 hours and up to one day before slicing. Remember that bread, especially gluten free bread continues to release moisture when it comes out of the oven, so you want to give it plenty of time for the center of the loaf to fully set!
You are going to have a hard time waiting for these rolls, but I promise it will be worth your patience!
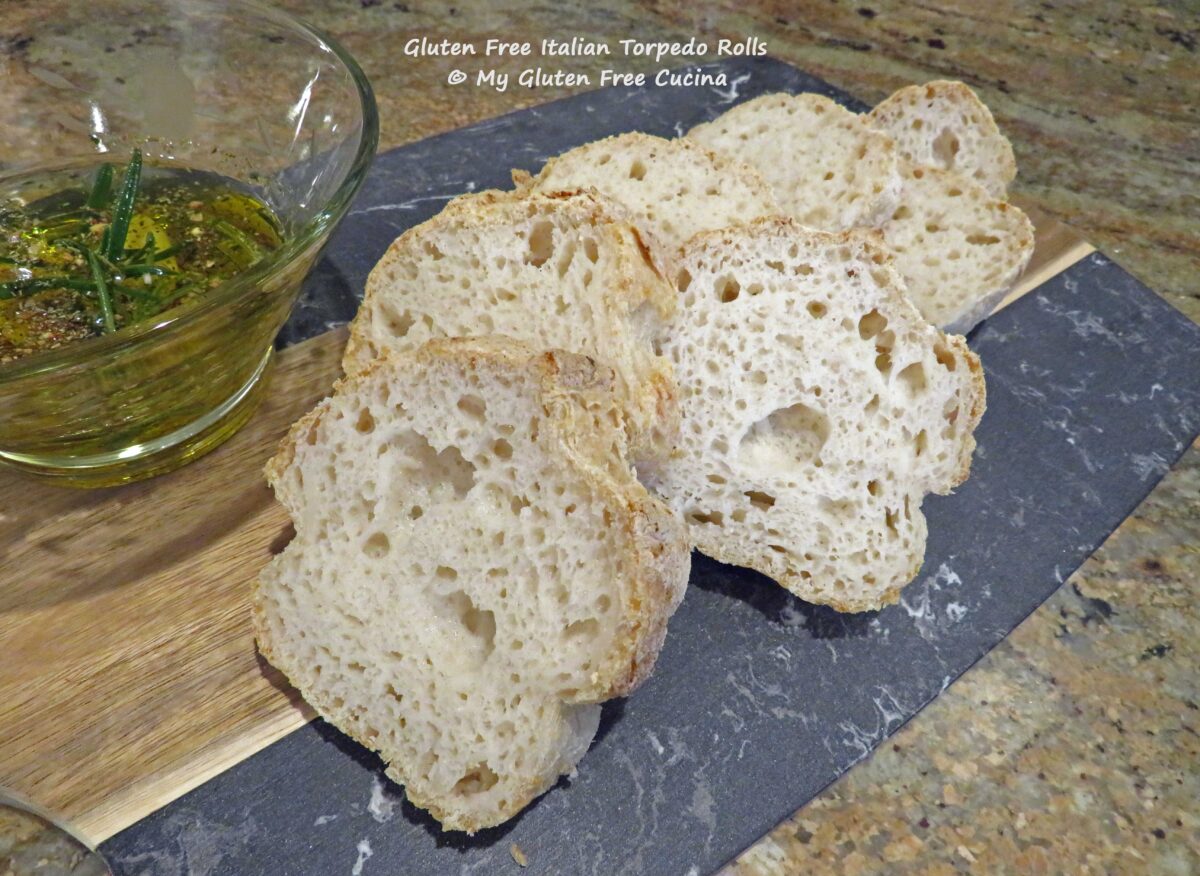
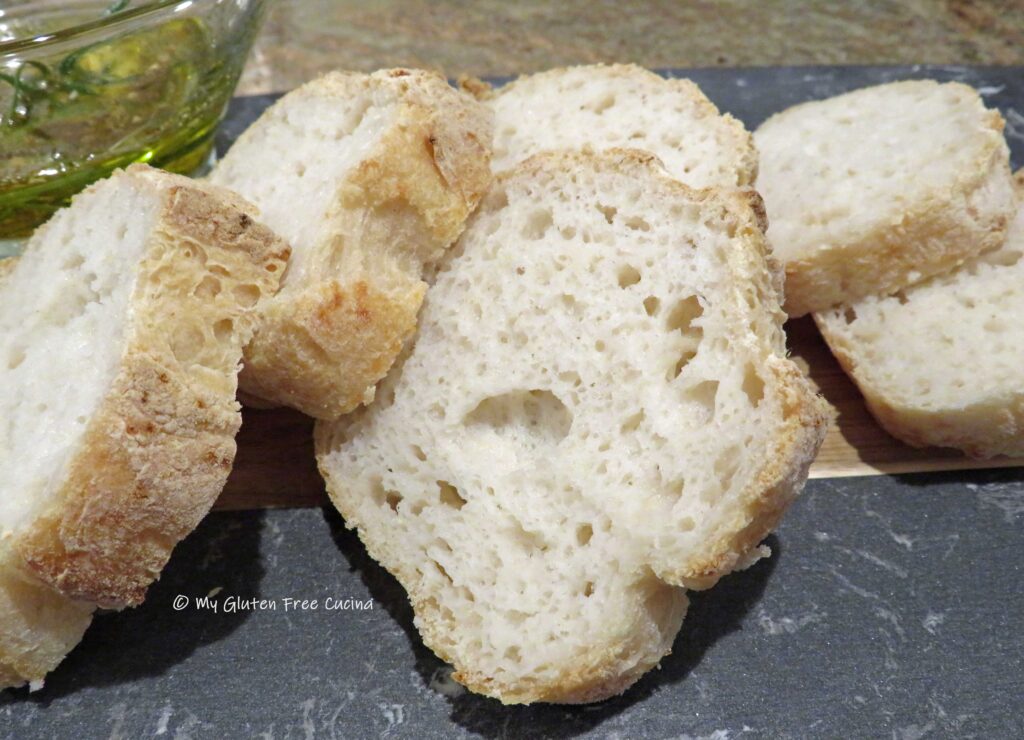
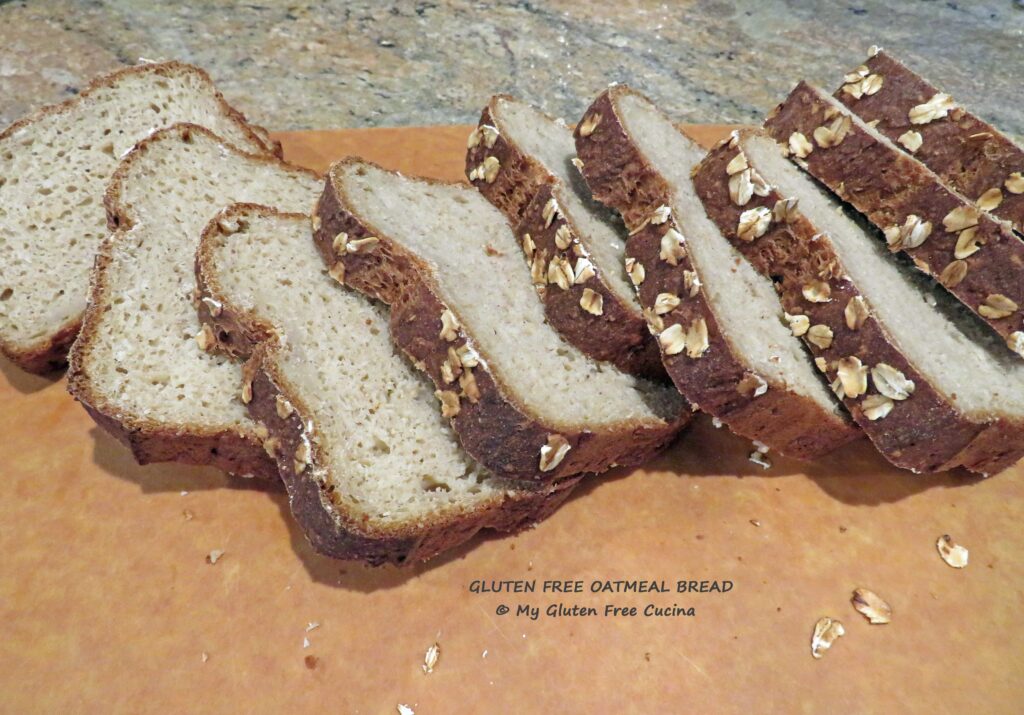
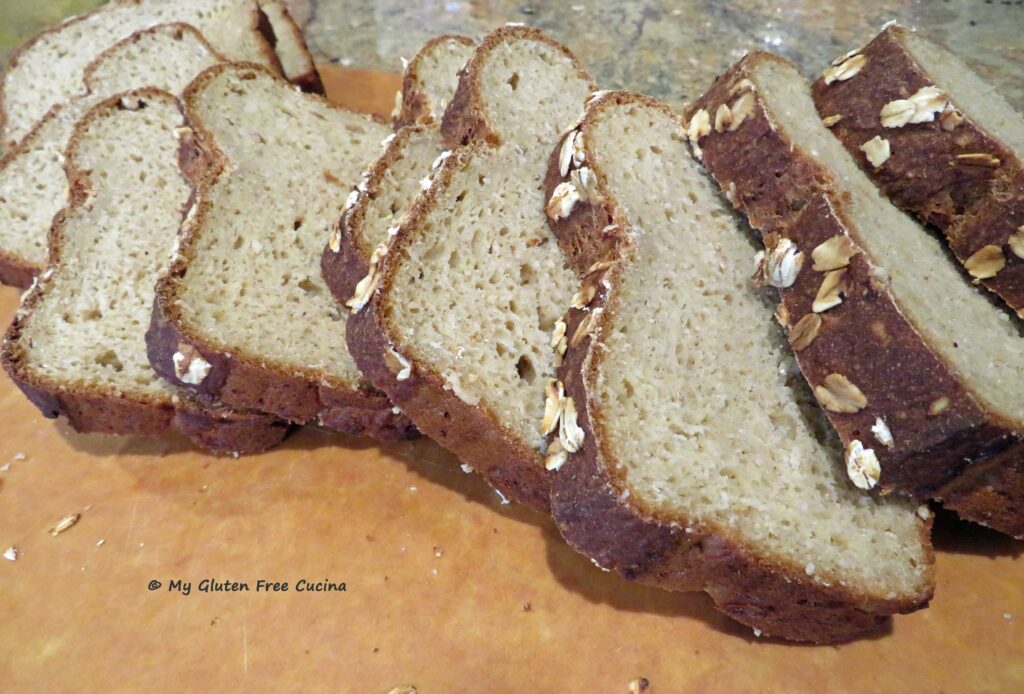
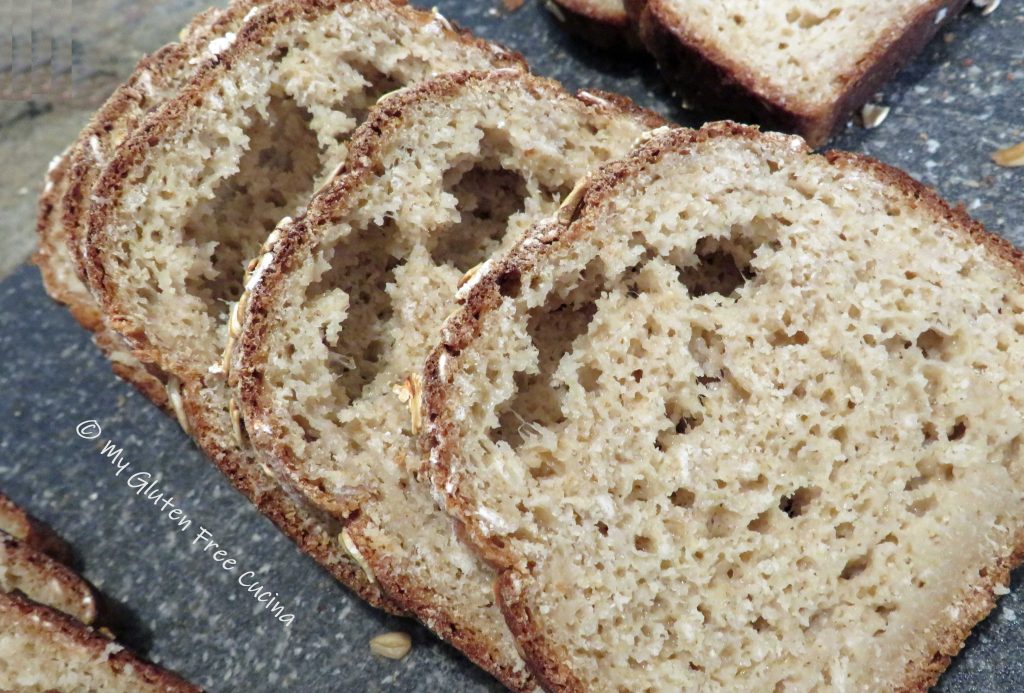
At long last, it’s time for tasting. These rolls are generously sized. Just like the bakery rolls of my youth. And back then, I could devour an entire roll in minutes! Here I’ve just sliced one up for dipping and to show you the crumb.
 What would you do with a homemade, hot out of the oven Italian roll like this? Dip it in olive oil, or slather with garlic butter and toast it? Slice it thin for bruschetta? Maybe load it up with veggies, cold cuts and cheese to make a panino (a/k/a sub, hoagie)! And for big appetites, you can serve them as dinner rolls (mop up that sauce!) or sandwich rolls.
 However you choose to enjoy them, these rolls are delicious!
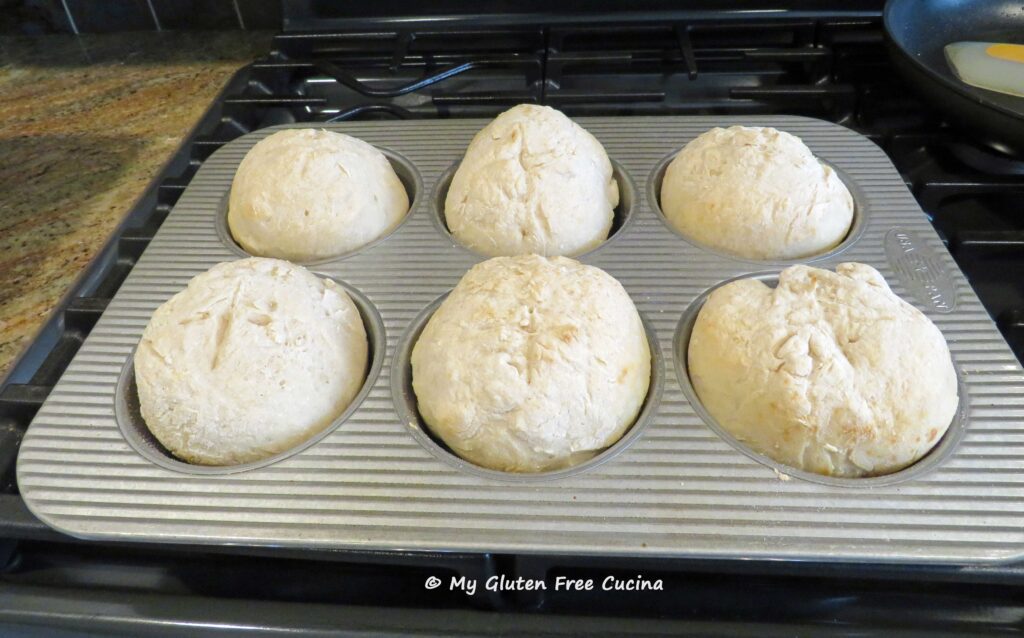
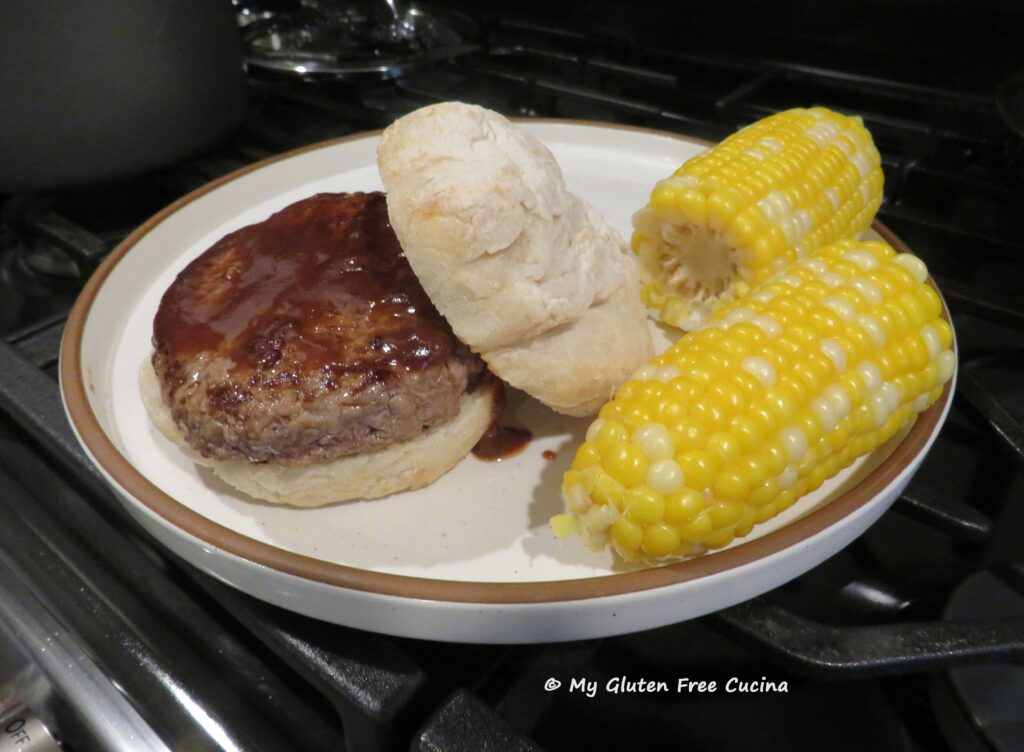
Variation: Instead of torpedo rolls, shape the dough into 6 round bulky Italian rolls. You will be the envy of the BBQ! Be sure to adjust the bake time to 25 minutes.
Notes ♪♫ Like most breads, these rolls are best when eaten within 1-2 days. I recommend freezing any left over after the first day. You can reheat them in the microwave, but they will have the best their texture when toasted.


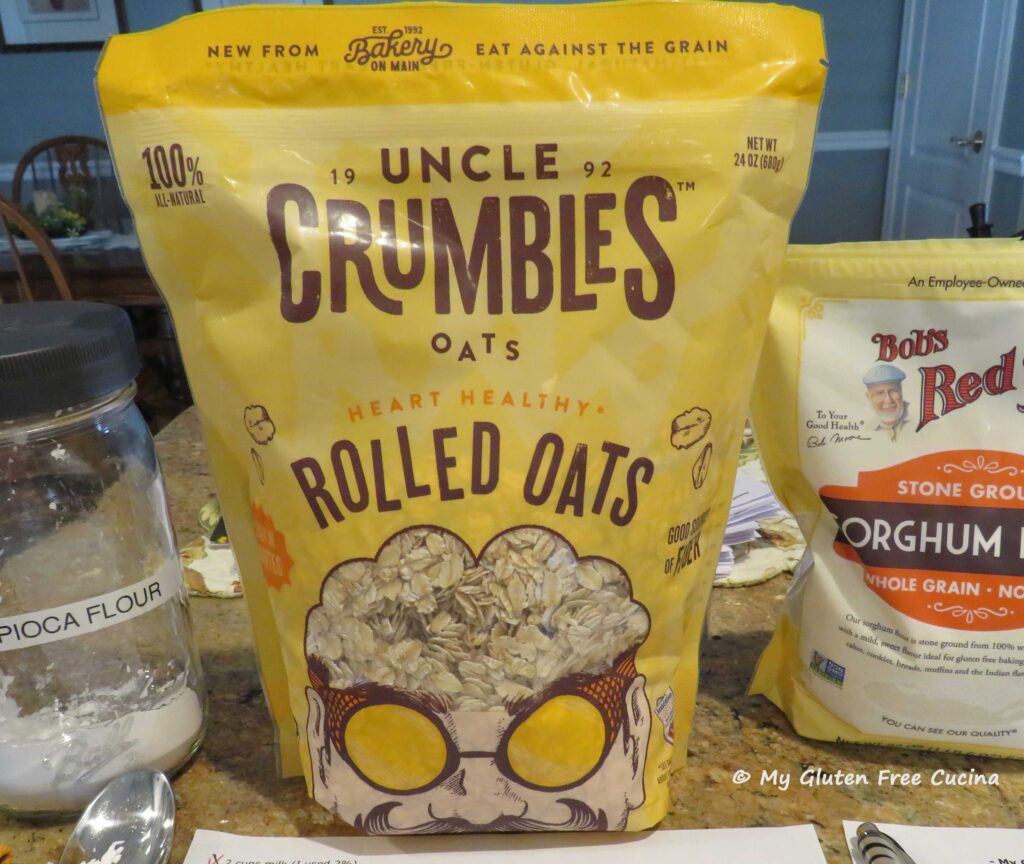
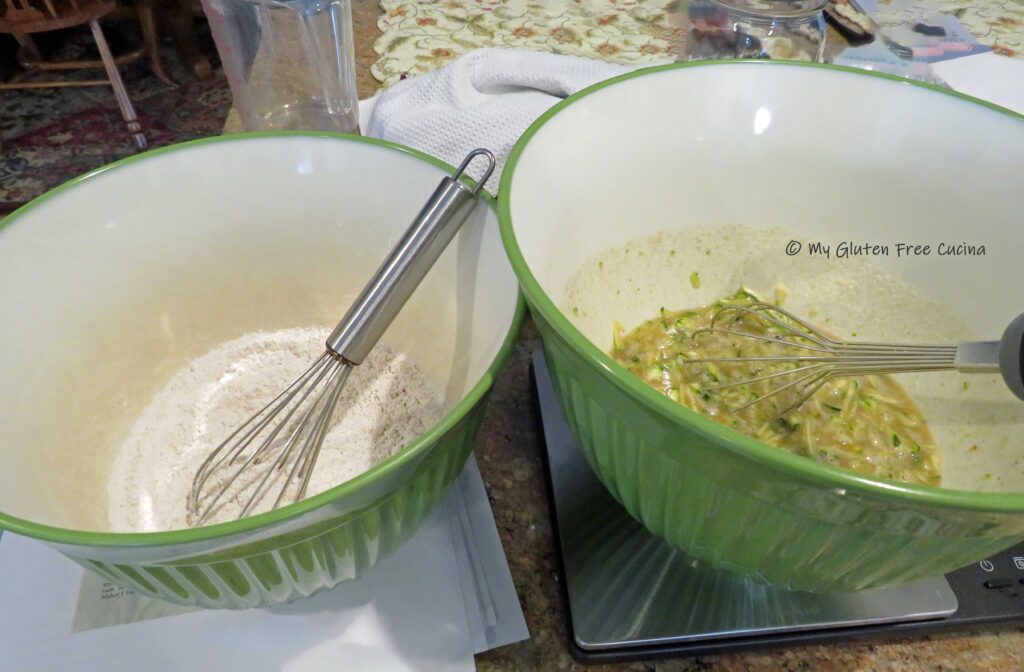
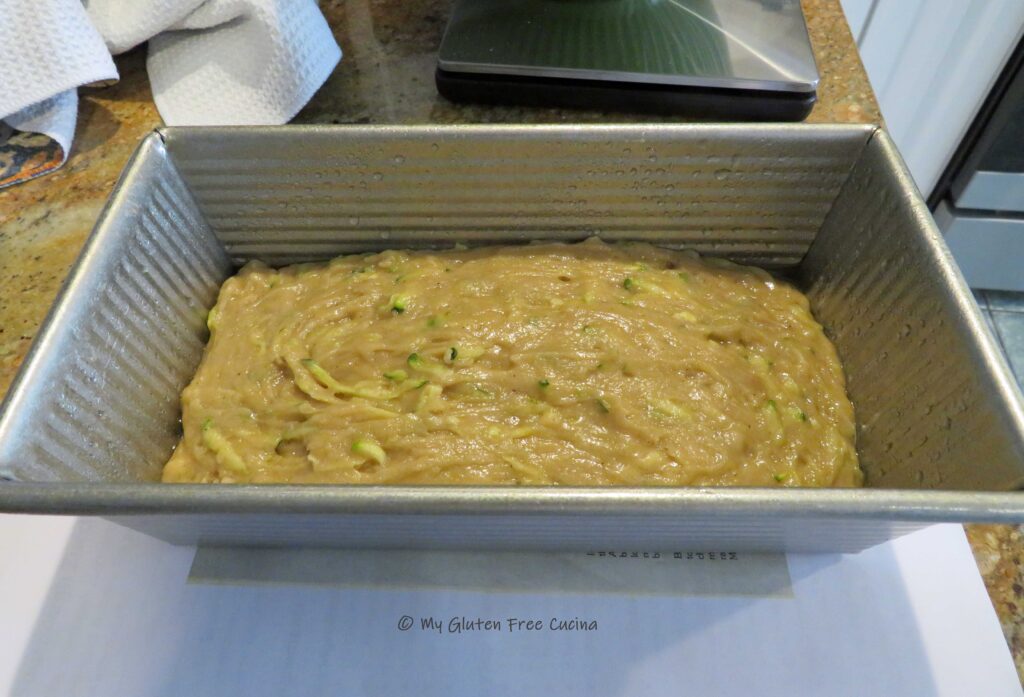
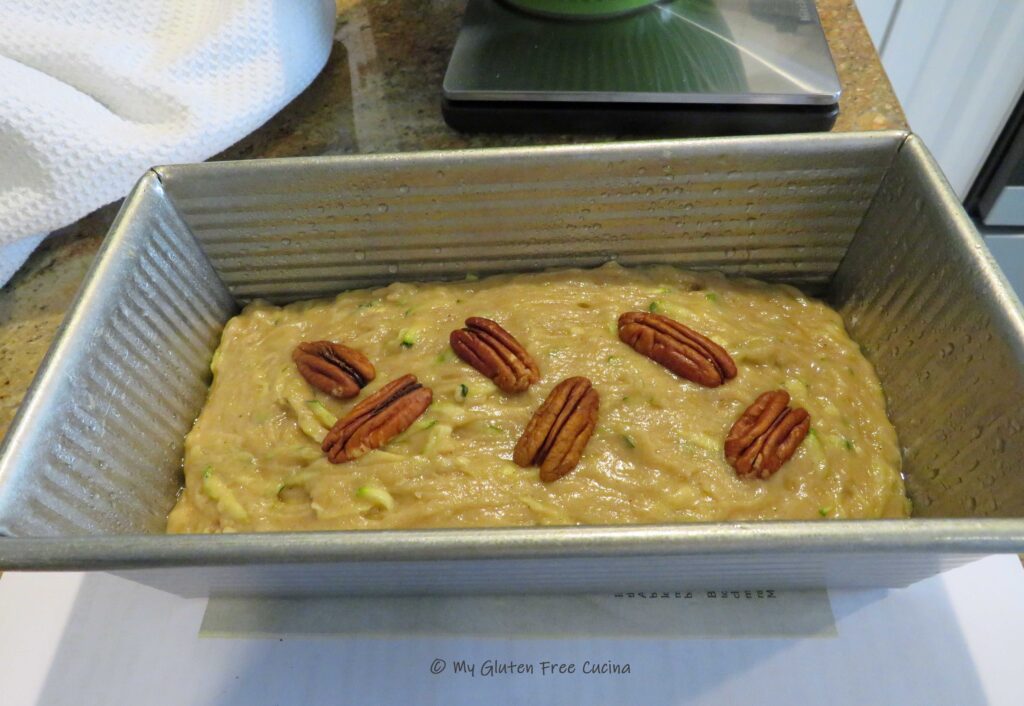
 Whisk together the dry ingredients (sorghum flour through salt).
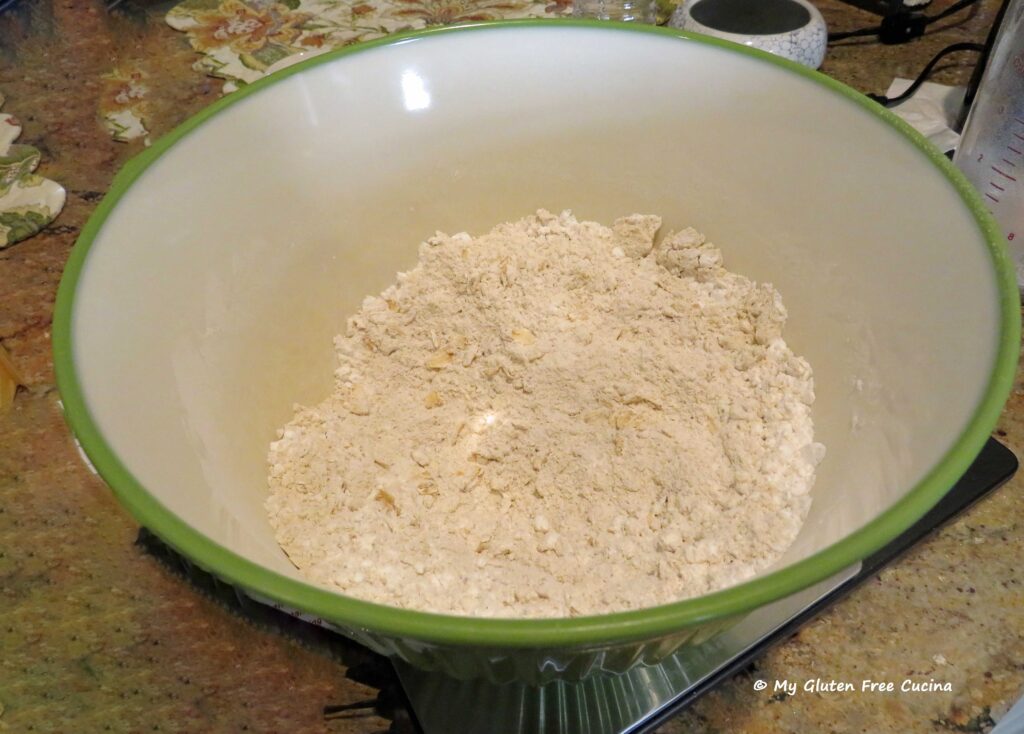 Add the dry ingredients to the wet and mix with the paddle attachment for 8 minutes to form a thick batter.
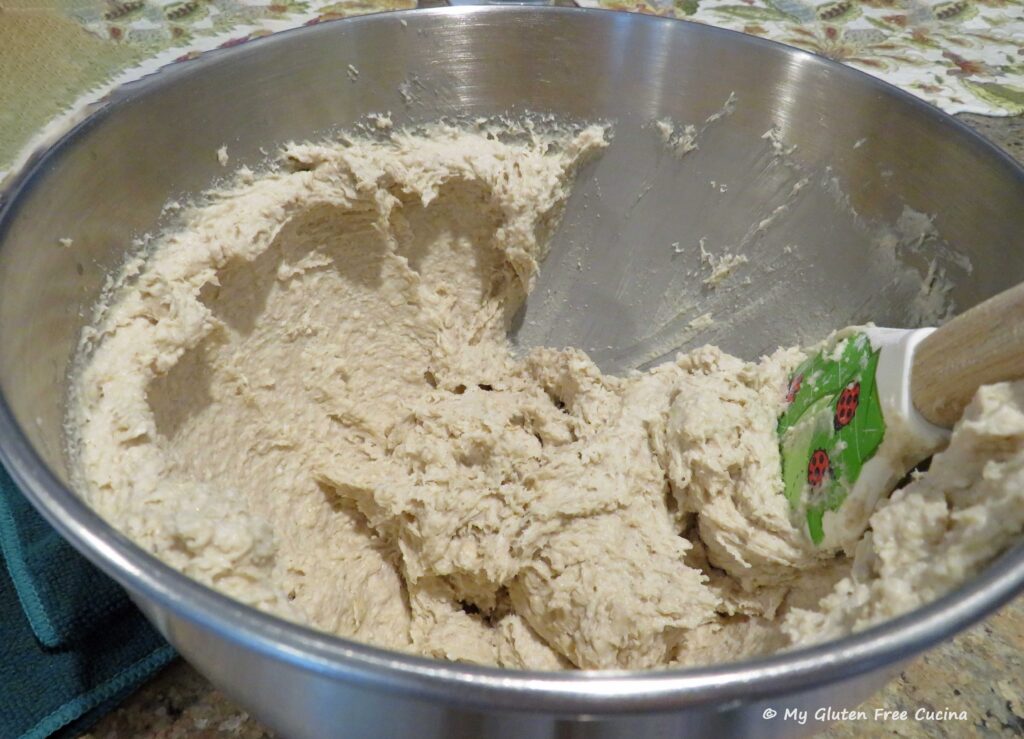


 Preparation:
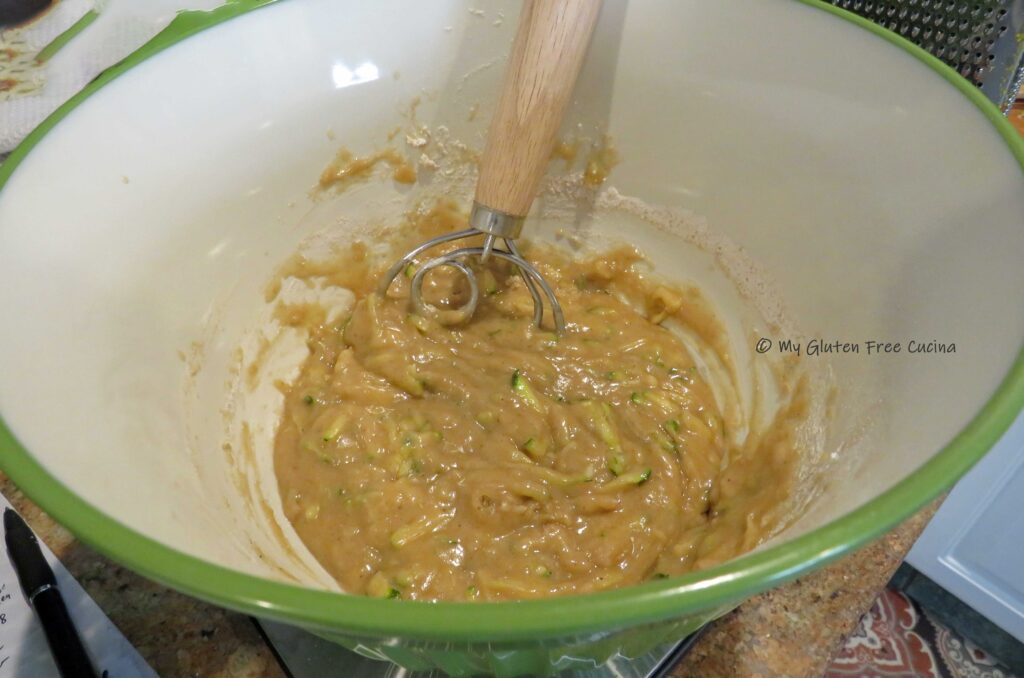
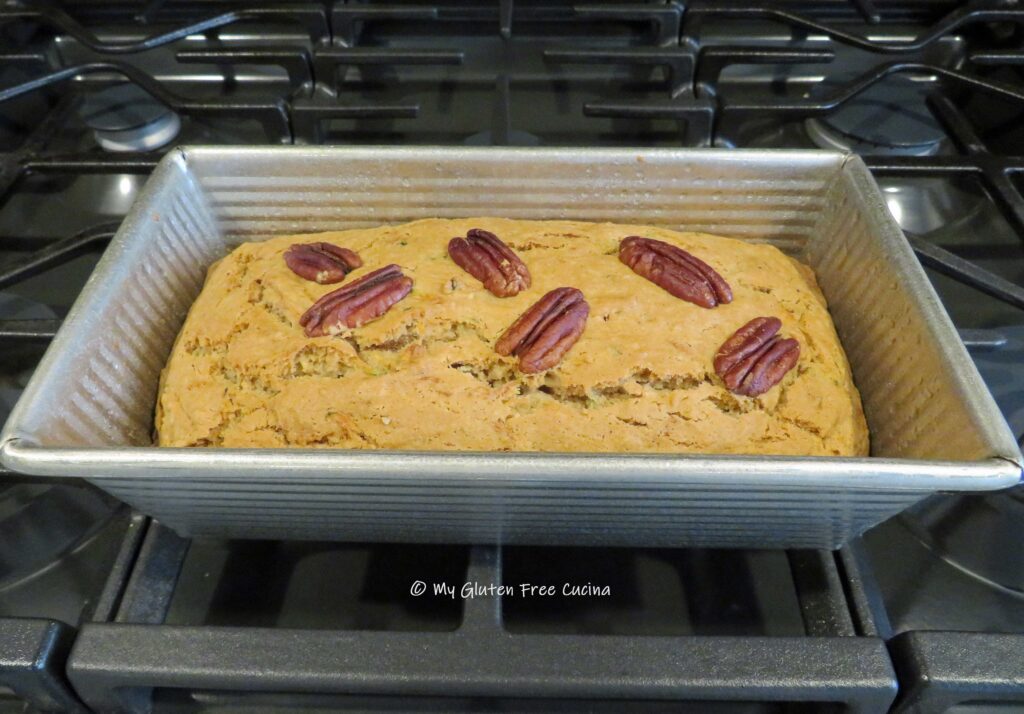
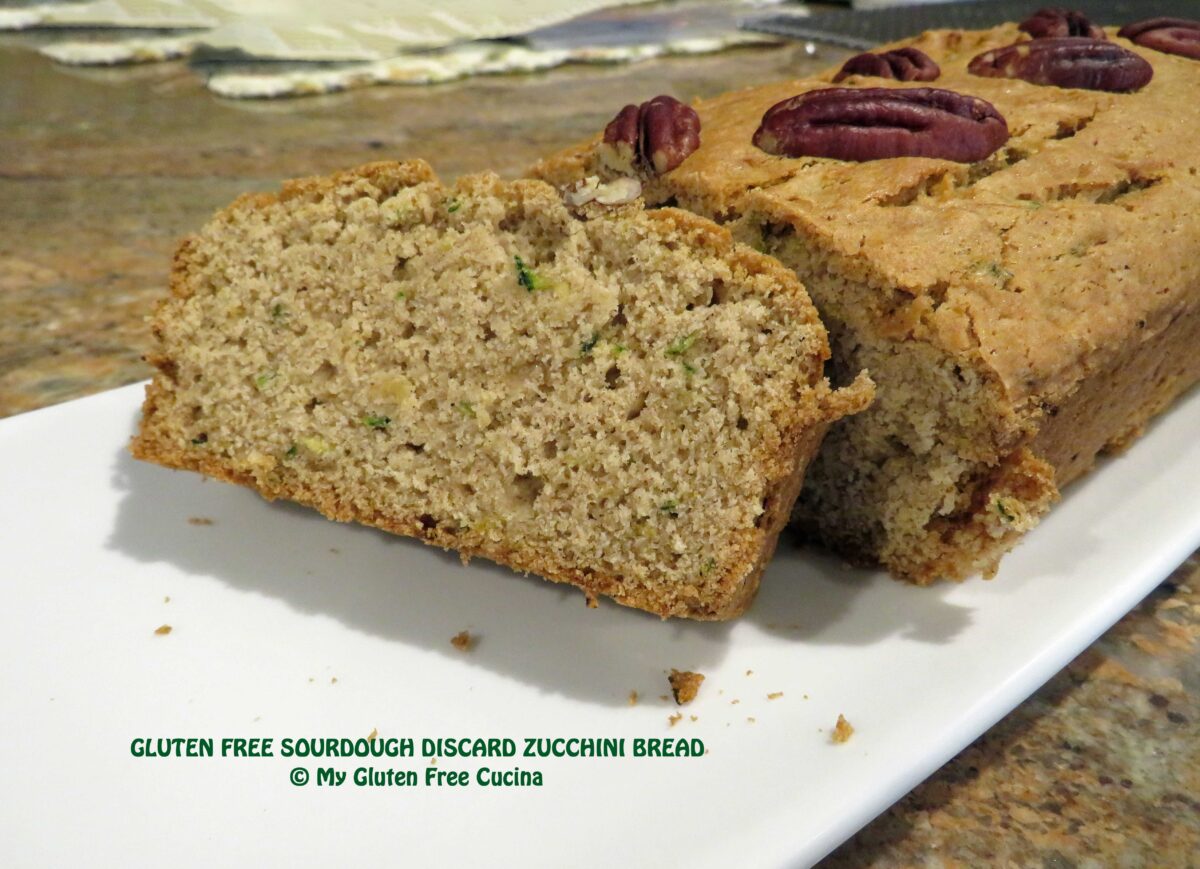
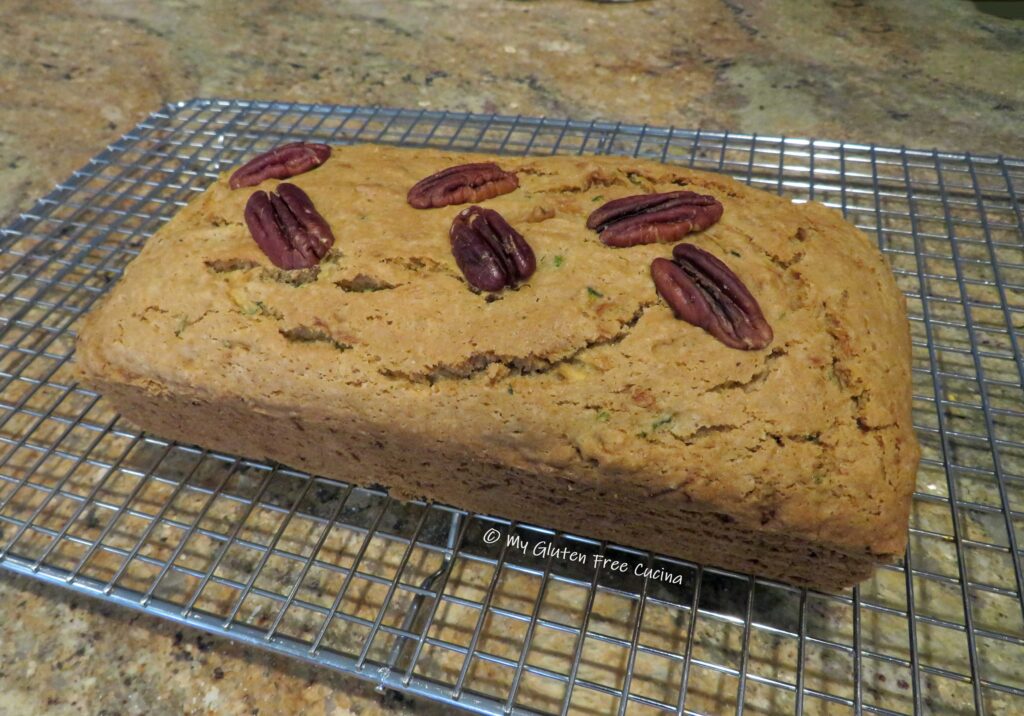
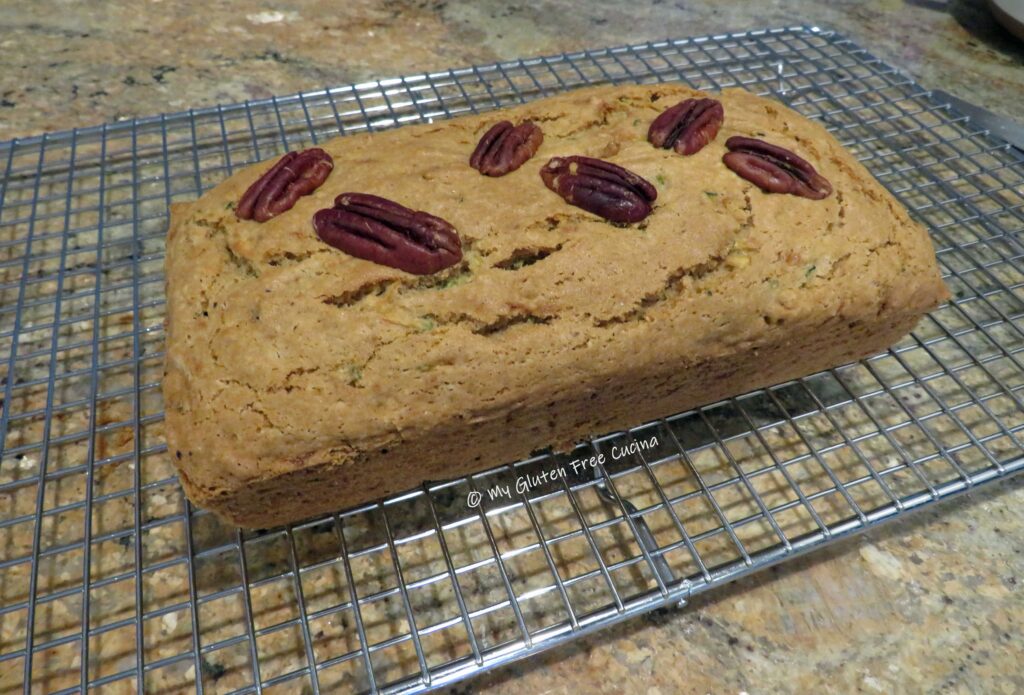 Check out the crumb, it came out so delicious and moist. Every bit the traditional zucchini bread, and you don’t really taste the sourdough.
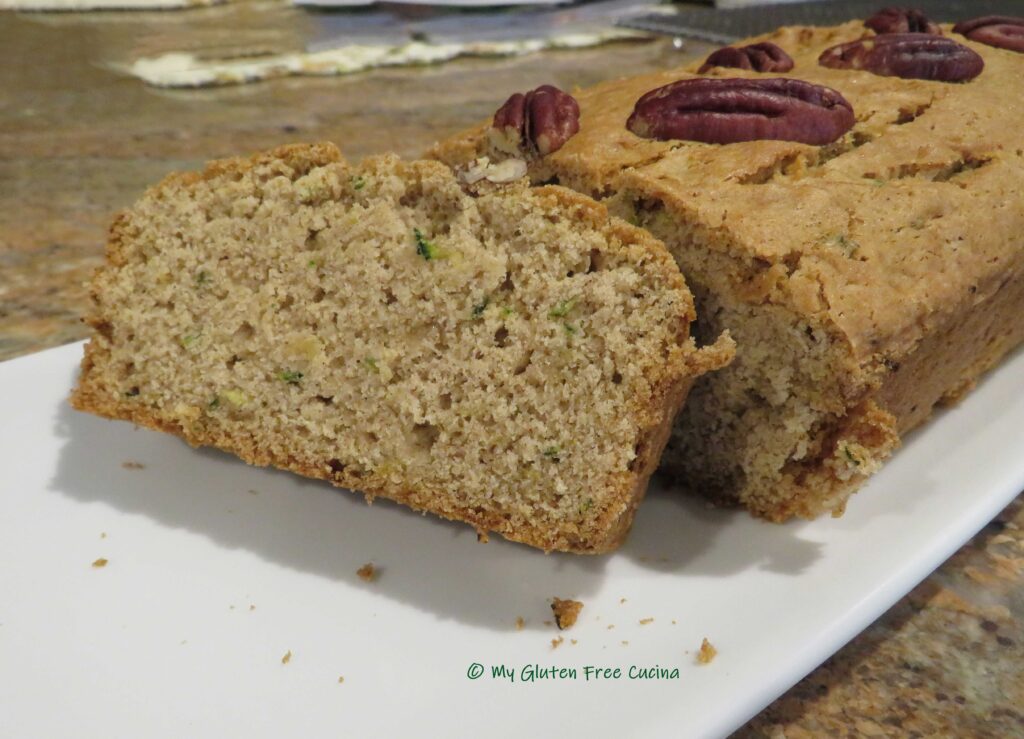 Leftovers can be stored at room temperature for a day. Beyond that, I recommend you wrap slices tightly in plastic wrap and freeze (store in a freezer safe bag).
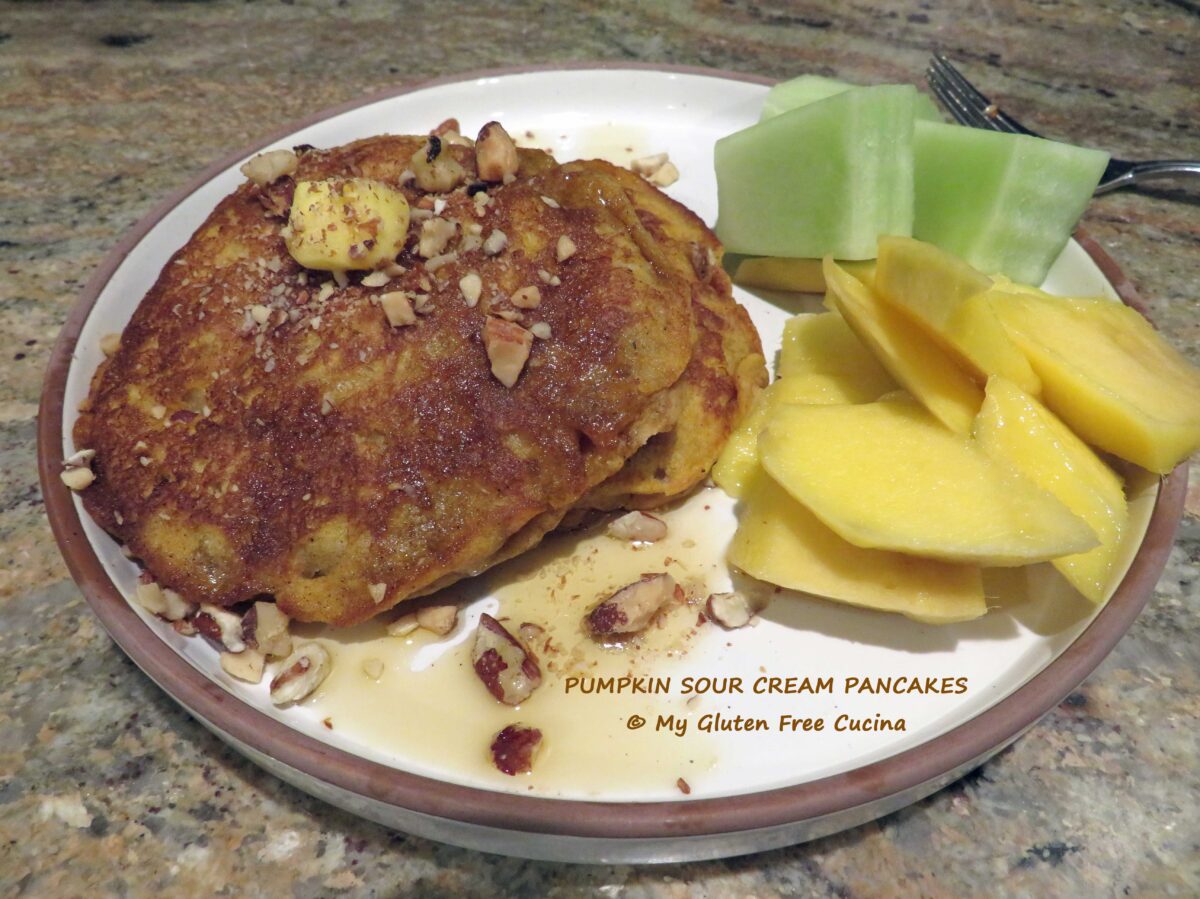
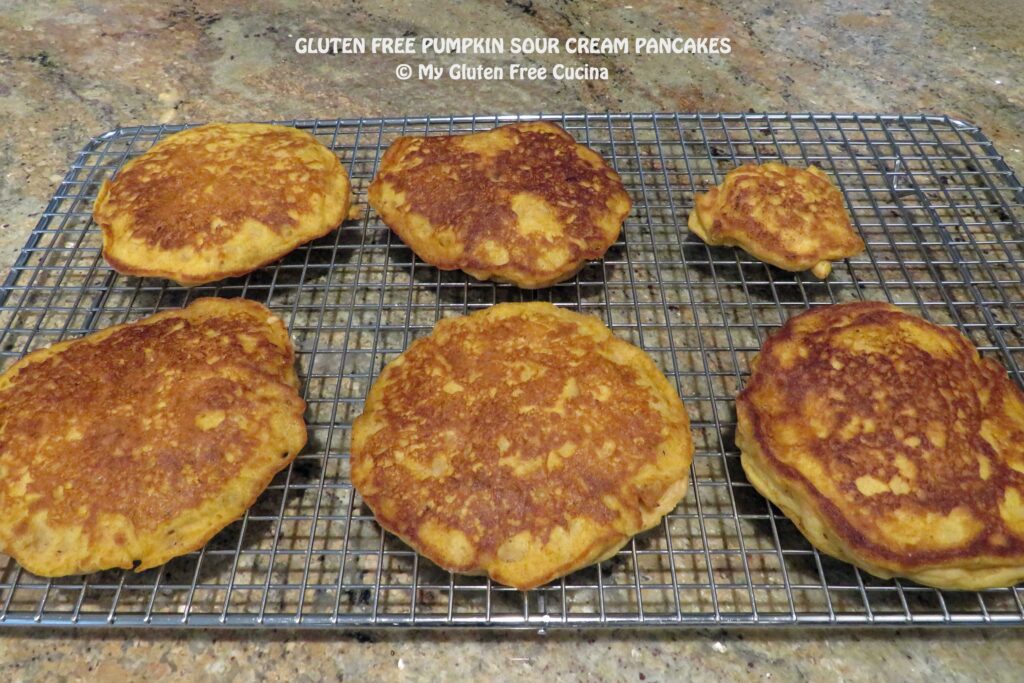
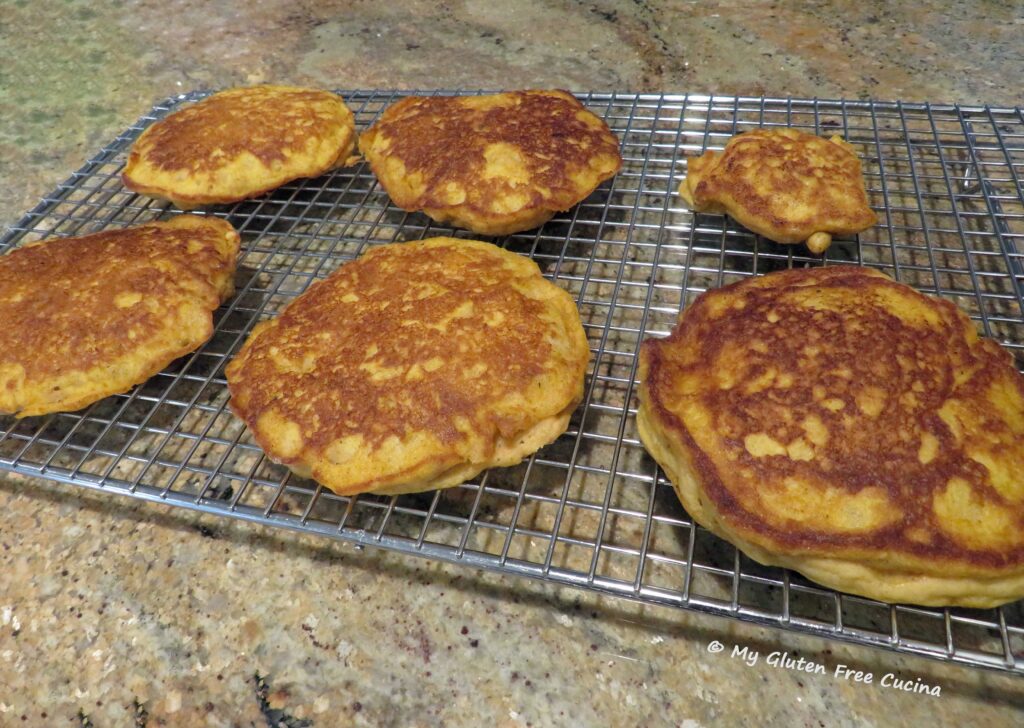 The recipe makes a small batch, breakfast for two. I ended up with 5 full size pancakes and one mini pancake. You can double or triple the recipe for a large family, or if you want extra to freeze for later.
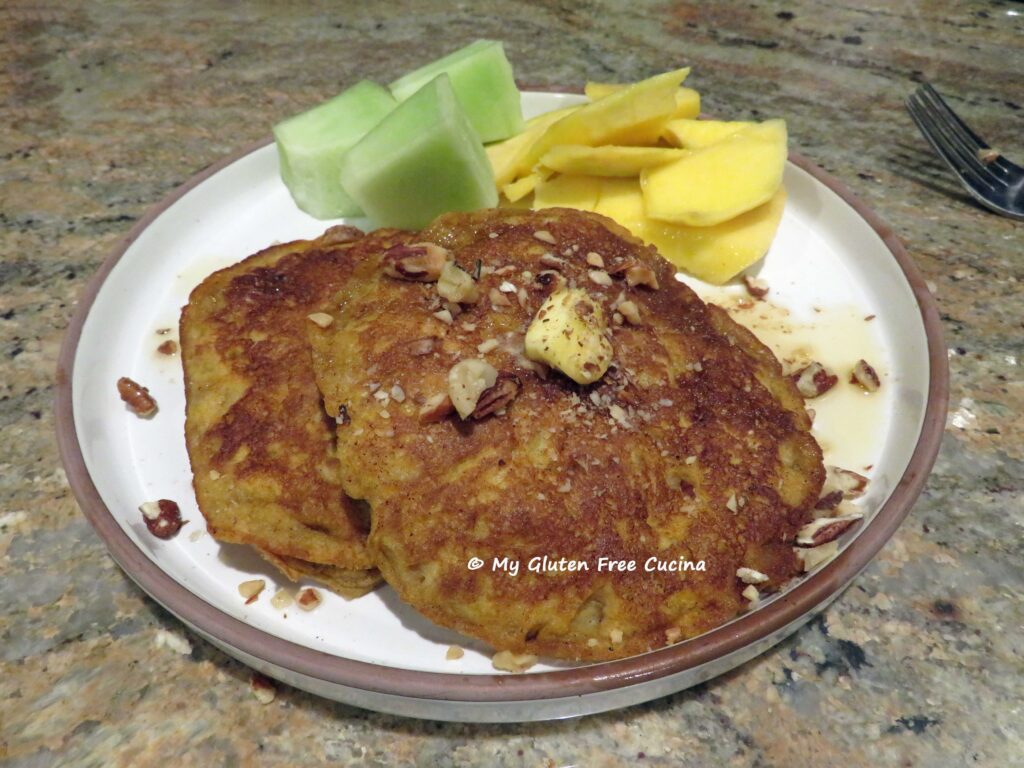 Preparation:
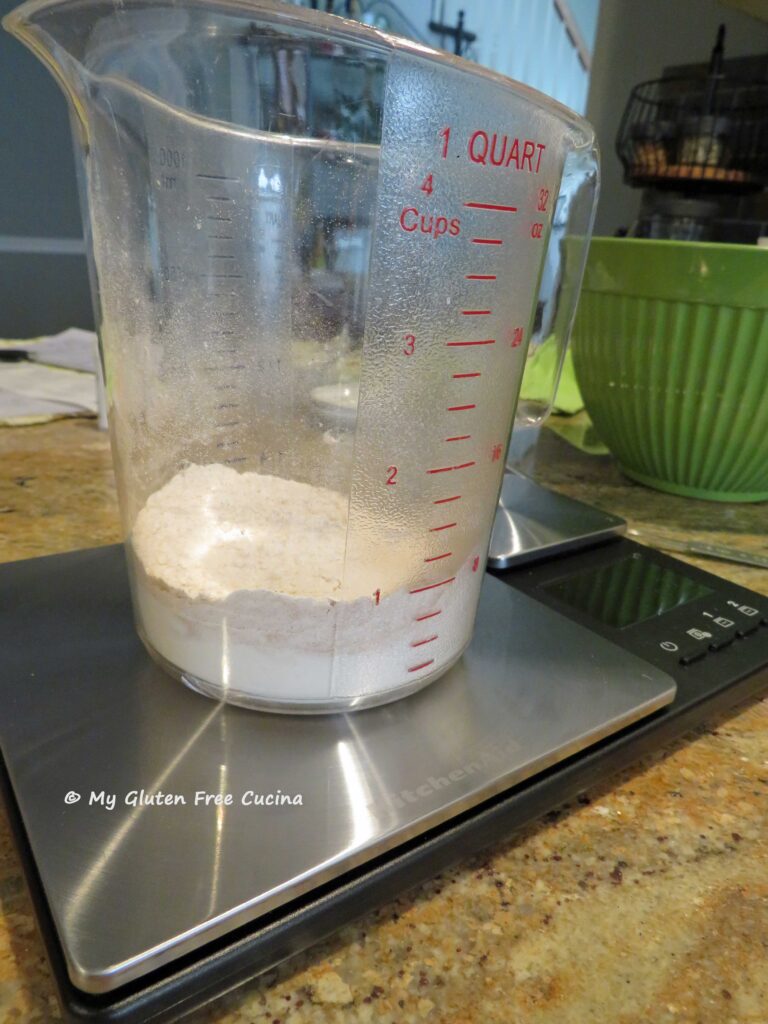 Set up 2 bowls, whisk together the dry ingredients in one bowl (I strongly recommend that you weigh the flour), and the wet ingredients in the other. Stir the wet and dry ingredients together, just until moistened.
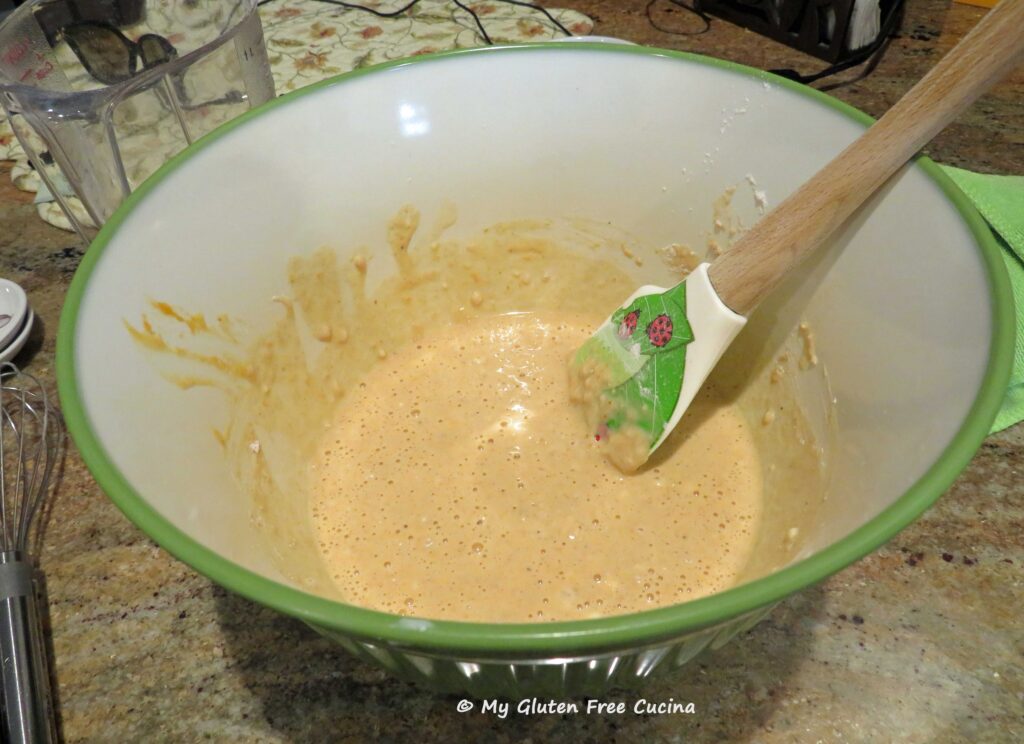 Melt butter 1 tbsp. at a time on the griddle. Scoop batter by 1/3 cups and add to the griddle, leaving space in between.
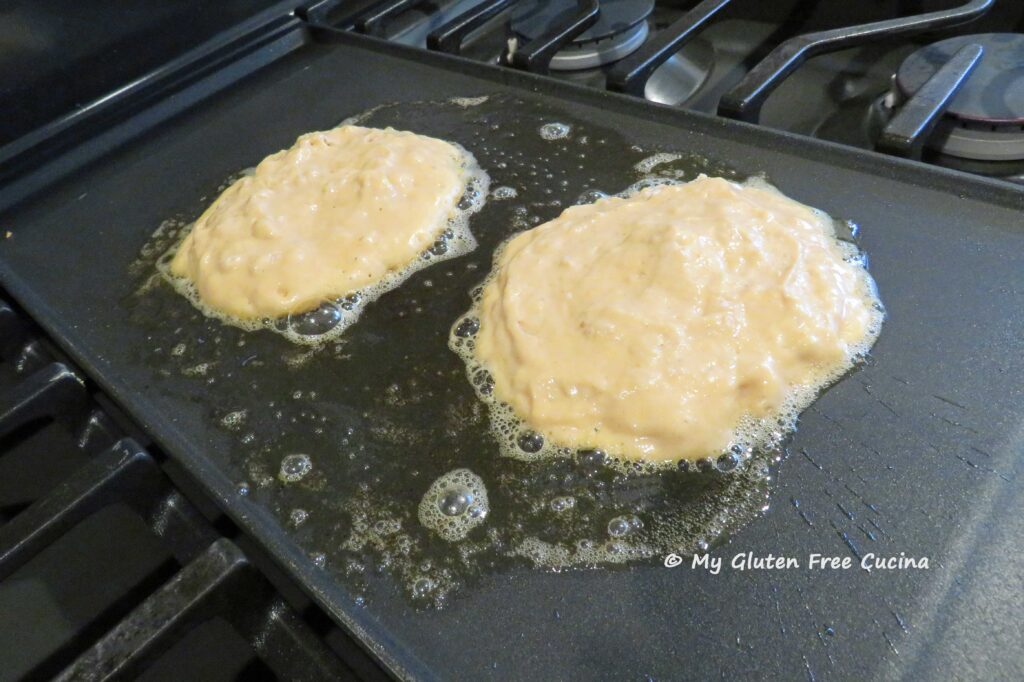 Cook for 5 minutes then flip. Cook 3-5 more minutes. Keep in mind that gluten free pancakes take longer to cook than regular pancakes. Check if they are done by inserting a toothpick in the center. If it comes out dry, they are ready.
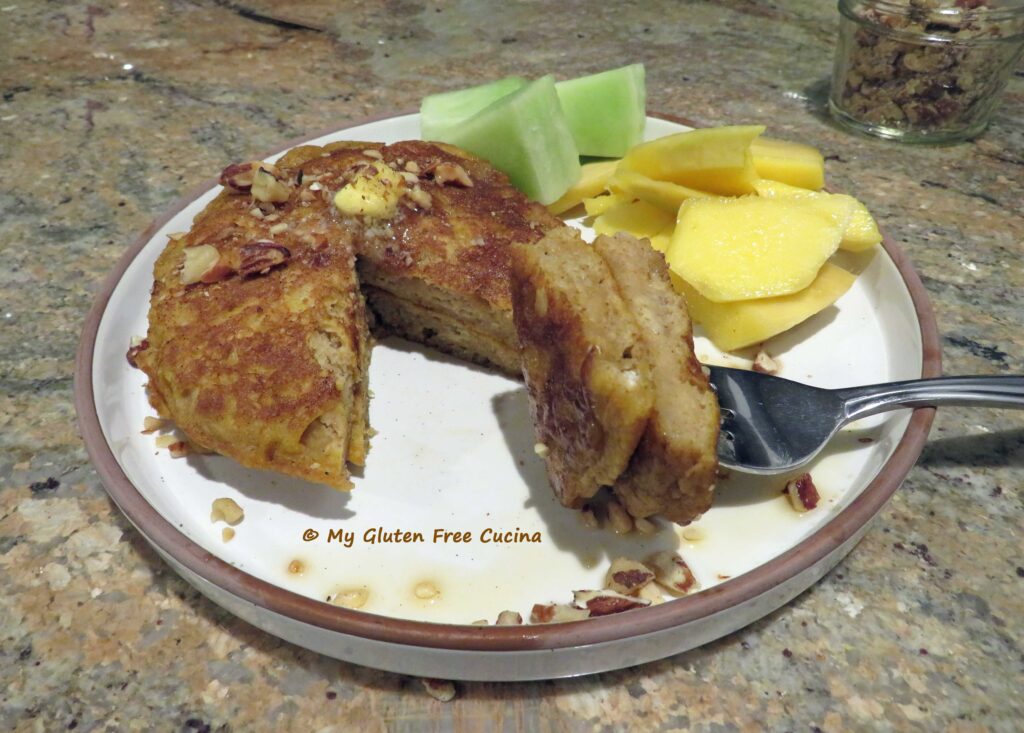
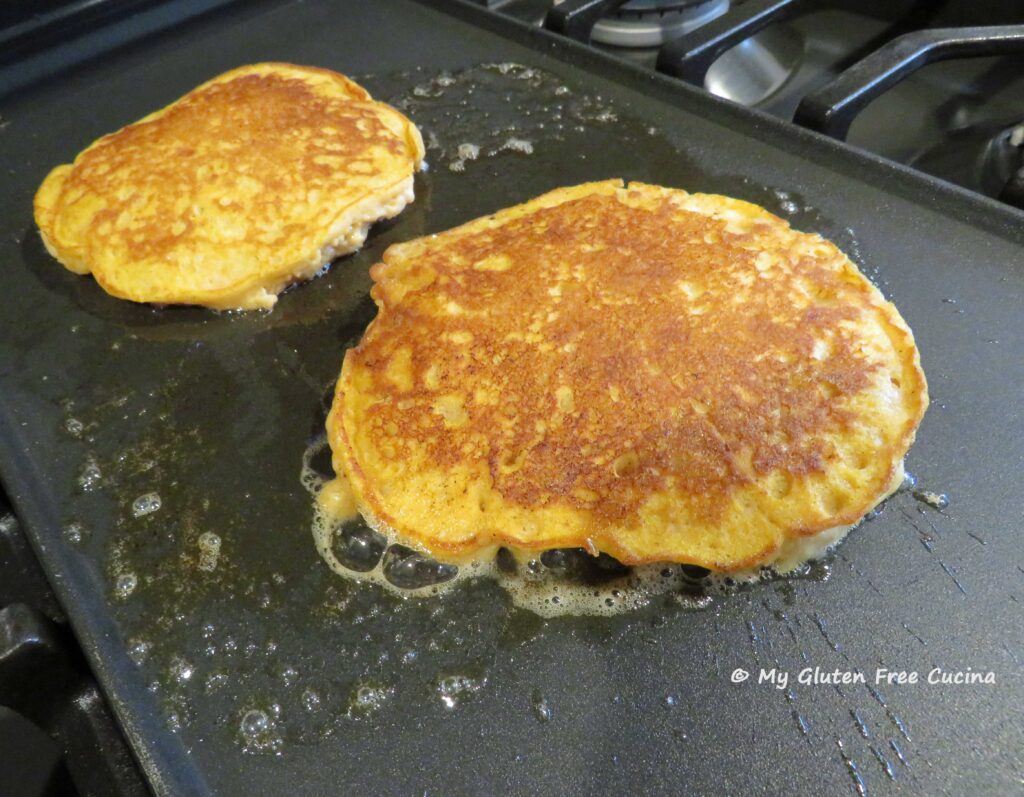 If you have a little batter left over at the end, you can make a test pancake, here’s mine. Just one bite!
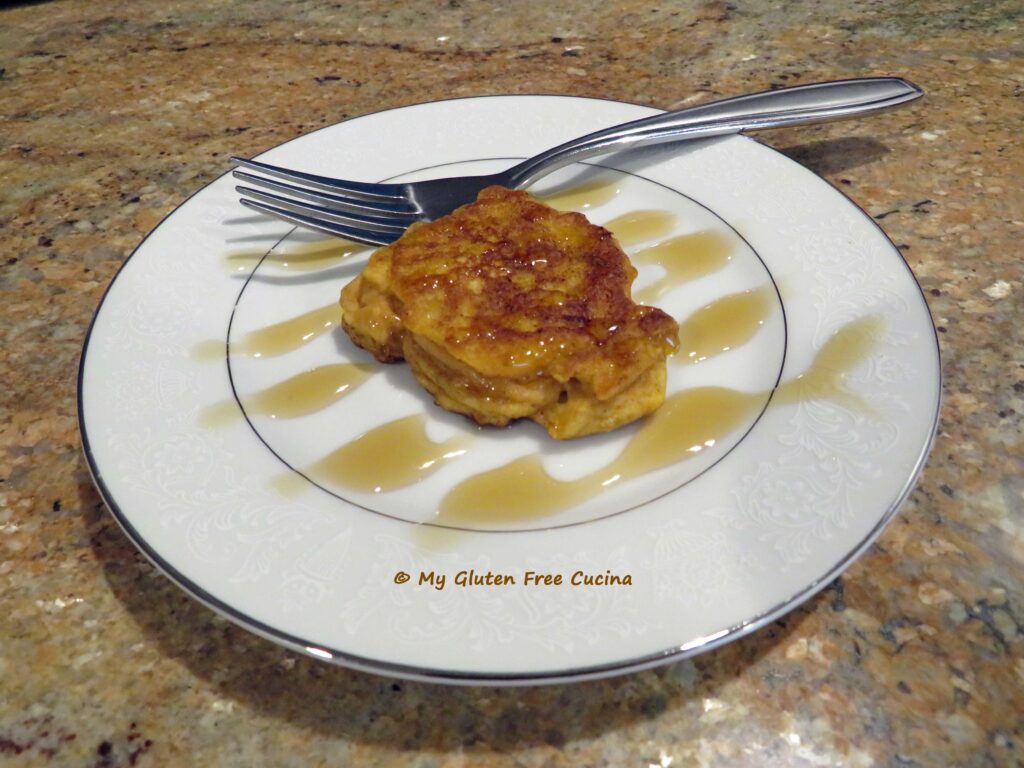 You can serve the pancakes immediately or freeze for later. I let mine cool completely on a rack, then wrapped them separately and stored in freezer safe bags.