Fra Diavolo is a spicy tomato sauce traditionally paired with pasta and seafood. It’s a simple sauce made with a generous amount of crushed red pepper flakes. You can adjust the heat to your liking, I usually plan on 1/2 tsp. per serving. Do you like it spicy? 🔥🔥🔥
This post contains affiliate links.
2 Servings
 Ingredients:
- 3 tbsp. olive oil, divided
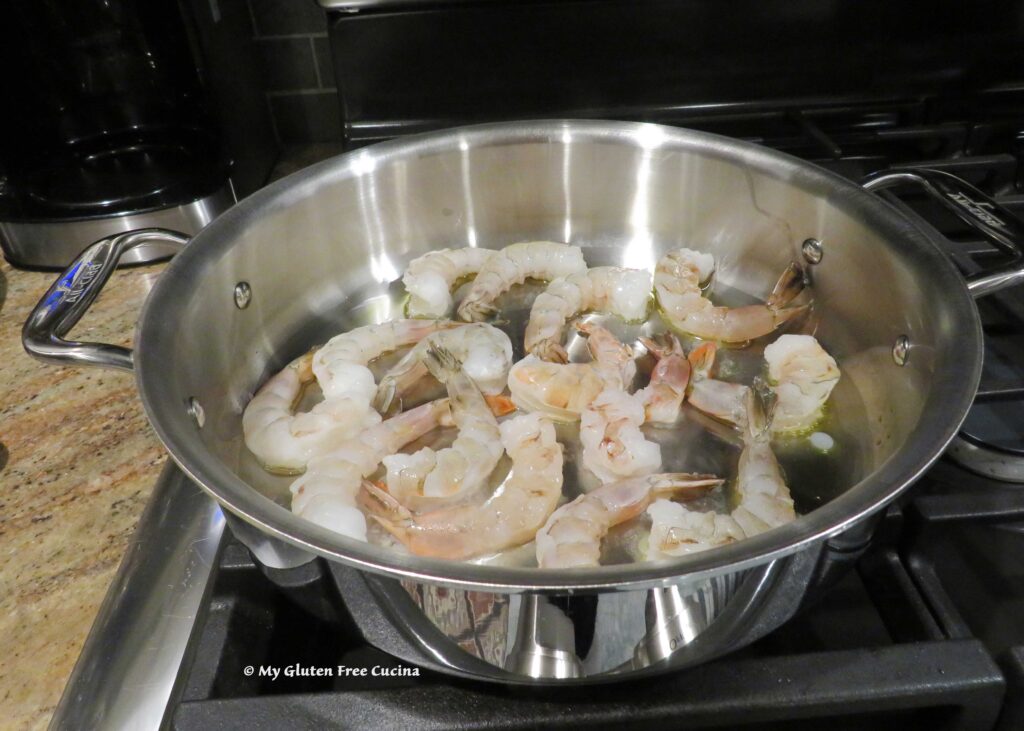
- 1 lb. shrimp, peeled and deveined (I used 16-20 per pound count)
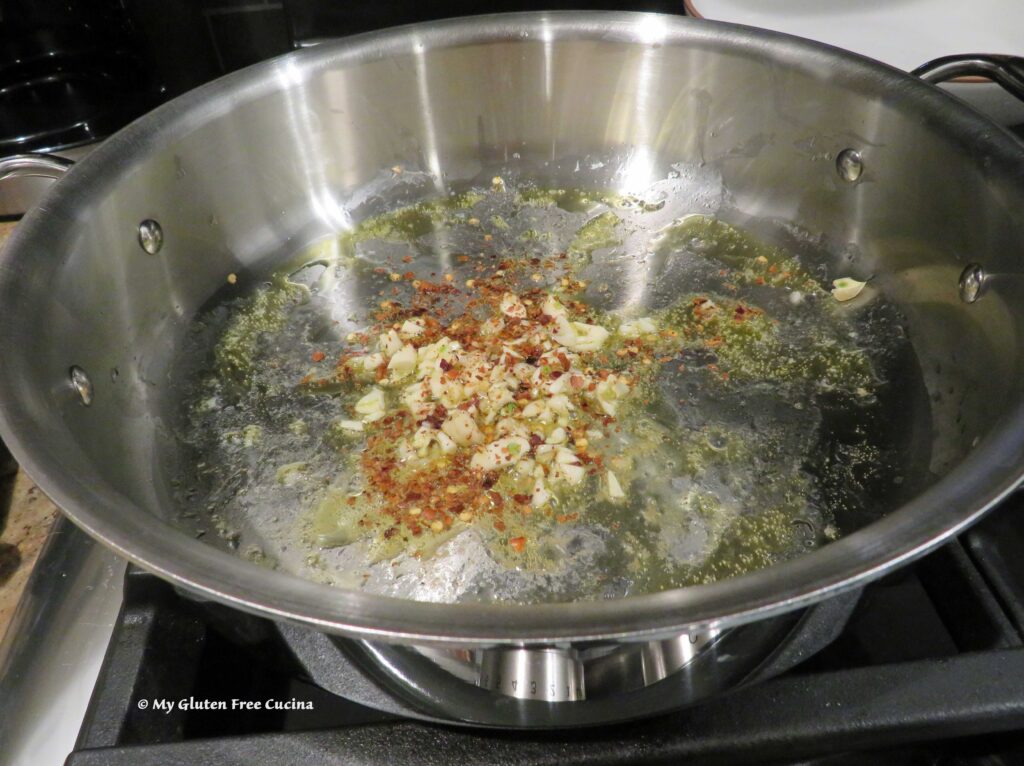
- 4 cloves garlic, crushed and coarse chopped
- 1 tsp. red pepper flakes (or as much as you like)
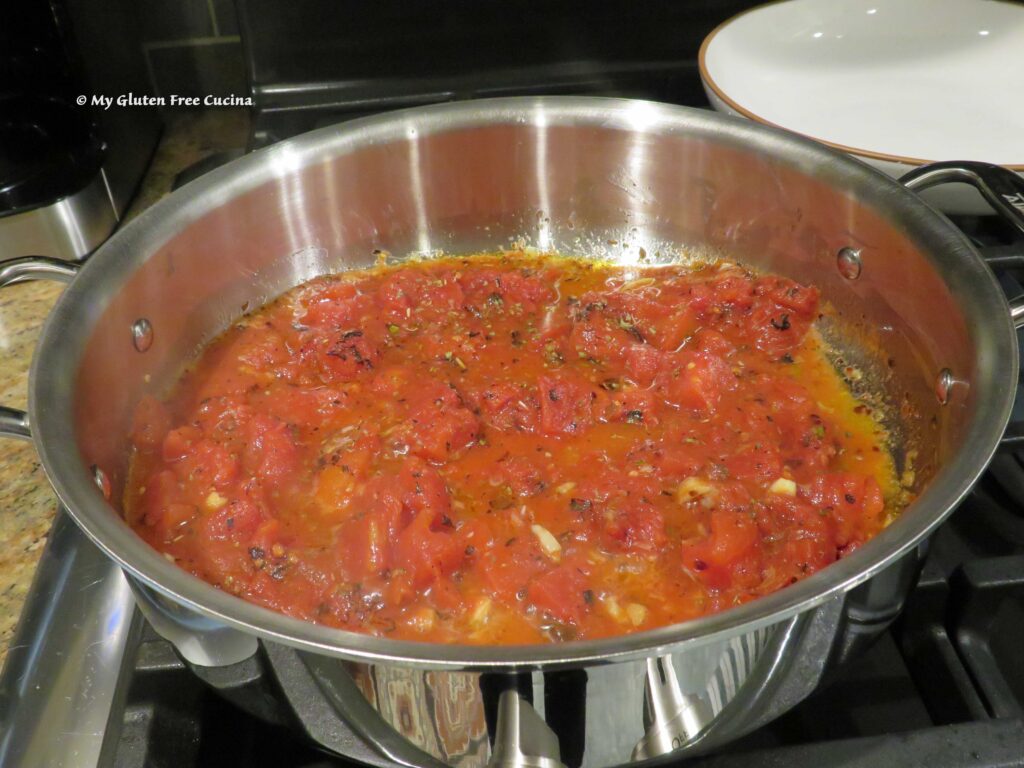
- 1 can (14.5 oz.) fire roasted diced tomatoes
- salt, to taste
- 1/2 tsp. oregano
- 4 oz. gluten free pasta (I used Jovial capellini)
- fresh Italian parsley, for garnish
 Preparation:
Heat a large skillet with 1 tbsp. olive oil and boil a large pot of salted water for the pasta. Partially cook the shrimp, about 1 minute per side.
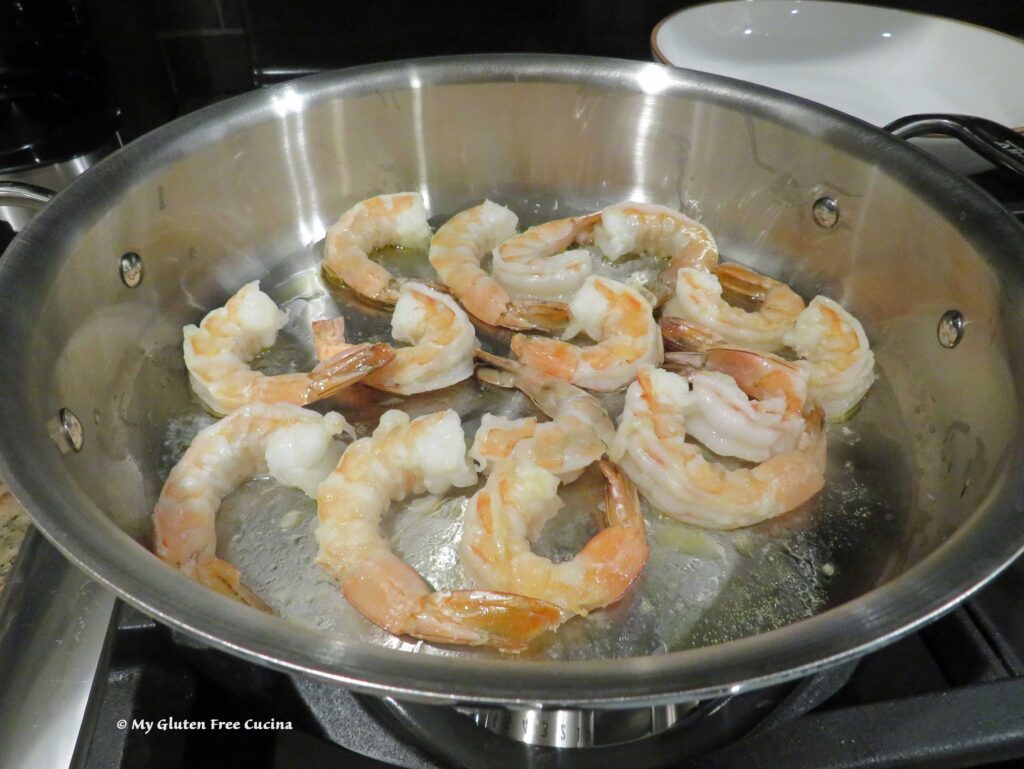 Remove the shrimp to a bowl and add another tbsp. olive oil to the skillet. Add the garlic and red pepper flakes, and cook for 30 seconds, stirring several times.
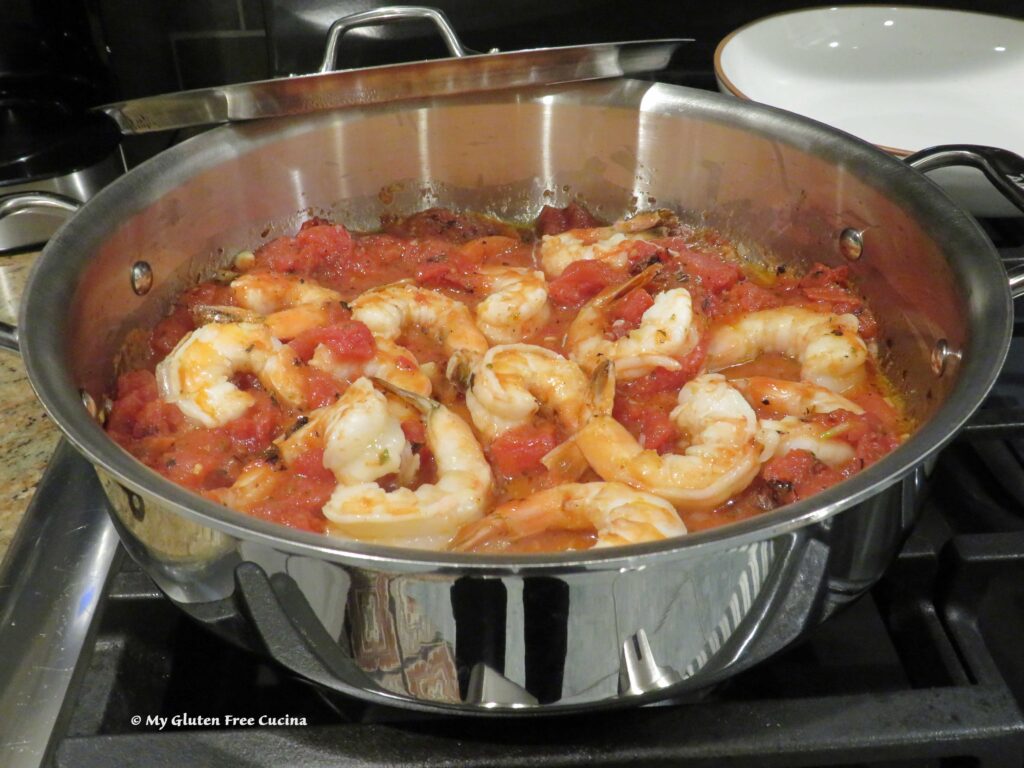
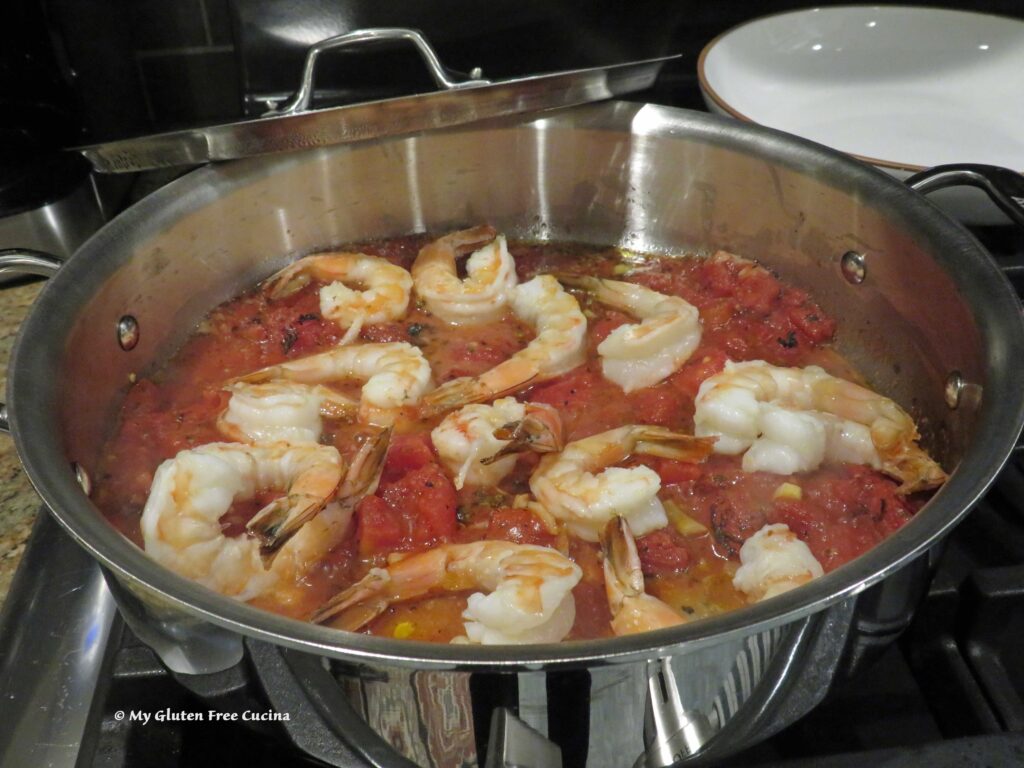
 Add the fire roasted tomatoes with juice, 1/2 tsp. oregano and salt to taste.
 Cook the pasta to 2 minutes less than package directions. With 4 minutes to go on the pasta, add the shrimp to the sauce.
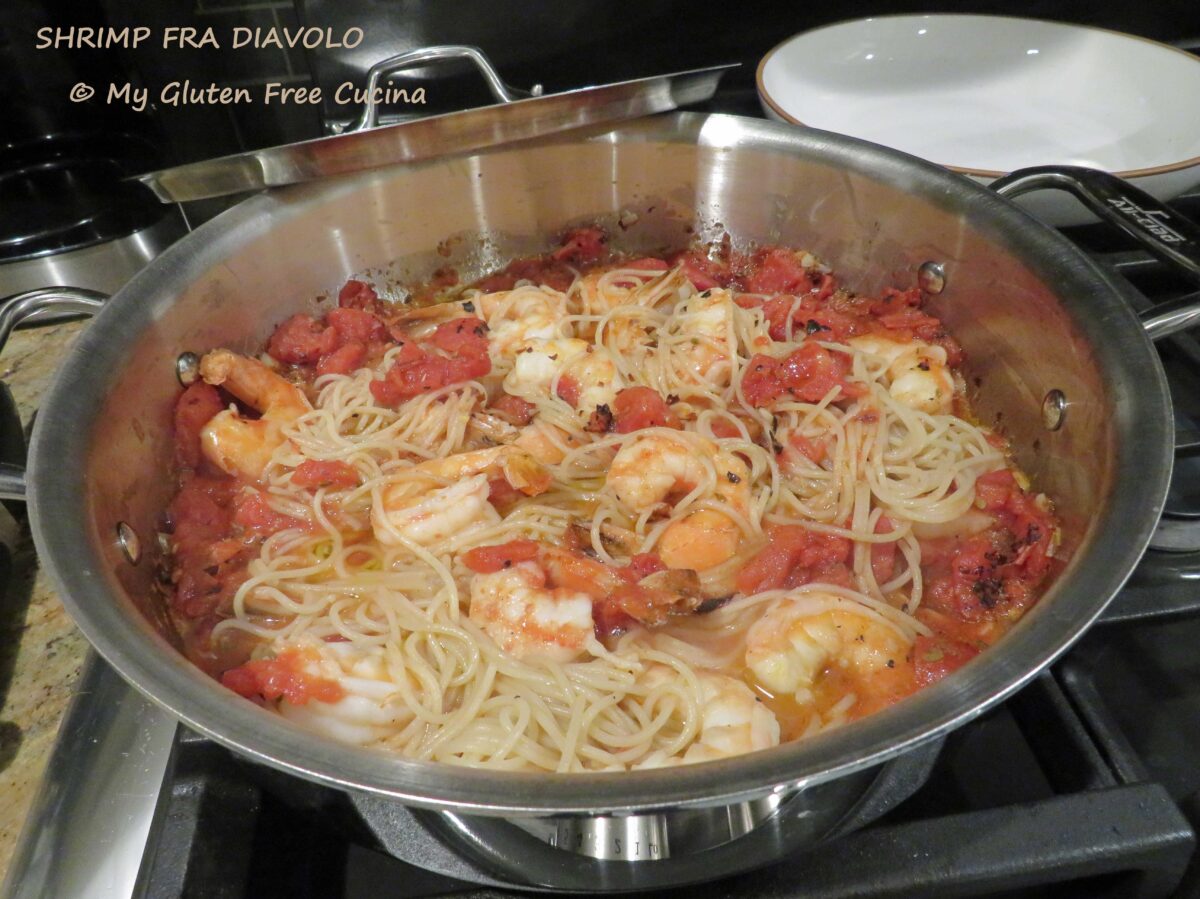
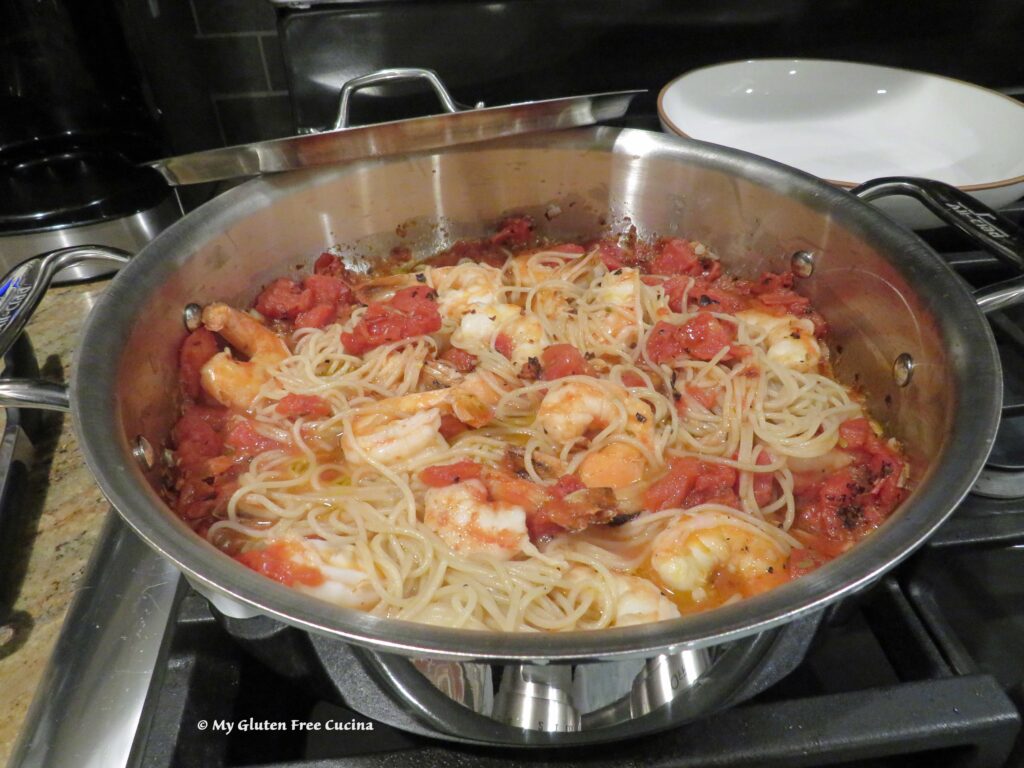
 Drain the pasta, add it right into the sauce and toss with 1 more tbsp. olive oil and more red pepper flakes if you dare! ♨️
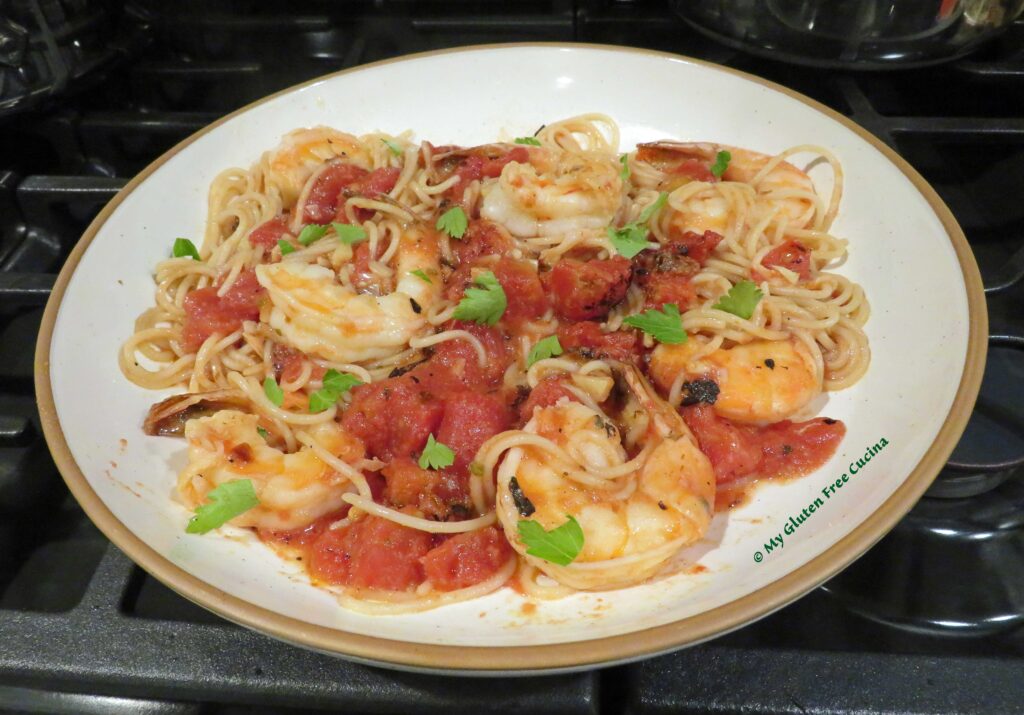
 Transfer to serving bowls and garnish with fresh Italian parsley.
I absolutely love the spice in this dish! If you prefer something milder though, you can try my Shrimp Scampi recipe, the sauce is very similar but with a fraction of the heat.
Notes ♪♫ Shrimp size labels are not officially regulated and can differ from one brand to another. What one producer considers large or extra-large may be extra jumbo or colossal to another. That’s why it’s important to go by the count per pound. My shrimp was labeled 16-20, which means there should be 16 to 20 shrimp per pound. I used 16 shrimp (a generous 8 per serving) for this recipe.


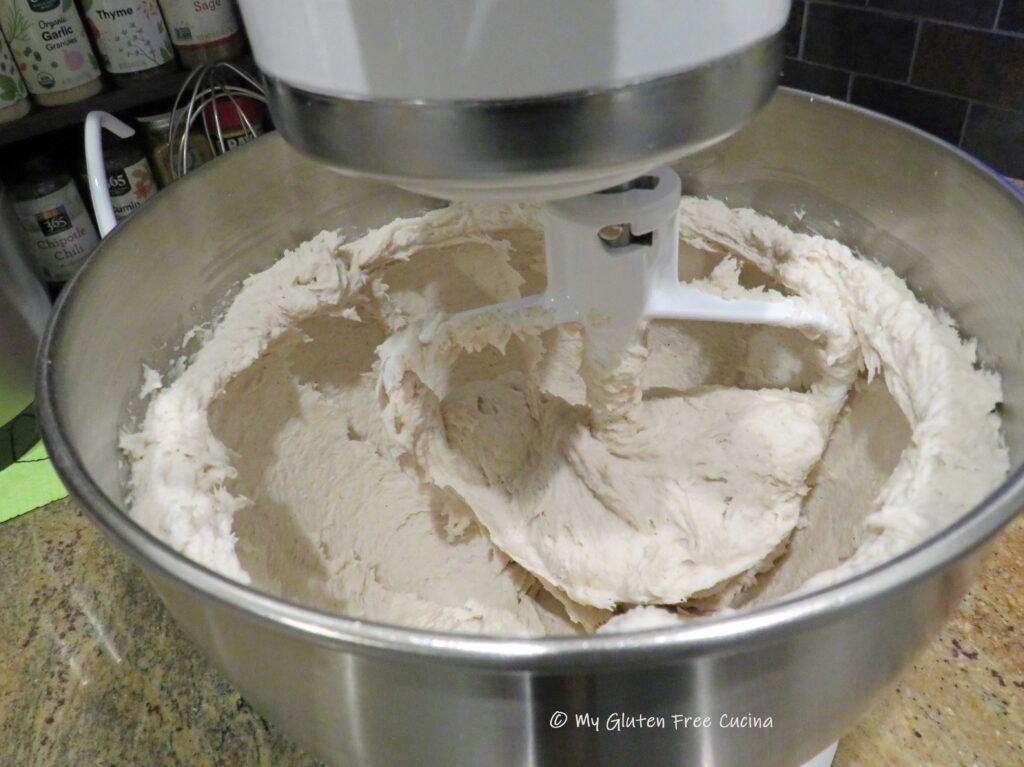
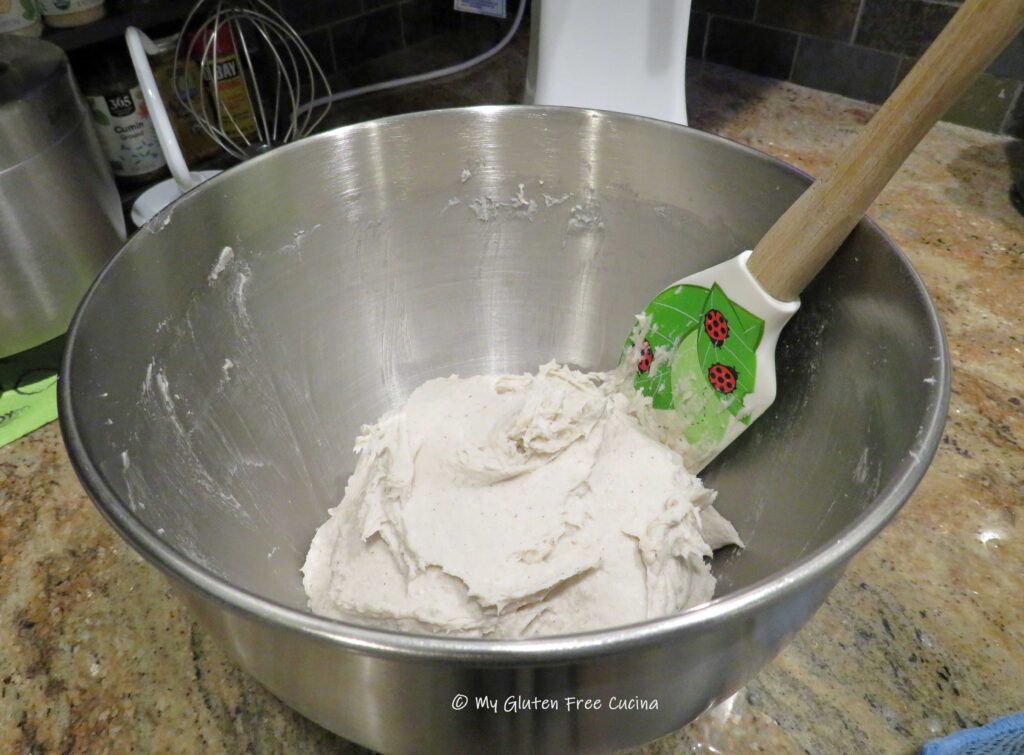
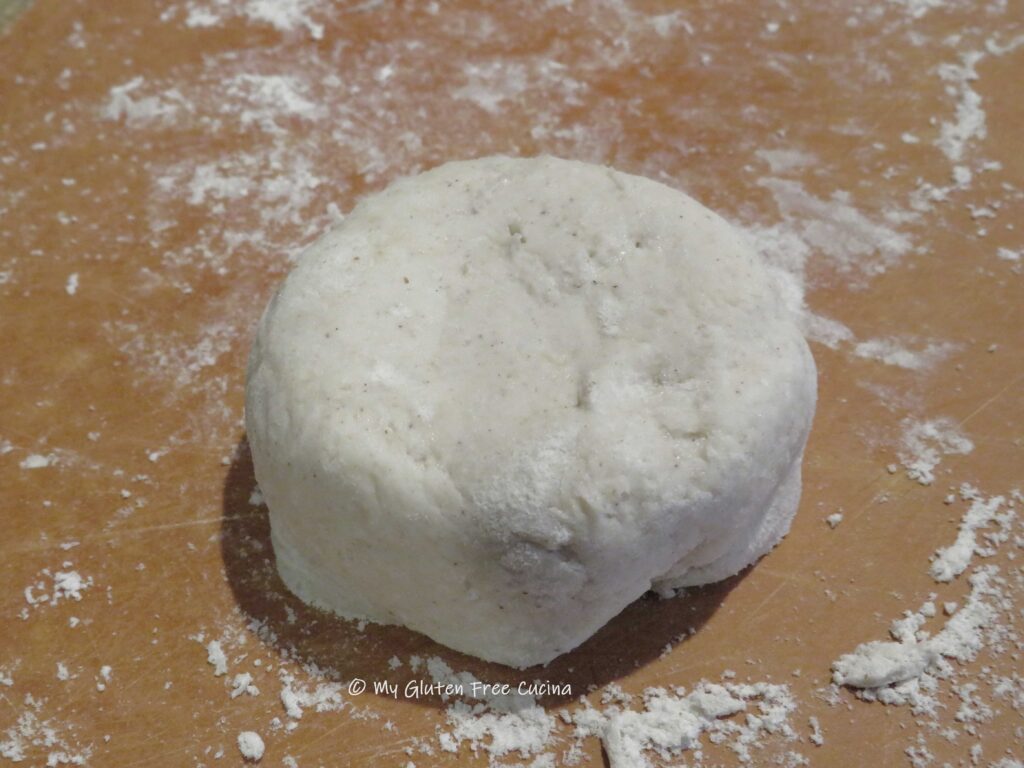
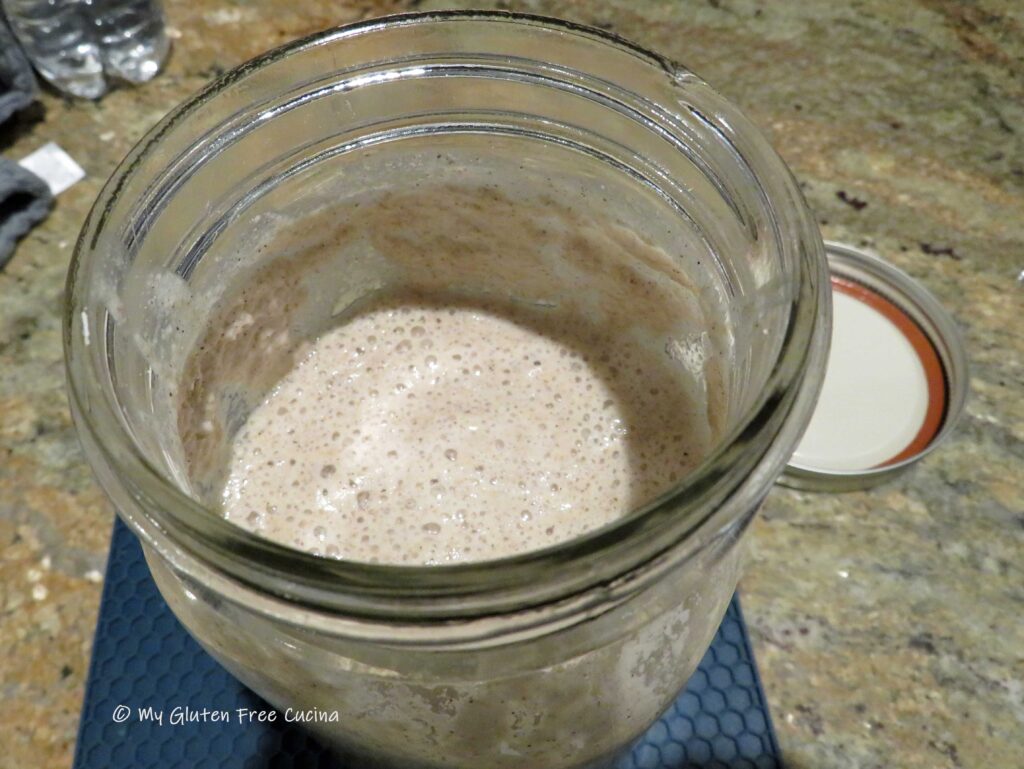 Combine the starter, water, oil, yeast and

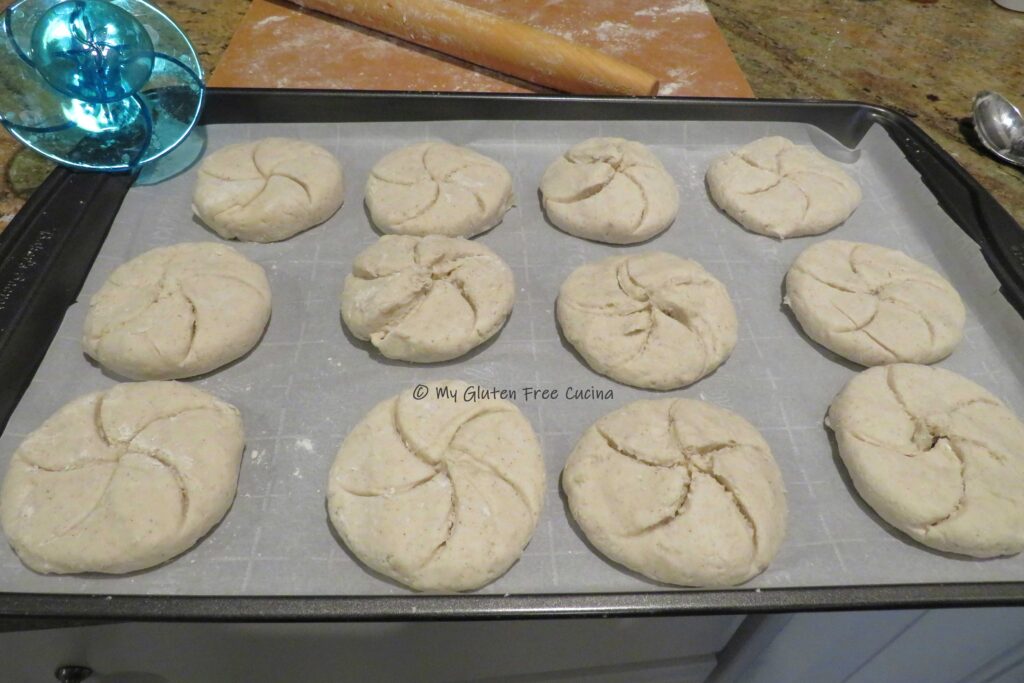
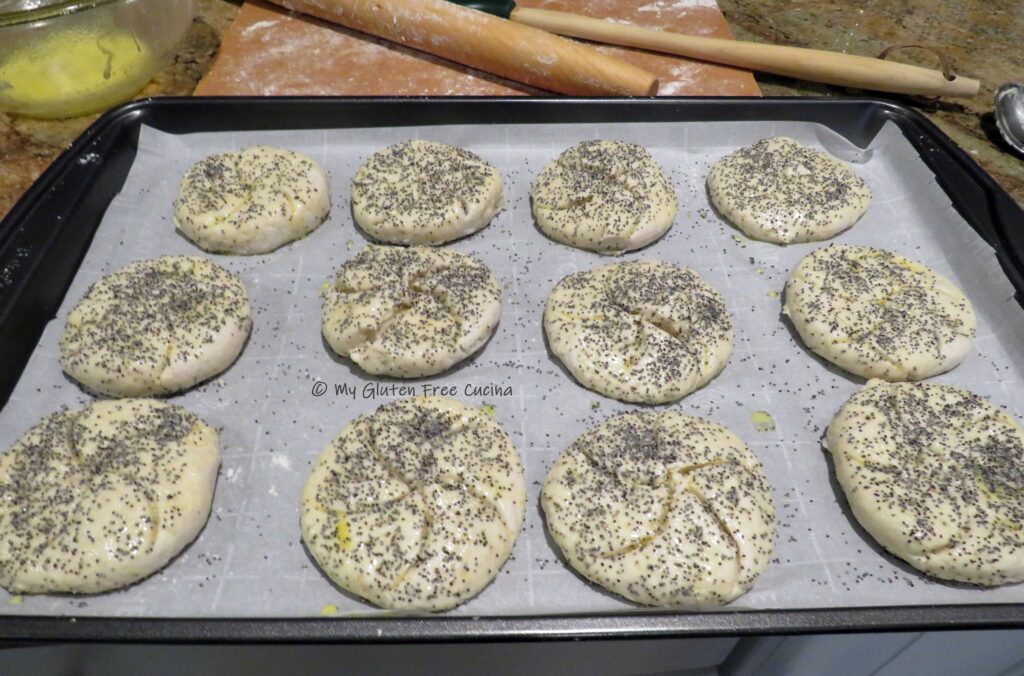
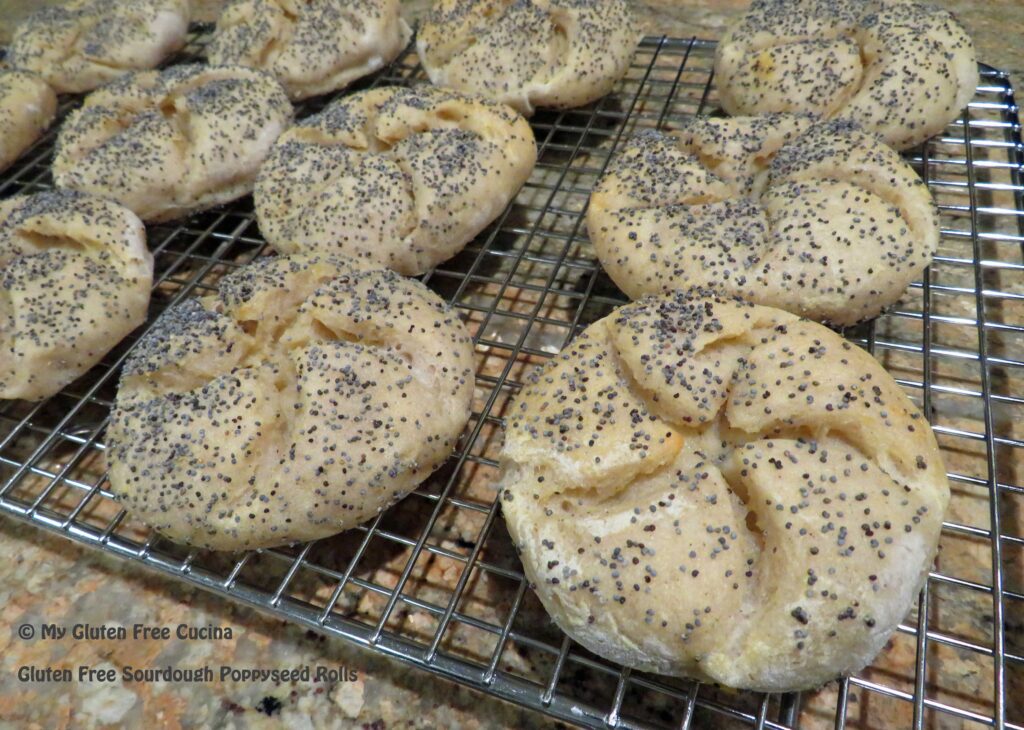
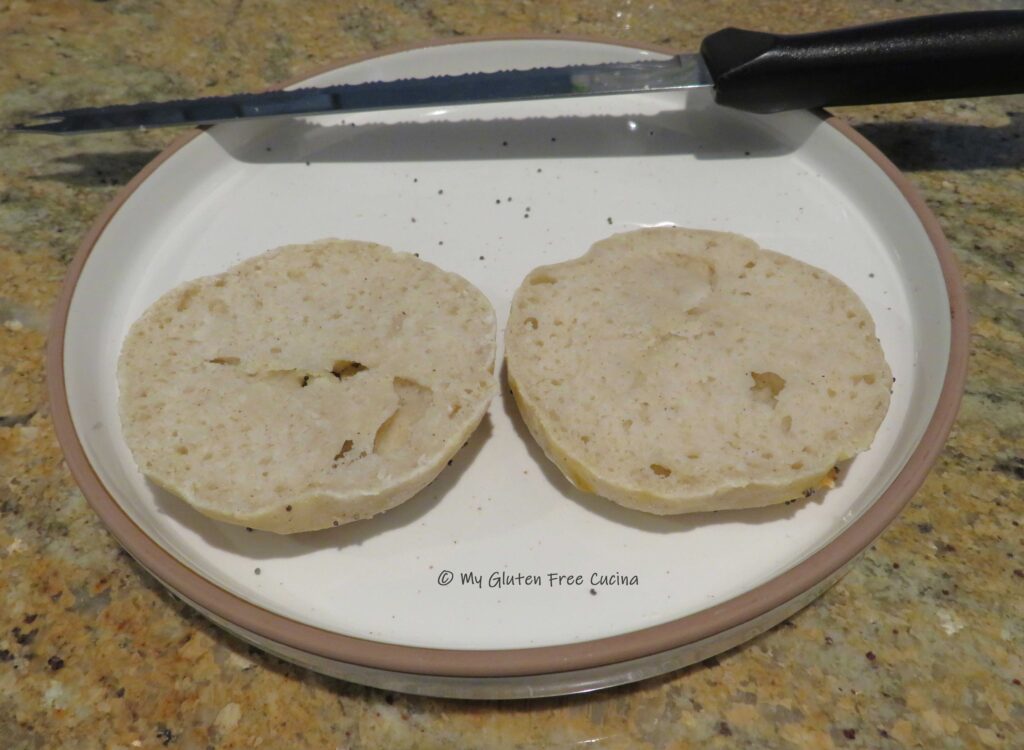
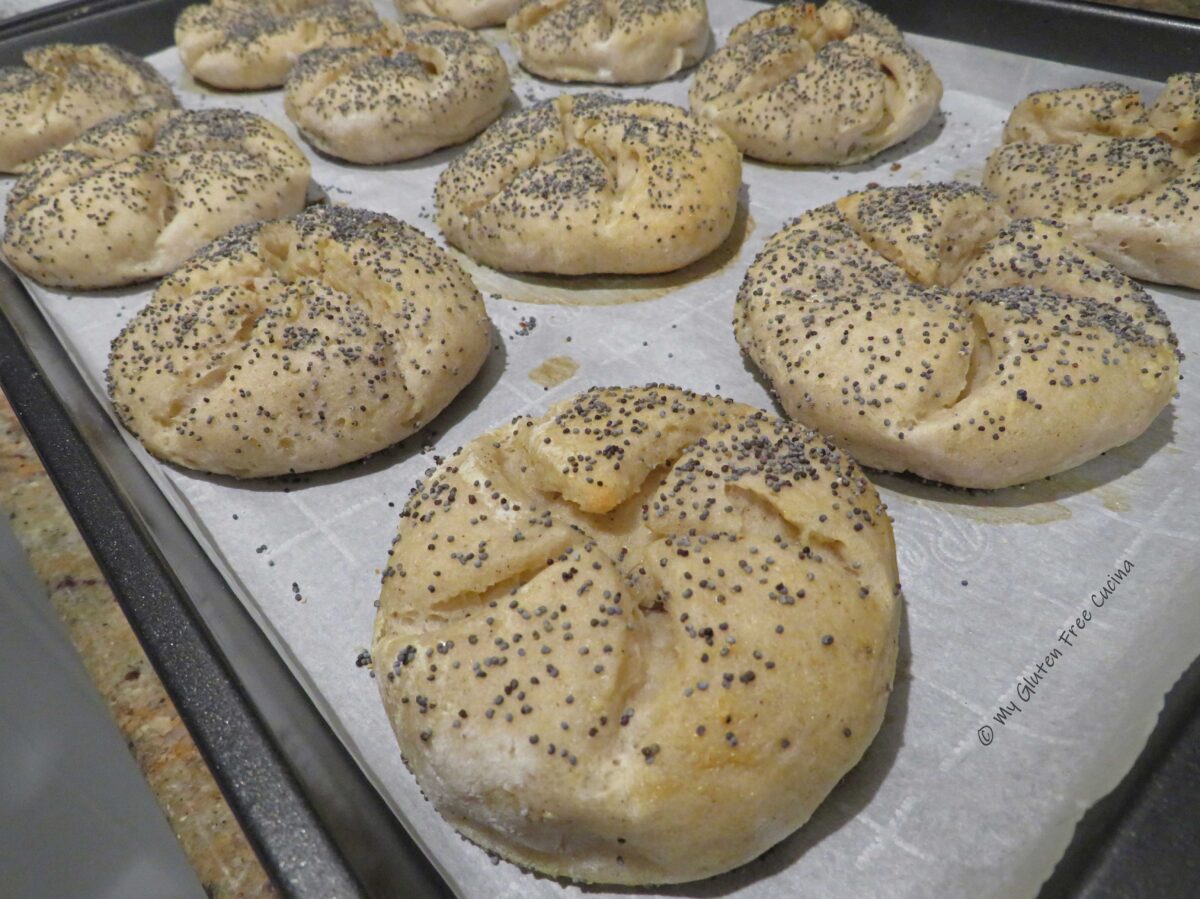
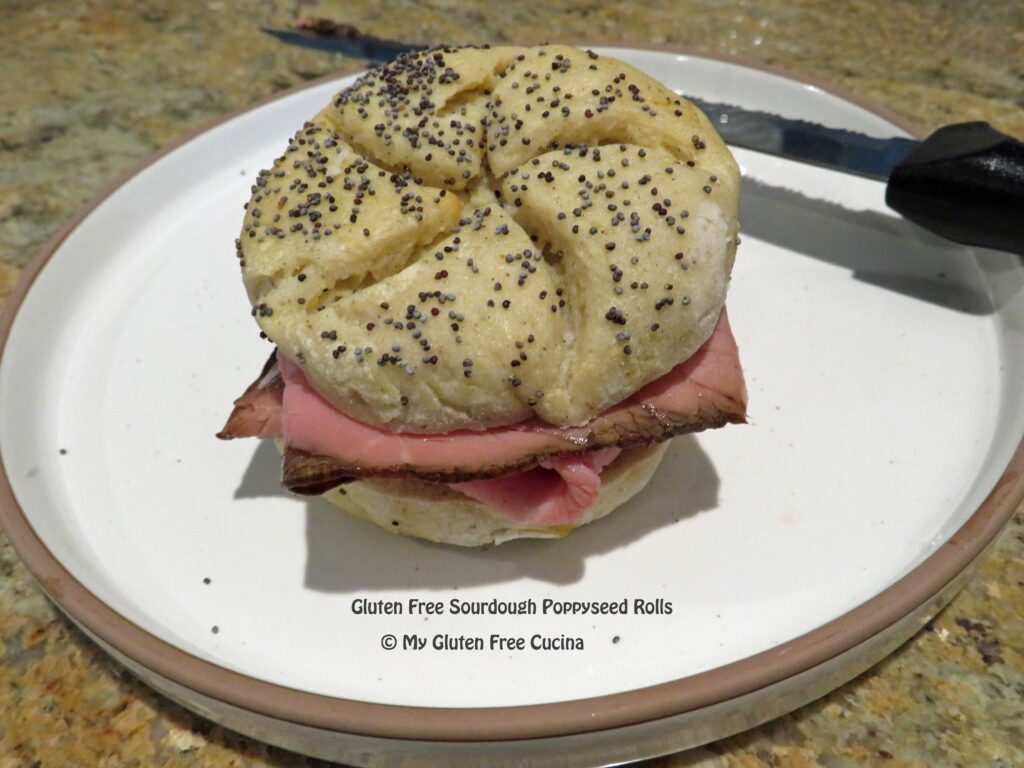
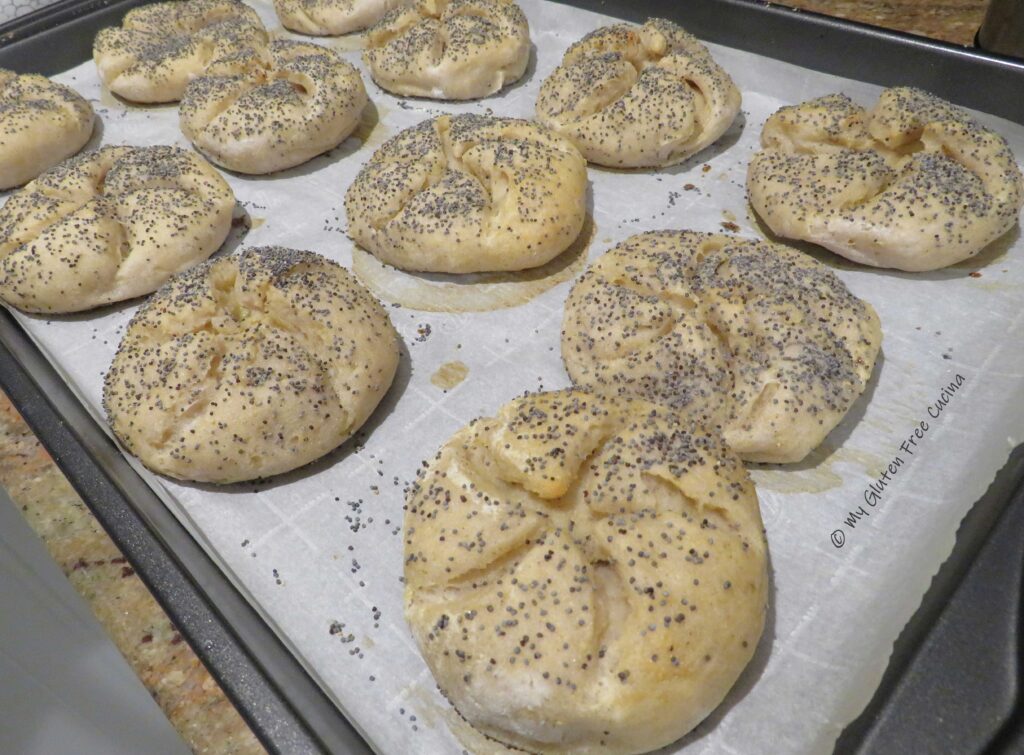 For best texture, I let mine cool to room temperature then store them on the counter in a plastic bag overnight. In the morning, I slice them and wrap each roll individually in plastic wrap. I left a few out for lunch and the rest went into a freezer safe bag. Freezing is recommended if you are not going to eat them immediately.