Maple Sorghum Cereal Flakes

When I first had to go gluten free, one of my biggest disappointments was breakfast.  I have always enjoyed whole grain wheat cereals, so I was shocked to find that gluten free cereals did not measure up.  Many are made with refined flours and are full of sugar, kid stuff!

I want an adult cereal with great flavor, texture and fiber.  So, after 2 years of choking down sugary cardboard flakes I decided to try making my own.  Why not?  I began by thinking about my favorite cereals “BC” (before Celiac!).  What did I like about them?  Not too sweet, great chew, whole grains and seeds.  I started brainstorming grain combinations that I thought would be tasty and got to work.

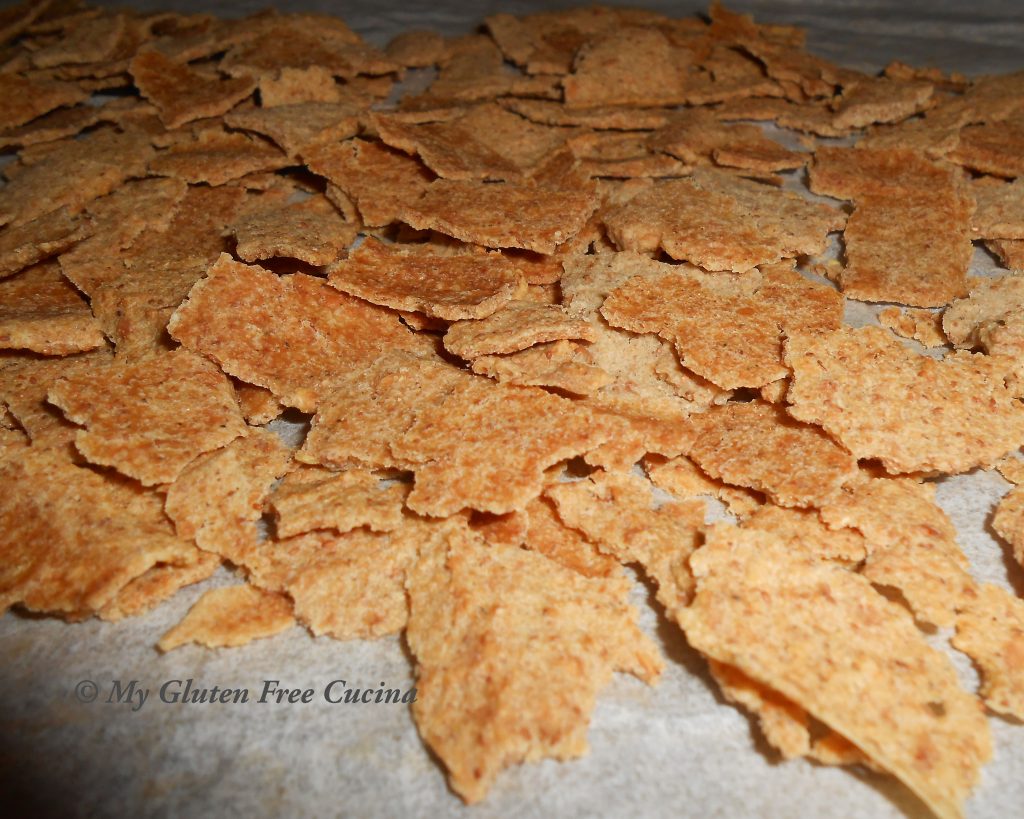
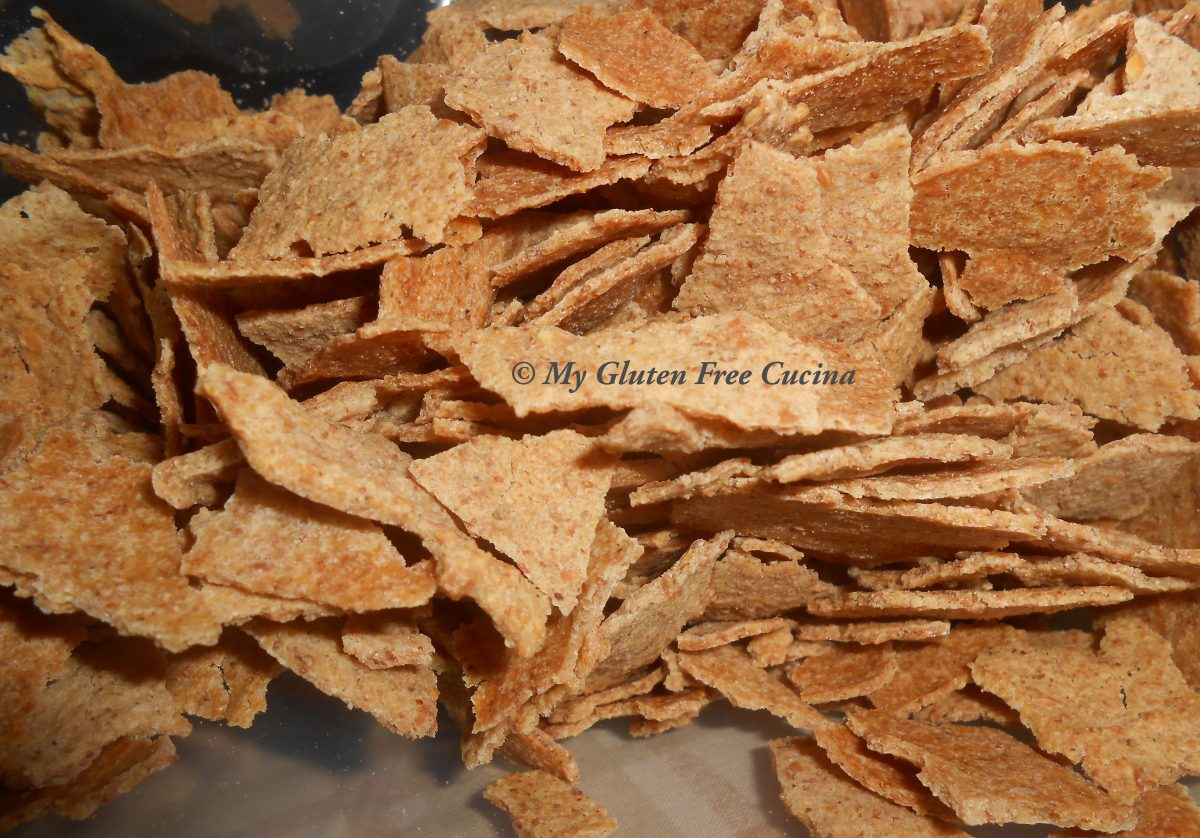
The result, my first homemade, from scratch gluten free cereal!  I tasted the crunchy flakes and thought, this is what I’ve been missing.  While I waited impatiently for breakfast, I wondered if the flakes would get soggy in milk but no, they stayed crispy as well as any of the box brands.

Now I can hear you groaning, you make your own cereal, really? Let’s be honest friends, this wasn’t hard to do.  Making the dough was simple.  Spreading it out in a thin layer took some patience but I got through it quickly.  The oven did the rest.

Seriously, you have got to try this!

This post contains affiliate links.

Yield 9 oz. – about 6 servings

Ingredients:

  • 114 g. Sorghum flour
  • 57 g. Brown rice flour
  • 14 g. Teff grain, ground
  • 13 g. Flax seeds, ground
  • 29 g. Almond flour
  • 30 g. Cassava flour
  • ½ tsp. salt
  • 1 tbsp. maple syrup
  • 1 tbsp. Canola oil
  • 1-1/3 cups water

Preparation:

I chose sorghum as the predominant grain because I love it in my bread baking, along with brown rice.  Teff has always reminded me of cereal.  It has a strong taste that can easily overpower a recipe, but I knew that adding just a little would boost the flavor profile.  I ground the Teff grain and flax seeds in a coffee grinder.

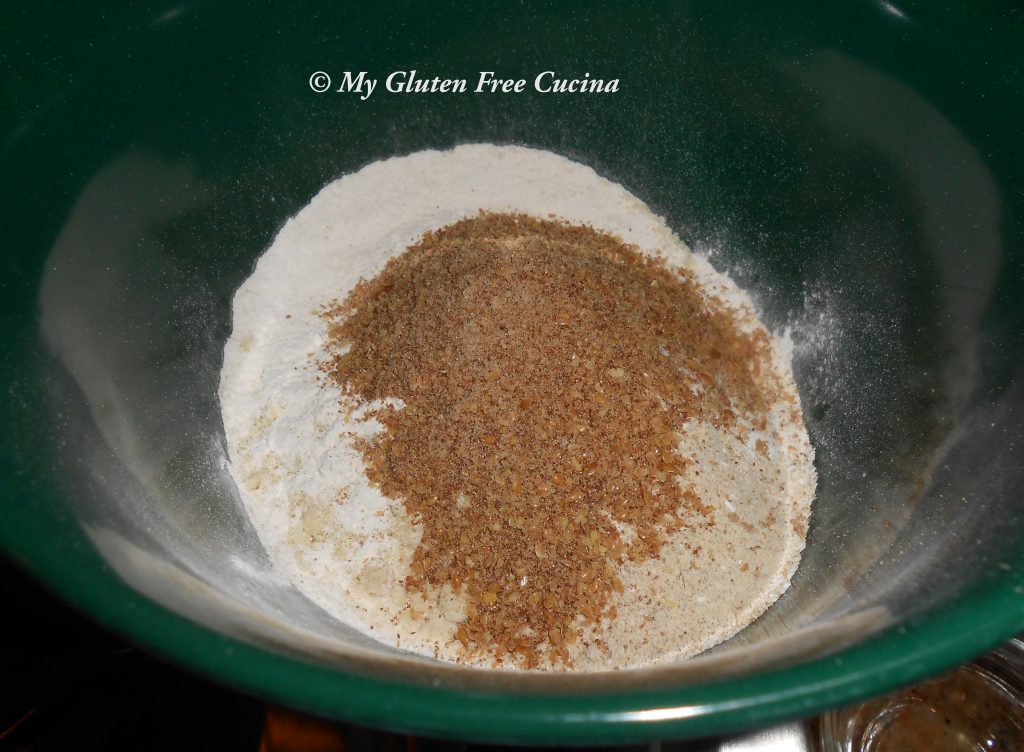
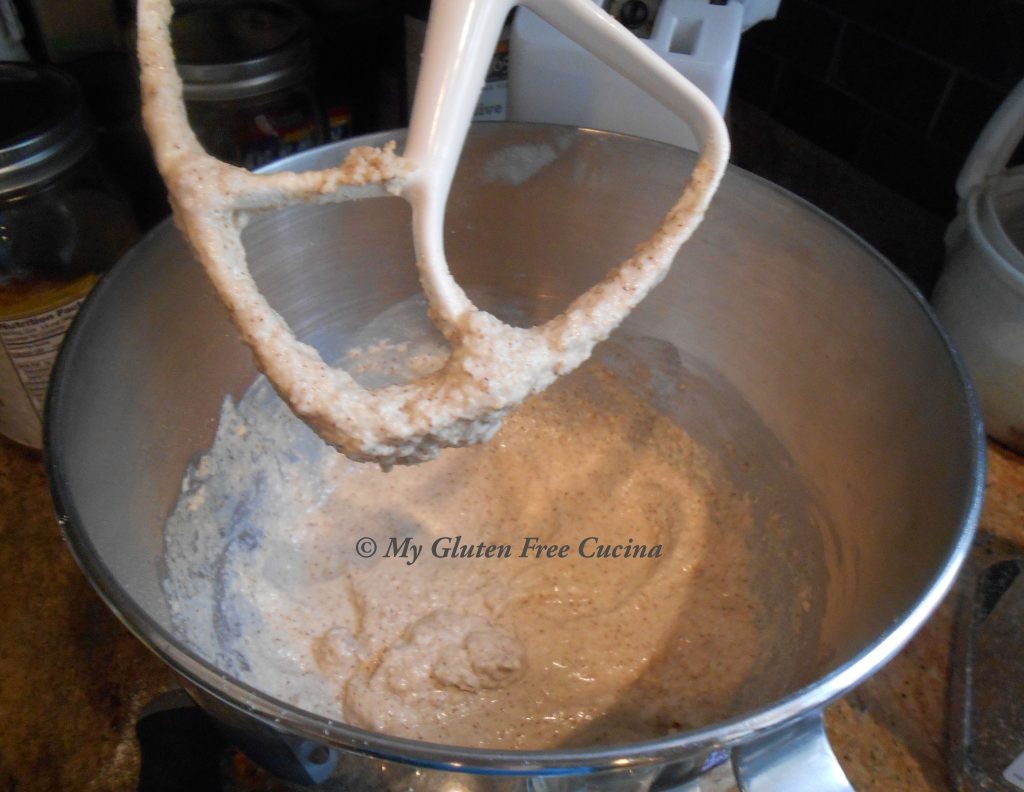
To make the dough, I first whisked together the dry ingredients.  Then I added the maple syrup and canola oil to the bowl of my stand mixer and began combining with the flour mixture using the paddle attachment.  I added water, 1 tbsp. at a time until I had a wet dough, like pancake batter.  In all I used 21 tbsp. of water, about 1-1/3 cups.

I lined 2 large baking sheets with parchment and divided the dough between the 2 sheets.  I then used a wet spatula to spread the dough out into a very thin layer.  Start in the middle and spread the dough outward to the edges of the parchment.

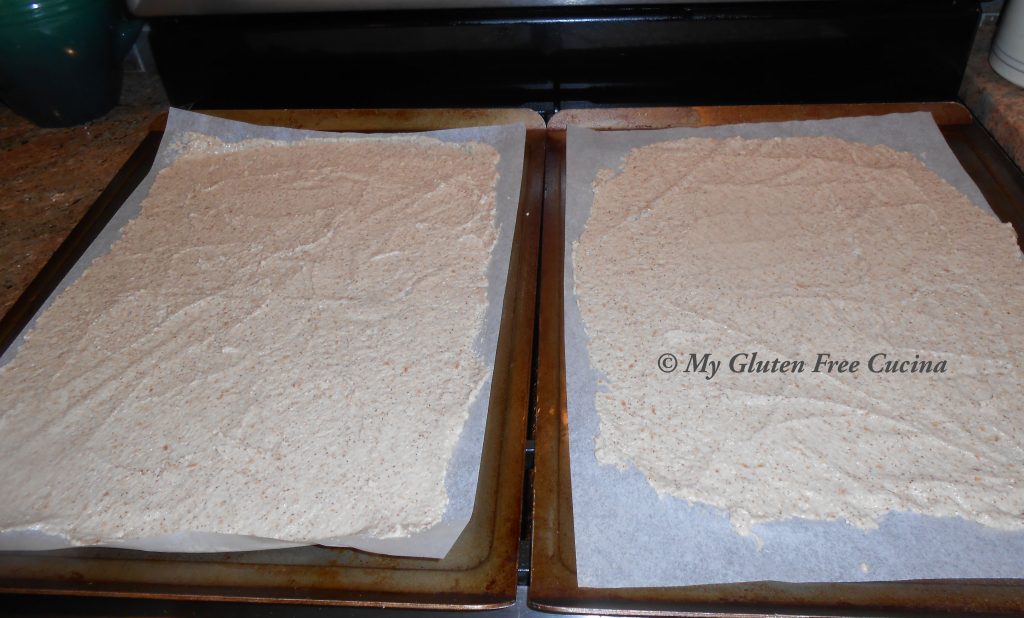
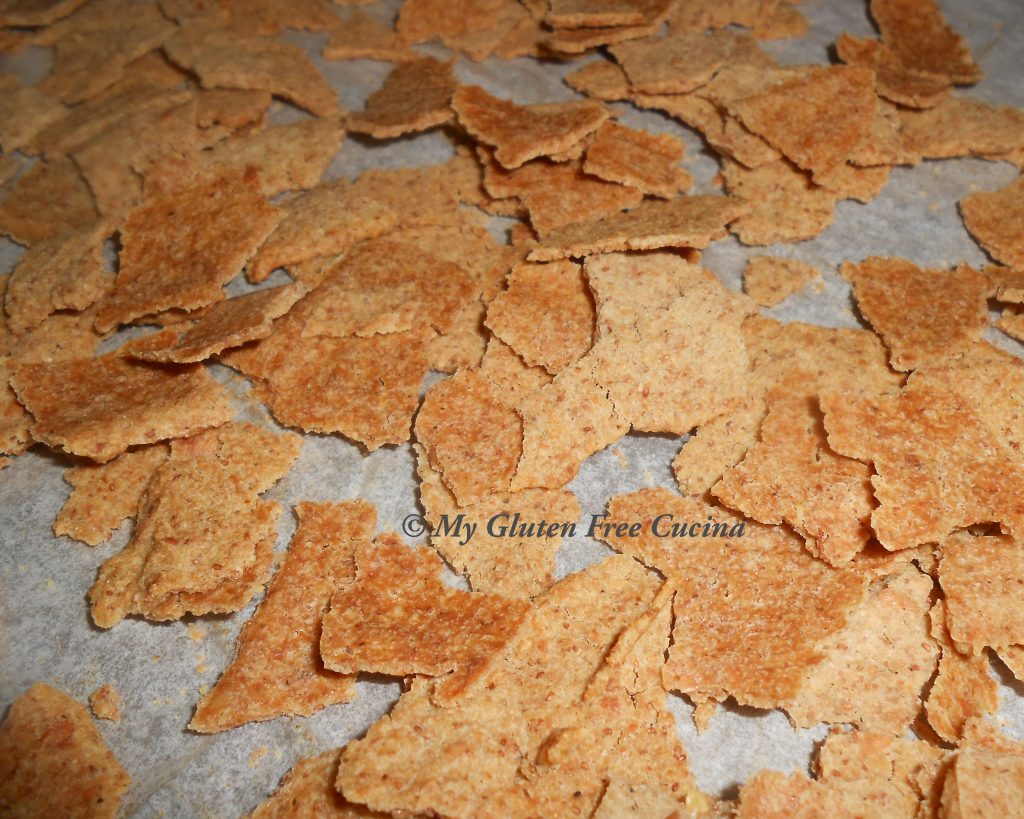
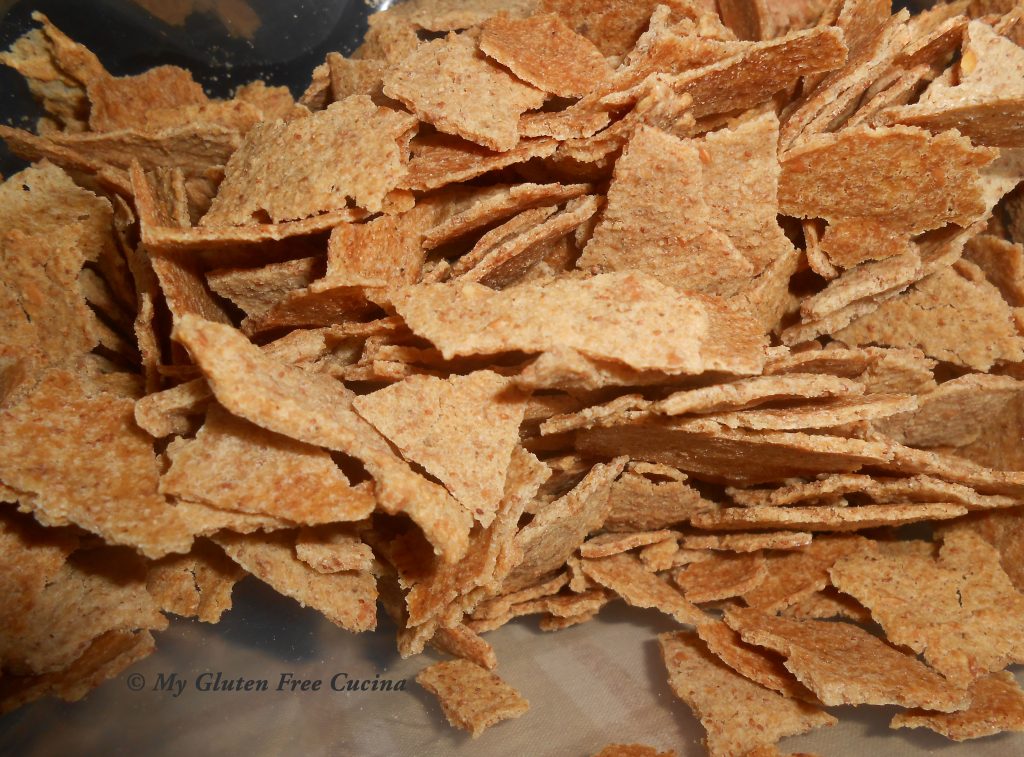
I baked it for 45 minutes at 300 degrees, rotating the pans and alternating oven racks every 15 minutes.  When I removed the pans from the oven, I let them cool for 5 minutes.  The sheets of dough were already cracking in places, and it was easy to finish breaking them into flakes with my hands.

For the last step I spread the flakes out and put them back into the oven, lowering the temperature to 250 degrees.  I baked the flakes for another 10 minutes to get them completely dried out and crispy.

When the flakes are completely cooled, store in an airtight container.  I’m not sure how long they would last, I finished eating them in about 3 days!

Not only did my homemade flakes taste great but I know I saved money by making them at home.  I may give up on store bought cereal all together.  Please do try the recipe and let me know what you think in the comments!  I love hearing from you!

Print This Post Print This Post


Sausage and Egg Mini Quiche

Let’s get the day started with an easy recipe that you can prep ahead and bake in the morning!  It’s a great savory dish for a casual breakfast or Sunday Brunch.  The recipe will yield one dozen mini quiches, perfect for a 12 cup muffin pan.  Completely gluten free with no oddball ingredients to purchase, everyone will love this family favorite!

This post contains affiliate links.

Ingredients:

  • ½ lb. gluten free Italian sausage, casings removed
  • ½ small onion, chopped fine
  • 1 tsp. olive oil
  • 1 package (8 oz.) white mushrooms, sliced
  • 1 package (5 oz.) baby spinach
  • 10 large eggs
  • ¼ cup milk
  • 2-3 oz. shredded cheddar cheese
  • gluten free breakfast sausage seasoning
  • Cooking spray

 Preparation:

Brown the sausage in a large nonstick skillet, breaking up the meat with a spatula.  Remove from the pan, reserving the fat.

Set the meat aside to cool, then pulse it a few times in a food processor or mini chopper, just enough to finish breaking up the meat.

Add a little olive oil to the reserved fat and begin cooking the onion.  When the onions are translucent, add the mushrooms and cook until they release their liquid.  Sprinkle with seasoning.

Remove the mushrooms and onions from the pan, drain in a colander and set aside.  Wipe the pan clean.  Add 2-3 big handfuls of spinach with 1/4 cup water.  It will cook down!  Cover and steam for 1 minute, just until the spinach is wilted.  Drain the spinach well and pat it dry with paper towels.

Note! You can prepare up to this point and refrigerate the night before.

When the mushrooms and spinach have cooled to room temperature, preheat the oven to 375º and coat a muffin tin with cooking spray.  Whisk the eggs in a large bowl and stir in the sausage, mushrooms, onions, spinach, seasoned salt and half of the cheese.

Spoon the mixture into 12 muffin cups and sprinkle tops with the remaining cheese.  Bake 25-30 minutes until set.

The quiche will puff up during baking and may deflate a bit when removed from the pan.

Carefully scoop out the quiches with a spoon and transfer to a serving dish.  They should slide right out.  Serve hot or at room temperature.

This is a very easy recipe that you can double or triple to feed a crowd for brunch.  I used Italian sausage, but you can substitute any sausage you prefer, or bacon or prosciutto!  Be sure to pin this easy and delicious recipe for your next Sunday brunch!

Notes ♪♫ There are many gluten free sausage seasonings on the market, but you may find them high in sodium.  If you are interested in making your own seasoning blend, check out my Homemade Breakfast Sausage Patties post.  It includes a recipe for a blend of individual spices that you mix together, and you can adjust the salt content to your liking.

Print This Post Print This Post

Honey Glazed Pork Chops

Pork chops are an easy and economical main course.  There are so many ways to prepare them!  I have always breaded and baked mine, but in the summer I want something a little lighter.  This simple recipe is the one to keep handy for your weeknight rotation.  My family loved the honey glaze, and the pork chops come out tender and juicy every time.

Ingredients:

  • 3-4 boneless pork chops, about 6 oz. each
  • 2 tbsp. olive oil
  • 1 tbsp. honey
  • 1 tbsp. gluten free soy sauce
  • ½ tbsp. gluten free Worcestershire sauce (I like Lea and Perrins®)
  • Gluten free seasoning, to taste (I used The Spice House Brisket of Love BBQ Seasoning)
  • cooking spray
  • fresh chives, for garnish

Preparation:

Choose chops that are all about the same size, so that they finish cooking at the same time.  Whisk together the olive oil, honey and Worcestershire sauce in a baking dish large enough to hold your pork chops in a single layer.

Add the pork chops and marinate for 30-45 minutes at room temperature, turning every 10 minutes.

I cooked the chops in a 14” non-stick covered skillet, you want them spaced out in the pan, not touching.  Coat the pan with cooking spray and heat over medium low.  Add the pork chops, sprinkle with seasoning, then cover and cook 4 minutes.  Keep the cover on, and don’t move the chops around in the pan.

Turn the pork chops over, drizzle any remaining marinade over the top and sprinkle more seasoning.  Cover and cook for an additional 3-5 minutes, depending on the thickness of the chops and how you like them done.  According to food safety guidelines, pork should be cooked to a minimum of 145° and for me this is perfect.  Check with a thermometer to be sure.

Now turn them once more to coat both sides in the honey glaze and cook 30 more seconds to get that beautiful amber color!

Transfer to a serving dish and garnish with chives.  I served with brown rice and roasted cauliflower.

Aren’t they gorgeous?  Now that you know how easy it is, surprise your family with a delicious pork chop dinner this week.  Make it once and it will become an instant favorite!

 I hope you’ve found some gluten free meal inspiration today at My Gluten Free Cucina!  Be sure and pin this one for next week’s menu!

Print This Post Print This Post