At the beginning of my gluten free journey, one of my first successful home cooked meals was a personal favorite of mine, Chicken Parmesan. I am Italian so this was a big deal! In this post, I’ll show you how with just 2 ingredient swaps I made a gluten free adaptation of this classic comfort food that tastes just like the one you remember!
Serving size, 1-2 cutlets per person
This post contains affiliate links.

Ingredients:
- thin sliced boneless chicken breast, 6 oz. per serving
- white rice flour
- 1 egg + 1 tbsp. water
- Tuscan seasoning
- gluten free seasoned Italian breadcrumbs (I recommend Aleia’s)
- olive oil
- marinara sauce, jar or homemade
- shredded cheese (mozzarella, parmesan, fontina, gruyere)
- Italian parsley for garnish
Preparation:
To save time, I bought thin sliced chicken breast. For thicker cuts, you will need to place the chicken between 2 sheets of plastic wrap and pound to 1/2″ thickness with a meat mallet. Cut into 6 oz. serving portions.

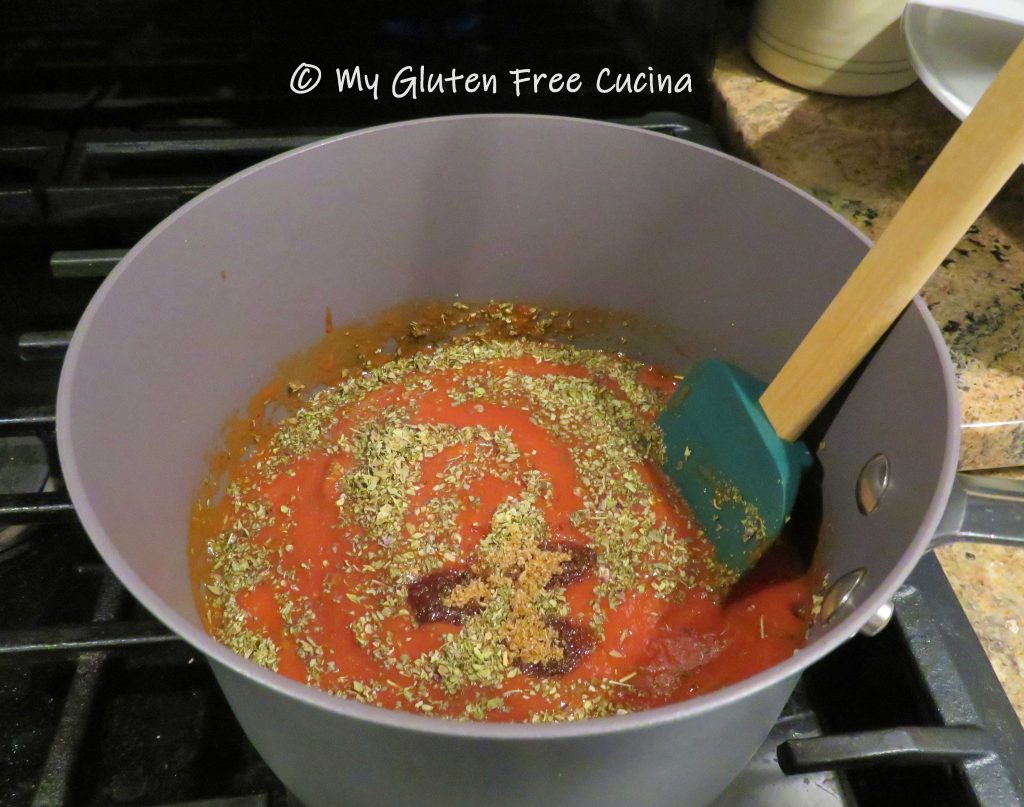
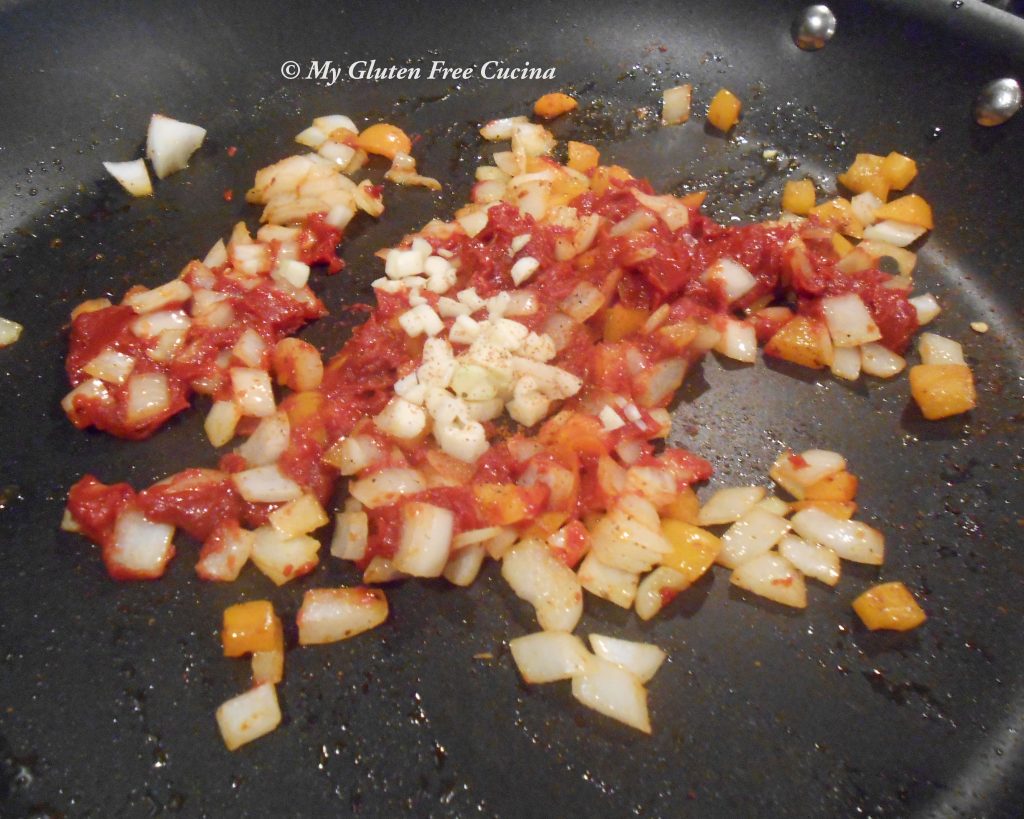
Before you get started with the chicken, preheat the oven to 350º. Stir together a small batch of marinara sauce. I used a 29 oz. can of tomatoes, 3/4 cup diced onion, 1 minced garlic clove, 1 tsp. brown sugar, 2 tsp. basil and 1 tsp. oregano. You can of course just warm up some jar sauce (I won’t tell 😉 ).
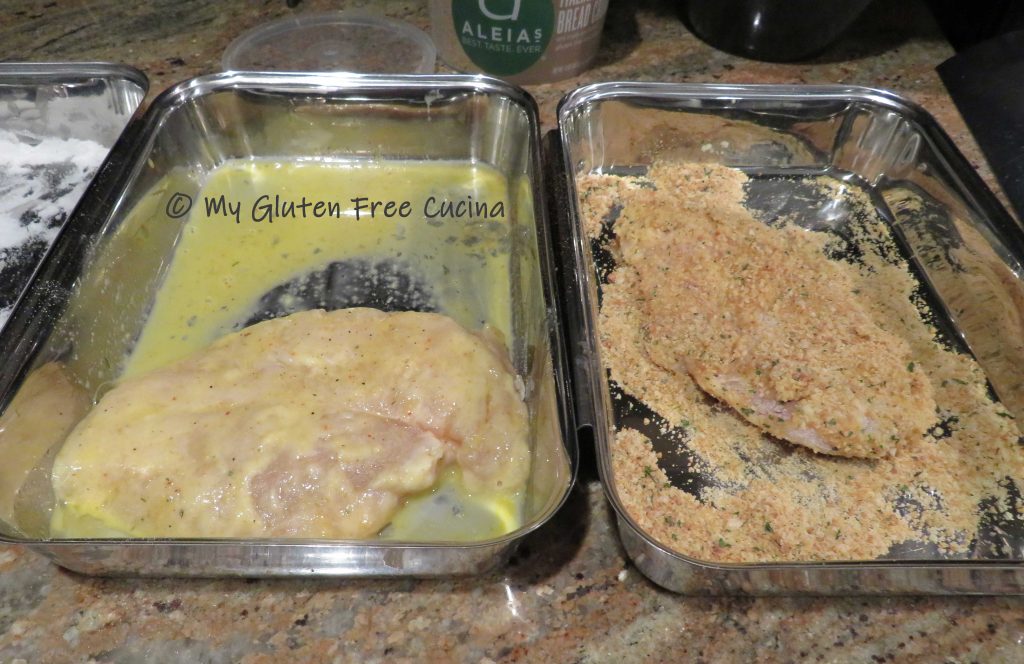
Set up 3 breading trays, one with rice flour, one with the beaten egg + water, and one with gluten free breadcrumbs. Sprinkle the rice flour and egg with seasoning.

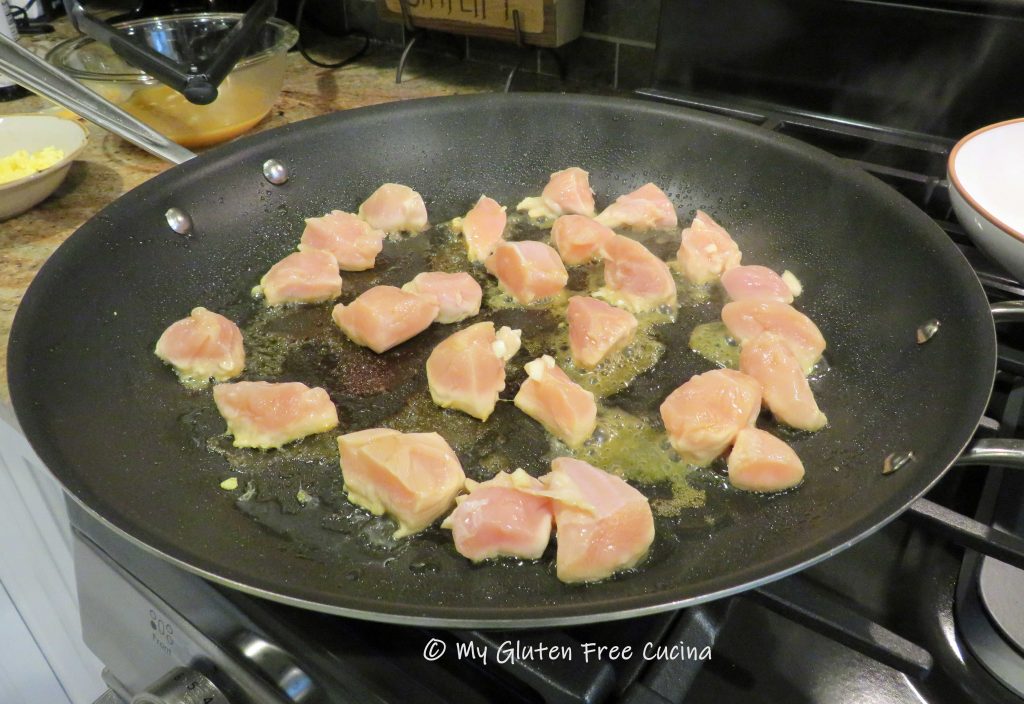
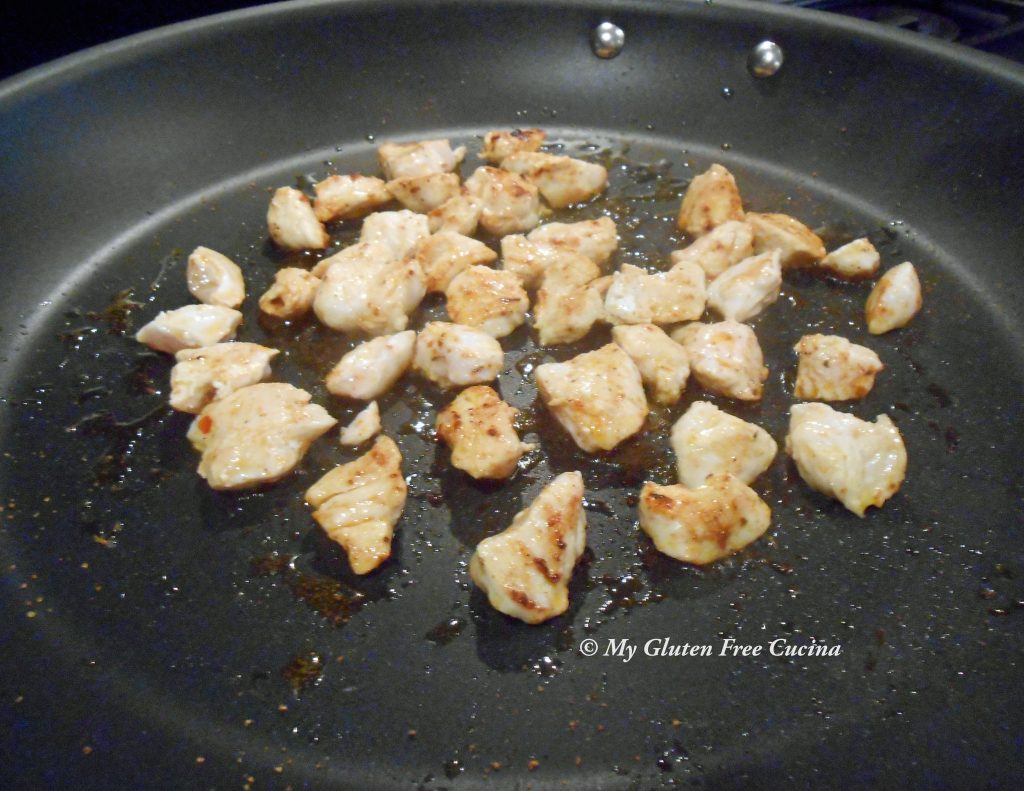
Heat 2 tbsp. olive oil in a large non-stick skillet. Pat each piece of chicken in the seasoned flour. Next, dip the floured chicken in the egg, shaking off the excess. Finally, roll in the breadcrumbs, turning to coat both sides.

Cook the chicken 3 minutes per side, until nicely browned.

Don’t crowd the chicken in the pan, if necessary, cook it in 2 batches.
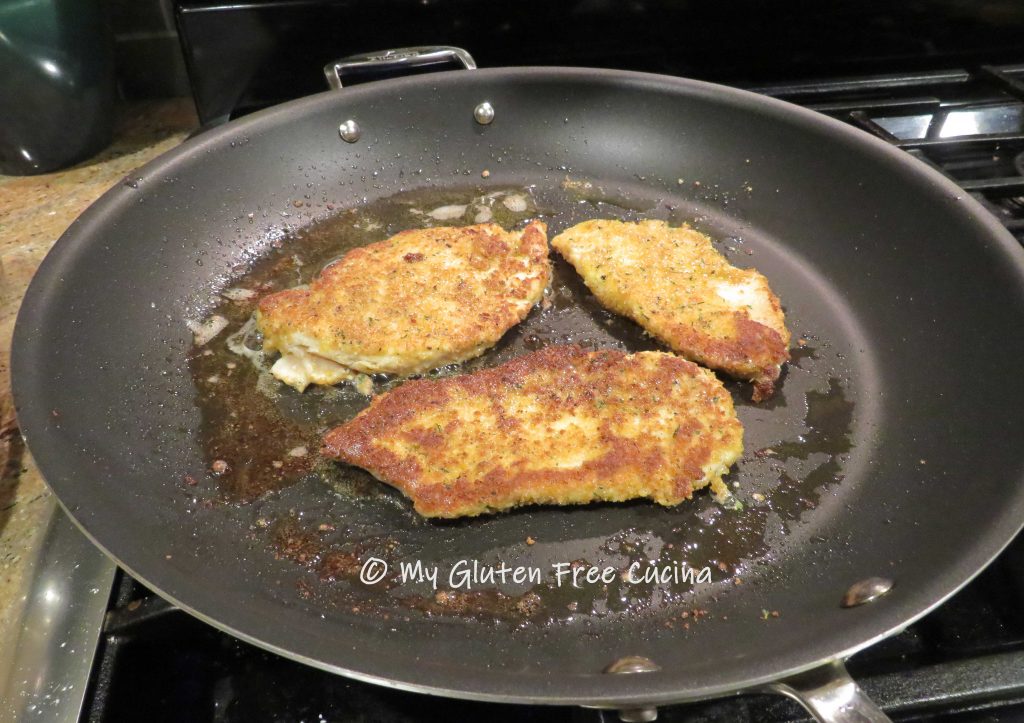
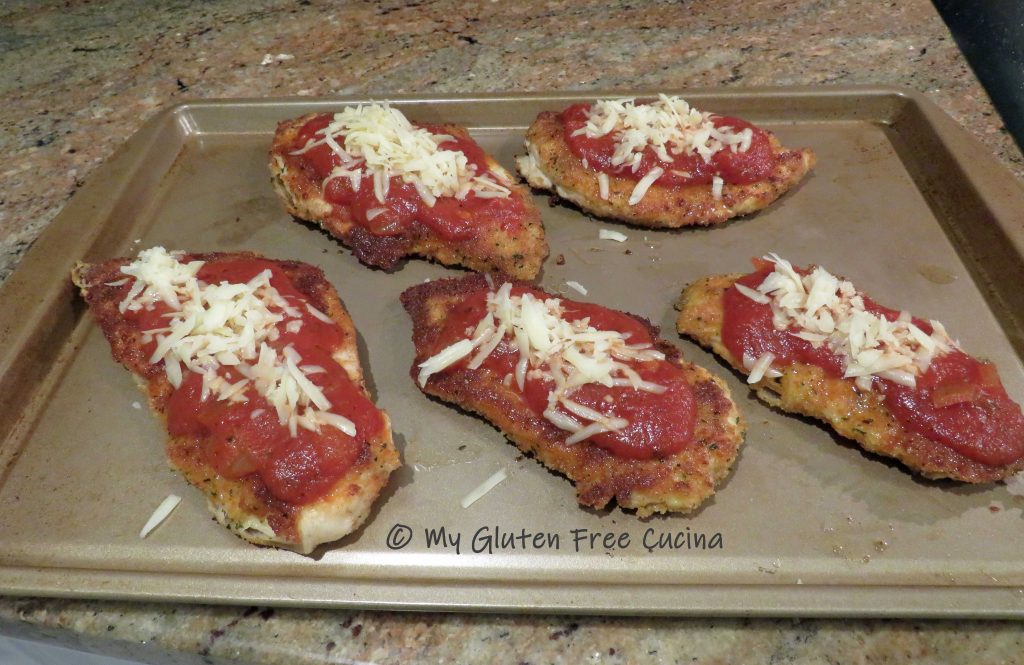
The chicken does not need to be cooked through at this point, it will finish in the oven. Transfer the browned cutlets to a baking sheet.

Top each piece with a ladle (~1/4 cup) of marinara and shredded cheese. While mozzarella is traditionally used in this recipe, you can use any cheese you prefer. I love gruyere or fontina cheese, for their mild flavor and superior melting characteristics.
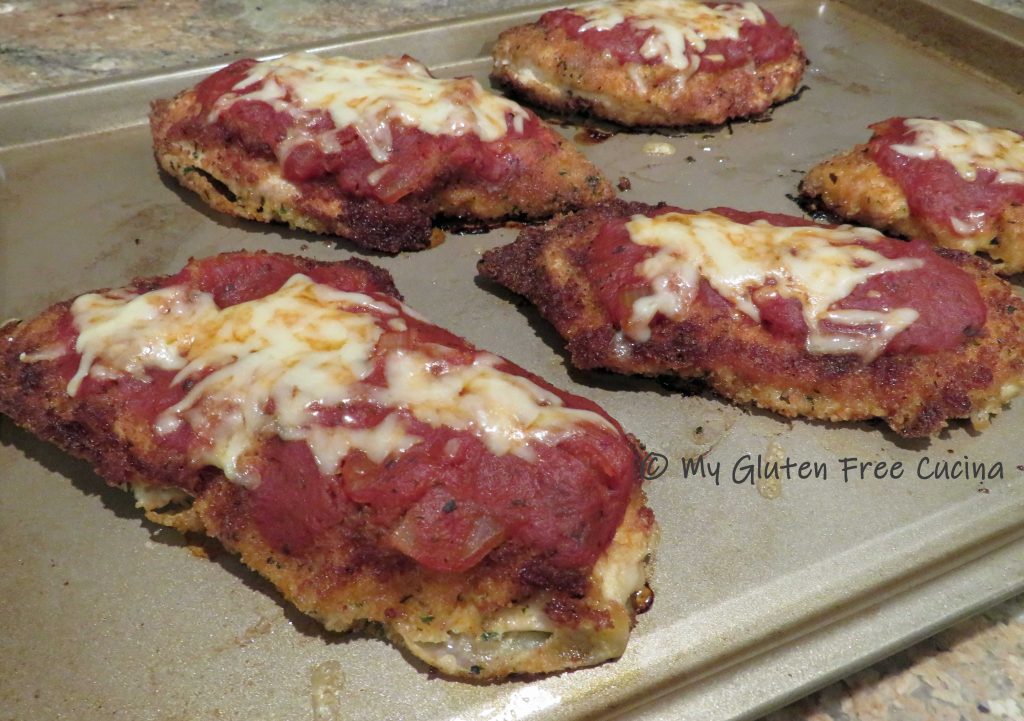
 Finish in the oven for 15-20 minutes or until the cheese is melted.
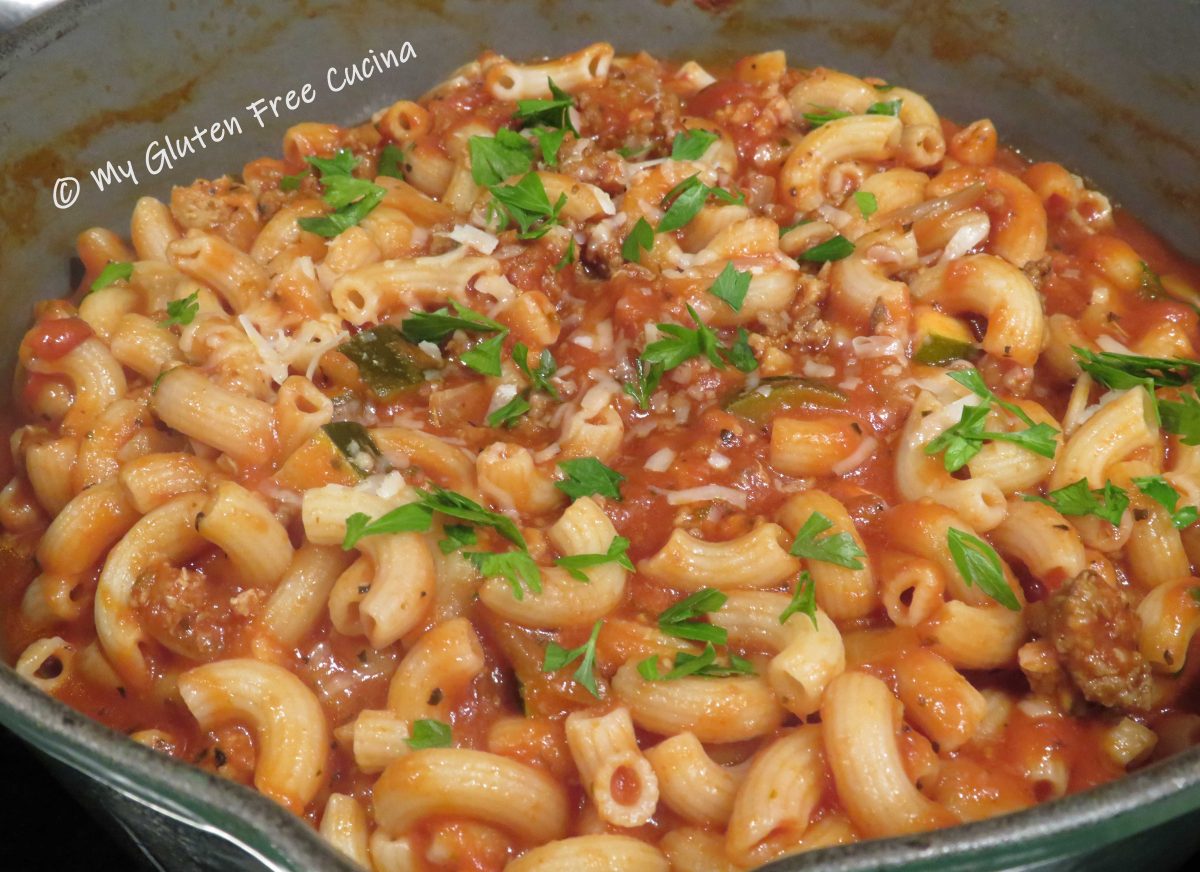
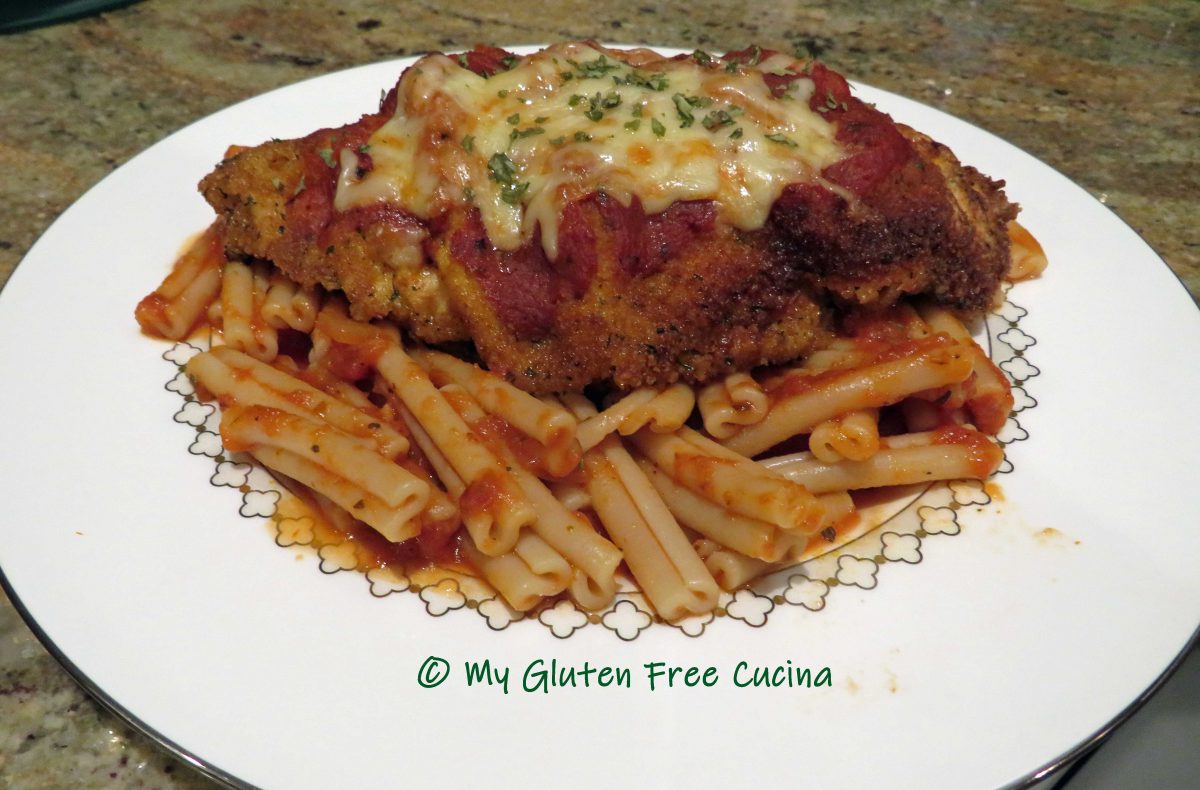
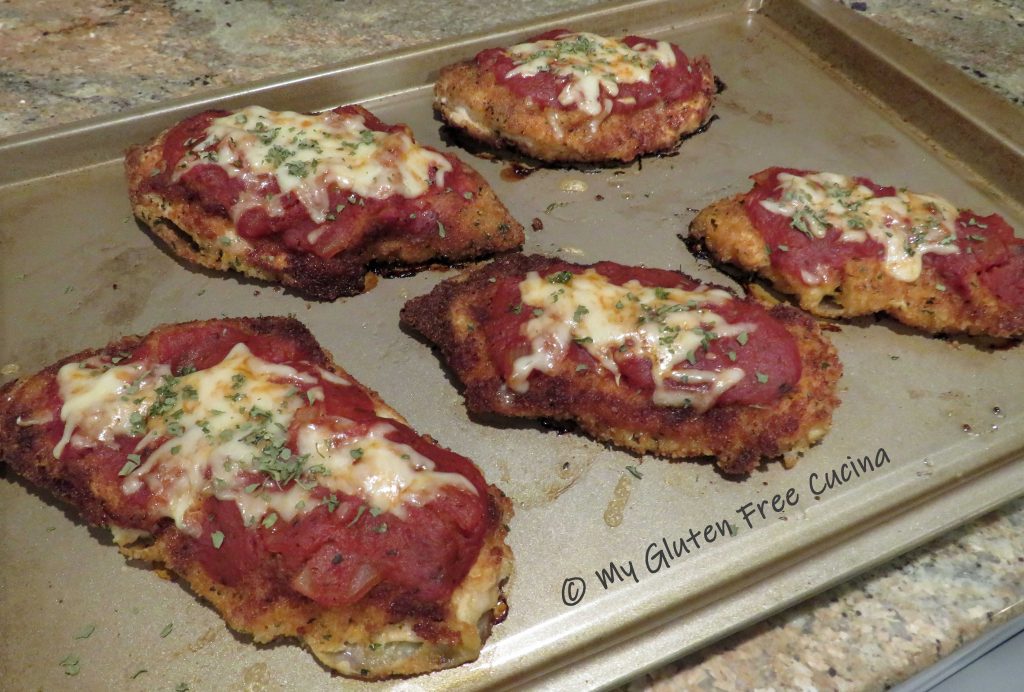
Garnish with parsley and serve with your favorite gluten free pasta.
I made Jovial Caserecce brown rice pasta, and it was delicious! Confession, all the while I was cooking, I had my eye on the biggest piece of chicken, and I finished every bite!
 When I made this for company, no one knew it was gluten free. Mum’s the word!

Notes ♪♫ Plain white rice flour works better than gluten free all purpose flour in this recipe. Don’t use a flour blend that contains gum, as the breading may turn out soggy. Also, some prepared sauces, seasoning mixes and even grated cheese may contain hidden gluten, always check the ingredient labels!

[print_link]


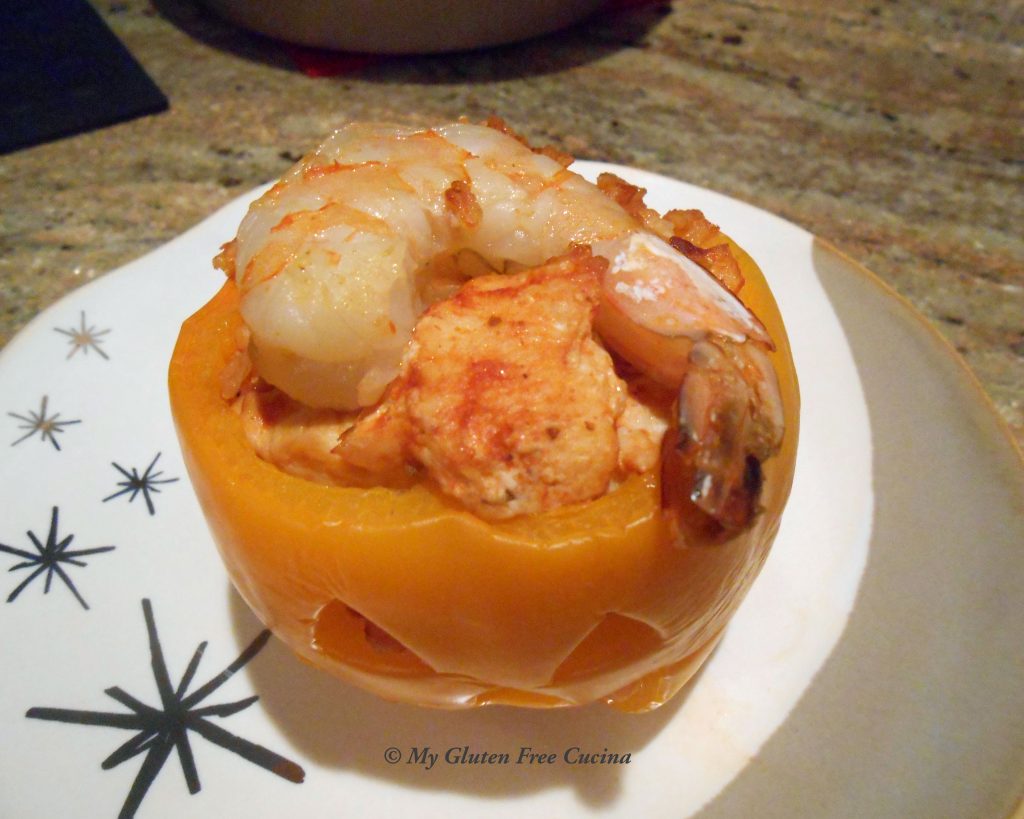
 Blanch the peppers for 3 minutes in boiling water. Drain well and arrange in a baking dish that has been misted with cooking spray.