Gluten Free Potato Gnocchi with Cassava Flour

Gluten Free Potato Gnocchi with Cassava Flour

This post contains affiliate links

This recipe combines two of my favorite new ingredients, Cassava flour and Hannah sweet potatoes.  Cassava Flour is made from the root of the yucca plant, and so far I have made some delicious things with it.  Check out my Cassava English Muffins, or this delicious Sweet Potato Flatbread.  As I experiment more with this gluten free dough, all I can think of is pasta!
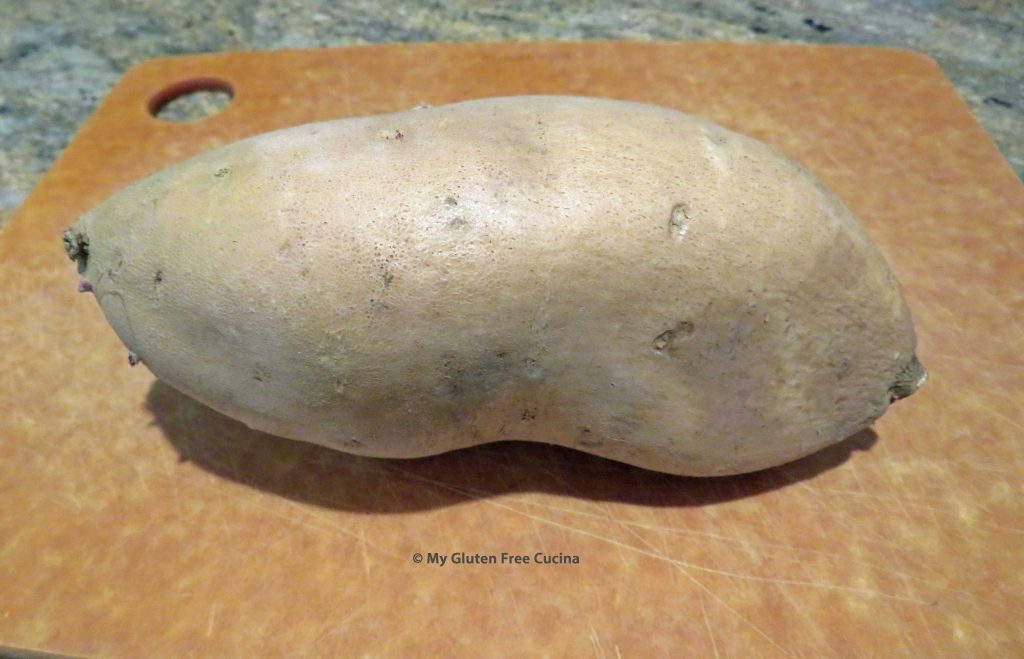
Hannah sweet potatoes are also new to my kitchen.  Have you seen this blond version of the sweet potato?  It has a thin pale skin and cream colored flesh that disappears into bread and pasta dough with ease.
The amount of flour needed in this recipe will vary depending on the moisture in the potato, and size of your eggs.  It does require some judgement, knowing when you have the right amount of hydration.  I recommend weighing the sweet potato after it is peeled, and then gradually incorporating the flour by feel.  You can always add more flour, but you can’t take it out!

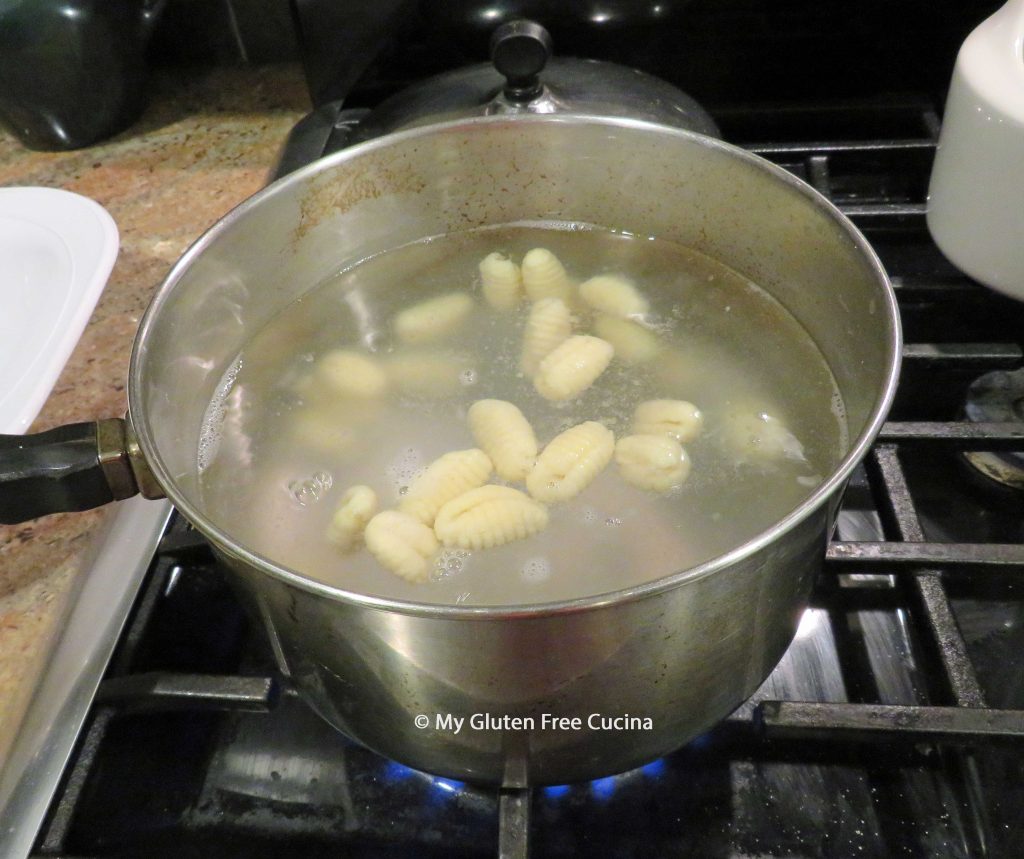
Tip: Keep a pot of boiling water going as you make the gnocchi, and throw a few in.  When they float to the top, taste them.  Are they too mushy?  Add more flour to the dough.
Ingredients:

  • 10 oz. white sweet potato, peeled and cubed
  • 2 large eggs
  • 5 tbsp. cassava flour
  • 2 tbsp. arrowroot starch
  • 1/4 tsp. salt
  • 1/2 tsp. xanthan gum
  • additional 1 cup cassava flour for kneading and rolling

Preparation:

Steam the peeled potato for 30 minutes or until very soft.  Cool to room temperature (important, so you don’t cook the eggs!).

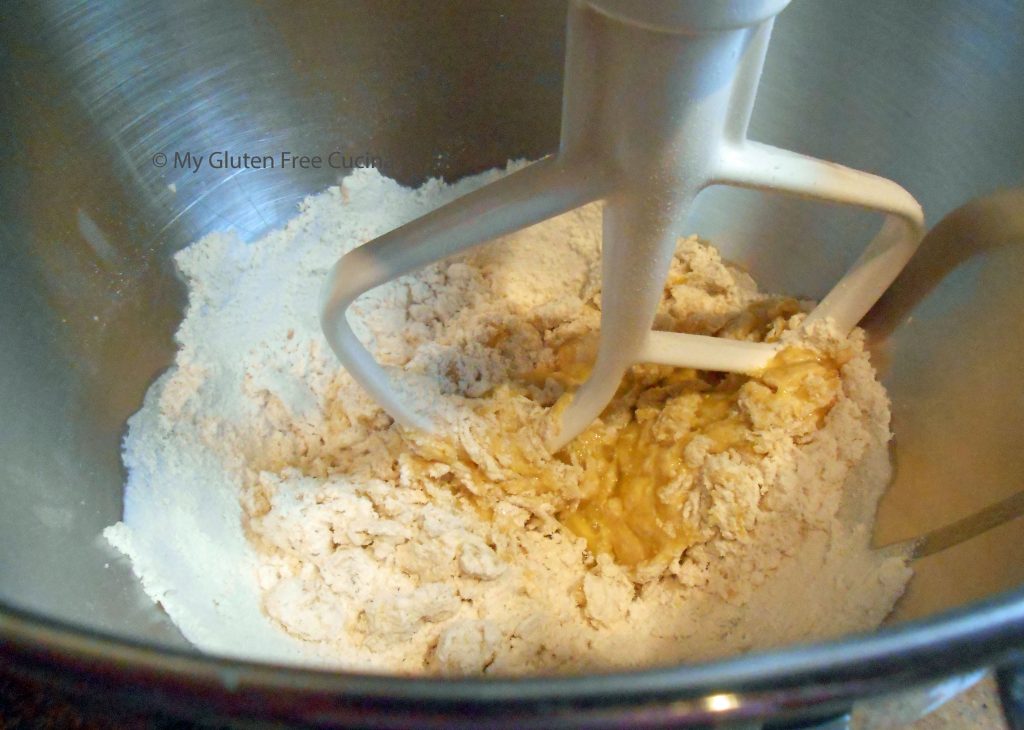
In the bowl of a stand mixer, combine the cooled potato with the eggs.
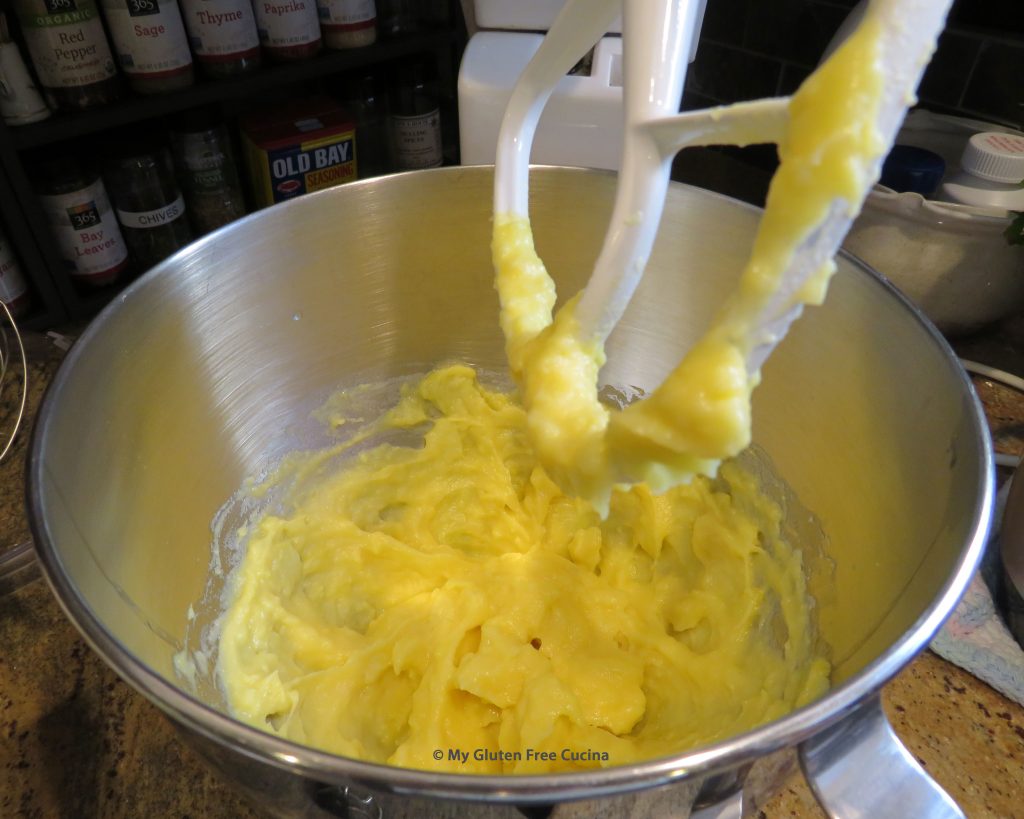
Add the remainder of ingredients through xanthan gum to form a sticky dough.
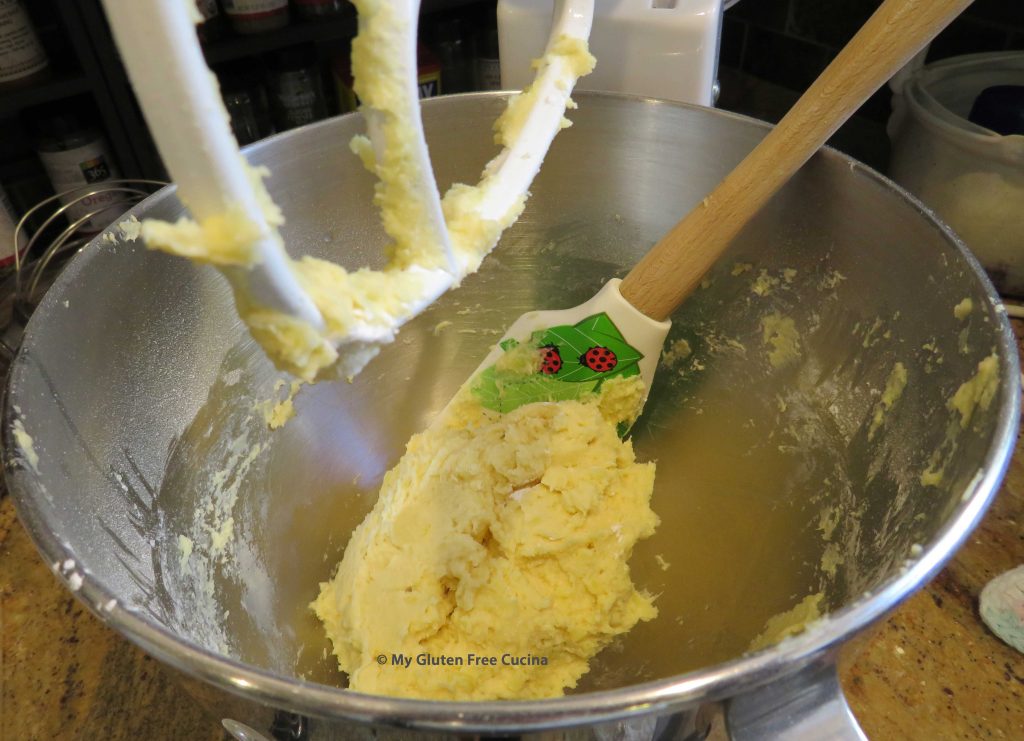
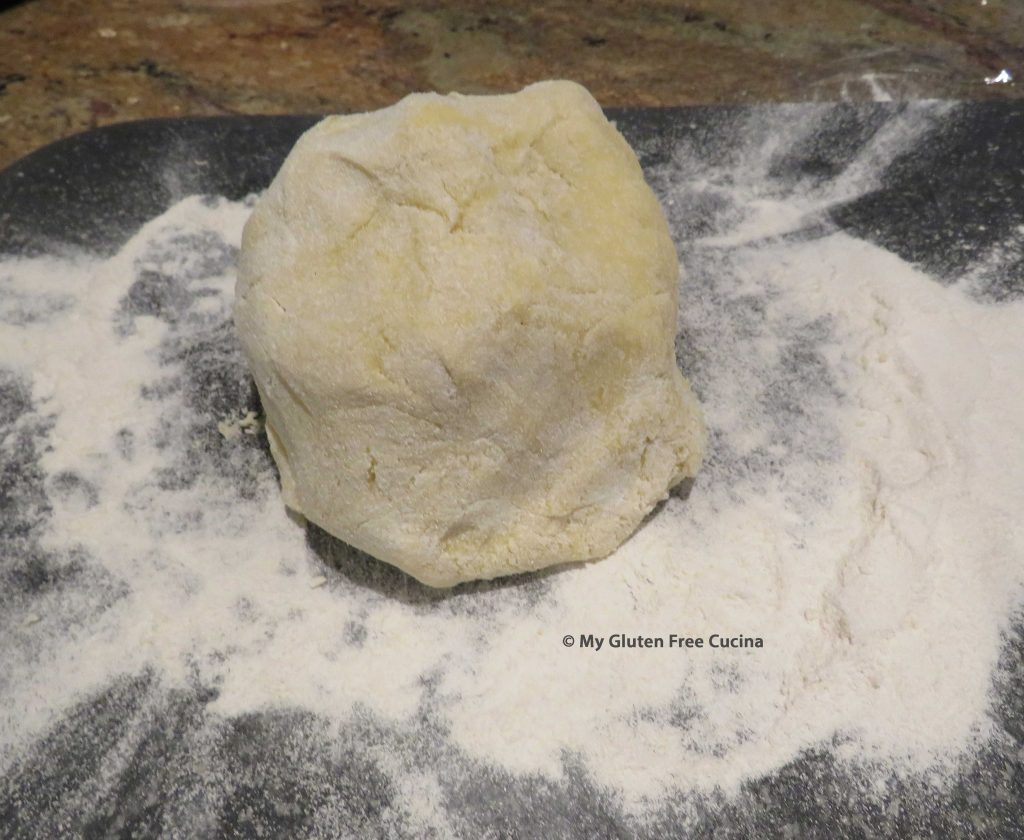
Generously flour a cutting board with cassava flour and knead the flour into the dough until you can easily handle it and it doesn’t feel tacky.  Reserve any extra flour for rolling.
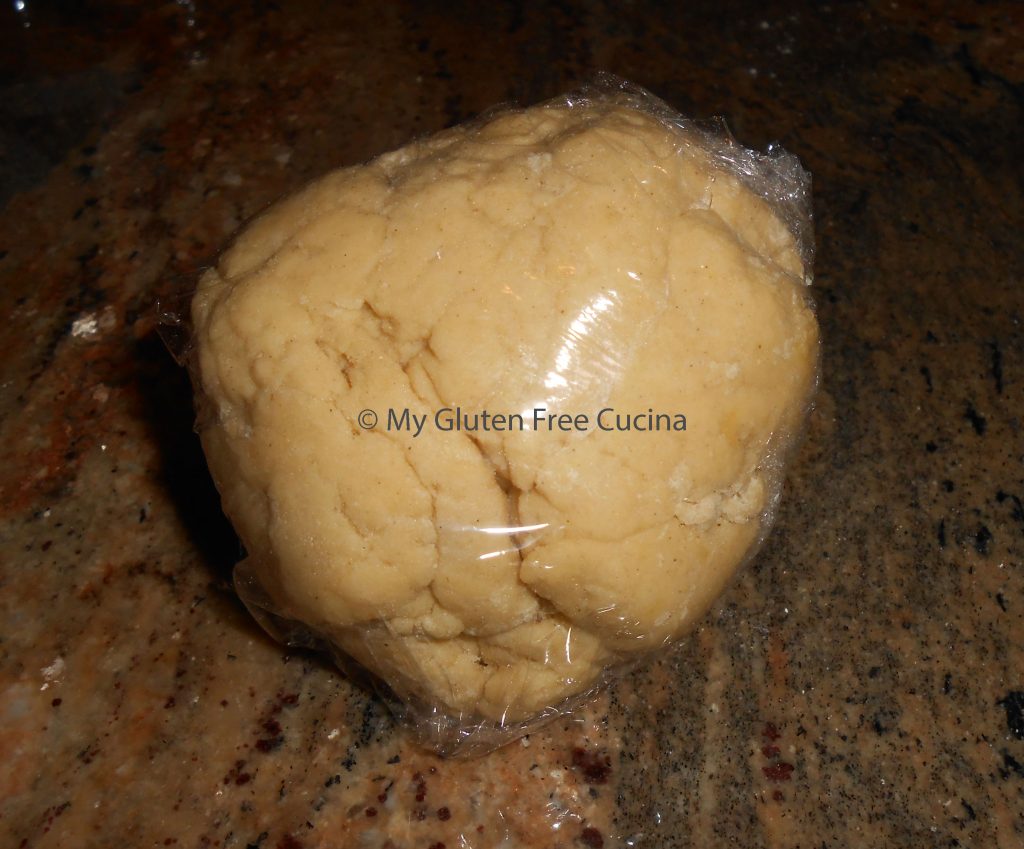
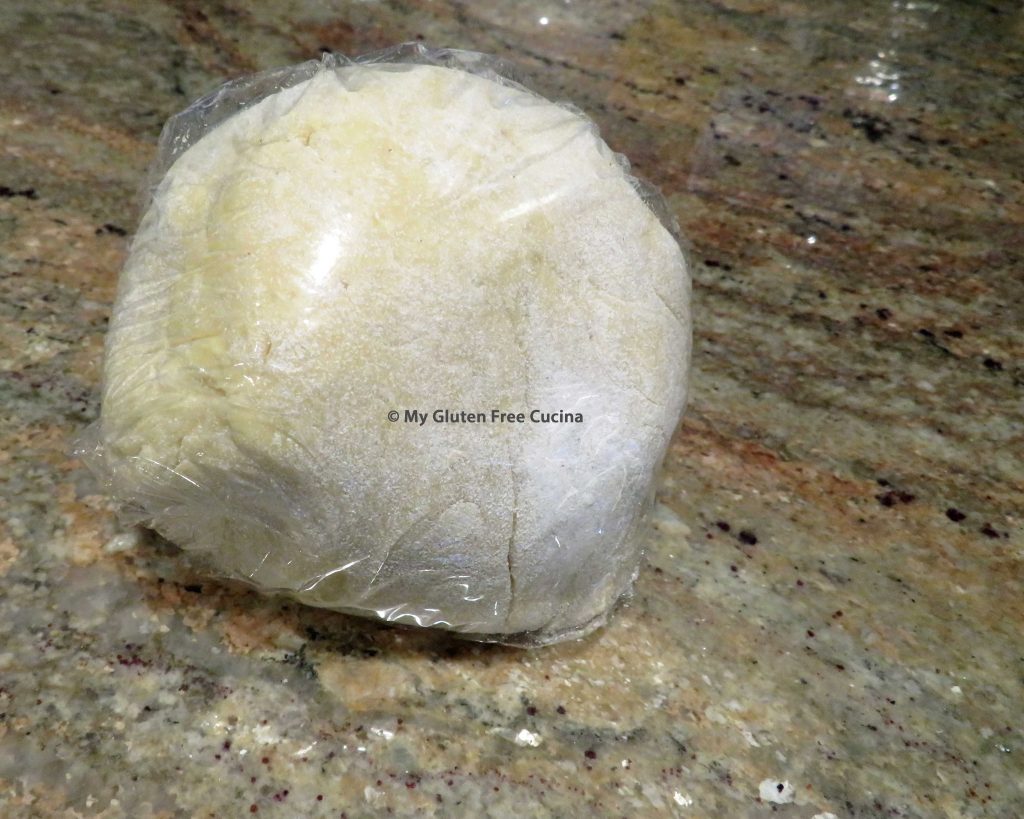
Wrap the dough in plastic wrap and rest for 10 minutes.  This allows the flour to absorb more of the moisture.
Divide the dough into 4 sections.  Work with one section at a time, keeping the rest covered so that it doesn’t dry out.

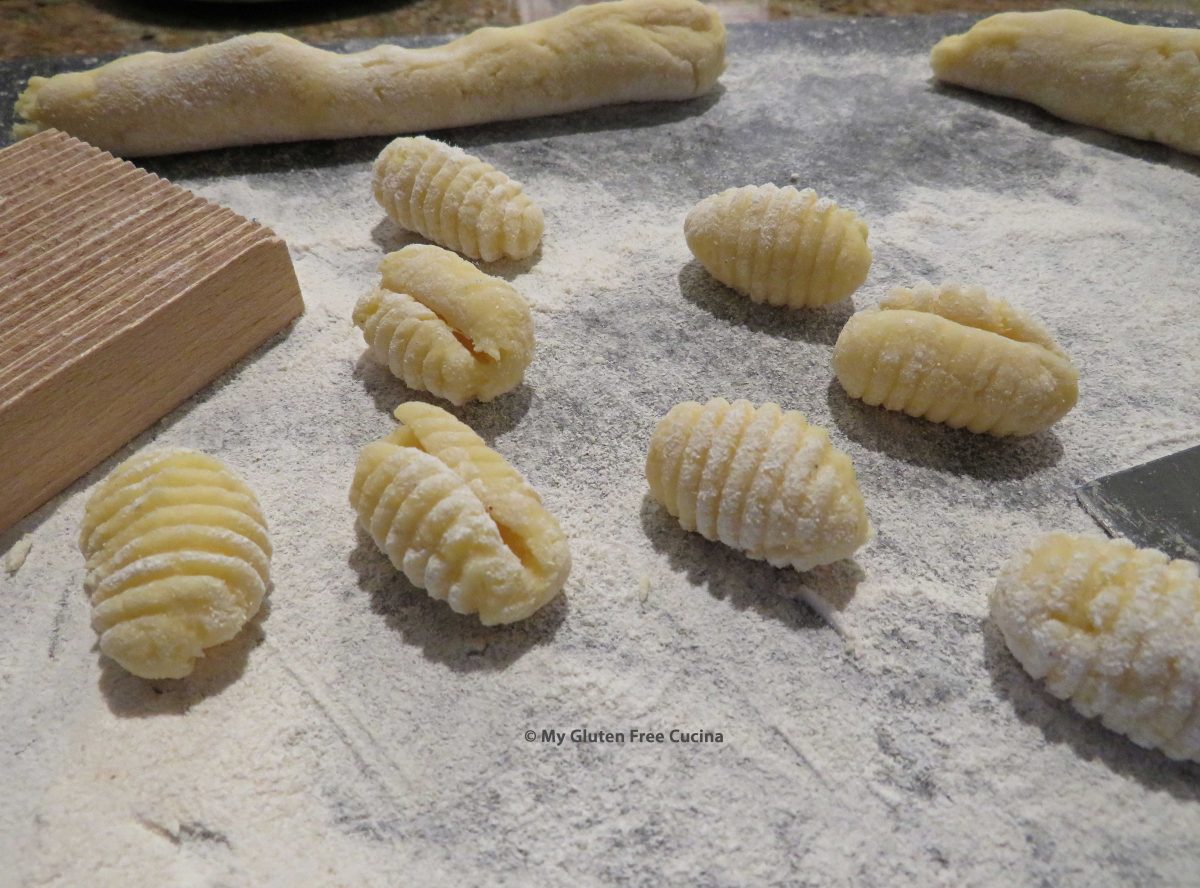
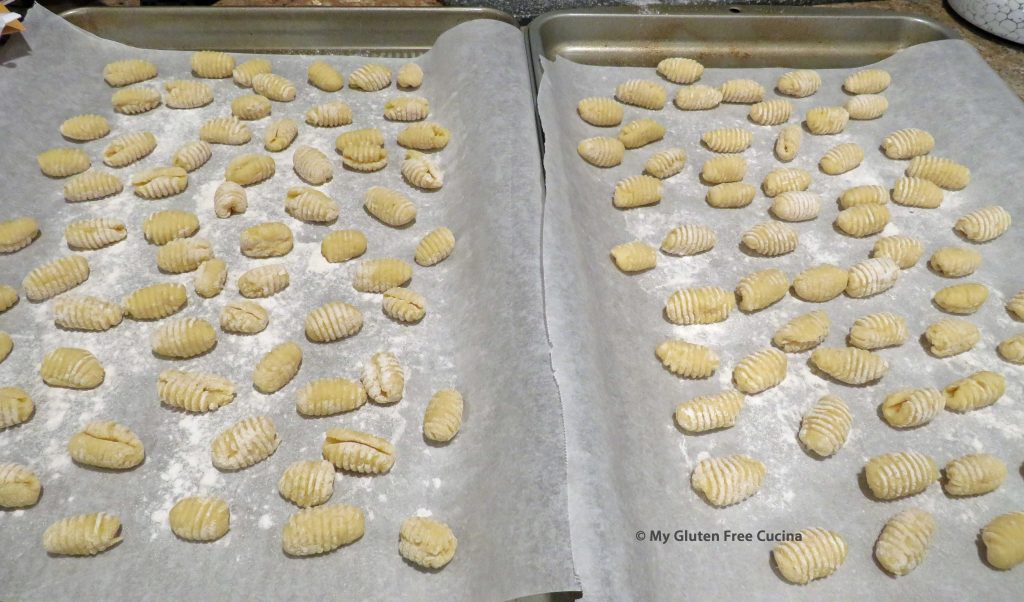
Roll the dough into a long rope, about 3/4″ thick.  Use a bench knife to cut the rope into 1/2″ pieces.
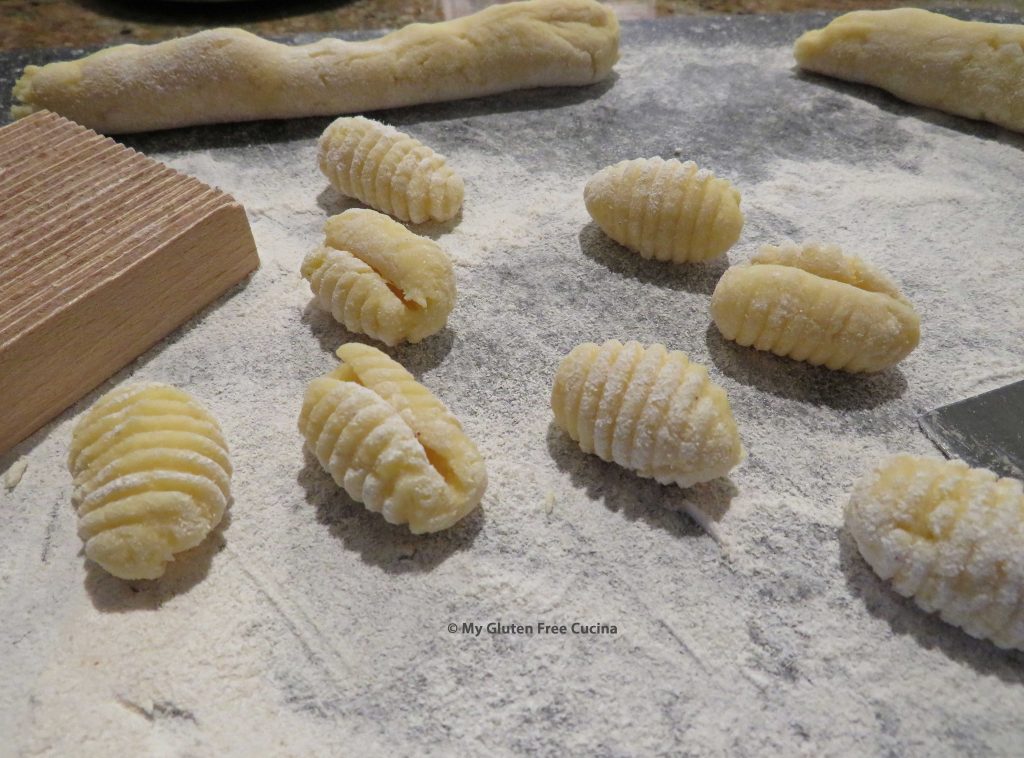
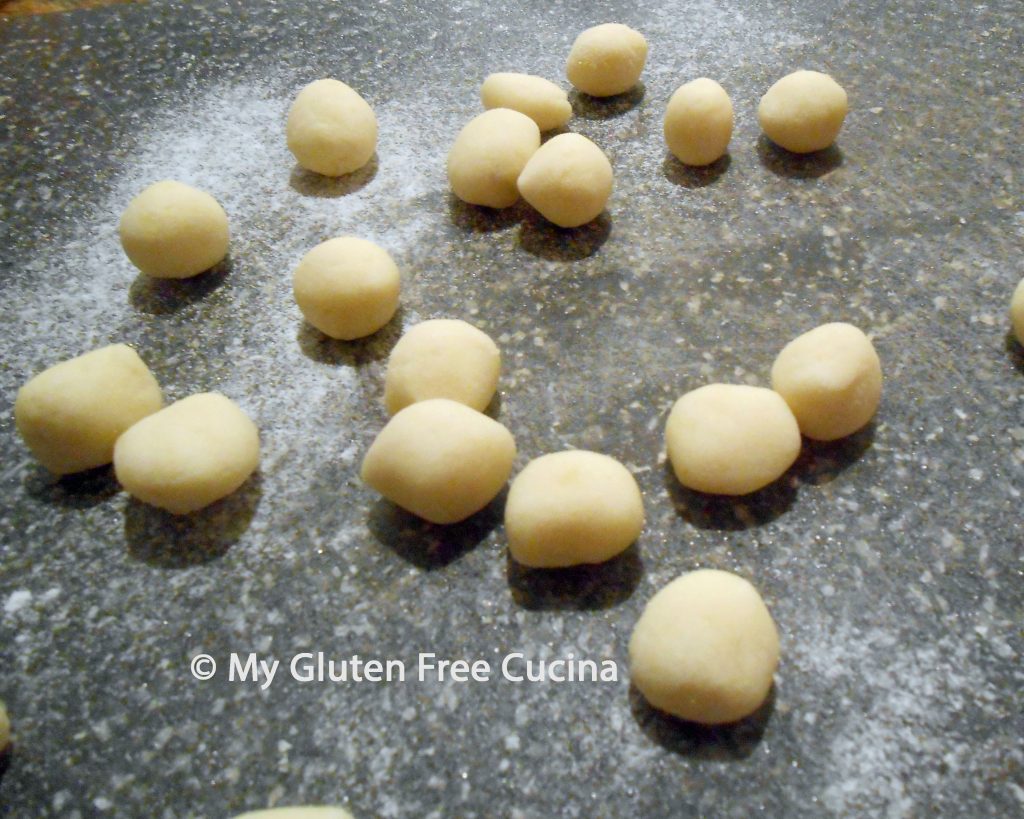
Flour your hands and roll each piece into a ball.
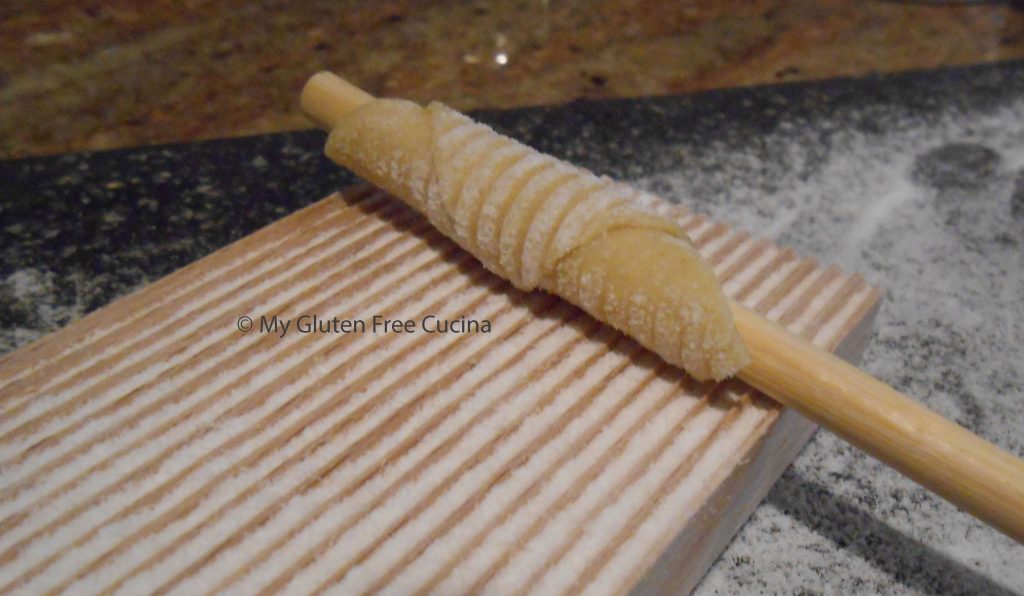
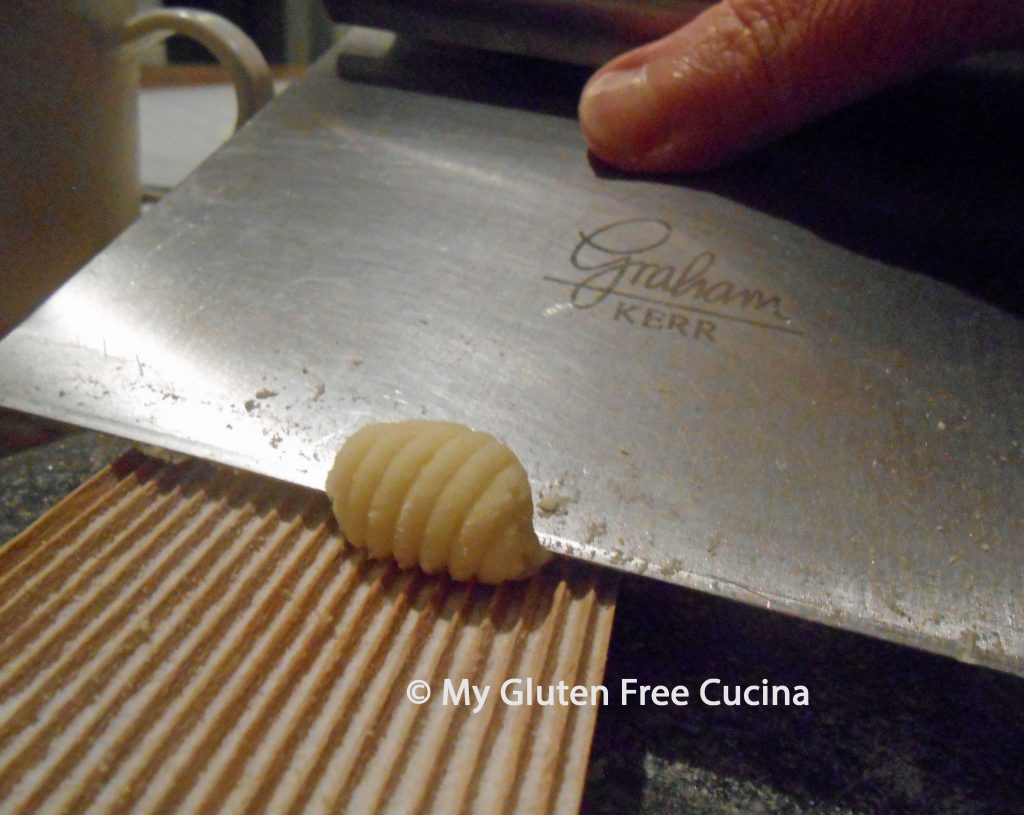
I used a bench knife to roll each piece over a gnocchi board.  You can also use a fork.
Always follow food safety guidelines!  Pasta made with eggs should be covered and refrigerated within one hour.

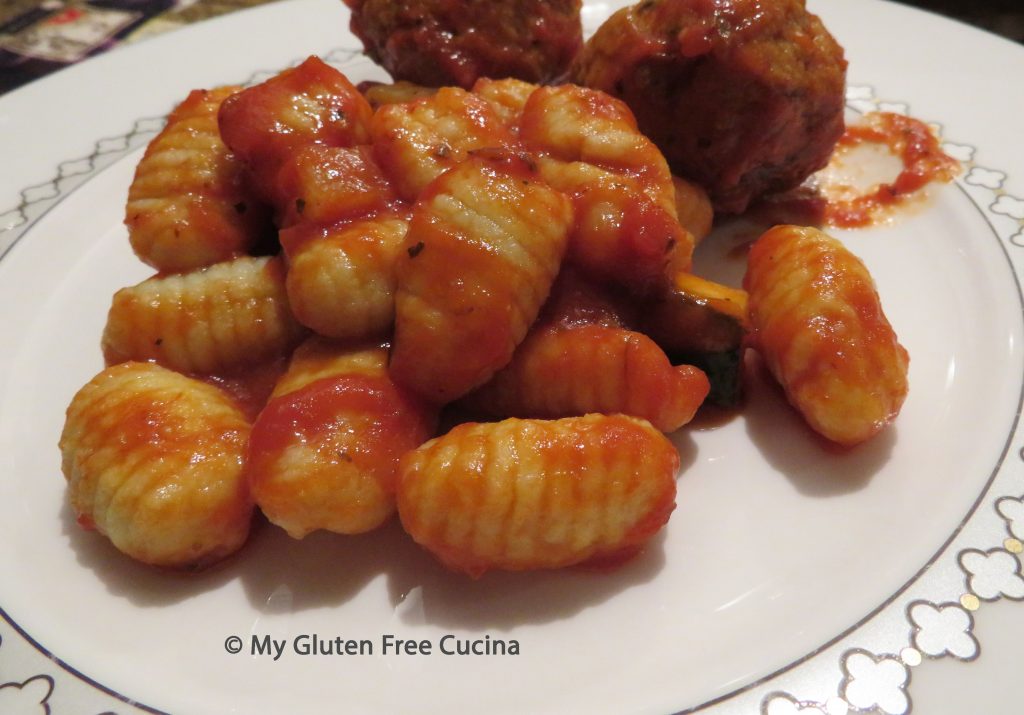
When ready to cook, boil a large pot of salted water.  Add the pasta and cook for about 3 minutes.  They are done when they float to the top.
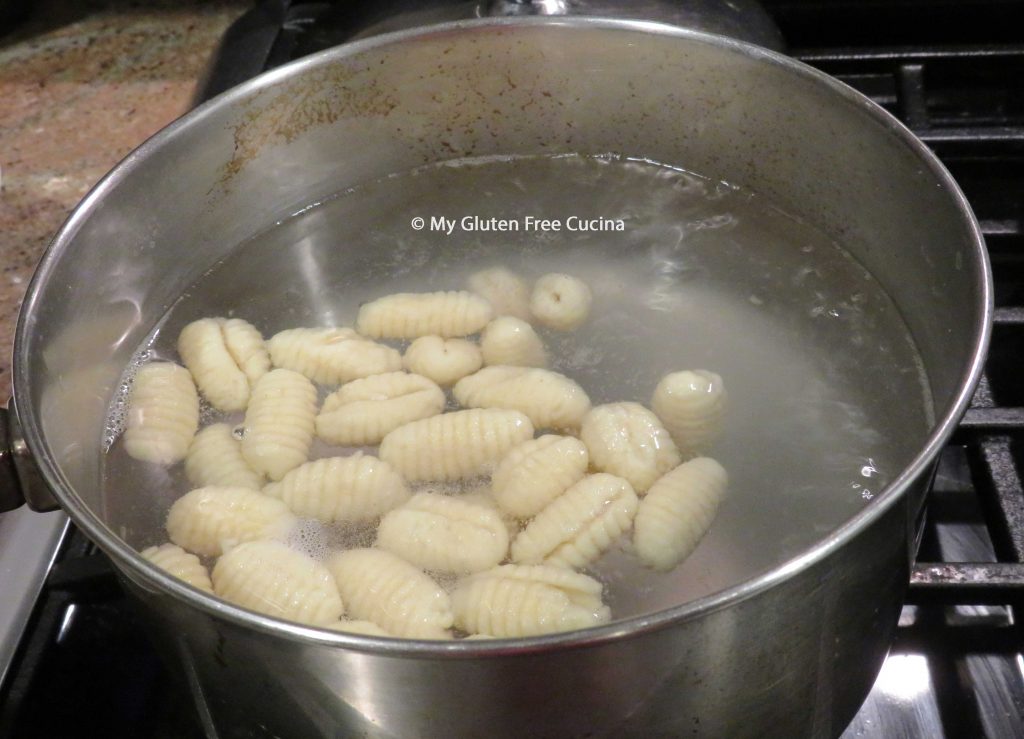
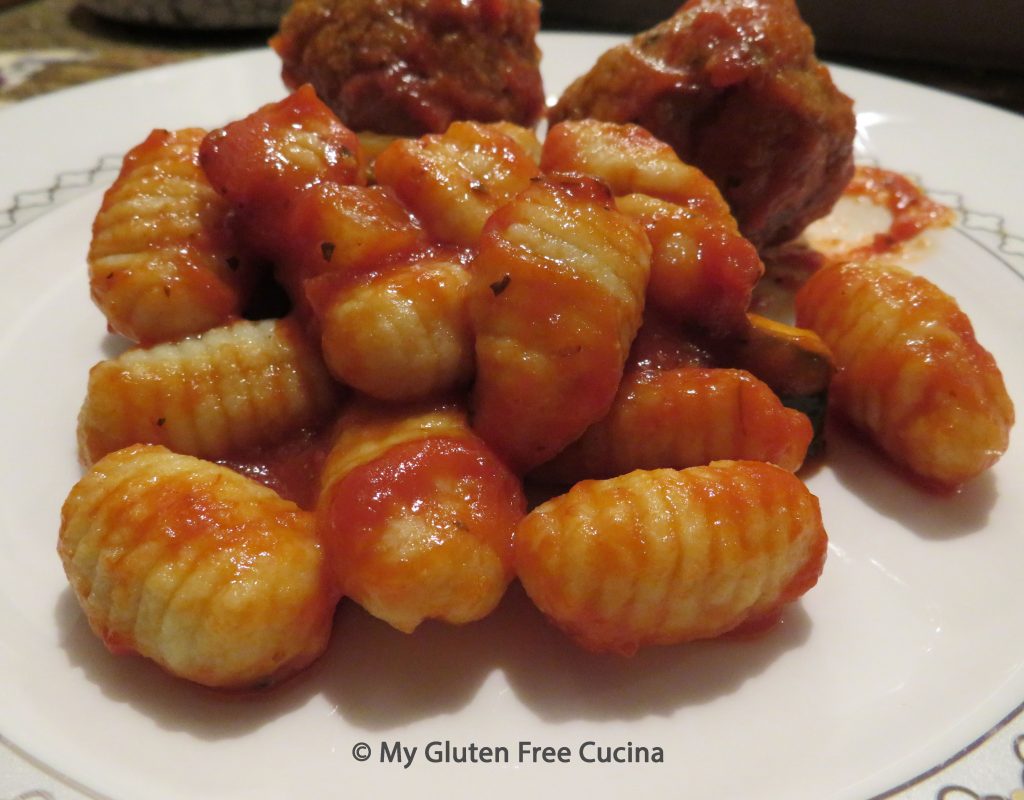
Skim them out gently with a spider strainer and top with sauce.
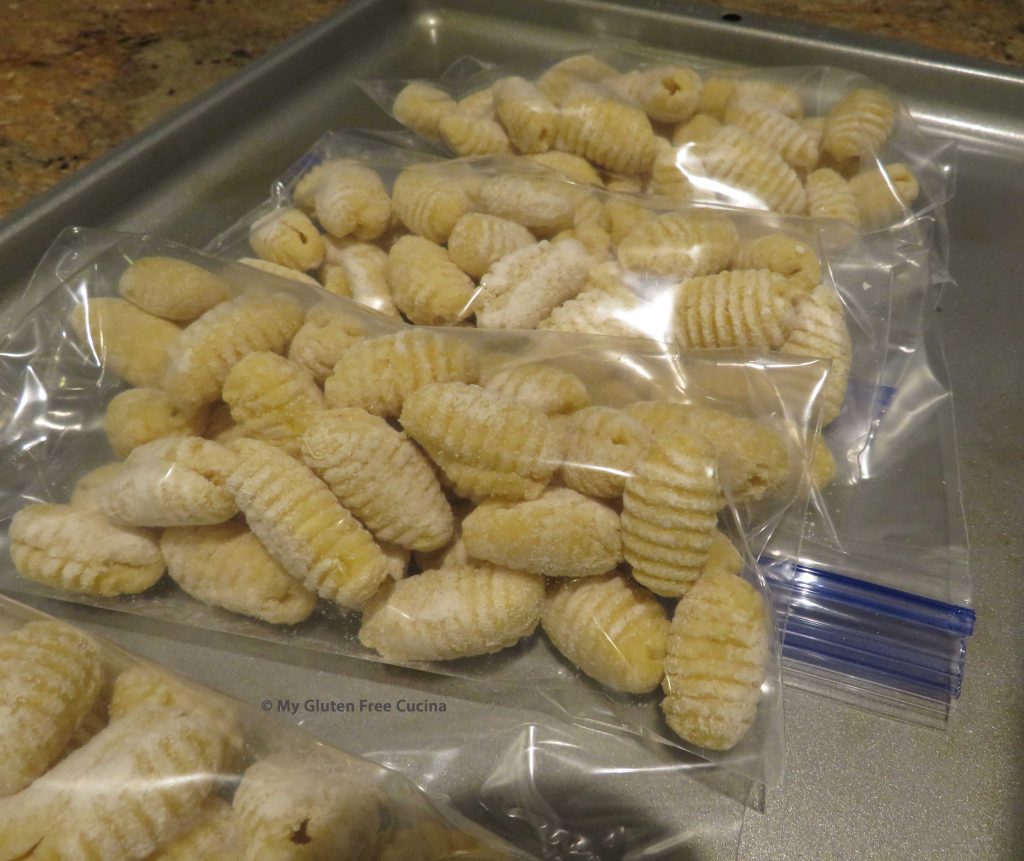
Notes: ♪♫ If you would like to freeze some for another meal, place the tray in the freezer for an hour then transfer to freezer safe bags.
Print This Post Print This Post


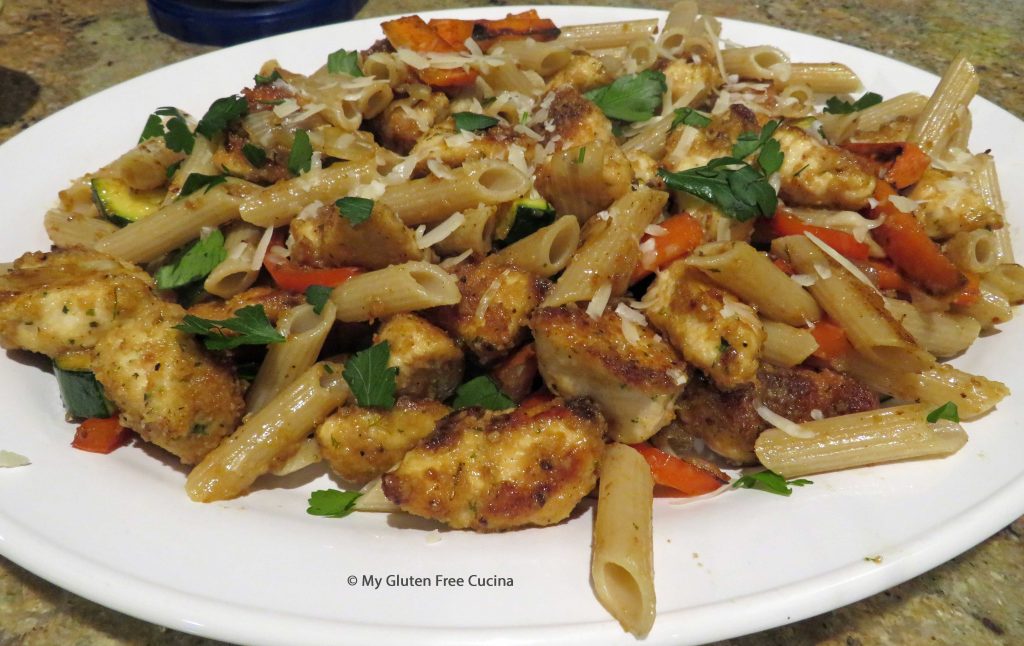
Skillet Chicken and Penne

Before I was diagnosed with Celiac disease, easy skillet meals like this were my go-to for busy weeknights.  There was a time when I thought I would never enjoy meals like this again, but little did I know!  Delicious gluten free pasta and breadcrumbs are widely available so today I can still enjoy some of my old favorites.  I love that this dinner can be pulled together in a hurry.  It’s such a versatile recipe, you can substitute whatever veggies you have on hand, even leftover or frozen veggies will work.

This post contains affiliate links.

Ingredients:

Preparation:

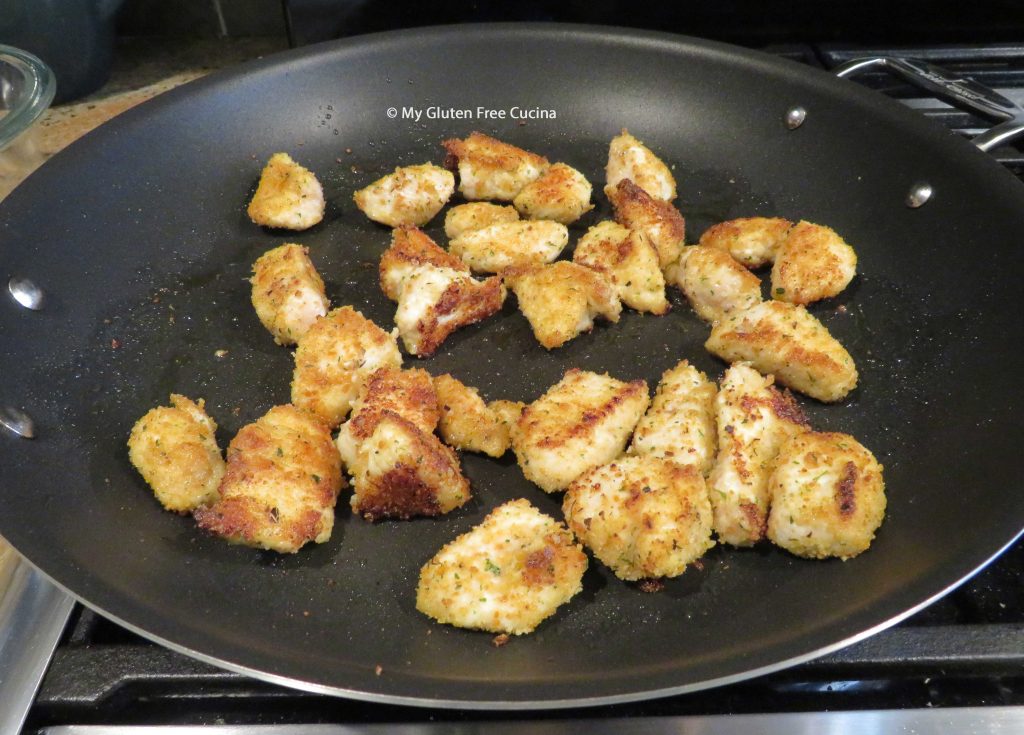
Boil a pot of salted water for the pasta.  Cut the chicken into cubes.  Place in a bowl and toss with breadcrumbs to coat evenly.  Cook the chicken in a large, nonstick skillet with olive oil.  Turn to brown all sides.  When cooked through, remove and keep warm.

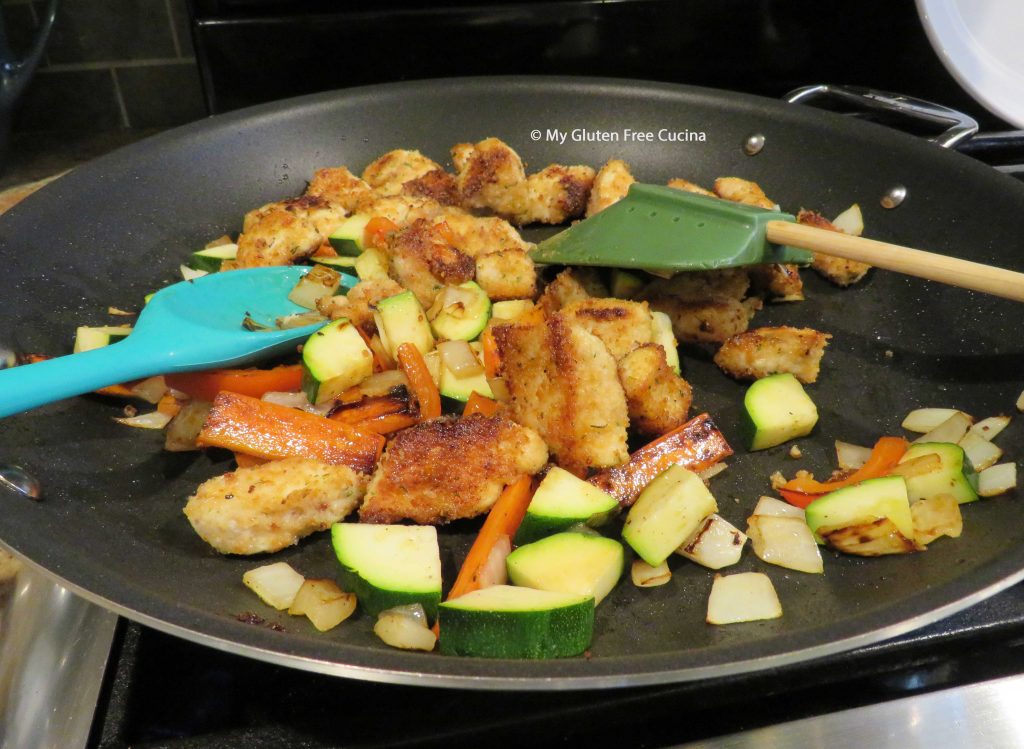
Keep the veggies separated.  The carrots will take longest to cook, while the zucchini will only need a few minutes.  Toss the veggies with olive oil, salt and pepper before adding to the skillet.  Add the carrots in first.

Cook the pasta to 1 minute less than package directions.  While the pasta cooks, finish the veggies.  Add the onions and bell peppers next.  With 5 minutes left for the pasta to finish, add the zucchini.

Add the chicken back to the skillet with the veggies, toss well and add a splash of white wine.  Let it reduce, then add 1/4 cup of chicken broth.

Drain the pasta and add it to the skillet with a little reserved pasta water if needed.  Finish cooking 1 minute longer, tossing together to blend the flavors.

Transfer to a serving platter, finish with grated cheese and garnish with Italian parsley.  Serve with more grated cheese.

Notes ♪♫ I used Rummo gluten free penne in this recipe, it’s a rice and corn blend with great taste and texture.  If you’re missing the “chew” of wheat pasta, give it a try!

Print This Post Print This Post

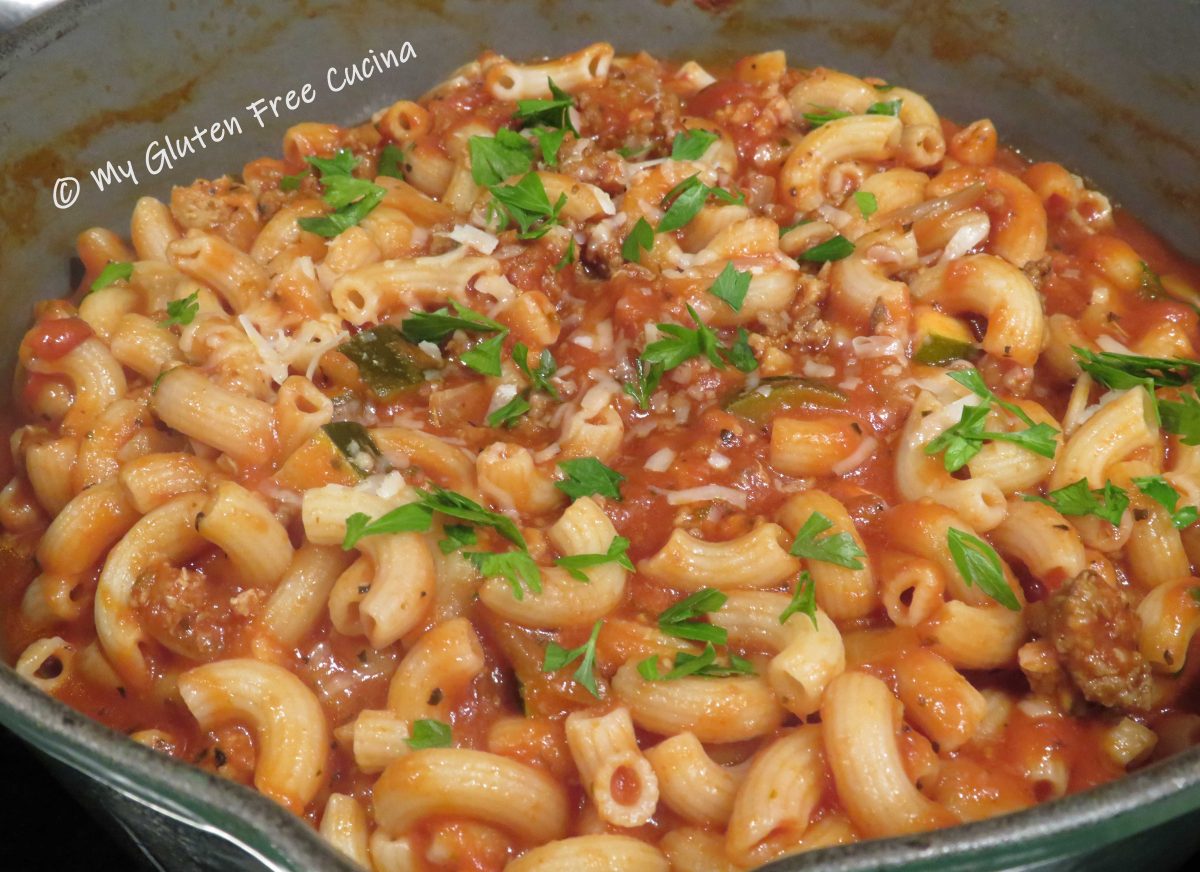
Gluten Free American Chop Suey

I grew up eating American Chop Suey and have been making this peasant dish my whole life.  It wasn’t until I became an adult that I learned this was not an Italian recipe, and that in fact variations of this dish exist all over the country.  From goulash, to slumgullion (huh?), to simply macaroni and beef, this is a meal that goes by different names but is universally loved.

These days I am grateful that delicious, gluten free pasta is readily available so I can still enjoy this comfort food.  It goes from stove top to table all in one pan, for easy cleanup!

In my rendition I add Italian sausage for a spicy kick, and more healthy veggies to round out the plate.  I was thrilled to find gluten free elbow macaroni that is traditionally used in this dish!  If you can’t find elbows, go ahead and substitute shells, or even penne or fusilli.

4 servings

This post contains affiliate links.

Ingredients:

  • Cooking spray
  • 8 oz. Lean ground beef
  • 8 oz. Italian sausage, hot or sweet
  • 1/2 sweet onion, diced
  • ½ cup mushroom, diced
  • ½ small zucchini, diced
  • 2 cloves garlic, minced
  • 1 tbsp. Olive oil
  • 29 oz. Can tomato sauce
  • 2 tbsp. tomato paste
  • salt and pepper to taste
  • 1/2 tsp. Oregano
  • 1 tsp. Basil
  • 1/2 tsp. Marjoram
  • 1 tsp. Brown sugar
  • 6 oz. gluten free elbows
  • Fresh parsley for garnish
  • Grated Parmesan cheese for serving

Preparation:

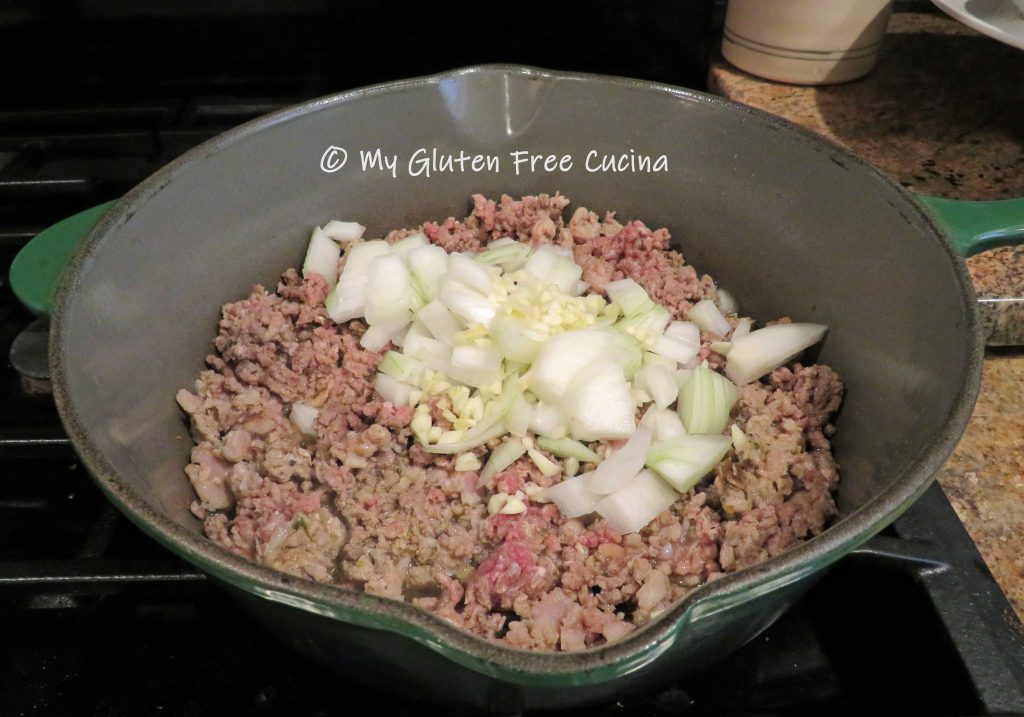
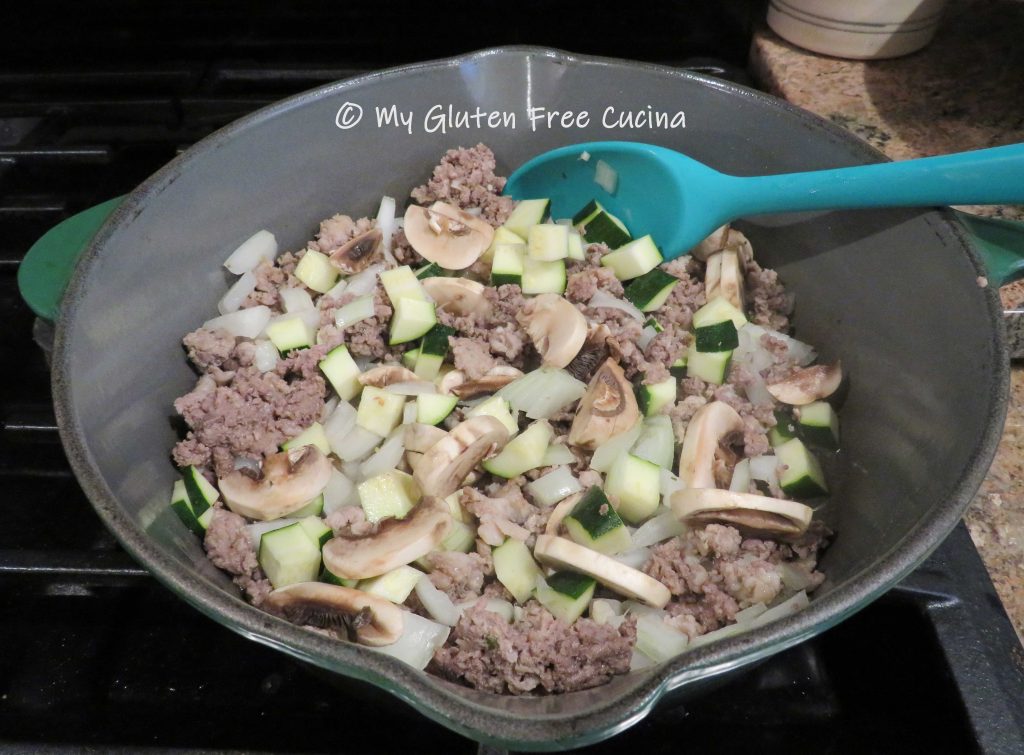
Mist a deep heavy skillet with cooking spray and add 1 tbsp. olive oil.  Add the ground beef and sausage and begin breaking it up with a spatula.

When the meat is completely browned, season with salt and pepper and add the onions and garlic.

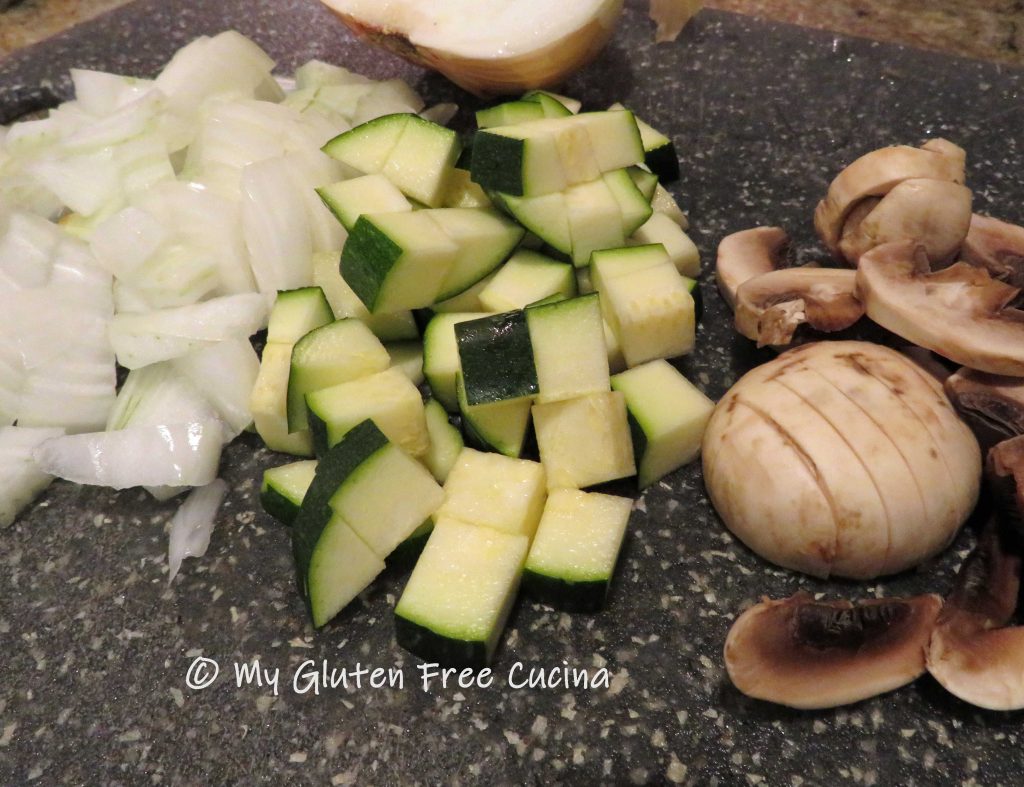
Cook for 2 minutes then add the remainder of the vegetables, sprinkle of salt and a few grinds of black pepper.

It may look like a lot of veggies, but they will cook down and disappear into the sauce (don’t tell the kids! 😉).  Stir the veggies into the meat.  When the veggies have cooked for a few more minutes make a spot in the center in the pan and add the tomato paste.

Let it toast for a minute then stir it into the mixture.

Add the tomato sauce, brown sugar, basil, oregano and marjoram.  Stir well, cover and simmer 30 minutes.  Then simmer partially uncovered for 10 more minutes to thicken the sauce.

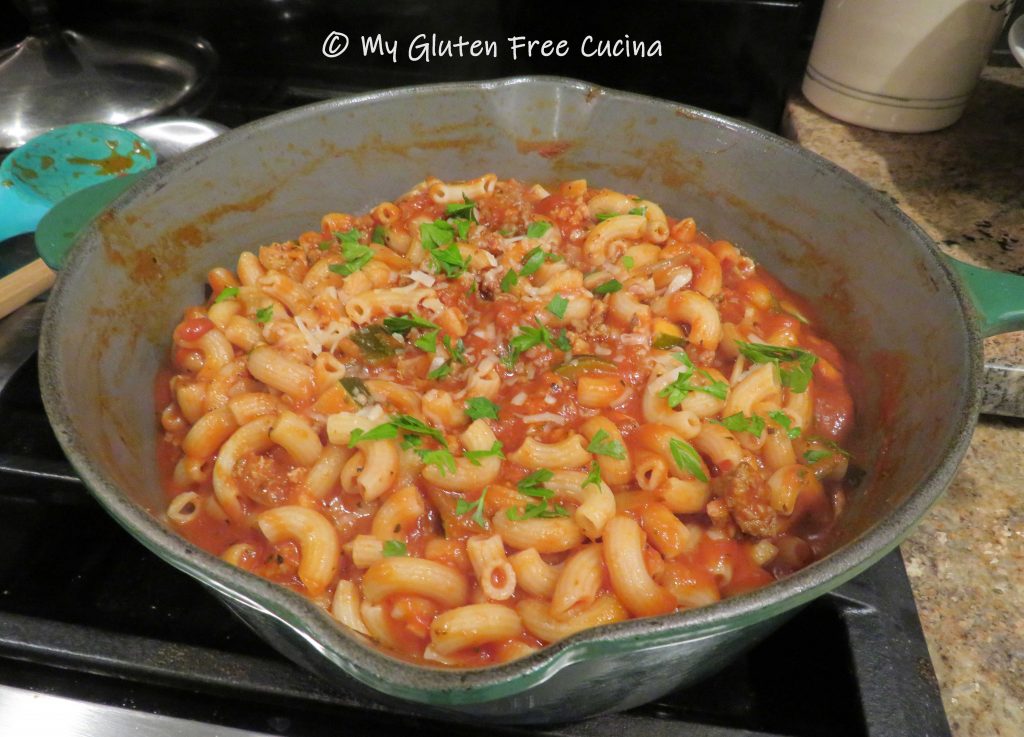
To finish the dish, cook the pasta to two minutes less than the package directions.  Drain and add to the skillet and finish cooking in the sauce.

Finish with grated cheese and fresh parsley.  Bring it to the table right in the skillet!

Notes: ♪♫ Traditionally a meat and pasta dish with tomato sauce, I packed mine with veggies for more nutrition and fiber.  Once cooked down, the veggies are almost invisible and take on the flavors of the dish.  Let it be your little secret!

Print This Post Print This Post

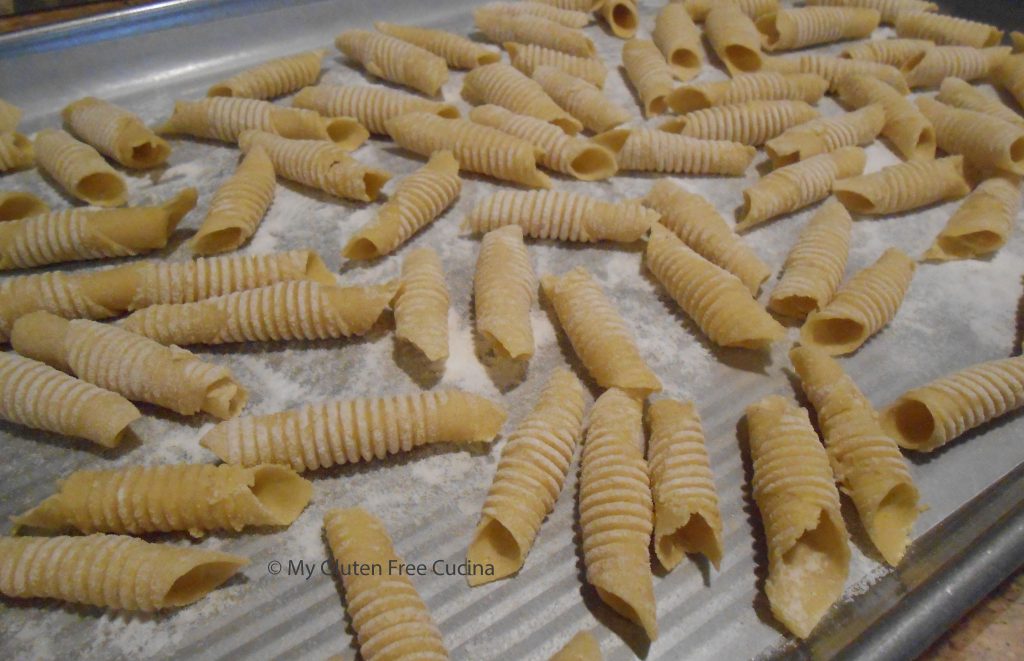
Gluten Free Garganelli Pasta

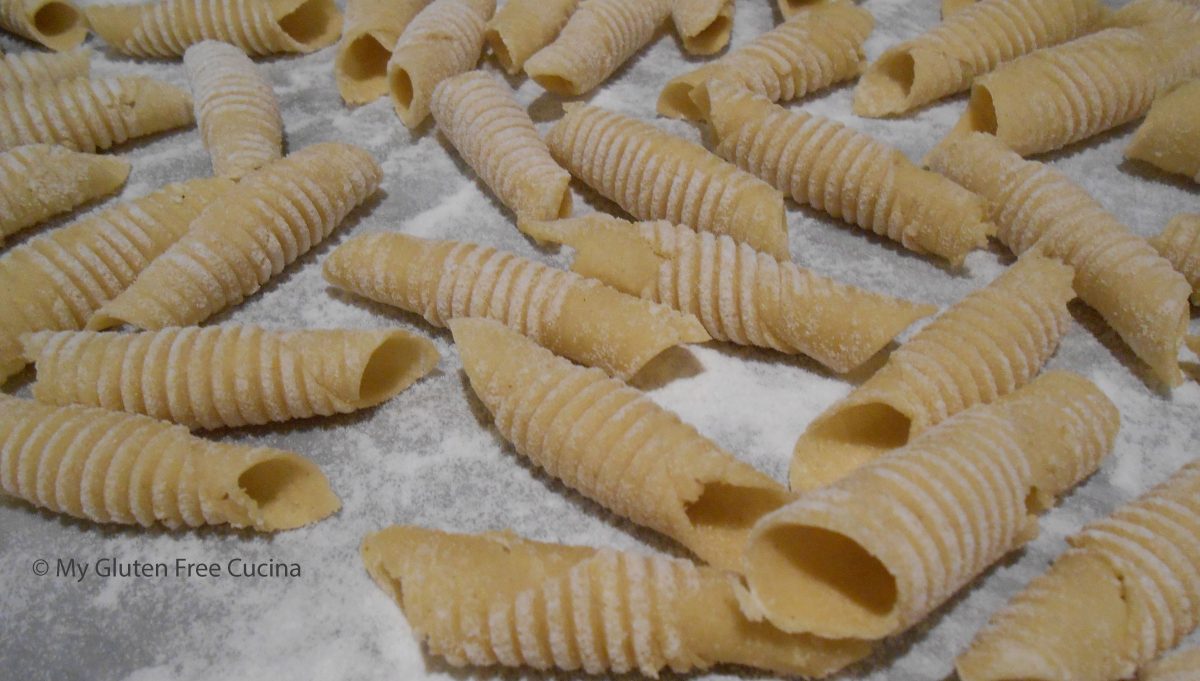
Garganelli are large, tube shaped pasta, formed by rolling squares of dough around a wooden dowel, using a gnocchi board to create the ribbed surface.  It’s a labor of love, that will reward you with the fresh pasta you have been craving, sans gluten.

This post contains affiliate links.

4 Servings

Pasta Ingredients:

Preparation:

Combine all of the pasta ingredients in the bowl of a stand mixer with the paddle attachment.

Mix on low speed until a dough forms and pulls away from the sides of the bowl.  You should easily be able to remove the dough from the paddle and press it into a ball.

Wrap the dough in plastic wrap and let it sit for 15 minutes on the counter, allowing it to hydrate.

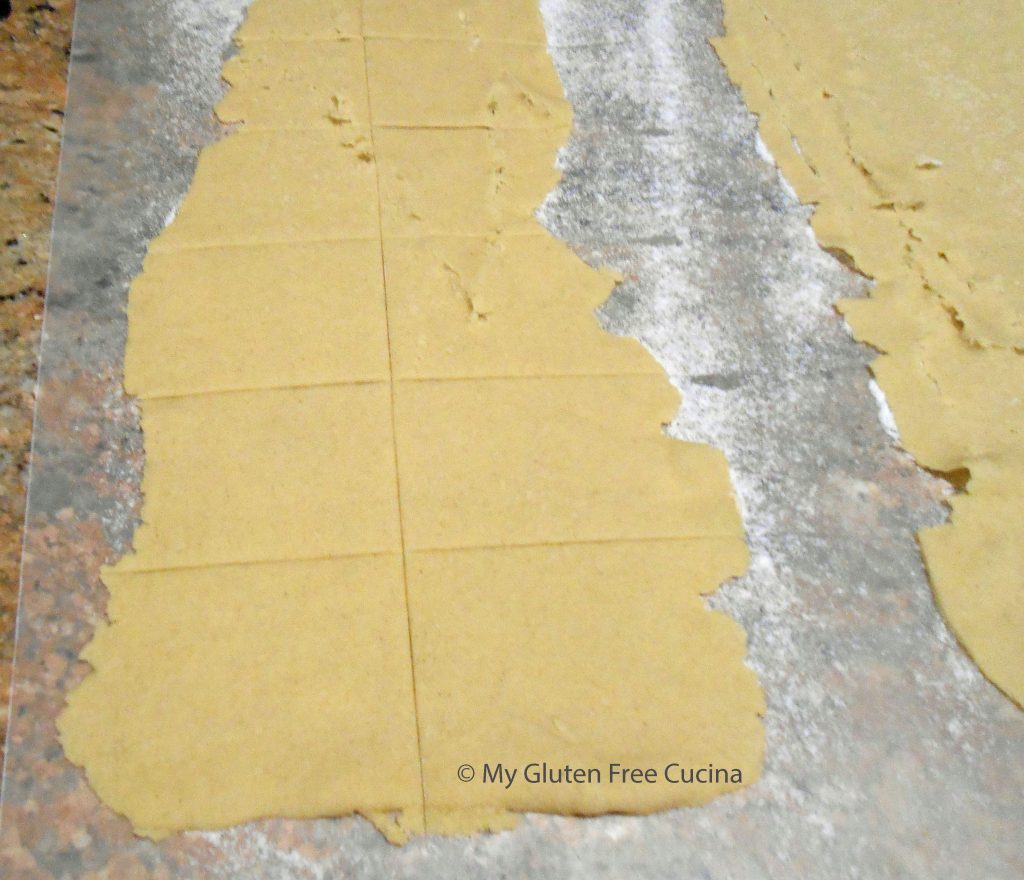
Divide the dough into 4 pieces.  Work with one section at a time, keeping the rest covered so it doesn’t dry out.  Press the dough into a flat disc, and use a pasta roller to roll the dough out into thin sheets.  I used my Kitchenaid® pasta roller attachment.  Starting with the widest setting, I passed the dough through the roller a few times then gradually decreased the thickness to the 2nd, 3rd and 4th setting.  Lay the sheets of pasta on wax paper that has been lightly dusted with flour.  As you can see, the gluten free dough is very delicate.  You won’t be able to roll it as thin as a wheat dough without tearing.  Fortunately, this pasta shape is very forgiving.

Use a pizza cutter or knife to cut the sheets of pasta into 2″ squares.  Eyeball it, and don’t worry about the edges being uneven.  I’ll show you how to hide them!

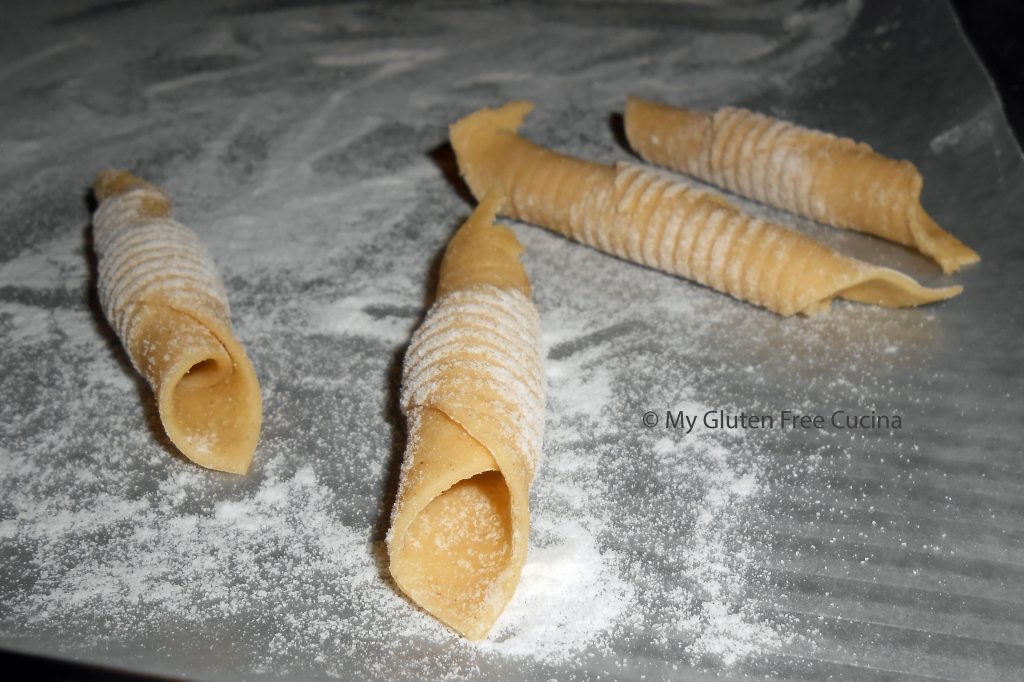
Flour a gnocchi board and wooden dowel.  Now, start rolling the squares diagonally around the dowel.  Start rolling from the ragged edge, so that it is tucked inside.

When you get to the end, press to seal.  See how the perfect, pointy edge is on the outside.

Slide the pasta onto a baking sheet that has been lined with wax paper and dusted with rice flour.  When it’s time to cook, you can easily pick up the wax paper and slide the pasta into the pot.

Aren’t they beautiful?  Using a dowel (get them at any craft store) ensures that the shaped tubes are roughly the same size, even though my squares were quite uneven.  Jagged edges are tucked inside and we have crisp ridges on the outside to soak up a sauce.  Cook fresh pasta for 3 minutes in a large pot of salted water, be sure water is at a rolling boil before you add the pasta, and put the cover back on so the water returns to temperature.

When they begin floating to the top, they are done.  See how the Garganelli keep their shape when cooked?  Still, treat them gently.  Use a spider strainer to remove the pasta to a skillet and toss with your favorite sauce.

Print This Post Print This Post