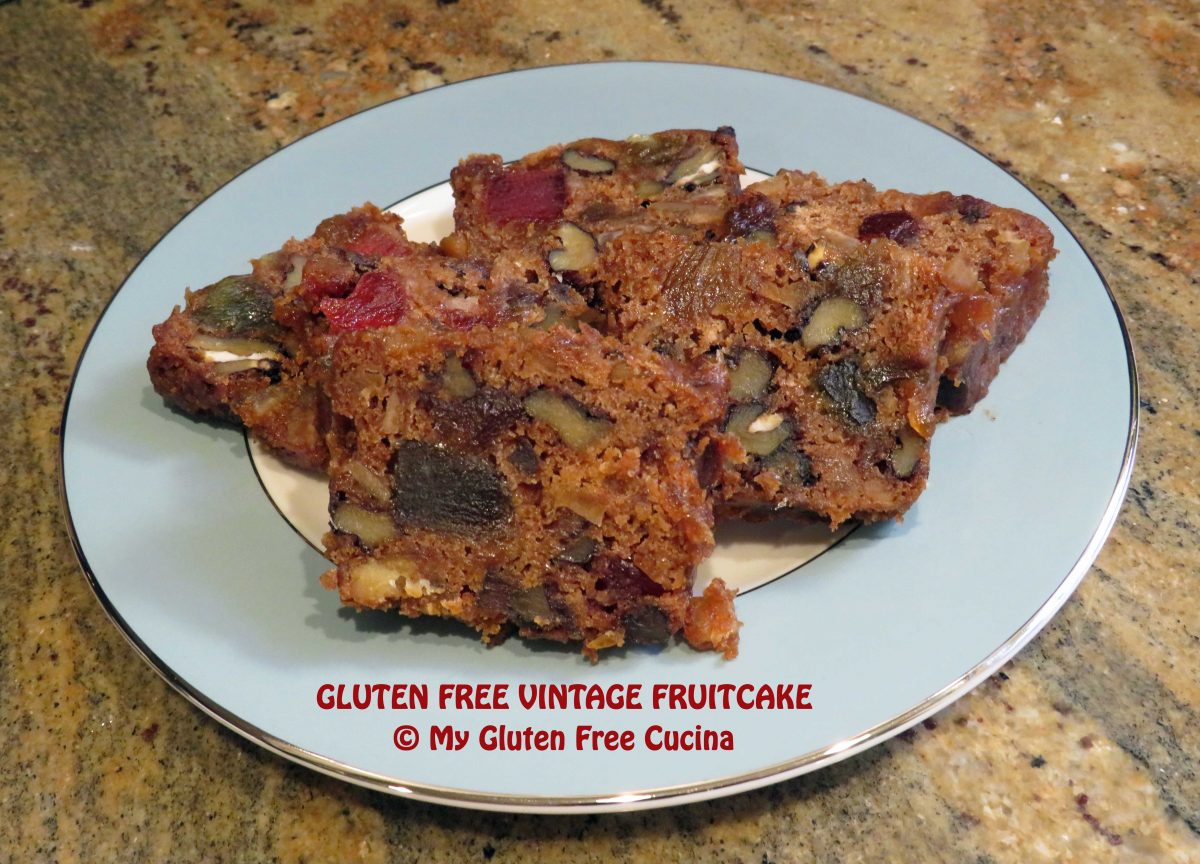
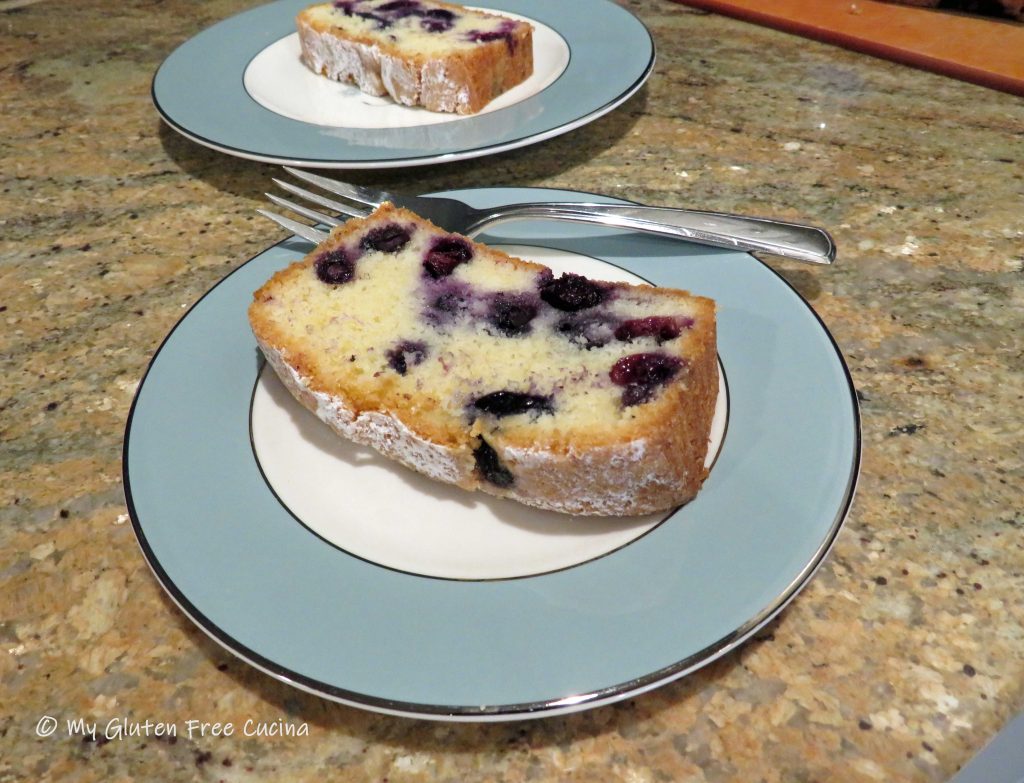
Gluten Free Vintage Fruitcake Recipe

This recipe comes from a beloved family tradition that had gone by the wayside since my Celiac Diagnosis.
An heirloom recipe passed down for generations in my late husband’s family, he treasured the memory of his mother making this Fruitcake at Christmas, and I have been proud to carry on the tradition.
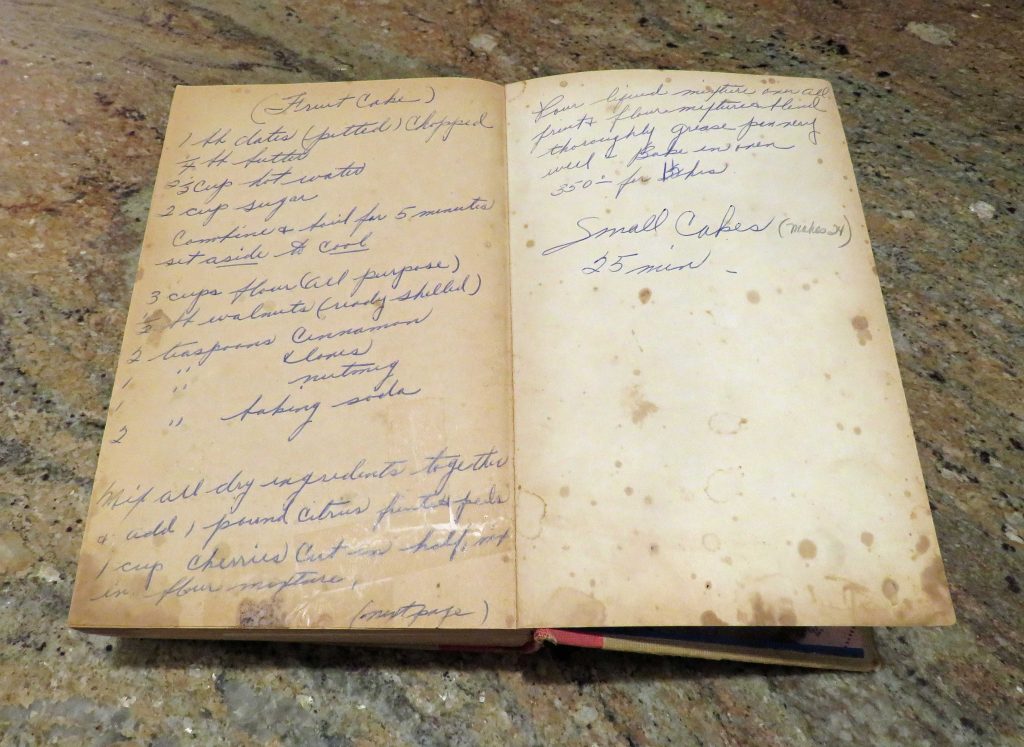
The original recipe was lovingly handwritten into the back cover of a favorite cookbook.  As with other heirloom recipe adaptations, my intent is to always stay as true to the original as possible, changing only those ingredients that had to be gluten free.
This post contains affiliate links.

First up, the all-purpose flour.  If you follow me, you know that I am a huge fan of Better Batter Gluten Free Flour.  I used their Original Blend, which I have used with great success in other cakes and desserts.

Next, the fruit.  I decided to try Olive Nation Candied Fruit Mix.  This product is non-GMO, gluten free, and vegan.  Here is the link to the fruit mix I used.
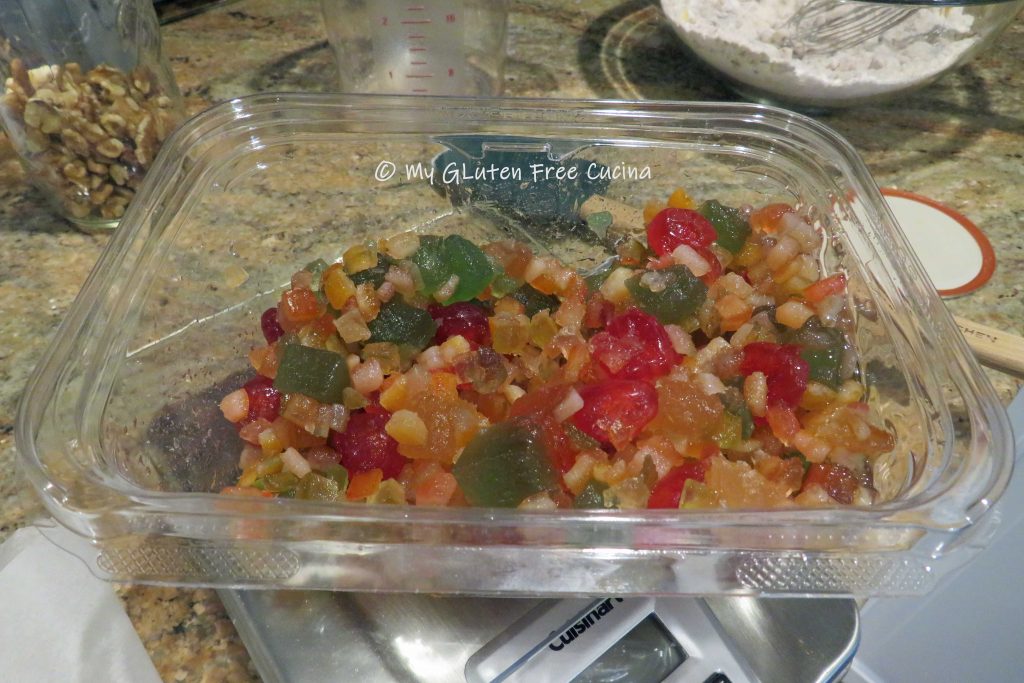
If you prefer a dried fruit mix (not candied), this Sun-Dried Baker’s Fruit Medley from Traina is gluten free and comes in a generous 2-lb. bag, great if you wanted to double this recipe.

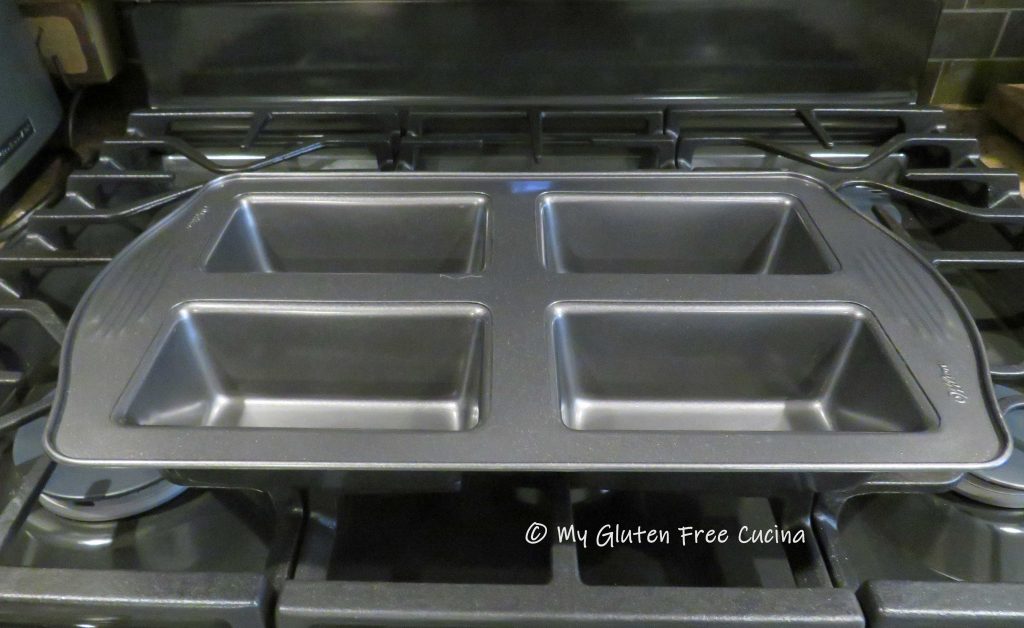
The rest of the ingredient list consists of common pantry items and the preparation is straightforward.  There is no special equipment needed, other than a loaf pan.  This recipe makes 1 loaf (9″ loaf pan) or 4 mini loaves.

Ingredients:

Wet Ingredients

  • 4 tbsp. butter (1/2 stick)
  • 1-1/4 cups hot water
  • 1 cup sugar

Dry Ingredients:

Other:

  • Crisco, or butter for greasing pans
  • brandy, for brushing

Preparation:

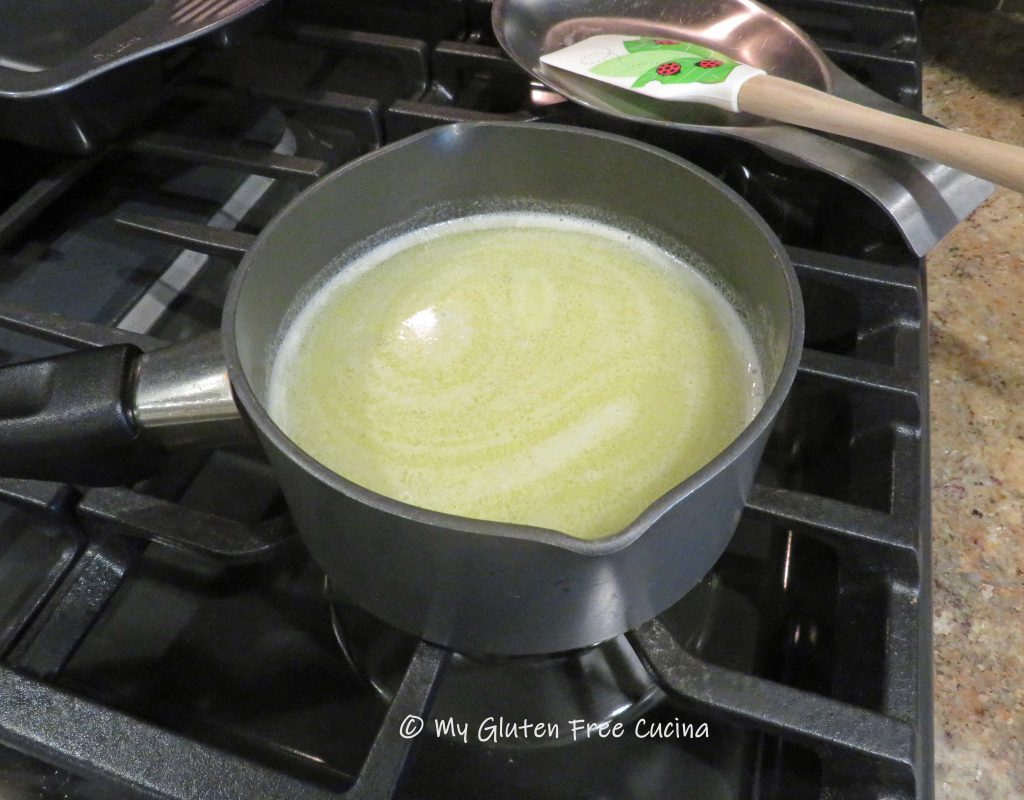
Combine the butter, water and sugar in a small saucepan and boil for 5 minutes.  Set aside to cool.
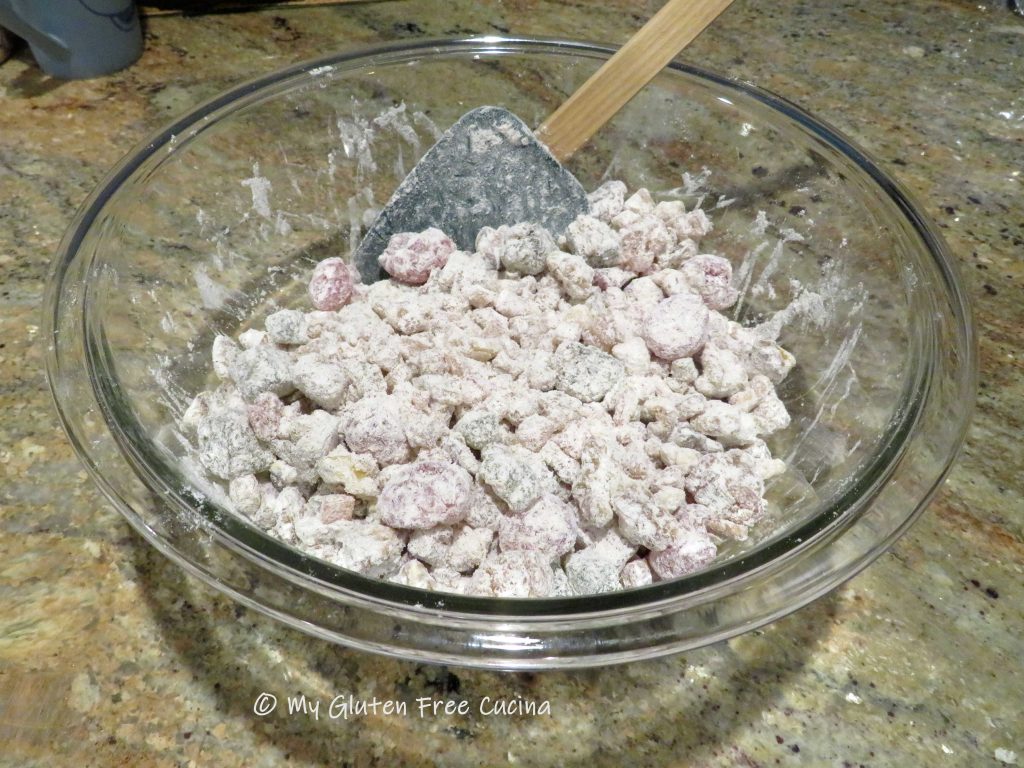
Whisk together the flour, spices and baking soda in a large bowl.  Add the walnuts and dried fruit.  Toss well with the flour mixture.
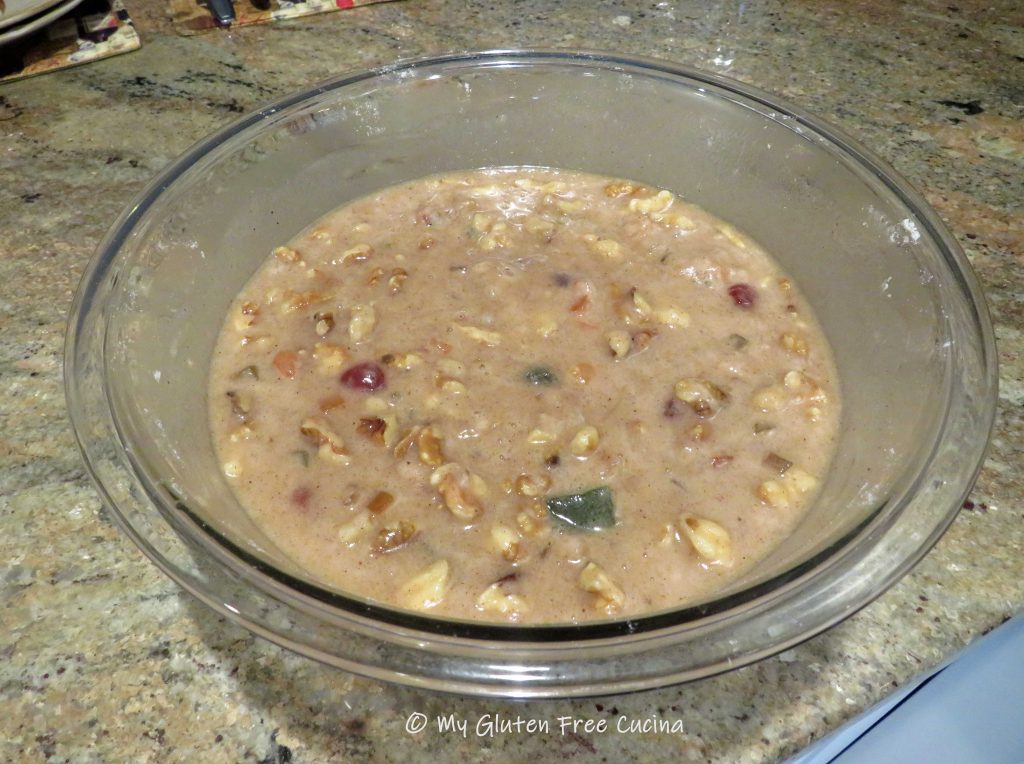
Pour the liquid mixture over the fruit and flour mixture and blend thoroughly with a spatula.  Give the batter a few minutes to rest and thicken.
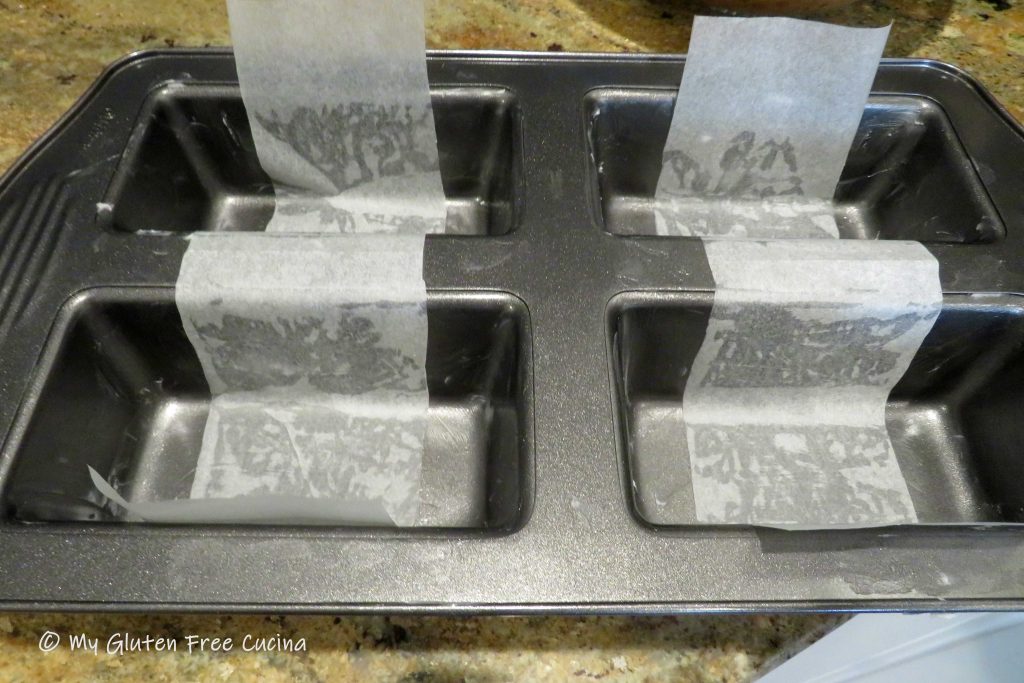
Preheat the oven to 350º.  Grease the loaf pan liberally with Crisco (or butter).  Even though my loaf pan is nonstick, I lined it with strips of parchment for a little added insurance.
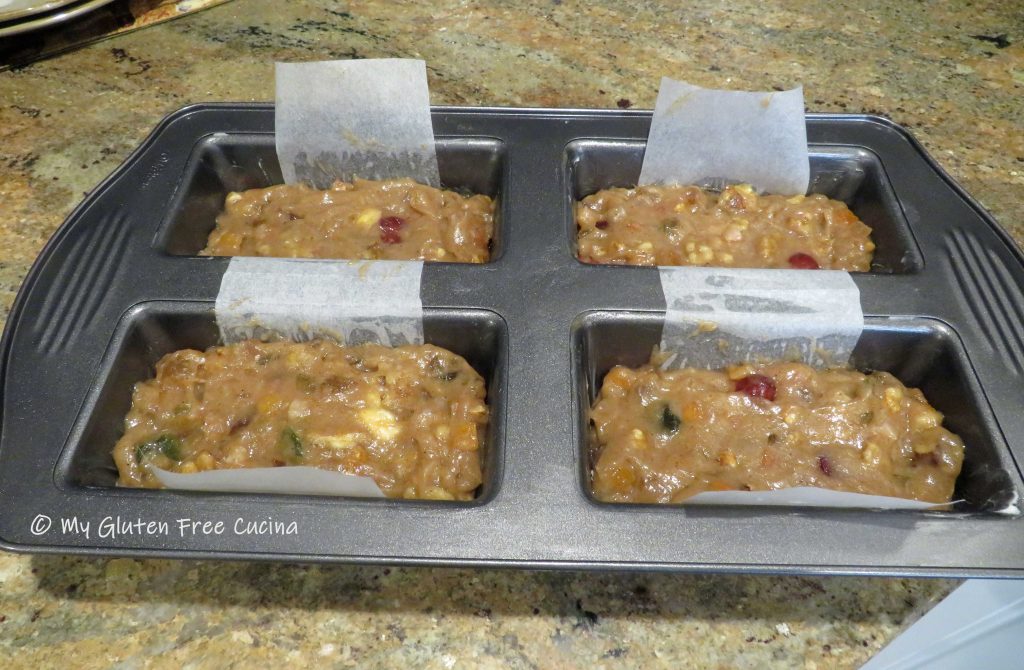
Spoon the batter into the prepared pan.  Smooth the top with a spatula, making sure it gets into all the corners.
If using a 9″ loaf pan, bake for 1 to 1.5 hours, testing for doneness after 1 hour.  The original recipe instructions said 1.5 hours and it will depend largely on your oven and the amount of moisture in the fruit blend.
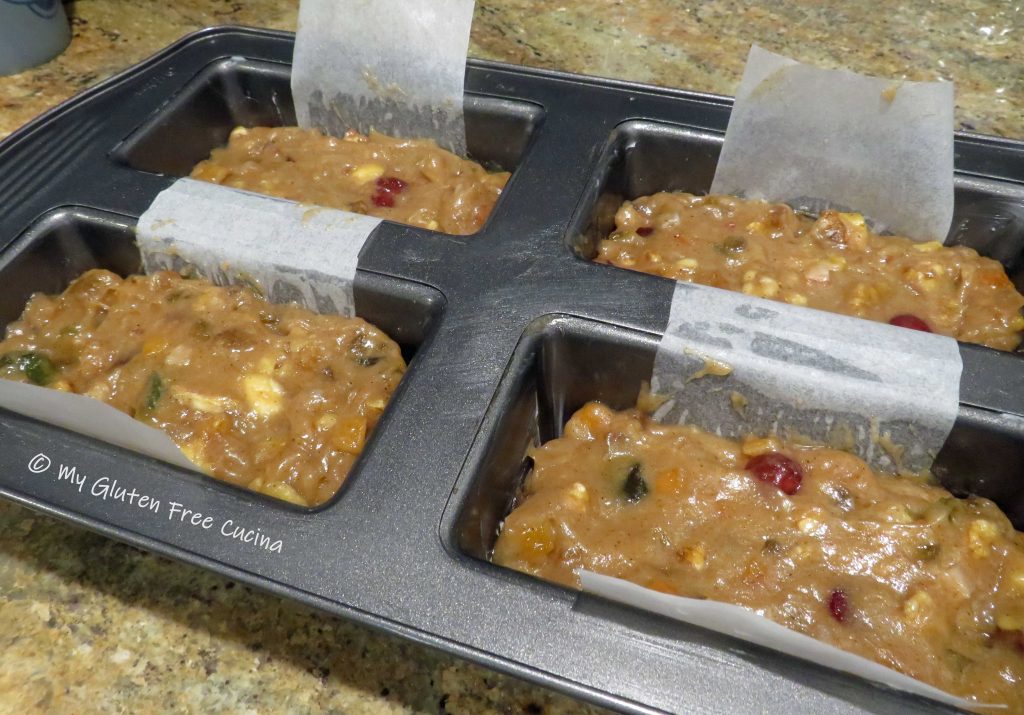
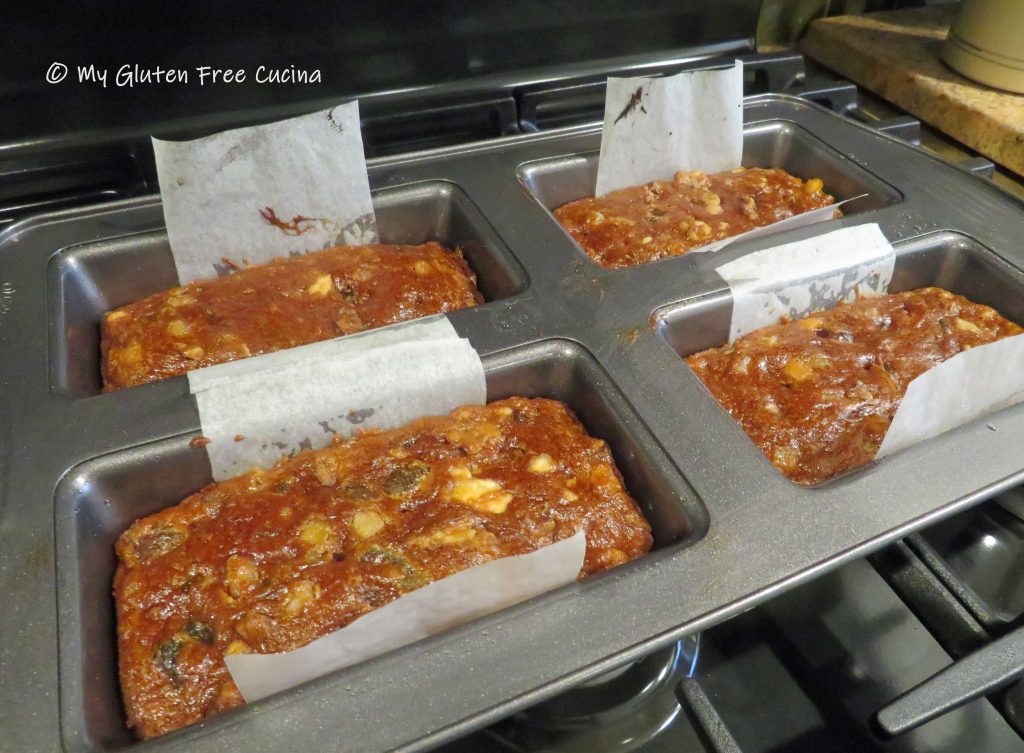
For mini loaves, the baking time will be 45-50 minutes.  After baking I turned the oven off and opened the door slightly, leaving the loaves in for another 30 minutes to cool.  I used a toothpick to check for doneness, and you can see that the loaves are starting to pull away from the sides of the pan.

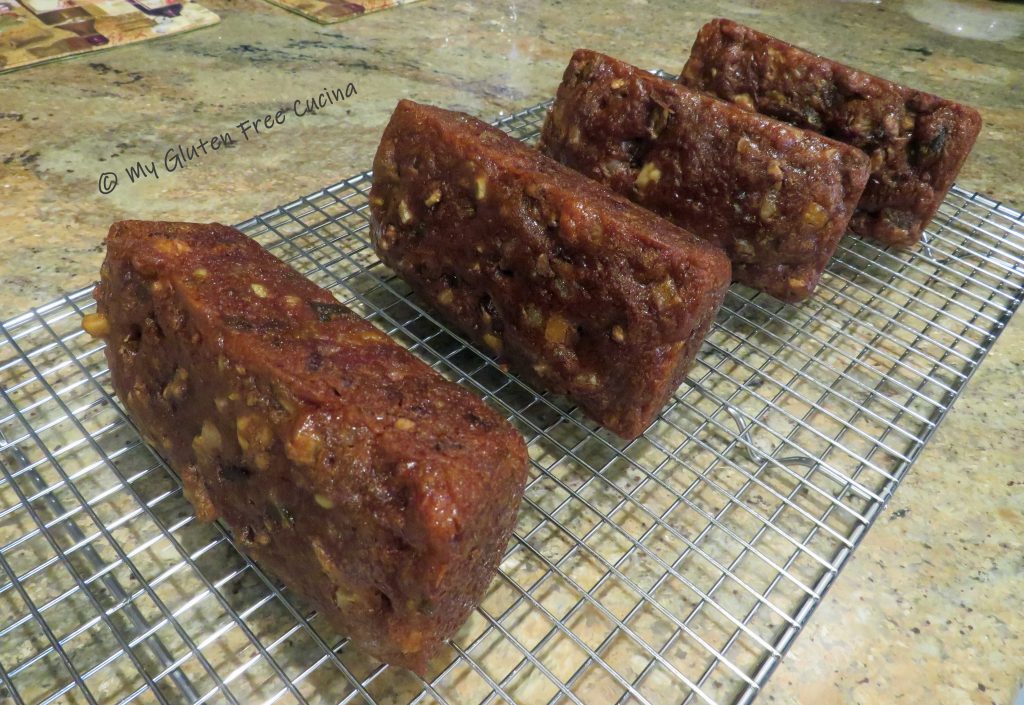
Remove pan from the oven and cool on a rack for 15-20 minutes, then run a knife or thin spatula around the edges.  Grasp the sides of the parchment to lift the cakes out of the pan.
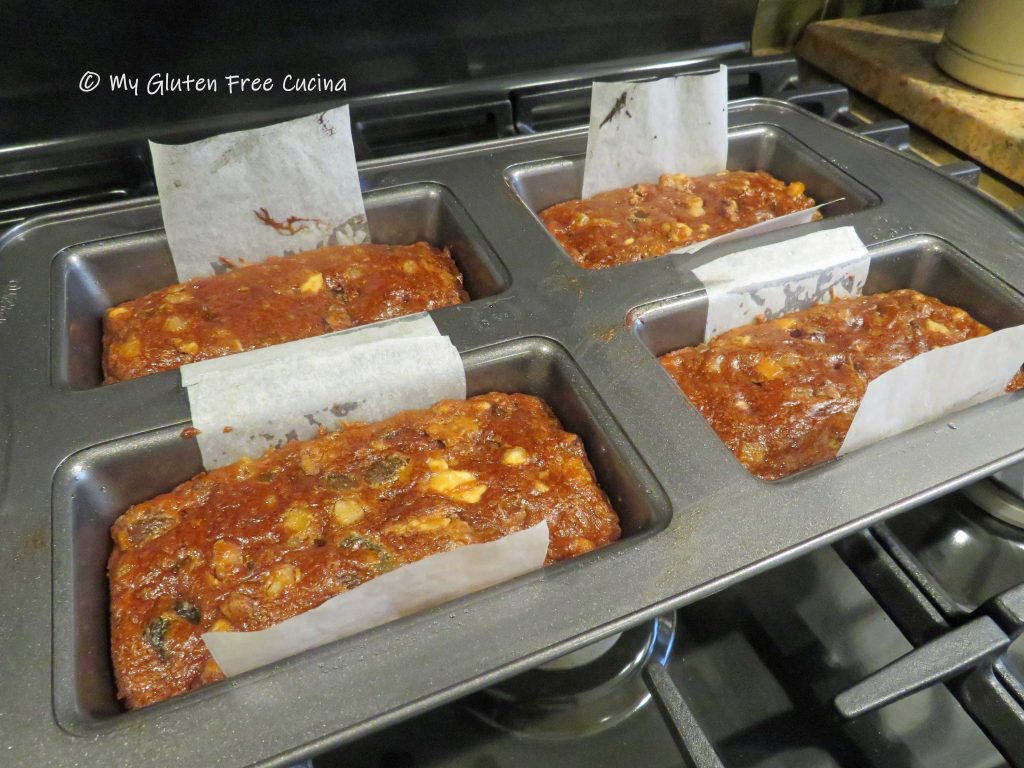
I was so glad I used parchment, look how the cakes released perfectly from the pan with no cracks or sticking.
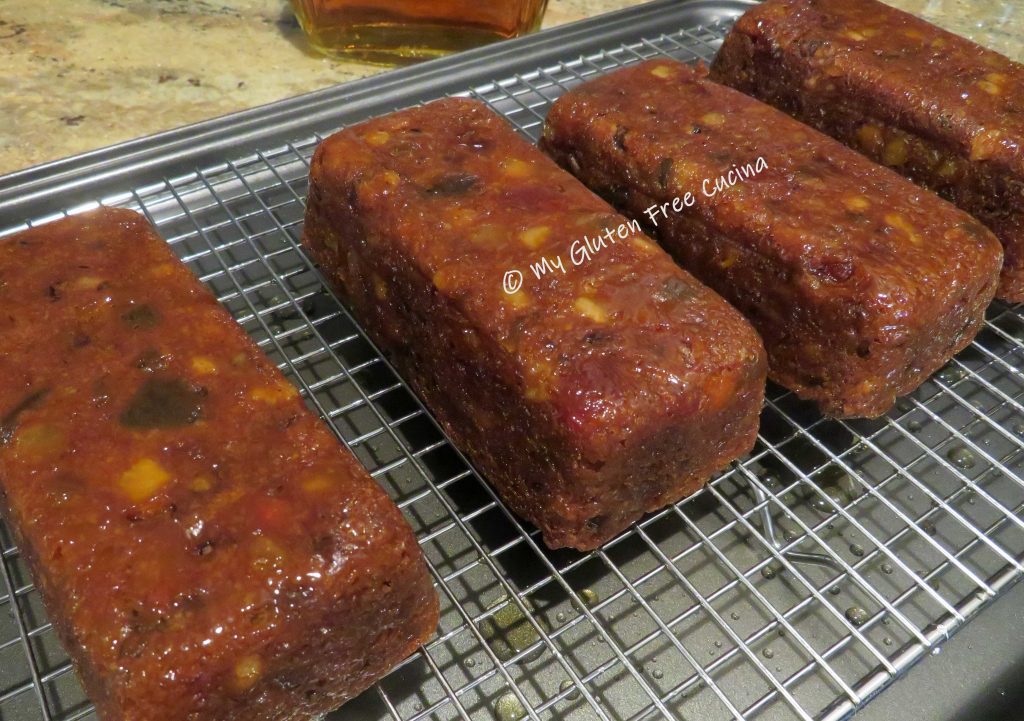
When the cakes have completely cooled, brush them liberally on all sides with brandy.  I used just under 1/2 cup for all 4 cakes.

Tightly wrap each cake in wax paper, pressing the paper into the moistened cake to seal.  Tape the edges.
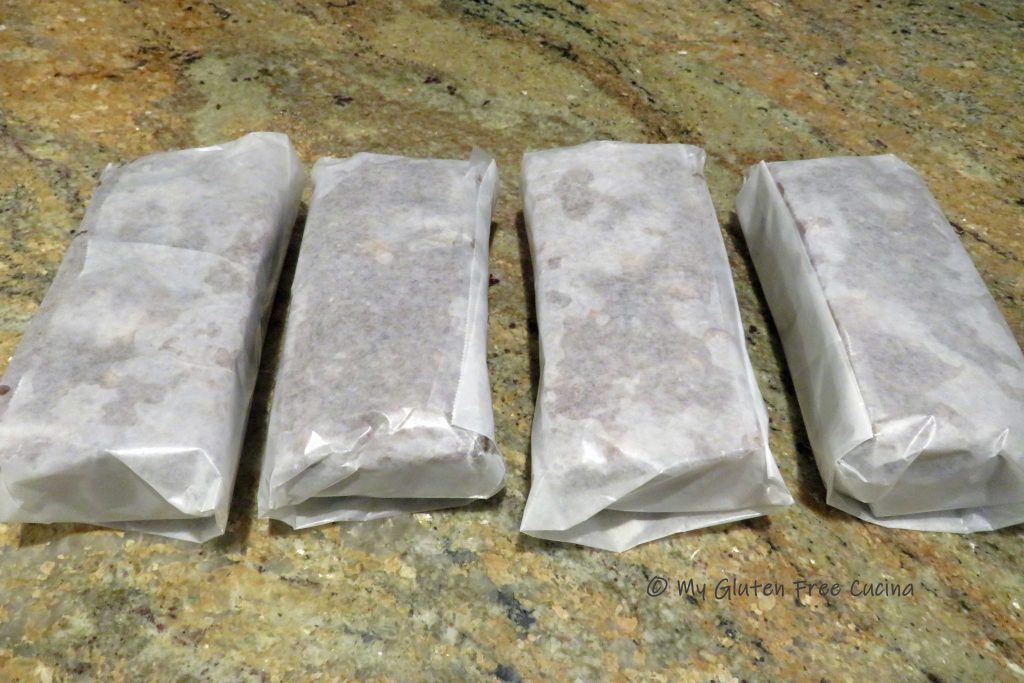
Wrap again in foil, place in zip lock bags and store in a cool, dark place for about 8 weeks.  I keep mine in a pantry closet that is on an outside wall.

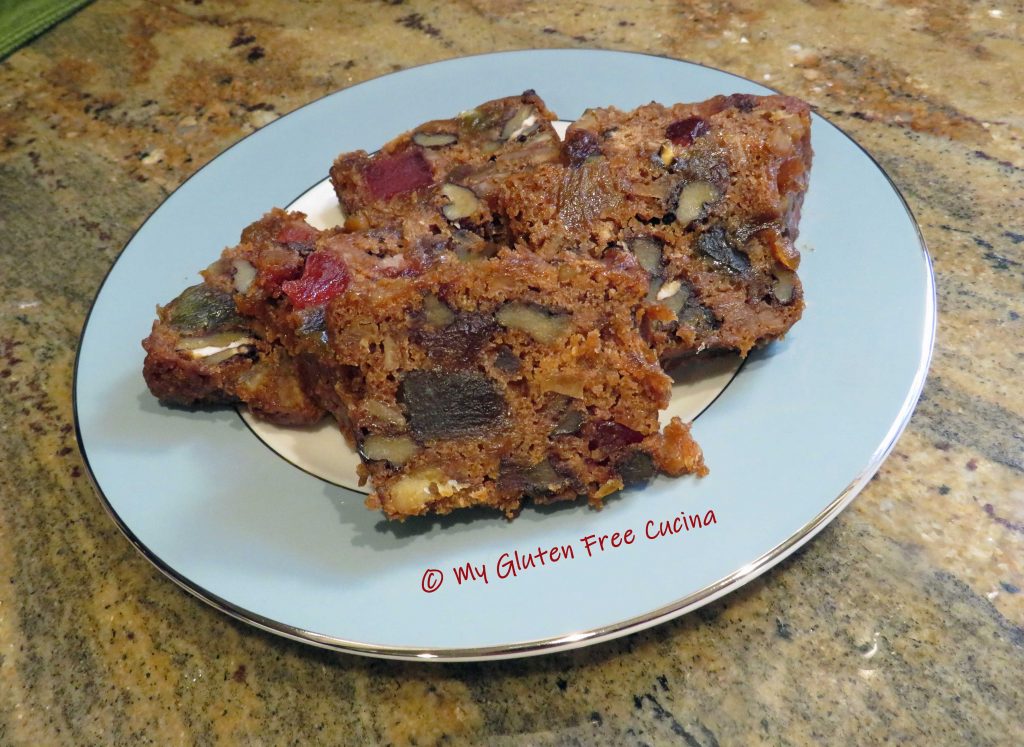
I usually make the fruitcakes in early October, and they are ready to enjoy from Thanksgiving Day through the New Year.  It is well worth the wait!  After many years of being gluten free, it is such a treat for me to make this old recipe again and my heart is full remembering how much my husband loved when I made this for him.
Notes ♪♫ Always reach out to a manufacturer when you are not sure if a product contains gluten.  In past years, I have used King Arthur’s dried fruit blend for my Fruitcakes.  Unfortunately, they confirmed to me via email that they do not test for gluten in their Bakers Fruit Blend and cannot guarantee no cross contact with gluten in this specific product.

Originally posted on 10/15/2022              Updated 10/24/2024

Print This Post Print This Post

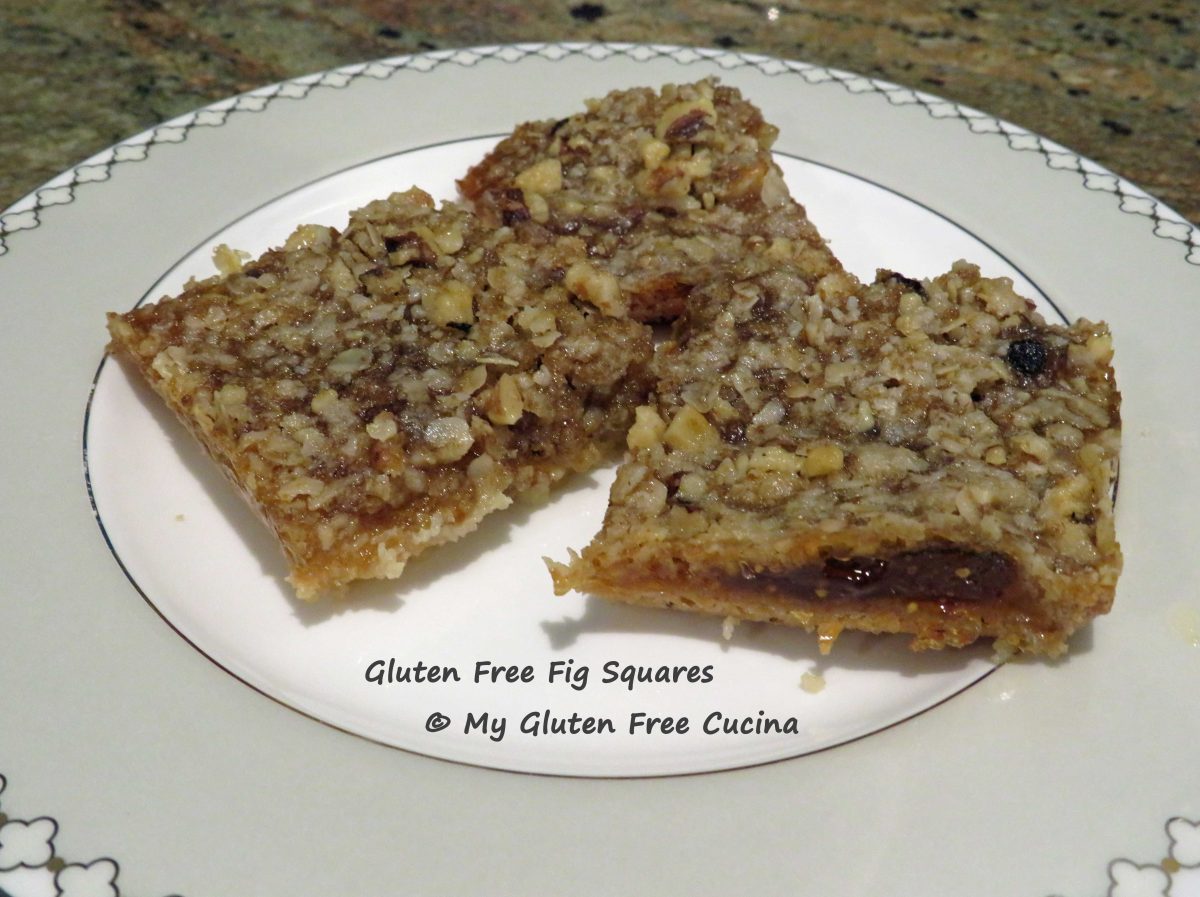
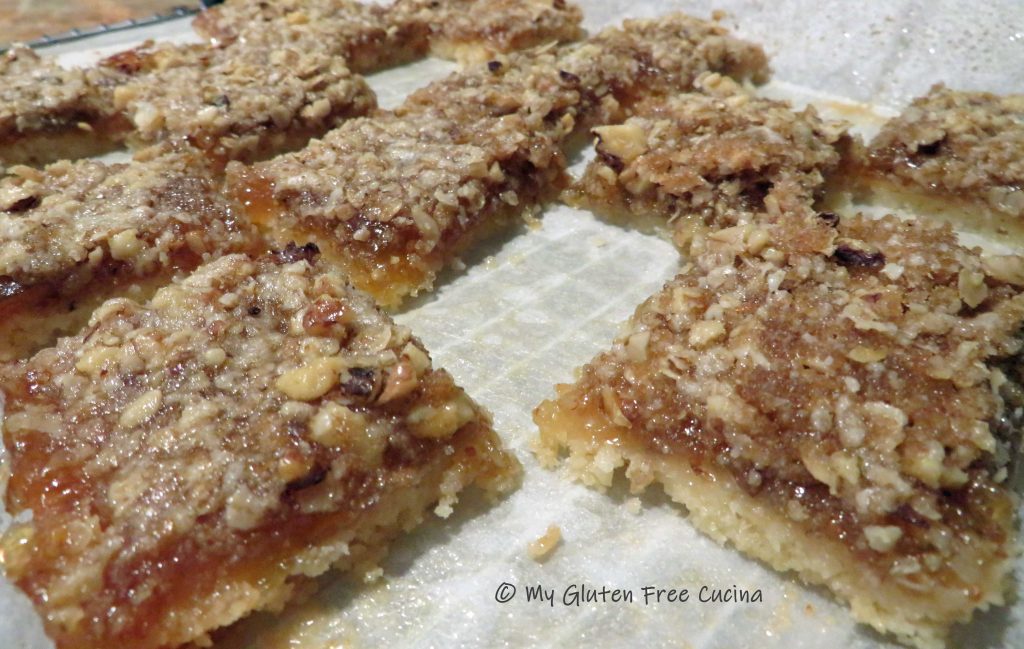
Gluten Free Fig Squares

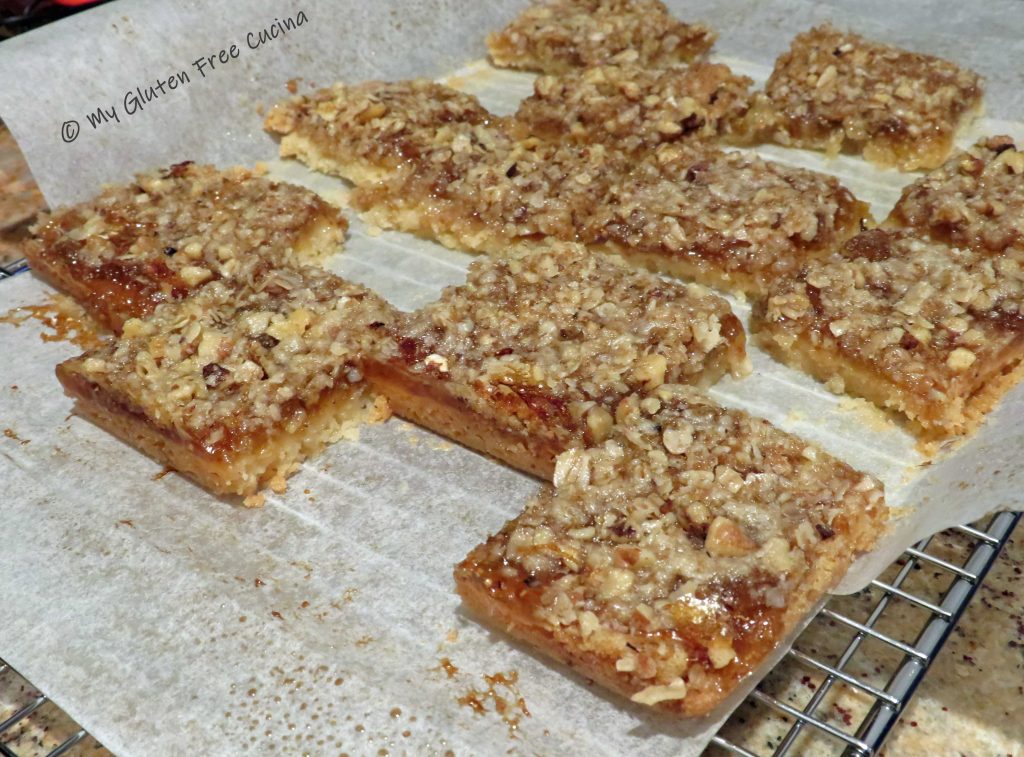
Another bucket list recipe, this is something Mr. Cucina had been asking me to make for a long time.  He had fond memories of his mother making Fig Squares when he was young, and I’m so glad I was able to do this for him.  Although we have her cookbooks and recipe box, I could not find his mother’s secret recipe, but I think we came close in recreating the Fig Squares he remembered.  Of course, they are gluten free, I wanted to have some too!

This post contains affiliate links.

I used Better Batter Original Gluten Free Flour in this recipe.  It is a high-quality gluten free flour that will never let you down!  Shop Better Batter and use my Code MGFC30 to receive 30% off your non-sale purchase!

Ingredients:   

*Contains Oats – see notes

Crust

Filling

Topping

Preparation:

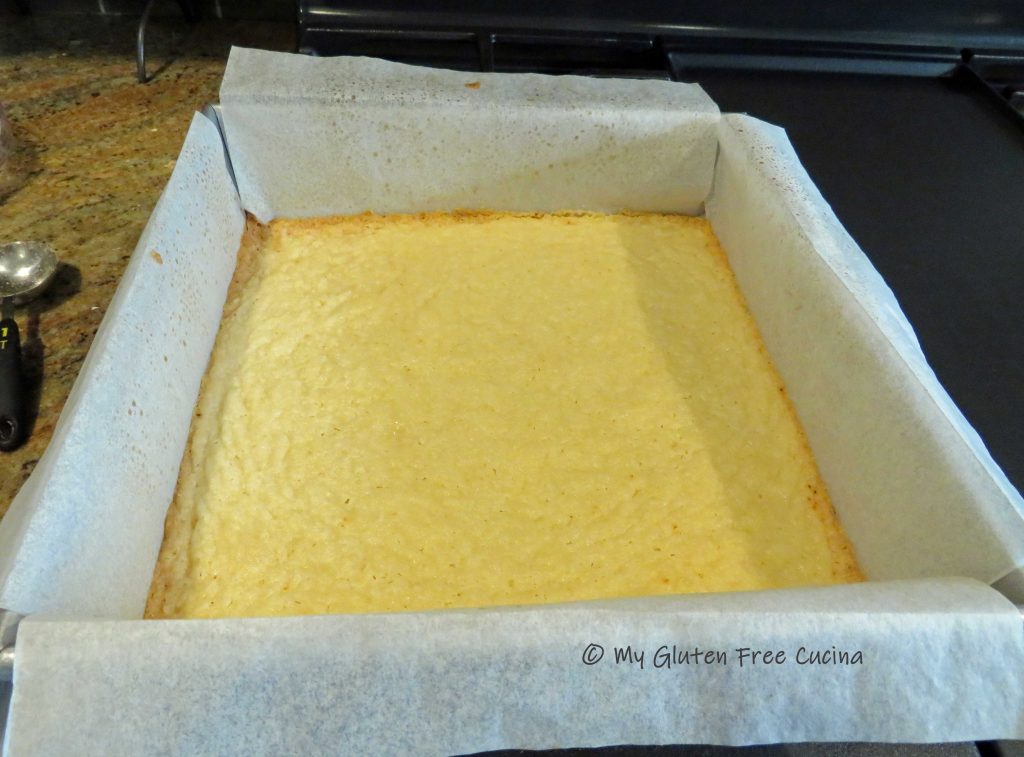
Preheat the oven to 350º.  Line a 9 x 9″ square pan with parchment and mist with cooking spray.

In the bowl of a stand mixer, beat together the softened butter, sugar and vanilla with the whisk attachment.

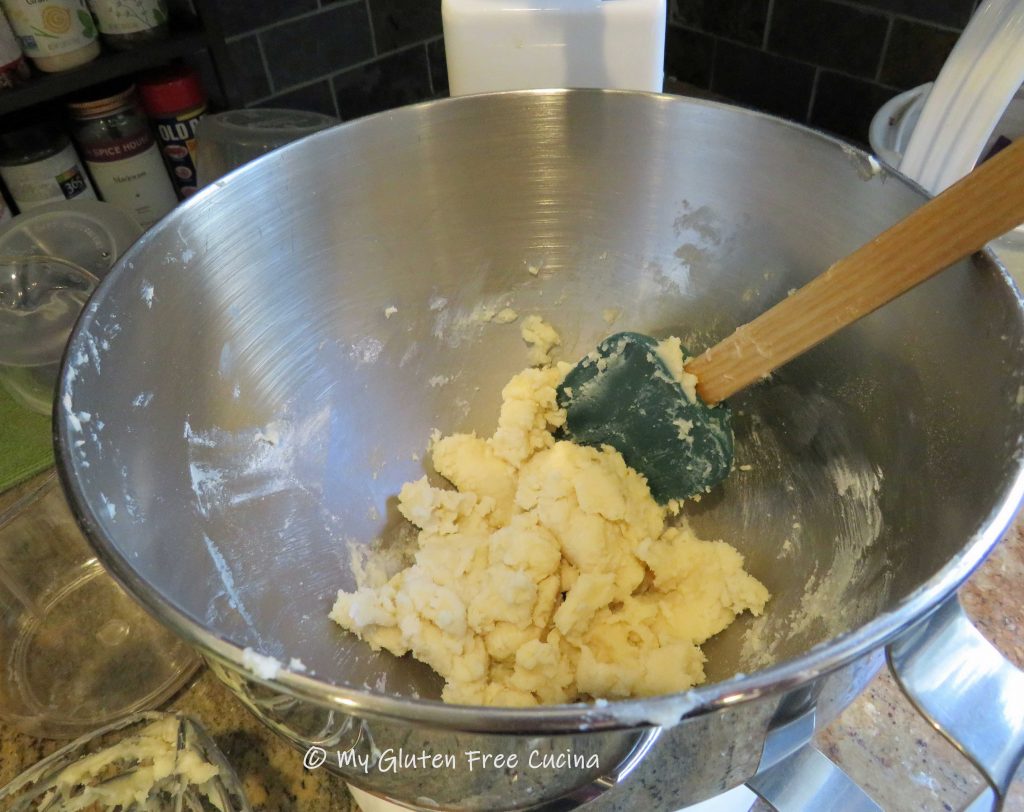
Switch to the paddle attachment and add the flour.  Beat together to form a soft dough.

Press the dough into an even layer in the lined baking pan.  It will be wet and sticky, for best results use your fingertips!

Bake for 15 minutes.  The center should be set and the edges lightly browned.  Remove from the oven and let it rest for 5 minutes.

Spread the fig preserves over the crust.

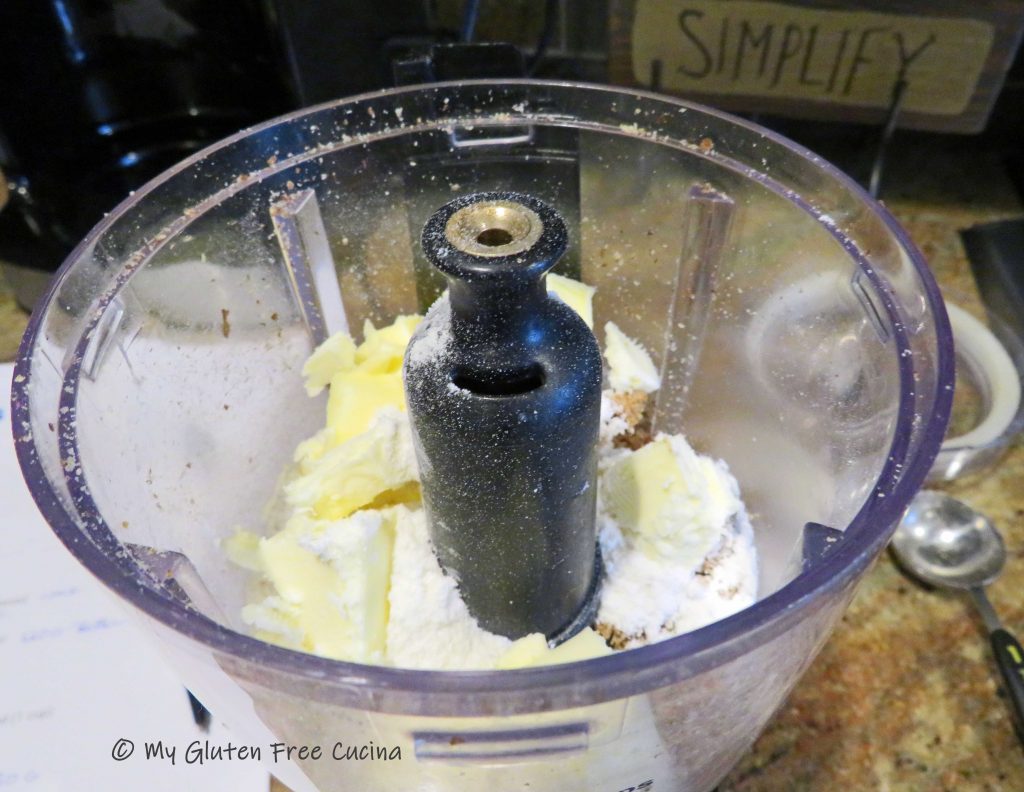
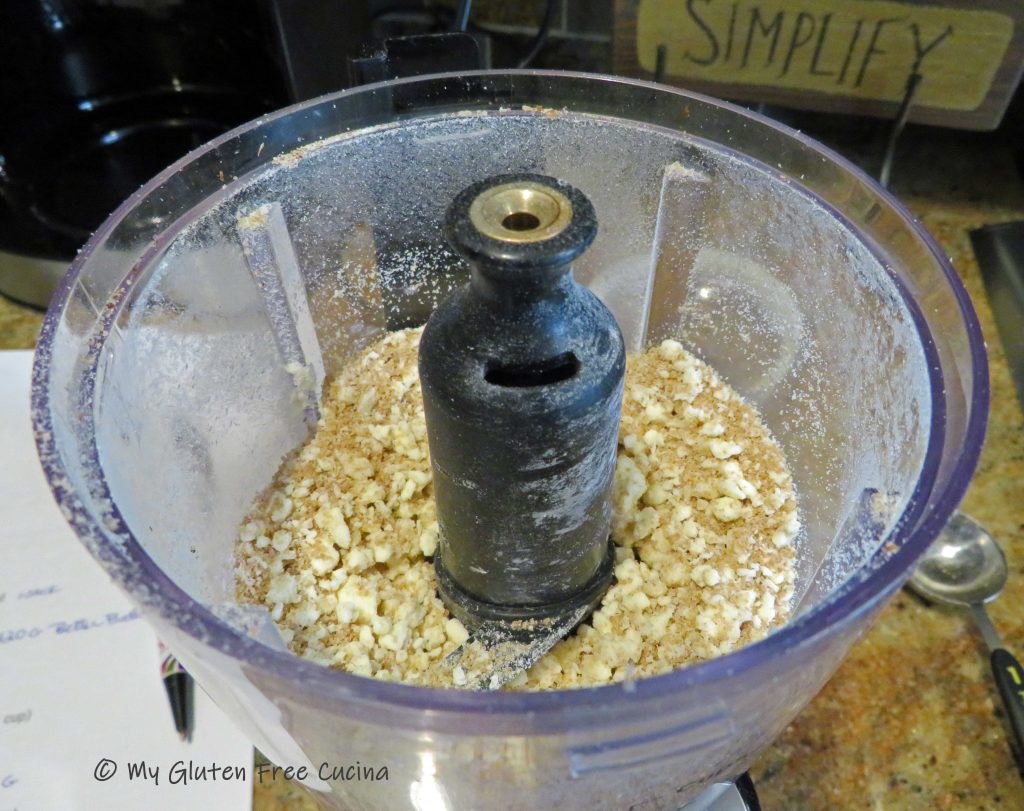
Add the cold butter, flour and brown sugar to a small food processor or electric chopper.  Pulse a few times to incorporate the butter until crumbly.

Transfer to a bowl and combine with the oats (if using) and ground walnuts.  Spread the mixture evenly over the fig preserves.

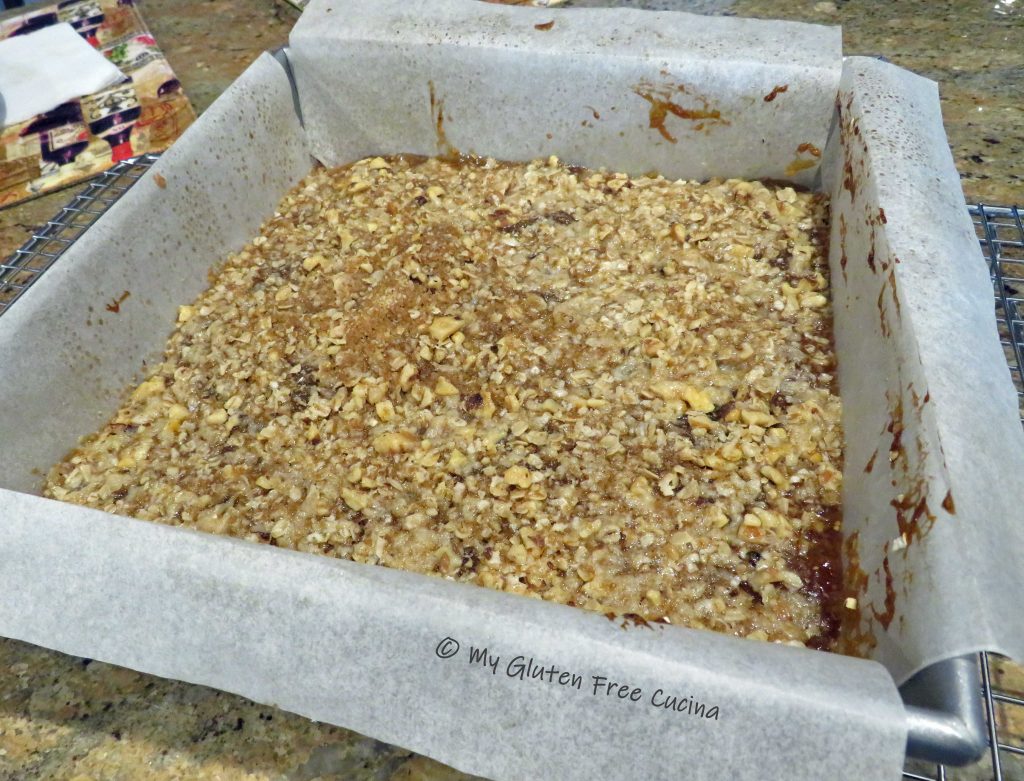
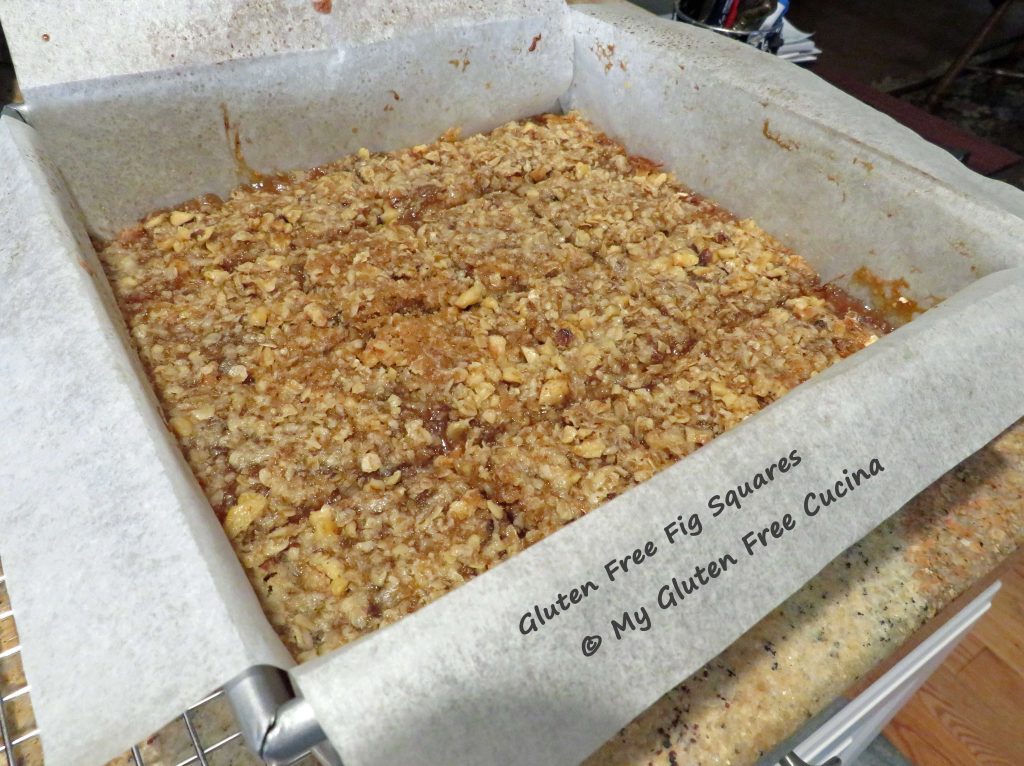
Place the pan on top of another baking sheet (so the bottom doesn’t burn) and bake for 17-20 minutes.  The edges should be bubbling and the top lightly browned.

Cool in the pan for at least 2 hours before slicing.

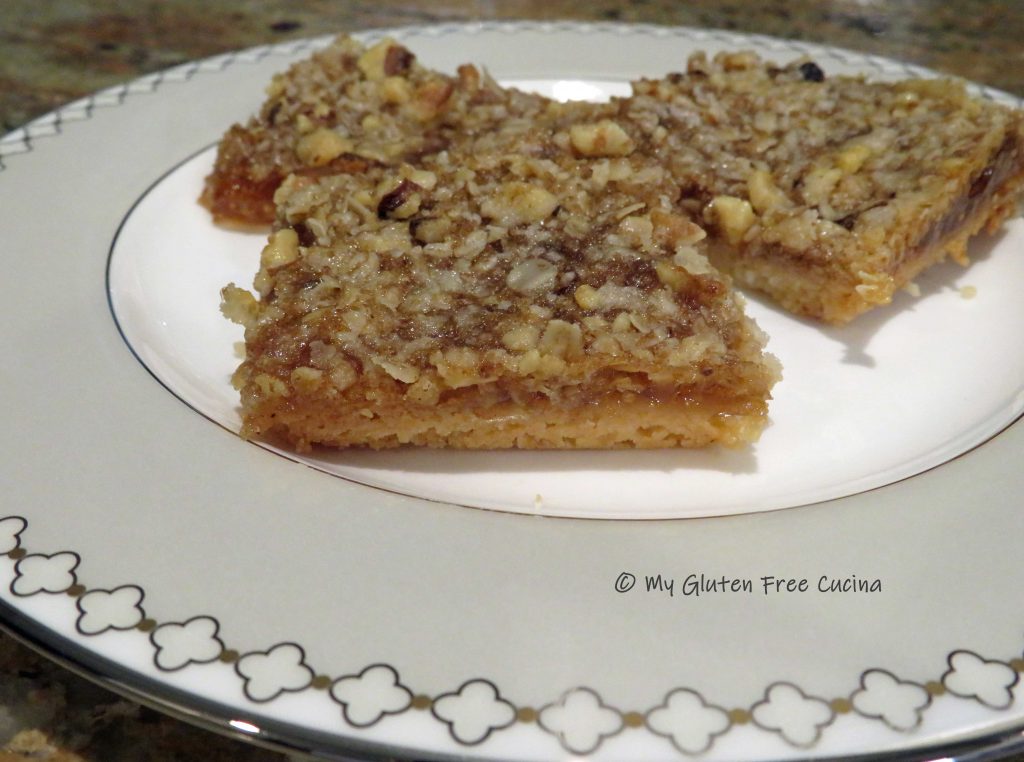
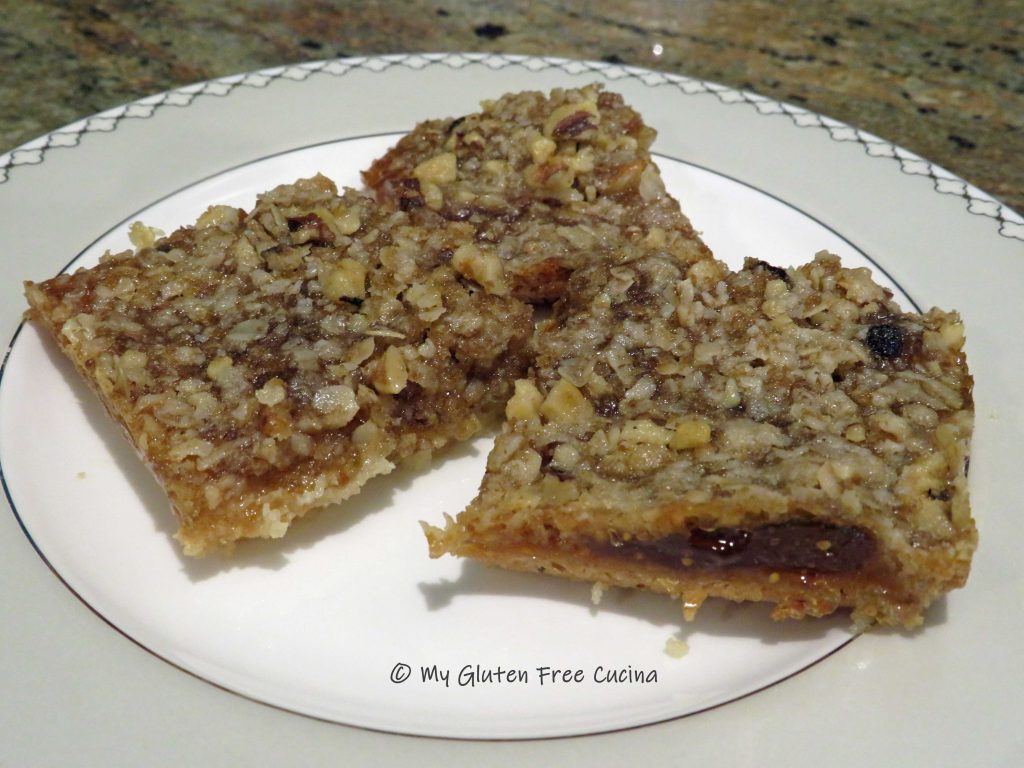
Slice into 16 squares and serve at room temperature or refrigerate if you like them chilled.  They go great with a scoop of vanilla ice cream.

Store at room temperature in an airtight container for up to 2 days.  They will keep a bit longer in the fridge.  To freeze, place squares between sheets of waxed paper and place in a freezer safe bag or airtight container.

I’m so pleased with how this came out and Mr. Cucina loved them.  This recipe is a definite do over!

Notes ♪♫ Oats continue to be highly controversial when it comes to celiac disease.  Whether or not you consume oats is a personal choice.  As a courtesy to my readers, I will identify any recipes that include oats and suggest ingredient substitutes when possible.

Print This Post Print This Post

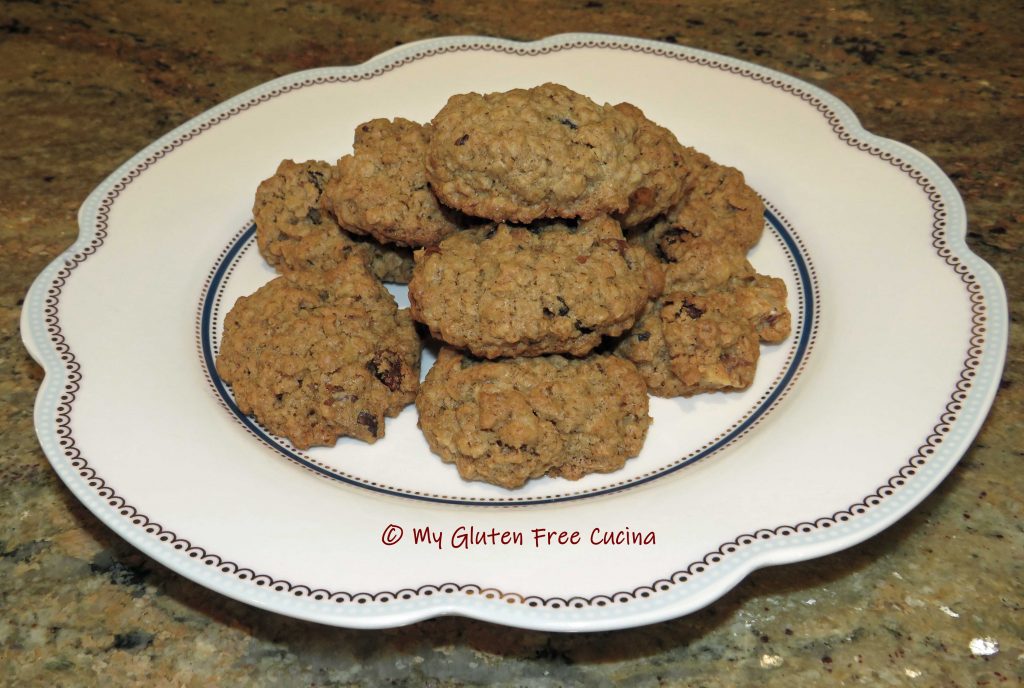
Gluten Free Oatmeal Raisin Cookies

A word of Caution- This recipe contains oats.

A recent statement from Gluten Free Watchdog states that they cannot currently recommend ANY brand of gluten free oats.

Whether or not you continue to consume oats is a personal choice.  As we await more information, I will preface any recipes that include oats with a link to this important statement from Gluten Free Watchdog, an independent, subscriber-driven gluten-testing organization.  About | Gluten Free Watchdog

***

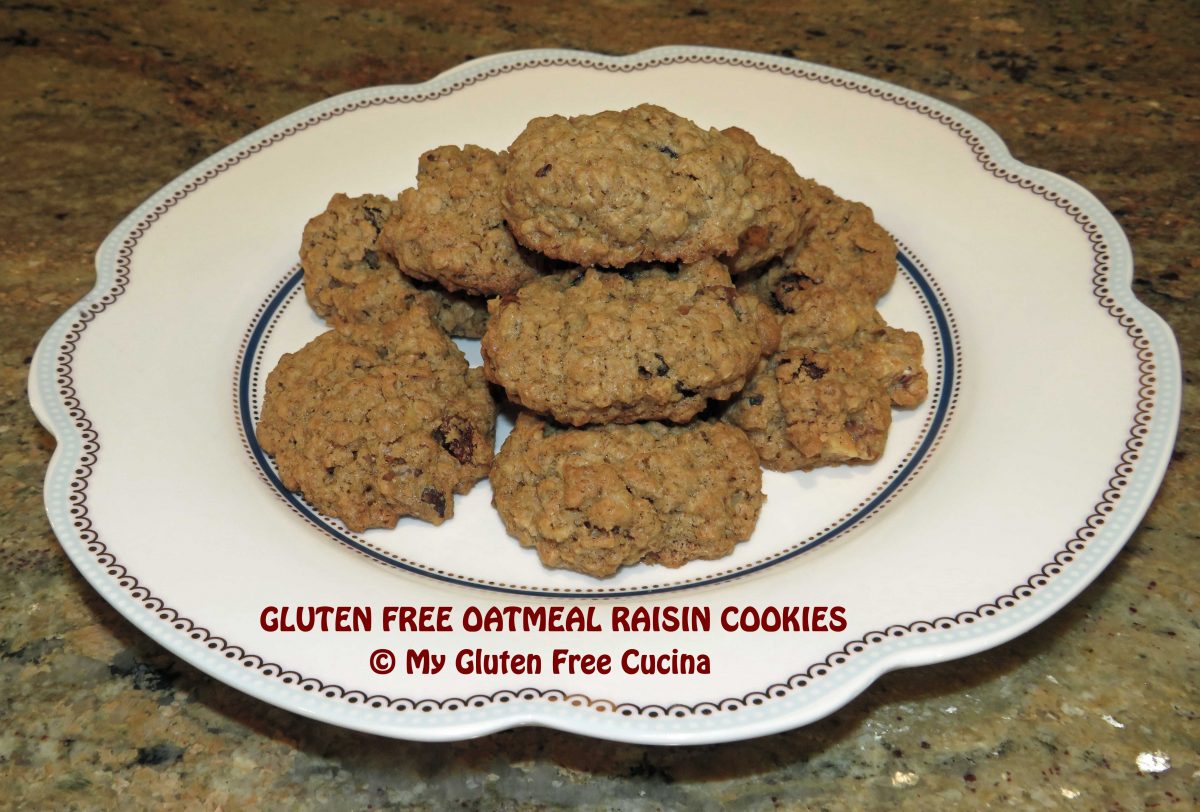
Mr. Cucina had been asking me to make his mother’s oatmeal cookies for quite some time.  Her vintage recipes are a part of her legacy and always bring back good memories.  The holidays were the perfect time to make my husband one of his favorites!

Of course, I wanted to enjoy the cookies too, so I scanned the ingredient list to see where a gluten free substitute was needed.  Suprise, there was really only one ingredient that I had to change!

This post contains affiliate links.

The original recipe called for 1 cup of Gold Medal Flour, and I substituted 120g. of Better Batter Original Blend.  That’s it!

Of course, oats are tricky on the gluten free diet.   ALWAYS choose gluten free oats and for additional peace of mind look for purity protocol oats.

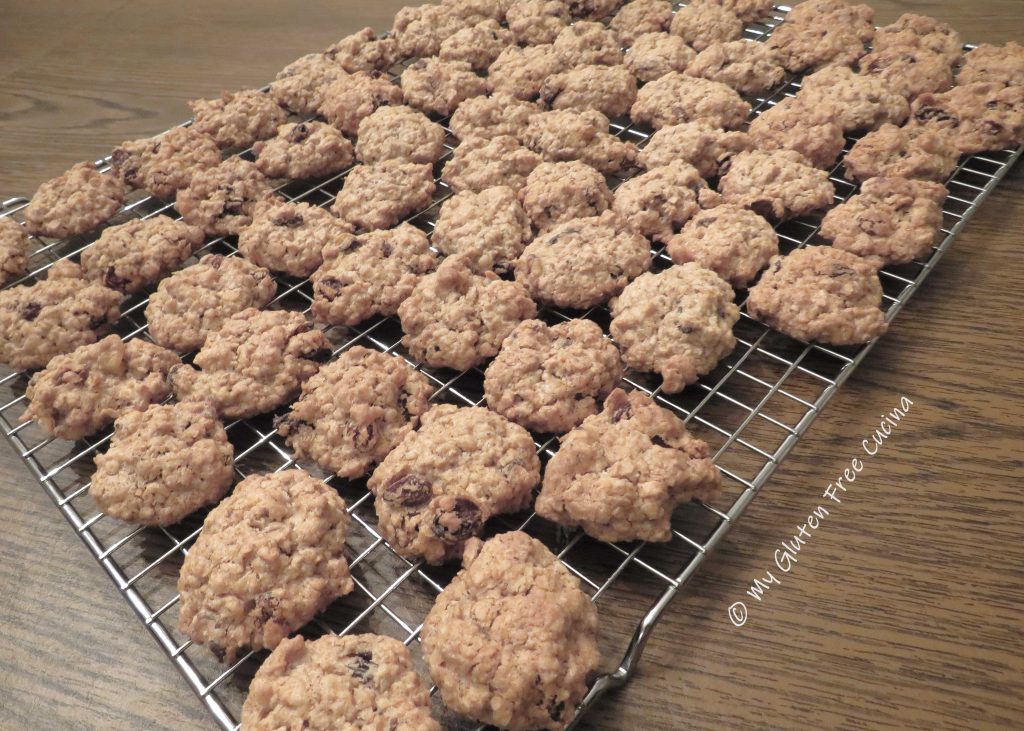
About 6 dozen cookies.

Ingredients:

  • 120g. gluten free all-purpose flour (I used Better Batter Original)
  • 1 tsp. salt
  • 1 tsp. cinnamon
  • 1/2 tsp. baking soda
  • 1/2 tsp. cloves
  • 1 cup raisins (I used Sunmaid)
  • 1 cup chopped walnuts
  • 3 cups quick-cooking gluten free oats (I used Bobs Red Mill)
  • 3/4 cup shortening (Crisco is gluten free)
  • 1 cup brown sugar (packed)
  • 1/2 cup granulated sugar
  • 1 egg
  • 1 tsp. vanilla extract

Preparation:

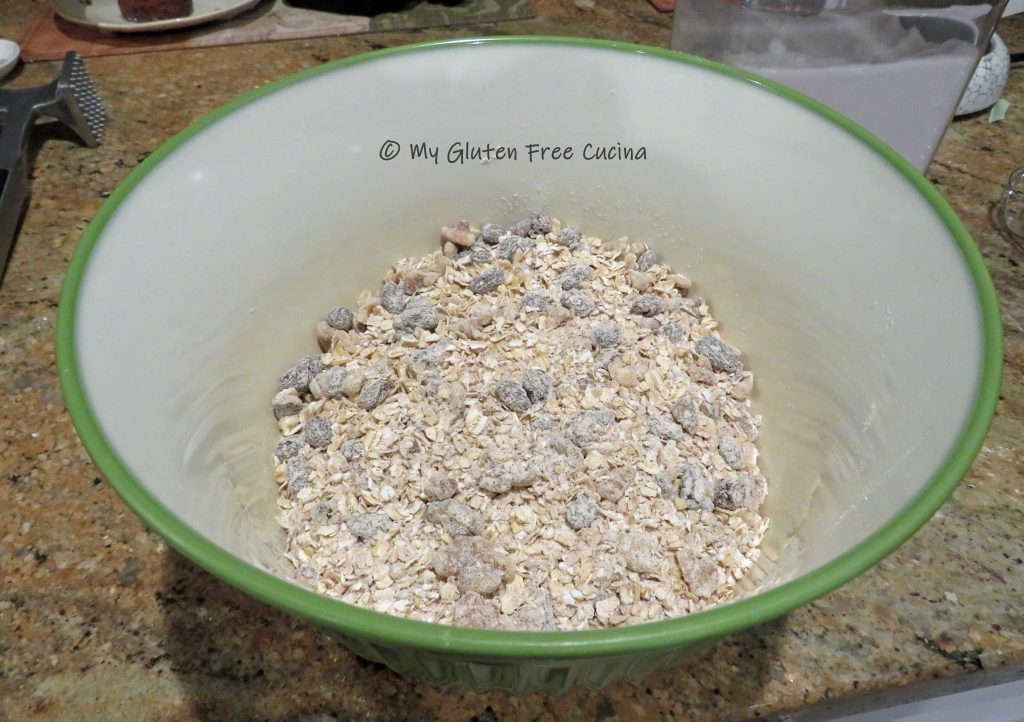
Preheat the oven to 350º.  Combine the dry ingredients, flour through oats in a large bowl and mix well.

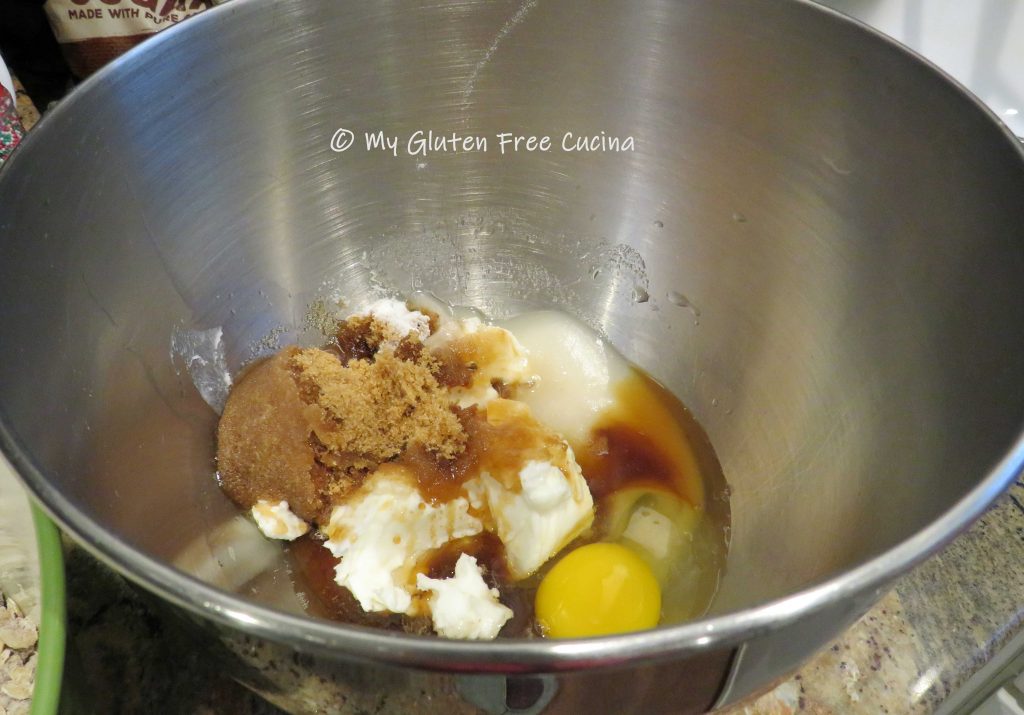
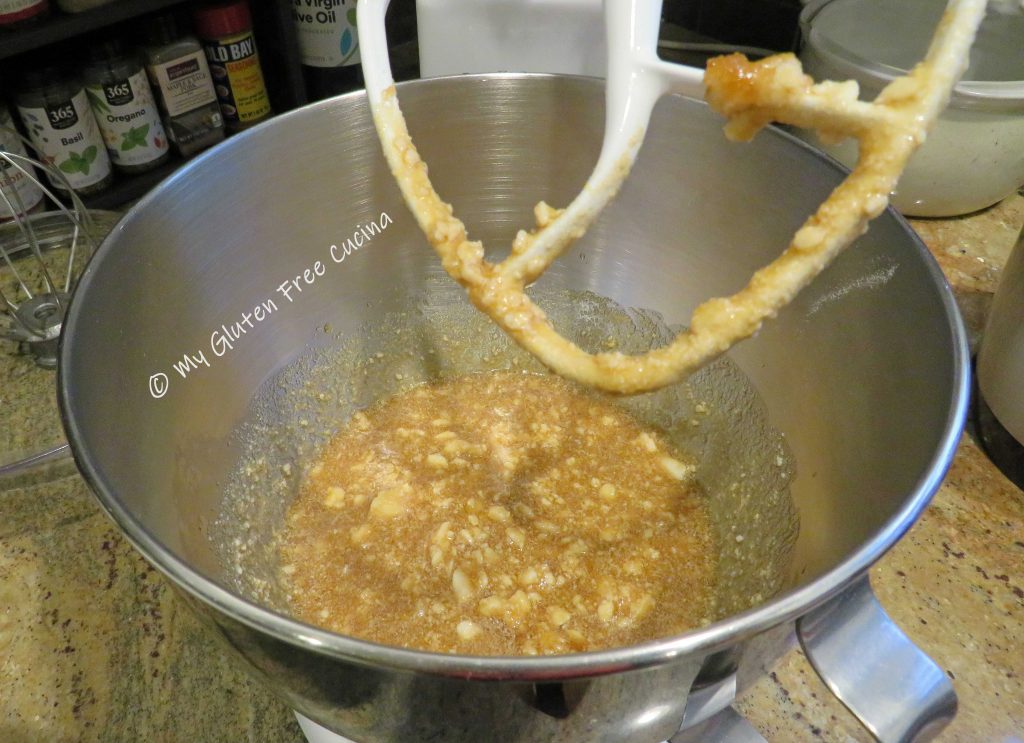
In the bowl of a stand mixer, add the shortening, sugars, egg and vanilla.  Beat on low speed with the paddle attachment until well combined.

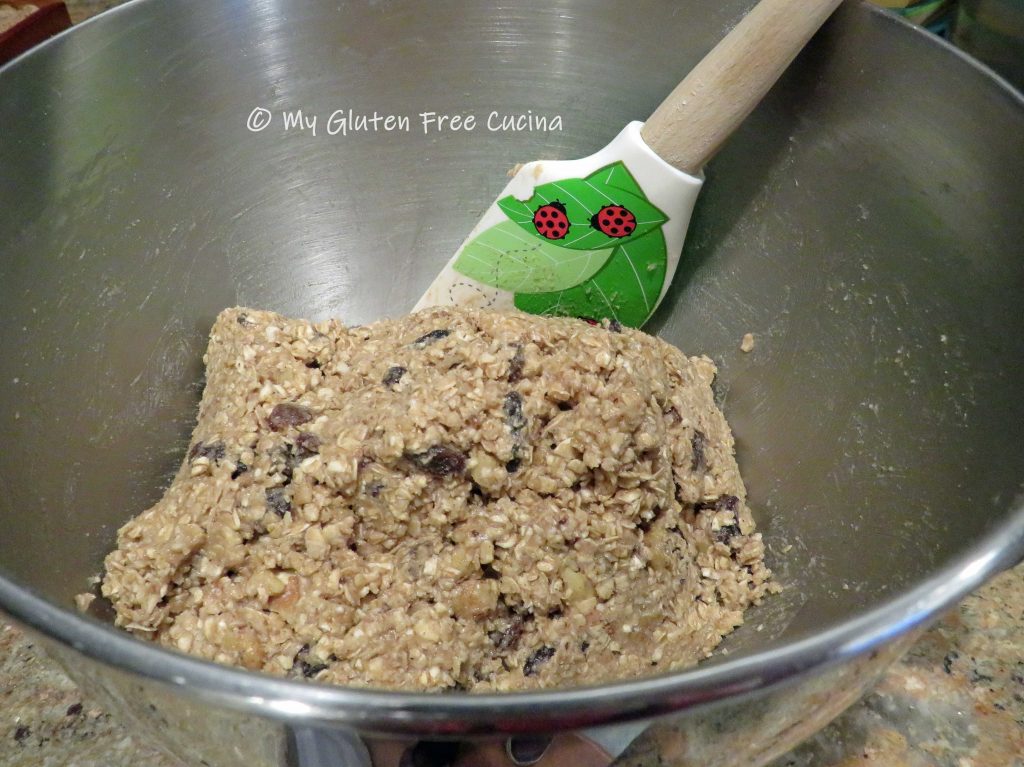
Add the dry ingredients and beat on low speed, just until combined.  Gather the mixture together and rest 15 minutes.

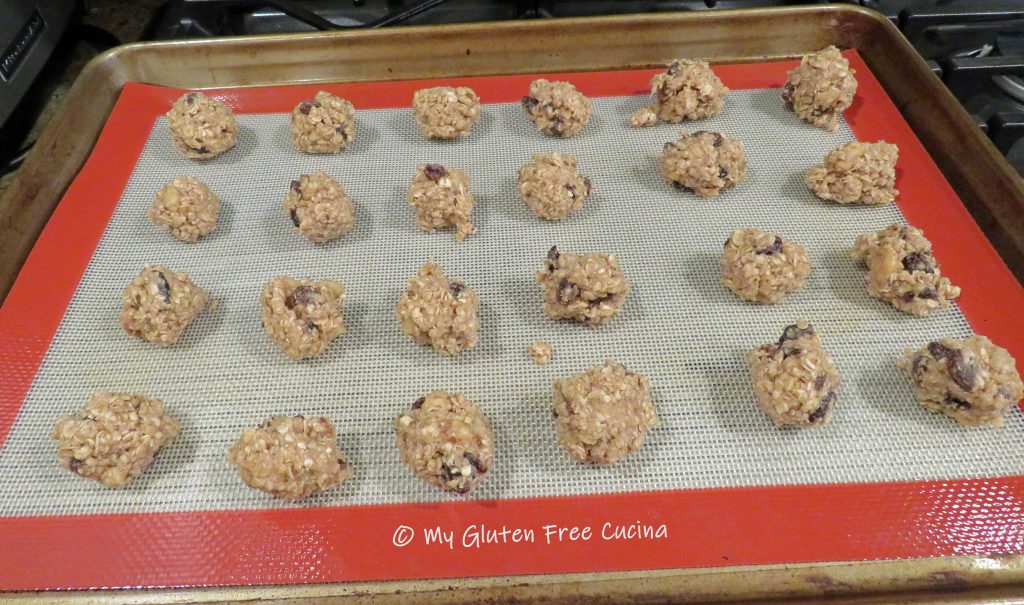
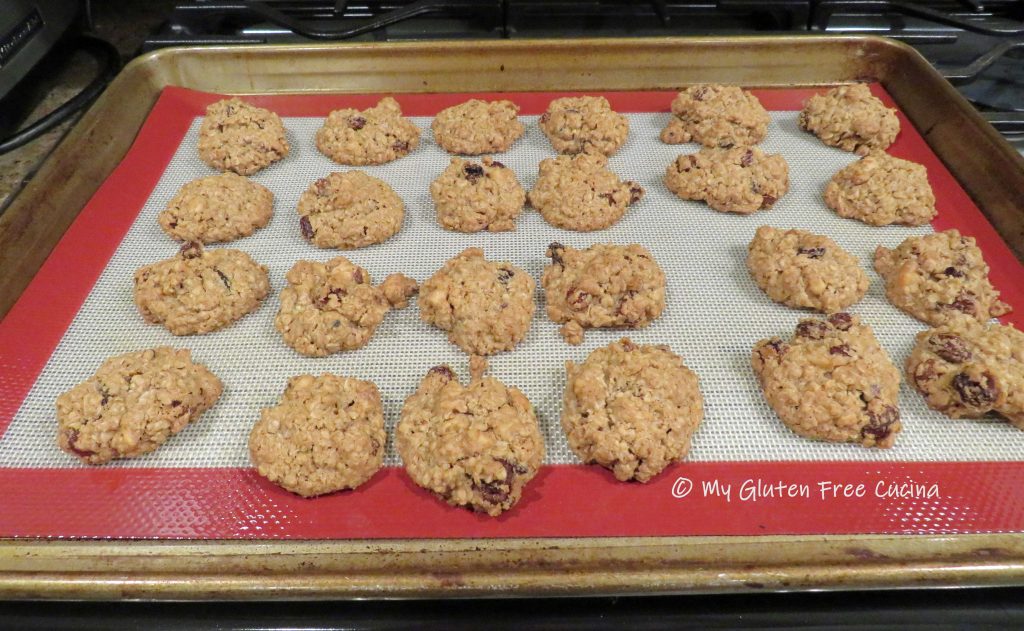
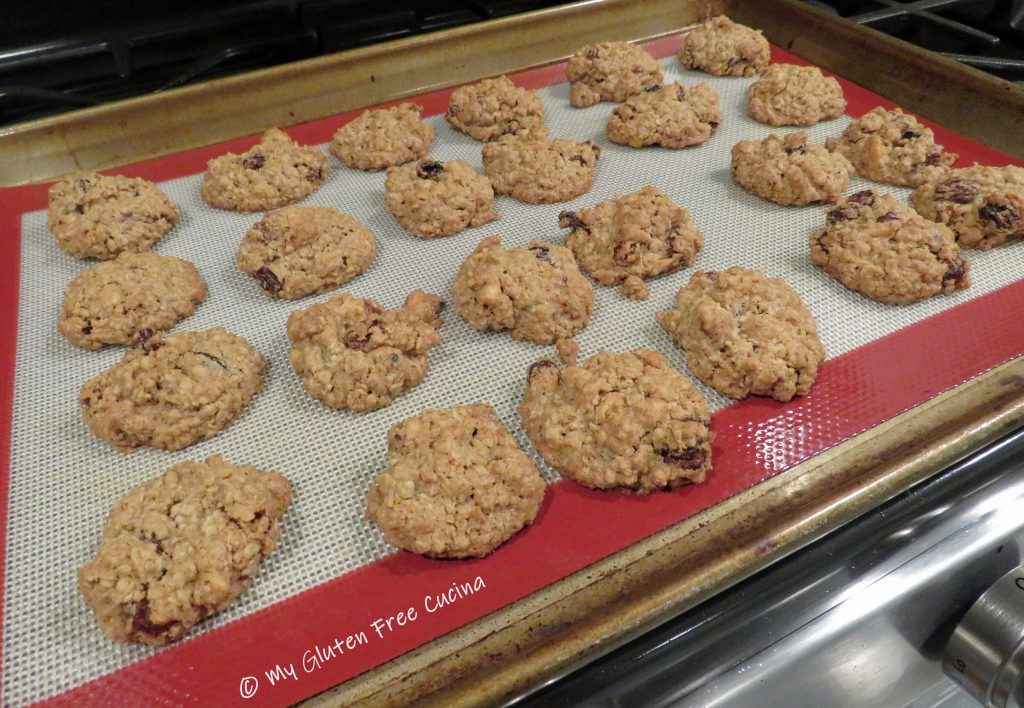
Scoop the dough by rounded teaspoons and place at least one inch apart on a prepared baking sheet.  I used a silicone mat to prevent sticking.

Bake 17-20 minutes on the middle shelf.  Cookies are done when almost no imprint remains when touched with your finger.  Immediately remove from the baking sheet.

As the cookies were baking, Mr. Cucina said, “now you know what my mother’s kitchen smelled like”.  That alone was worth the effort. ????

Apologies if these cookies don’t make it to anyone’s house.  We were eating them right out of the oven!

For those with more restraint, cookies can be stored in an airtight container for several days or frozen, great to make ahead for your Christmas cookie trays!

Notes ♪♫ For best results, be sure to use quick cooking oats in this recipe (not thick cut or old fashioned).  I always keep a bag on hand for baking!


Print This Post Print This Post


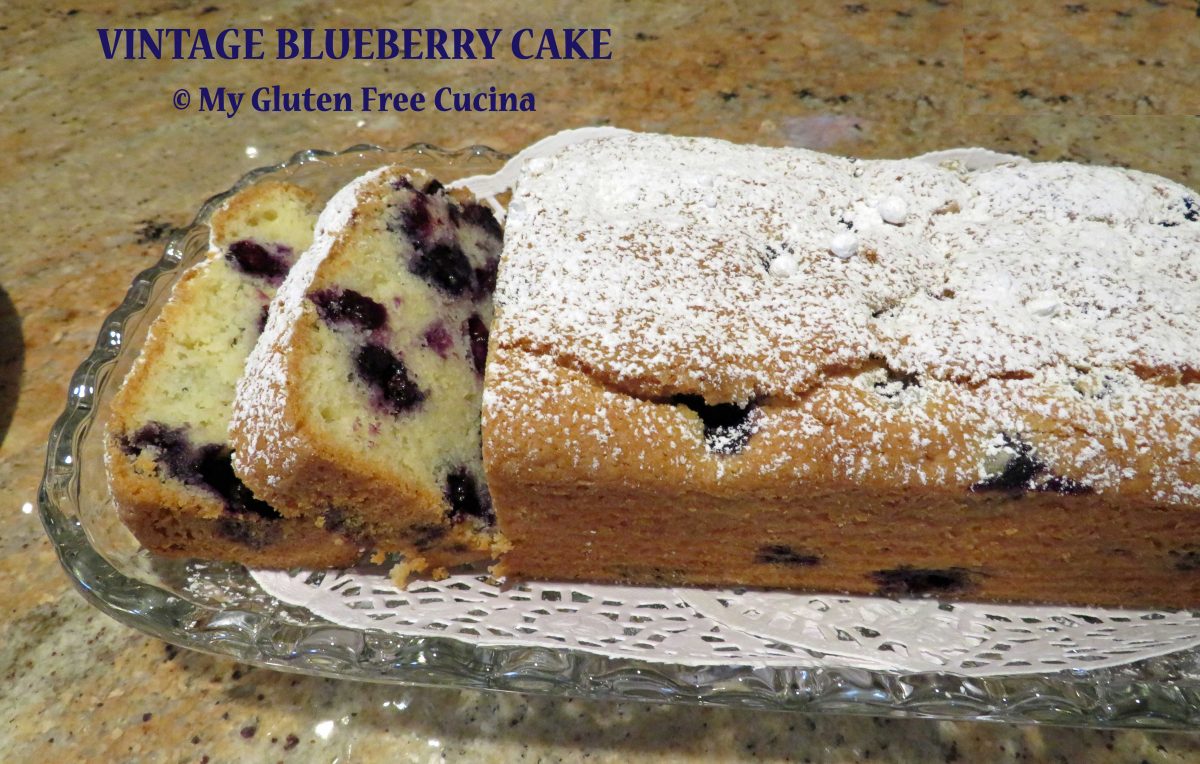
Gluten Free Vintage Blueberry Cake

Vintage Blueberry Cake

An Heirloom Recipe Converted to Gluten Free

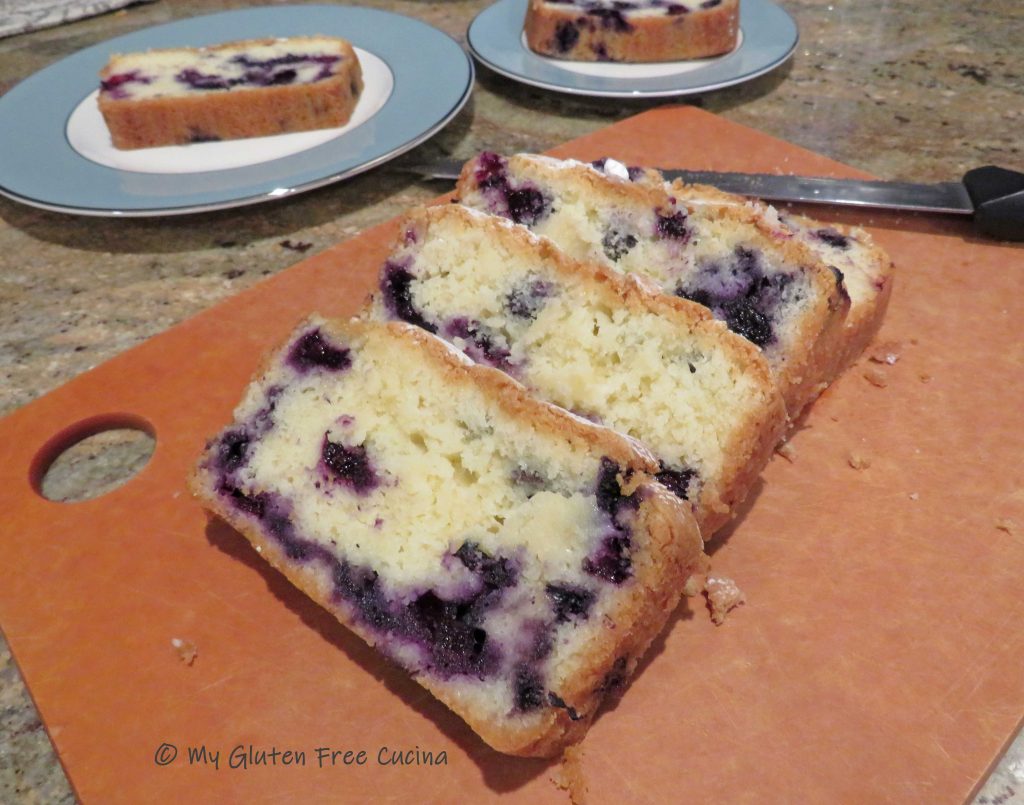
Some things in life should never be changed, and this heirloom cake is one of them.  An old family recipe passed down from one generation to the next, just a handwritten note tucked away in a recipe box.

My late husband had such fond memories of his mother making this cake and I was fortunate enough to inherit the recipe.  Here it is, written in her own hand.

I hadn’t made this cake since my Celiac diagnosis in 2017, and always wondered what would happen if I converted it to gluten free.  Would it taste as good?  The verdict, YES and the results were amazing!
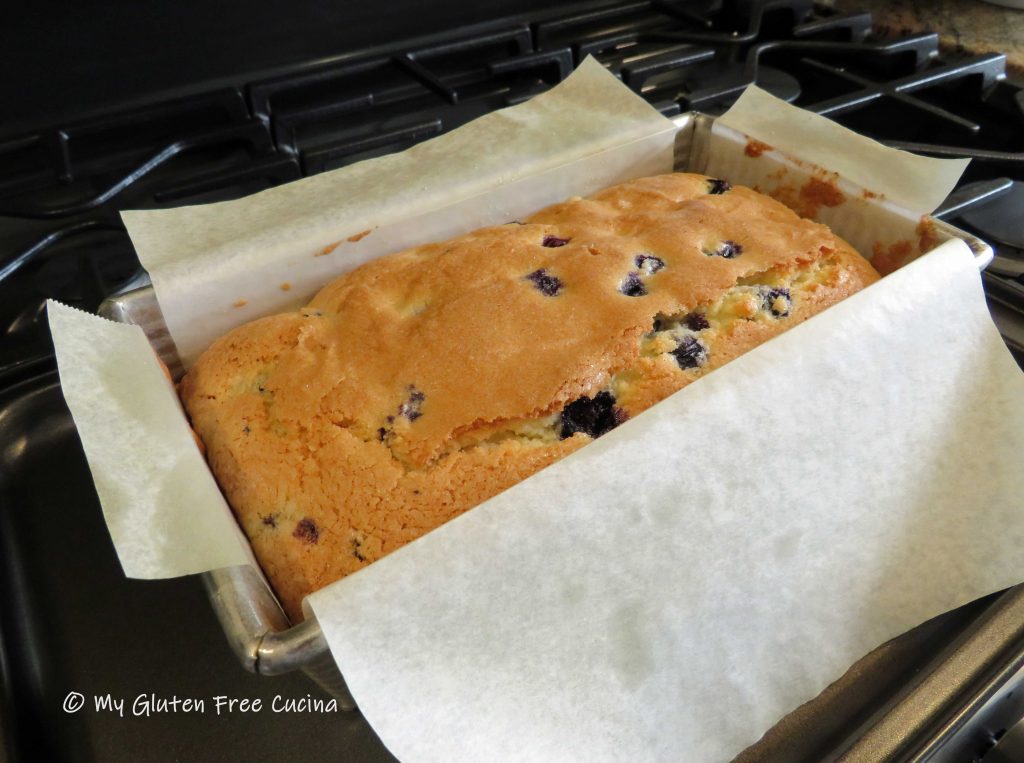
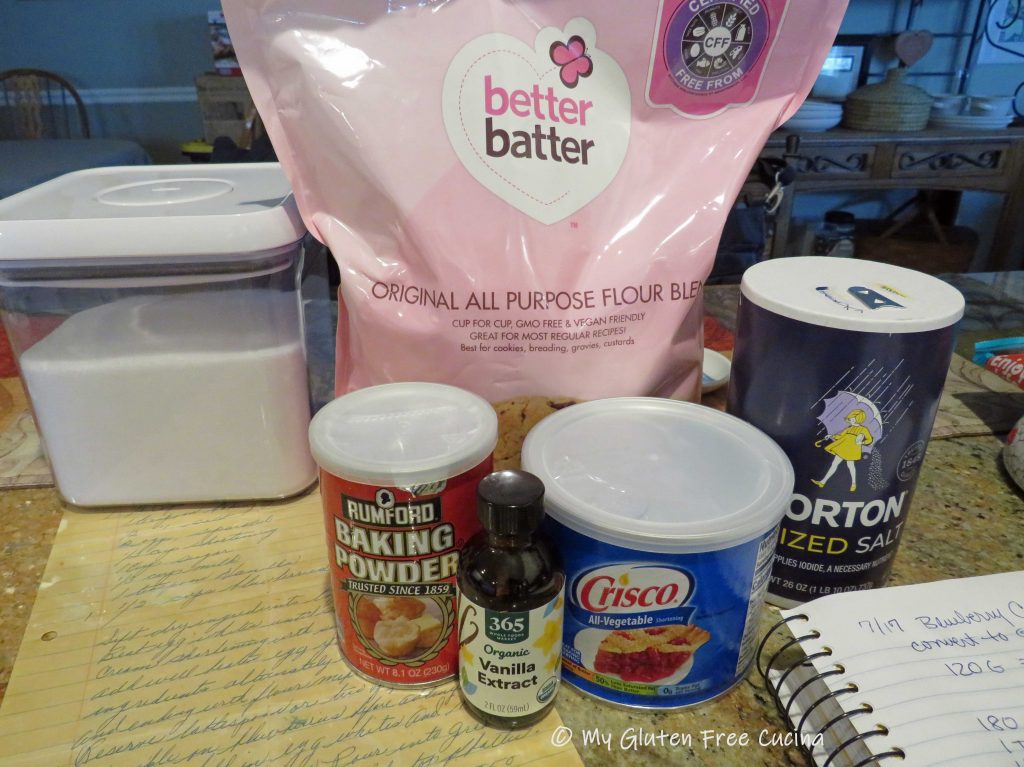
My husband’s mother was born in 1925 and was by all accounts a phenomenal baker.  To honor her recipe, I did not want to make any unnecessary changes to the ingredient list.  The only gluten containing ingredient was the flour.  I substituted Better Batter Original Blend for the all-purpose flour.

Shortening was a common ingredient in vintage cookbooks (and still recommended today for things like pie crust).  So, I checked it out and in case you were wondering- yes, Crisco is gluten free!

When converting old family recipes, one of the dilemmas is that flour was often measured in cups.  How did the author measure 1 cup?  Scoop and level?  Spoon and level?  Pour and shake?  

For this I put my trust in the experts at Better Batter, who recommend a 120g. per cup conversion for their original gluten free flour blend.  My recipe called for 1-1/2 cups flour, and I converted to 180g. of Better Batter.  I’m happy to say, it worked perfectly!

This post contains affiliate links.

***When you shop Better Batter and use my (affiliate) code MGFC30 at checkout, you will receive 30% off any non-sale item! ***

CLICK HERE to take advantage of this incredible opportunity to try the flour that I call my little miracle in a bag!

Ingredients:

Preparation:

Preheat the oven to 350º.  Wash and dry the blueberries on a clean dishtowel.

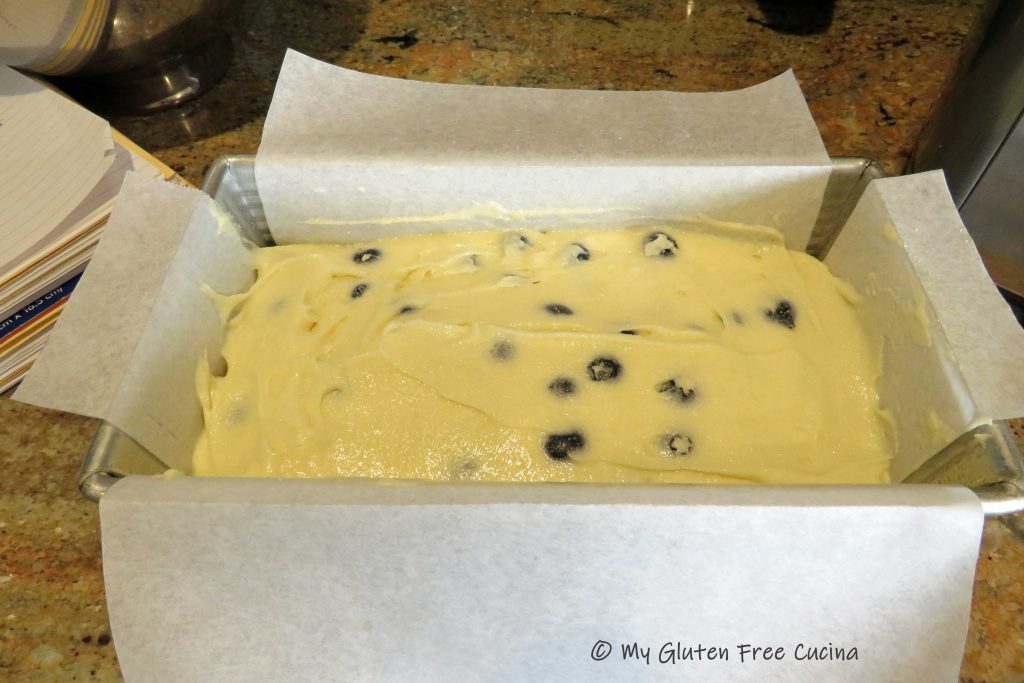
Size matters!  Using the wrong pan will affect the baking time and overall appearance of the final product.  For this recipe you will need a standard 1 lb. loaf pan.  Line the pan with parchment and mist with cooking spray.

Sift the dry ingredients (flour, baking powder and salt) together and set aside.  Separate the eggs (yolks from whites).

In the bowl of a stand mixer with the whisk attachment, beat the egg whites until stiff and set aside.  In a separate bowl, beat the egg yolks with a fork.

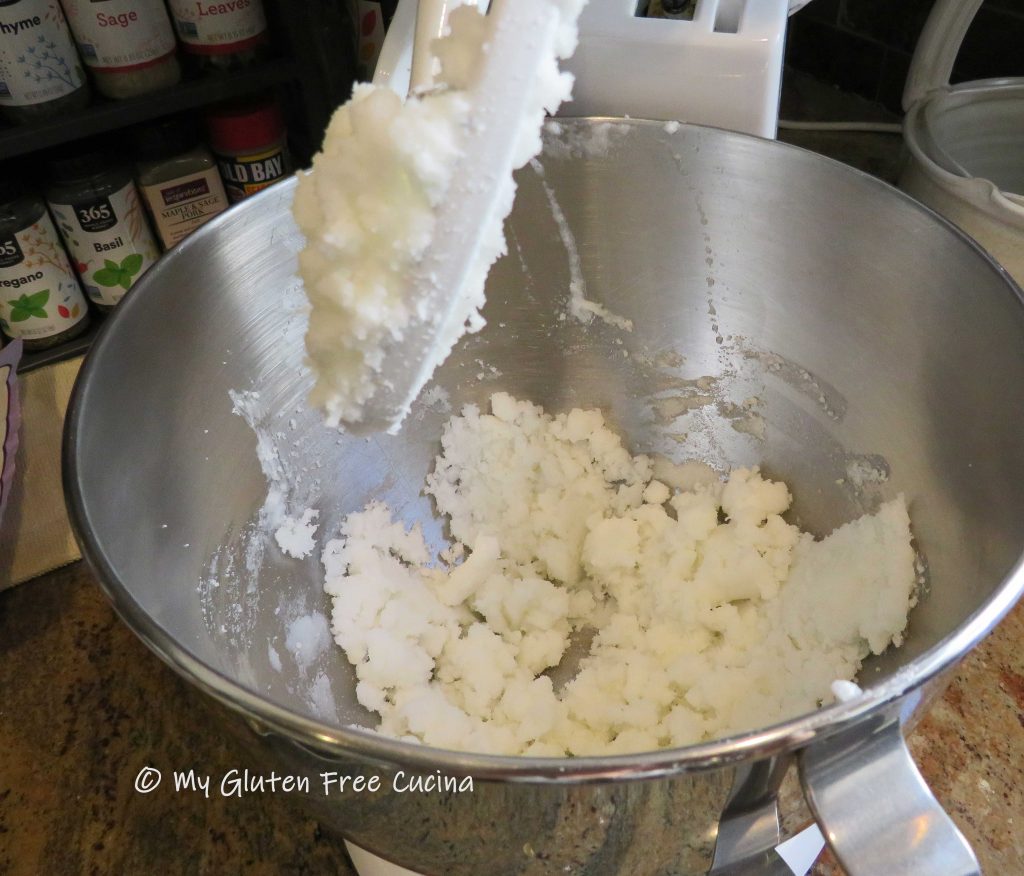
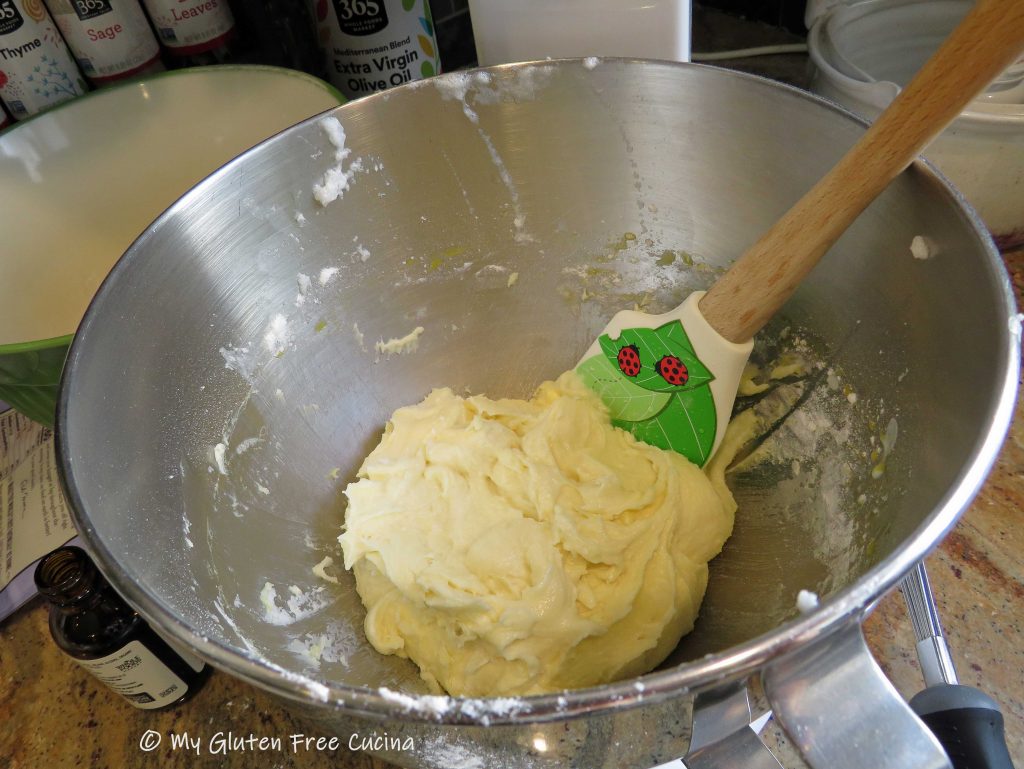
Switch to the paddle attachment.  Cream the shortening with the sugar thoroughly, then add well beaten egg yolks.

With the mixer running, gradually add the dry ingredients alternately with the milk, beginning and ending with flour mixture.

Sprinkle the additional tbsp. of flour on the blueberries before adding to the batter.  This will keep them from sinking to the bottom of the cake as it bakes.

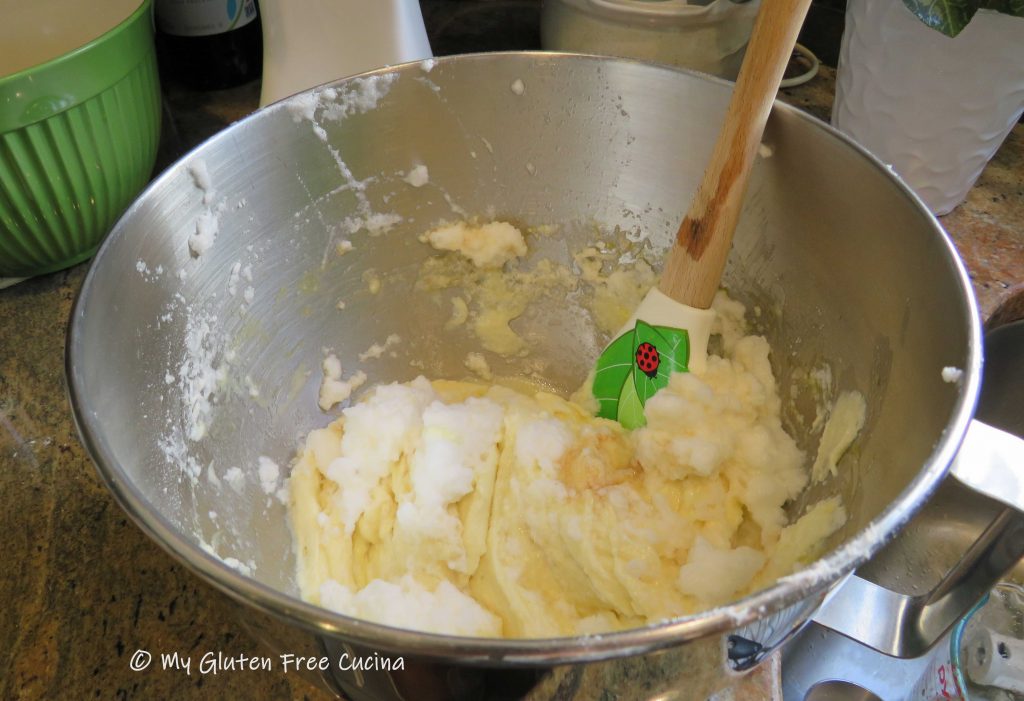
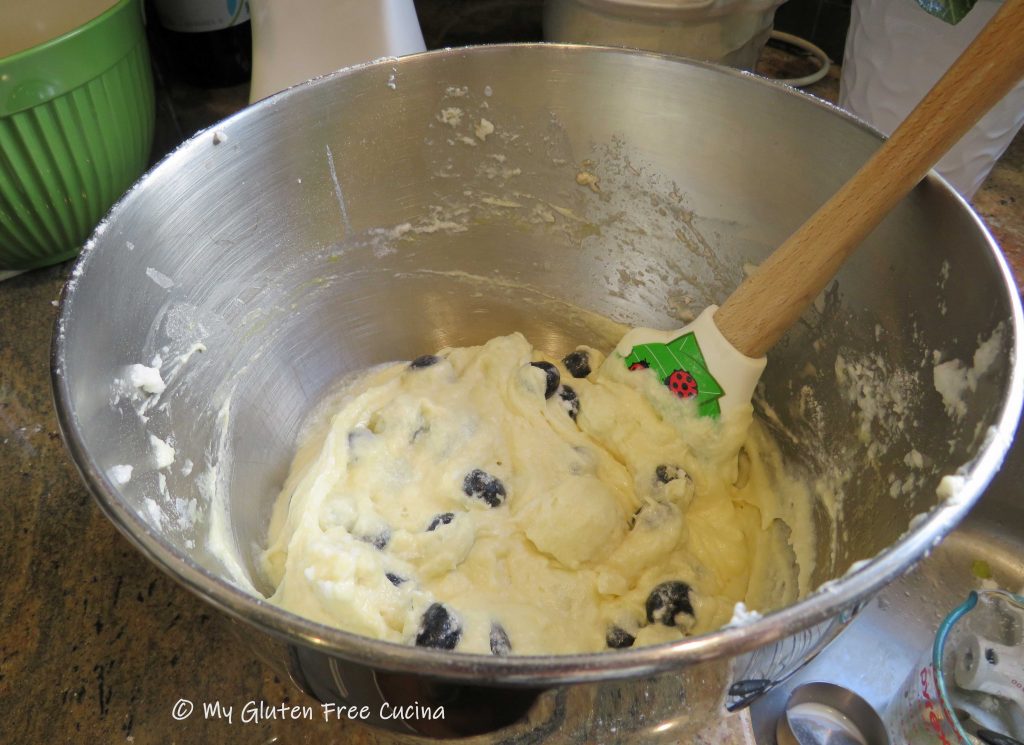
Fold the egg whites and vanilla into the batter, then fold in the floured blueberries.

Spread the batter evenly in the prepared baking pan.  Sprinkle the top of the batter with sugar.

Bake at 350° for 55 minutes, then turn the oven off and leave the cake in for 5 minutes longer.  Cool 10 minutes in the pan.

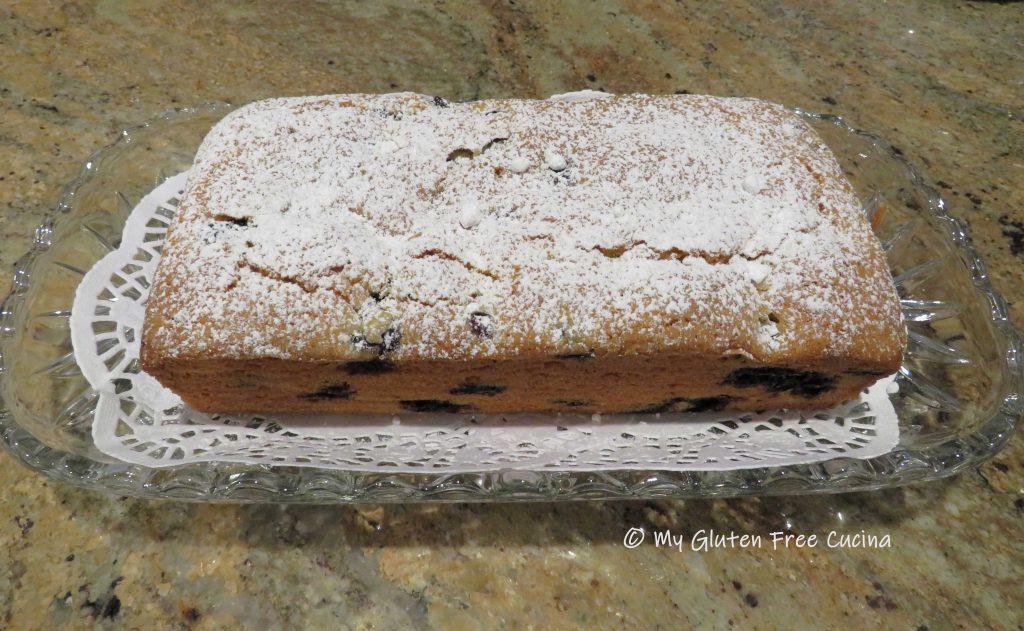
Grasp the parchment on either side and gently lift the cake onto a cooling rack.  Wait a few minutes then carefully peel away the parchment.

Let the cake cool to room temperature before serving.  Although this cake needs no further adornment, I like to dust the top with powdered sugar.

This cake is so simple, but the flavor and texture are rich and indulgent.  I think I did justice to the original recipe!  My husband always loved this cake and said he could not tell it was gluten free.

Notes: ♪♫ For best results, always use fresh blueberries.  The baking time in the original recipe is 40 minutes, but I have found that it requires closer to an hour.  Check with a toothpick, and if the cake is still a tiny bit moist in the middle you can turn off the oven and leave it in 5 minutes longer.  The cake will continue to set as it cools in the pan.

Print This Post Print This Post