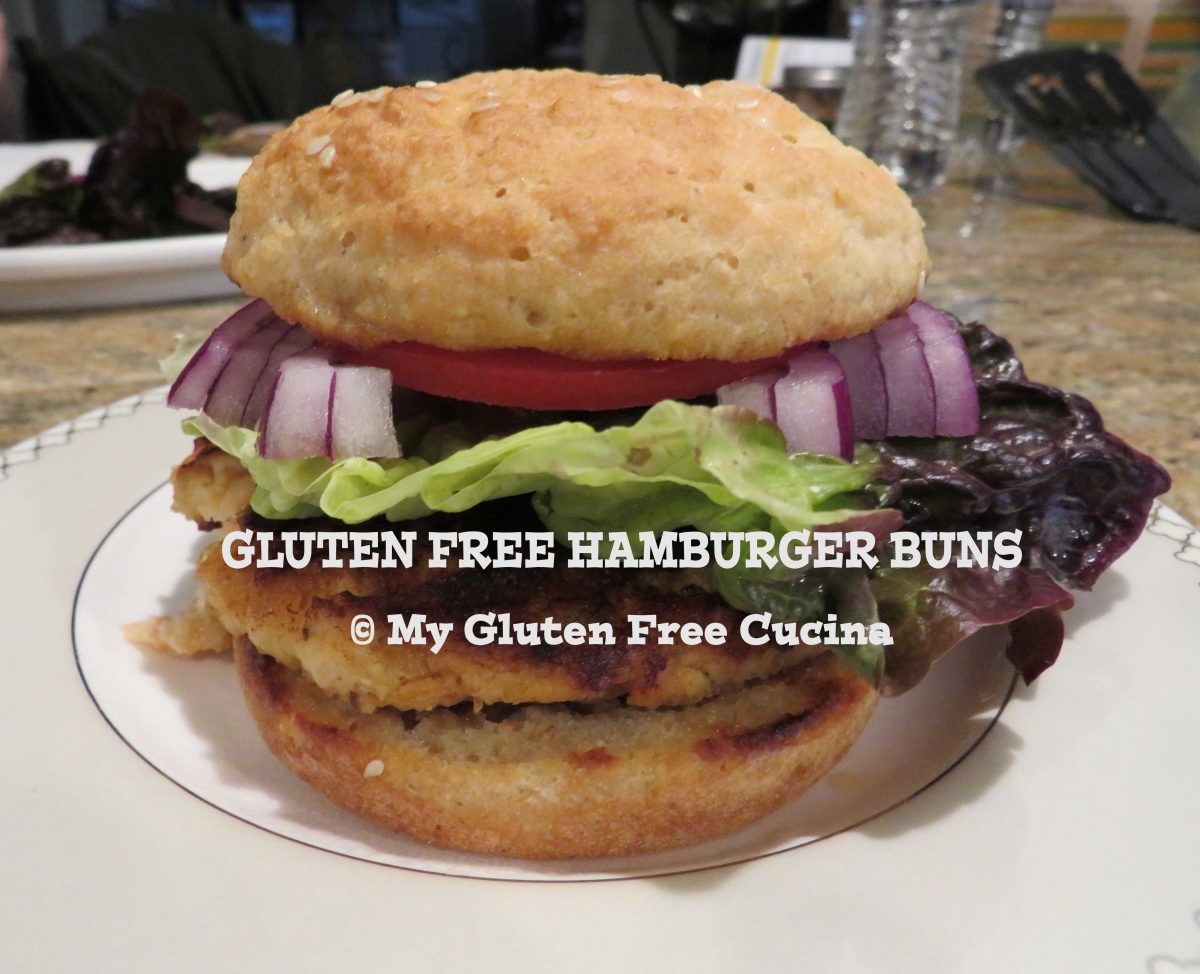
Summer is in full swing, and with it the long-awaited cookouts and neighborhood barbeques. A burger on the grill is one of life’s simple pleasures, but when you have Celiac disease, an invitation to the family cookout usually means “BYOB” – Bring your own bun!
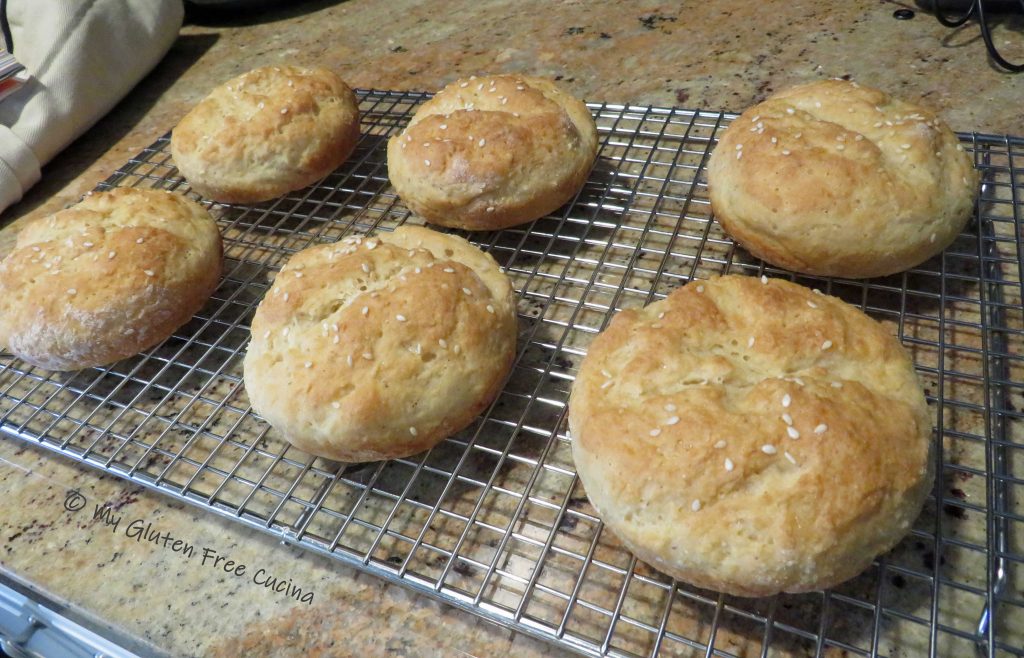
It’s all part of gluten free living, but that doesn’t mean settling for the frozen cardboard buns at the market. Instead, enjoy that burger on an awesome, gluten free bun that you made from scratch!

I’ve gone through the trial and error of testing endless grain combinations to create the most delicious gluten free hamburger bun. It holds together beautifully, no crumbling! It’s delicious toasted but doesn’t need toasting, and the taste is amazing! The other guests may be jealous, so be sure and make enough to share 🙂
This Post Contains Affiliate Links

6 buns
*Contains Oats – see notes
Ingredients:
- 2-1/4 tsp. yeast (1 packet)
- 1/2 tsp. sugar
- 1/2 cup 1% milk
………………………………………….
- 65 g. arrowroot flour
- 55 g. white rice flour
- 50 g. brown rice flour
- 30 g. tapioca starch
- 16 g. sweet white rice flour
- 50 g. gluten free old fashioned rolled oats, ground **
- 3 tbsp. whole psyllium husks, ground
- 1 tsp. xanthan gum
- 1 tsp. baking powder
- 1/2 tsp. salt
**(Note: If you are avoiding oats, substitute 50 g. sorghum flour for the oat flour in this recipe. You can also try buckwheat or millet flour)
………………………………………….
- 1 egg
- 2 tbsp. canola oil
- 1 tbsp. honey
- 3/4 cup water
………………………………………….
- 1 tbsp. milk
- tbsp. sesame and poppy seeds (optional but good)
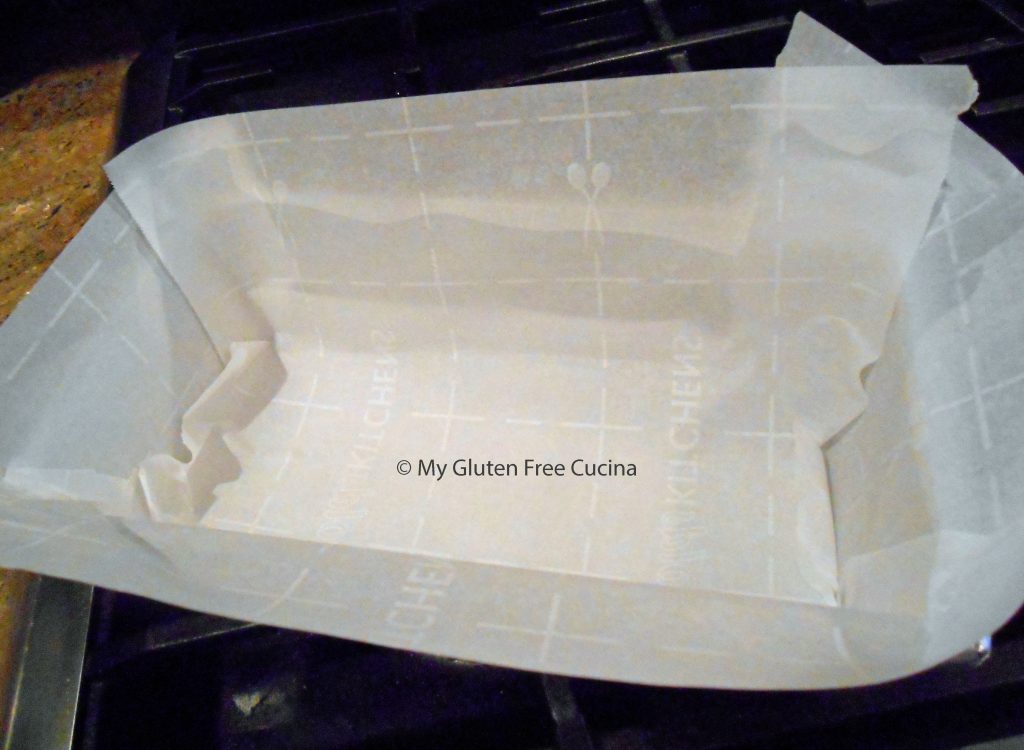
Gluten free dough really does benefit from the support of a bun pan to help keep its shape as it rises. Mine is from USA Pan. You can also use muffin rings or even canning jar lids.
 Preparation:
Microwave 1/2 cup milk for 30 seconds. Stir in the yeast and sugar and let it proof 15 minutes while you gather the rest of the ingredients.
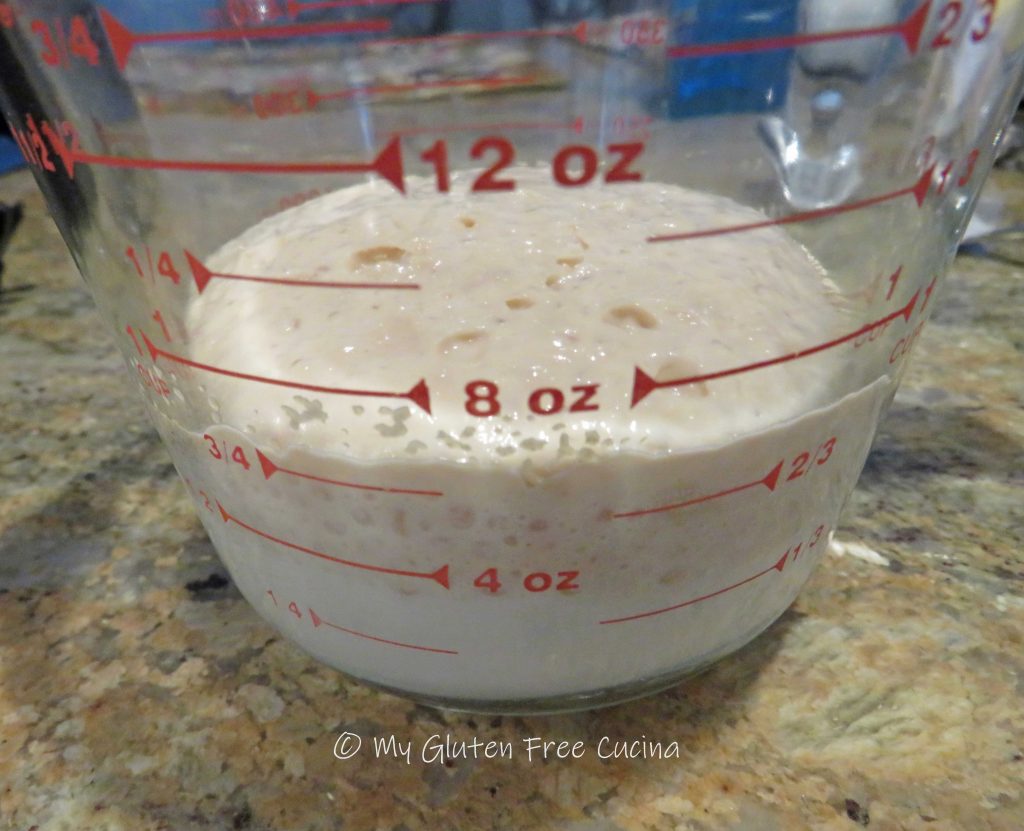
Whisk together the dry ingredients.

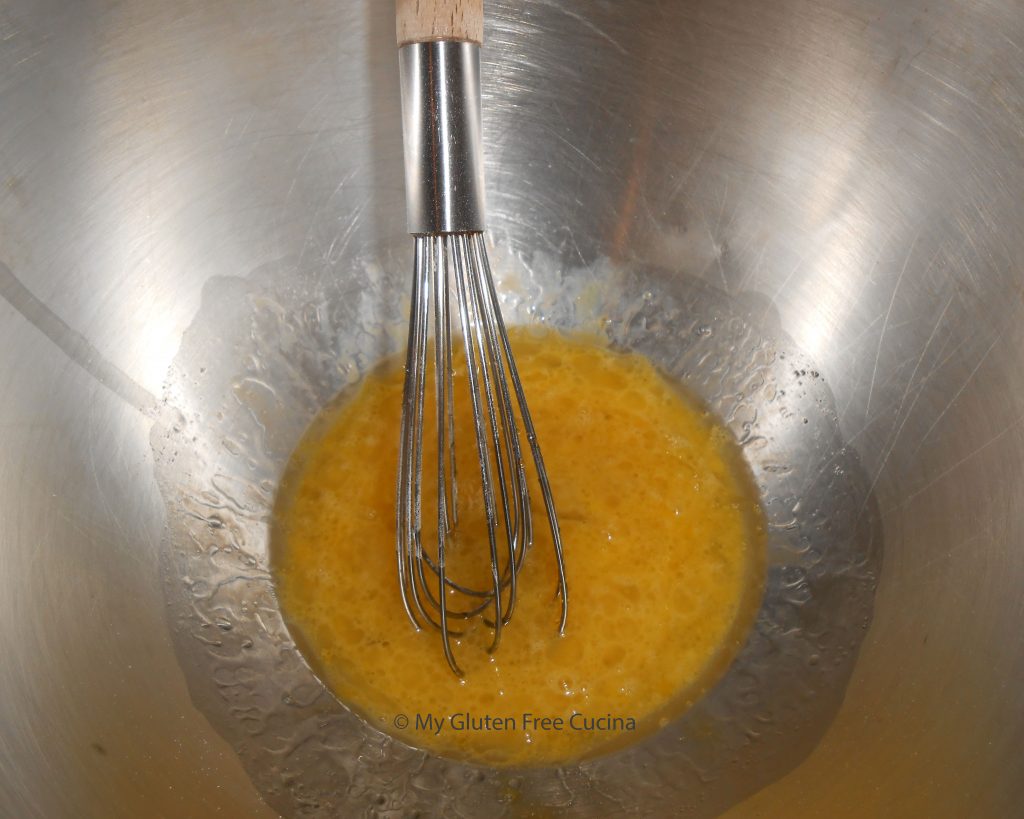
In the bowl of a stand mixer, whisk the egg, canola oil and honey with the proofed yeast mixture. Switch to the beater attachment and add the dry ingredients with 3/4 cup water on low speed until combined.
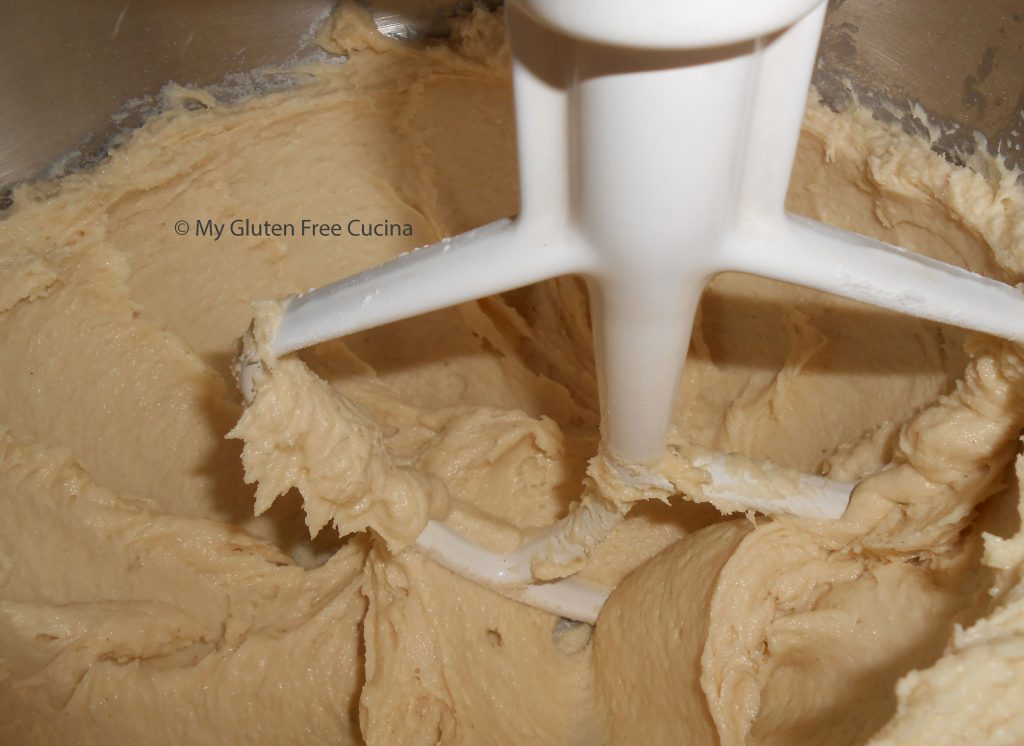
 Beat for 6 minutes to form a wet dough that clings to the beater like this.
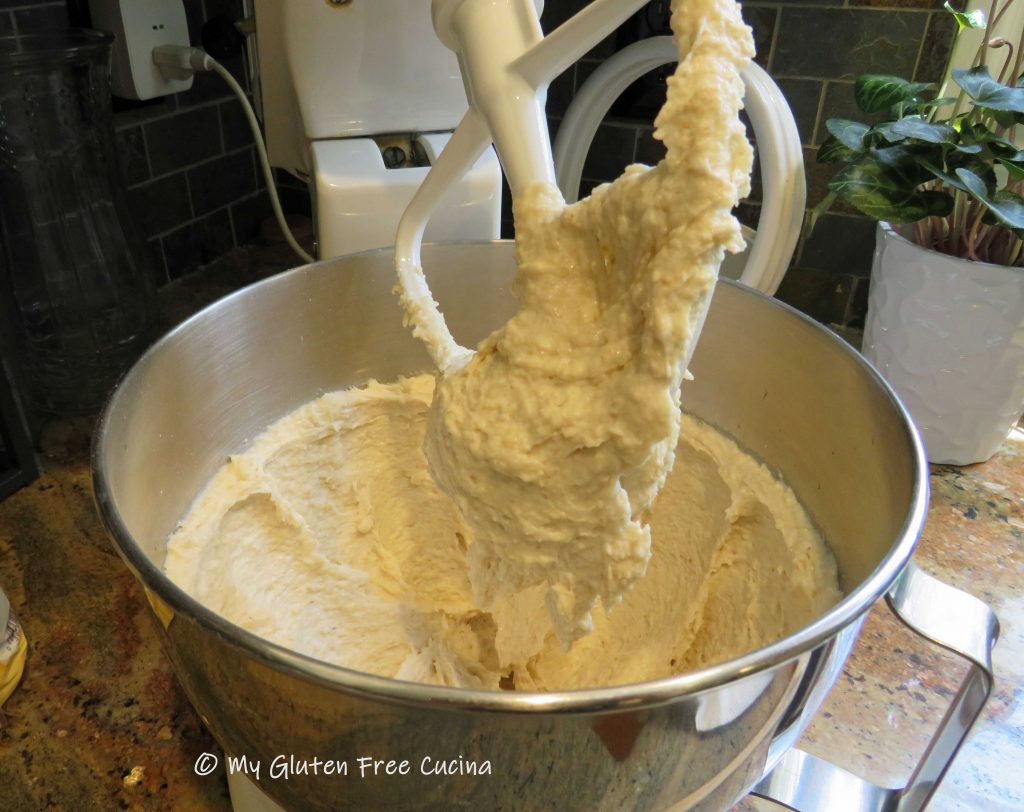
Gather the dough together in the mixer bowl and cover with plastic wrap. Let it rest for 15 minutes. This will give the dry ingredients a chance to hydrate.
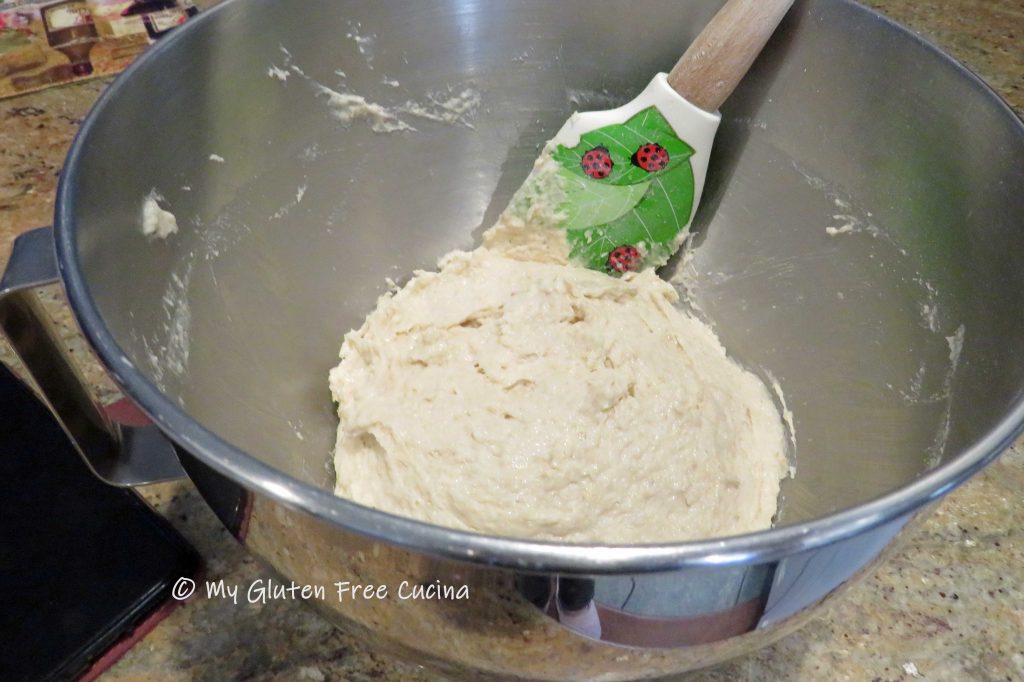
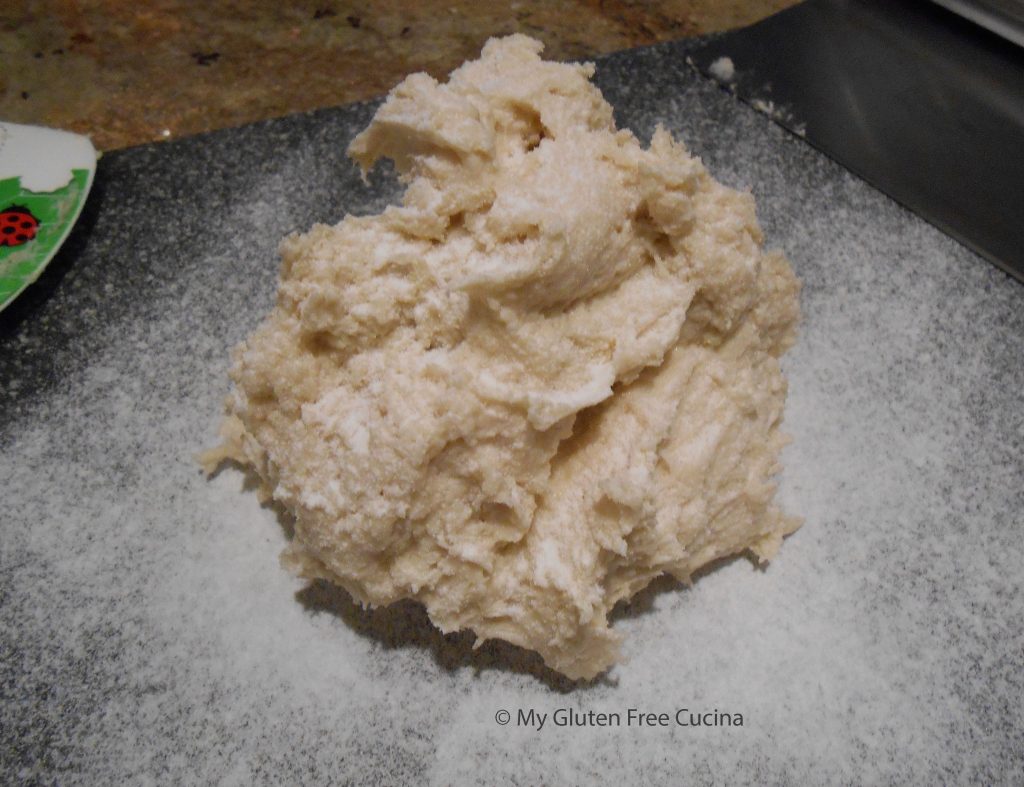
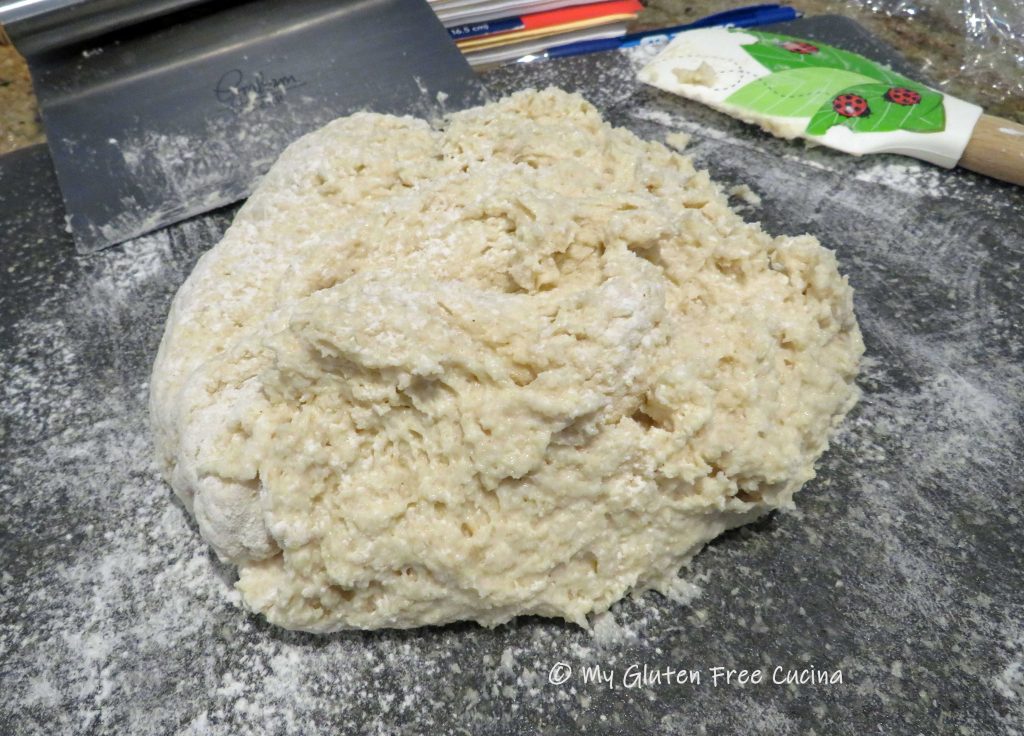
Turn the dough out onto a floured work surface and sprinkle with more flour. The dough will look shaggy, like this.
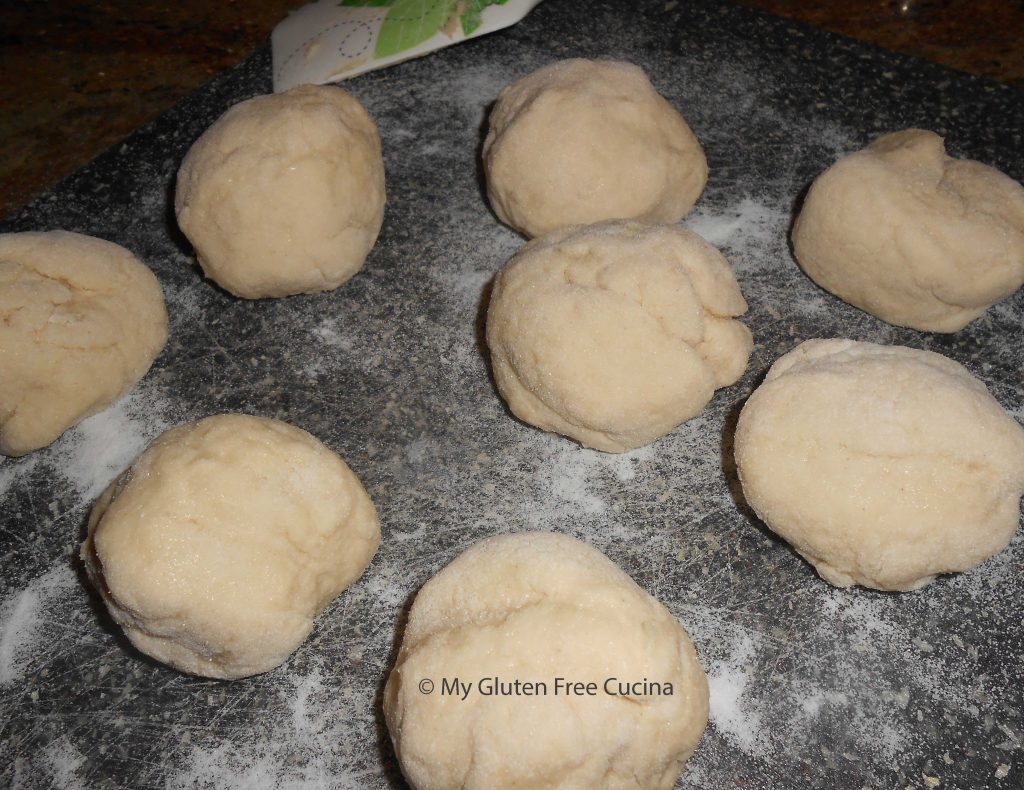
Use a bench knife to divide the dough into 6 even pieces. Sprinkle generously with more flour.
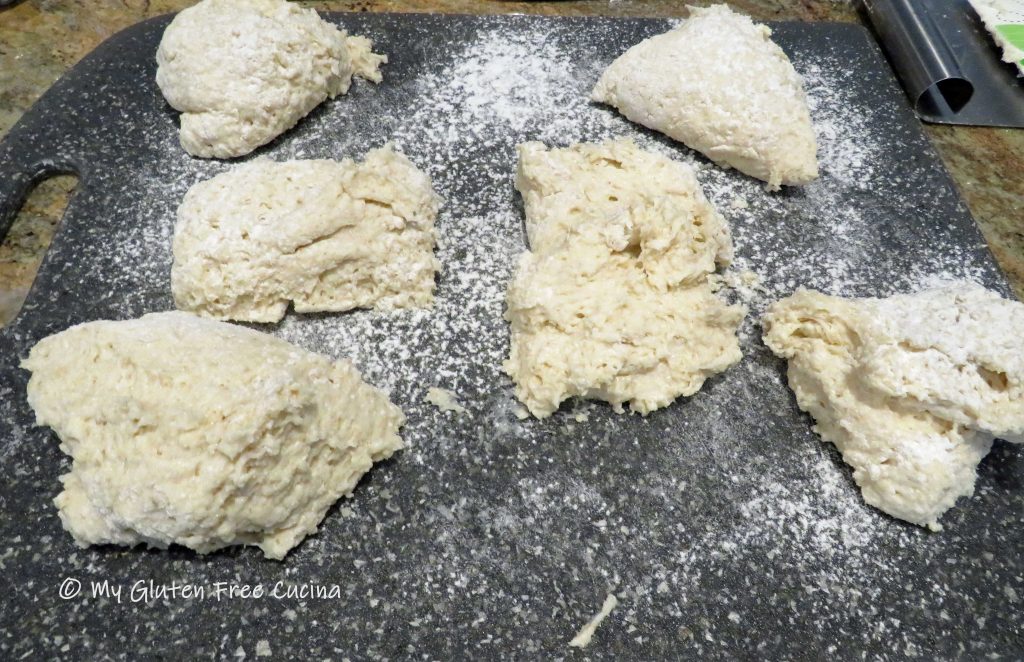
Use floured hands and bench knife to gently roll and pat each piece into a ball. Handle the dough with a very light touch and apply as little pressure as possible.

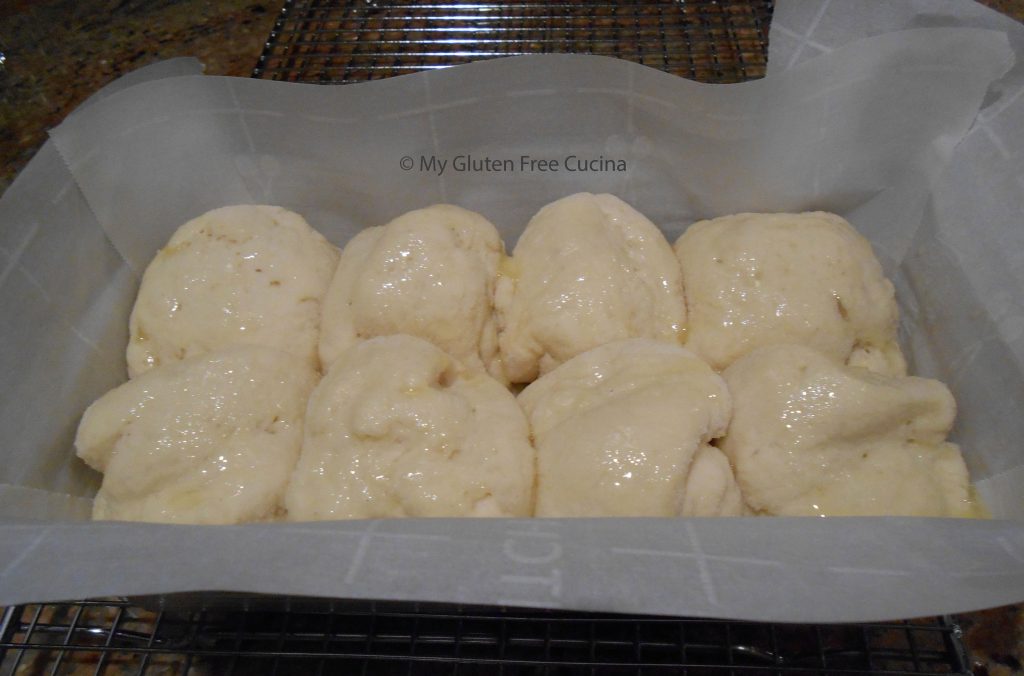
Spritz the bun pan with cooking spray and gently transfer the formed buns. Cover with oiled plastic wrap and proof for 15 minutes while you preheat the oven.

Preheat the oven to 400º, and lower to 350º just before baking. Brush milk over the tops of the buns and sprinkle with seeds if desired. Use a paring knife to score each bun down the center.
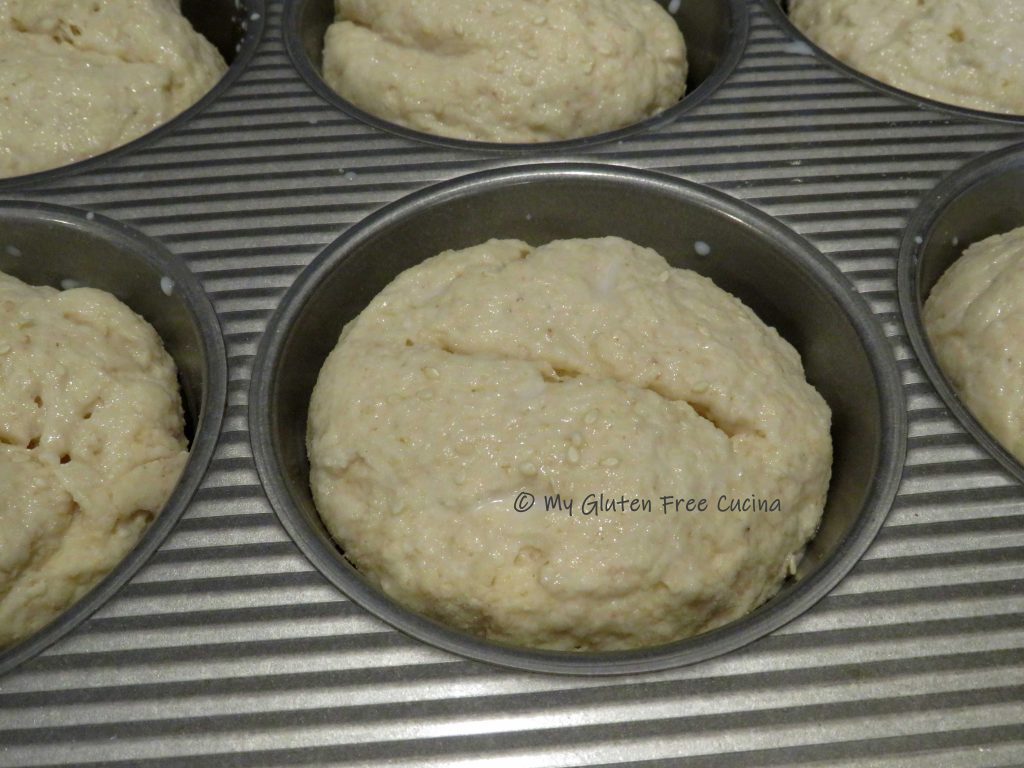
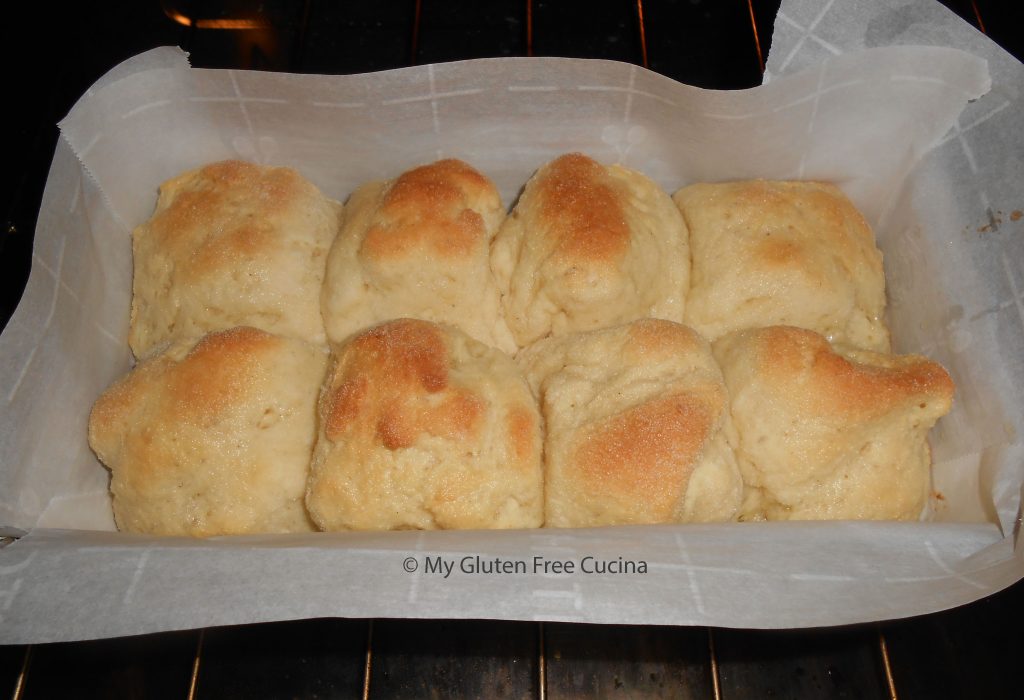
Place the pan in the oven on the middle rack. Spray the sides of the oven with water and quickly close the door. Bake for 30 minutes, or until the internal temperature reaches 200º (use a thermometer). Turn the oven off, open the oven door slightly, and leave the buns in for 5 minutes longer.

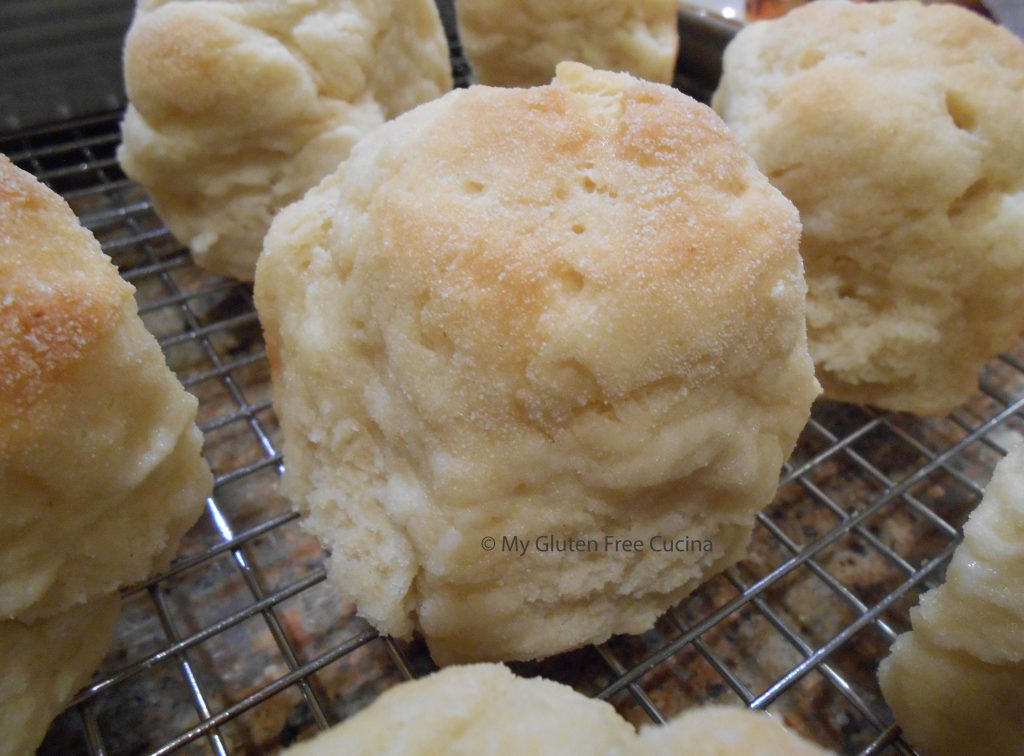
Remove from the pan and cool on a rack. Don’t slice until they have completely cooled.
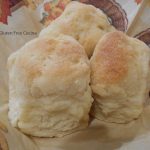
The rolls are perfection, they have a nutty, bready aroma and a soft crumb!

Toast them up or not, they are great either way!
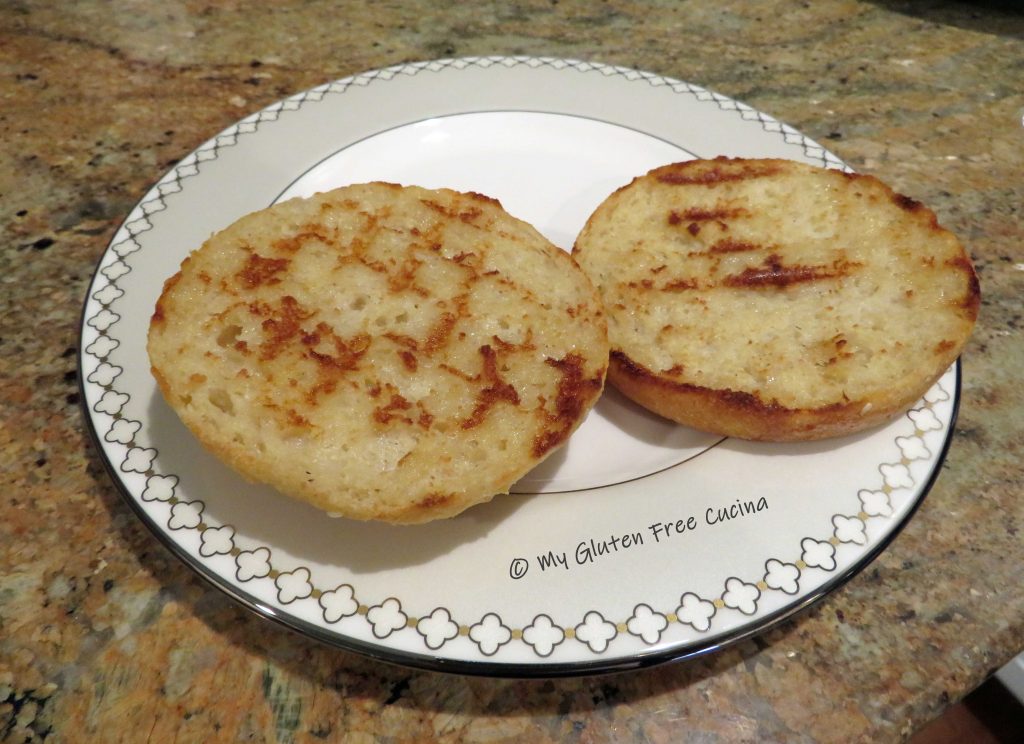 They are the perfect accompaniment to all your summer burgers and lunch sandwiches! For something different, try them with my Gluten Free Salmon Burgers.

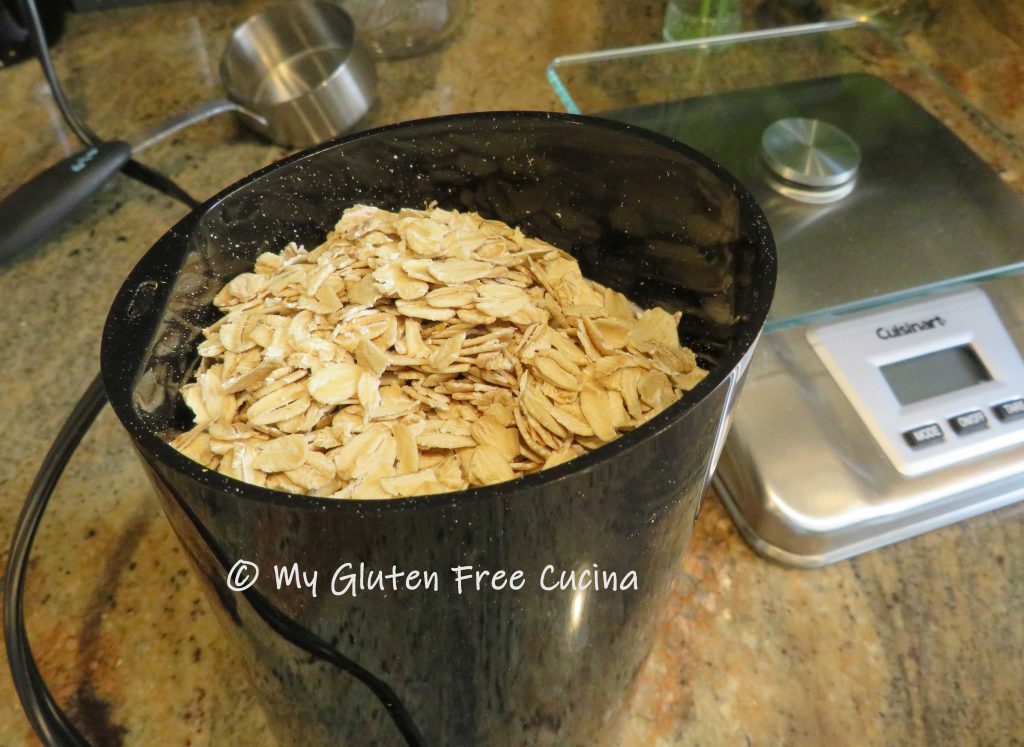
Notes ♪♫ Rather than stock oat flour in my pantry, I buy old fashioned rolled oats and grind them in a coffee grinder when flour is needed. In doing so I always have oats on hand for breakfast, adding to recipes in whole form or to grind for small amounts of flour. For best texture and nutrition, I use old fashioned rolled oats, not instant. Of course, ALWAYS choose certified gluten free oats and for extra peace of mind buy Purity Protocol Oats. My favorite is Uncle Crumbles (formerly Bakery on Main).
Notes ♪♫ Oats continue to be highly controversial when it comes to celiac disease. For myself, I have decided to only use certified gluten free oats processed under a purity protocol. As always, consult with your own medical team for advice. Whether or not you continue to consume oats is a personal choice.
Gluten Free Hamburger Buns “BYOB”
- Yield: 6 buns 1x
- Category: Gluten Free Bread
- Method: Baking
- Diet: Gluten-Free
Description
A burger on the grill is one of life’s simple pleasures, but when you have Celiac disease, an invitation to the family cookout usually means “BYOB” – Bring your own bun!
These Gluten Free Hamburger Buns have a nutty, bready aroma and a soft crumb!
Ingredients
- 2-1/4 tsp. yeast (1 packet)
- 1/2 tsp. sugar
- 1/2 cup 1% milk
- 65 g. arrowroot flour
- 55 g. white rice flour
- 50 g. brown rice flour
- 30 g. tapioca starch
- 16 g. sweet white rice flour
- 50 g. gluten free old fashioned rolled oats, ground **
- 3 tbsp. whole psyllium husks, ground
- 1 tsp. xanthan gum
- 1 tsp. baking powder
- 1/2 tsp. salt
- 1 egg
- 2 tbsp. canola oil
- 1 tbsp. honey
- 3/4 cup water
- 1 tbsp. milk
- tbsp. sesame and poppy seeds (optional but good)
Instructions
- Microwave 1/2 cup milk for 30 seconds. Stir in the yeast and sugar and let it proof 15 minutes while you gather the rest of the ingredients.
- Whisk together the dry ingredients.
- In the bowl of a stand mixer, whisk the egg, canola oil and honey with the proofed yeast mixture. Switch to the beater attachment and add the dry ingredients with 3/4 cup water on low speed until combined.
- Beat for 6 minutes to form a wet dough that clings to the beater like this.
- Gather the dough together in the mixer bowl and cover with plastic wrap. Let it rest for 15 minutes. This will give the dry ingredients a chance to hydrate.
- Turn the dough out onto a floured work surface and sprinkle with more flour. The dough will look shaggy, like this.
- Use a bench knife to divide the dough into 6 even pieces. Sprinkle generously with more flour.
- Use floured hands and bench knife to gently roll and pat each piece into a ball. Handle the dough with a very light touch and apply as little pressure as possible.
- Spritz the bun pan with cooking spray and gently transfer the formed buns. Cover with oiled plastic wrap and proof for 15 minutes while you preheat the oven.
- Preheat the oven to 400º, and lower to 350º just before baking. Brush milk over the tops of the buns and sprinkle with seeds if desired. Use a paring knife to score each bun down the center.
- Place the pan in the oven on the middle rack. Spray the sides of the oven with water and quickly close the door. Bake for 30 minutes, or until the internal temperature reaches 200º (use a thermometer). Turn the oven off, open the oven door slightly, and leave the buns in for 5 minutes longer.
- Remove from the pan and cool on a rack. Don’t slice until they have completely cooled.
Notes
Rather than stock oat flour in my pantry, I buy old fashioned rolled oats and grind them in a coffee grinder when flour is needed. In doing so I always have oats on hand for breakfast, adding to recipes in whole form or to grind for small amounts of flour. For best texture and nutrition, I use old fashioned rolled oats, not instant. Of course, ALWAYS choose certified gluten free oats and for extra peace of mind buy Purity Protocol Oats. My favorite is Uncle Crumbles (formerly Bakery on Main).
Oats continue to be highly controversial when it comes to celiac disease. For myself, I have decided to only use certified gluten free oats processed under a purity protocol. As always, consult with your own medical team for advice. Whether or not you continue to consume oats is a personal choice.
**(Note: If you are avoiding oats, substitute 50 g. sorghum flour for the oat flour in this recipe. You can also try buckwheat or millet flour)
© My Gluten Free Cucina * All Rights Reserved
Unauthorized use and/or duplication of this material without express and written permission from this blog’s author and/or owner is strictly prohibited.