
Pork chops are an easy and economical main course. There are so many ways to prepare them! I have always breaded and baked mine, but in the summer, I want something a little lighter. This simple recipe is the one to keep handy for your weeknight rotation. You will love the honey glaze, and the pork chops come out tender and juicy every time.
This post contains affiliate links.
Ingredients:
- boneless pork chops, about 6 oz. each
- 2 tbsp. olive oil
- 1 tbsp. honey
- 1 tbsp. gluten free soy sauce (tamari)
- ½ tbsp. gluten free Worcestershire sauce (I like Lea and Perrins®)
- Gluten free seasoning or seasoned salt, to taste
- cooking spray
- fresh chives, for garnish
Preparation:
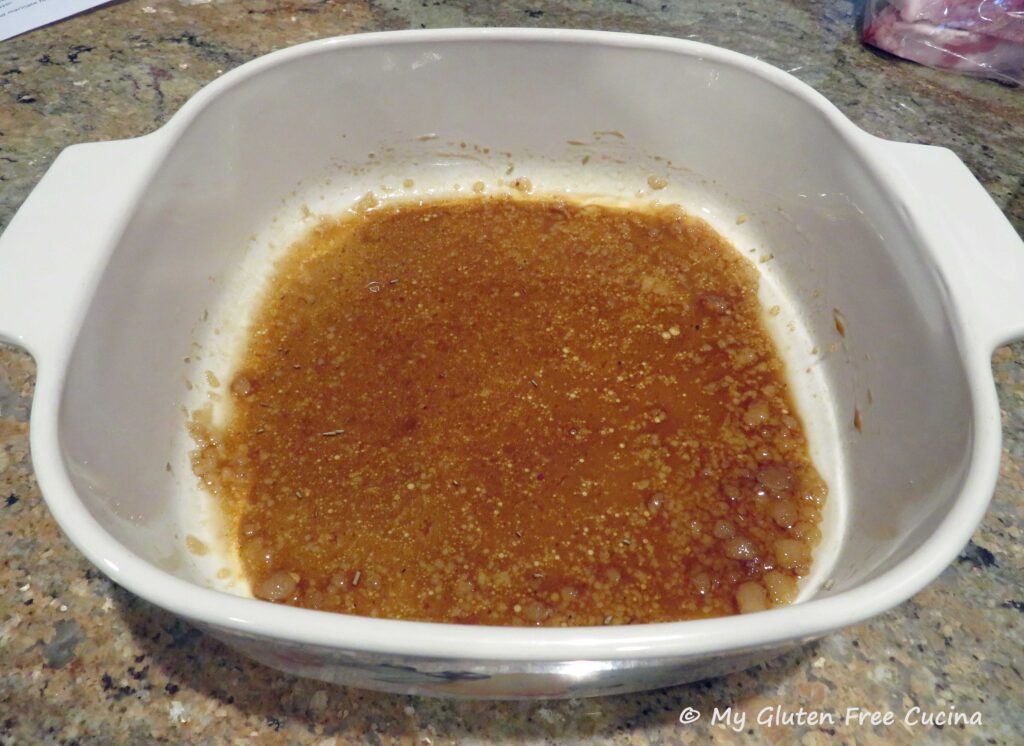
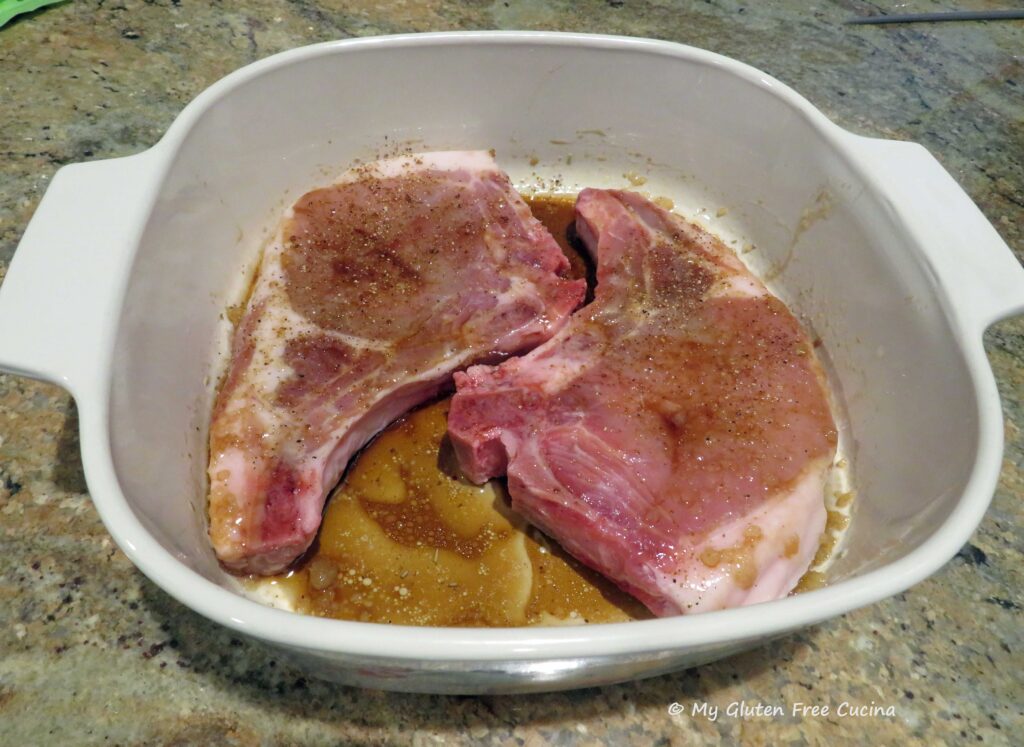
Choose chops that are all about the same size, so that they finish cooking at the same time. Whisk together the olive oil, honey, soy sauce and Worcestershire sauce in a baking dish large enough to hold your pork chops in a single layer.
Add the pork chops and marinate for 30-45 minutes at room temperature, turning every 10 minutes.
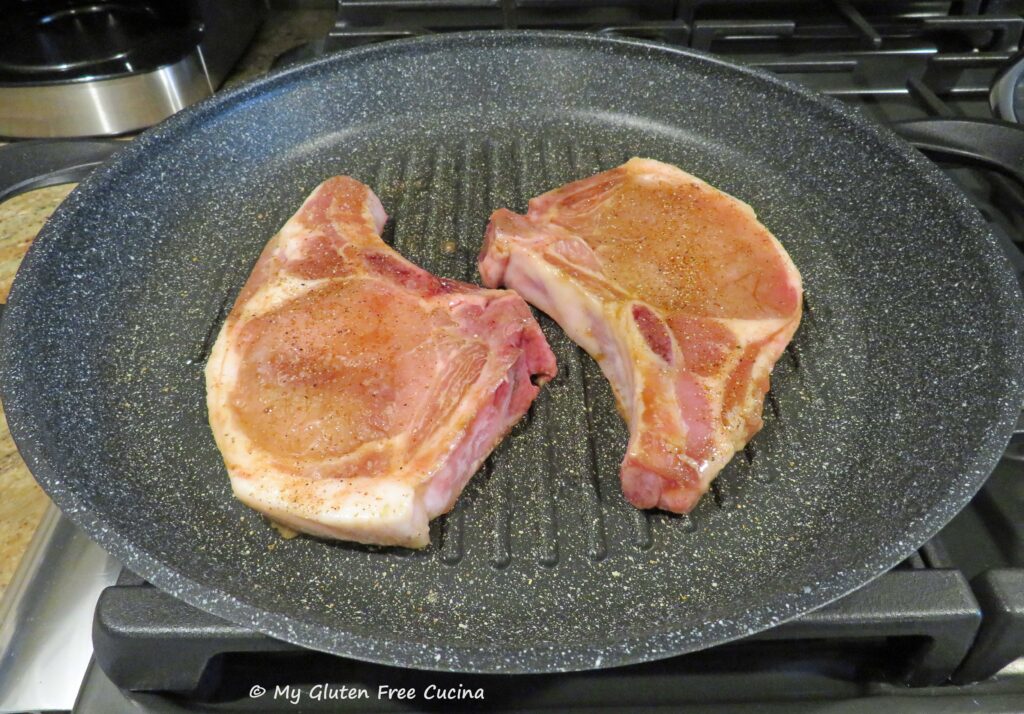
I cooked the chops in a large non-stick grill pan, you want them spaced out in the pan, not touching. Coat the pan with cooking spray and heat over medium low. Add the pork chops, sprinkle with seasoning, then cover and cook 4 minutes. Keep the cover on, and don’t move the chops around in the pan.
Turn the pork chops over, drizzle any remaining marinade over the top and sprinkle more seasoning. Cover and cook for an additional 3-5 minutes, depending on the thickness of the chops and how you like them done. According to food safety guidelines, pork should be cooked to a minimum of 145° and for me this is perfect. Check with a thermometer to be sure.
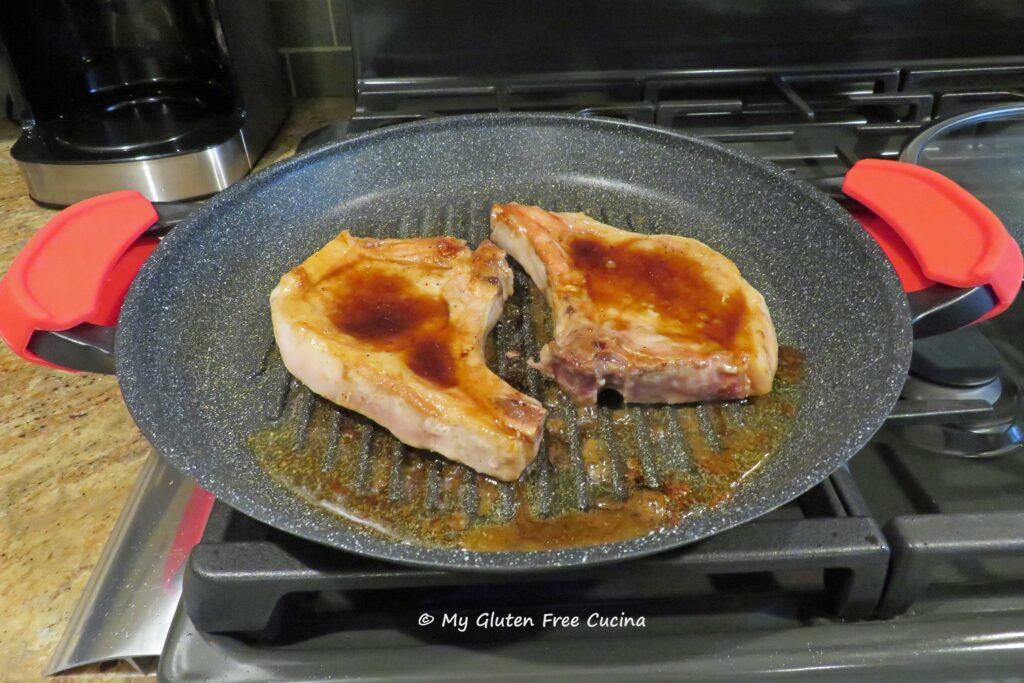
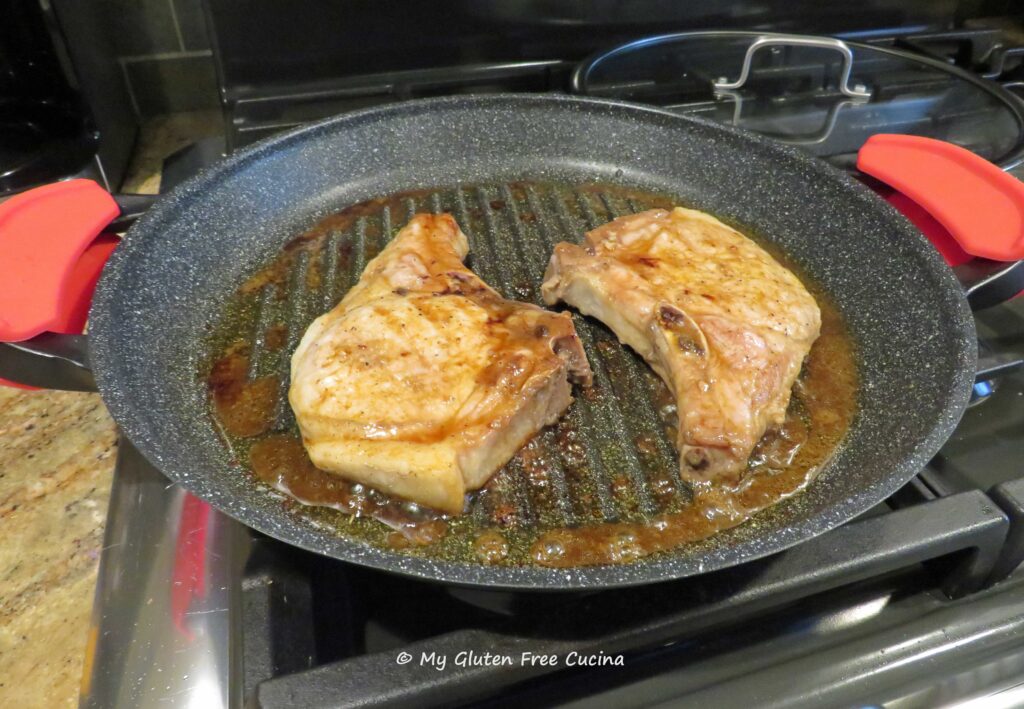
Now turn them once more to coat both sides in the honey glaze and cook 30 more seconds.
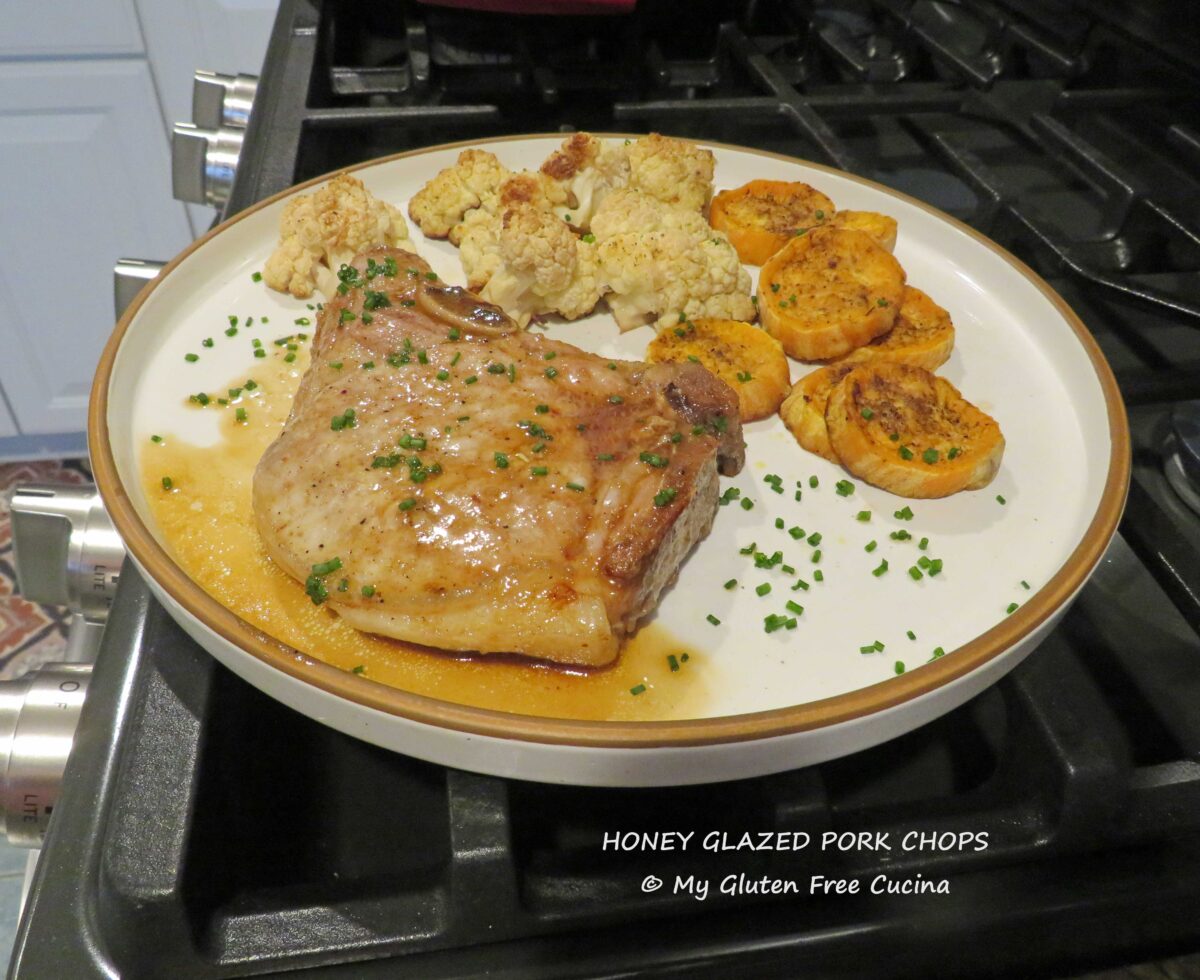
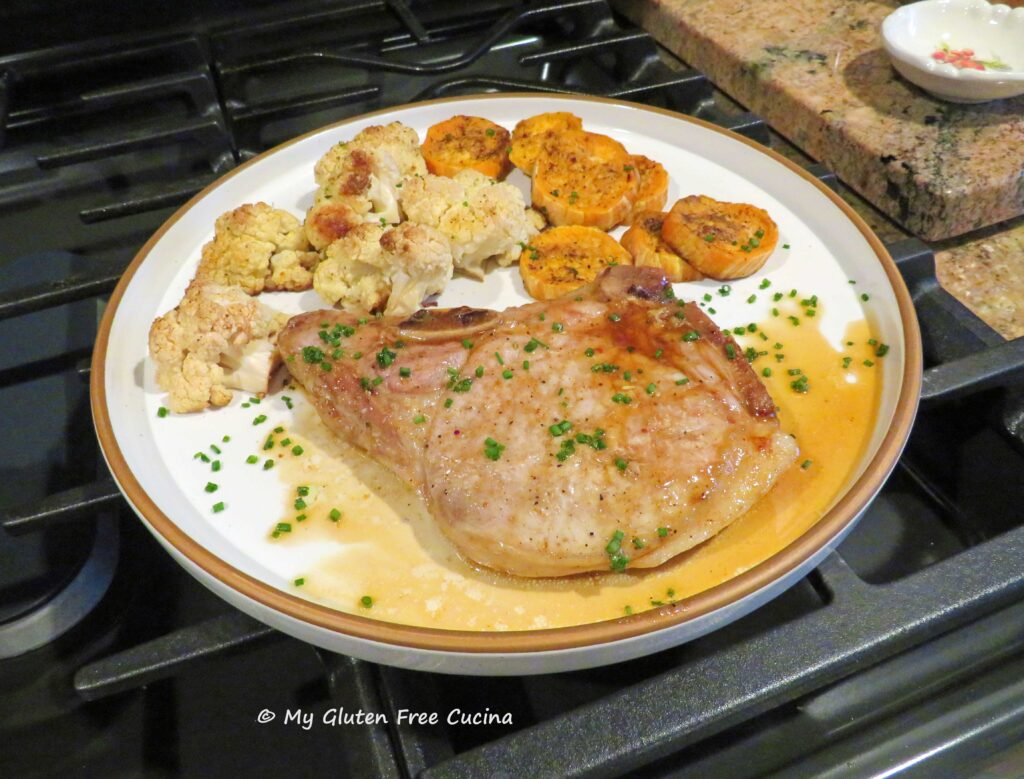
Transfer to a serving dish and garnish with chives. I served with roasted cauliflower and sweet potato.
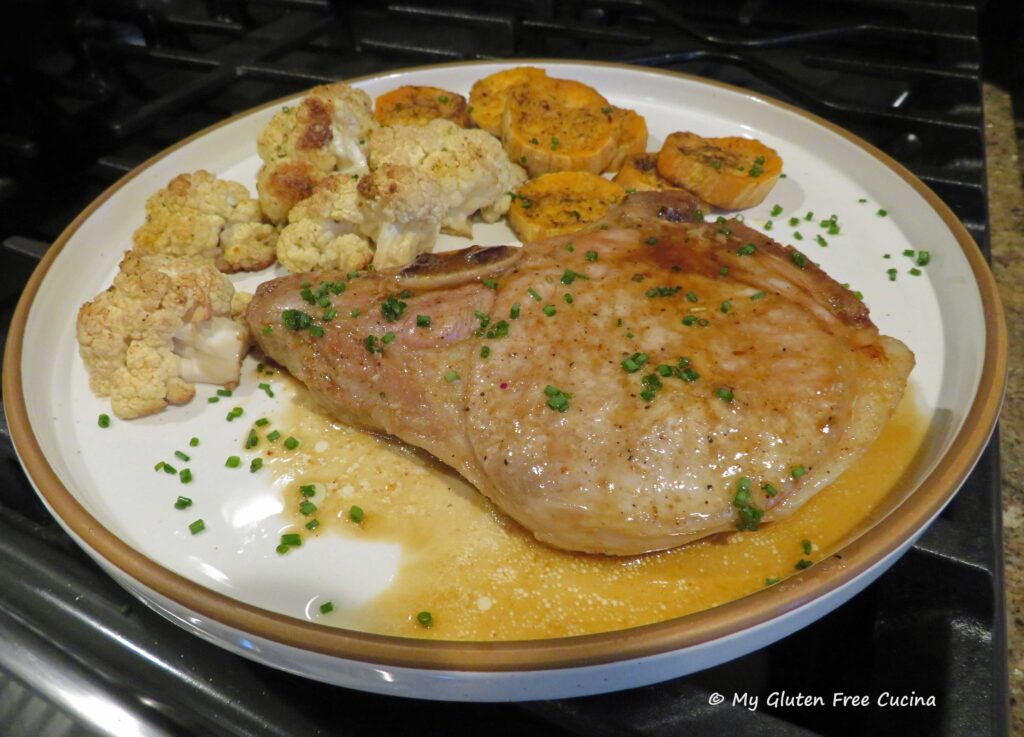
Doesn’t that look good? Now that you know how easy it is, surprise your family with a delicious pork chop dinner this week. Make it once and it will become an instant favorite!
Notes ♪♫ The secret to tender juicy pork chops is to not overcook them. Use a skillet with a cover, to keep the moisture in. For best results, cook on medium low heat, use a timer, and check with a thermometer.
Originally published 07/05/2019 Updated 08/26/2025


 Read on
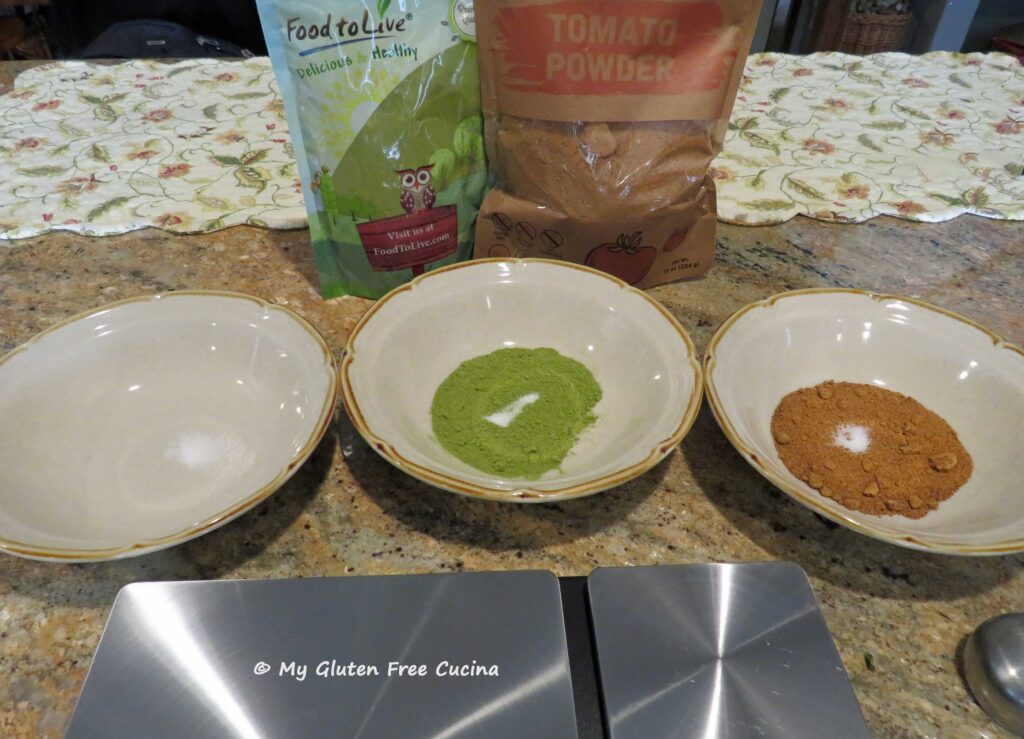
 Preparation:
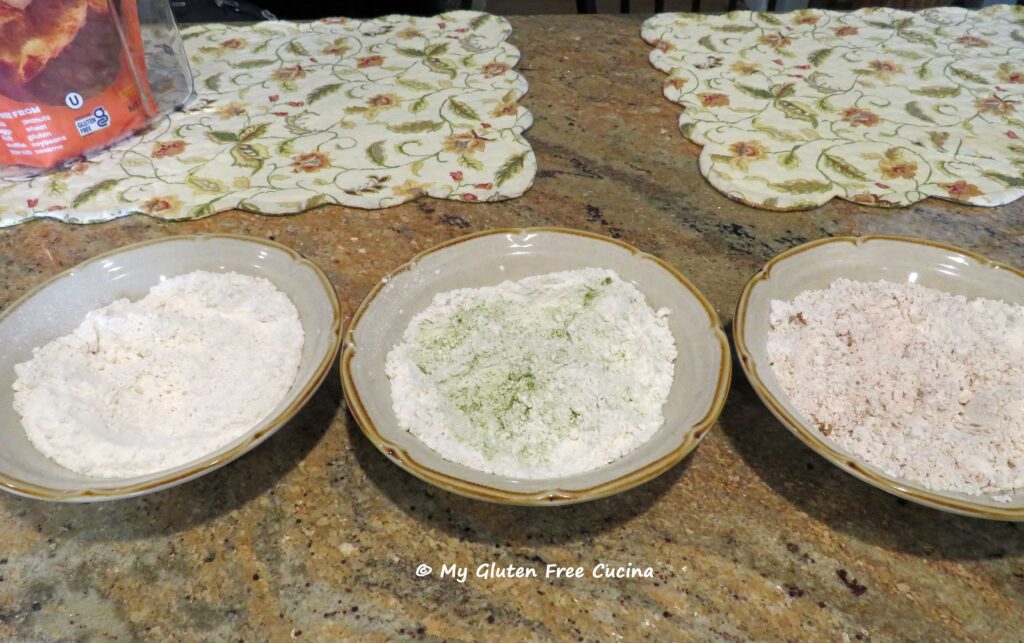 Next, working with one bowl at a time, add one egg to the bowl of a
 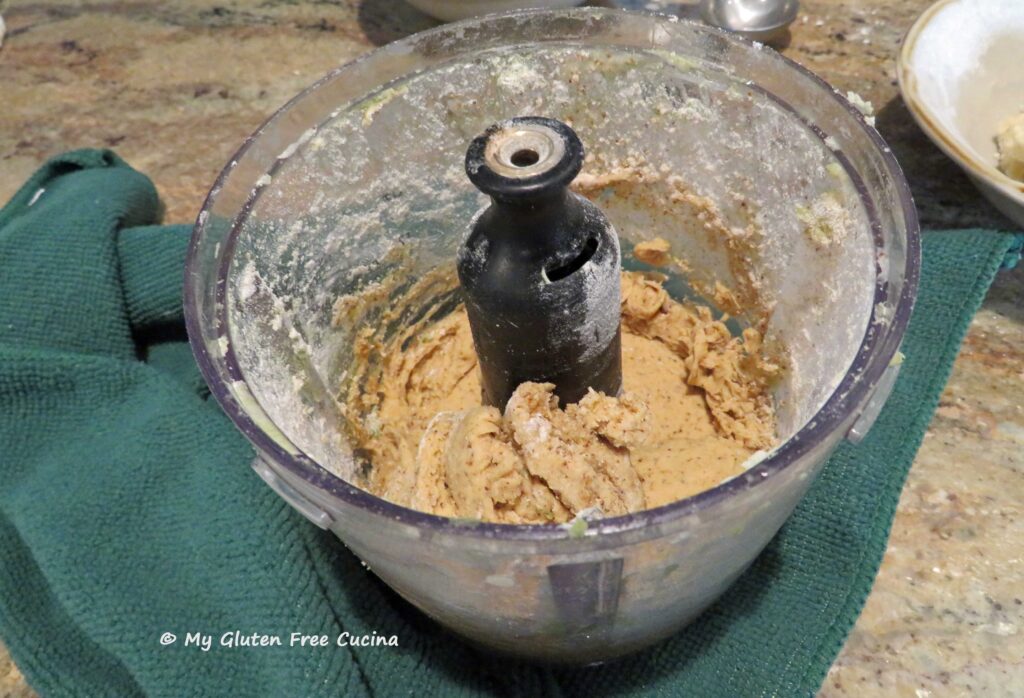 Hint: make the white dough first, so that you don’t have to wash the chopper in between batches.
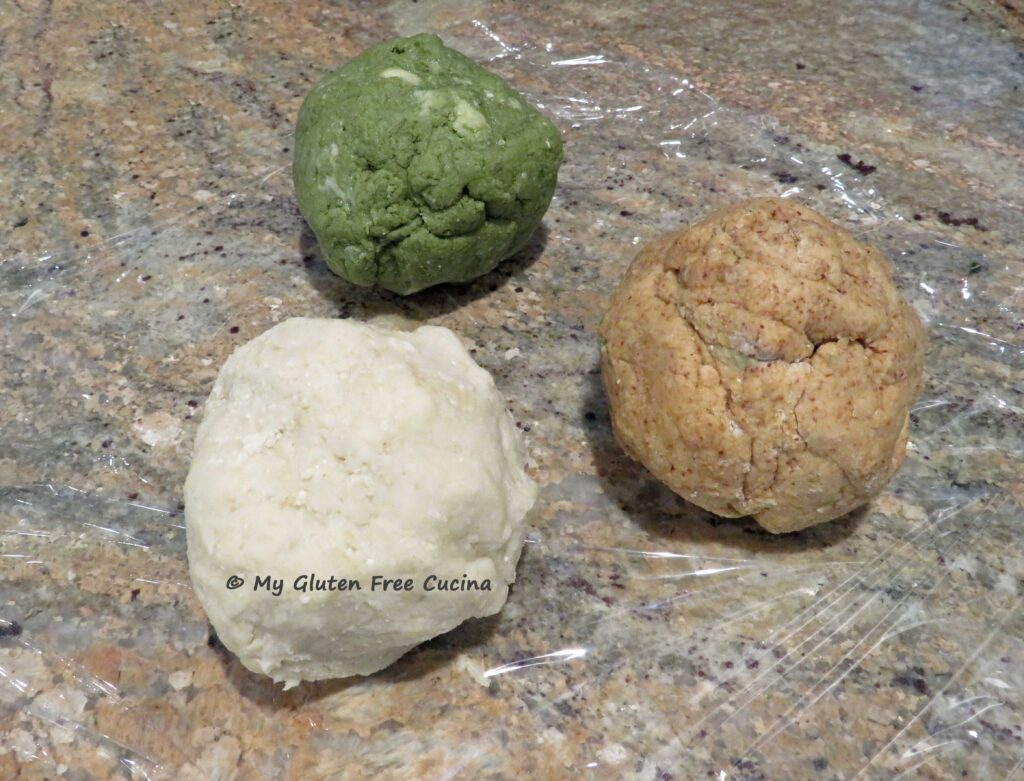 Lightly flour a large cutting board. Working with one color dough at a time, divide the ball in half and roll each section into a rope. Be patient, if it doesn’t roll easily dust with a little flour and gently press down with your palms as you roll the dough back and forth.
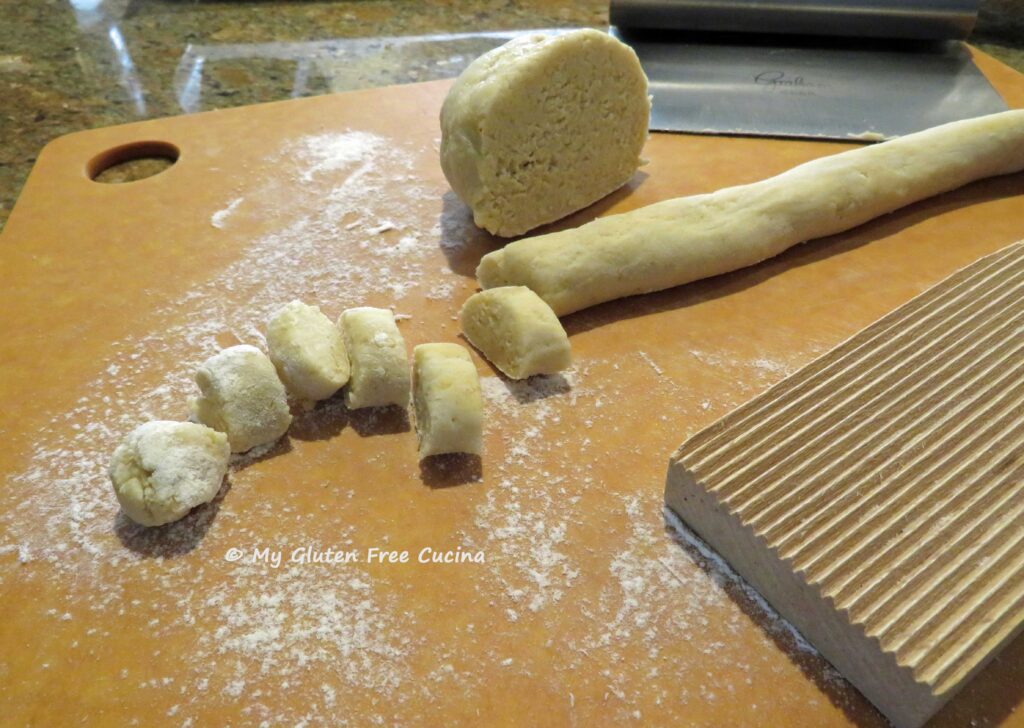 Roll each piece of dough between your palms then use your hand or a bench knife to roll it over a floured gnocchi board to create the ridges.
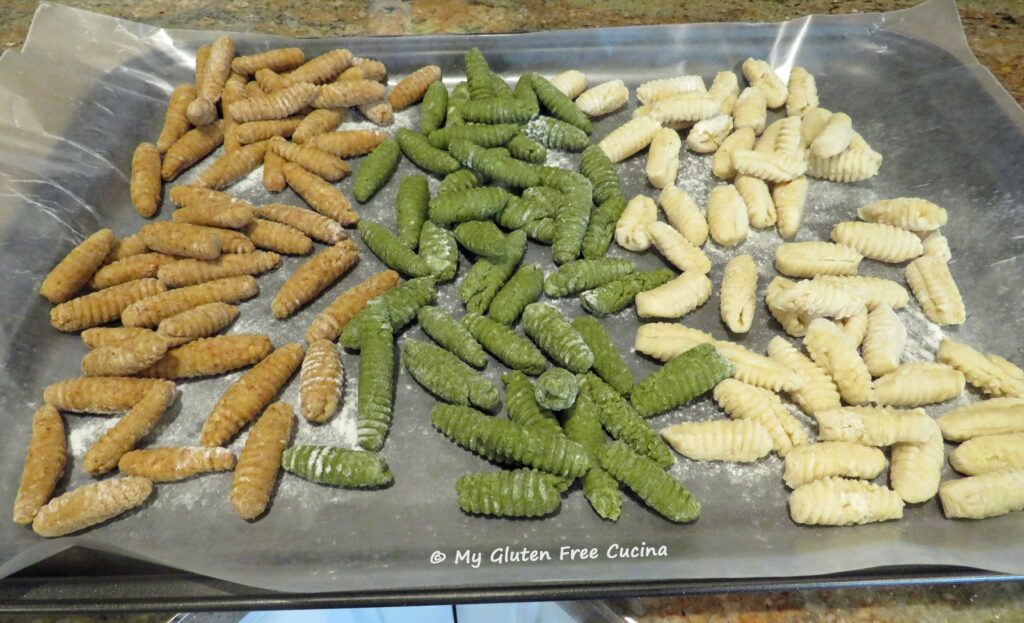
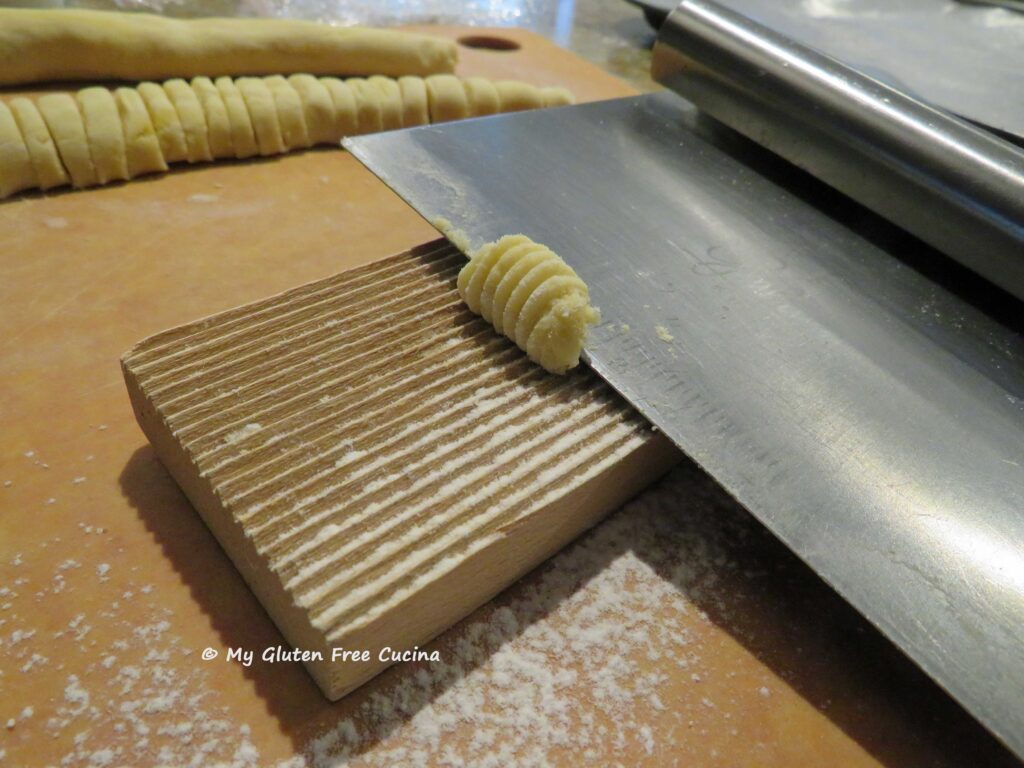 Place the finished pasta in a single layer on a floured baking sheet. I lined mine with wax paper.
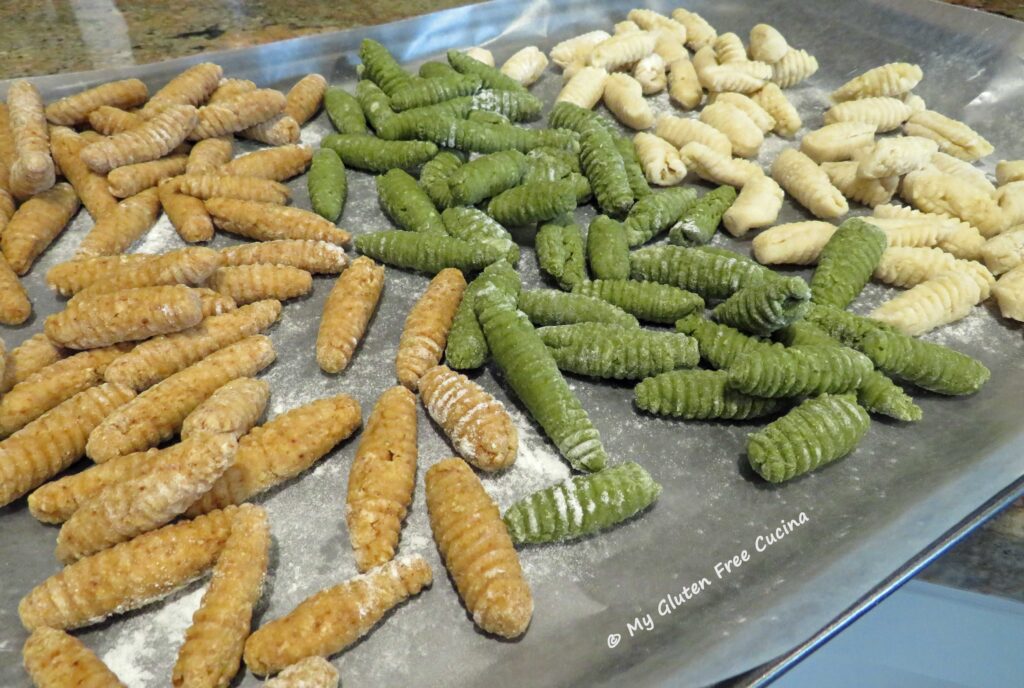 You can keep the pasta in the refrigerator if cooking the same day. Beyond that I recommend freezing it in an airtight container or freezer safe bag. I placed mine in the freezer right on the baking sheet and when they were firmed up, I transferred them to a
 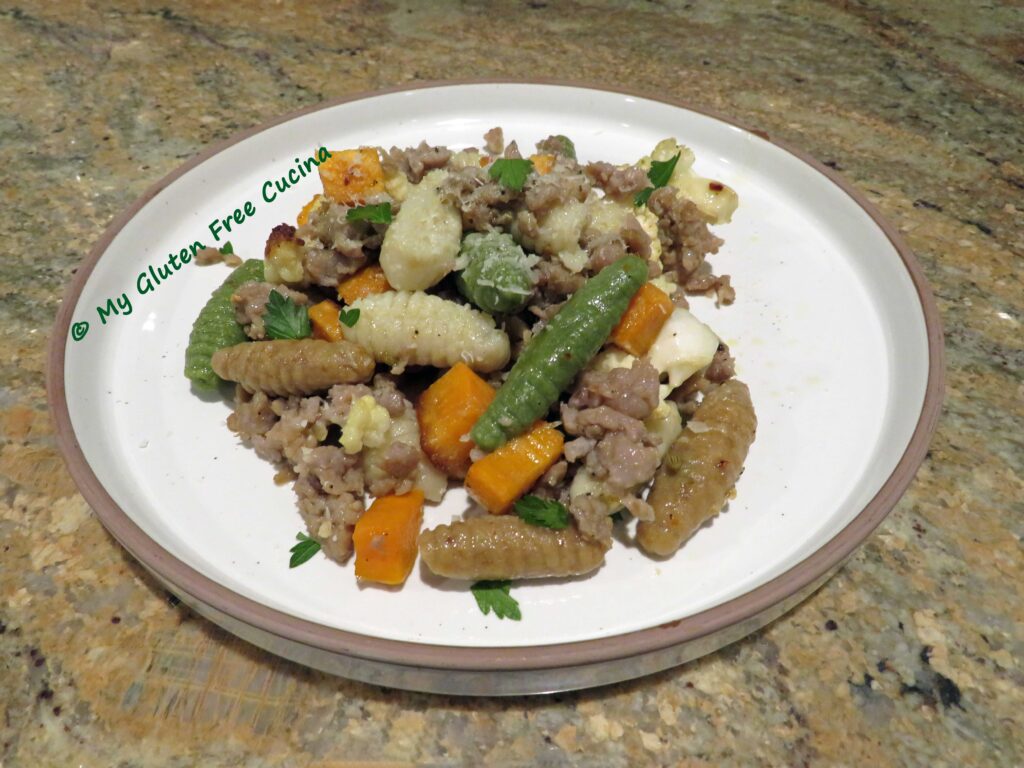 Making the pasta was a little time consuming, but I did it on a Sunday and froze it to have during the week. Freezing did not affect the texture at all, and the pasta cooked perfectly to al dente.
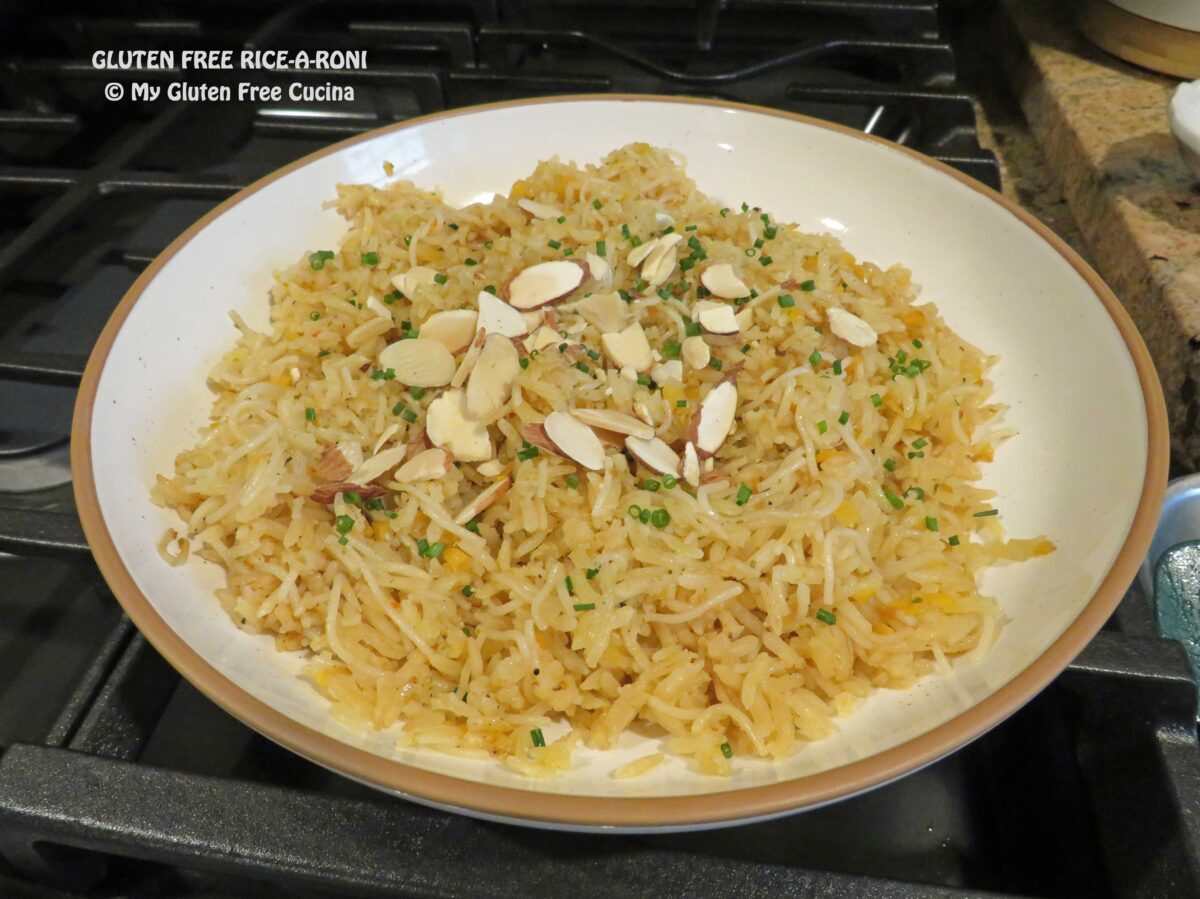
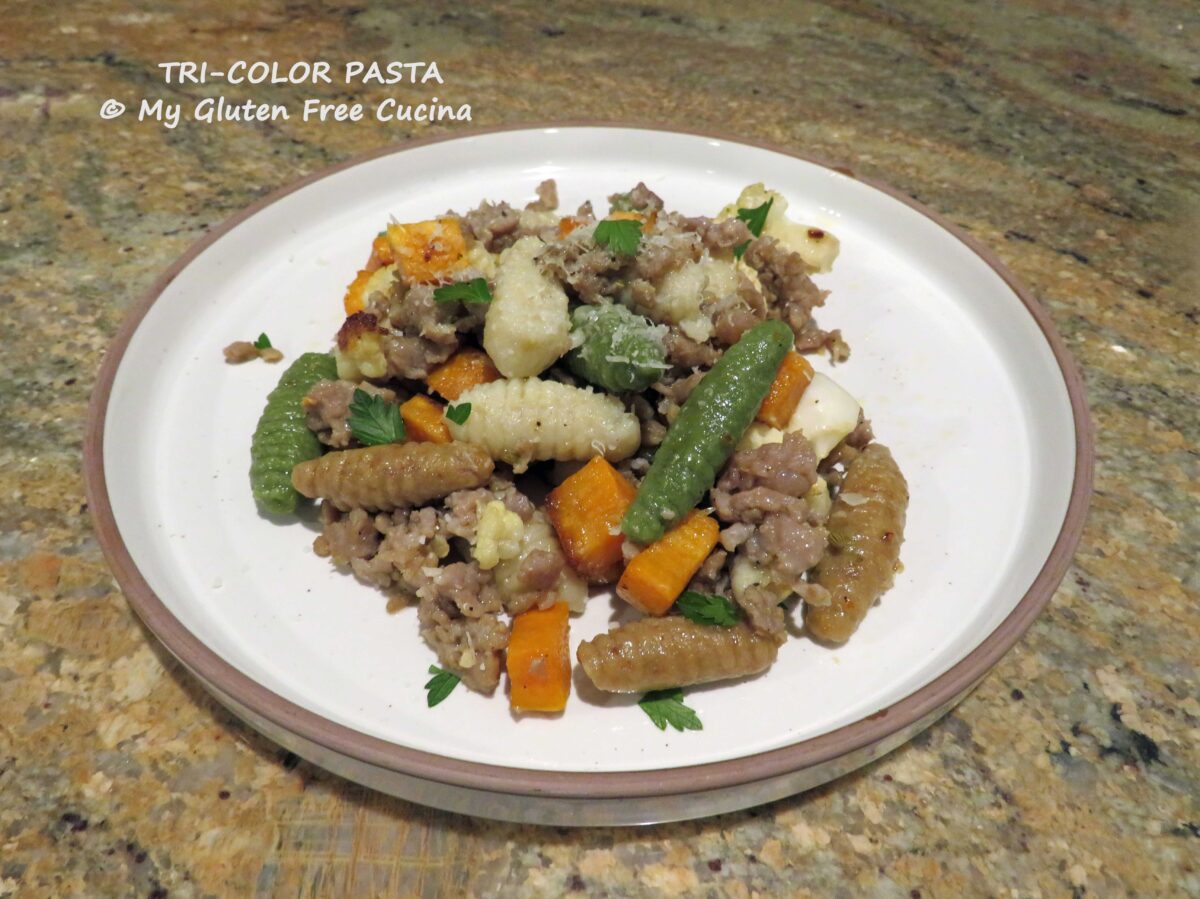
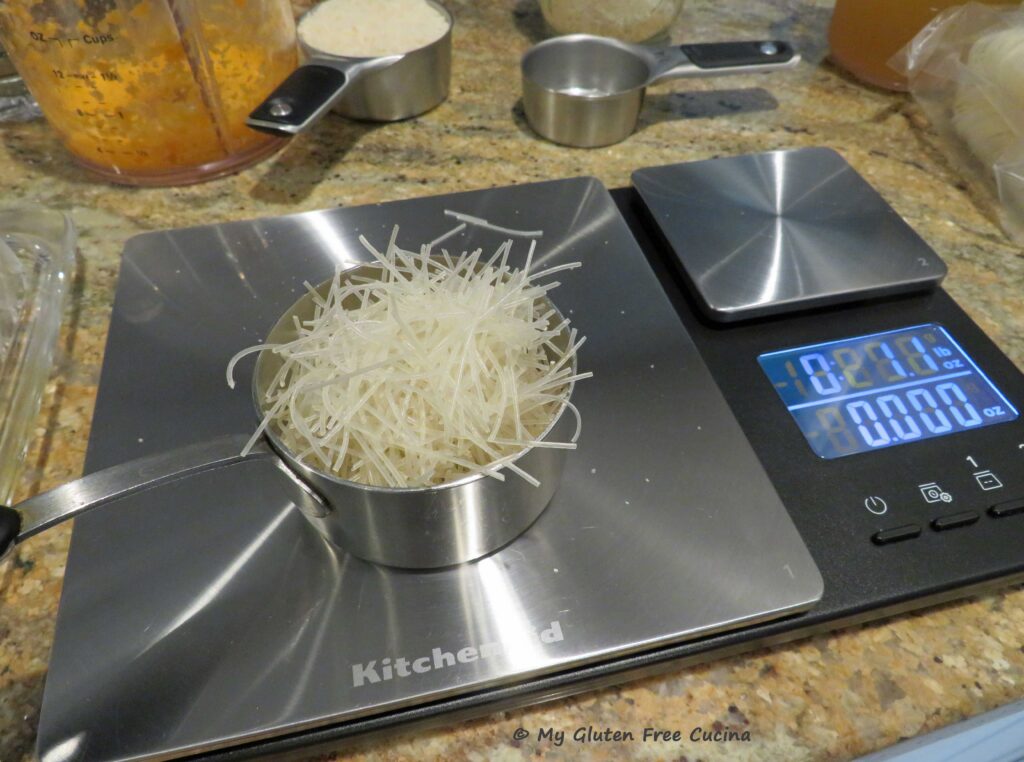
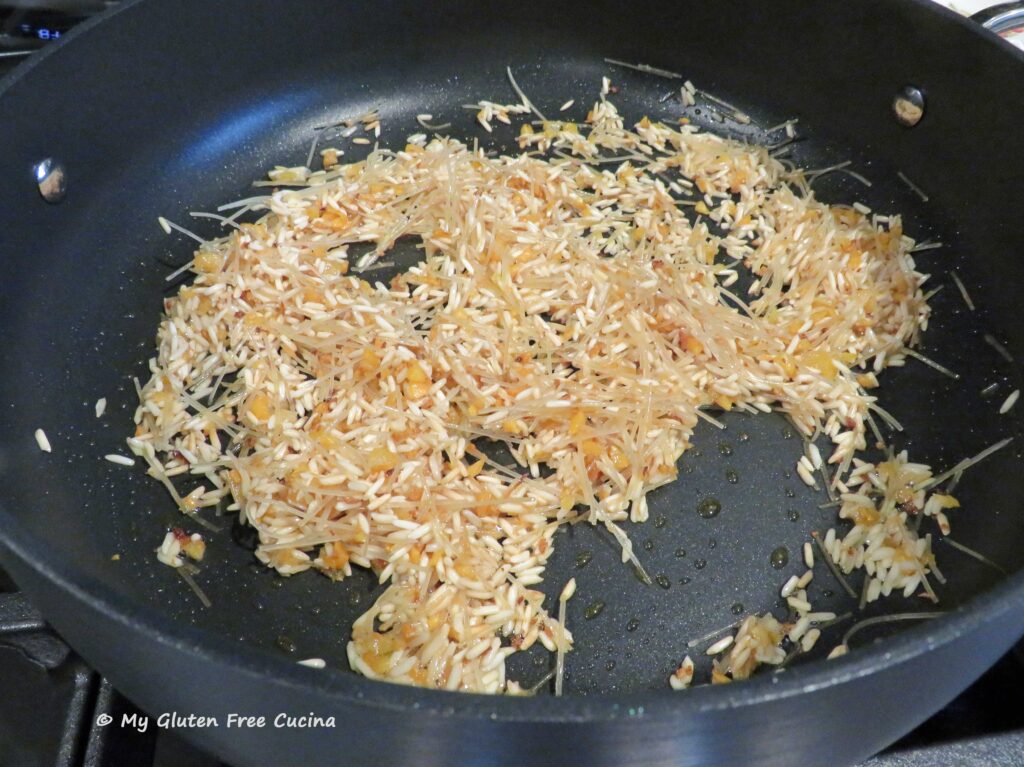
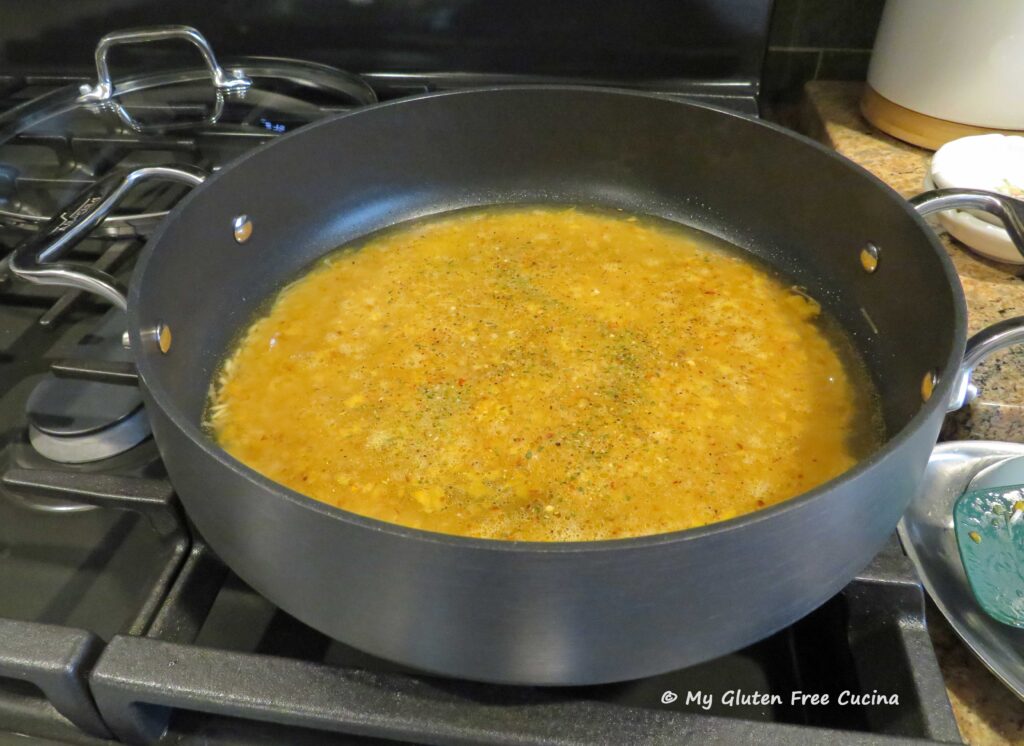
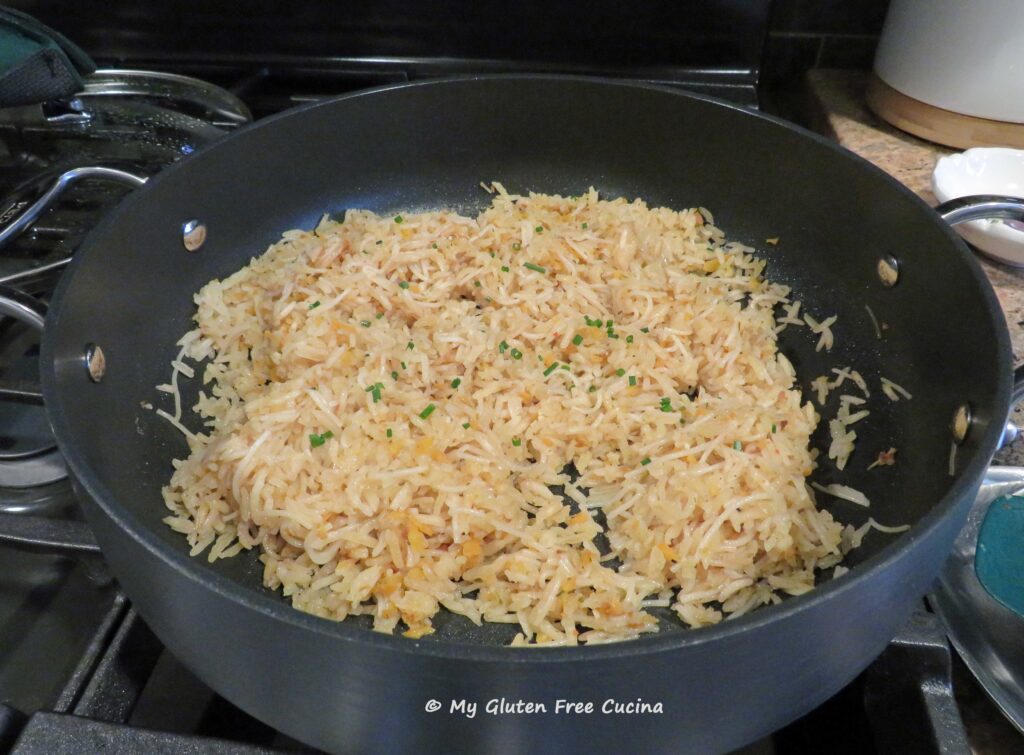
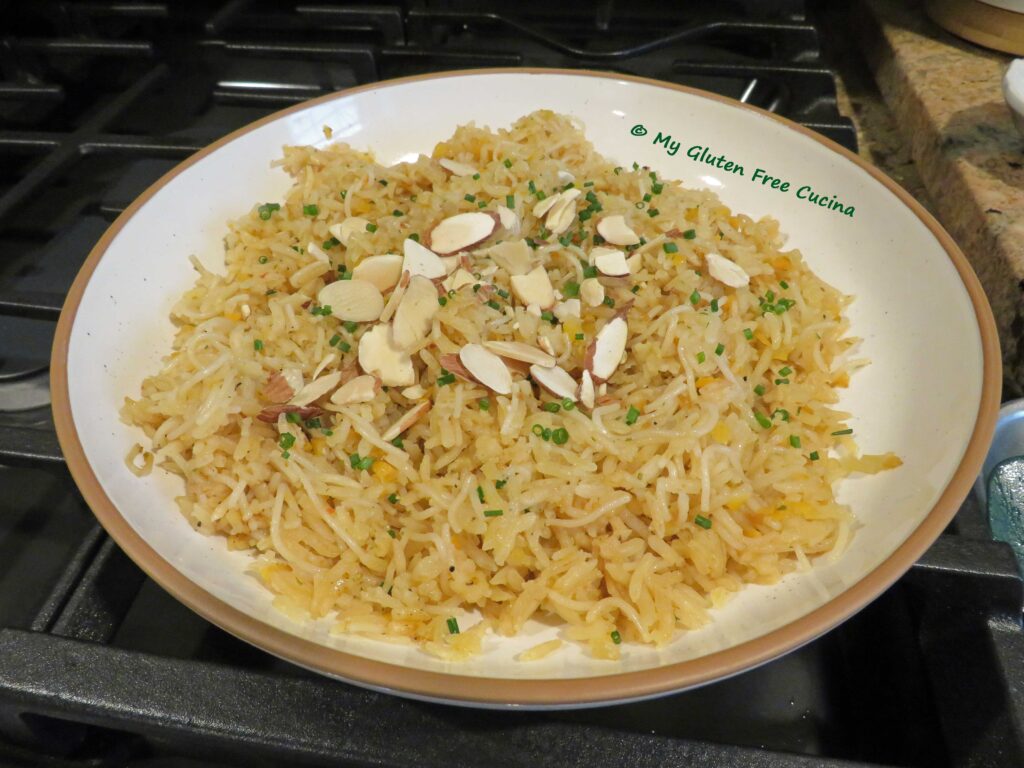
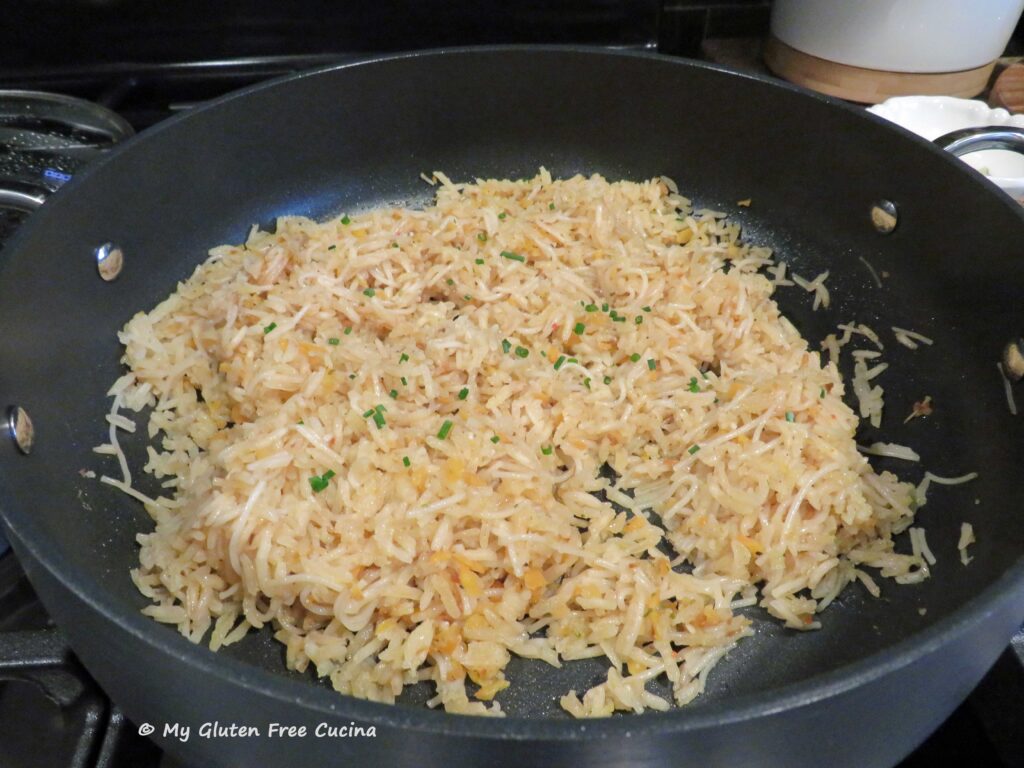 If you miss boxed mixes like Rice-a-Roni® on the gluten free diet, step into the kitchen with me, and I’ll show you how I made this gluten free copycat version, all fancied up with a little bit of veggies and slivered almonds. Only one ingredient swap was needed to make this recipe gluten free. In place of the vermicelli, I used these thin rice noodles from Thai Kitchen.
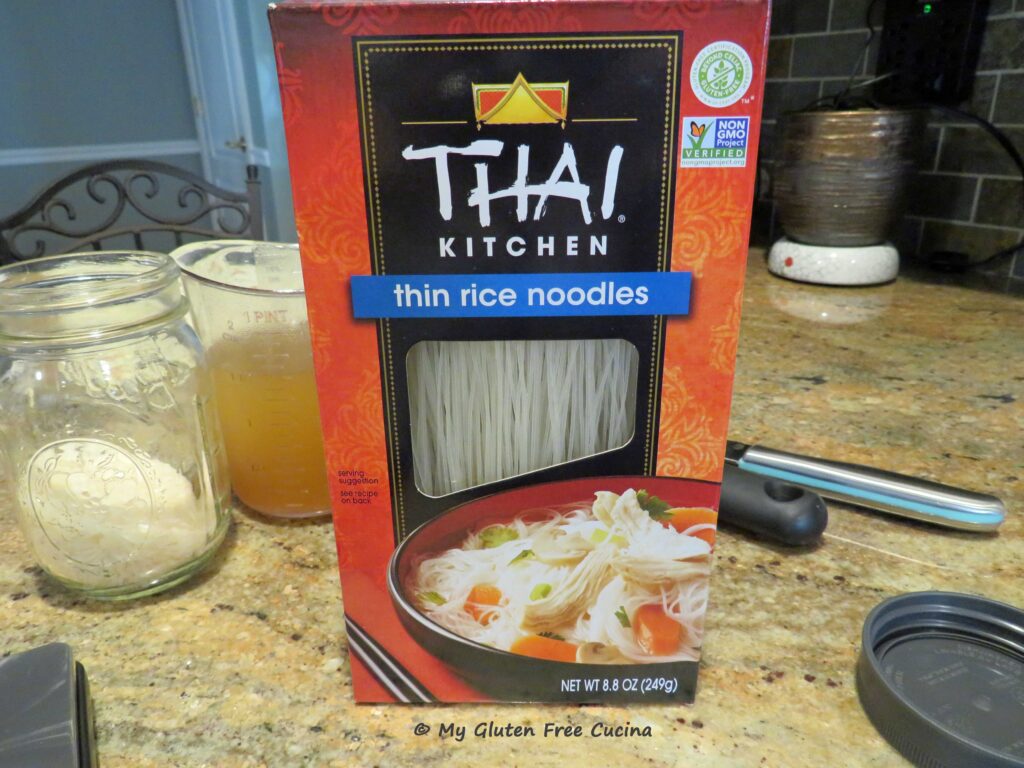
 Preparation:
 Notes ♪♫