Prosciutto Wrapped Pork Tenderloin

Pork tenderloin is an easy and delicious main course.  Whether you are having a casual family meal, romantic dinner for two or dinner party with guests, pork tenderloin is always a great choice.  With a simple, elegant preparation that looks like you fussed, you will have dinner on the table with plenty of time to make your side dishes and socialize!

If roasting more than one tenderloin try to get them about the same size, so that they all finish cooking at the same time.  For foolproof results, always use a meat thermometer!

Here’s how to make it.

This post contains affiliate links.

Ingredients:

  • Pork tenderloin (allow 4-6 oz. per serving)
  • Olive oil, about 1 tsp. per pound of meat
  • Salt and pepper to taste
  • Thinly sliced prosciutto, about 4 slices per tenderloin
  • Fresh Italian parsley

Preparation:

Preheat the oven to 325°

Remove the tenderloins from the package.  Pat dry with paper towels and rub with olive oil.  Season all over with salt and pepper, then wrap each tenderloin in prosciutto slices.  This keeps the meat very moist.  Tie each tenderloin every few inches with cooking twine.

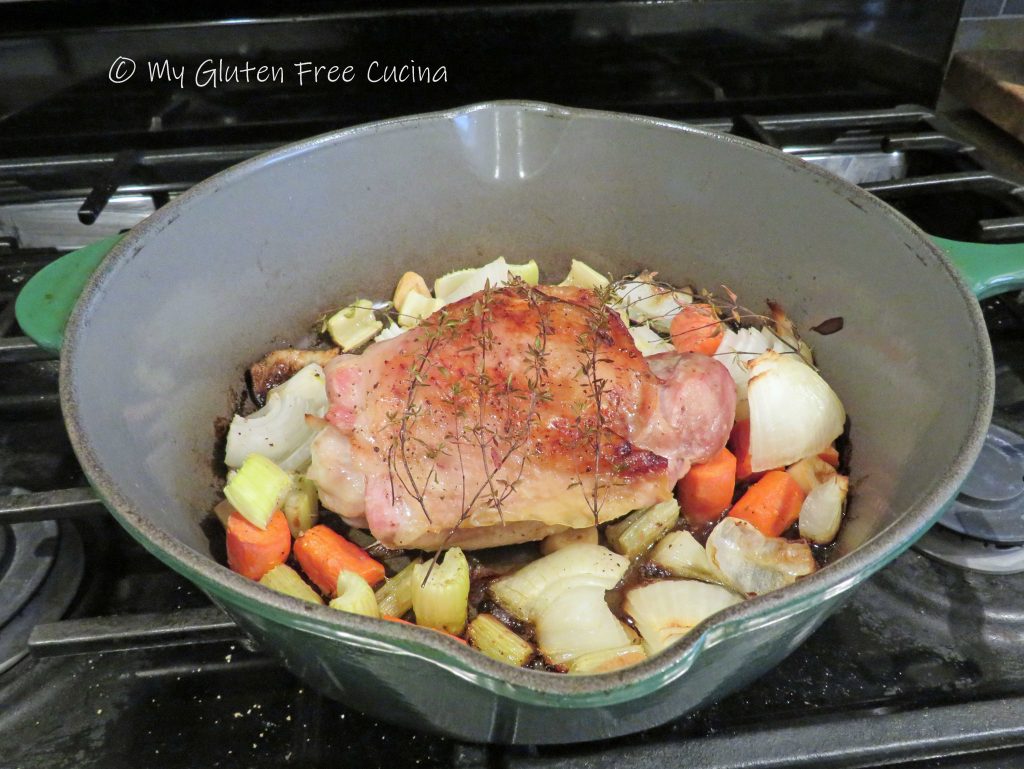
Use a roasting pan with a rack.  Mist the rack with cooking spray and set the tenderloins with space between for the air to circulate.  Drape fresh parsley over the top and insert an oven safe thermometer in the thickest part of the largest tenderloin.

If you don’t have a probe (oven safe) thermometer, then roast for 20 minutes per pound and check with an instant read.

When the internal temperature reaches 140° (pink in the center) remove from the oven and tent with foil.  If you like it more well done, then let it go a little longer, up to 150°.  Allow the roast to rest covered for at least 10 minutes to redistribute the juices.

Slice and serve (don’t forget to remove the strings!).  Isn’t that beautiful?  So easy and always a hit with the family.

Notes ♪♫ A single tenderloin will usually weigh between 1 and 1¼ lbs.  If your package weighs more, you will likely find that it actually contains 2 smaller tenderloins.  For a small family you can separate the 2 tenderloins, cook one and freeze the other.

Print This Post Print This Post

Fast and Easy Gluten Free Gravy

I have a wonderful recipe for Thanksgiving Turkey Gravy that I make every year.  I start with fresh turkey legs or thighs, roast them and braise with aromatic veggies to make a rich, flavorful stock that makes the most amazing gravy.  And while I love this make ahead recipe, I can appreciate that not everyone wants to go to all that trouble.

So, for all who are short on time and need a fast and easy recipe, this versatile gravy is for you!  It can be made a day ahead or morning of the holiday, no pan drippings needed!  It can be paired with pork, chicken, turkey, veal or even beef just by varying the base broth.

Arrowroot flour is gluten free and makes the smoothest roux, no lumps ever!

This post contains affiliate links.

4 Servings

Ingredients:

Preparation:

Whisk together the broth, onion powder and garlic powder in a microwave safe container.  Microwave for 90 seconds.

In a small nonstick saucepan, melt butter then whisk in the arrowroot flour to make a roux.

Continue whisking until the roux begins to take on a little color like this.

Then slowly stream in the warmed broth and whisk until smooth.

Continue simmering and when it reaches the color and thickness you prefer lower the heat and keep warm.

This is a gravy that you can whip up while you make dinner, even on a busy weeknight.  I made it to go with grilled turkey cutlets and it was very good if I do say so!

Notes ♪♫ One of the things I love about this gravy, is that in addition to being gluten free, you can control the salt content.  For those on a low sodium diet, start with salt free broth, unsalted butter and use garlic and onion powder (not salt).  You can always adjust the taste by adding salt, but you are in control!

Print This Post Print This Post

Gluten Free Cornbread Stuffing

For me, the best part of Thanksgiving dinner has always been the stuffing.  It’s so easy to make this delicious Gluten Free Cornbread Stuffing from scratch!

If you are hosting the holiday meal, this stuffing will please all of your guests, no one will know it’s gluten free!  If you are visiting family and need to bring your own gluten free food, this is the perfect dish.  Just be sure to make enough to share, everyone will want to sample it!

Gluten Free Cornbread Stuffing is moist and delicious “in or out of the bird”.  This recipe makes enough to stuff a small (10-12 lb.) turkey with extra for a 1.5-quart baking dish.  You can make half or double it for a large family.

This post contains affiliate links.

Ingredients:

  • 4 cups of cubed gluten free cornbread
  • 1/2 lb. gluten free sausage, casing removed (I used Premio)
  • 4 strips of gluten free bacon
  • 2 small carrots, peeled and cut into 1/4″ dice
  • 2 celery stalks, cut into 1/4″ dice
  • 1 medium sweet onion, chopped fine
  • 2 tbsp. minced fresh sage, thyme and rosemary (optional but very good)
  • 2 tbsp. butter
  • salt and pepper, to taste
  • 1 egg
  • 1/2 cup 1% milk
  • 3/4 cup gluten free chicken or beef broth
  • 1/4 tsp. each, dried sage and thyme
  • cooking spray

Preparation:

Most of the initial prep for this stuffing can be done ahead of time, so you will only have to assemble and bake it the morning of the holiday.  It all begins with this Gluten Free Corn Bread, that you can make ahead and freeze.  You will need half of the cornbread for this stuffing recipe, and the rest can be a nice addition to your breadbasket for the holiday table.

Once the Cornbread has cooled to room temperature, wrap tightly in plastic wrap then again in foil.  Place in a freezer safe bag until needed.

To make the stuffing, cut half of the cornbread into cubes, for a total of about 4 cups.  Spread the cornbread cubes on a parchment lined baking sheet in a single layer.  Bake at 250º until dried and slightly browned, 45 minutes to an hour.

Remove from the oven and set aside to cool in the pan.  If you are doing this step ahead of time, make sure the cornbread is completely dry, then store in an airtight container for up to 3 days.

Chop the bacon and sausage into 1/2″ pieces.

Cook them together in a large, nonstick skillet until completely browned, then remove and drain on paper towels.  Reserve the fat in the pan.

Next melt 2 tbsp. of butter in the same skillet and add the onion, celery and carrots.  Season with salt and pepper, and the minced fresh herbs.  Cook over low heat for 10-15 minutes, stirring frequently.

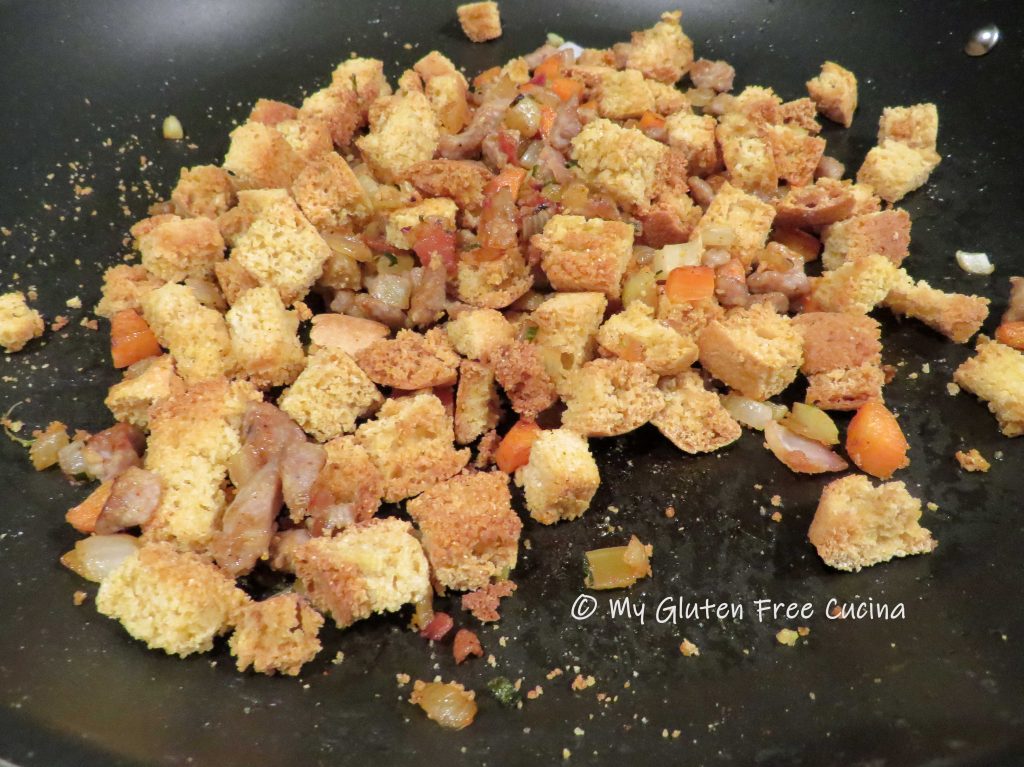
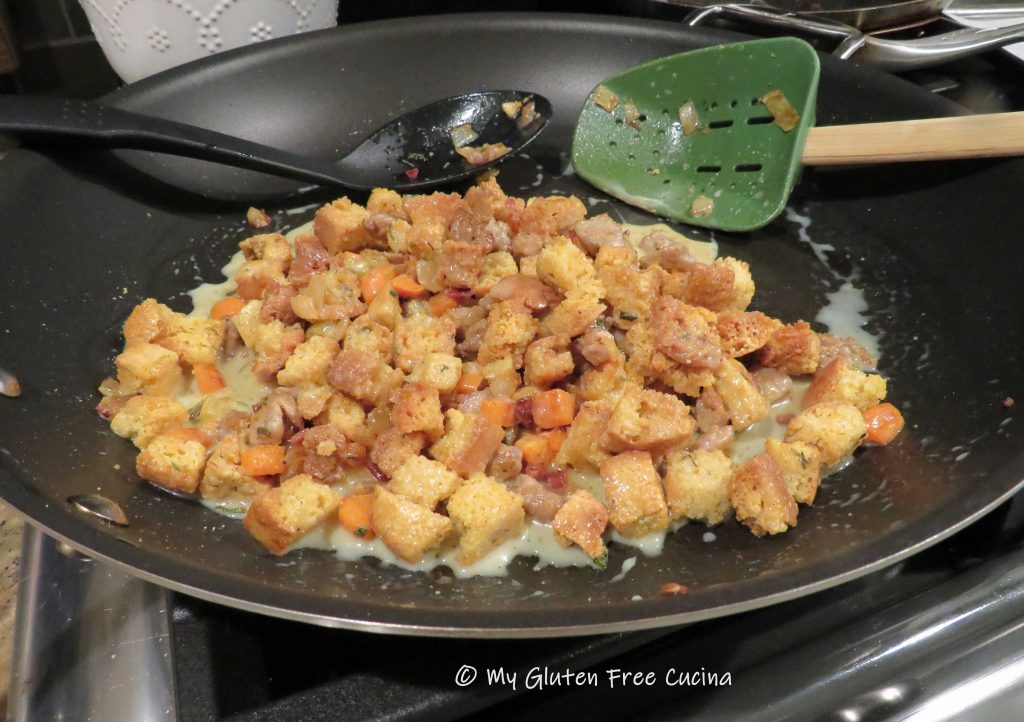
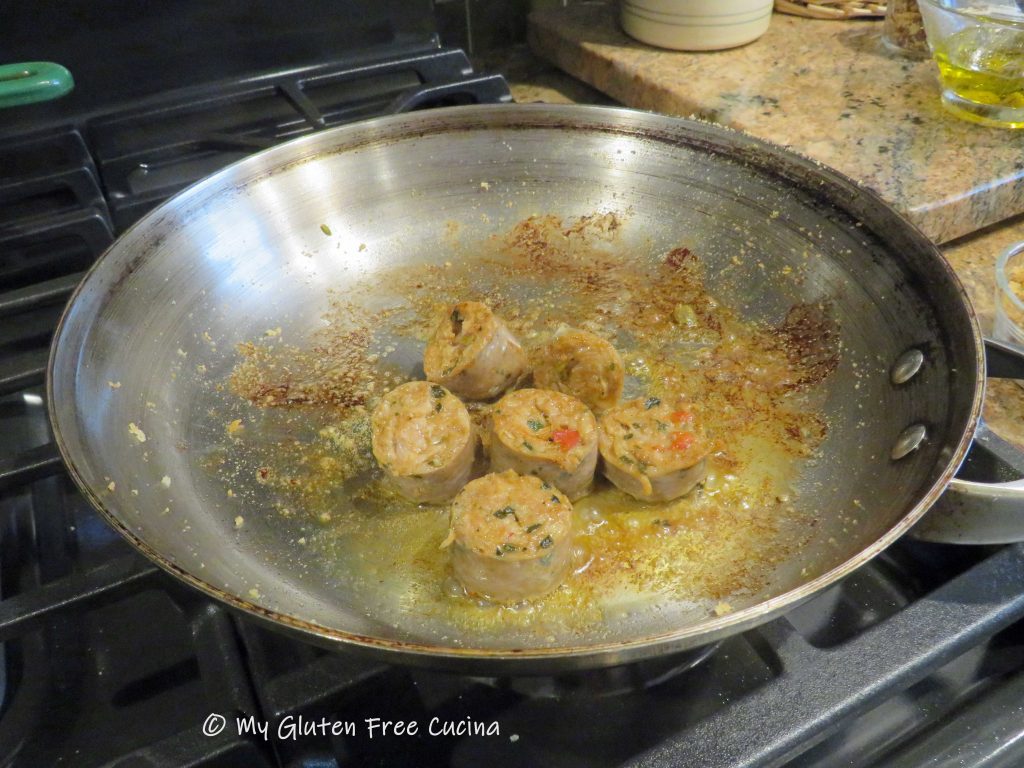
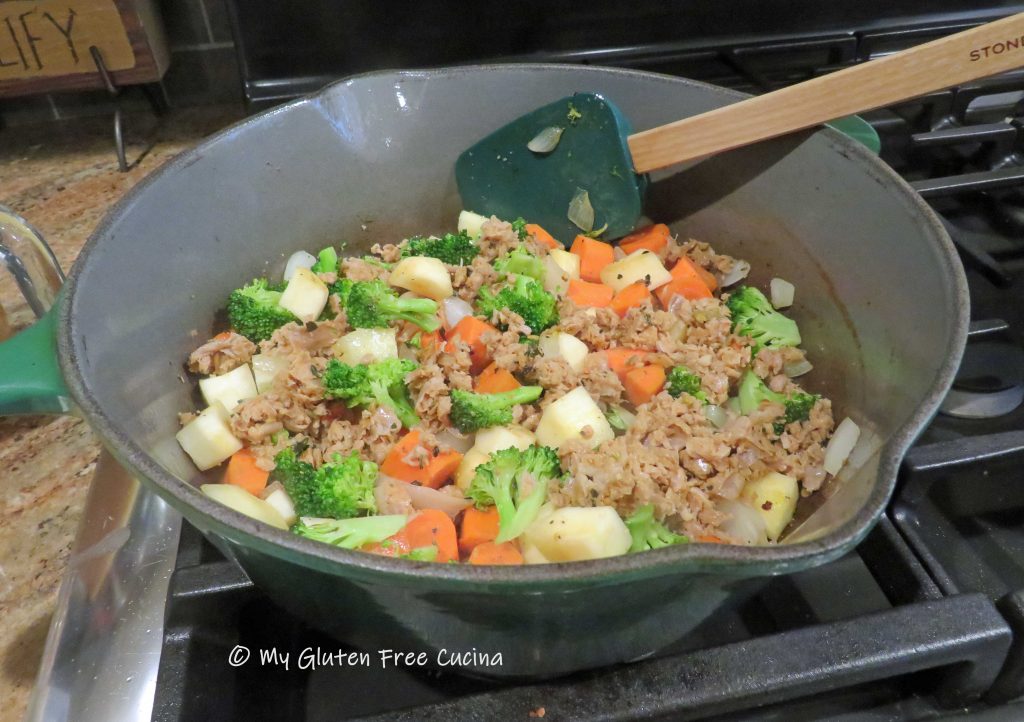
Add back the sausage and bacon to the skillet and toss well to combine.

You can prepare the recipe up to this point the night before and refrigerate.  You can also make ahead and freeze it, just spoon the mixture into a freezer safe bag or container and defrost the night before.

On the morning of the holiday, return the sausage and veggie mixture to the skillet over low heat and warm through.  Turn off the heat and stir in the cornbread cubes.

Whisk together the egg, milk, and broth with dried sage and thyme.  Pour it over the cooled cornbread mixture and toss well until everything is moistened.

To stuff or not to stuff?  You decide.  Always follow food safety guidelines.  If you stuff the turkey, do so just prior to roasting.

For those who prefer out of the bird, spray a baking dish with cooking spray and spread the stuffing evenly.  Cover with foil and bake 35 minutes.

With a few great recipes like this one, the stress of being gluten free during the holidays will melt away.  I hope it will become a tradition at your holiday table!

Notes ♪♫ Want to take a shortcut?  If you prefer to use storebought bread cubes there are some great ones to choose from, I’ll never tell!  Check out my Easy Gluten Free Ramekin Stuffing Cups, a recipe made with Aleia’s Gluten Free Stuffing Cubes.

Originally posted 11/04/2018         Updated 11/19/2022

Print This Post Print This Post

Gluten Free Cornbread

Every gluten free cook needs a good, basic cornbread recipe.  Cornbread is the perfect accompaniment to winter soups, stews or your favorite barbecue dinner.  Once you master this easy recipe, you can jazz it up with cranberries, dried fruits, herbs or whatever you please.  With the holidays just around the corner, I’m dreaming of a yummy Gluten Free Cornbread Stuffing!

Friends, this tastes just like traditional cornbread, no one will ever guess that it’s gluten free!

This post contains affiliate links.

Ingredients:

Preparation:

Preheat the oven to 425º.

Begin by lining a square baking dish with parchment paper, and mist with cooking spray.  Whisk together the dry ingredients, through xanthan gum.  In a separate bowl, whisk together the egg, sugar, milk and cider vinegar.

Combine the wet and dry ingredients and stir together until completely moistened.  Let the batter stand for a few minutes, then scrape it into the prepared pan.

Place the pan on a baking sheet (this helps keep the bottom from burning) and bake for 15-18 minutes, until a toothpick inserted in the center comes out dry.  The top should be nicely browned, and the cornbread will be pulling away from the sides of the pan.

Cool in the pan for 3 minutes, then grab a corner of the parchment paper and slide the cornbread onto a cooling rack.  Wait a few more minutes then remove the parchment.

Slice and serve warm or at room temperature.

This cornbread freezes well and can be made ahead of time for your holiday breadbasket or cornbread stuffing cubes.  To freeze, cover tightly with plastic wrap then wrap again in foil.  Place it in a freezer safe bag.

Notes: ♪♫ Although corn itself does not contain gluten; some brands of cornmeal may contain trace amounts if they are produced on shared equipment.  To avoid cross contact, be sure to look for cornmeal that is labeled gluten free.

Originally posted 11/03/2018                         Updated 11/18/2022

Print This Post Print This Post

Chicken, Sausage and Rice Casserole

Whenever I make this flavorful casserole for a family dinner it gets rave reviews!  Chicken drumsticks and Italian sausage come together with ingredients straight from the pantry, and you can use any veggies you have on hand!  It’s easy and economical too.  You can do most of the prep a day ahead and bake the next day.  And that bacon breadcrumb topping- wow!  It really gives this dish an extra punch of flavor, texture and crunch!

4-6 Servings

This post contains affiliate links.

Ingredients:

Preparation:

Brown rice takes about 50 minutes to cook, so start that first.  Simmer 3/4 cup rice in 1-3/4 cups chicken broth and 1/4 tsp. seasoning of choice.

For the topping, coarsely chop the bacon, cook and drain on paper towels, reserving the fat in the pan.

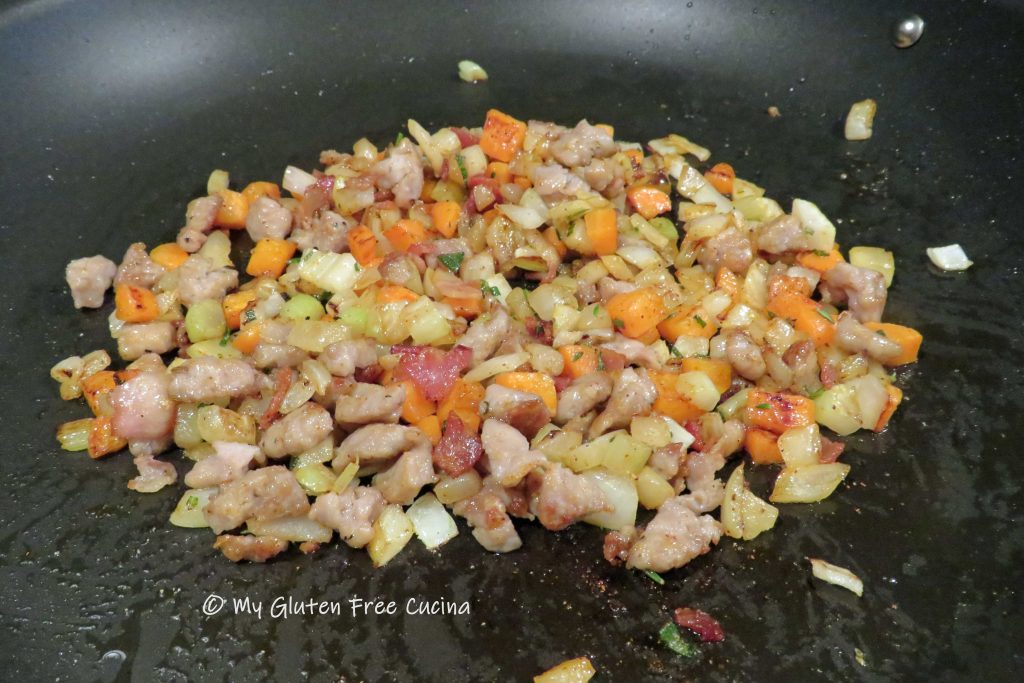
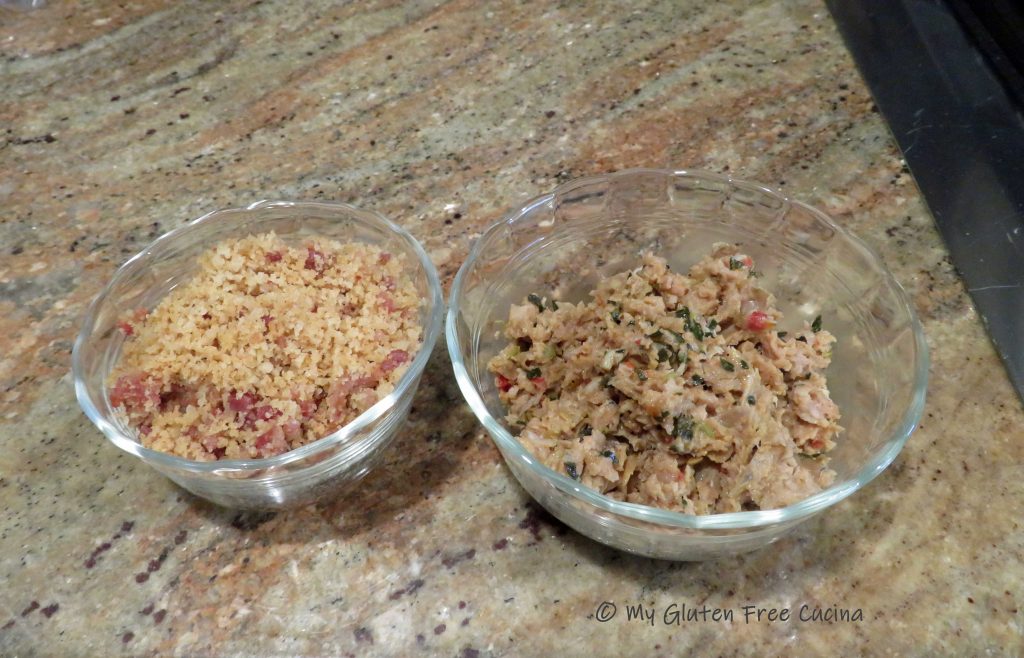
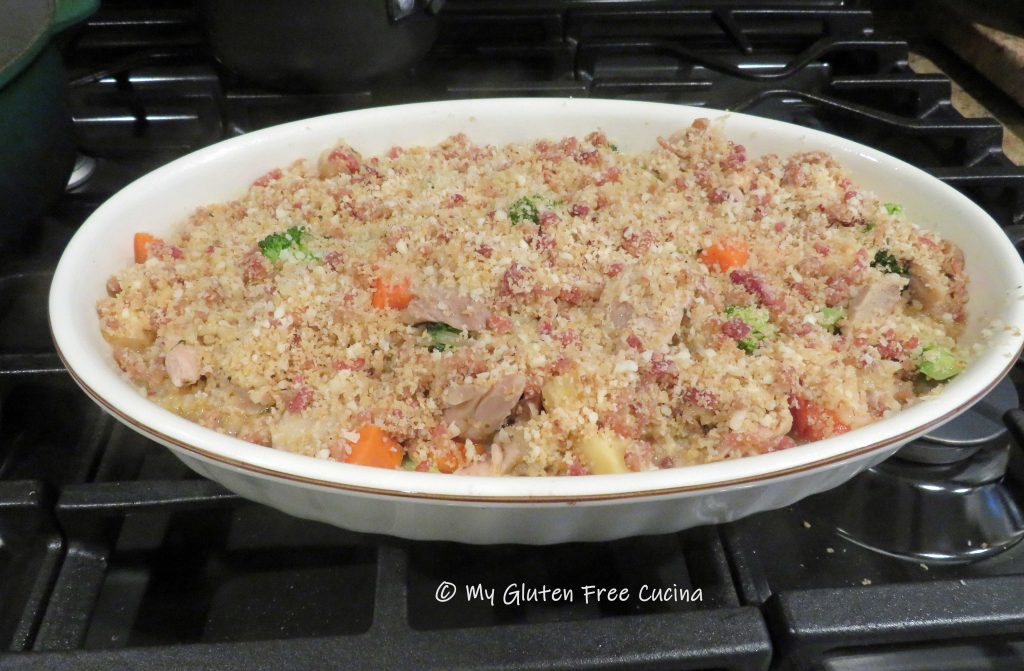
Crumble the bacon, or place in an electric chopper and pulse a few times to make bacon bits.

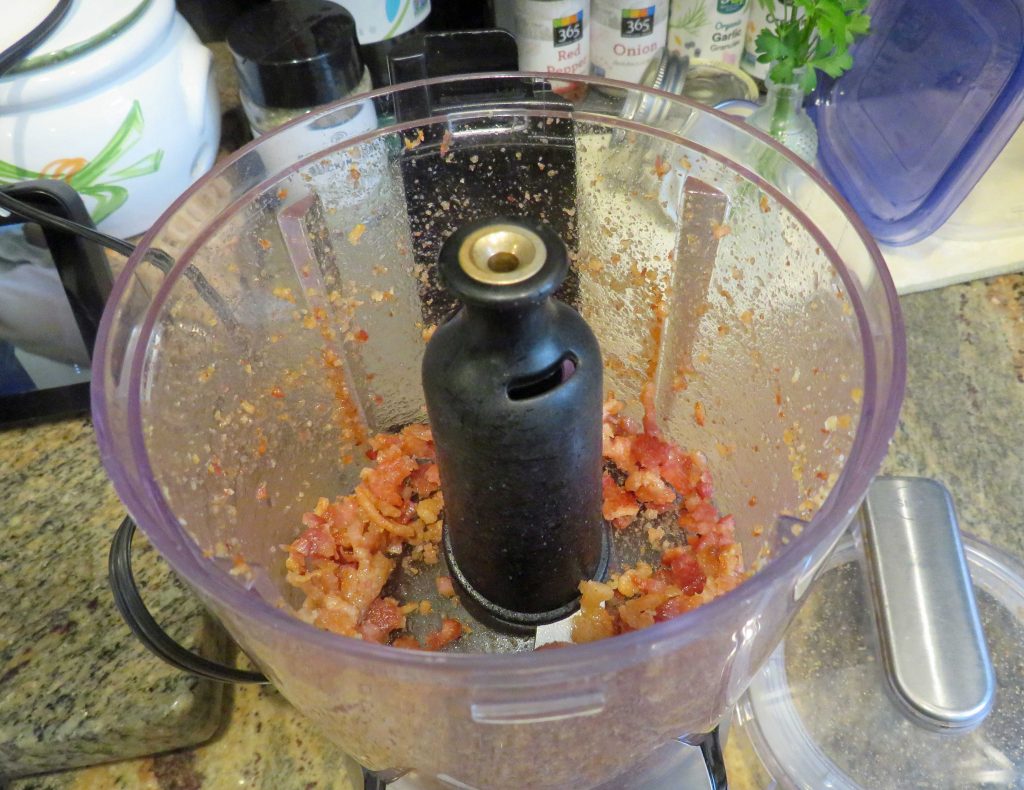
Add 1/3 cup of gluten free breadcrumbs to the skillet with the bacon fat and stir over low heat.  Add back the crumbled bacon and stir well to combine.  Set aside to cool, then mix with 1/4 cup grated parmesan cheese for topping.

I love Aleia’s Gluten Free Breadcrumbs, and I use this brand almost exclusively in my recipes.  I promise, your family won’t even know they are gluten free!

In the same skillet, brown the chicken on all sides in a little olive oil.  Season both sides with salt and pepper.

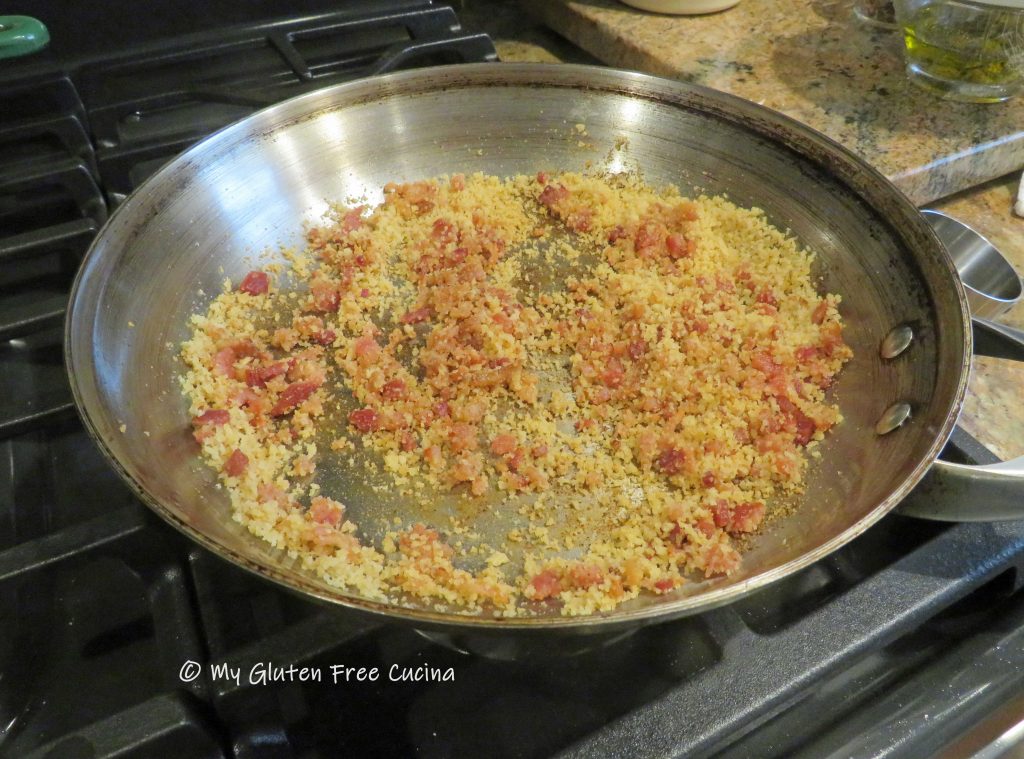
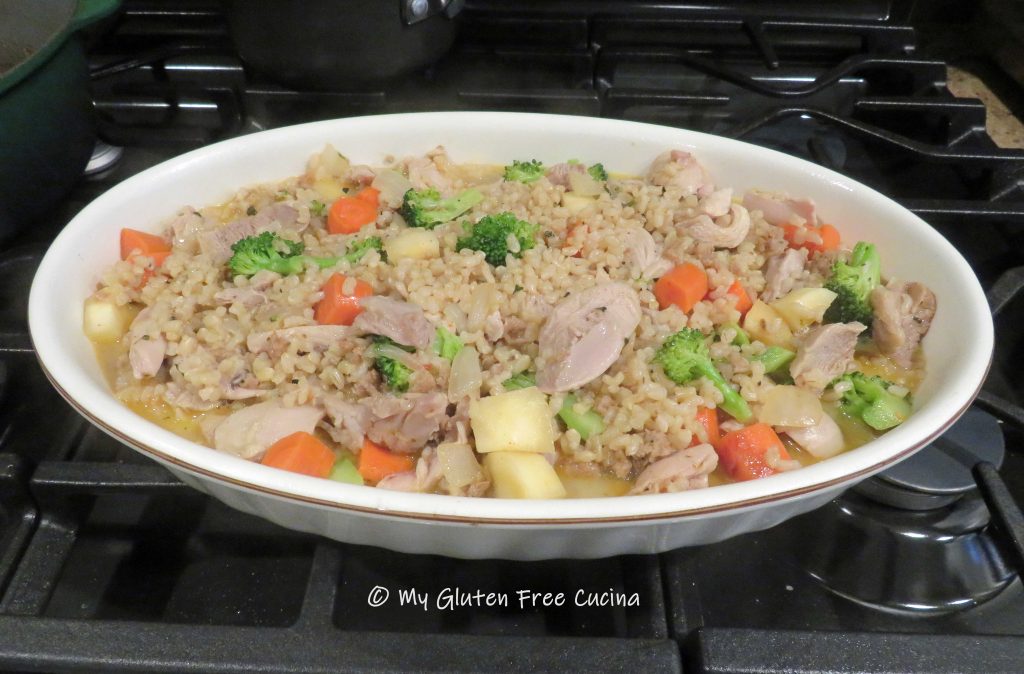
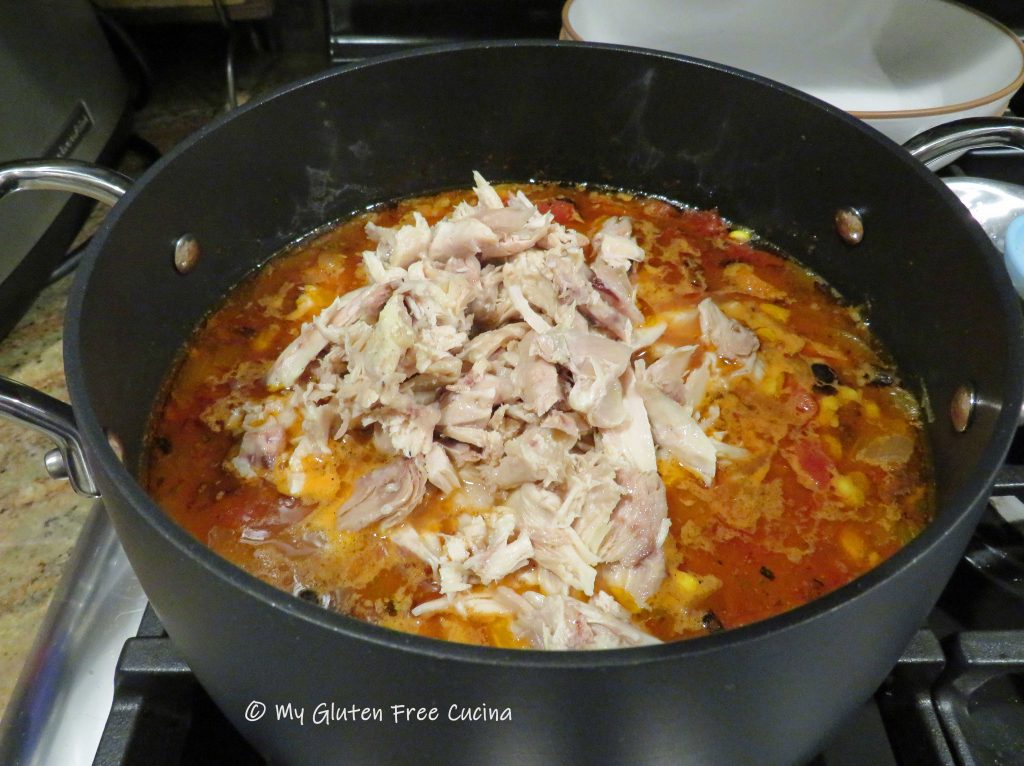
Place browned chicken in a braising pan or Dutch oven, add ¼ cup white wine and 1/4 cup chicken broth.  Cover and simmer 30 minutes.

Transfer the cooked chicken to a plate, remove meat from the bones and sprinkle with paprika.  Strain the liquid from the pan and reserve for later.

Slice the sausage and brown in olive oil.  You can use store bought sausage or check out my recipe for homemade sausage patties!  If using purchased sausage, always check labels for gluten containing ingredients.

Pulse the cooked sausage a few times in the chopper and set aside.

Wipe the braising pan or Dutch oven clean.  Heat 1 tbsp. olive oil and add the veggies.  Season and cook 10 minutes, stirring occasionally.

Add back the sausage and stir well.

Now add the chicken and cooked rice.  Measure the reserved liquid and add enough chicken broth to equal 1-1/2 cups.  Combine with 1/4 cup milk and pour over the chicken and rice mixture.

Tip: Prepare the meal up to this point a day ahead.  Cover and refrigerate.  

Preheat the oven to 350º.  You can bake the casserole in the same pan, or transfer to a pretty casserole dish for a nicer presentation.  Note, if you made the casserole in the advance, take it out of the refrigerator and leave on the counter for at least 30 minutes (don’t place a refrigerated glass baking dish directly into a hot oven, it may shatter).

Spread the breadcrumb mixture over the casserole and bake uncovered for 45 minutes.

The liquid will bubble and thicken to create a nice sauce.  I like to finish it off under the broiler, 3 minutes on low.  Watch that it doesn’t burn!

Let it rest a few minutes to set up, then garnish with fresh herbs (or dried herbs) and bring it right to the table.

Notes ♪♫ Remember, you can substitute any veggies you like in this recipe.  Once I went out on a limb and used eggplant.  Surprise, the reaction ranged from “I loved it” to “I didn’t even know it was in there”! Try broccoli, cauliflower, asparagus or zucchini.  Use what you have on hand, use what you like!

Print This Post Print This Post

Chicken Tortilla Soup

It’s time to spice up your life with a bowl of Chicken Tortilla Soup!  Perfect for cold winter days, this soup is bursting with big chunks of chicken, beans and veggies. I love the heat from the garlic, jalapeno, chili flakes and cumin!

If you don’t already have Chipotle chili and cumin in your spice rack it’s time for a trip to the grocery store!

The inspiration for this recipe came from a local restaurant, but- like many others they use flour to thicken their soups.  Luckily for us, most of the ingredients in Chicken Tortilla Soup are naturally gluten free, so it was easy to recreate this soup at home, minus the flour. 

This post contains affiliate links.

Ingredients: 

  • 2 chicken leg quarters 
  • Salt and pepper, to taste 
  • Olive oil 
  • water to cover
  • 2 bay leaves 
  • 1 onion, diced 
  • 2 carrots, sliced 
  • heaping tbsp. minced garlic
  • heaping tbsp. minced jalapeno
  • 2 tbsp. tomato paste 
  • 14 oz. can fire roasted tomatoes 
  • 1/2 tsp. Chipotle chili 
  • 1/2 tsp. Cumin 
  • 1/2 tsp. Oregano
  • 1/2 tsp. garlic granules
  • 1/2 tsp. onion granules 
  • salt, to taste 
  • 1 cup canned black beans 
  • 1 cup frozen or canned corn 
  • Gluten free tortilla strips 

Preparation: 

Add olive oil to a deep skillet over medium low heat and begin browning the chicken on both sides.  Season with salt and pepper.  Add bay leaves and water to cover.  Simmer for 90 minutes on low. 

Transfer the chicken to a plate and remove meat from the bones.  Refrigerate meat until the soup is ready.  Reserve the liquid.

In a clean stock pot, add 1 tbsp. olive oil with the onions and carrots, and cook for 2-3 minutes over low heat.  Add the garlic and jalapeno and cook for 30 seconds.  Make a spot in the center of the pan and add the tomato paste.

Toast for 2 minutes, then strain the reserved chicken broth into the pot.  Add the fire roasted tomatoes, and all of the seasoning. 

Cover and simmer 1 hour, then add the black beans and corn.  Simmer 30 minutes longer.  Taste and add salt if needed. 

Stir in the reserved chicken, heat through and serve.

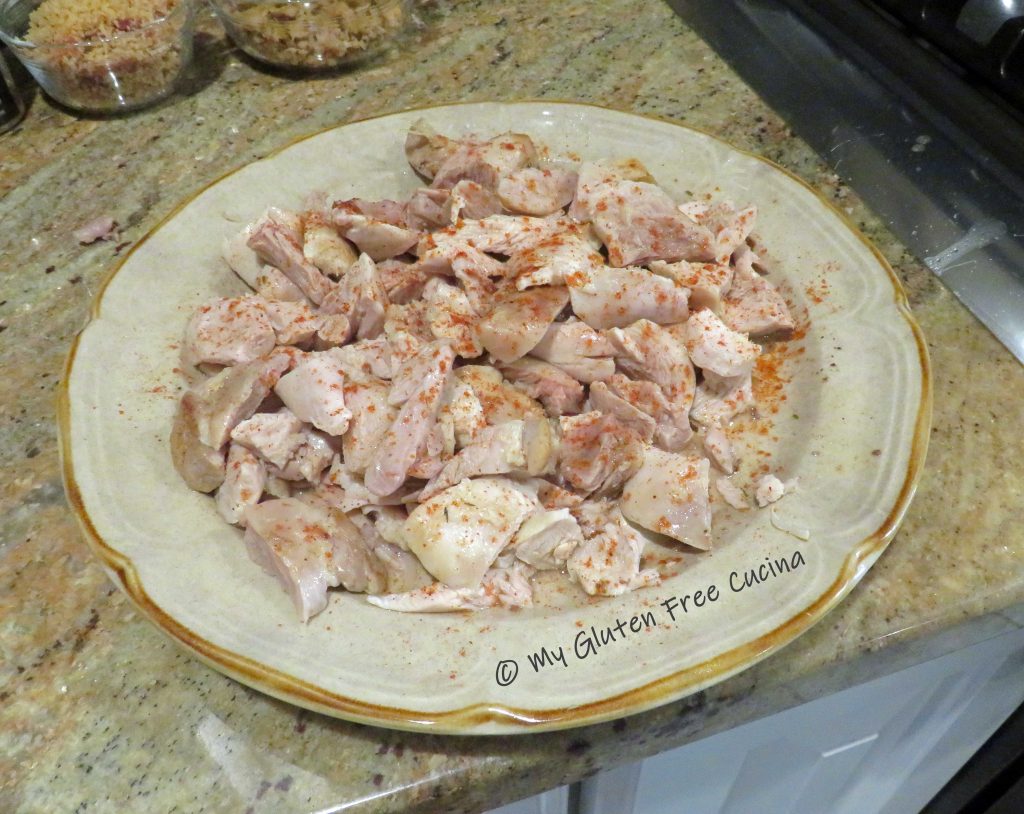
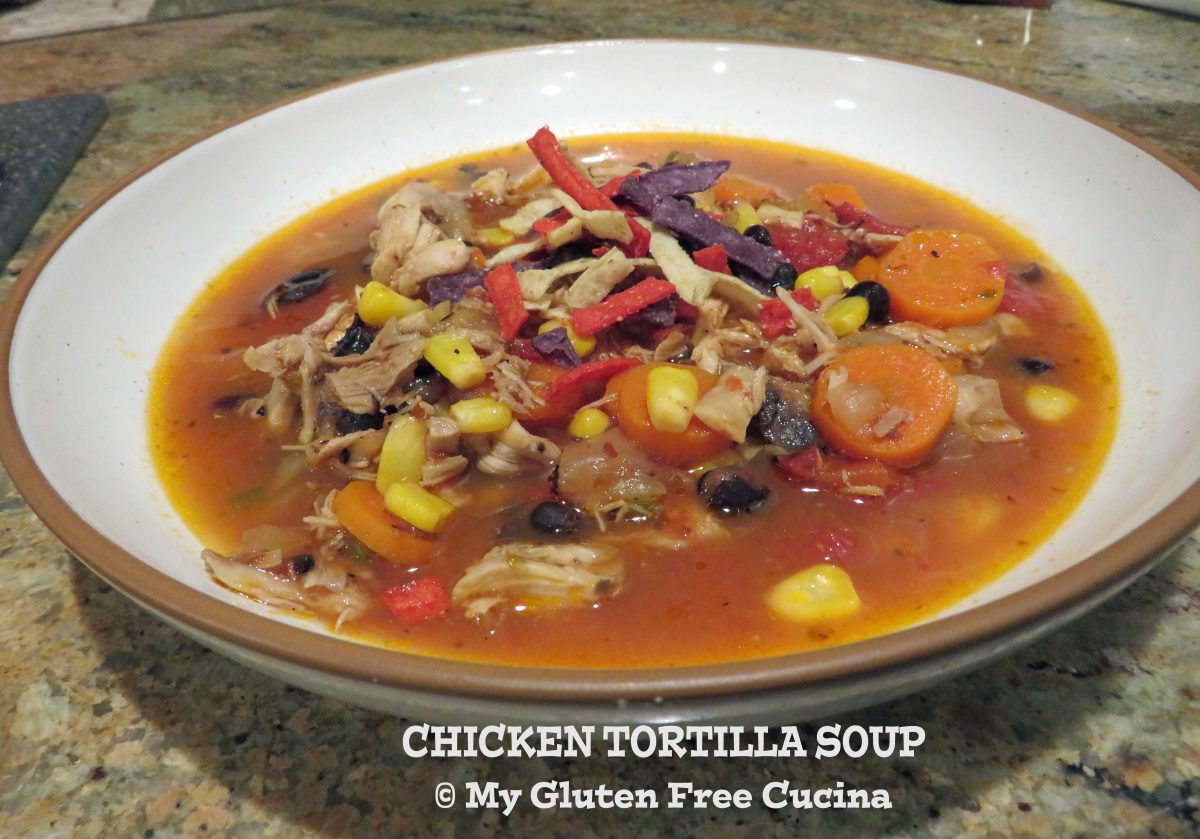
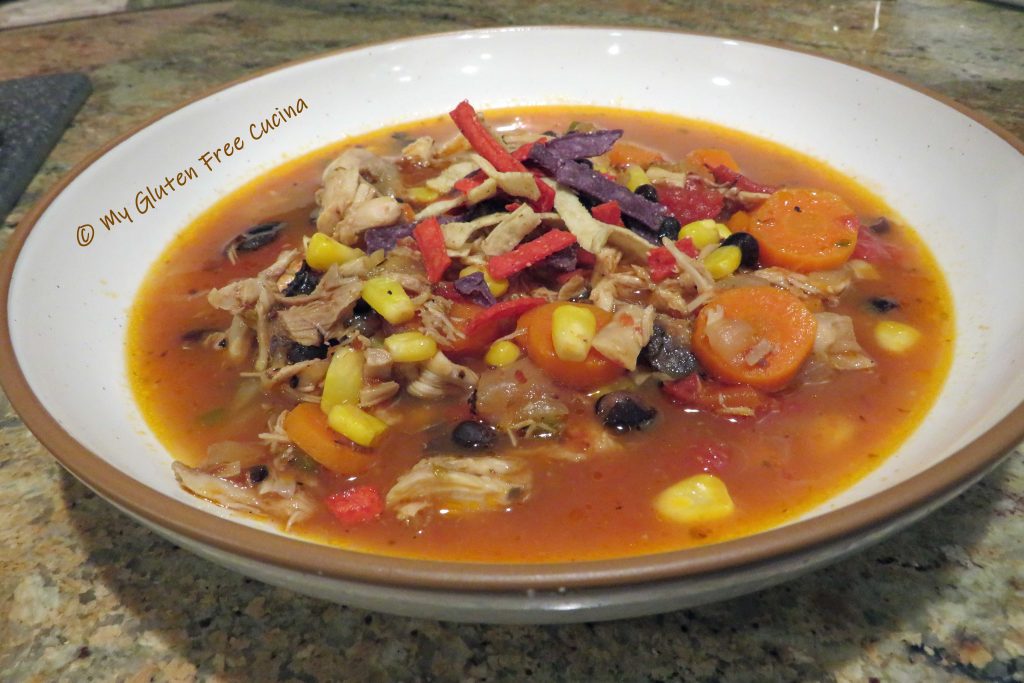
Garnish each bowl with tortilla strips.

Notes: ♪♫ The soup is thick and hearty on its own, no flour is needed.  For the perfect garnish, try a sprinkle of gluten free tortilla strips.  If you can’t find them locally order here!    

Print This Post Print This Post