Sausage and Egg Mini Quiche

Let’s get the day started with an easy recipe that you can prep ahead and bake in the morning!  It’s a great savory dish for a casual breakfast or Sunday Brunch.  The recipe will yield one dozen mini quiches, perfect for a 12 cup muffin pan.  Completely gluten free with no oddball ingredients to purchase, everyone will love this family favorite!

This post contains affiliate links.

Ingredients:

  • ½ lb. gluten free Italian sausage, casings removed
  • ½ small onion, chopped fine
  • 1 tsp. olive oil
  • 1 package (8 oz.) white mushrooms, sliced
  • 1 package (5 oz.) baby spinach
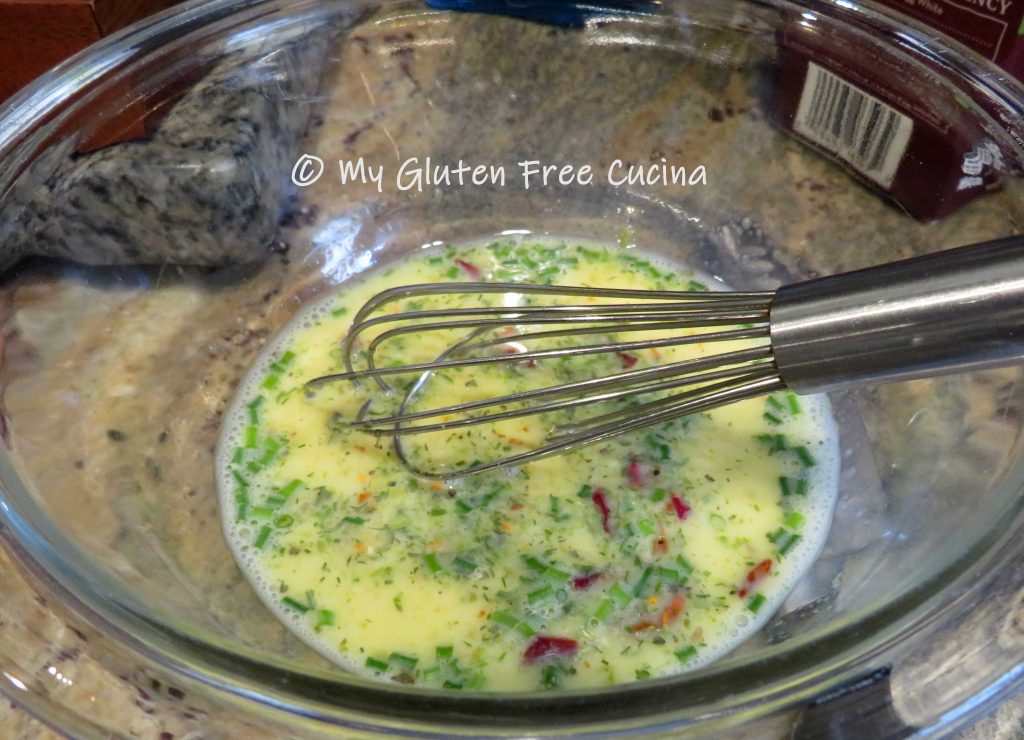
  • 10 large eggs
  • ¼ cup milk
  • 2-3 oz. shredded cheddar cheese
  • gluten free breakfast sausage seasoning
  • Cooking spray

 Preparation:

Brown the sausage in a large nonstick skillet, breaking up the meat with a spatula.  Remove from the pan, reserving the fat.

Set the meat aside to cool, then pulse it a few times in a food processor or mini chopper, just enough to finish breaking up the meat.

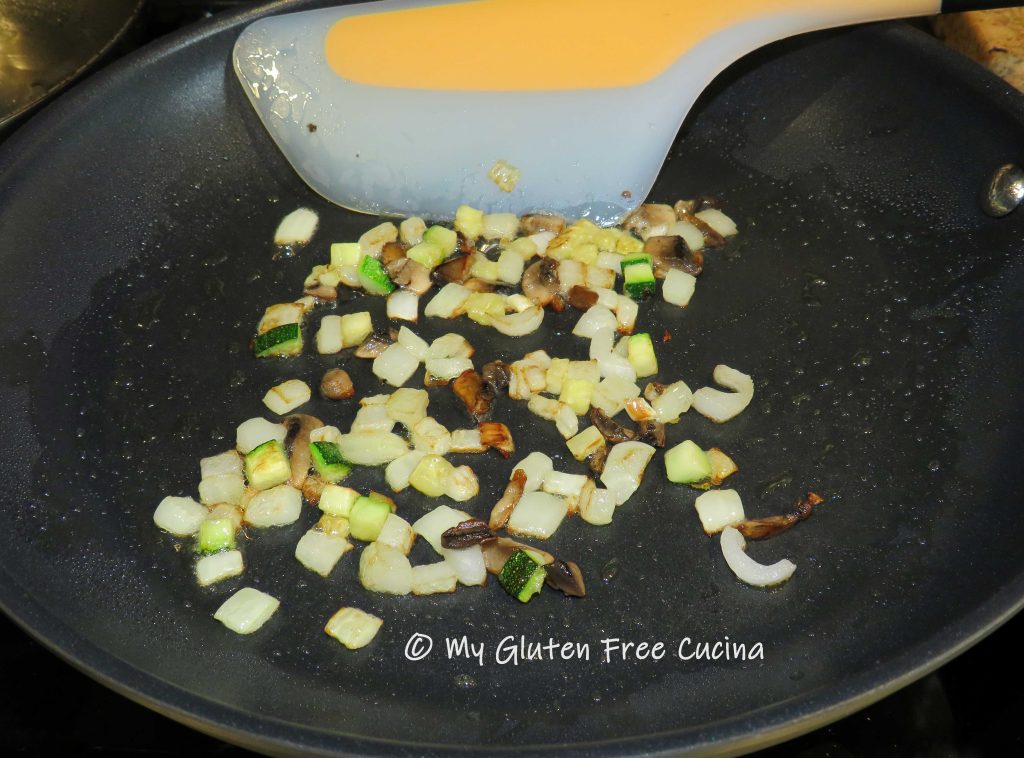
Add a little olive oil to the reserved fat and begin cooking the onion.  When the onions are translucent, add the mushrooms and cook until they release their liquid.  Sprinkle with seasoning.

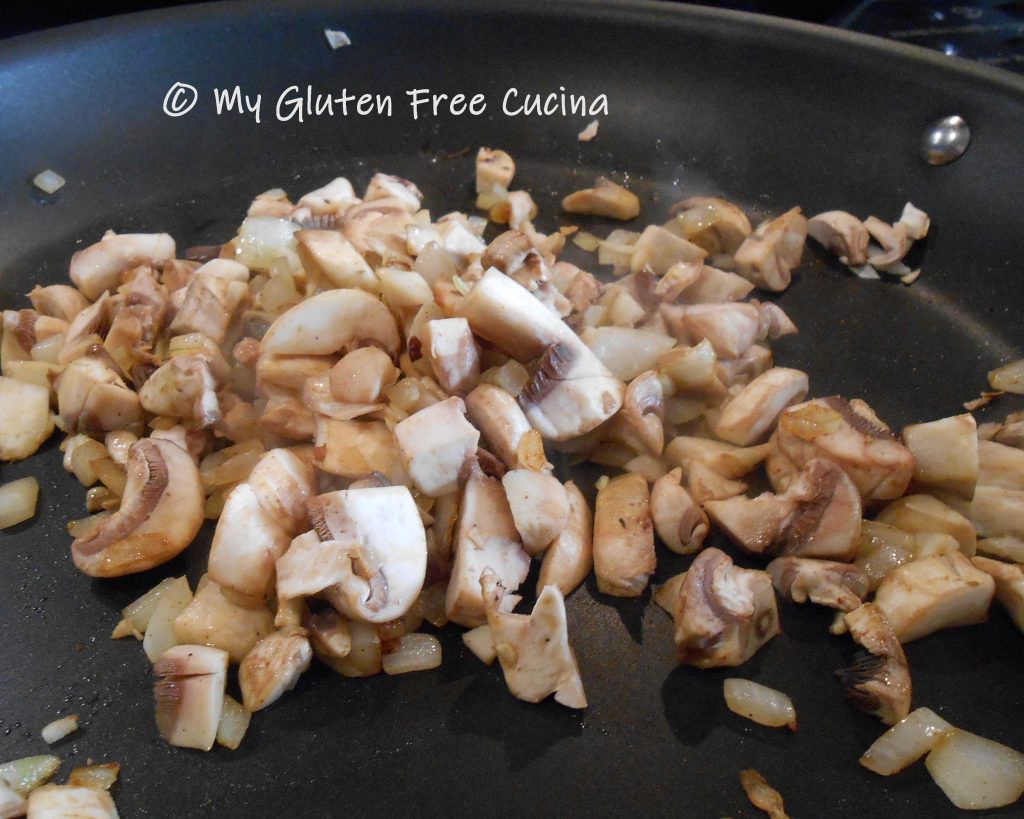
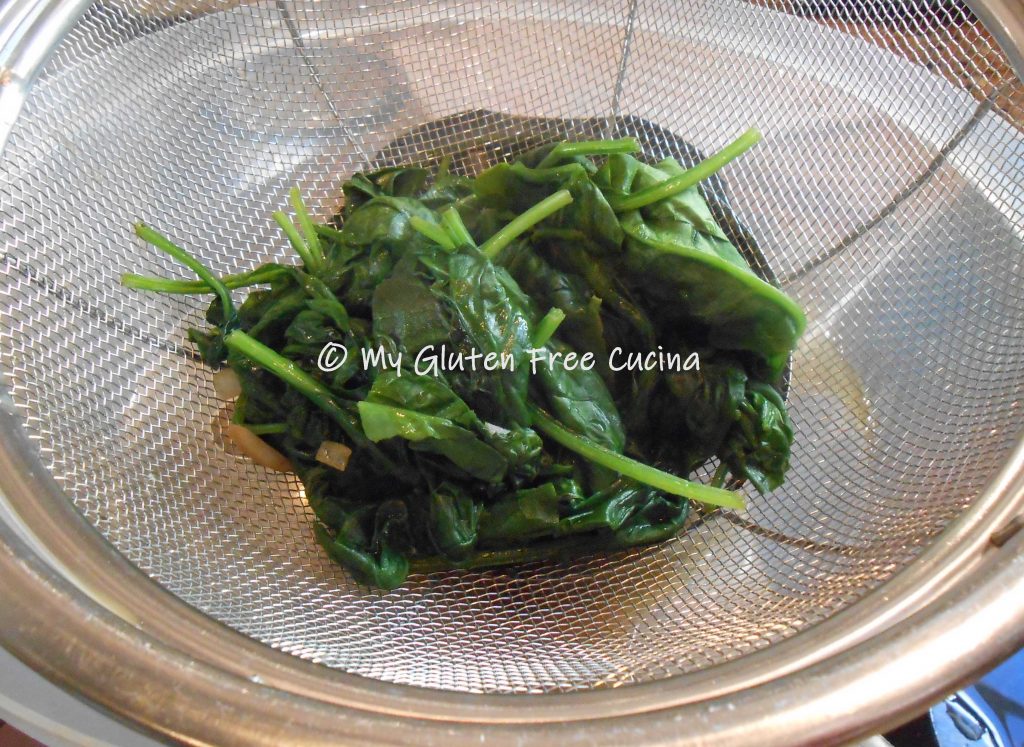
Remove the mushrooms and onions from the pan, drain in a colander and set aside.  Wipe the pan clean.  Add 2-3 big handfuls of spinach with 1/4 cup water.  It will cook down!  Cover and steam for 1 minute, just until the spinach is wilted.  Drain the spinach well and pat it dry with paper towels.

Note! You can prepare up to this point and refrigerate the night before.

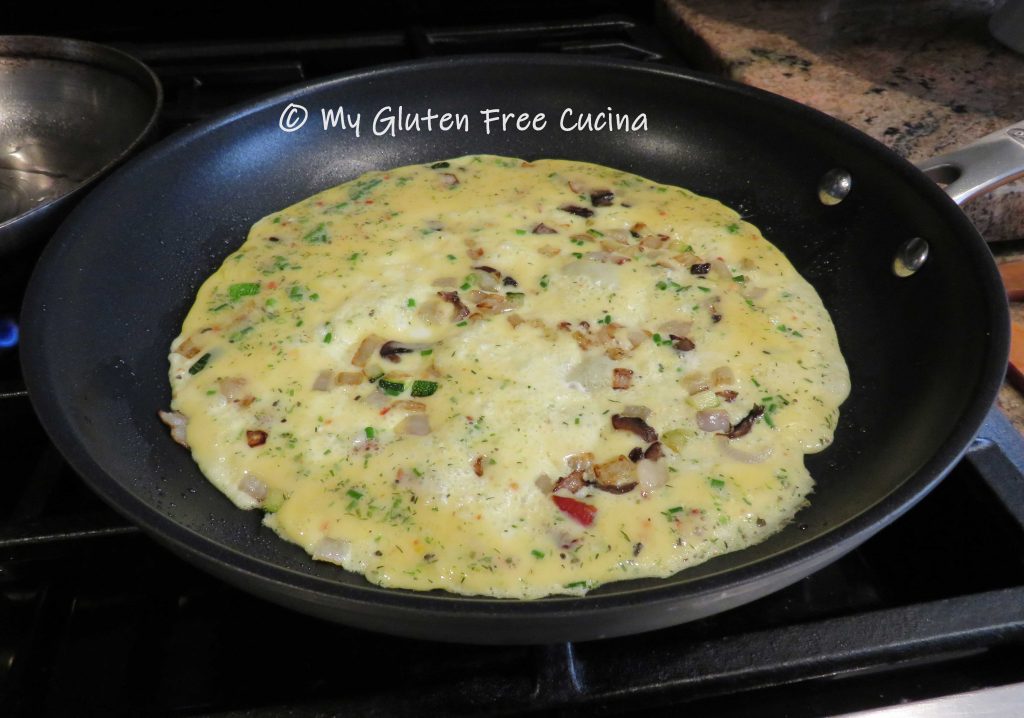
When the mushrooms and spinach have cooled to room temperature, preheat the oven to 375º and coat a muffin tin with cooking spray.  Whisk the eggs in a large bowl and stir in the sausage, mushrooms, onions, spinach, seasoned salt and half of the cheese.

Spoon the mixture into 12 muffin cups and sprinkle tops with the remaining cheese.  Bake 25-30 minutes until set.

The quiche will puff up during baking and may deflate a bit when removed from the pan.

Carefully scoop out the quiches with a spoon and transfer to a serving dish.  They should slide right out.  Serve hot or at room temperature.

This is a very easy recipe that you can double or triple to feed a crowd for brunch.  I used Italian sausage, but you can substitute any sausage you prefer, or bacon or prosciutto!  Be sure to pin this easy and delicious recipe for your next Sunday brunch!

Notes ♪♫ There are many gluten free sausage seasonings on the market, but you may find them high in sodium.  If you are interested in making your own seasoning blend, check out my Homemade Breakfast Sausage Patties post.  It includes a recipe for a blend of individual spices that you mix together, and you can adjust the salt content to your liking.

Print This Post Print This Post

Gluten Free Banana Waffles

I have always loved pancakes and waffles, going all the way back to my childhood when Dad made us pancakes for breakfast on Sunday.  Back then I would devour a whole stack!

As an adult I have continued this Sunday tradition, even after my Celiac diagnosis.  At first, I went with a popular gluten free pancake mix.  Ugh!  I continued trying different brands and some were better than others, but all were expensive.

Finally, I decided to make my own gluten free blend from scratch.  Still pricey for sure, but in the end, it cost much less per serving than a packaged mix.

The main ingredients, almond flour, coconut flour and tapioca starch are staples in my gluten free pantry.  I think the taste and texture of my waffles are better than any prepared mix, and the banana provides moisture, flavor and sweetness!  This is a great recipe to use up bananas that are past their prime.

8 servings (serving size = 1 waffle)

This post contains affiliate links.

Ingredients:

  • 1 cup tapioca starch 105g
  • 2/3 cup coconut flour 85g
  • 1-1/3 cup almond flour 135g
  • 1 tsp. baking powder 6g
  • 1 tsp. baking soda 6g
  • 1/2 tsp. Salt 3g
  • —————————————
  • 2 large eggs 100g
  • 2 ripe bananas, mashed 150g
  • 2 tbsp. Canola oil 22g
  • 2 tsp. Vanilla 7g
  • 1-1/2 cups 2% milk 350g
  • Cooking spray

Preparation:

I often eat half of a banana and throw the rest in the freezer.  After a couple of weeks those bananas pile up and it’s time to make more waffles!

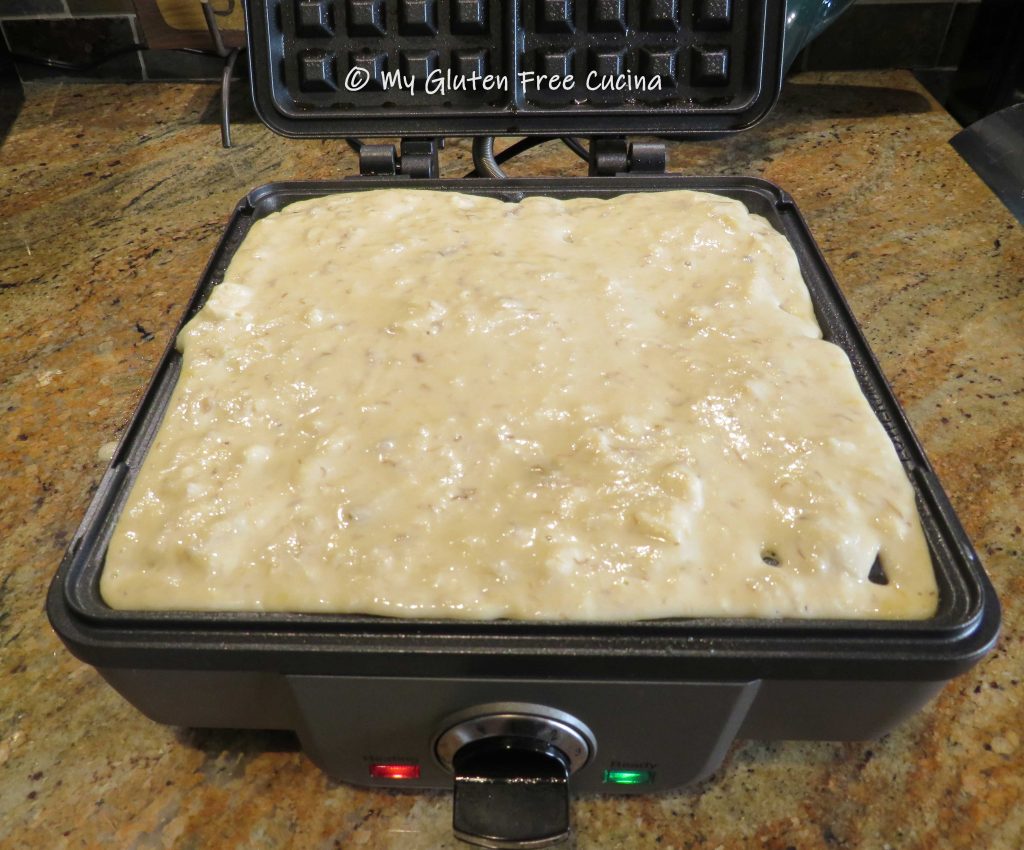
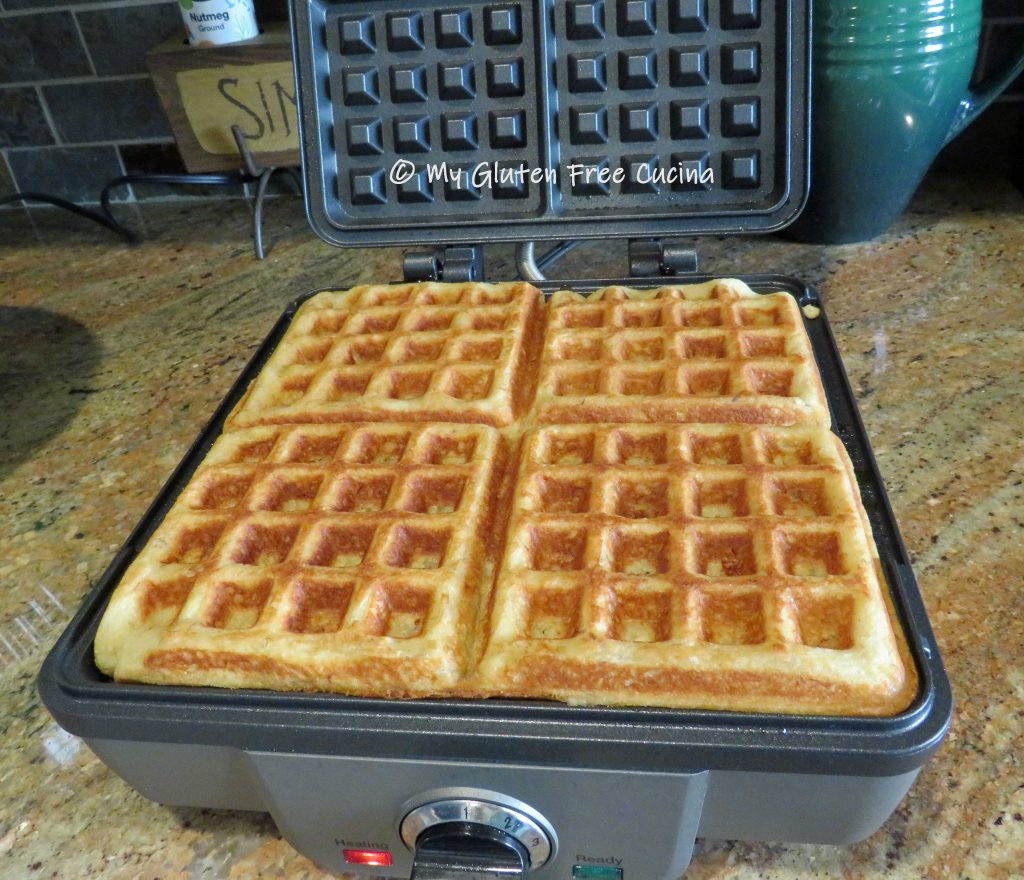
Before you begin, preheat your waffle iron to 350°.  Whisk together the dry ingredients.

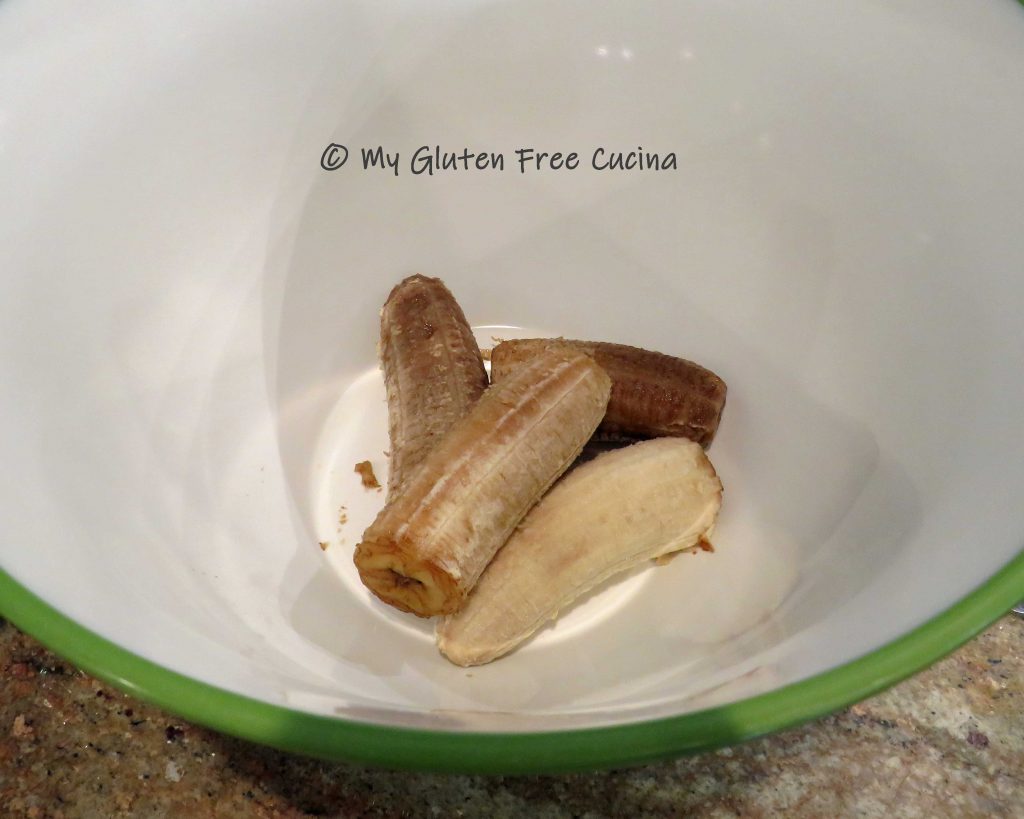
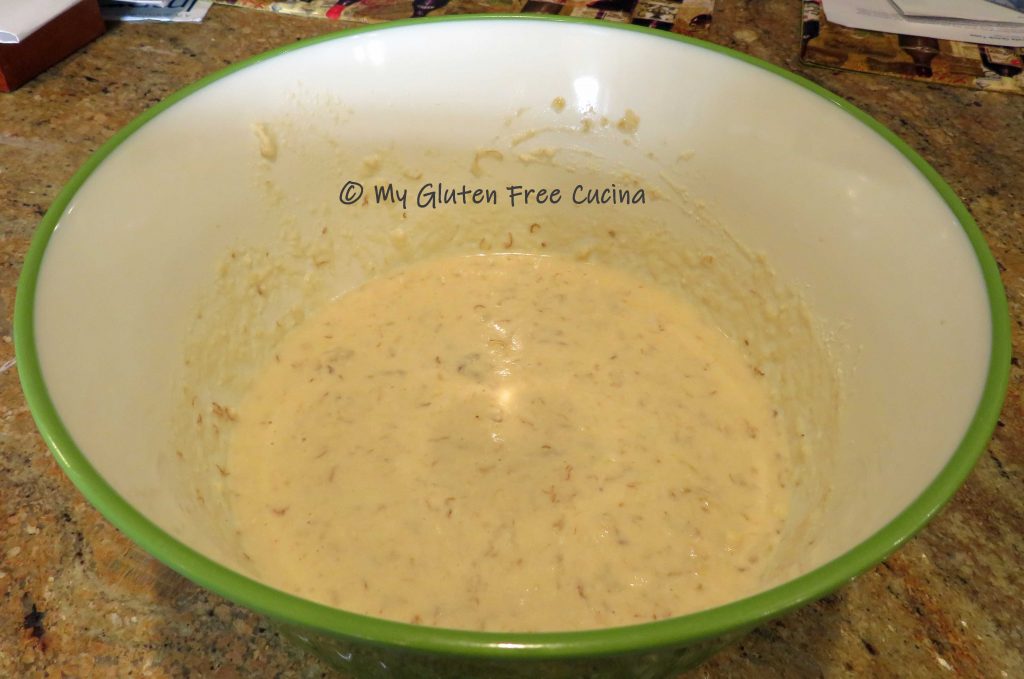
In a separate bowl, mash the banana with a fork and add the egg, oil, vanilla and milk.  Whisk well to combine.

Fold the dry ingredients into the wet with a spatula, just until moistened.

Coat both sides of the waffle iron with cooking spray.  Spoon the batter into the center and use a spatula to spread it into the corners.

Close the lid and cook for 5 minutes, remove and transfer to a cooling rack.  Repeat with the remaining batter.

You can serve them immediately or cool to room temperature and freeze for later.  I like to make a big batch and store in freezer safe bags.

The waffles are filling, one is more than enough for our small appetites.  I serve them with fresh fruit and candied walnuts.  You can reheat them in the microwave, oven or toaster.

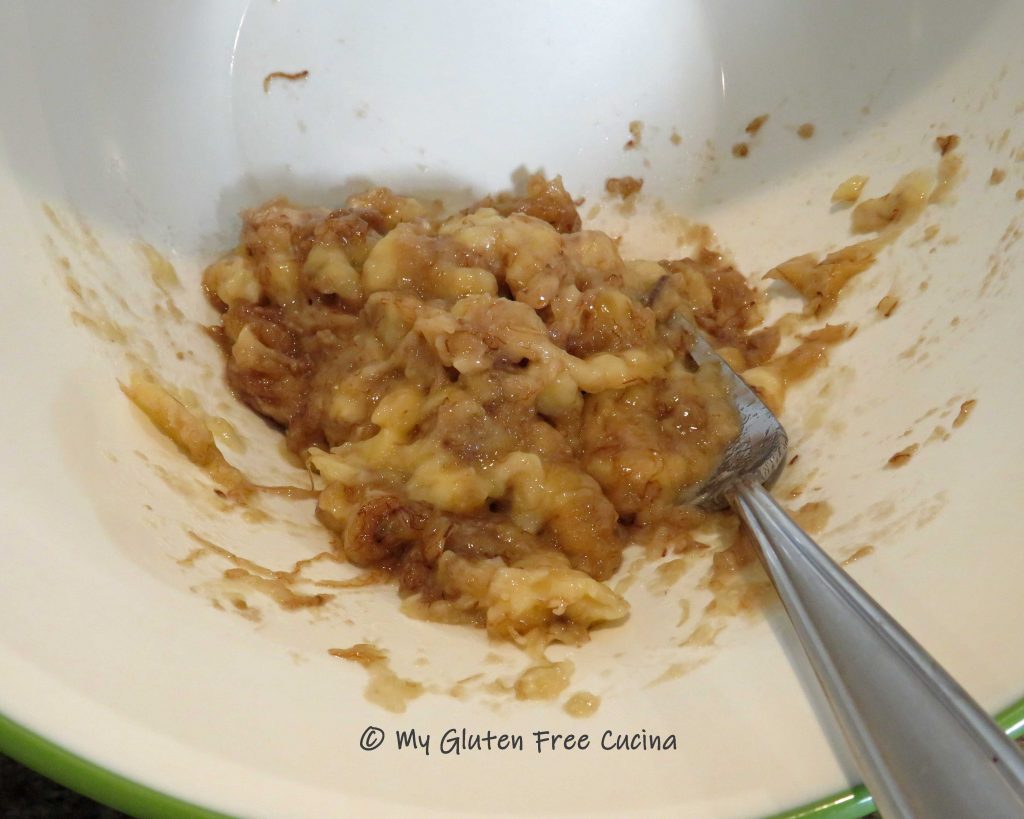
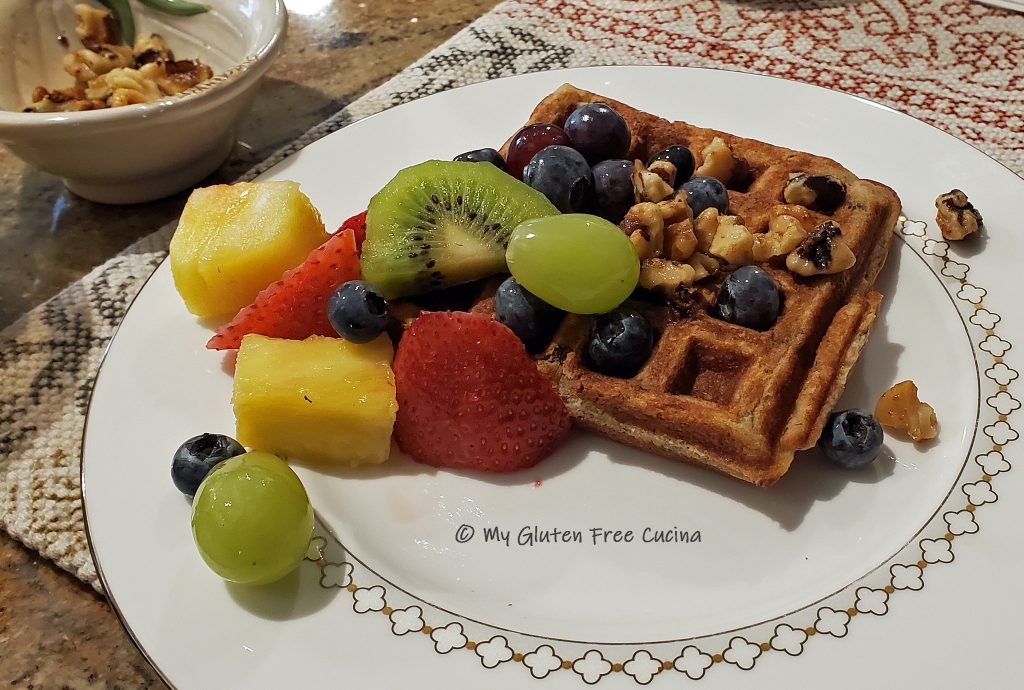
Always use real maple syrup!

Notes ♪♫ Gluten free pancakes and waffles take longer to cook than the wheat version.  I struggled at first with pancakes that were cooked on the outside and gummy in the middle, until I realized that I needed to adjust the time.  Then I decided to use my waffle iron, and that was the magic.  Since both sides cook at once, 5 minutes at 350° is usually perfect.

Substitutions: You can substitute 2/3 cup part skim ricotta for the banana, it makes a light fluffy waffle.  In the fall I like to use pumpkin puree.

Print This Post Print This Post

Veggie Omelette

I love Saturday mornings, when I have the luxury of extra time to prepare something special for breakfast.  Omelets have long been a weekend favorite of mine, and since the ingredients are naturally gluten free, they continue to be a healthy breakfast option.  I love adding fresh veggies like onion, bell pepper, spinach and mushrooms.  During the summer, I add zucchini and fresh chives from my herb garden.  Use your favorites or what you have on hand!

Serves 1 or 2, depending on your appetite!

This post contains affiliate links.

Ingredients:

  • 1 large egg
  • 1/4 cup egg whites
  • 2 tbsp. milk
  • 3/4 cup diced veggies such as onion, mushroom, zucchini, bell pepper
  • fresh or dried herbs such as chives, dill
  • 1 tbsp. olive oil
  • 2 tbsp grated cheese, optional
  • gluten free seasoning of choice
  • salt and pepper

Preparation:

Chop the veggies evenly into small dice and sprinkle with salt and pepper, or your favorite gluten free seasoning.  It may look like too much but remember, the veggies will shrink during cooking.

Heat a 10″ skillet with a little olive oil.  In a bowl, whisk together the egg, egg whites, milk and fresh or dried herbs.  Season with salt and pepper.

When the skillet is ready, add the veggies and sauté over low heat until their liquid has evaporated, and they are beginning to brown.  Take your time, you want as little moisture as possible, and this step develops the flavor.

Spread the veggies in an even layer, then pour the egg mixture in slowly so that they don’t all shift to one side of the pan!  If you like grated cheese, sprinkle some over the top and set your timer for 5 minutes.  As the omelet cooks, use a thin spatula to gently lift the edges, allowing the liquid to run underneath. This is how you want it to look before you fold it over, it should slide easily when you shake the pan.

Now pick up one side of the omelet with a spatula and gently fold it in half.  Don’t worry if it breaks, it will still taste great!

Turn the omelet once more after folding.  To make this easier, you can cut it in half or use 2 spatulas.  For smaller appetites, this omelet is enough to share. It’s quite filling!  Now that you know how easy it is, put away the cereal and treat yourself to something special this weekend.

Notes ♪♫ A good non-stick skillet is essential for making an omelet.  I have a 10″ Oxo skillet that is my dedicated omelet pan, I don’t use it for anything else!

Print This Post Print This Post