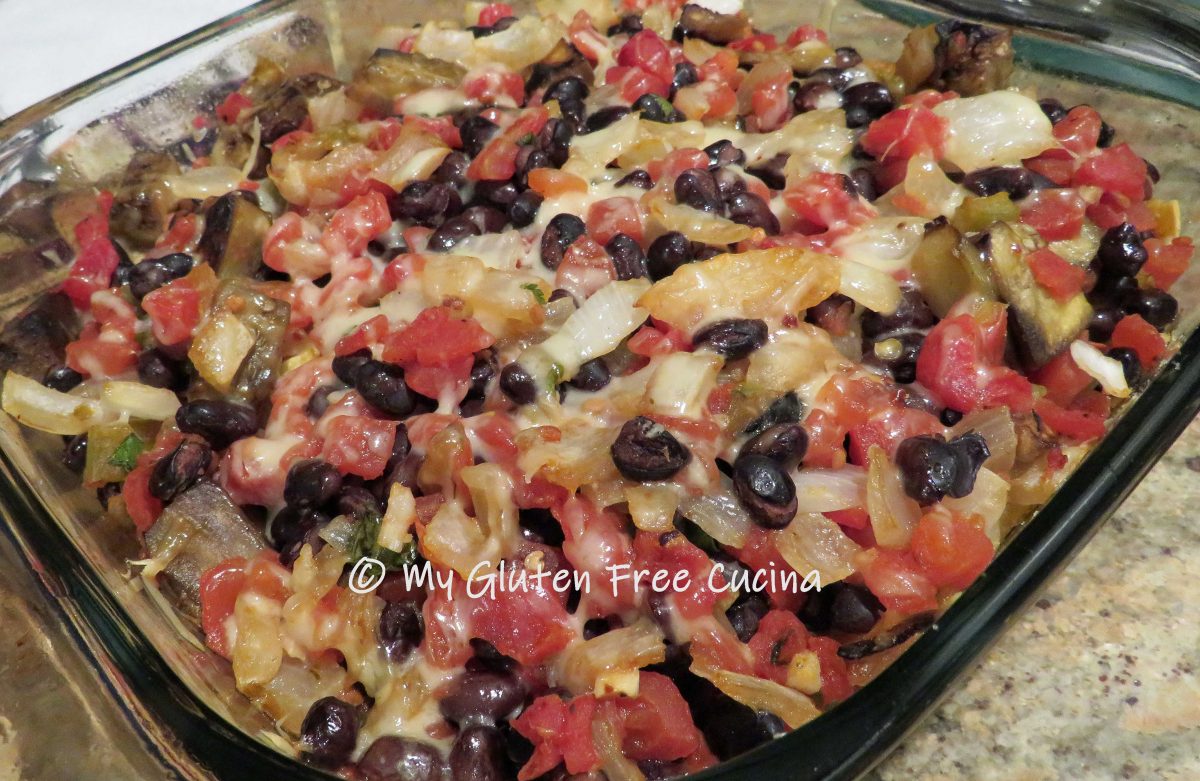
This easy casserole dish is great for a family dinner. If you are invited to a party or cookout and need to bring a gluten free dish, this would be a great choice. Using canned beans and tomatoes makes it easy to put together.
This post contains affiliate links.
Ingredients:
- 1 medium eggplant, peeled and diced (about 3 cups)
- 1/2 sweet onion, diced (1-1/2 cups)
- 2 cloves garlic, minced
- canola oil (or other neutral oil)
- salt, to taste
- 1 can (15 oz.) black beans, drained and rinsed
- 2 cans (10 oz.) diced tomatoes with mild green chiles
- 1/2 tsp. Mexican Spice Blend or more to taste
- 1/4 cup chopped fresh cilantro
- 1/2 cup shredded cheese (cheddar, gruyere)
- 4 gluten free corn tortillas, cut into eighths
- cooking spray
Preparation:
Peel and dice the eggplant. Add 3 tbsp. canola oil to a large nonstick skillet over medium heat. When the oil is hot, add the eggplant cubes and toss to coat. Cook the eggplant until it is browned on all sides. The eggplant absorbs oil like a sponge, so add more if needed.
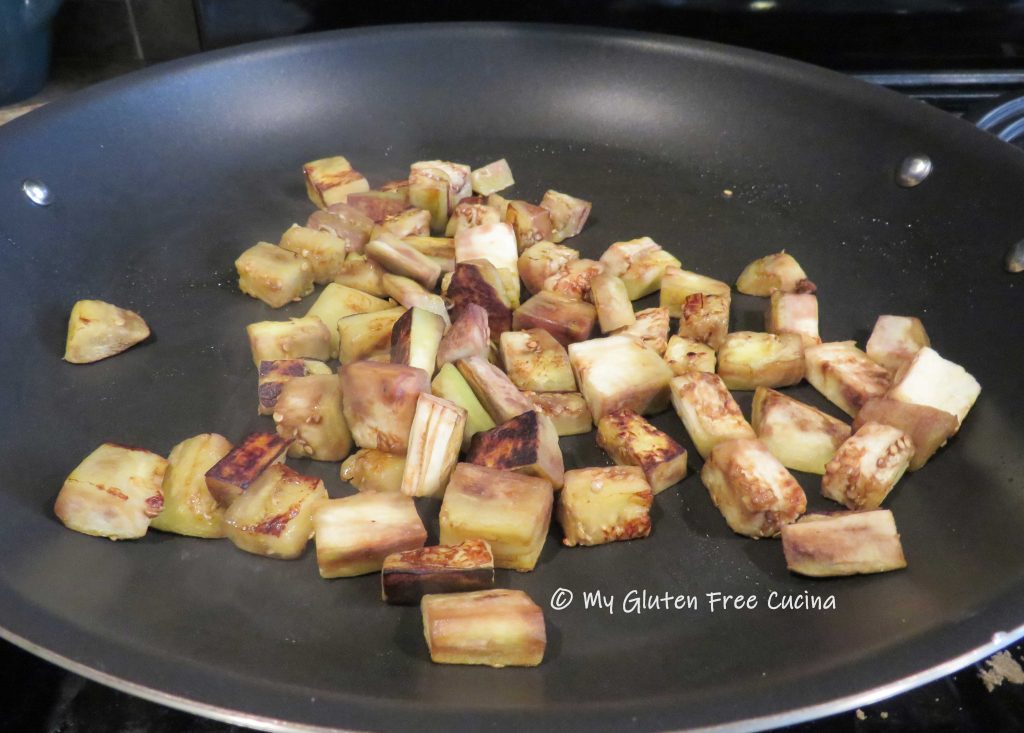
Season with salt and set aside to cool.

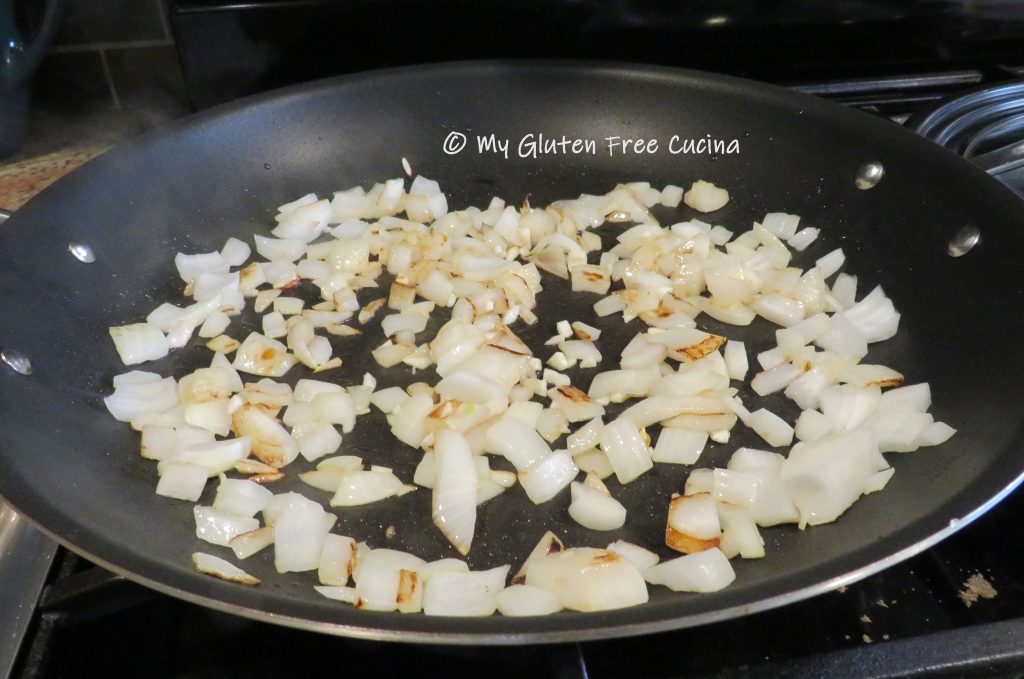
Next, add a little more oil to the skillet and cook the onions until lightly browned. Add the garlic and cook 30 seconds more.
Add the tomatoes with their juice and the drained beans. Top with chopped cilantro and season to taste with Mexican Spice Blend, I used 1/2 tsp.
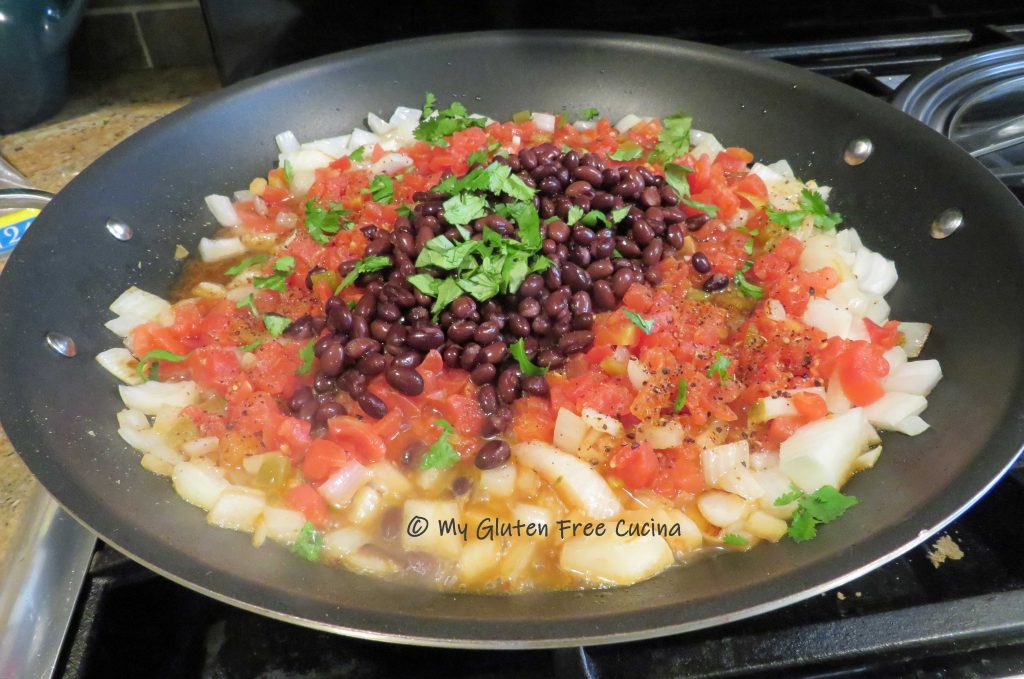
Toss well to combine and continue cooking until most of the liquid has evaporated.

To assemble the casserole, coat a 9″ x 9″ baking dish with cooking spray. Line the baking dish with half of the tortillas.

Spoon half of the tomato mixture and eggplant cubes over the tortillas and top with 1/4 cup of cheese.
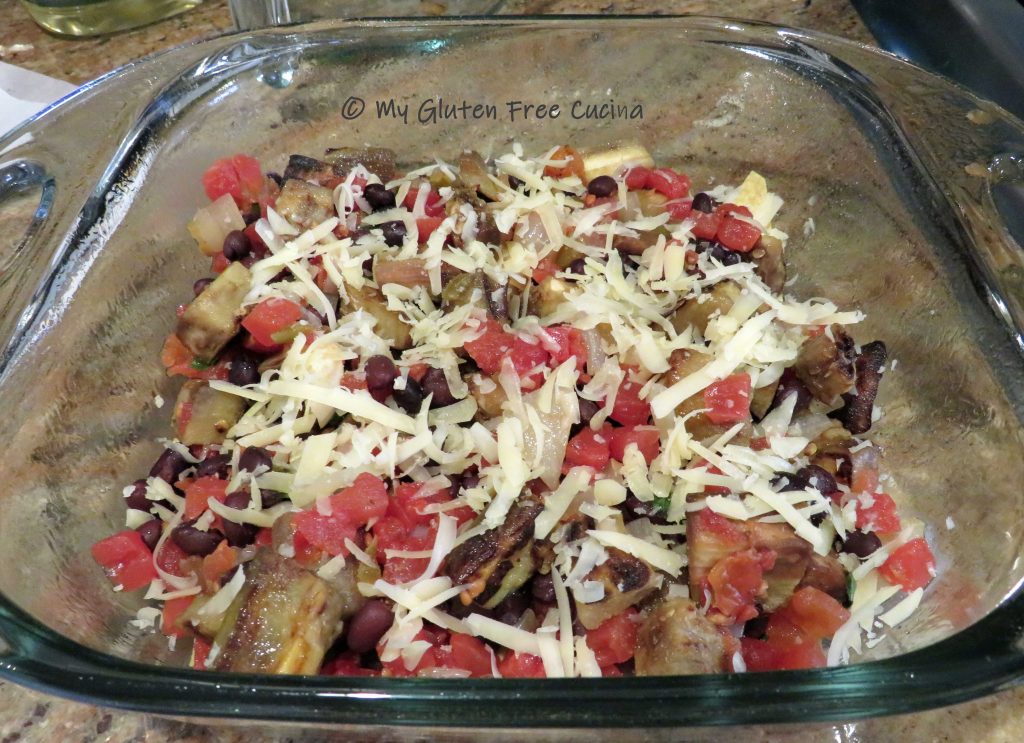
Repeat with another layer of tortillas.

Top with the remaining tomatoes and eggplant and 1/4 cup cheese.

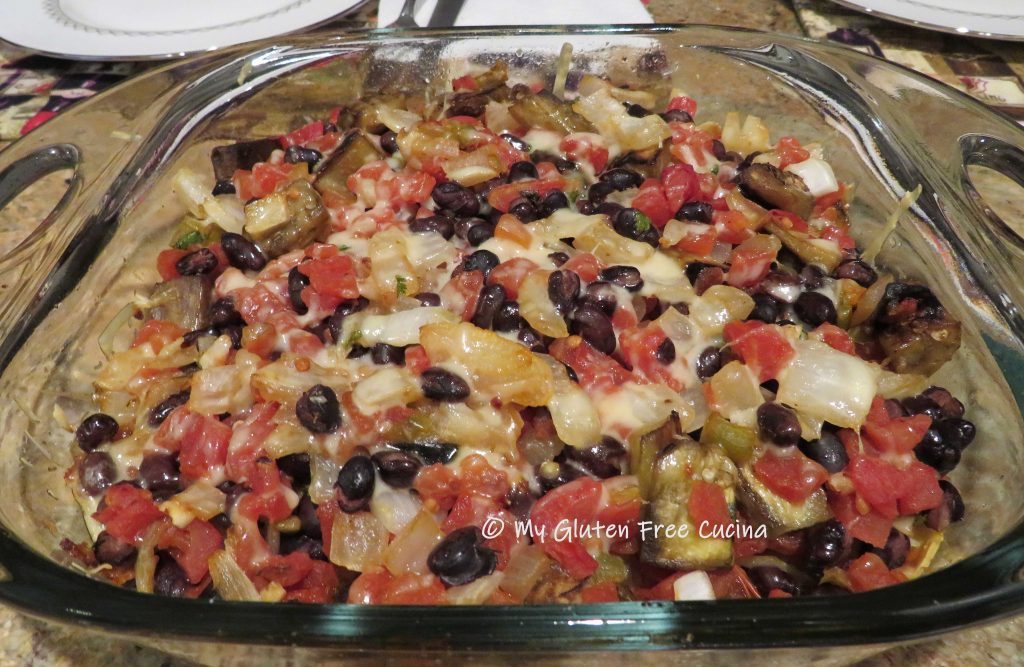
Cover with foil and bake 30 minutes at 375º. After 30 minutes remove the foil and bake for an additional 10 minutes.
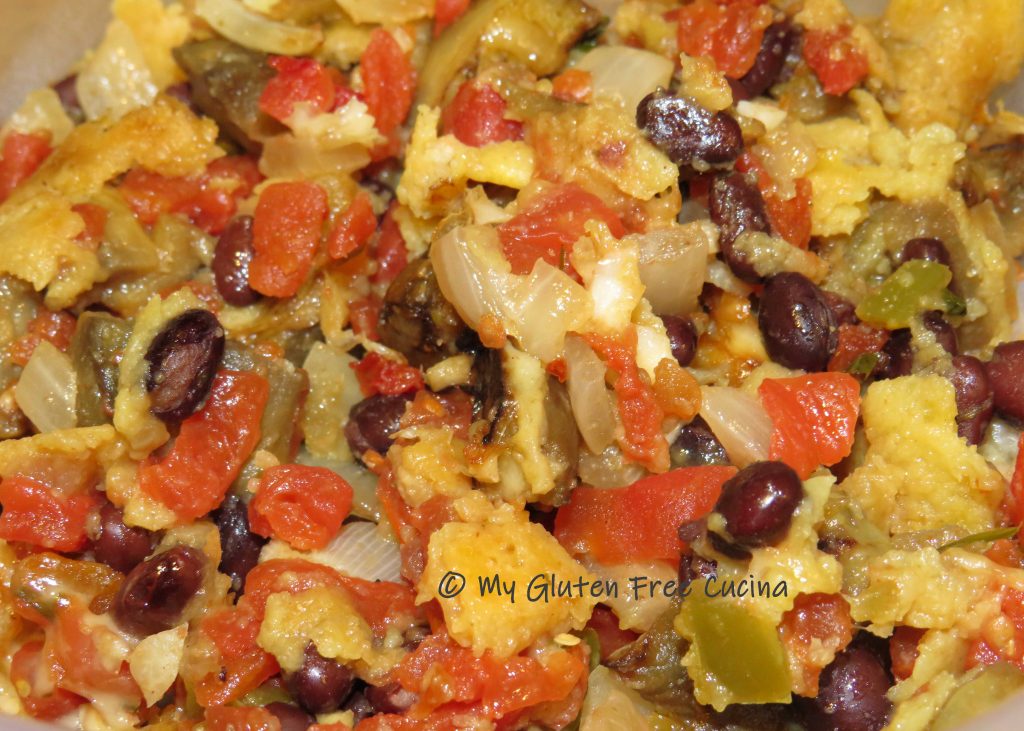
Your family and friends will love this dish! It would be a nice accompaniment to a Cinco de Mayo dinner. You could also serve it as an appetizer with tortilla chips. This makes quite a few servings, and leftovers can be frozen.
Notes ♪♫ I used Mission brand Yellow Corn Tortillas in this recipe, they are certified gluten free. The spice mix is my own, a blend of chipotle Chile flakes, oregano, onion granules and cumin. if you are using a purchased blend, always check for gluten containing ingredients.


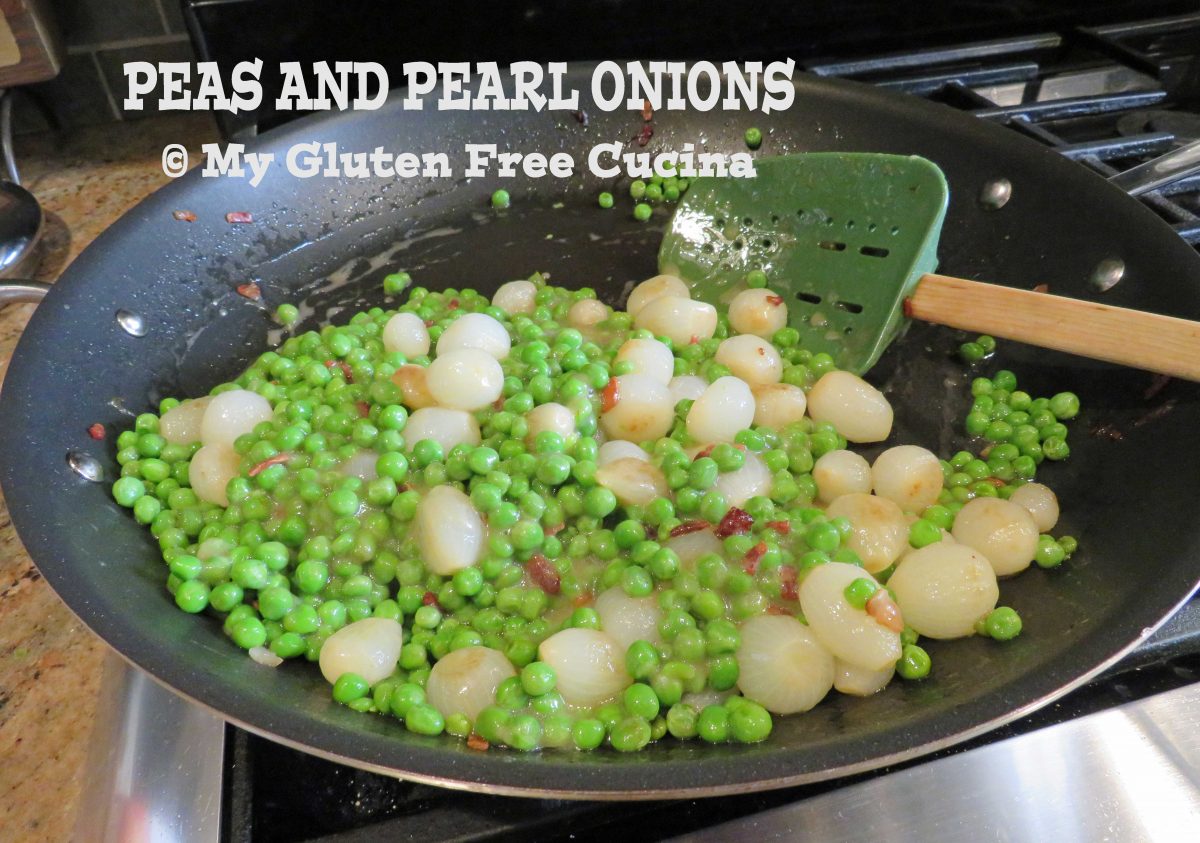
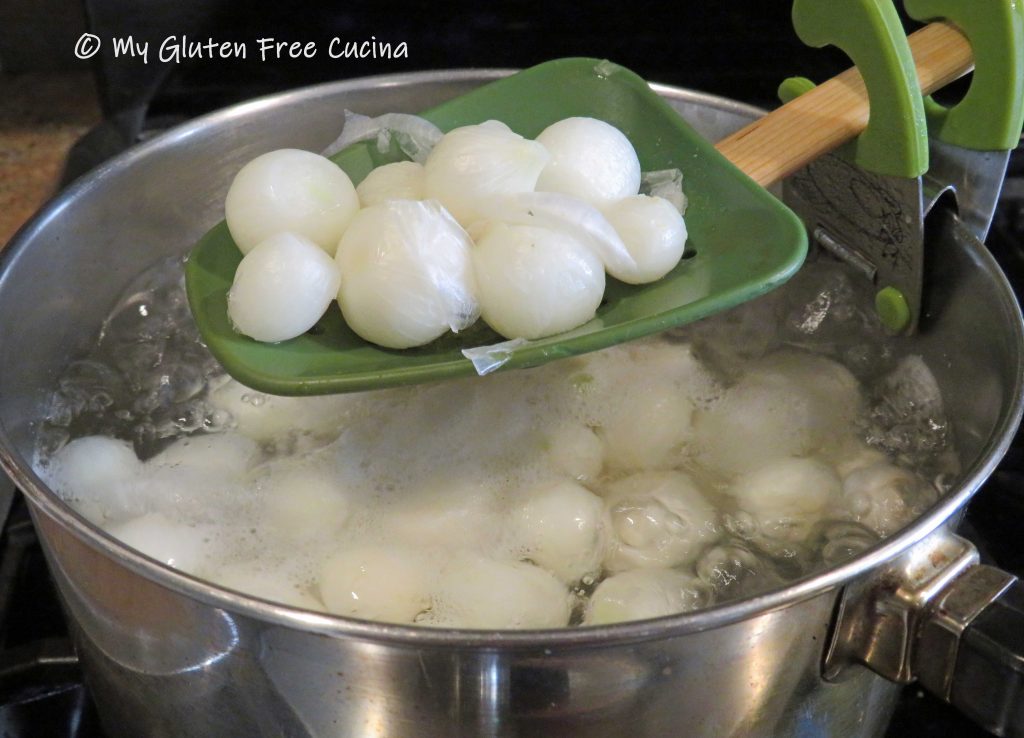

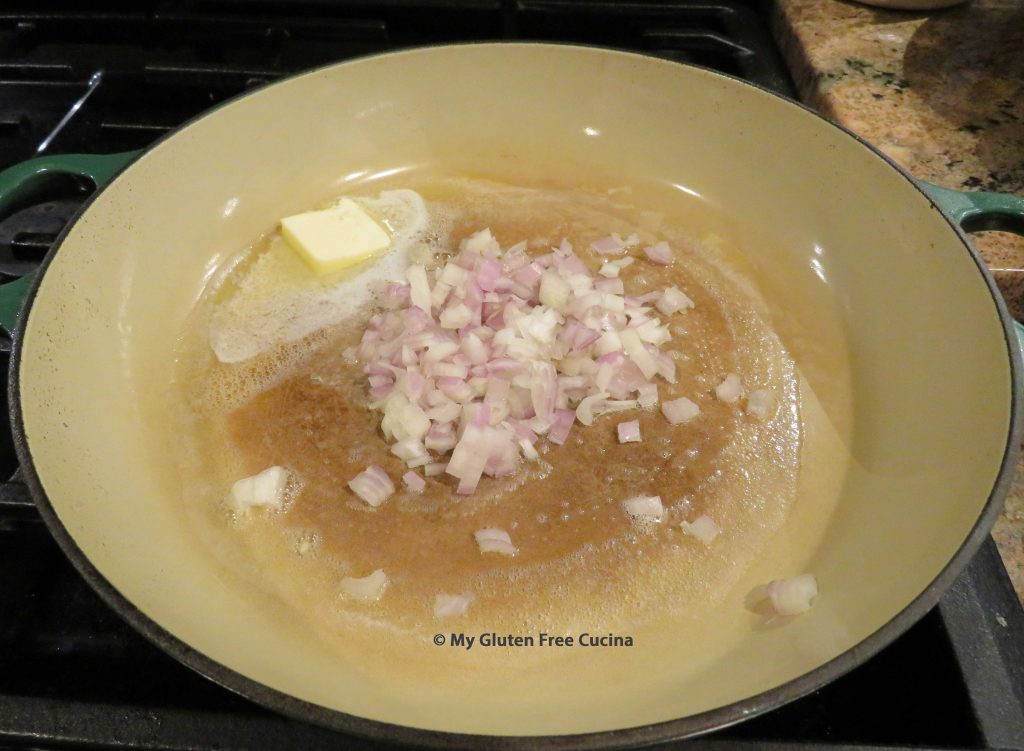
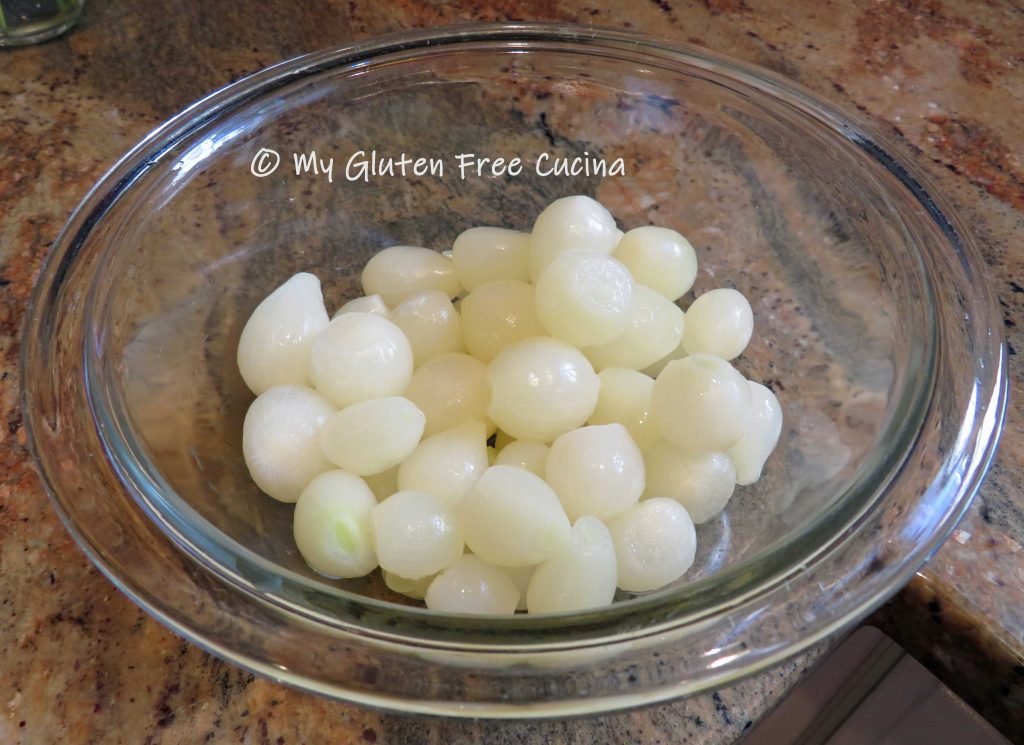 If you were lucky enough to find frozen pearl onions, thaw them on the counter for at least 30 minutes, along with the peas. Frozen pearl onions have already been peeled and blanched, a real time saver!
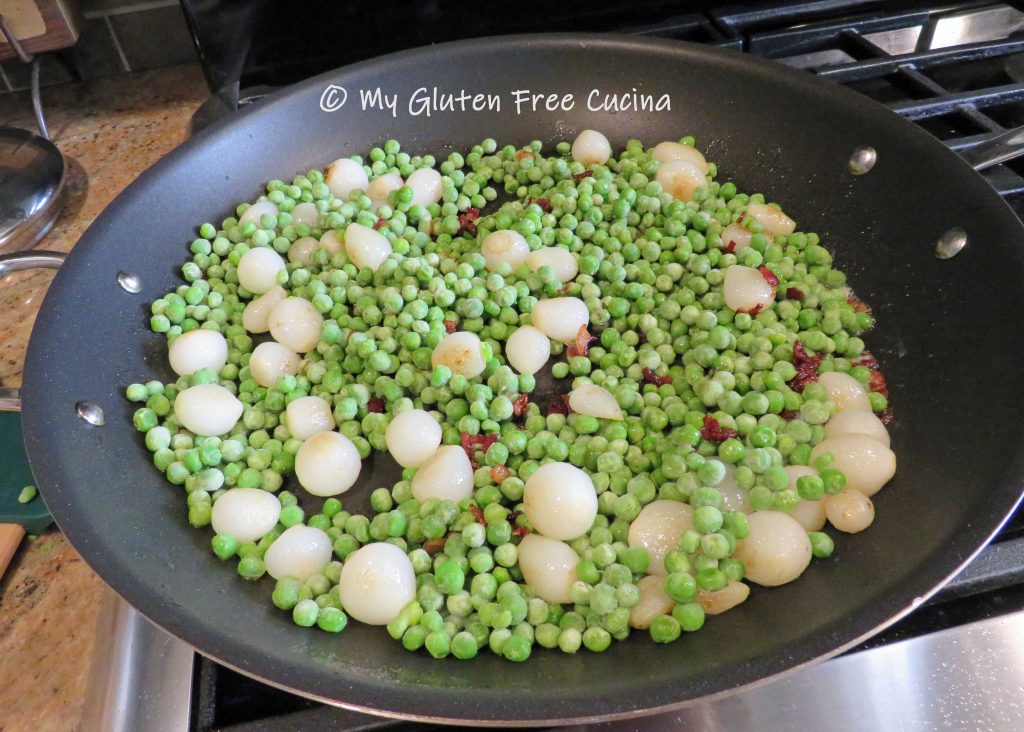
 When the bacon starts to brown, add the onions and cook for 5 minutes over medium low heat.
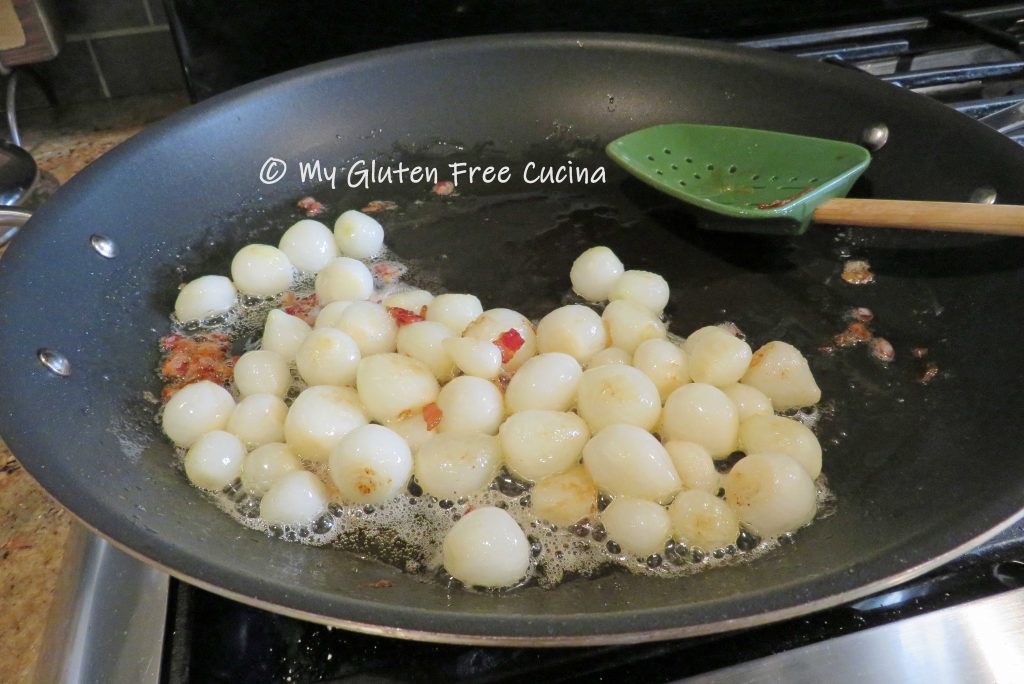
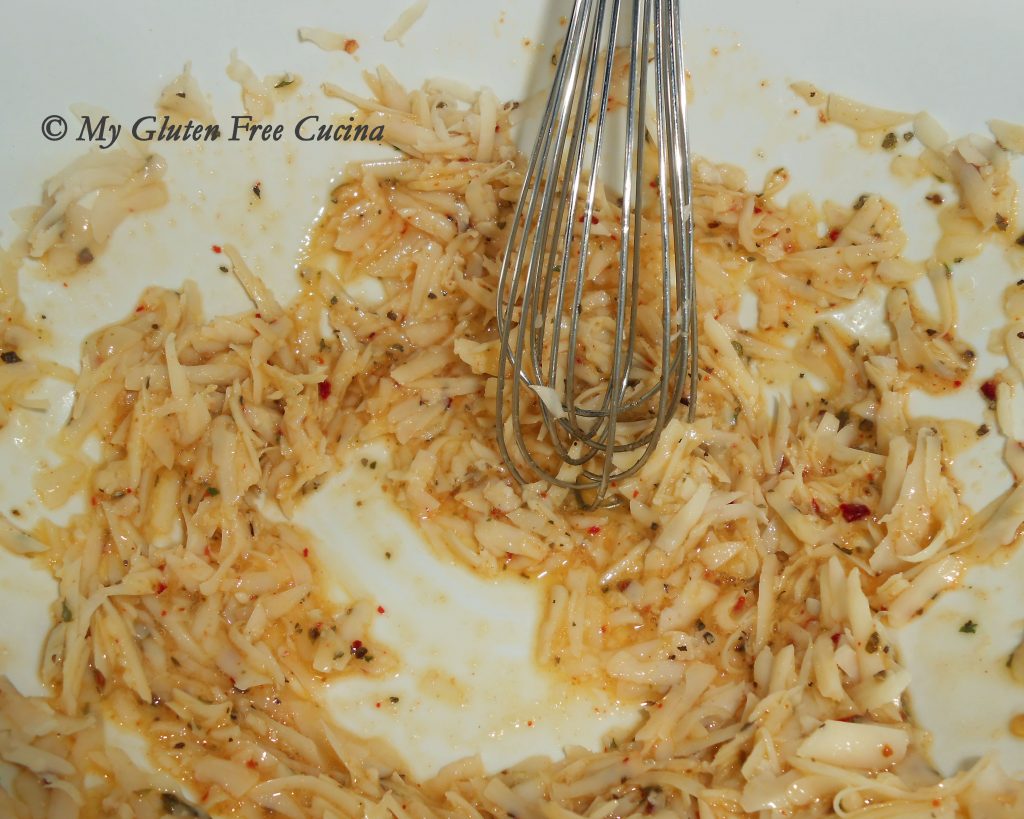
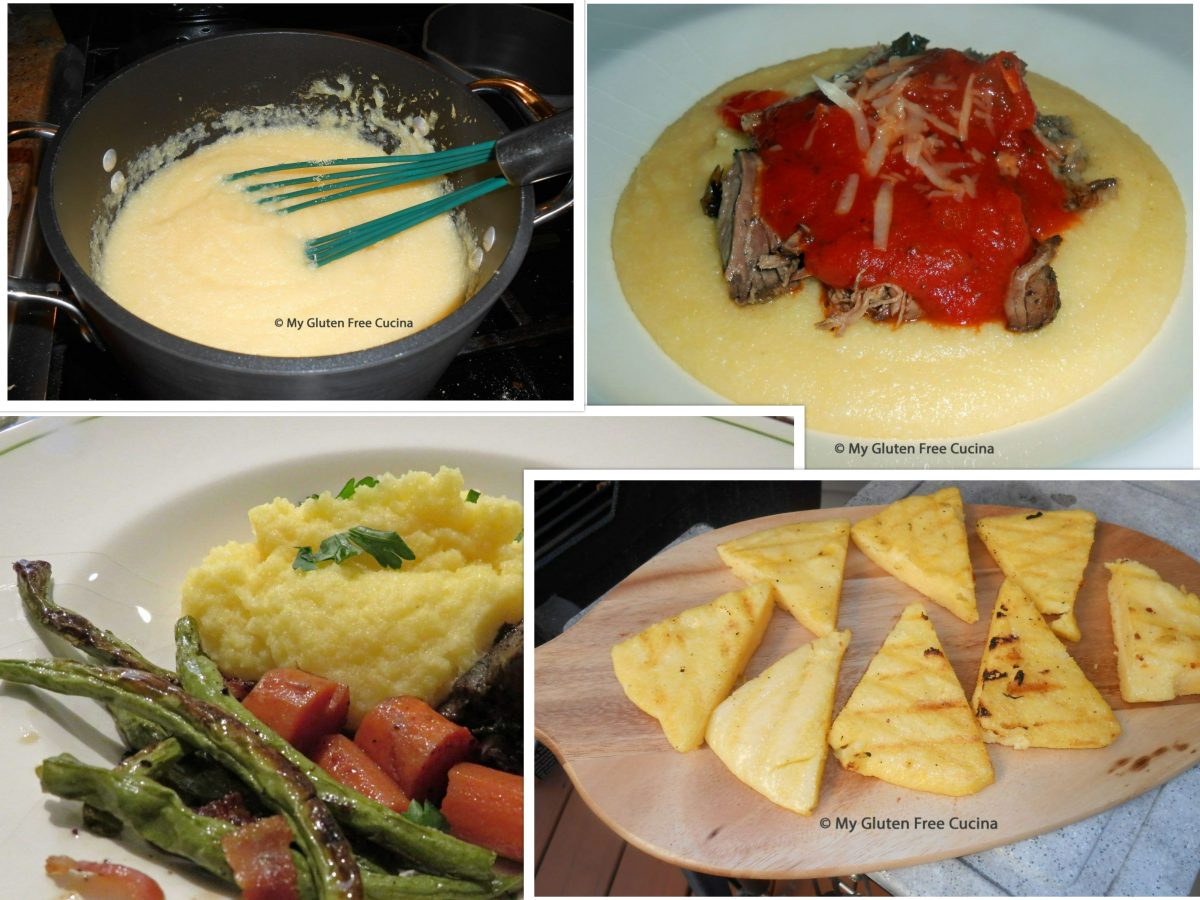
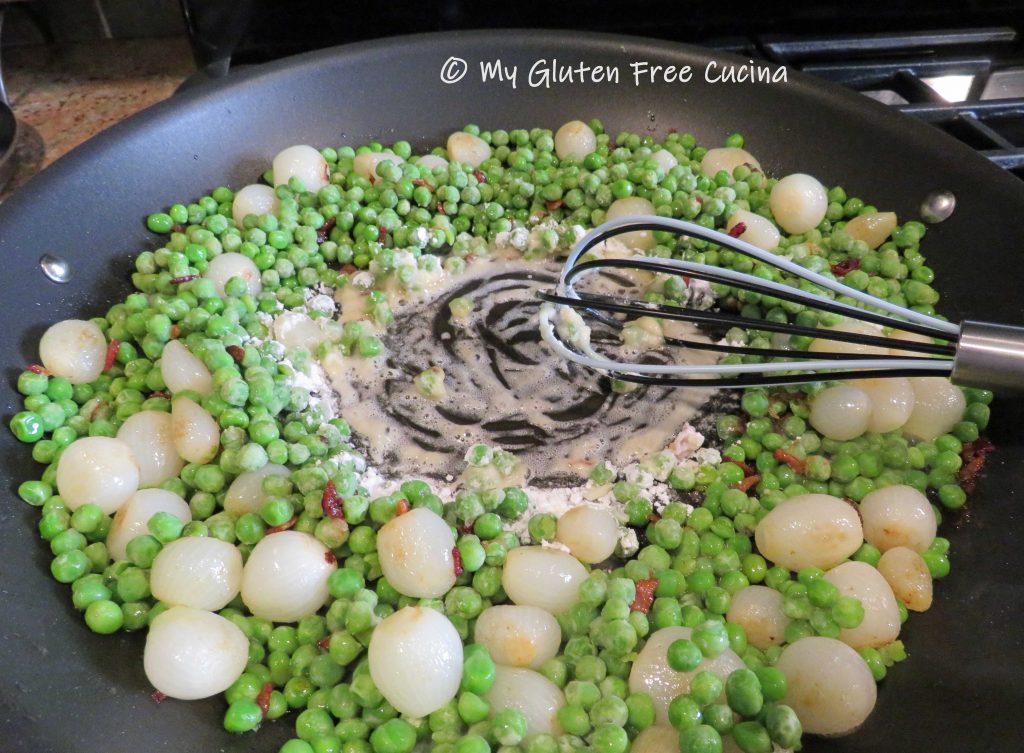 Stream in the chicken broth as you continue whisking. Start with 1/2 cup and add more if needed.
 Remove from the heat and stir in the cream or half and half if desired.


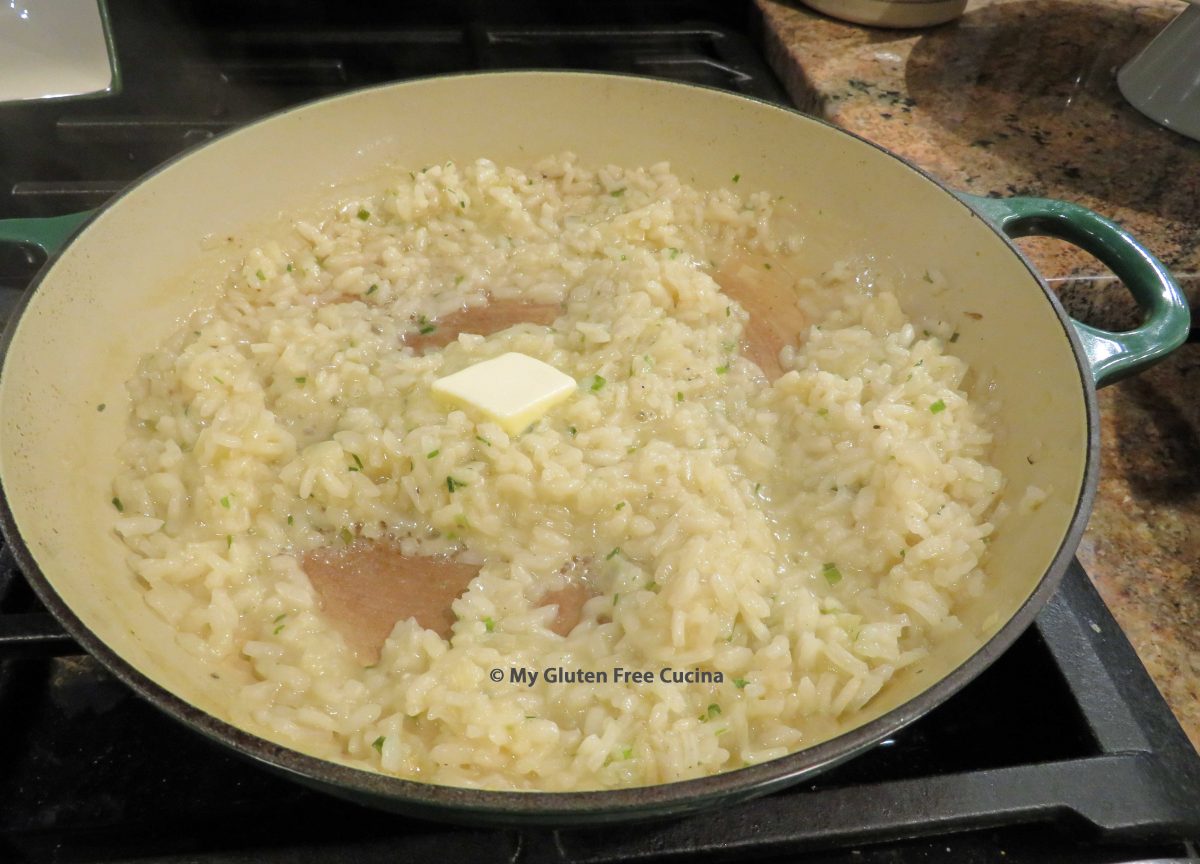


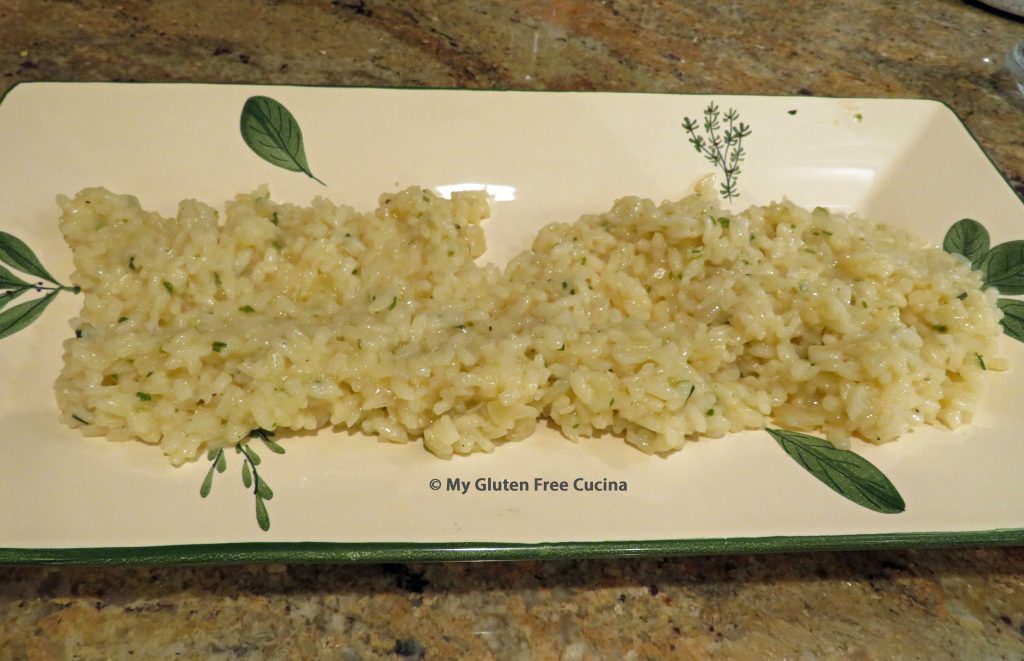
 This basic recipe is a great jumping off place for some amazing risotto dishes. You can stir in grated cheese, sauteed mushrooms, even butternut squash puree!