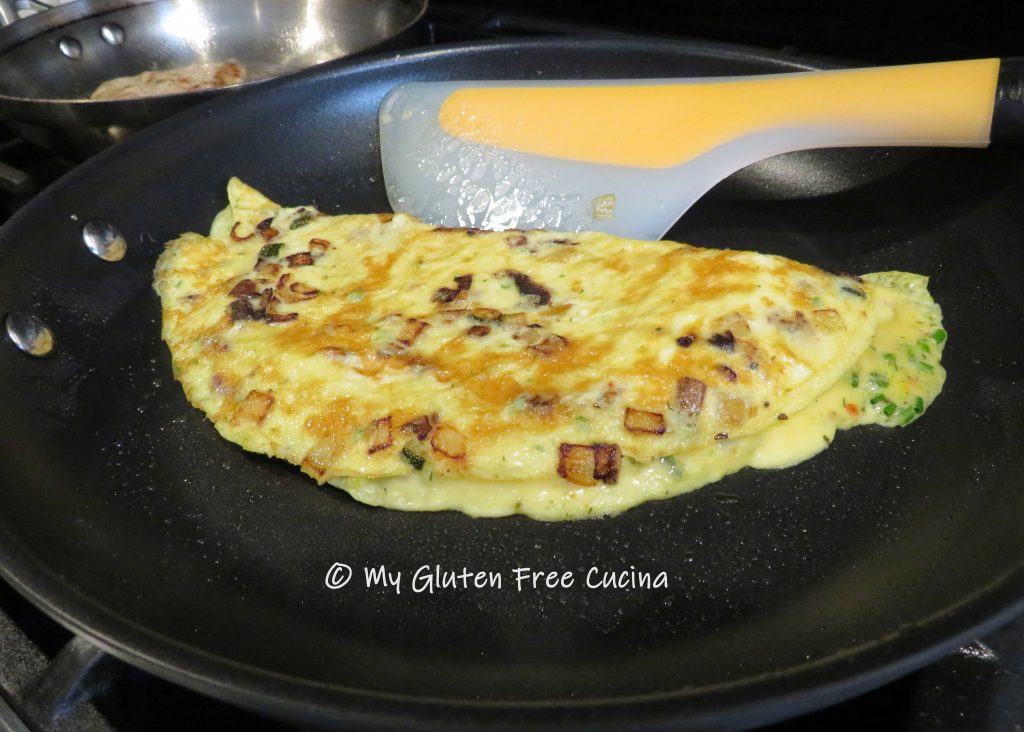
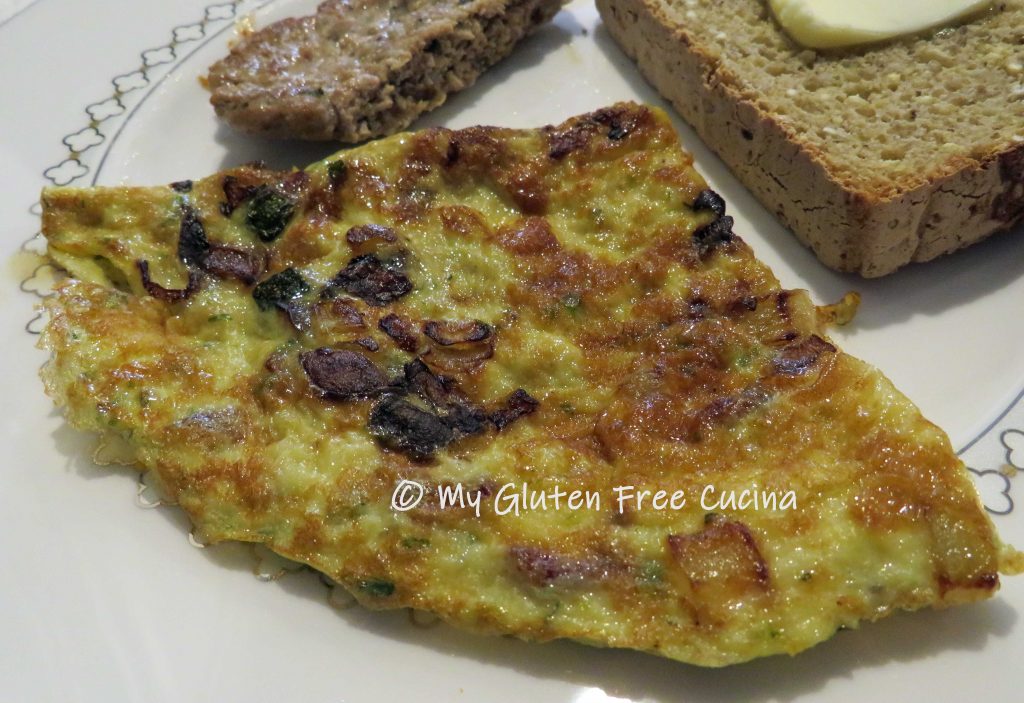
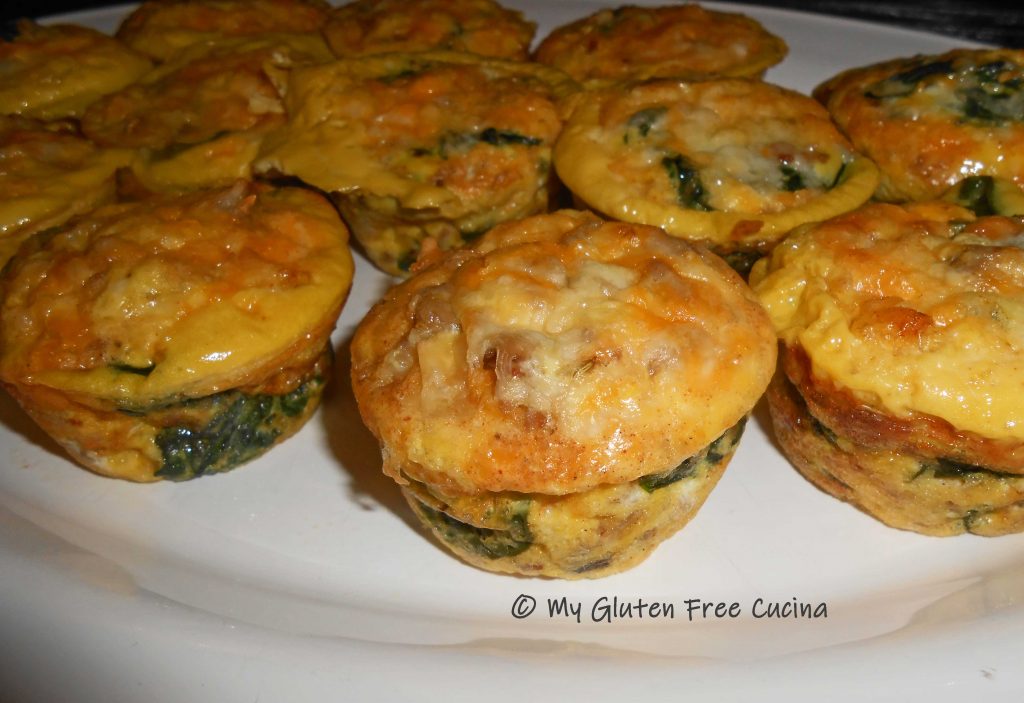
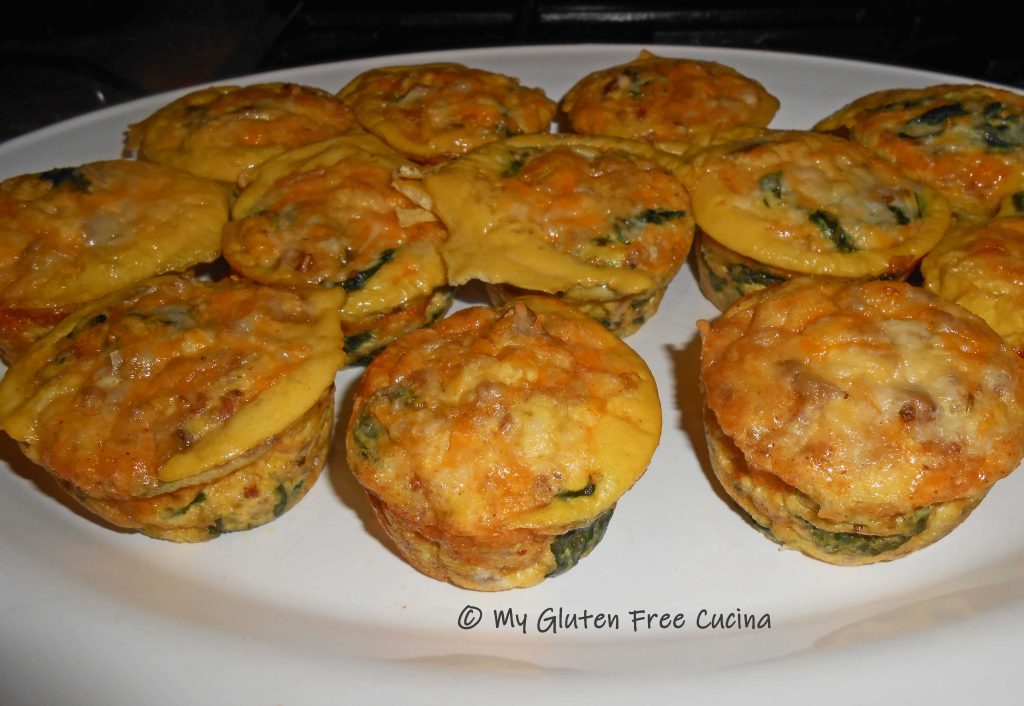
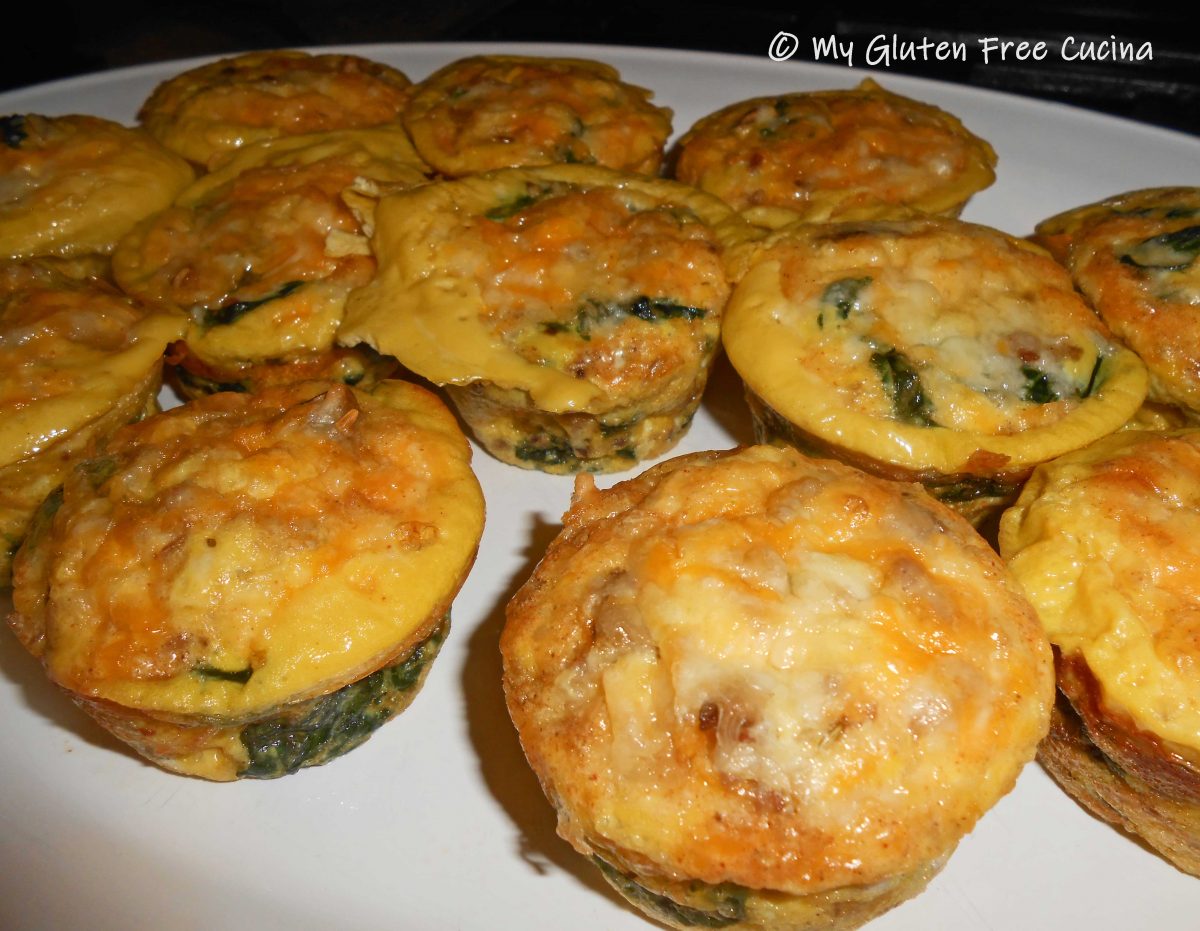
Let’s get the day started with an easy recipe that you can prep ahead and bake in the morning! It’s a great savory dish for a casual breakfast or Sunday Brunch. The recipe will yield one dozen mini quiches, perfect for a 12 cup muffin pan. Completely gluten free with no oddball ingredients to purchase, everyone will love this family favorite!

This post contains affiliate links.
Ingredients:
- ½ lb. gluten free Italian sausage, casings removed
- ½ small onion, chopped fine
- 1 tsp. olive oil
- 1 package (8 oz.) white mushrooms, sliced
- 1 package (5 oz.) baby spinach
- 10 large eggs
- ¼ cup milk
- 2-3 oz. shredded cheddar cheese
- gluten free breakfast sausage seasoning
- Cooking spray
Preparation:
Brown the sausage in a large nonstick skillet, breaking up the meat with a spatula. Remove from the pan, reserving the fat.
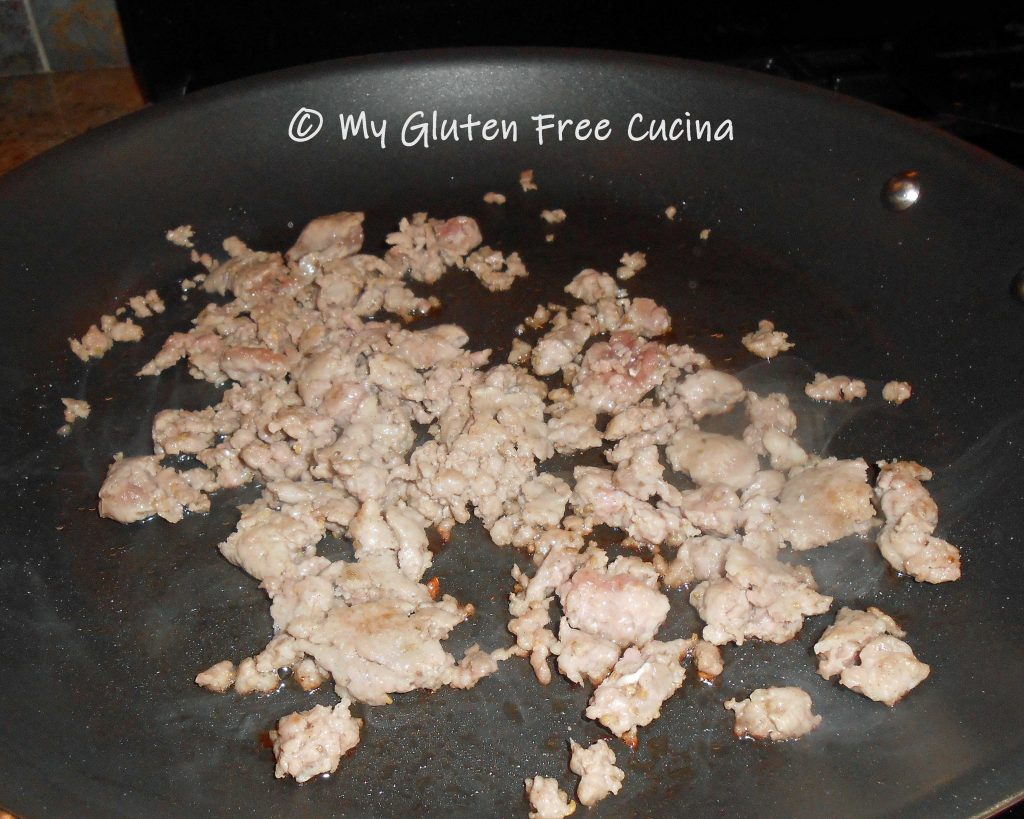
Set the meat aside to cool, then pulse it a few times in a food processor or mini chopper, just enough to finish breaking up the meat.
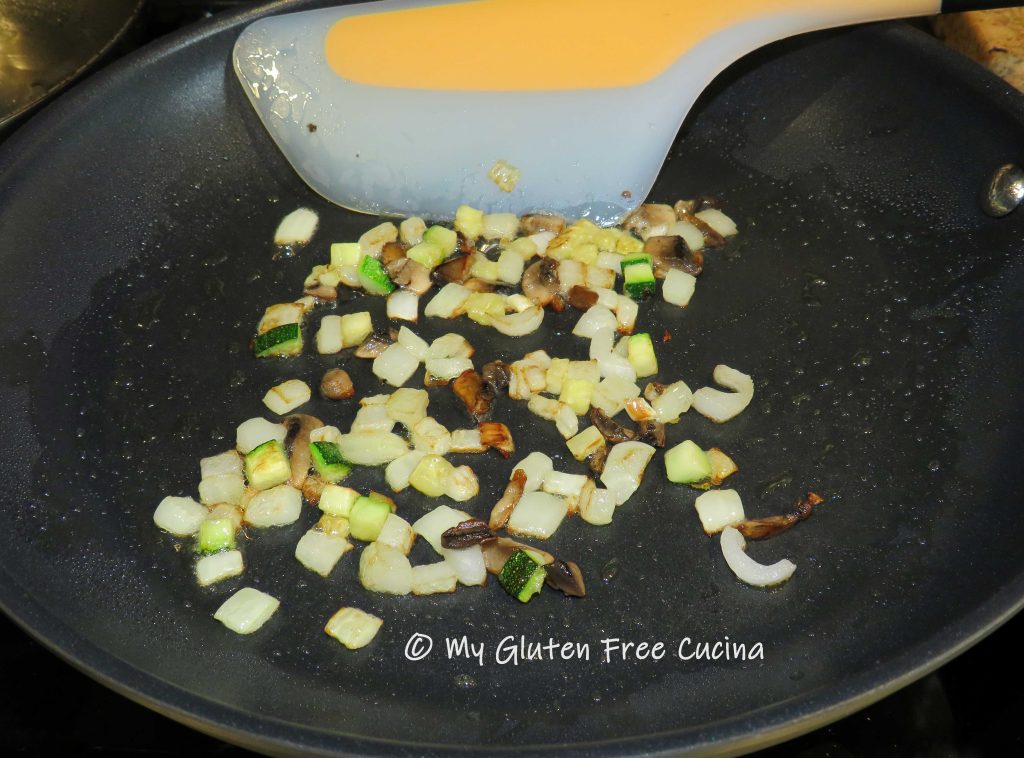
Add a little olive oil to the reserved fat and begin cooking the onion. When the onions are translucent, add the mushrooms and cook until they release their liquid. Sprinkle with seasoning.
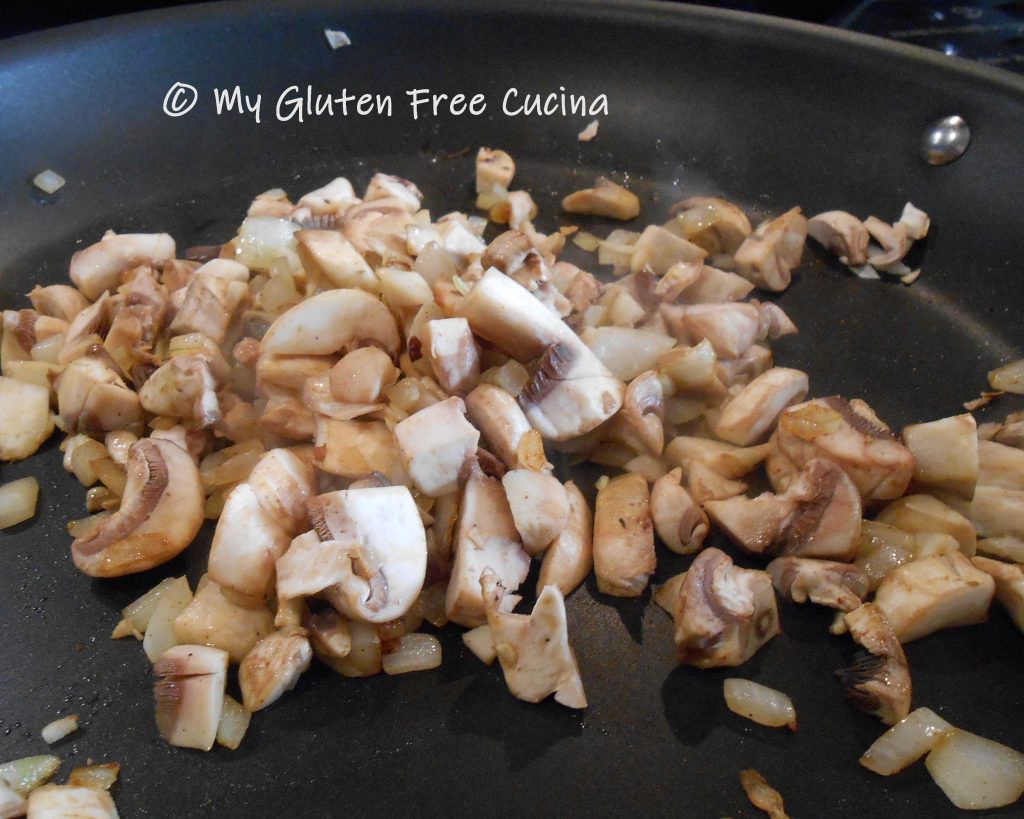
Remove the mushrooms and onions from the pan, drain in a colander and set aside. Wipe the pan clean. Add 2-3 big handfuls of spinach with 1/4 cup water. It will cook down! Cover and steam for 1 minute, just until the spinach is wilted. Drain the spinach well and pat it dry with paper towels.
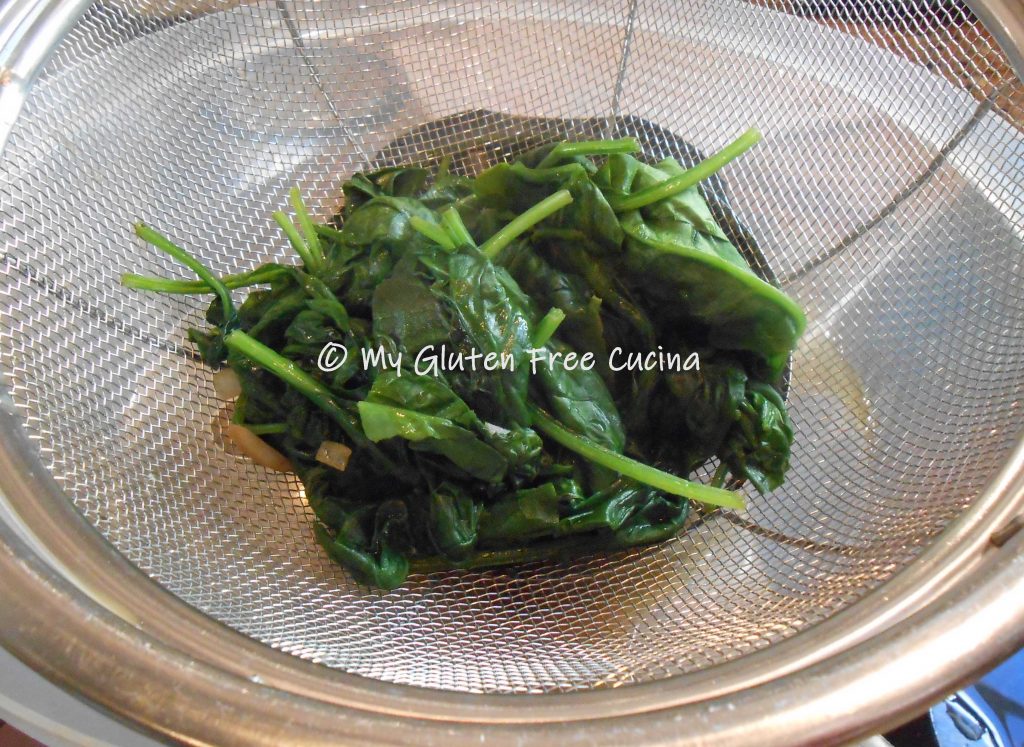 Note! You can prepare up to this point and refrigerate the night before.
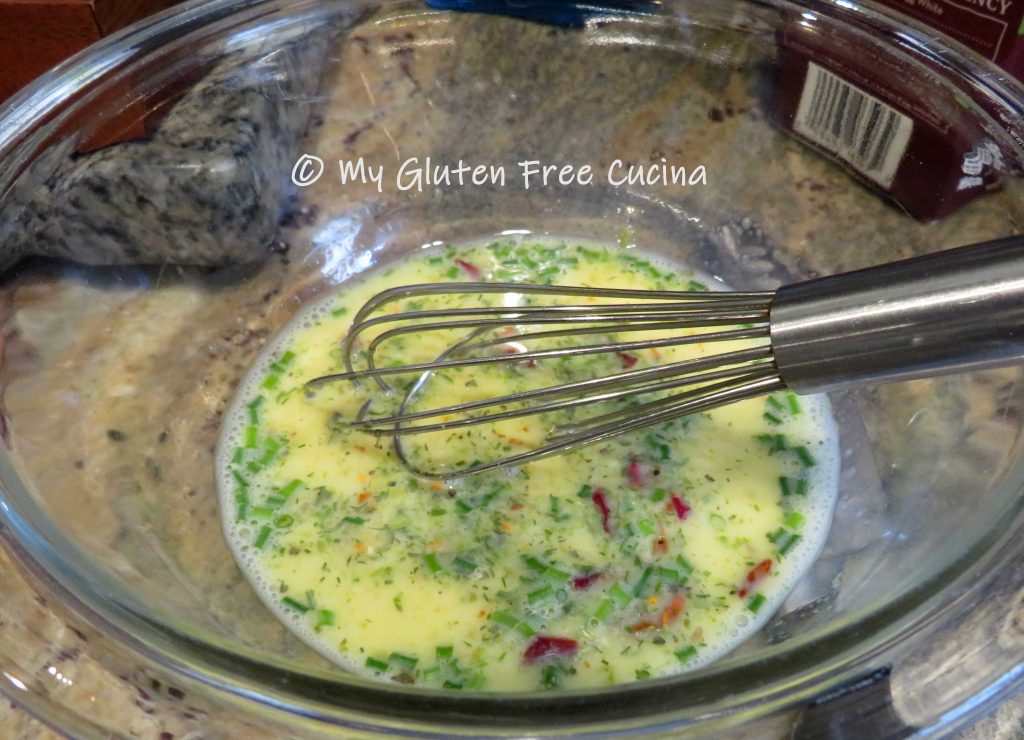
When the mushrooms and spinach have cooled to room temperature, preheat the oven to 375º and coat a muffin tin with cooking spray. Whisk the eggs in a large bowl and stir in the sausage, mushrooms, onions, spinach, seasoned salt and half of the cheese.
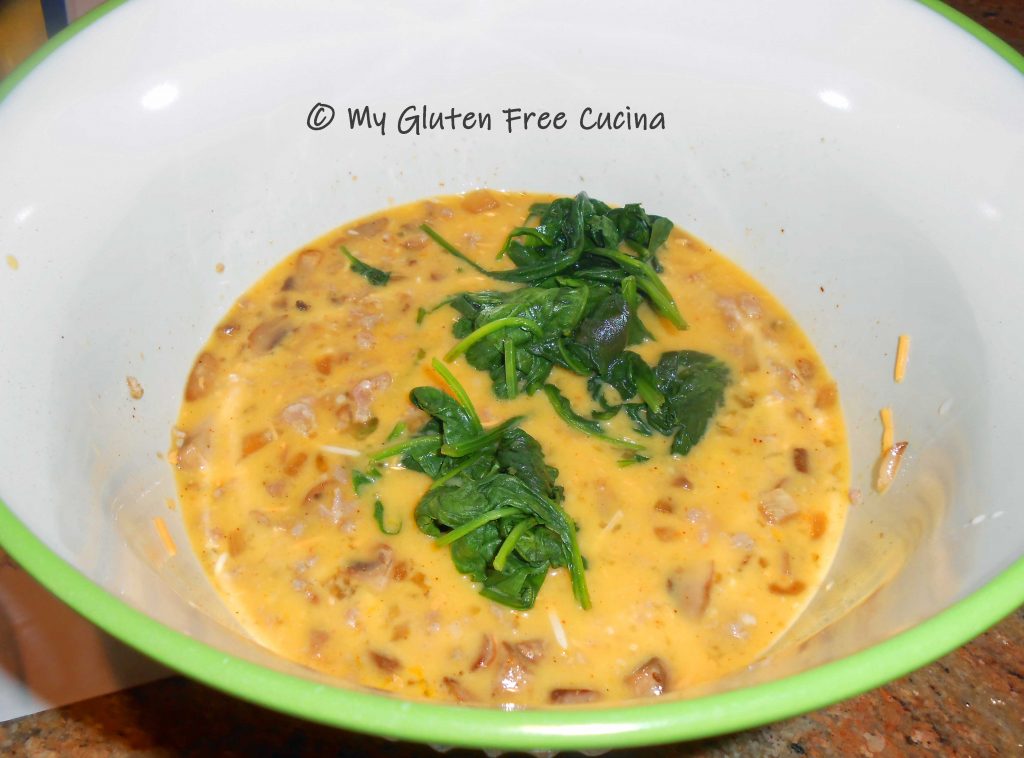
Spoon the mixture into 12 muffin cups and sprinkle tops with the remaining cheese. Bake 25-30 minutes until set.

The quiche will puff up during baking and may deflate a bit when removed from the pan.

Carefully scoop out the quiches with a spoon and transfer to a serving dish. They should slide right out. Serve hot or at room temperature.
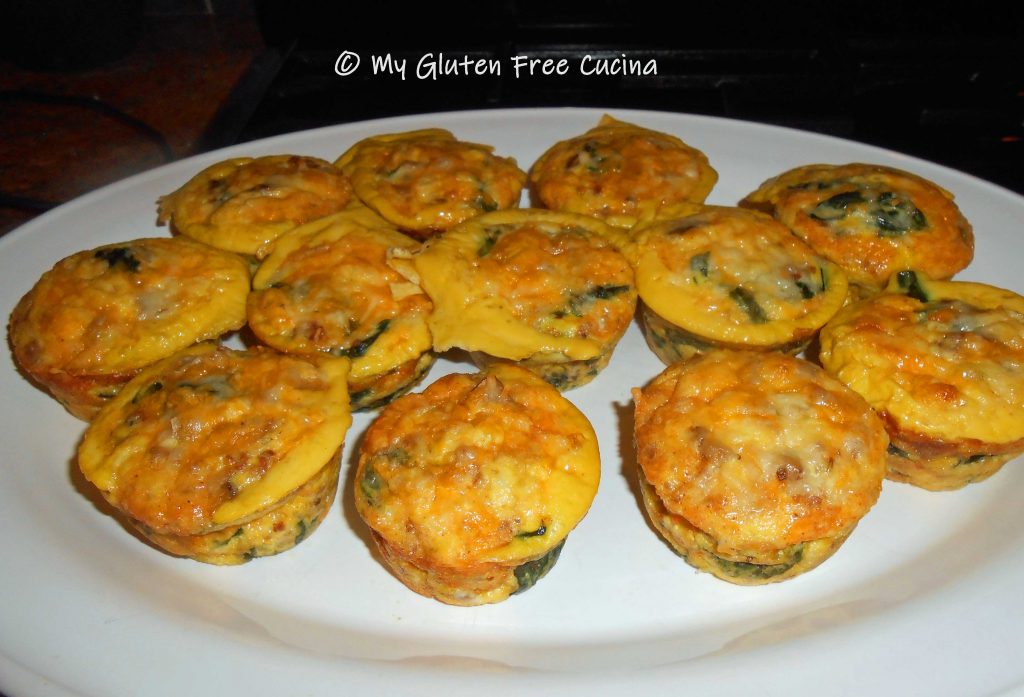
This is a very easy recipe that you can double or triple to feed a crowd for brunch. I used Italian sausage, but you can substitute any sausage you prefer, or bacon or prosciutto! Be sure to pin this easy and delicious recipe for your next Sunday brunch!
Notes ♪♫ There are many gluten free sausage seasonings on the market, but you may find them high in sodium. If you are interested in making your own seasoning blend, check out my Homemade Breakfast Sausage Patties post. It includes a recipe for a blend of individual spices that you mix together, and you can adjust the salt content to your liking.



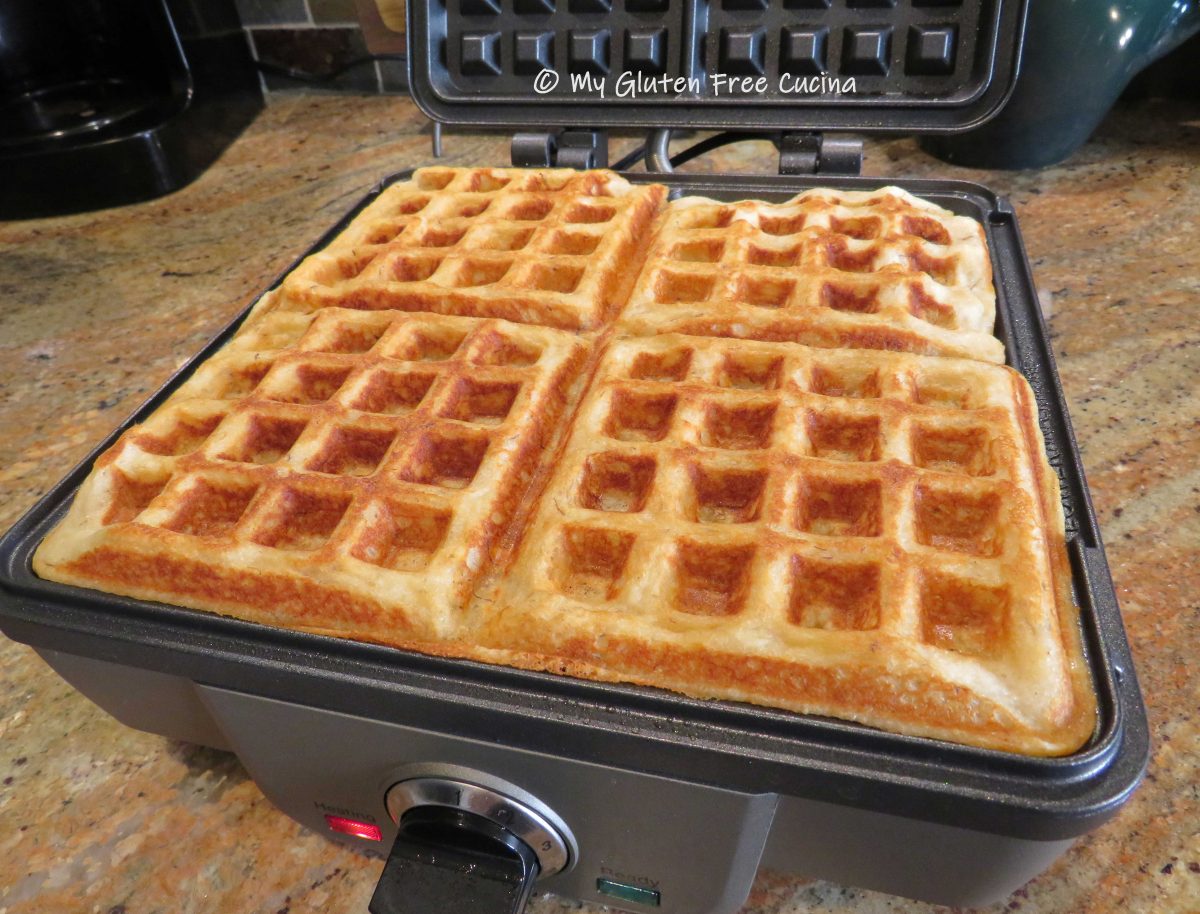


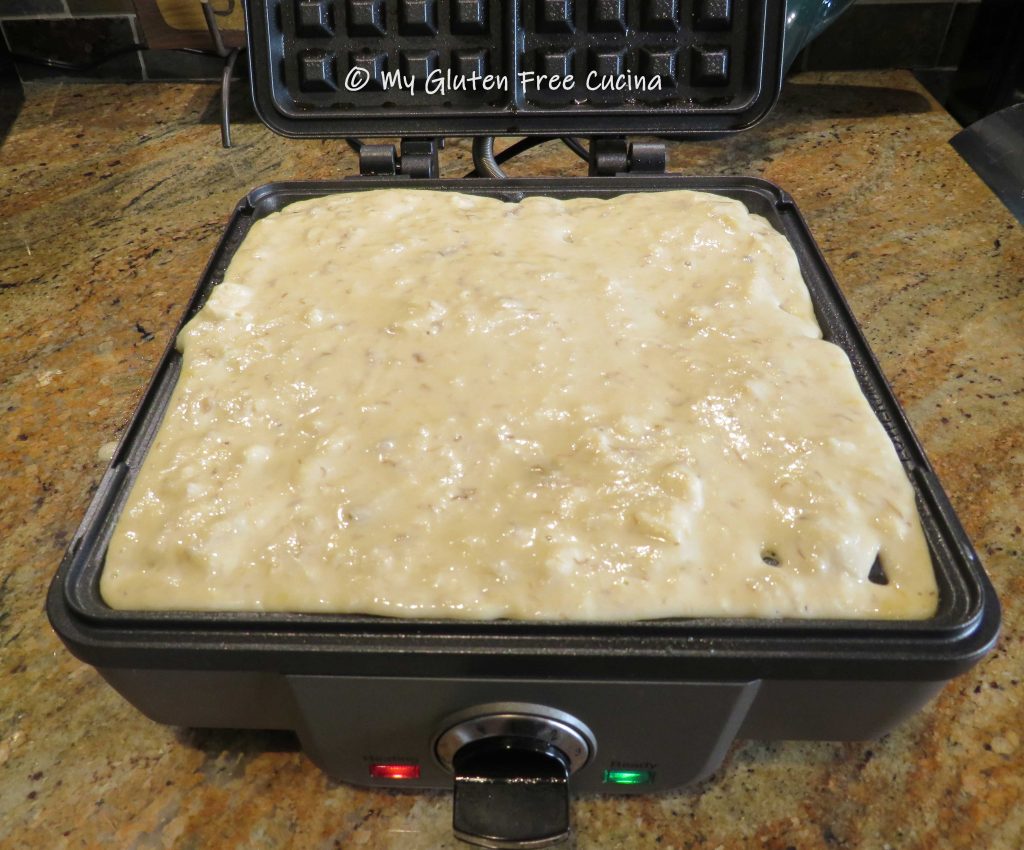
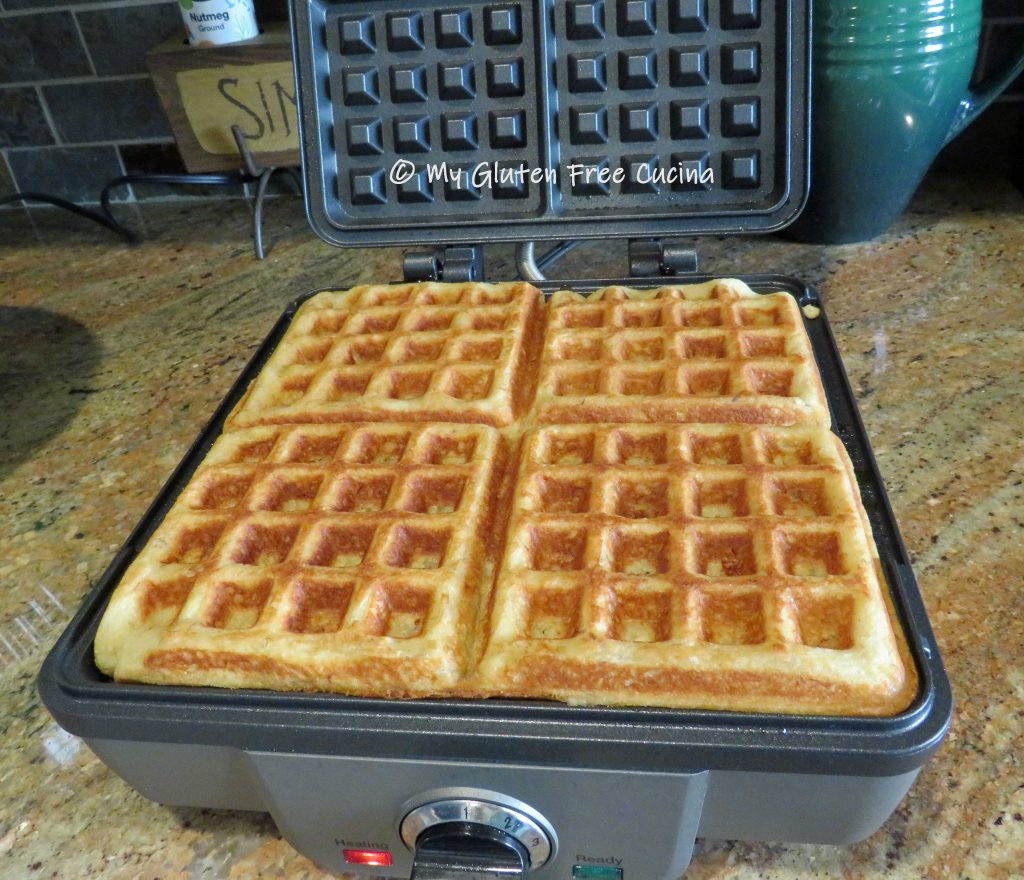
 Before you begin, preheat your
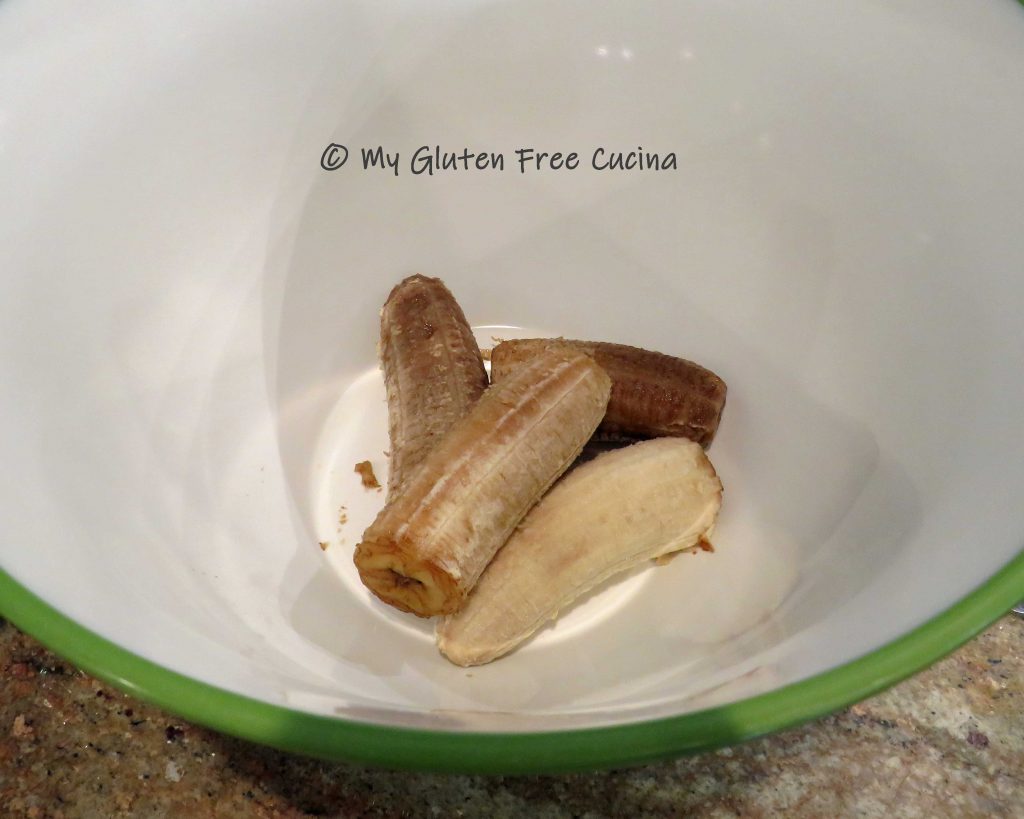
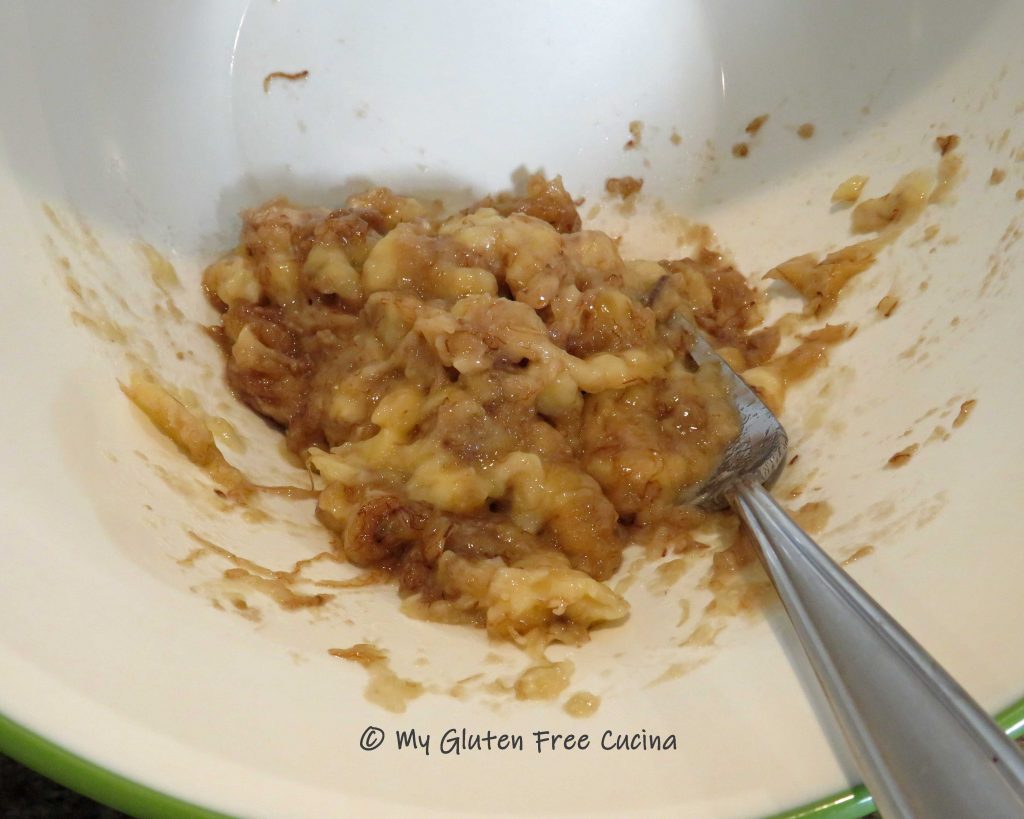
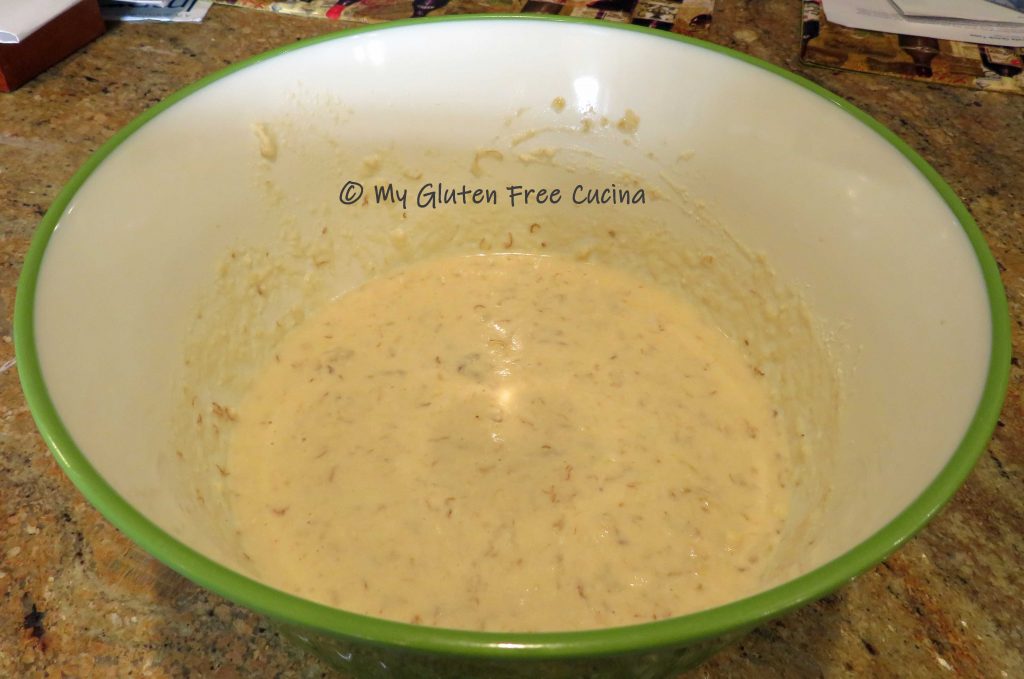
  In a separate bowl, mash the banana with a fork and add the egg, oil, vanilla and milk. Whisk well to combine.


 Always use real maple syrup!