Gluten Free American Chop Suey

I grew up eating American Chop Suey and have been making this peasant dish my whole life.  It wasn’t until I became an adult that I realized this was not an Italian recipe, and in fact variations of this dish exist all over the country.  From goulash, to slumgullion (huh?), to simply macaroni and beef, this is a meal that goes by different names but is universally loved.

These days I am grateful that delicious, gluten free pasta is readily available so I can still enjoy this comfort food.  It goes from stove top to table all in one pan, for easy cleanup!

In my rendition I add Italian sausage for a spicy kick, and more healthy veggies to round out the plate.  I was thrilled to find gluten free elbow macaroni that is traditionally used in this dish!  If you can’t find elbows, go ahead and substitute shells, or even penne or fusilli.

4 servings

This post contains affiliate links.

Ingredients:

  • Cooking spray
  • 8 oz. Lean ground beef
  • 8 oz. Italian sausage, hot or sweet
  • 1/2 sweet onion, diced
  • ½ cup mushroom, diced
  • ½ small zucchini, diced
  • 2 cloves garlic, minced
  • 1 tbsp. Olive oil
  • 29 oz. Can tomato sauce
  • 2 tbsp. tomato paste
  • salt and pepper to taste
  • 1/2 tsp. Oregano
  • 1 tsp. Basil
  • 1/2 tsp. Marjoram
  • 1 tsp. Brown sugar
  • 6 oz. gluten free elbows
  • Fresh parsley for garnish
  • Grated Parmesan cheese for serving

Preparation:

Mist a deep heavy skillet with cooking spray and add 1 tbsp. olive oil.  Add the ground beef and sausage and begin breaking it up with a spatula.

When the meat is completely browned, season with salt and pepper and add the onions and garlic.

Cook for 2 minutes then add the remainder of the vegetables, sprinkle of salt and a few grinds of black pepper.

It may look like a lot of veggies, but they will cook down and disappear into the sauce (don’t tell the kids! 😉).  Stir the veggies into the meat.  When the veggies have cooked for a few more minutes make a spot in the center in the pan and add the tomato paste.

Let it toast for a minute then stir it into the mixture.

Add the tomato sauce, brown sugar, basil, oregano and marjoram.  Stir well, cover and simmer 30 minutes.  Then simmer partially uncovered for 10 more minutes to thicken the sauce.

To finish the dish, cook the pasta to two minutes less than the package directions.  Drain and add to the skillet and finish cooking in the sauce.

Finish with grated cheese and fresh parsley.  Bring it to the table right in the skillet!

Notes: ♪♫ Traditionally a meat and pasta dish with tomato sauce, I packed mine with veggies for more nutrition and fiber.  Once cooked down, the veggies are almost invisible and take on the flavors of the dish.  Let it be your little secret!

Print This Post Print This Post

Crock-Pot Corned Beef and Cabbage

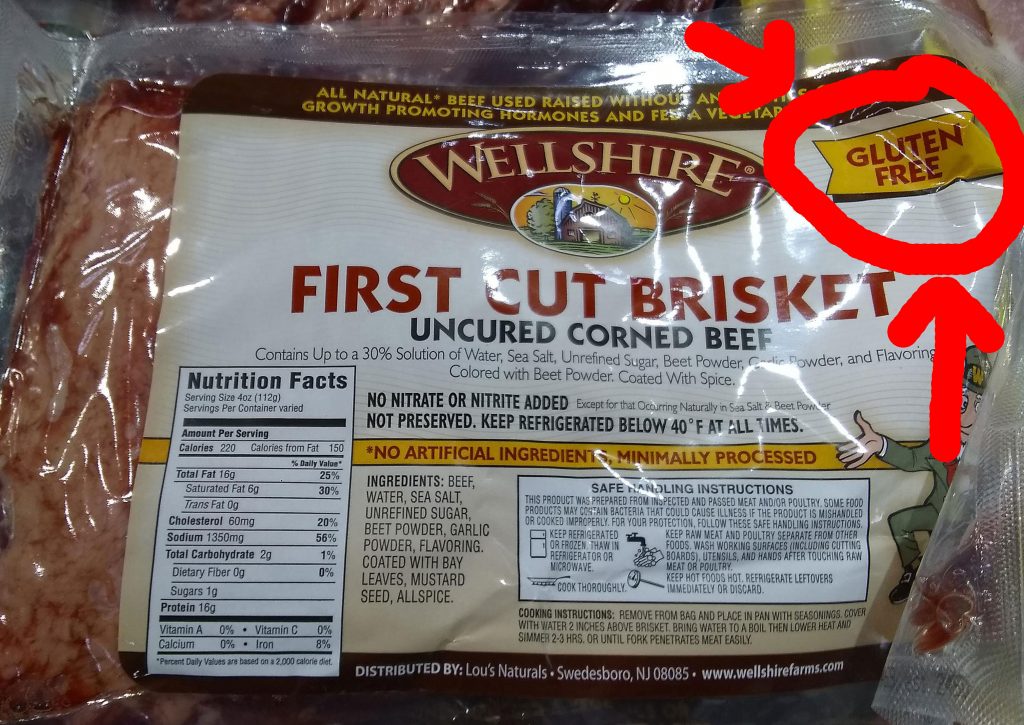
Today we are making a traditional Crock-Pot Corned Beef and Cabbage dinner for St. Paddy’s!  Go about your day while your crock-pot does all the heavy lifting, and enjoy this dish when you get home from work.  Look for brisket that is labeled gluten free, if it’s not check with the meat department or consult the manufacturer’s website to be safe!

The secret to perfectly cooked Corned Beef and Cabbage is in the layering- veggies on the bottom, then the meat, and finally the cabbage wedges resting on top.  Resist adding more water than specified in the recipe, as the meat and veggies will create a sufficient amount of liquid as they cook down.

Corned beef is often sold with a spice packet, but if yours doesn’t have one or you suspect it may contain gluten, just toss it and make your own!

Ingredients:

  • 2-4 lbs. corned beef brisket
  • 1 head of cabbage
  • 2 medium potatoes
  • 4 large carrots
  • 1 large sweet onion
  • 2 cloves garlic
  • 3 cups water
  • 5 tsp. cider vinegar
  • 5 tbsp. sugar

 For the spices:

  • 1 tbsp. mustard seed
  • 1 tbsp. coriander seed
  • 1 tbsp. peppercorns
  • 2 tsp. fennel seeds
  • 2 bay leaves
  • 1/2 tsp. red pepper flakes
  • 3 whole clove
  • 4 allspice berries

Preparation:

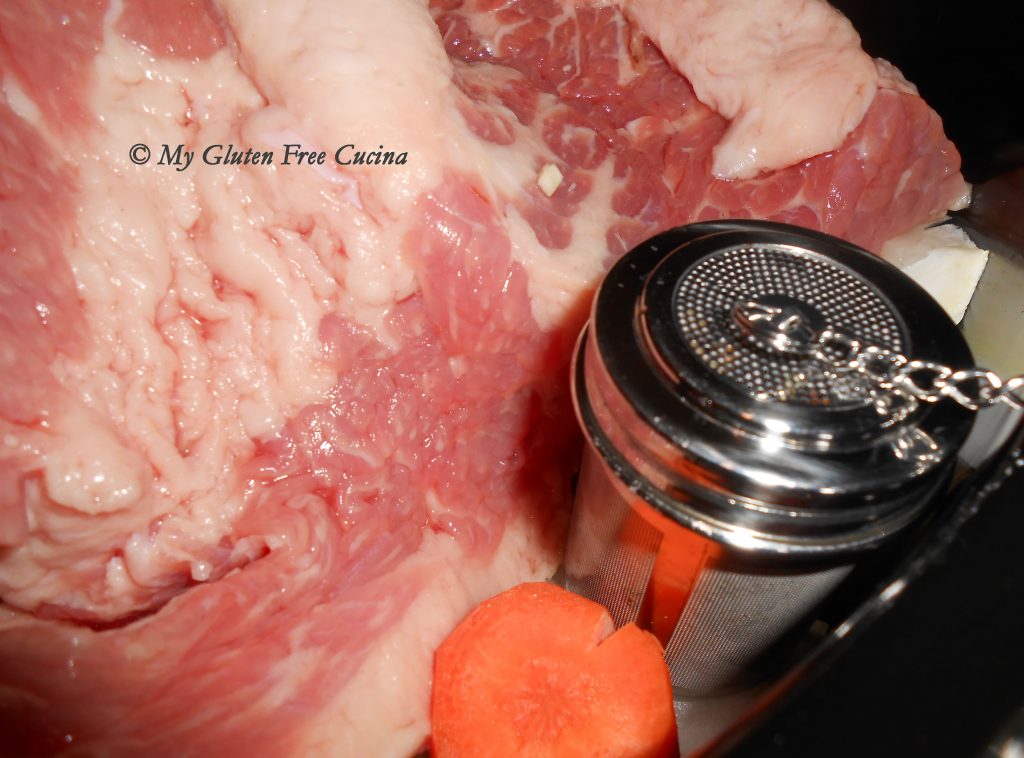
Place all of the spices except the bay leaves in a tea ball, or tie them up in cheesecloth.

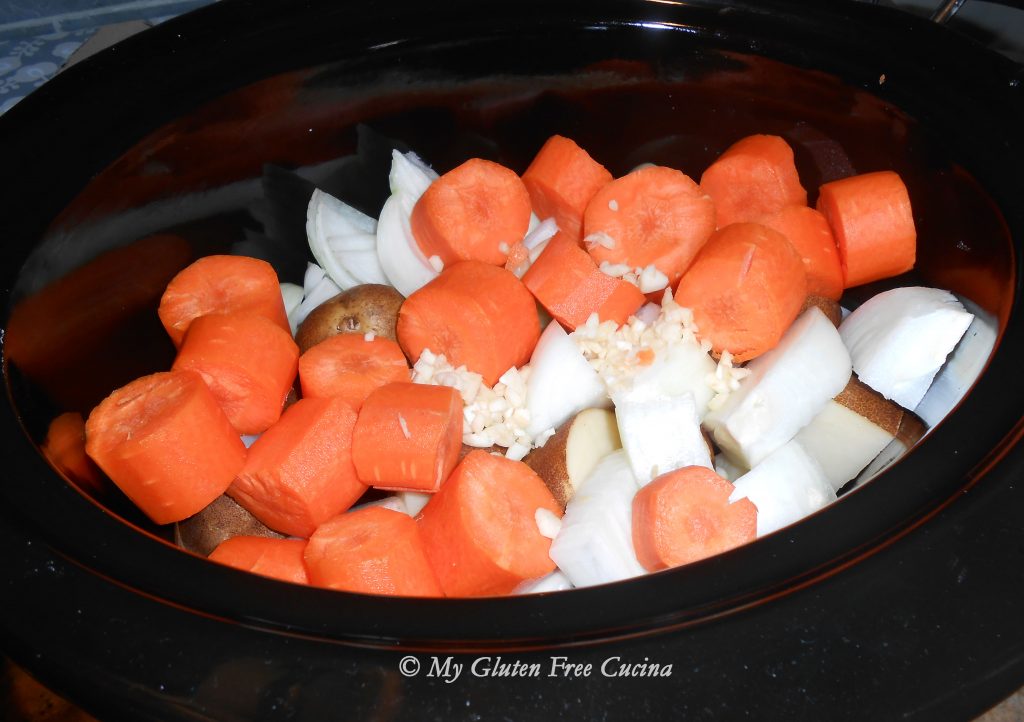
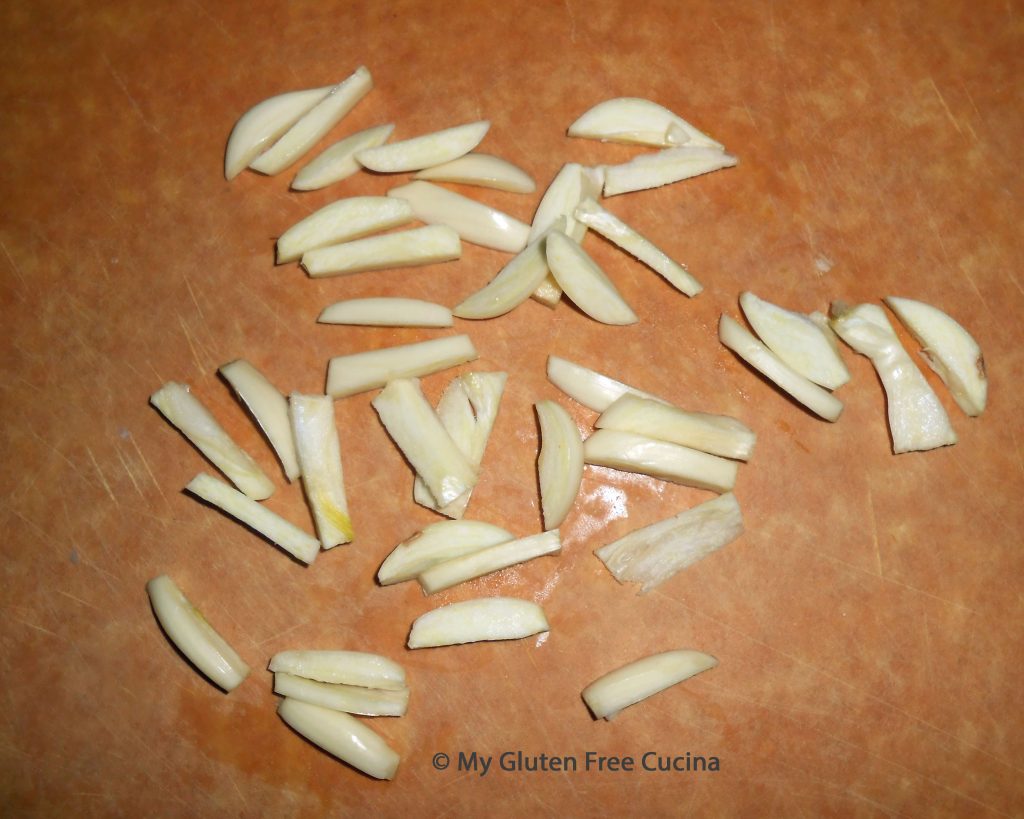
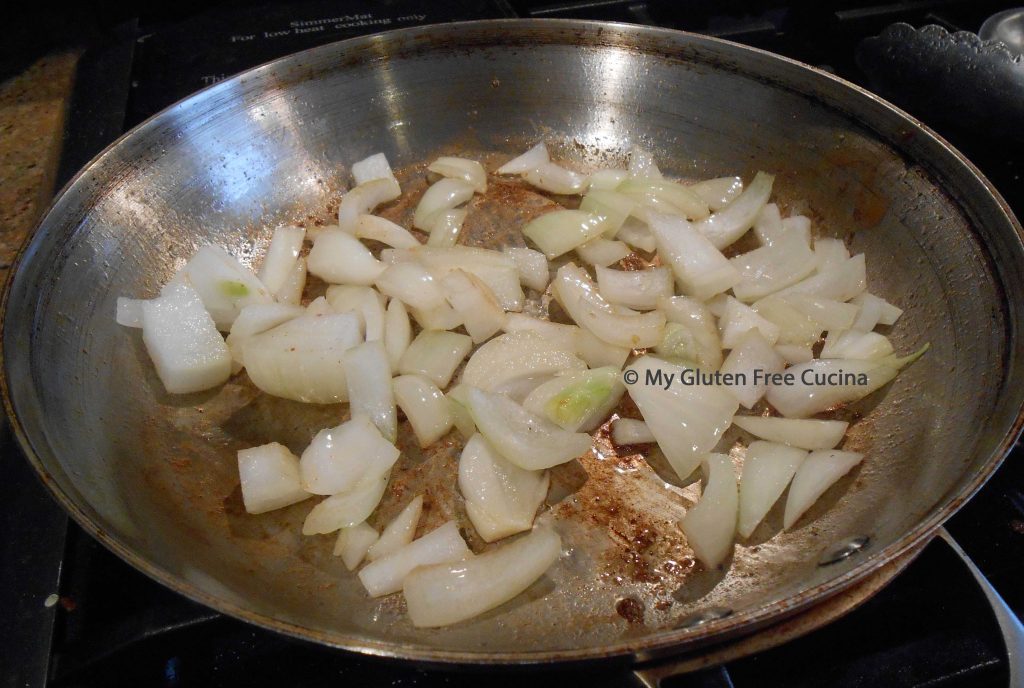
Peel and chop the potatoes, carrots and onion into large chunks.  Mince the garlic.  Arrange the veggies in an even layer on the bottom of the crock-pot and add the bay leaves.

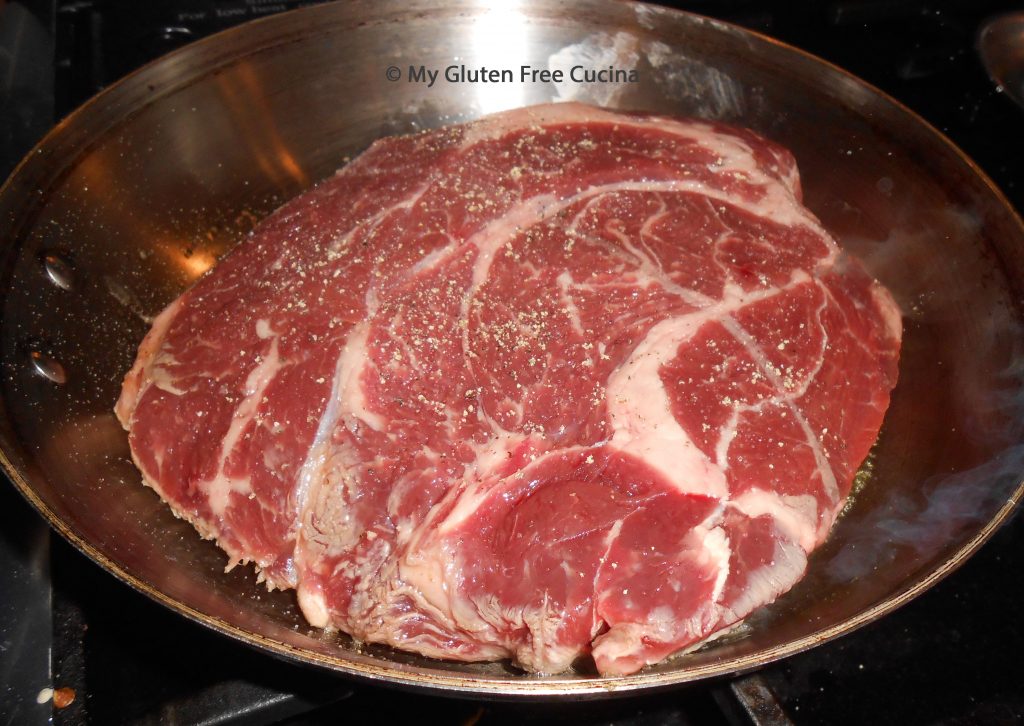
Rinse off the brisket and place it on top of the vegetables.  If your brisket weighs more than 2 lbs. you may want to cut it in half.  This one is a point cut, just under 4 lbs. and I did end up cutting it in two pieces.

Snuggle the tea ball or cheesecloth bundle about halfway down so that it will be submerged in liquid.

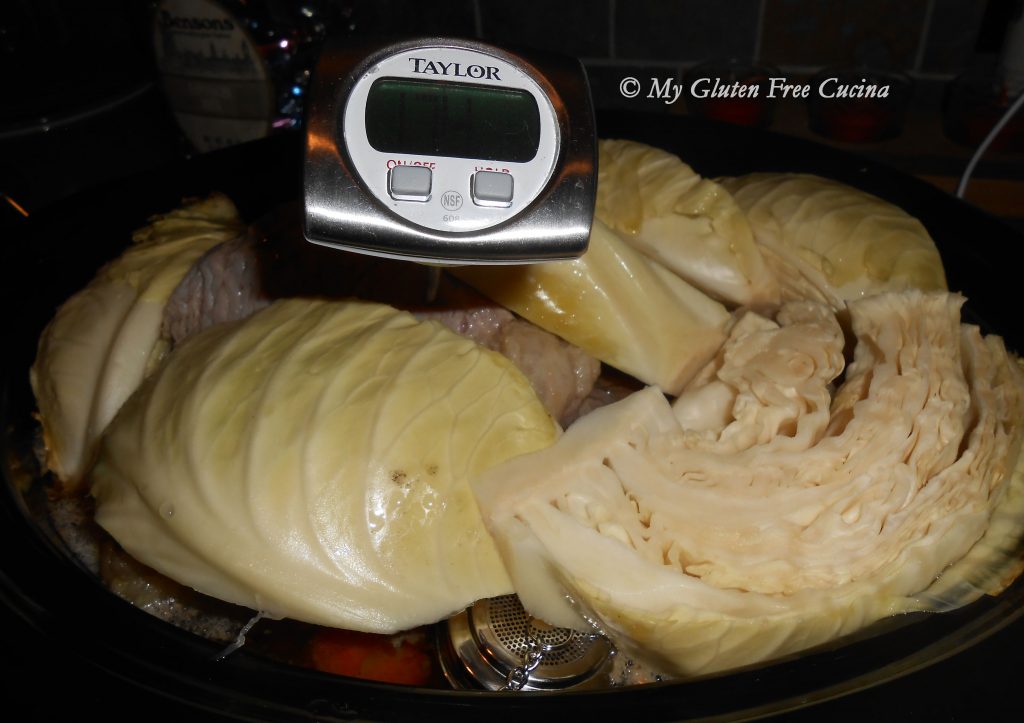
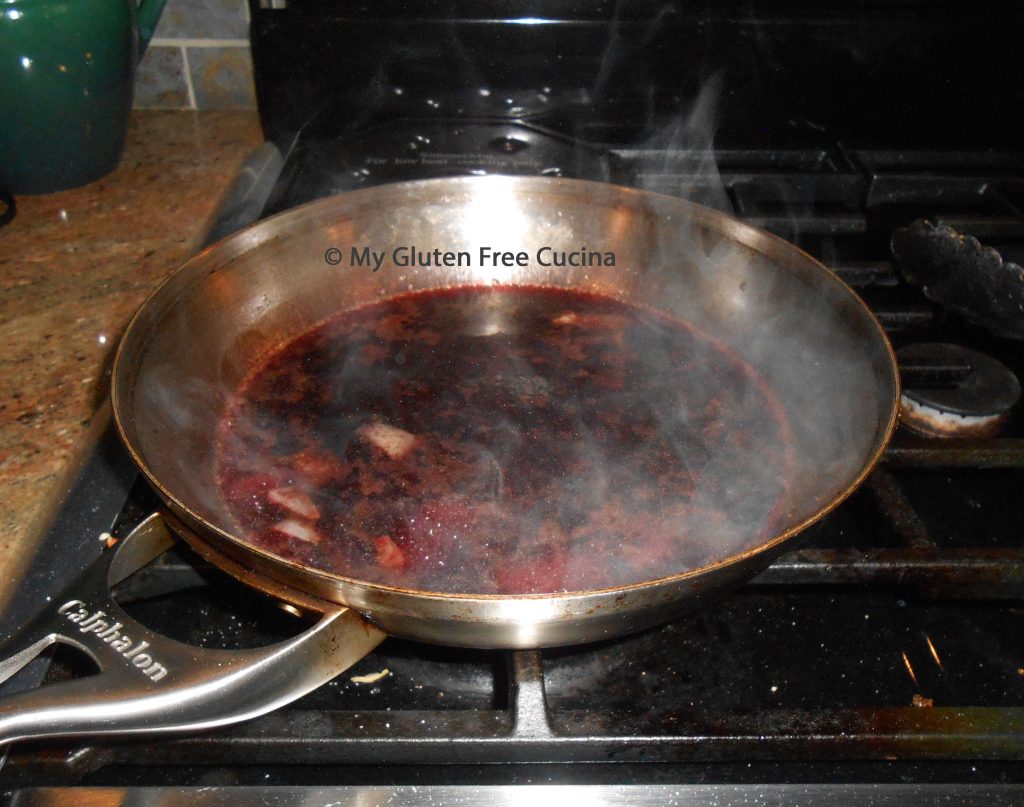
Cut the cabbage into wedges and arrange them on top of the meat.  Whisk together the water, sugar and cider vinegar, and pour the liquid over everything.  Again, it may not look like enough, but more liquid will be created as the meat and cabbage cook down.  Cover and cook on low setting for 8-9 hours, depending on the size of your brisket.  The internal temperature of the corned beef should be 160º or higher.

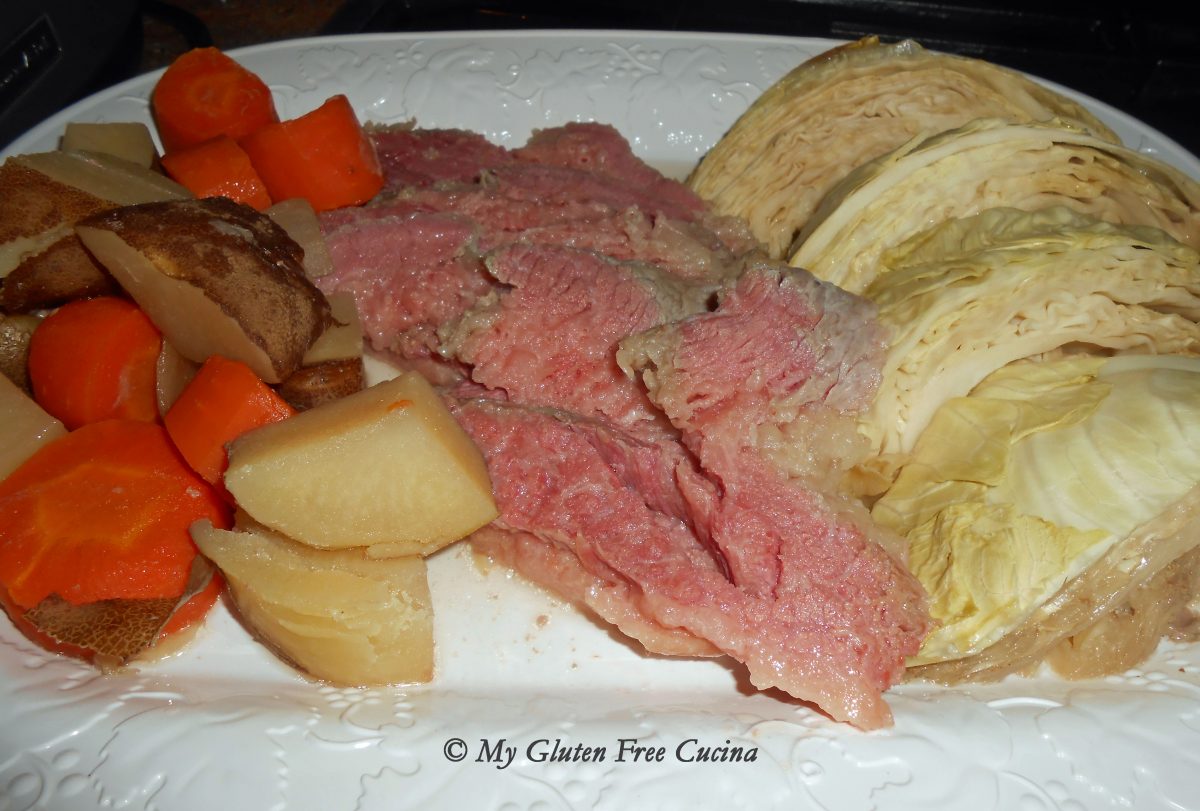
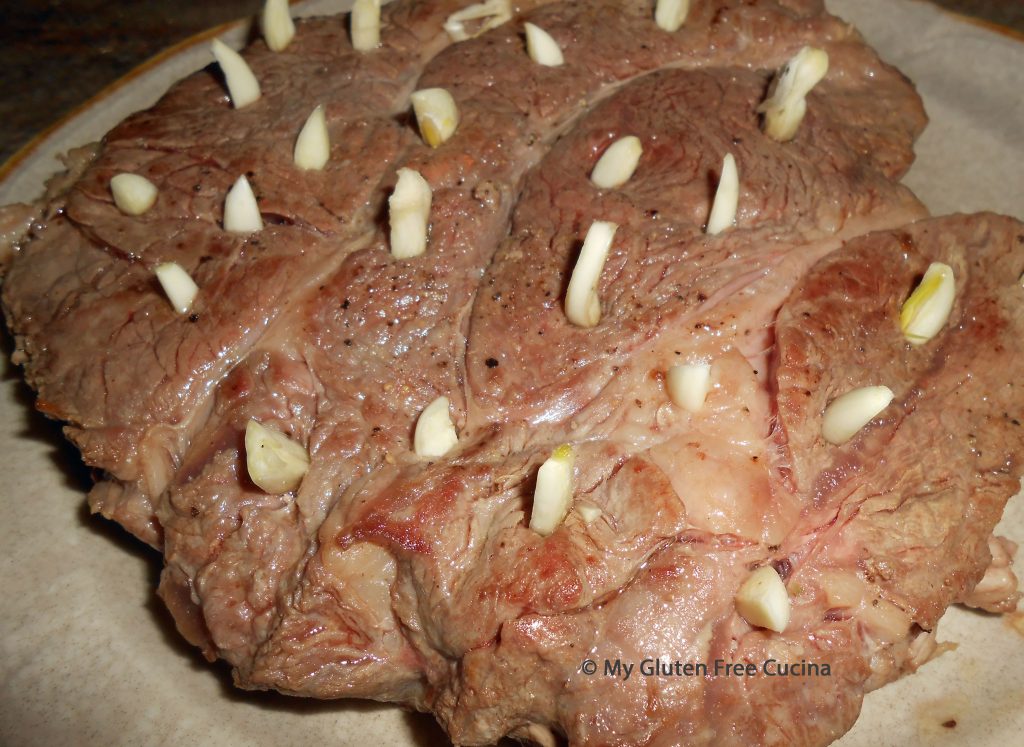
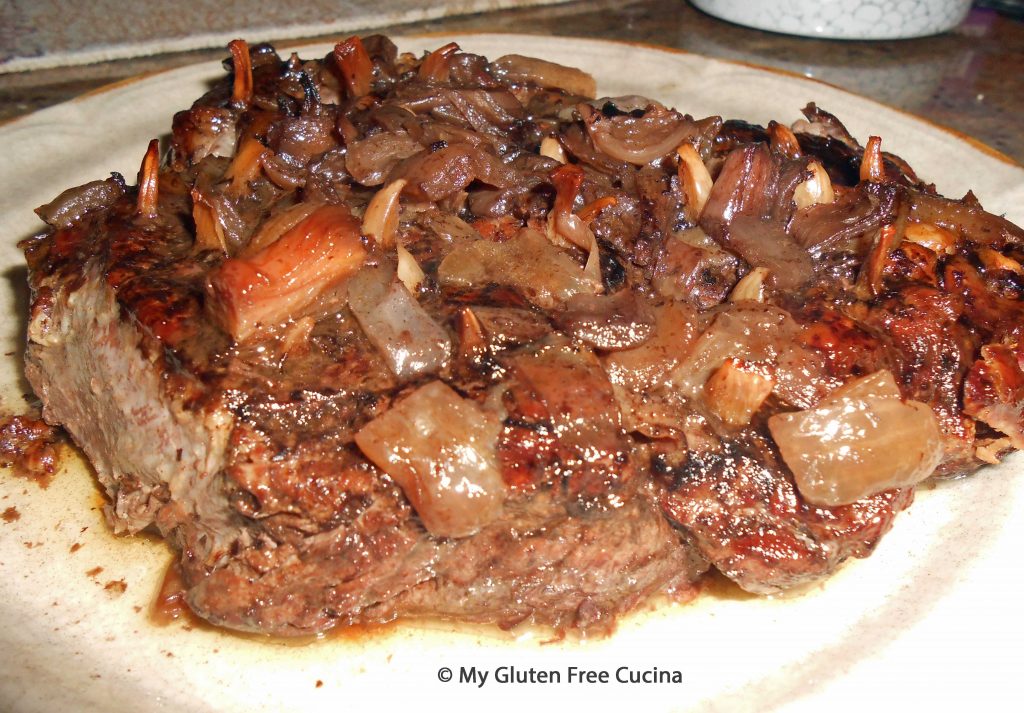
It’s that easy friends.  Remove the spice bundle and transfer the corned beef to a cutting board.  Slice the meat against the grain.

Arrange on a serving platter with the vegetables and dinner is ready.  Let the festivities begin!

Notes ♪♫ Brisket – flat cut or point cut?  Choose a flat cut for leaner meat and even thickness (a good option if you are limiting fat or your crock-pot is small).  Point cut is a fattier piece of meat that is so flavorful and juicy, it is my personal favorite!  Whichever you choose, buy more than you think you will need as the meat shrinks considerably during cooking.  Both cuts are suitable for this slow-cooked preparation.

Print This Post Print This Post

Crock-Pot Braised Pot Roast

Think you don’t have time to prepare a delicious Italian Sunday dinner?  With the help of your crock-pot, I’ll show you how to create a wonderful meal that virtually cooks itself while you go about your busy day.  With a nine hour cook time, you can easily fit this into your schedule.

Ingredients:

  • 2 lb. chuck roast
  • 3 garlic cloves, cut into slivers
  • 1/2 sweet onion, diced
  • olive oil
  • salt and pepper
  • 3/4 cup red wine

Preparation:

Crock-pots are wonderful, but there are a few things they can’t do, like caramelize meat and veggies.  Throwing all of the ingredients into the crock-pot is easy, but you won’t get the depth of flavor created by searing the meat first.  Take a few extra minutes to do this and you won’t be disappointed.

Here is my chuck roast.  All of that nice marbling is going to break down into melt in your mouth tenderness, but first I’m going to sear the meat in a little olive oil.  Use a stainless steel or cast iron skillet, don’t use non-stick.  Season both sides with salt and pepper.

Next, use a paring knife to make small slits all over the top of the roast and insert a sliver of garlic into each.

Spray the crock-pot with cooking spray and place the roast in the crock-pot.  Use the same skillet to saute the onions 2-3 minutes then add them to the crock-pot.

Deglaze the pan with the red wine, scraping up the caramelized bits.

Bring to a simmer and pour it over the roast.  Cover and cook on low for 9 hours.


Fast forward, nine hours later your house smells amazing and your family will think you have been in the kitchen all day.  Let it be your little secret!

Carefully lift the beef onto a serving dish.  You won’t even need a knife to cut it!  Serve over polenta with a little marinara sauce and grated cheese for a really special Italian Sunday dinner.


Notes: ♪♫ Try to select a chuck roast that has an even thickness all around.  Most grocers have a meat department where you can ask to have a larger roast cut to your desired size.

Print This Post Print This Post


Shepherd’s Pie with Rutabaga

Rutabaga is a gluten free and nutritious root vegetable that can be substituted for potato in many recipes.  For my Shepherd’s Pie, I use mashed rutabaga as a topping instead of the traditional mashed potato.  This meal has been a family favorite for years and it was easy to modify the recipe to a gluten free version.  If you are gluten free, you probably eat a lot of potatoes, so this is a nice change from the usual.  Give it a try, delicious, gluten free Shepherd’s Pie with Rutabaga.

This post contains affiliate links.

4 Servings 


FOR THE FILLINg:

  • 8 oz. lean ground beef
  • 4 oz. gluten free Italian sausage 
  • olive oil 
  • 3 cloves minced garlic 
  • 1/2 medium sweet onion, diced 
  • 2 cups gluten free frozen mixed vegetables (peas, carrots and corn) 
  • 1/2 tsp. thyme 
  • Salt and pepper to taste 
  • 3 tbsp. tomato paste 
  • 1 tbsp. gluten free Worcestershire sauce 
  • 1 cup gluten free broth (beef, chicken or vegetable) 
  • rice flour, for dusting

For the Topping: 

  • 1/2 large rutabaga or yellow turnip 
  • Salt, to taste 
  • 1 cup grated cheese (I used gruyere) 
  • 1/4 cup grated parmesan cheese 
  • 3 tbsp. butter 
  • 1% milk (or use half and half) 
  • paprika 
  • Italian parsley for garnish 

Preparation: 

Peeling the rutabaga is the hardest part of the recipe, so we begin by giving those arm muscles a workout!  Use a good sturdy knife and cut ¼” off the bottom, so you have a flat stable surface.  Then set it on a cutting board and run your knife down the sides to peel.


Cut the rutabaga in half, and slice one half into large cubes.  Reserve the other half for another meal (it makes great oven fries).   

Heat water in a saucepan with a steamer basket.  Steam the rutabaga cubes until soft and easily pierced with a fork.  Add salt to taste, remove from heat and set aside.  This step usually takes 30-45 minutes, so I will often steam the rutabaga a day ahead and reheat it in the microwave when I’m ready to finish the dish. 


I’m preparing this dish in a cast iron Braising pan.  I’ll cook and serve dinner all in the same dish for easy cleanup!  You can also use an oven safe skillet, a Dutch oven, or if you don’t have an oven safe option simply transfer everything to a baking dish to finish in the oven.  To get started on the filling, heat a little olive oil in the pan over medium low and add the ground beef and sausage, breaking the meat up with a spatula to brown.  Add the onion and garlic.

You can throw the frozen vegetables right into the pan, they will defrost quickly.  Cook 4 minutes.  Clear a spot in the center of the pan and add the tomato paste.  Let it cook for a minute before stirring into the meat and veggies.  Season with salt and pepper.

Next add the thyme and Worcestershire sauce, then add the broth and reduce heat to low.   Simmer uncovered until most of the liquid has evaporated, about 30 minutes.  You can dust a little rice flour over the mixture to help things along.   

To make the topping I used a stand mixer with the paddle attachment.  You can also use a food processor or potato masher.  Combine the cooked rutabaga (reheat it if you made it the day before) with 1 cup grated Gruyere cheese, 3 tbsp. butter and a big pinch of salt.

The recipe is very forgiving so substitute any cheese that you prefer, even cream cheese will work.

Mix on low speed as you drizzle in a little 1% milk (or use half and half for a richer taste), until the mixture resembles mashed potatoes.

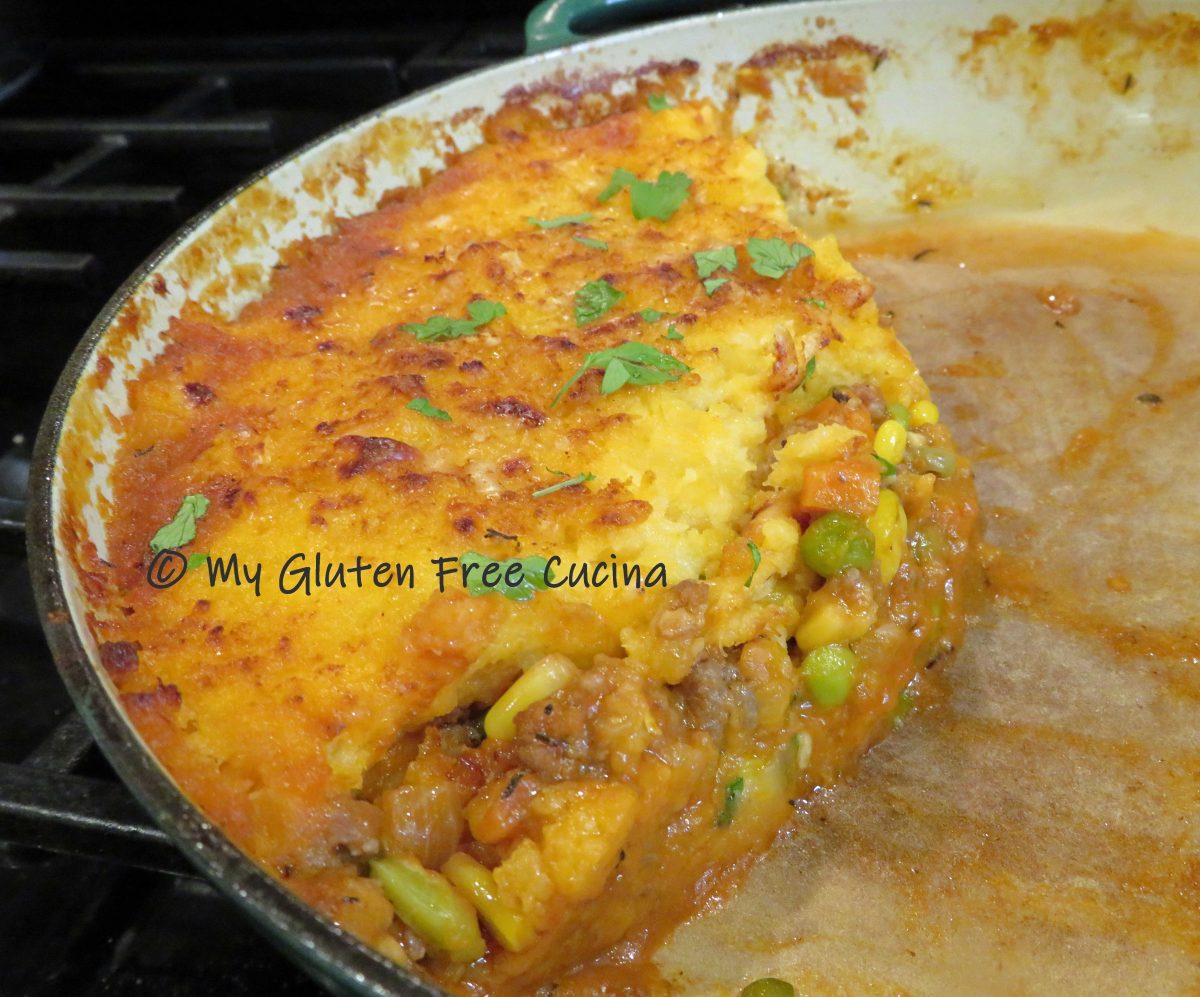
Preheat the oven to 400°.  Spoon the rutabaga mash evenly over the top, using a spatula or the back of a spoon to smooth it out.  If you are transferring to a baking dish, be sure to coat it with cooking spray.

Sprinkle with Parmesan cheese and paprika and bake for 25 minutes, then finish under the broiler for 4 minutes more to brown the top.  Keep an eye on it, after all that work you don’t want it to burn! 

When you remove it from the oven the sides will be bubbling, so let it rest for a few minutes before serving.  I like to garnish it with Italian parsley before bringing it to the table.  Mmmm, it is so delicious, and you will be surprised at how filling it is!  I hope you will try the recipe, it’s an interesting twist on this traditional comfort food dish. 


Notes ♪♫ As always, check ingredient labels and make sure all prepared foods such as the broth do not contain hidden gluten.  I used Lea and Perrin’s Worcestershire sauce in this recipe but watch labeling as it is gluten free in the US but may not be in Canada.  Goya frozen mixed veggies are labeled gluten free.  For the cheese, I always buy a block and grate my own.  If you use shredded cheese, be sure to check the ingredients, some additives may contain gluten. 


Print This Post Print This Post

Grilled Beef Kabobs

Here is an easy weeknight favorite to cook on the grill or stovetop, tender marinated beef tips skewered with veggies.  With a delicious marinade that you will want to make over and over again.  Serve with rice or a gluten free pasta salad for the perfect summer meal.

This post contains affiliate links.

Ingredients:

  • 1/2 cup gluten free steak marinade
  • 1/2 lb. sirloin tips, cut into cubes
  • 1 small red onion, cut into chunks and separated
  • 8 Baby Bella (cremini) mushrooms, cut in half
  • 1/2 red bell pepper, cut into squares
  • 1 small zucchini, cut into 3/4″ rounds

Preparation:

Combine the marinade ingredients in a nonreactive bowl and whisk together.  Reserve about 1 tbsp. for finishing.

Cube the steak tips and toss with the marinade.  Cover and let it sit at room temperature while you prepare the veggies.

Try to chop the vegetables to about the same size so that they cook evenly.  I did enough for 4 skewers.

The mushrooms and zucchini can be sliced thicker, so they don’t overcook.  I did the onions and peppers in single layers.

Thread the meat and veggies onto skewers and brush with any marinade remaining in the bowl.  If using wooden skewers, you should soak them in water for about an hour before using.  Now onto the grill!

Mist the grates with cooking spray or rub with oil before adding the kabobs.  Spread them out with plenty of space in between for even cooking.  Carefully brush on the reserved 1 tbsp. marinade, watch for flareups.  Turn the heat down to medium low and grill for 8 minutes total, turning every 2 minutes.  If cooking stovetop it will take about 15 minutes.

Perfect!  Nice grill marks but still juicy and flavorful.  And no gluten!  I hope you will give the marinade a try, it’s so easy and delicious.

Notes ♪♫ No grill?  No problem!  When a grill isn’t available you can cook kabobs on the stovetop.  Use a griddle, grill pan or flat skillet.  Just watch those wooden skewers, soak them in water for an hour prior to cooking so the ends don’t catch fire!

Print This Post Print This Post