Gluten Free Ciabatta Rolls

If you follow me on Facebook, you will have seen these rolls before.  This is my go-to recipe for lunch sandwiches, and I make a batch every couple of weeks.

They are the perfect texture, soft but not gummy inside.  You can toast them or not, they are delicious either way.

This post contains affiliate links.

This recipe was adapted from the Better Batter website, with permission from my favorite Chef, Patrick Auger.  Bet you’re not surprised to hear that!

Chef Patrick, who I consider to be “The Oracle” of gluten free baking created this recipe, and he knows my little secret.  When I first started making these rolls, I couldn’t decide which flour to use! 🤔

I am a huge fan of Better Batter Artisan Blend.  But I love their new Bread Flour too.  So, to put my own spin on this recipe, I mixed the 2 flours together.

Shop Better Batter with my Promo Code MGFC30 for 30% off your full price purchase!

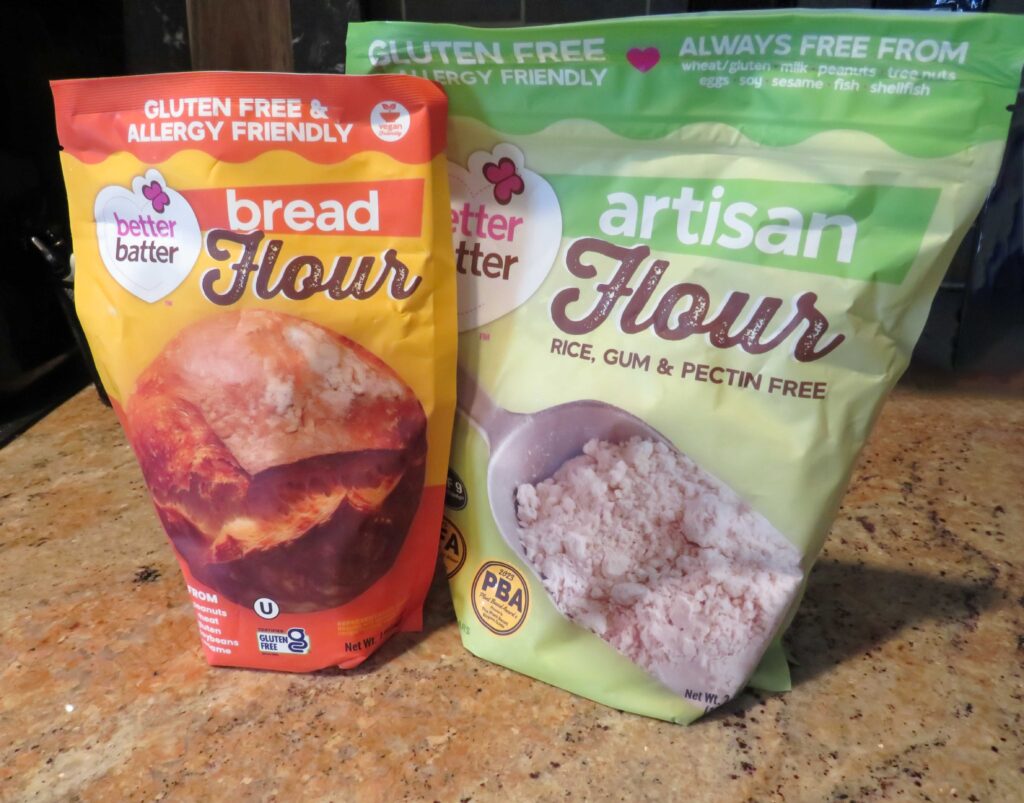
I used half artisan blend and half bread flour.  And the flavor and texture of these rolls is SO good.  The best of both worlds really.

Ingredients:

Preparation:

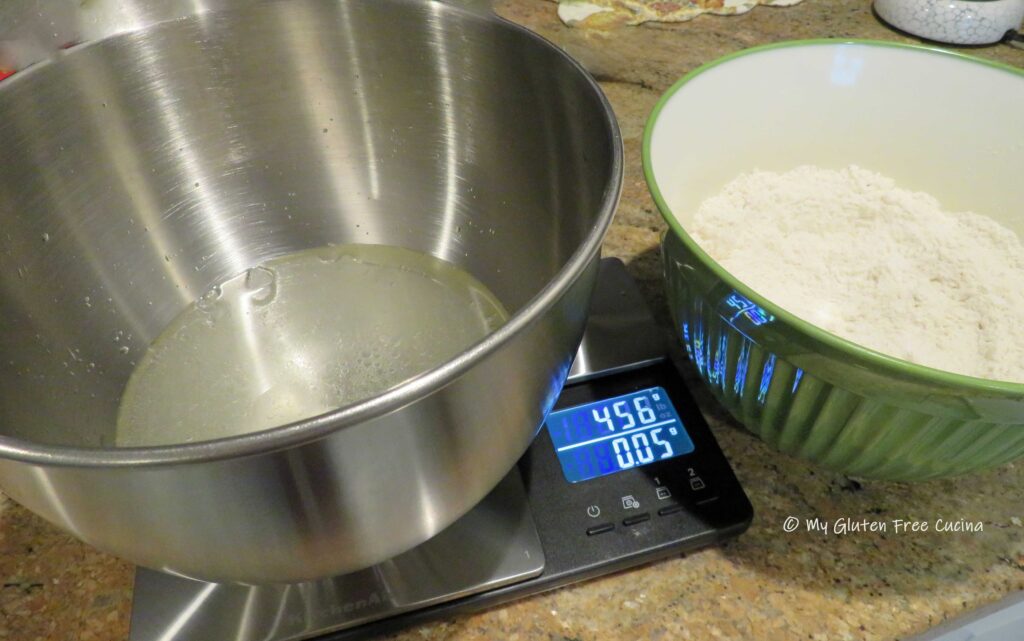
Weigh the ingredients (yes, even the liquid).  Combine the water and oil in the bowl of a stand mixer.  Whisk together the flours, sugar, salt and yeast in another bowl.  Add the dry ingredients to the wet and mix with the paddle attachment.  Then beat for 7 minutes on speed #2.

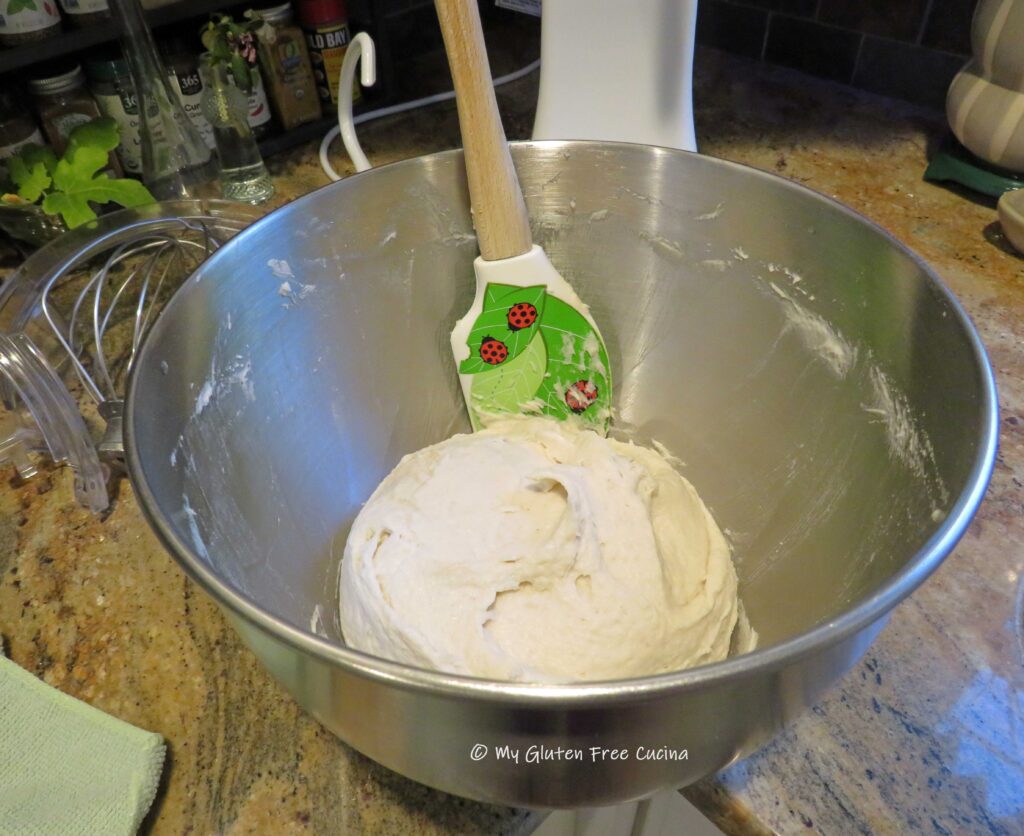
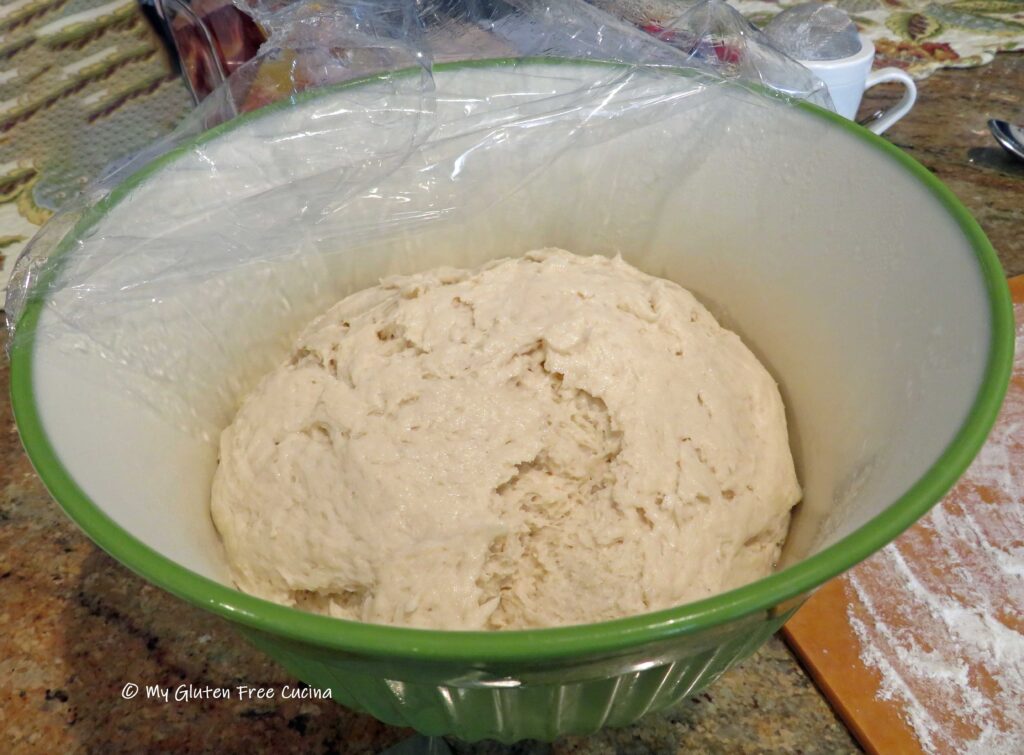
Scrape the dough down and transfer it to an oiled bowl.  Cover and refrigerate overnight.

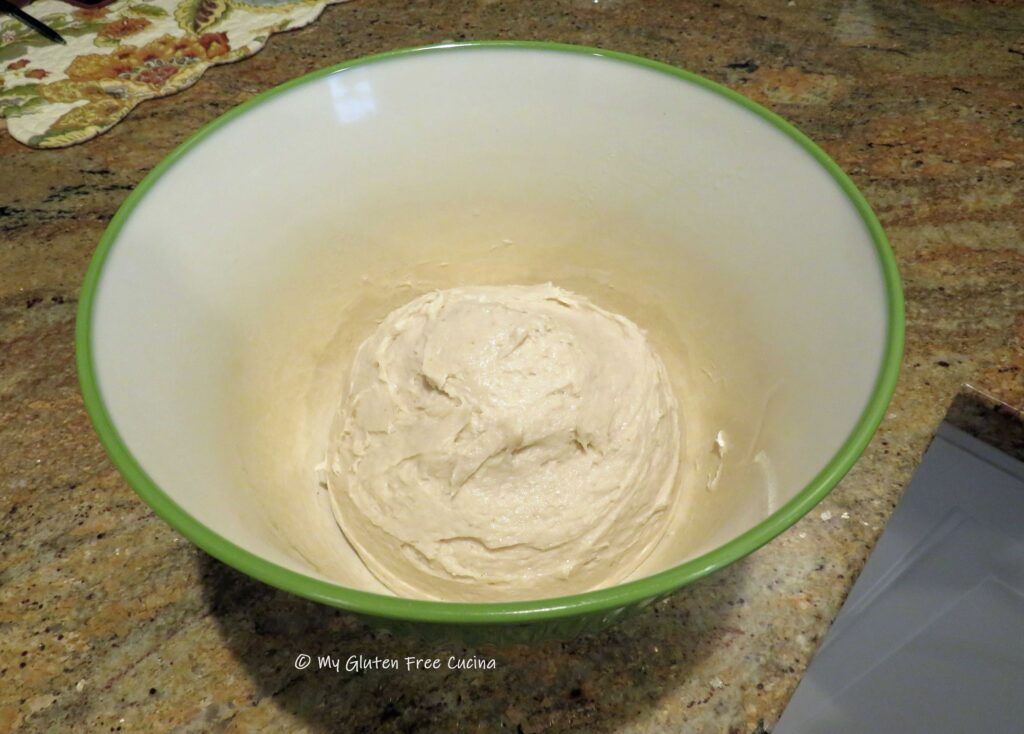
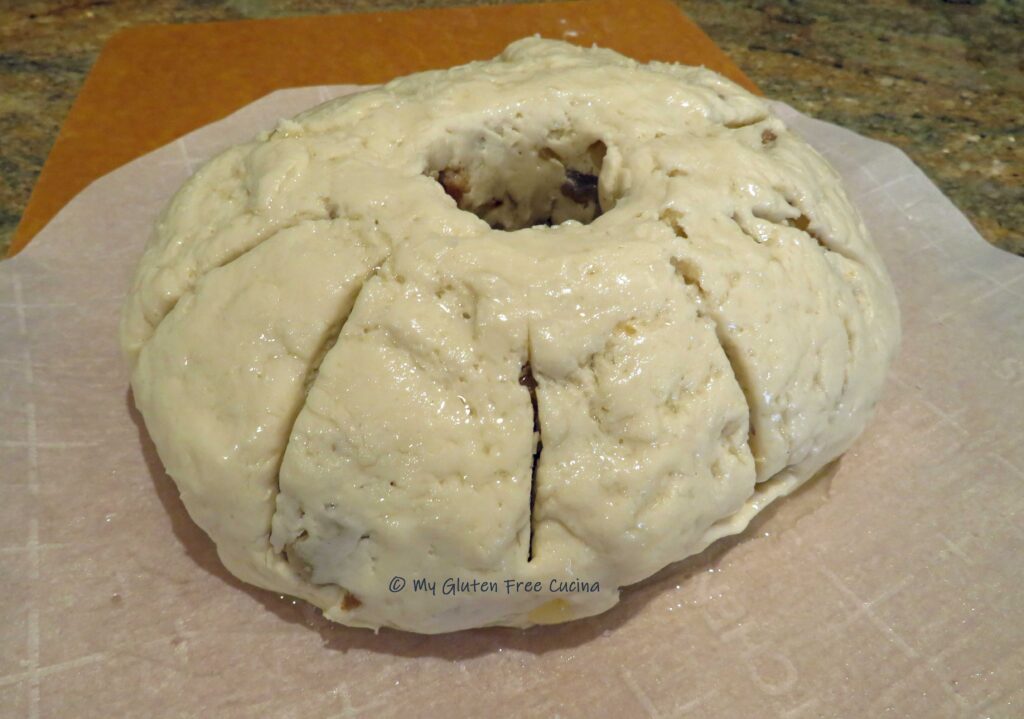
In the morning, the dough should be nice and puffy.  Turn it out onto a floured cutting board.

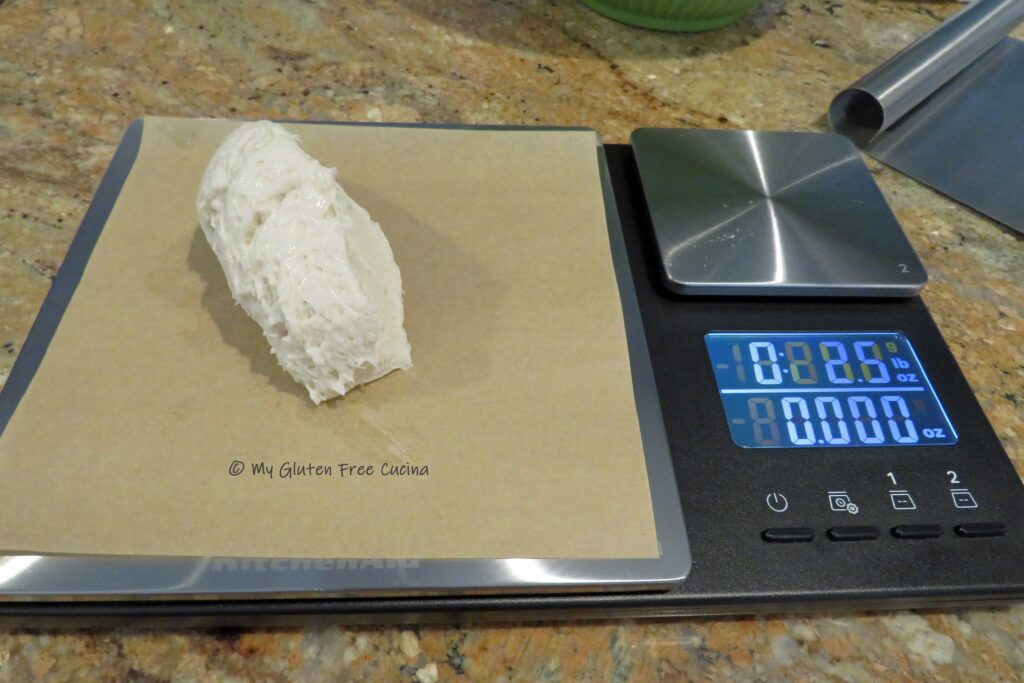
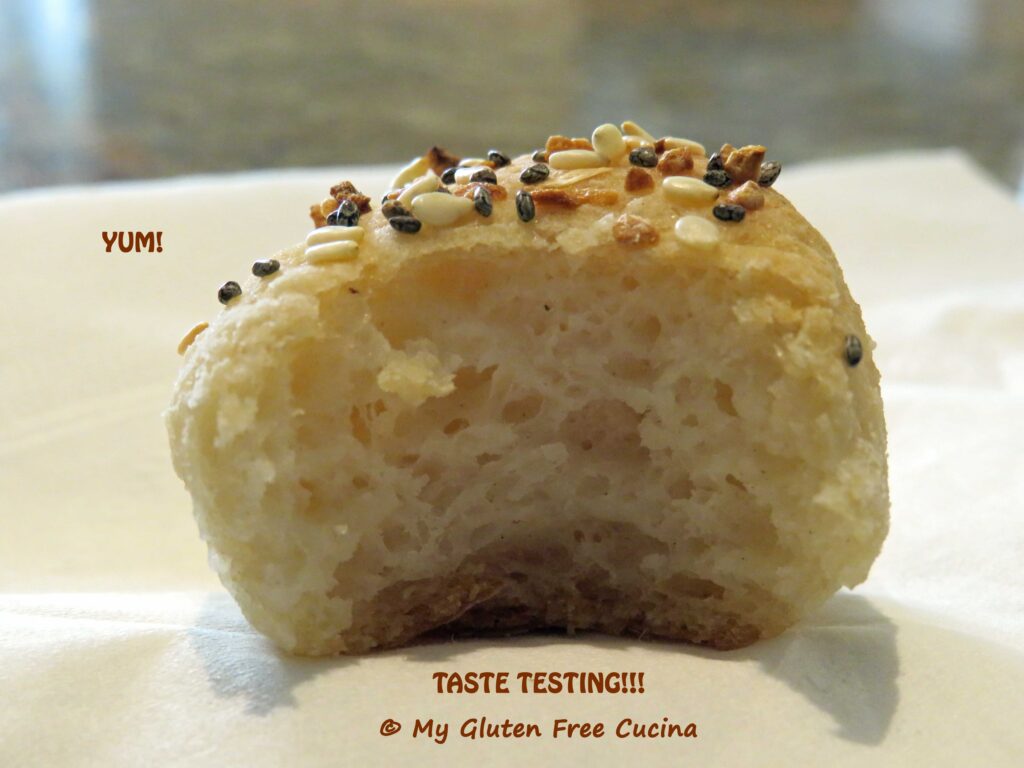
Use a scale to portion the dough into 2.5 oz. pieces.  If you measured accurately, you should have enough for 13 rolls plus a little bit extra for a bite size piece.  Don’t throw it away, bake it up and use it for tasting!

Note You can make the rolls larger if you like.  I find that 2.5 oz. is just the right size for me, something between a regular hamburger bun and a sandwich thin.  Try it, especially if you don’t want to overdo it on the carbs.

Roll each section in flour to form a smooth ball, then flatten slightly with your palm.

Line a large sheet pan with parchment paper and sprinkle lightly with flour.  As you form each roll, place it on the sheet pan leaving a little space in between.

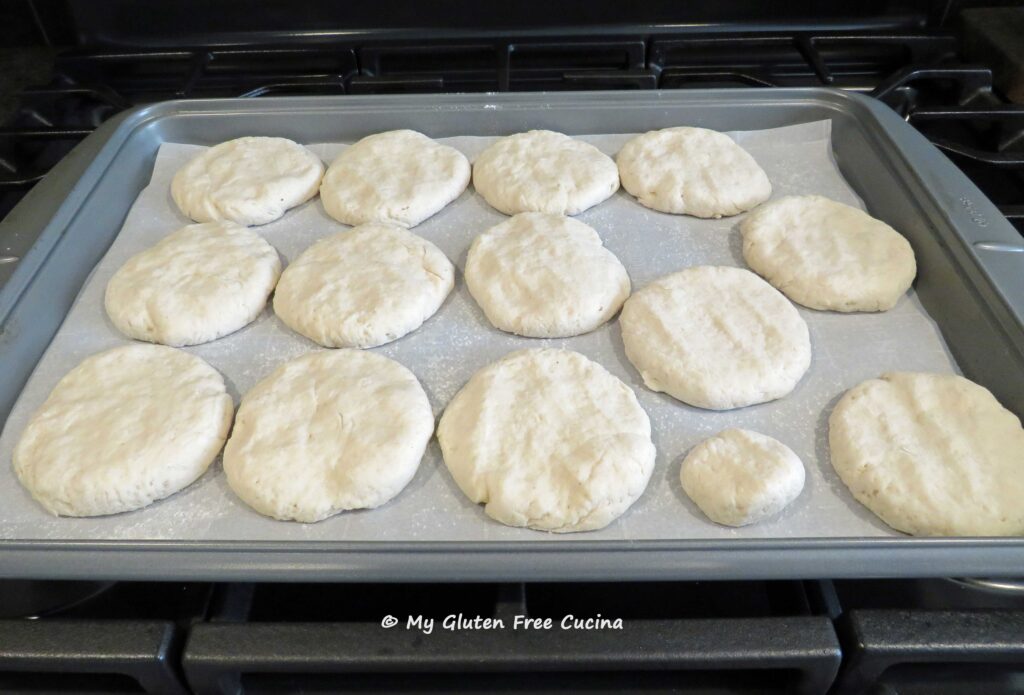
When all the rolls have been formed, cover the pan with plastic wrap and let the rolls rise for 45 minutes.  They will puff up but not double in size.

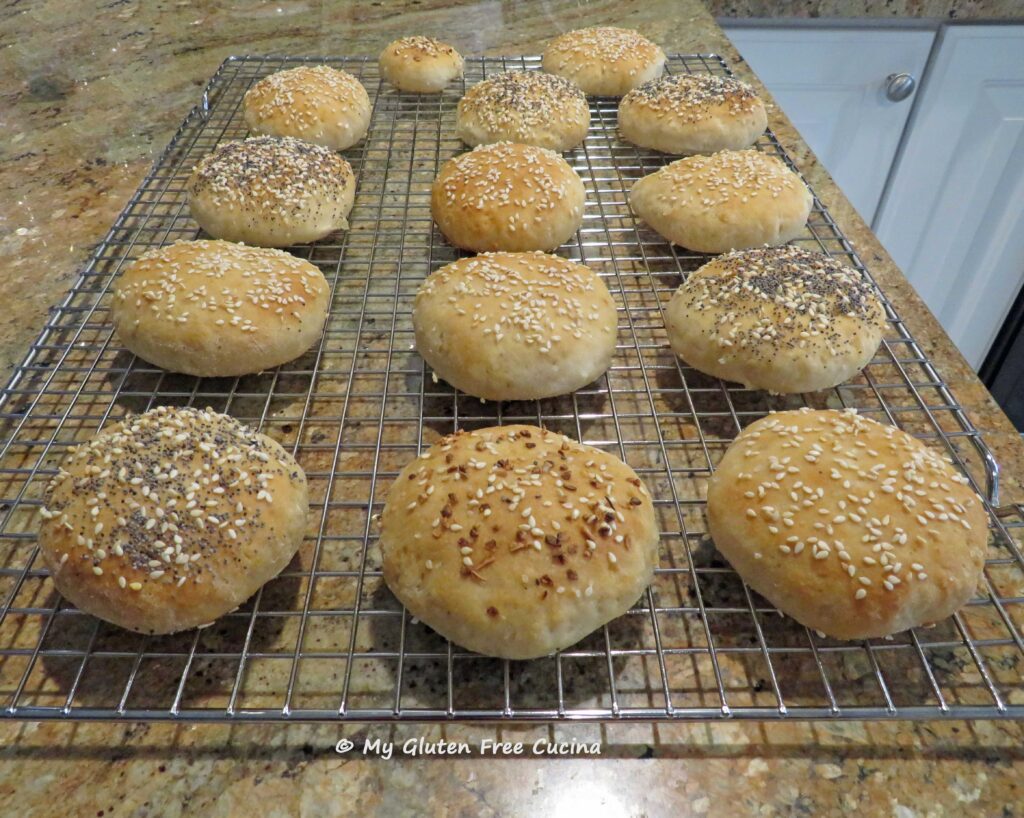
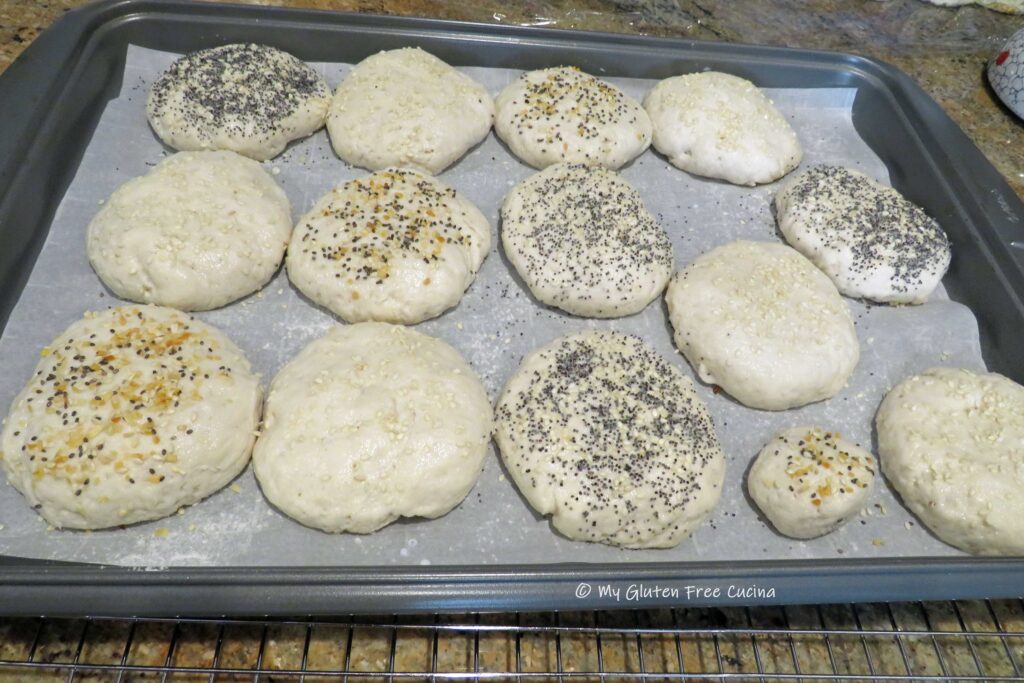
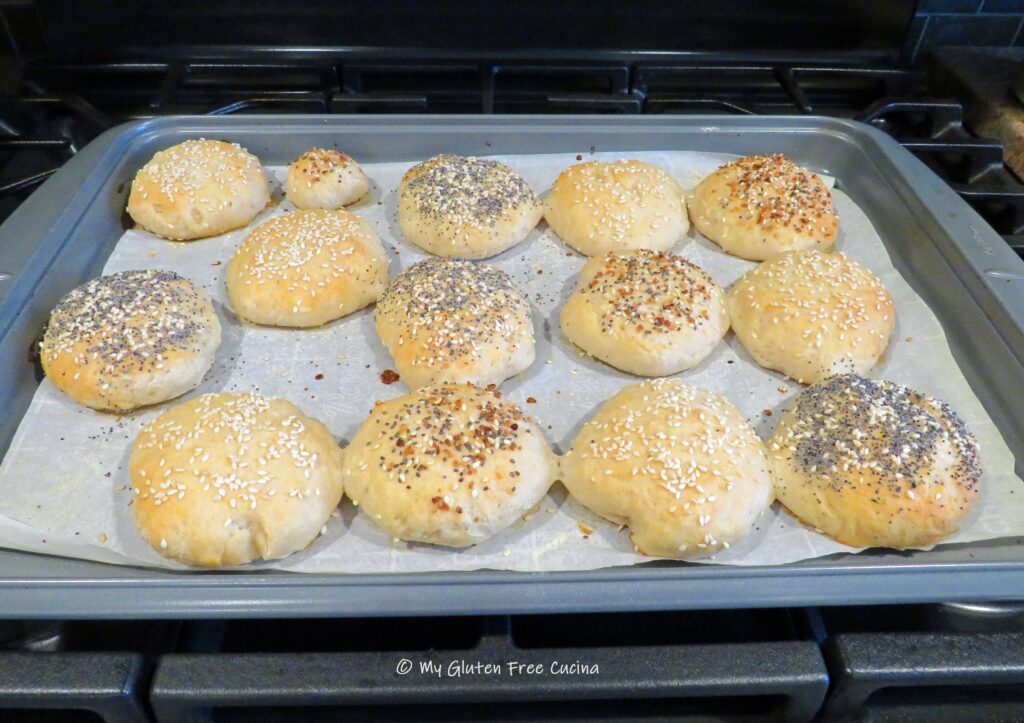
Preheat the oven to 475º.   Brush the rolls with milk, and sprinkle with seeds (optional).  I made a few each with sesame, poppy and everything bagel.  Use your favorites!

Place the rolls in the oven and spray the sides of the oven with water to create steam.

Bake for 10 minutes, then lower the heat to 375º and bake for another 15 minutes.

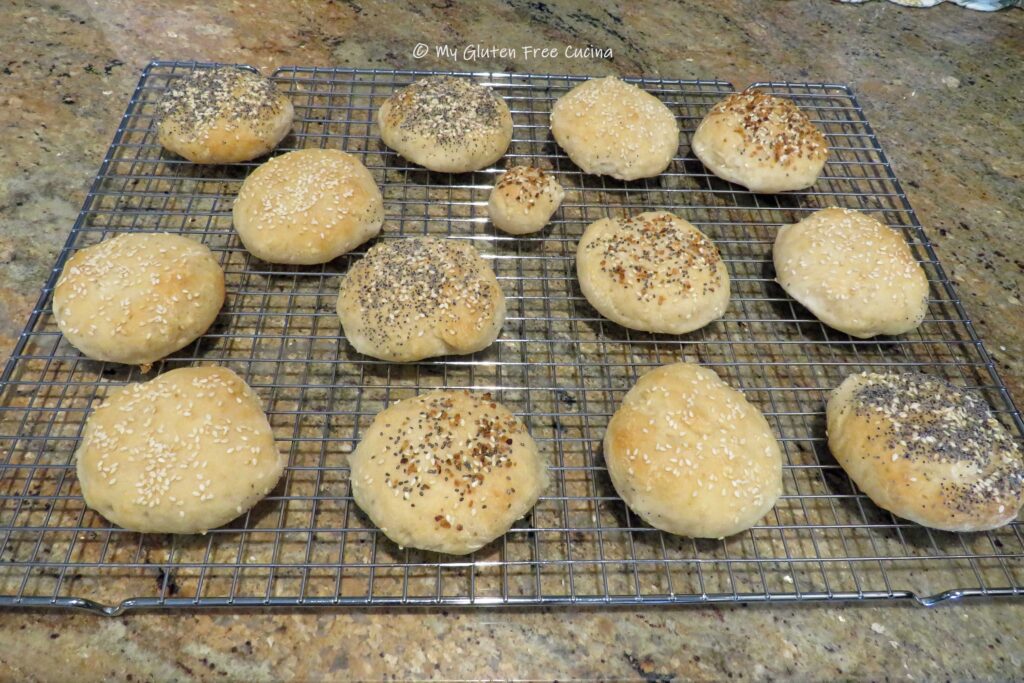
Remove from the oven and transfer rolls to a cooling rack.  Allow them to cool for at least 6 hours before slicing.

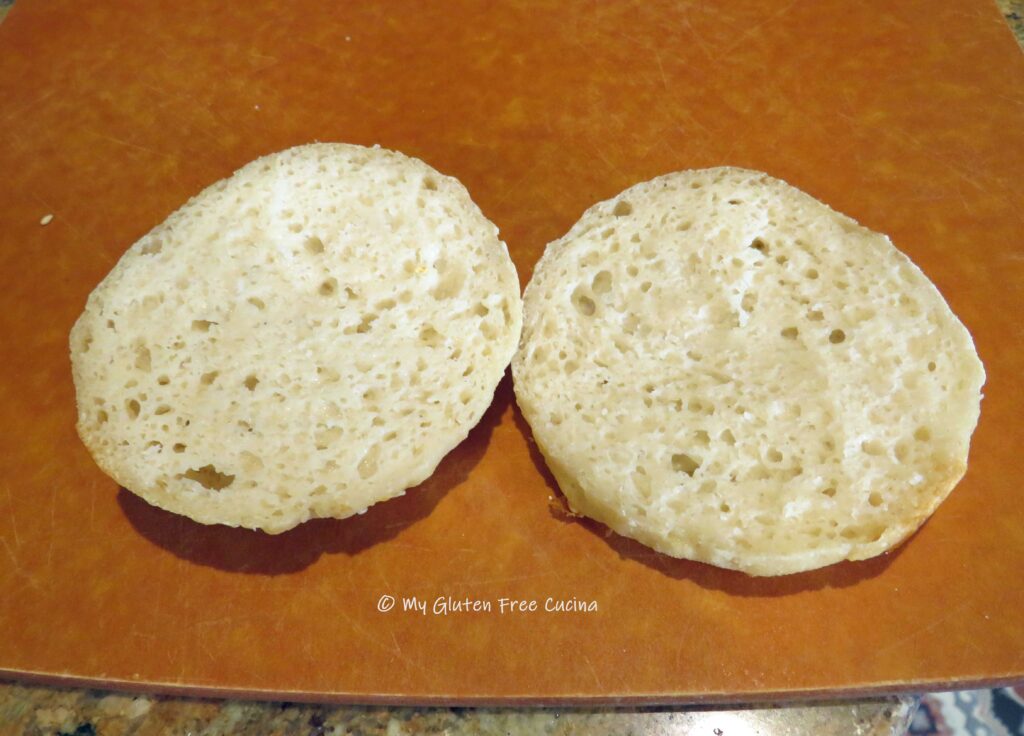
Remember that little baby roll?  Time for a taste test!

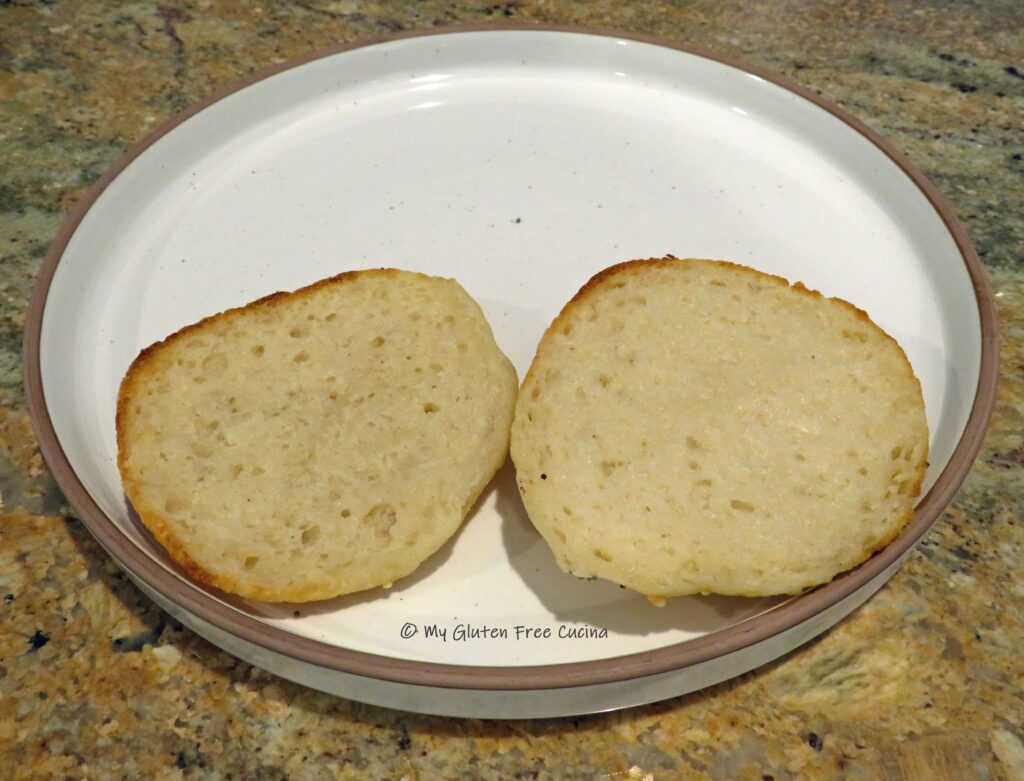
How nice that these rolls do not have to be toasted.

But you can toast them if you like!

Notes ♪♫ The original recipe by Chef Patrick Auger can be found here.  Of course, you do not have to combine the 2 flours together.  I’m just showing you how I do it and I’m not kidding- the flavor is extraordinary.  You will think you’re eating regular bread.  And yes, gluten free flour can cost a few $$$, so be sure to use my Promo Code MGFC30 when you shop Better Batter, for 30% off your full price purchase!

Print This Post Print This Post

Gluten Free Briolata (Italian Sausage and Onion Bread Ring)

“Briolata” is an Italian sausage bread of Sicilian origin that is similar to a focaccia or calzone.  Also known as Bignolati, the bread is filled with sausage and caramelized onions then shaped into a ring.

I used the new gluten free Pizza Crust Mix from Better Batter to recreate this Italian inspired recipe.  Another gluten free makeover success story that was truly easy!

This post contains affiliate links.

Ingredients:

  • 454 g (1 lb. bag) Better Batter Pizza Crust Mix
  • 7 g (1 pkg.) instant yeast
  • 1-1/2 cups (340 g) warm water
  • 2 tbsp. (30 g) olive oil
  • 1 large, sweet onion, diced
  • 2 tbsp. butter
  • 2 sweet Italian sausage, casings removed (I used Premio)
  • fresh ground pepper
  • more olive oil, for brushing
  • coarse salt

Get 30% off your full price purchase at Better Batter with my Promo Code MGFC30.

Preparation:

Combine the Pizza Crust Mix, yeast, water and oil in the bowl of a stand mixer.  Knead for 5 minutes, then shape the dough into a ball.  Place it in an oiled bowl and turn to coat.  Cover and refrigerate overnight.

In the morning take the dough out of the refrigerator while you prepare the onions and sausage.

Melt the butter in a large, stainless-steel skillet.  Dice the onions and add to the pan.   Cook them slowly on medium low heat, stirring occasionally until soft and caramelized, taking on a golden-brown color.

Set the onions aside to drain in a colander, and add the sausage to the same skillet, breaking it up with a spatula.  Continue turning and chopping the meat until browned all over and cooked through.  Remove from the pan with a slotted spoon and combine with the onions to drain and cool to room temperature.

Cut a sheet of parchment paper and lay it out on the counter.  Sprinkle with flour and turn the dough out.

Roll out the dough into a rectangle, about 11″ x 14″.  You are going to love working with this dough.  It rolls like a dream, who knew gluten free could do that?

Sprinkle the dough with fresh ground pepper and spread half of the sausage and onions in a thin layer.  You don’t want to load it up with too much filling.

Now do an envelope fold.

Rotate the dough 90 degrees and roll out again into a rectangle.  Spread with the remaining sausage and onions.  Repeat the envelope fold.

Next turn the dough seam side down and shape it into a round.  Pinch the dough to patch any cracks and smooth with a spatula.

Here’s a trick to form the ring.  Gently insert one end of your French rolling pin into the center of the dough.  Rotate to open up the center!

Once you have formed the ring, cover with plastic wrap and let it rest for 30 minutes while preheating the oven to 500º with a baking stone on the middle shelf.

Just before baking, rub or brush the loaf with olive oil and cut slits in the dough for steam to escape.  You may want to trim the parchment paper, so the edges don’t burn.  I used a pizza peel to transfer the bread ring onto the pizza stone with the parchment.  Throw a few ice cubes onto the bottom of the oven and bake for 10 minutes.

After 10 minutes, carefully remove the parchment paper with long tongs.  Reduce the oven temperature to 450º, throw in a few more ice cubes and continue baking directly on the pizza stone for another 30 minutes or until the internal temperature reaches 205º.

Remove from the oven and cool slightly before slicing.  SO GOOD!!!

This bread is best eaten while still slightly warm the day it is baked.  If you reheat it, I highly recommend using an air fryer to maintain the crunchy crust.  Microwaving will do in a pinch, but it does change the texture.  Refrigerate leftovers for up to 2 days or freeze slices for longer storage.

Notes ♪♫ If you thought that rolling and shaping gluten free dough was an impossible dream, pinch yourself!  With the new Gluten Free Bread Flour and Pizza Crust Mix from Better Batter, you can do all that and more!  Be sure to use my Promo Code MGFC30 when you shop at Better Batter, for 30% off your full price purchase.

Print This Post Print This Post