Gluten Free Eggplant Rollatini Appetizer

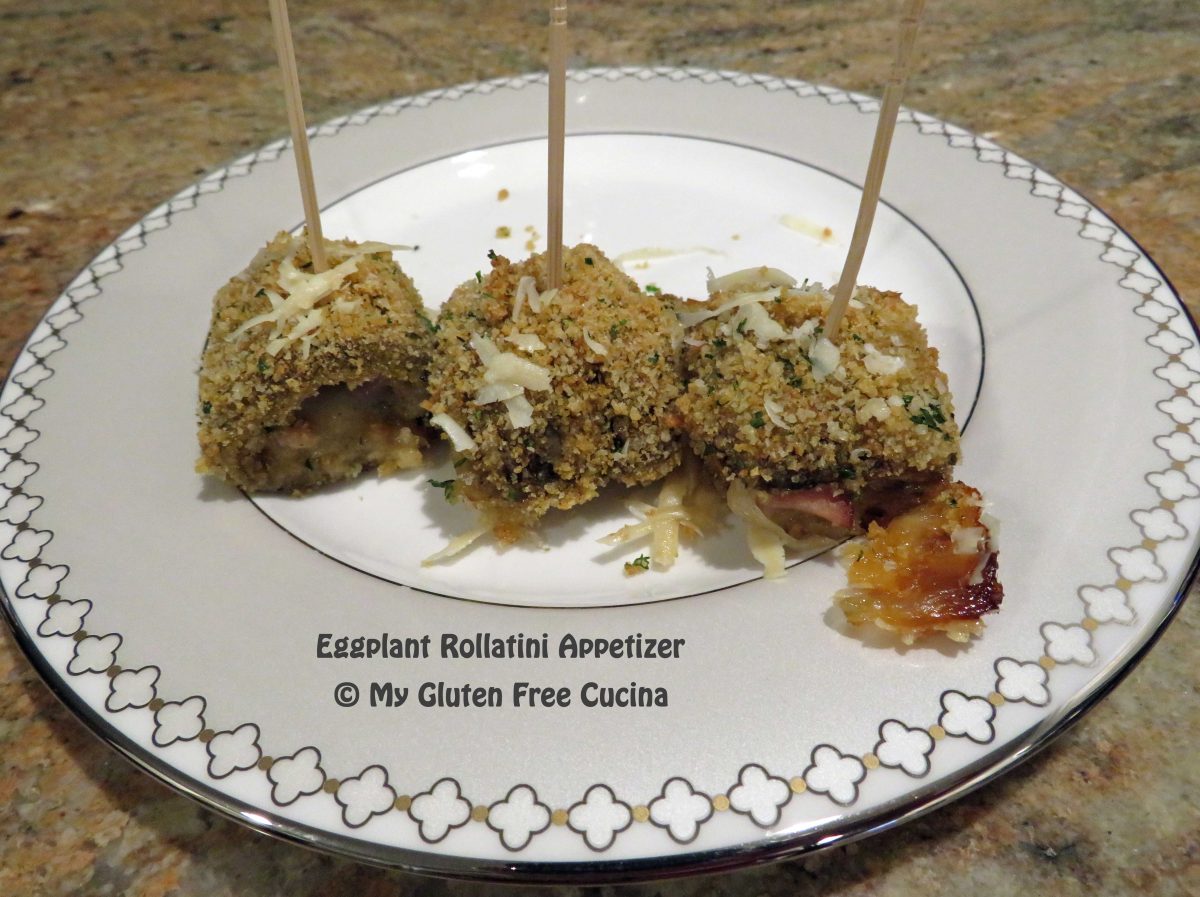
Bite sized Eggplant Rollatini are the perfect finger food for holidays, parties or game day!  If you are looking for a gluten free appetizer for your next get-together, give this recipe a try.  They are really tasty and different than the usual party snack.  This recipe will make 20-24.

This post contains affiliate links.

Ingredients:

Preparation:

Cut the top and bottom off the eggplant, stand it on its side and peel.

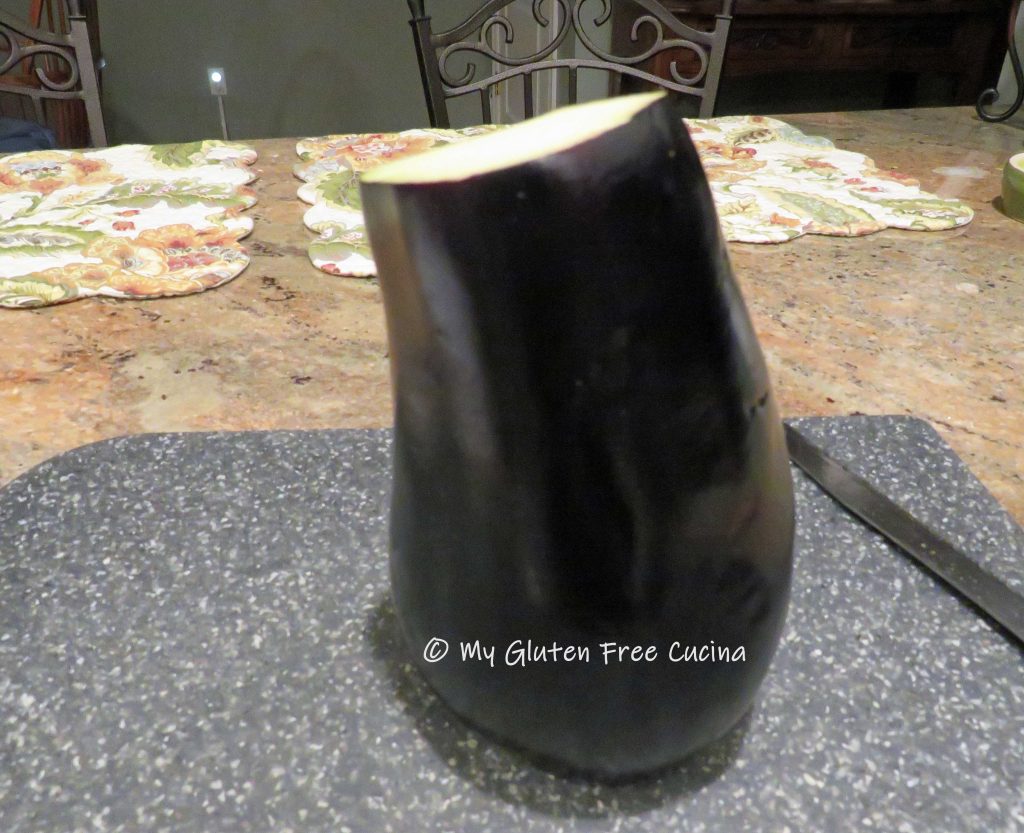
Slice it lengthwise into 12 strips, make them as thin and even as you can.  Trim away any heavily seeded areas.

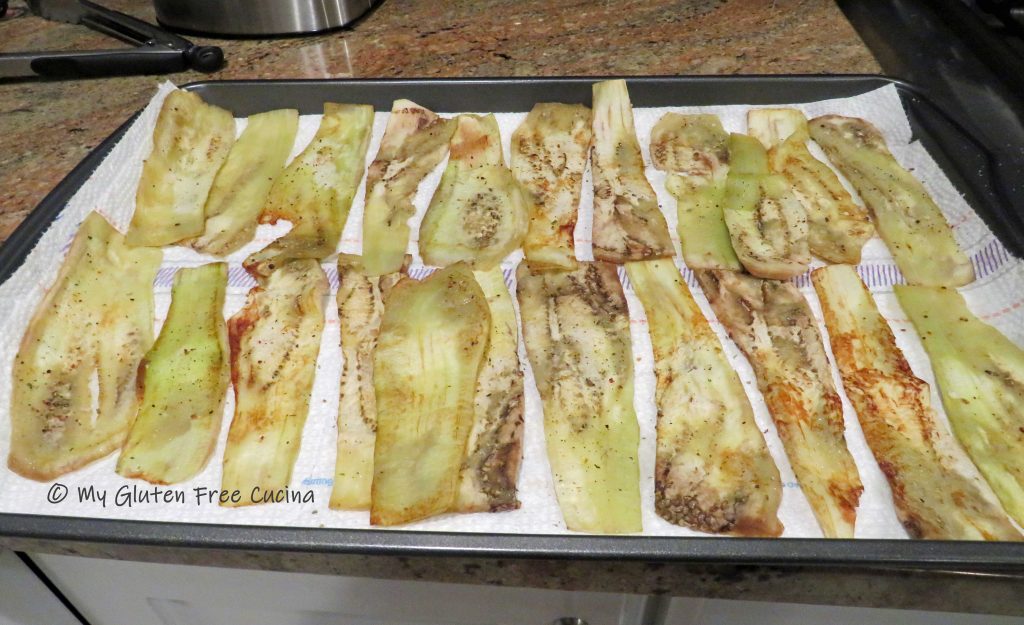
Heat a griddle or large nonstick skillet and coat lightly with olive oil.  Add the eggplant slices in one layer (do it in batches) and cook briefly on each side, enough so that they can be rolled without breaking.  Sprinkle with Italian seasoning.

Lay the cooked slices on a sheet pan lined with paper towel, to remove some of the moisture.

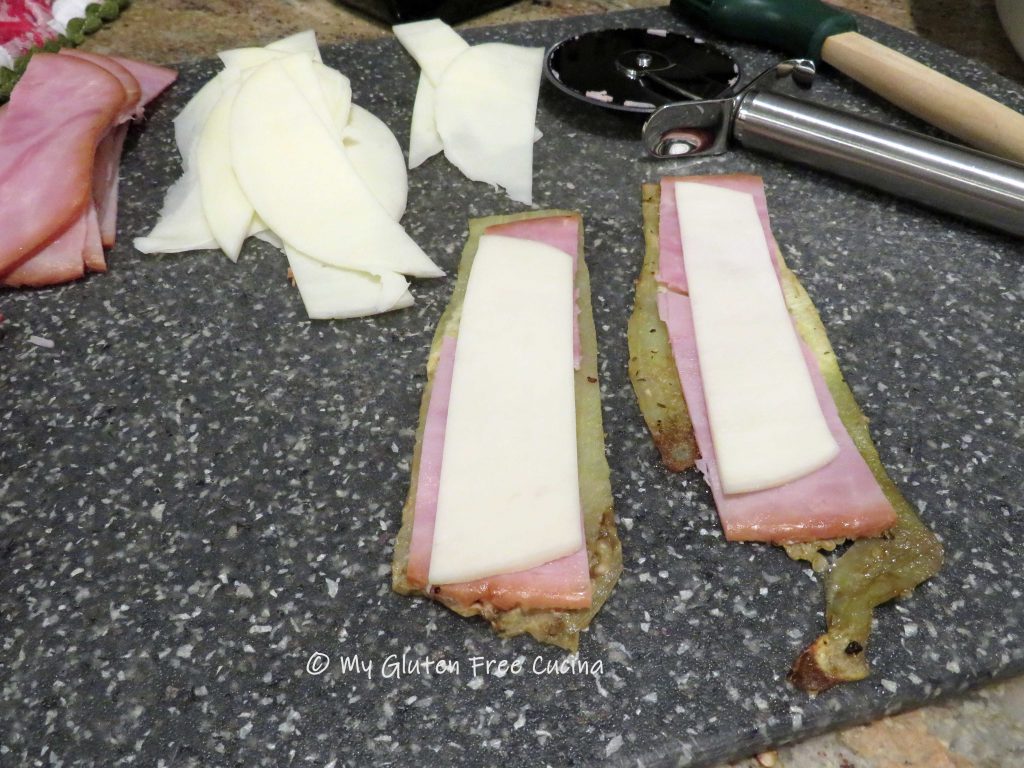
Cut each slice of eggplant down the middle lengthwise to form strips.  Layer each strip with a slice of ham and cheese.

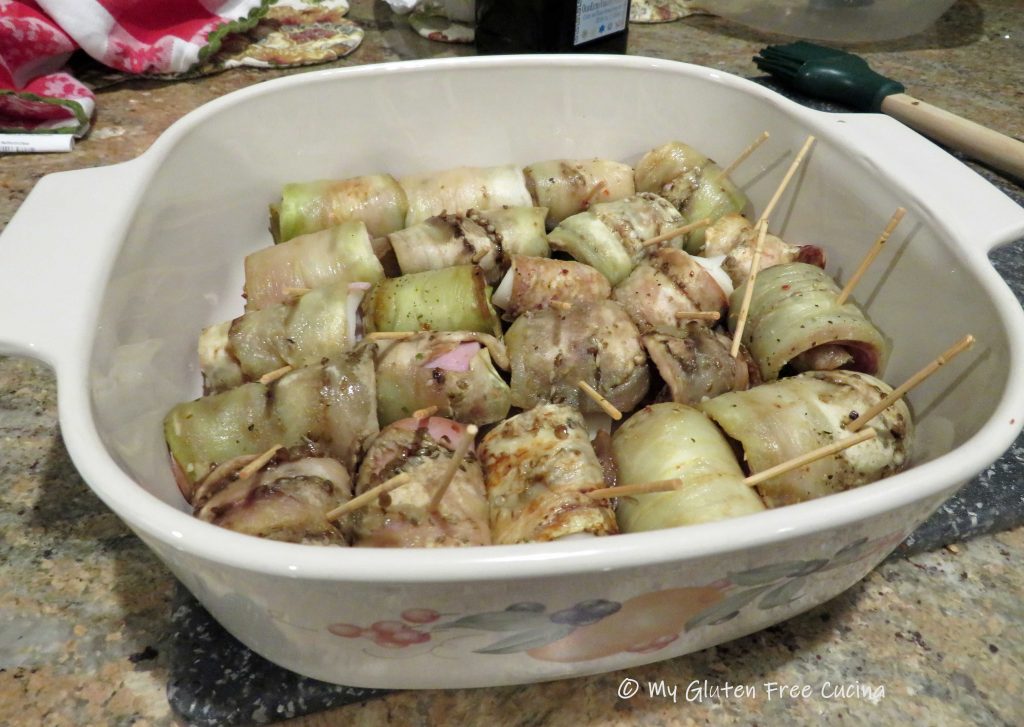
Carefully roll up the eggplant slices and place seam side down in a baking dish.  Use toothpicks to hold the bundles together.  You can make the recipe ahead to this point and refrigerate, in fact chilling the eggplant rolls at this point will make them easier to work with.

Preheat the oven to 325° and set up 2 breading trays.  In one bowl beat the egg with 1 tbsp. water.  Add the breadcrumbs to the other bowl.

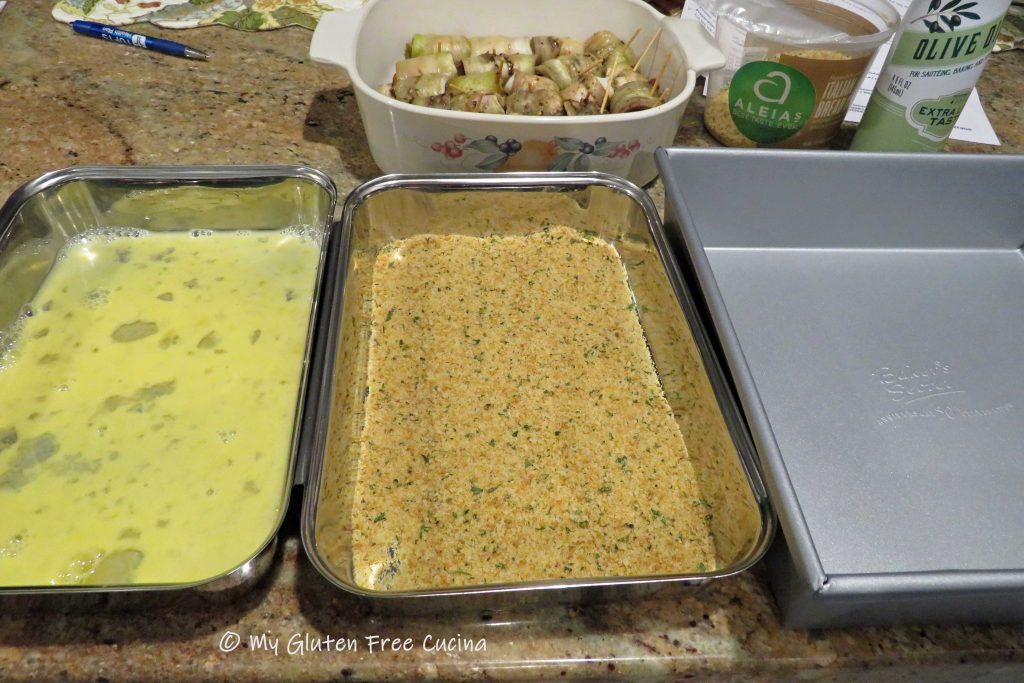
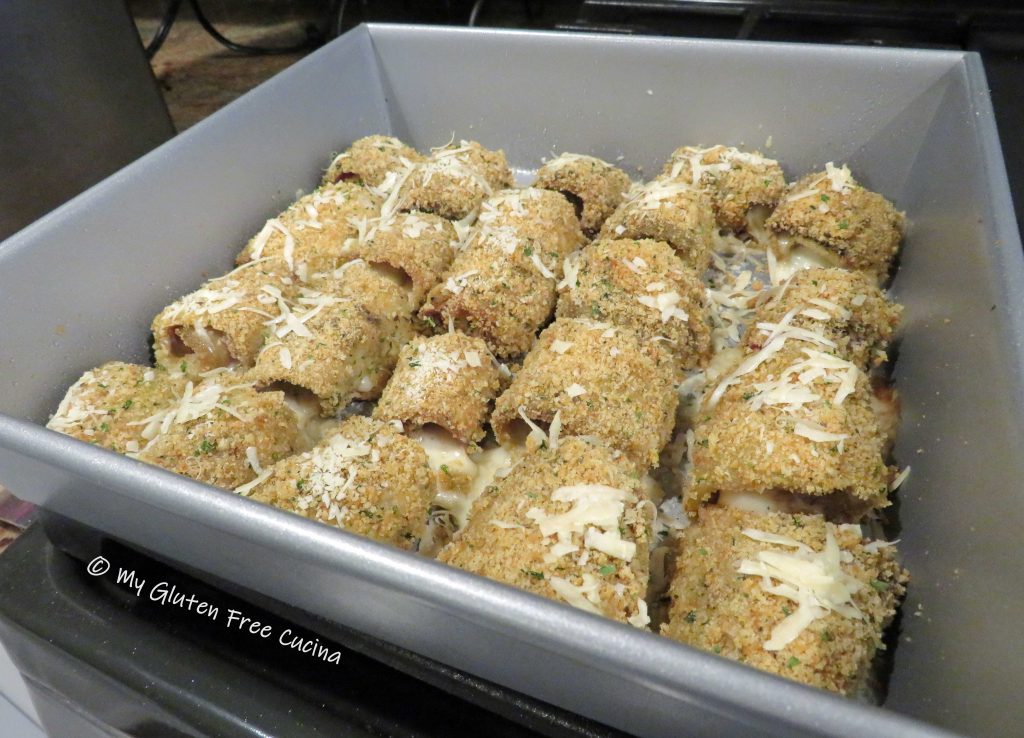
Mist a clean square baking pan with cooking spray.  Using your fingers, carefully pick up one bundle at a time and dip it in the egg, shaking off the excess.  Roll in breadcrumbs and place seam side down in the clean baking pan.  Continue until all the bundles are breaded.  Be sure to remove all toothpicks before baking.

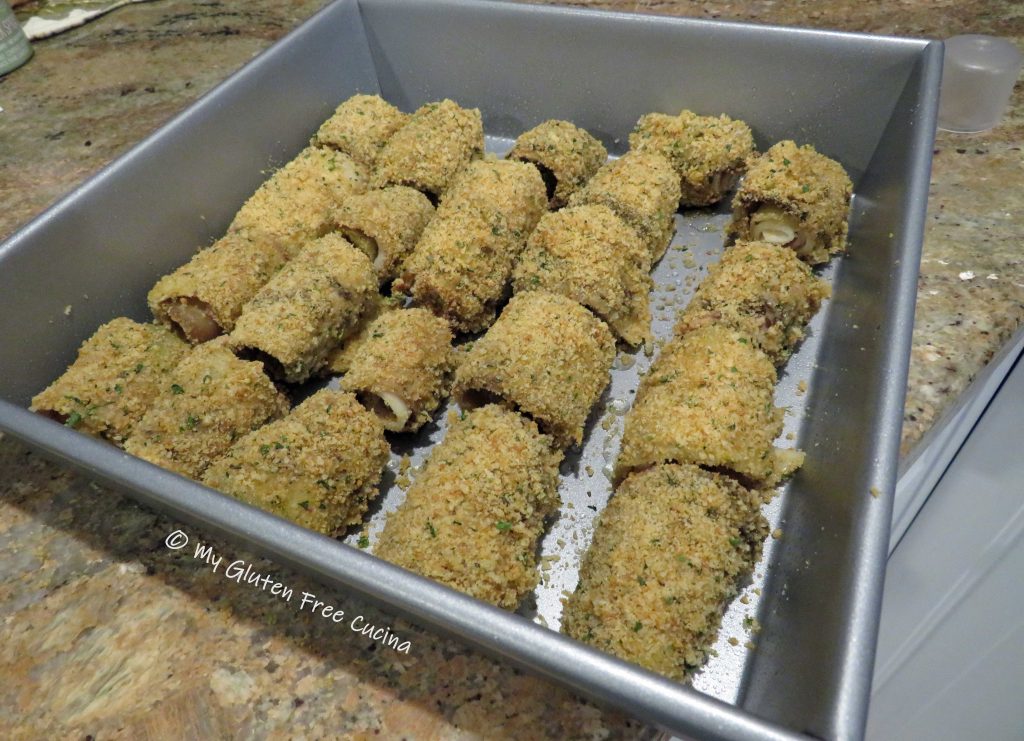
Sprinkle with Parmesan cheese and bake for 25 minutes.

Finish with a drizzle of your favorite BBQ sauce and serve immediately or reheat just before serving.

Notes ♪♫ Most of the ingredients in this recipe are naturally gluten free.  Be careful when purchasing cold cuts.  Look for gluten free brands like Boar’s Head and be sure that they have a dedicated slicer for gluten free products at the deli.  For the breading, I always use Aleia’s Gluten Free Italian Breadcrumbs.  They are just the best!

Originally published 12/31/2019            Updated 12/27/2023


Print This Post Print This Post

Gluten Free Raspberry Thumbprint Cookies

Credit for this recipe goes to Chef Patrick Auger, who I consider to be THE ORACLE of gluten free baking.  He shared a bit of his expertise with me on how to achieve the perfect gluten free thumbprint (hint: if you don’t have a scale go and order one now!).  Thanks Patrick!  Now, without further ado, Gluten Free Raspberry Thumbprint Cookies!

This post contains affiliate links.

Yield: 24 cookies

Ingredients:  

  • 1 stick of unsalted butter, softened (see hint below)
  • 70 g. (1/3 cup) granulated sugar
  • 1/4 tsp. vanilla extract
  • 187 g. gluten free all-purpose flour (I used Better Batter Original)
  • 1/8 tsp. salt
  • 1 tbsp. water (may be needed to bring dough together)
  • egg whites for brushing (optional)
  • gluten free raspberry jam (I used Smucker’s)

Hint: Don’t have time to wait for butter to soften at room temperature?  Me either.  Here’s how to get the perfect consistency every time.  Stand your butter on a plate, cover with a glass and microwave 20-30 seconds.  Perfectly softened butter every time!

Preparation:

Cream together the softened butter and sugar in the bowl of a stand mixer with the paddle attachment.  Add the vanilla.

Weigh the flour, this is critical to achieving the right dough.

Add the flour and salt to the mixer bowl and continue beating until the dough comes together.  You may have to add up to 1 tbsp. water.

Turn the dough out onto a cutting board and press into a disc.

Wrap in plastic wrap and refrigerate 15 minutes.

Line one or two baking sheets with parchment or use a silicone baking mat.

I was determined to make perfectly uniform sized cookies, so I weighed the dough and divided by 24, it came to about 15 g. each.  If you’re a perfectionist like me, you can weigh them or if not just eyeball it!

Roll each piece of dough into a ball and flatten slightly.  Place them on the cookie sheet about 3 inches apart.

Instead of my big old thumbs, I used a 1/8 teaspoon to make the indentations.

I brushed the cookies very lightly with egg white, but this step is optional.  I used the same 1/8 teaspoon to fill the indentations with jam, perfect fit!

Next, refrigerate the cookies again while you preheat the oven to 350º.

Bake for 20 minutes.  Remove from the oven and let the pan cool for 5 minutes before transferring the cookies to a cooling rack.  Try not to eat them all at once!

Notes for success:

Use Better Batter Original gluten free flour 😉

Weigh your flour (use a scale)

♪♫ Follow Chef Patrick on Facebook and Instagram

♫♫ Use my code MGFC30 for 30% off any full price purchase at Better Batter!


Print This Post Print This Post

Gluten Free Almond Biscotti

Biscotti are at the top of my list of treats to bake for Christmas visits and gifting.  Everyone loves this traditional Italian cookie, even Santa!

Before my Celiac diagnosis, I would bake biscotti every Christmas for my family, friends and co-workers.   I had truly missed this tradition, and so I resolved to make a gluten free biscotti with all the flavor and texture of my old recipe.

There are so many variations of biscotti, but this almond and dark chocolate combo is my favorite.  If you bake only one cookie for Christmas, let it be this one!

Almonds, almond flour and almond extract deliver a triple punch of flavor in these beloved Italian treats.  And you will be surprised at how easy they are to make!

This post contains affiliate links.

Ingredients:

  • 60 g. brown rice flour
  • 55 g. potato starch
  • 25 g. tapioca starch
  • 1 tsp. xanthan gum

OR

PLUS

Preparation:

Line a half sheet pan with parchment or use a silicone mat.  If using sliced raw almonds, you need to toast them first.  Just spread them in a single layer and bake for 5 minutes at 350º.  Watch that they don’t burn!  Set them aside in a bowl to cool down before adding to the batter.

If you have whole toasted almonds, you can skip this step and just blitz them a few times in an electric chopper.

Next, whisk together the dry ingredients (through nutmeg).  In the bowl of a stand mixer, cream together the butter and sugar, beat for 3 minutes.

Next add the eggs, one at a time with the almond extract.

Beat well for 1 minute then incorporate the flour mixture, just until moistened.  Last add the nuts and mix on low for a few seconds to incorporate.

Spread the dough onto the lined baking sheet in a log shape.

Use a spatula to smooth and pat it into a log, about 1/2″ thick.  Divide the log in 2 lengthwise (I used a dough scraper).  Run the spatula around the sides of the dough to smooth the rough edges.  Put the dough in the refrigerator for 20 minutes while you preheat the oven to 350º.

Then bake for 30 minutes.

I divided the dough along the crease before moving it to a rack to cool.

Probably the biggest difference between gluten free biscotti and those made with wheat flour is that instead of waiting 5-10 minutes before slicing you will need to cool it for a full 30 minutes.  You might be tempted to slice into it right away, but don’t do it or your biscotti will crumble to bits!  Allow the cookies to set for at least 30 minutes and your patience will be rewarded.

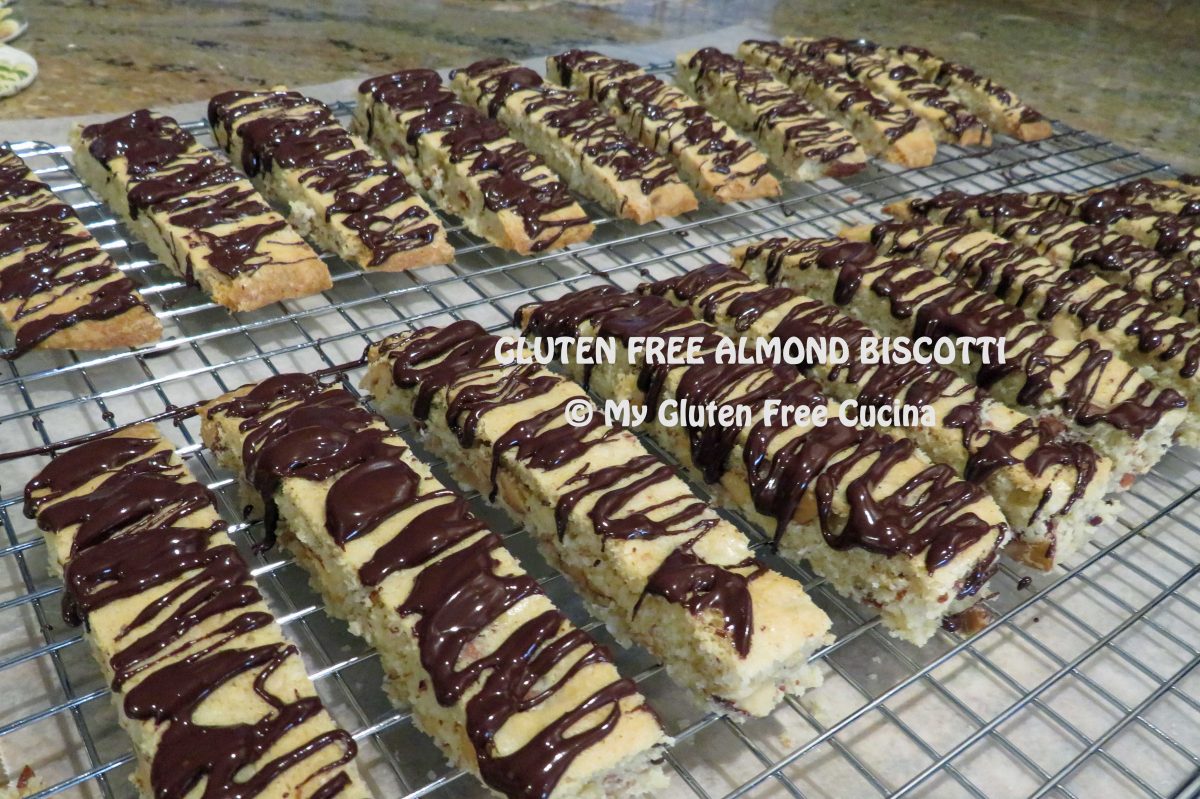
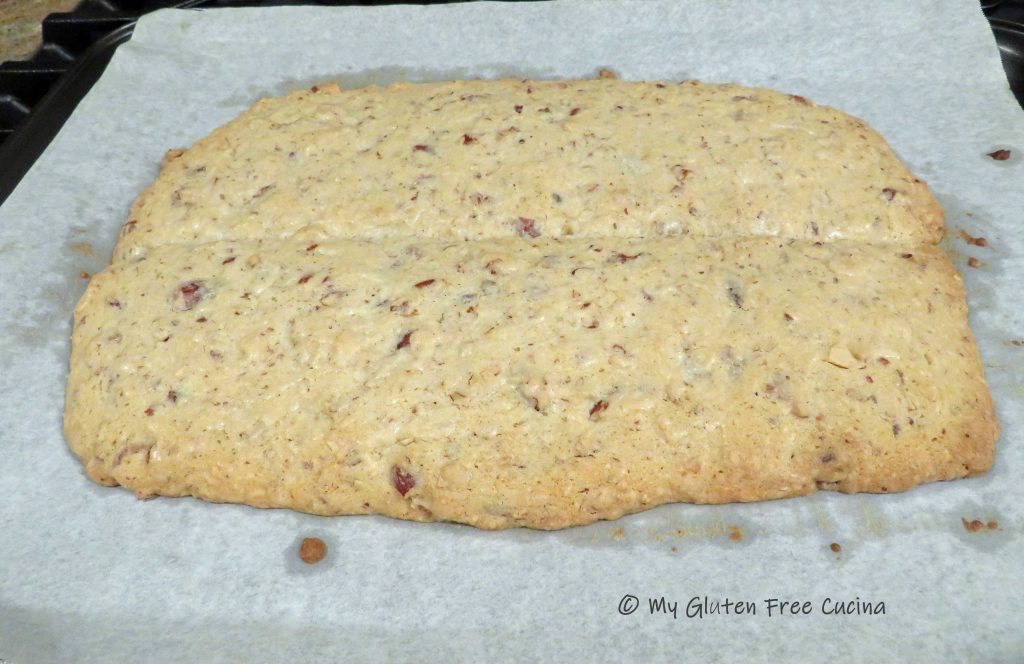
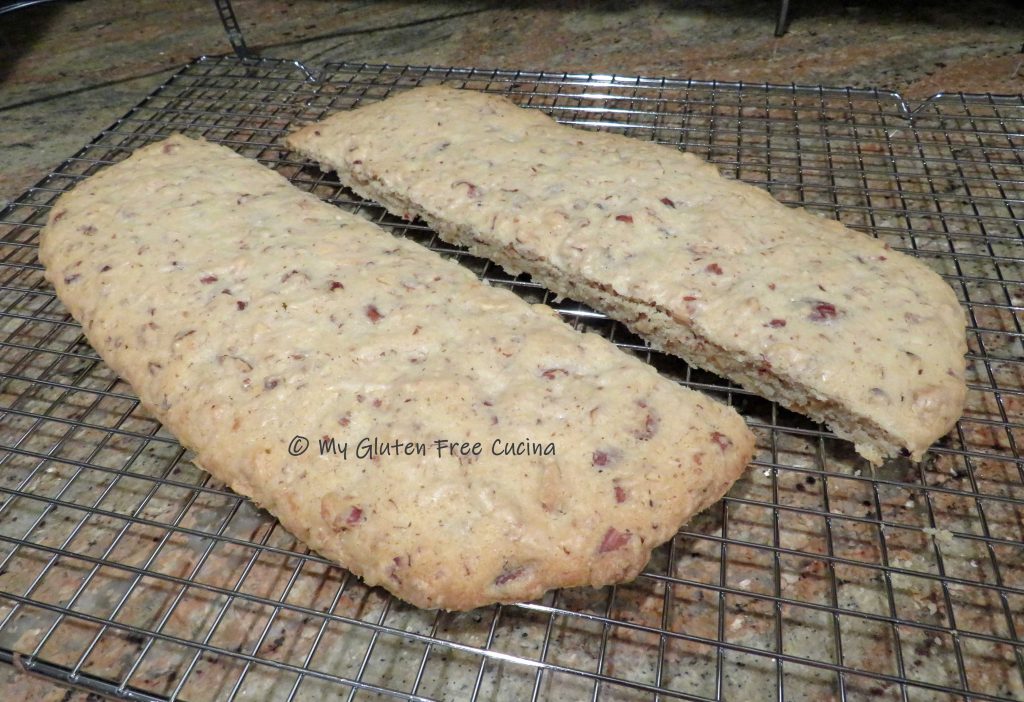
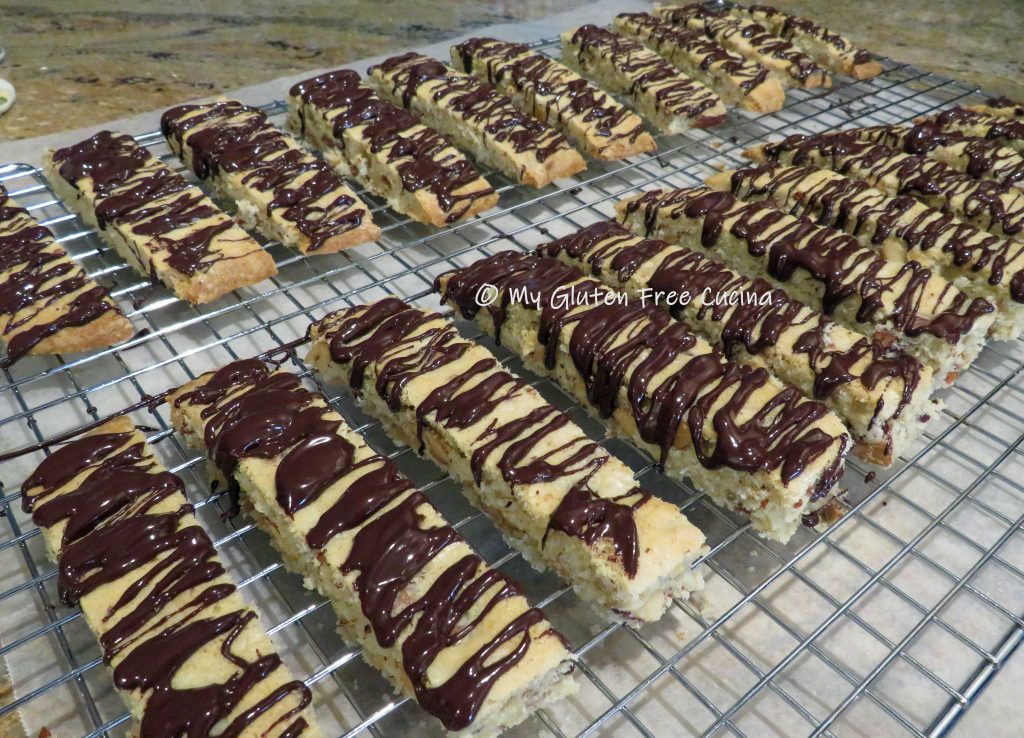
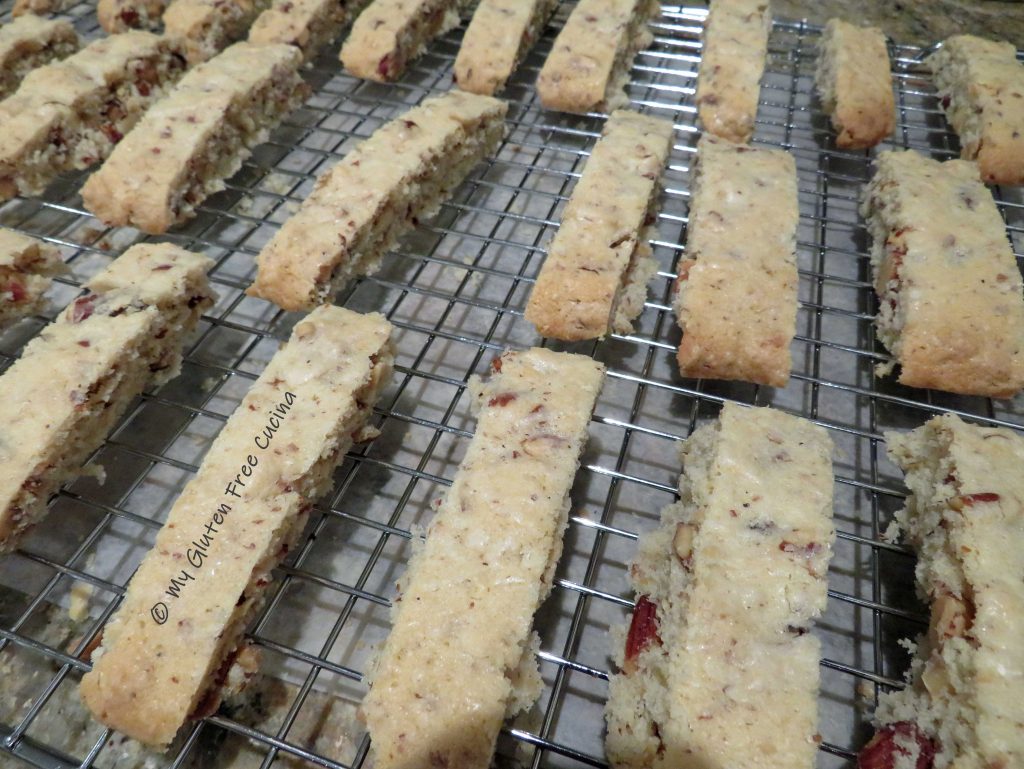
If you like a crisp, hard cookie (great for dunking) return the sliced biscotti to the baking sheet cut side up and bake for 10 minutes longer.

Before frosting, arrange the biscotti on a rack over a sheet of wax paper to keep the counter clean, and let them cool completely.  Melt the dark chocolate in a double boiler or the microwave.  I like to use a spoon or spatula to drizzle the chocolate in a zig-zag pattern over each cookie.

Let the biscotti stand at room temperature until the chocolate is completely set, then arrange on a platter.  If you are in a hurry, you can place biscotti in the refrigerator for 20 minutes to speed things up.

Now that you know how easy it is to prepare this holiday treat, start your own Christmas tradition and bake up a batch for gifting your family and friends.

Merry Christmas from My Gluten Free Cucina

Notes ♪♫ Since gluten free baked goods are notorious for crumbling, I find that using sliced almonds rather than whole helps the biscotti hold together with nice, clean slices.  Either way, they taste great!


Originally published 12/29/2019                 Updated 12/15/23

Print This Post Print This Post

Gluten Free Jordan Marsh Blueberry Muffins

If you are from the Northeast and of a certain age, you will no doubt remember Jordan Marsh, the iconic department store.  It was my mother’s favorite store back in the day, and I vividly recall buying one of my prom dresses there, 50 years ago (eek!).

Before food courts and fast food, the Jordan Marsh Bakery was a popular destination for shoppers to refuel and continue on with their day, i.e., you didn’t have to go home if you got hungry- smart!

Although the store chain closed in the 1990’s, their Blueberry Muffins remain legendary to this day.  I recently read an interesting article about the origins of this recipe in the New York Times, which claimed it was adapted from an 1847 cookbook called The New England Economical Houskeeper and Family Receipt Book.

Wherever its origin may have been, the muffins are not only delicious, but only require a substitution of one ingredient to be gluten free.  How about that?

This post contains affiliate links.

Ingredients:

  • 300 g. (about 2 cups) Better Batter Original Gluten Free Flour
  • 1/2 tsp. salt
  • 2 tsp. baking powder
  • 1/2 cup milk (I used 2%)
  • 1 stick of unsalted butter, softened (not melted)
  • 1 cup of sugar
  • 2 large eggs
  • 1 tsp. vanilla extract
  • 6 oz. package (1 cup) fresh blueberries

*** Get 30% off your full price purchase at Better Batter when you use my code MGFC30 at checkout! ***

Preparation:

Take the butter out of the refrigerator and let it soften at room temperature.  Mist a 12-cup muffin pan with cooking spray and preheat the oven to 375 degrees.  Rinse and dry the blueberries on a clean dishtowel.

In the bowl of a stand mixer, cream together the softened butter and sugar with the whisk attachment.  Add the eggs and vanilla extract and beat until well combined.

In a separate bowl, whisk together the flour, salt and baking powder.  Reserve 1 tbsp. to sprinkle over the blueberries.

Add the dry ingredients to the mixer bowl along with the milk and combine with the paddle attachment until moistened.

Crush half of the blueberries with a fork and fold into the batter with the remaining whole blueberries.

Let the batter rest for 20 minutes, then spoon it evenly into the prepared muffin pan.  Dip a small spatula in warm water and use it to smooth out the tops.  If you like, you can sprinkle the tops of the muffins with more sugar.

Bake for 25 minutes at 375 degrees.  Test with a toothpick.  Cool in the pan for 10 minutes then transfer to a rack.  Let them stand at room temperature for at least 4 hours.  I’ve got my eye on that big one in front!

Muffins can be reheated in the microwave for 30 seconds.  Leftovers (if you have any!) can be frozen for an easy breakfast.

Notes ♪♫ For muffins and quick breads, I use and recommend Better Batter Original Gluten Free Flour.  Most recipes can be converted at 120-150g. per cup.  If you use a different brand, be sure that your flour contains xanthan gum.  Even if you do not weigh any of your other ingredients, I encourage you to invest in a kitchen scale to weigh the flour.

Print This Post Print This Post