Gluten Free Chicken Adobo

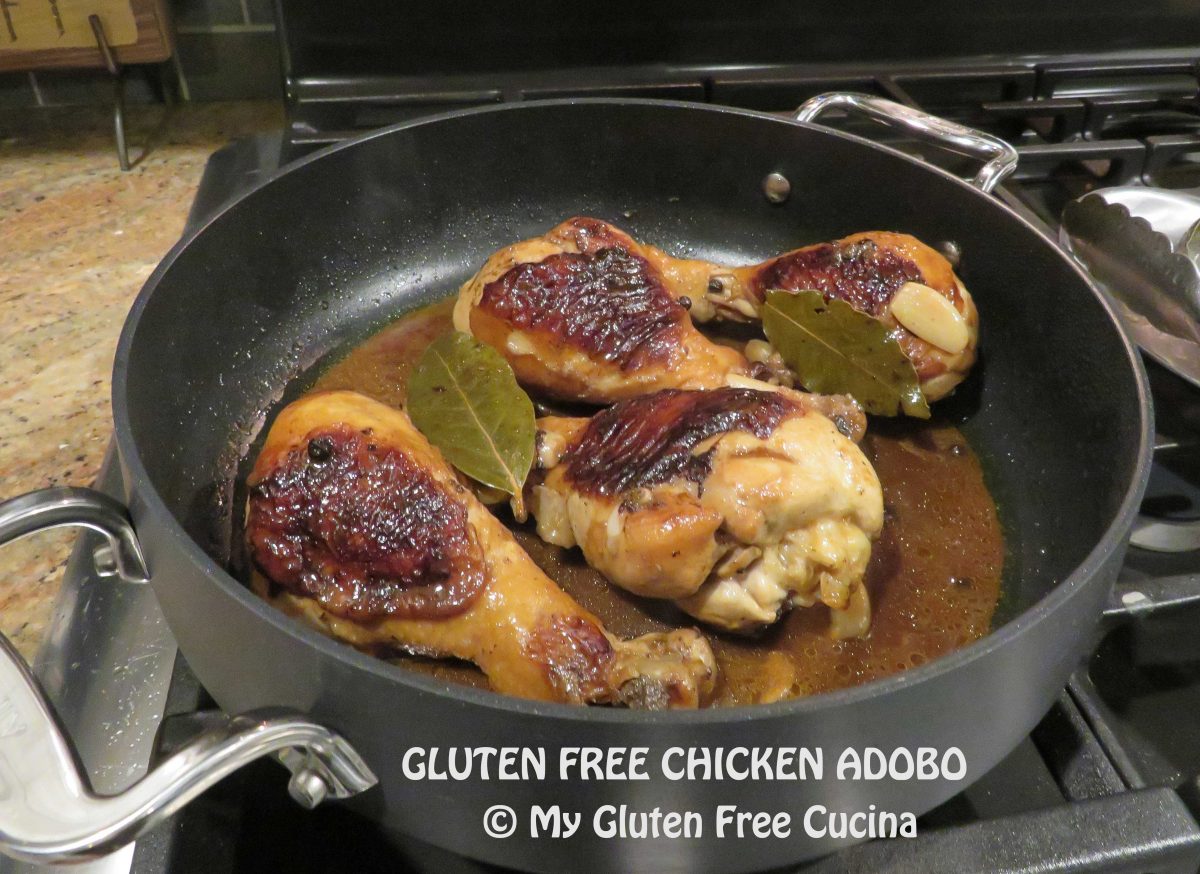
Chicken Adobo is a traditional Philippine dish made with pantry staples.  Vinegar, soy sauce, garlic, peppercorns, and bay leaves are used to create a marinade.  The chicken is marinated, then simmered in the same marinade on the stove top until the meat is cooked through.

Is Chicken Adobo gluten free?

The only gluten containing ingredient in a traditional Adobo marinade is the soy sauce.  By replacing it with either Tamari or Coconut Aminos, the dish is completely gluten free.
4 Servings (can be doubled)

Ingredients:

  • 3 tbsp. red wine vinegar
  • 2 tbsp. coconut aminos
  • 3 garlic cloves, crushed and skins removed
  • 1/2 tsp. whole black peppercorns
  • 2 bay leaves
  • 1 tbsp. olive oil
  • 4 pcs. chicken legs or thighs (about 1 lb.)
  • 1/2 cup water
  • 1 tsp. brown sugar

This post contains affiliate links.
Preparation:

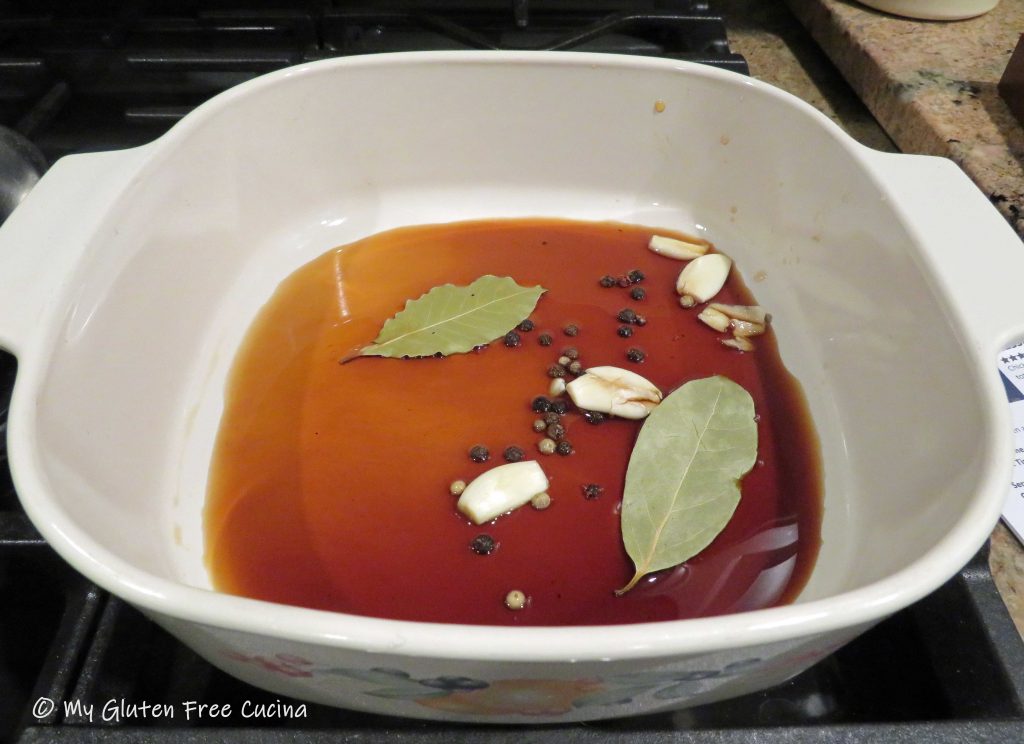
Whisk together the first 6 ingredients, vinegar through bay leaves.  Add the chicken, cover and marinate 1 hour at room temperature, turning every 15 minutes.

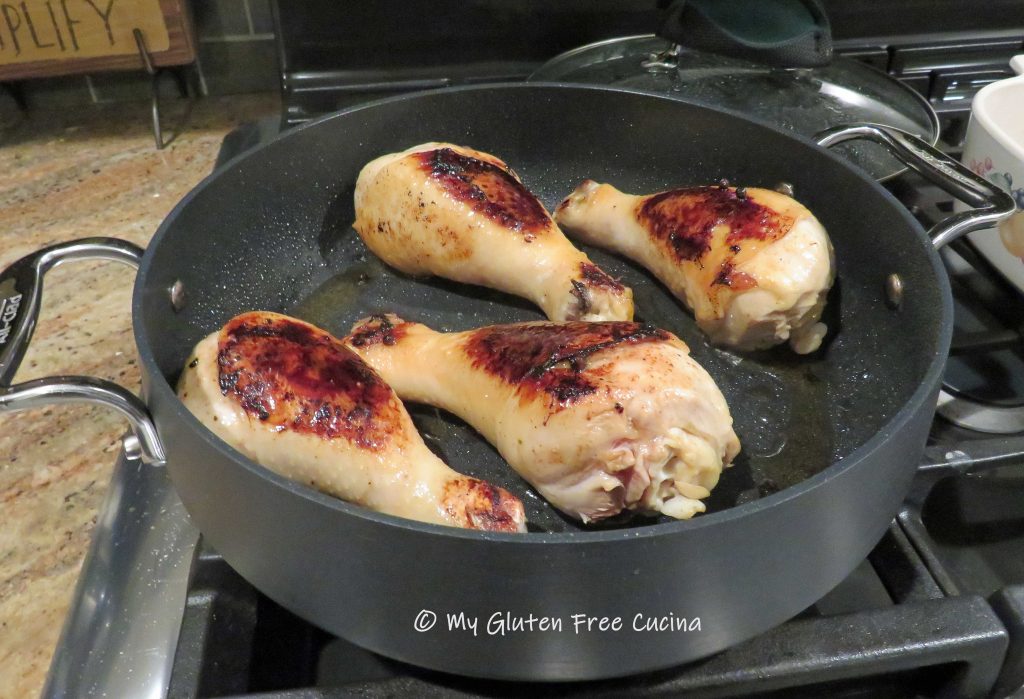
Add olive oil to a deep skillet or Sauteuse pan over medium heat.  Brown the chicken on all sides.

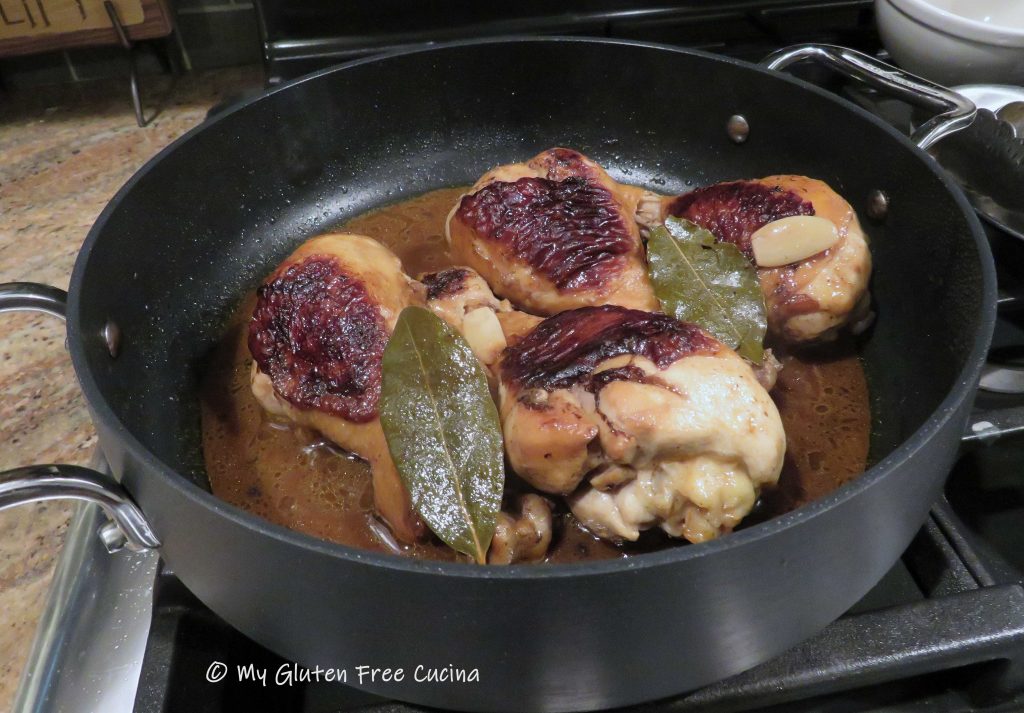
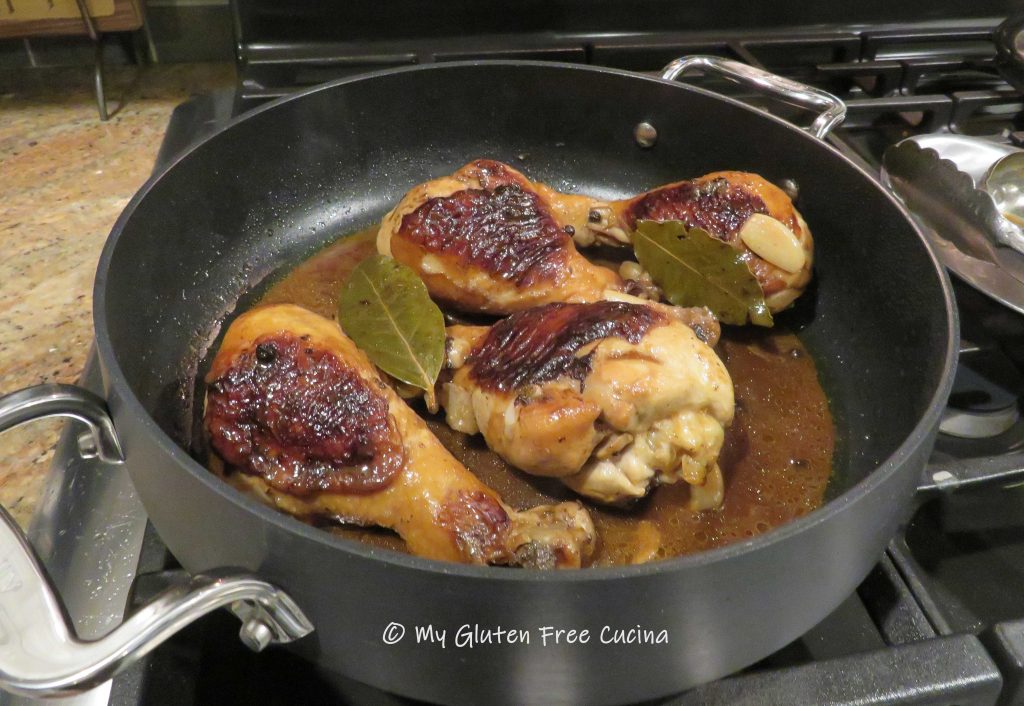
Stir in the water and reserved marinade.  Cover and simmer on lowest heat, 60-90 minutes depending on size, turning every 20 minutes.  When done, the chicken should easily pull away from the bone.
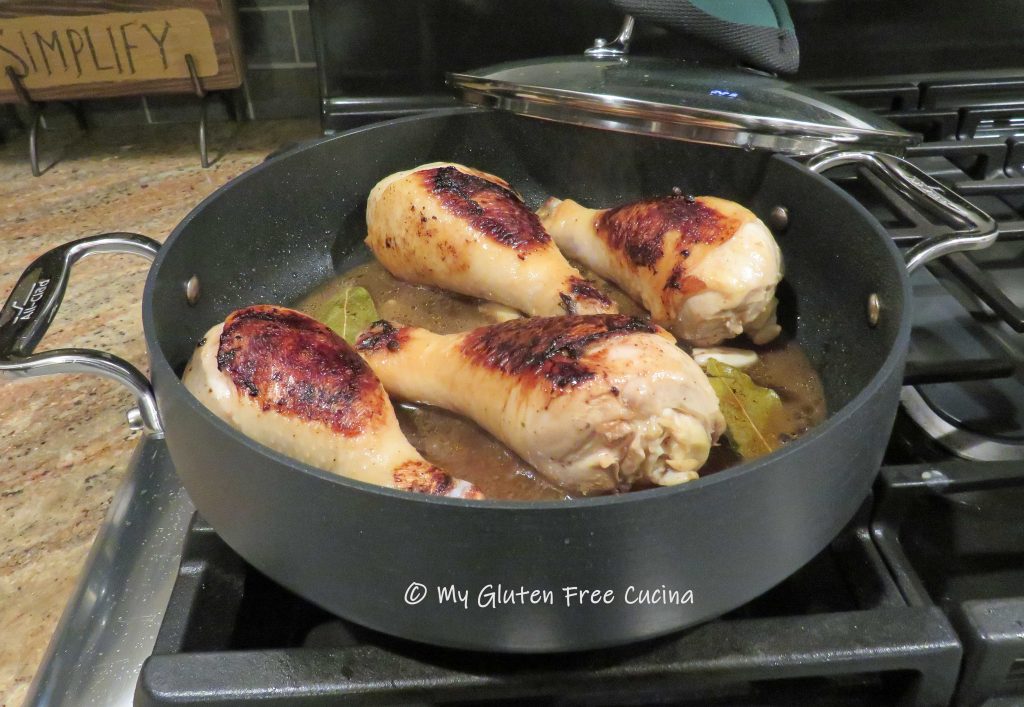
Take the lid off during the last 10 minutes of cooking to thicken the sauce.  Serve with rice.
Notes ♪♫ There are so many variations of this classic dish.  I used red wine vinegar, but many recipes say to use white vinegar.  It’s just a matter of taste.  I used Coconut Aminos, because it is much lower in sodium than Tamari.  If you are not limiting salt, then gluten free Tamari is a great substitute for soy sauce in gluten free recipes.

Print This Post Print This Post


Gluten Free French Meat Pie

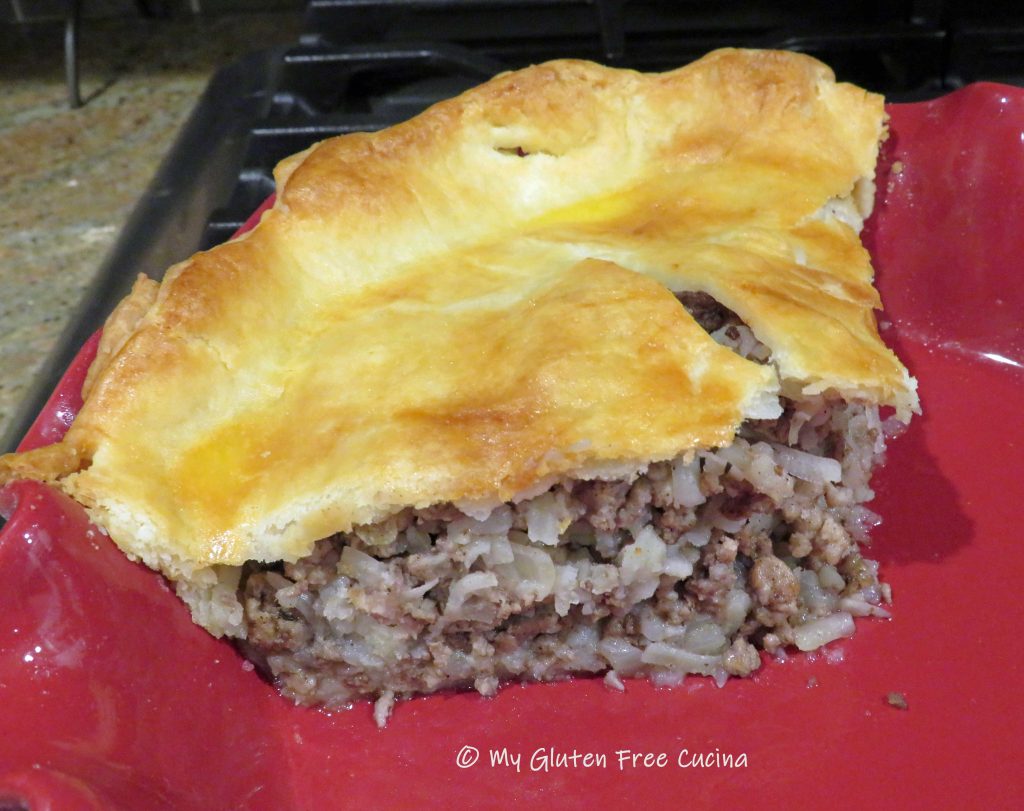
Over 20 years ago I clipped a recipe for French Meat Pie (Tourtière) from the local newspaper and have made it many times using a ready-made pie crust (remember those days?).  Everyone loved it!  Years went by, and like many of my old recipes, this one went by the wayside along with gluten.

I’ve had a yearning for this old favorite, and so I added it to my culinary bucket list.  Here’s what I love about this recipe…

This post contains affiliate links.

The filling.

The most time-consuming part of this recipe is peeling and shredding the potatoes then pressing out the excess liquid.  I took a shortcut and used frozen shredded hash browns; I always have them on hand in my freezer pantry.

The pie crust.

This beauty of a pie crust was made with my favorite little miracle in a bag, Better Batter Original Gluten Free Flour.  If you have not tried this flour, seriously go and get yourself a bag, and be sure to use my code MGFC30 at checkout for 30% off your non-sale item!  Get the crust recipe here.

Ingredients:

  • 2 Gluten Free Pie Crusts
  • 12 oz. lean ground beef
  • 12 oz. ground pork
  • 3 cups (9 oz.) frozen shredded hash browns, defrosted
  • 1 cup onion, cut into 1/4″ dice
  • 1 tbsp. minced garlic
  • 1 tbsp. olive oil
  • 1/2 tsp. mustard powder
  • 1/4 tsp. thyme
  • 1/4 tsp. sage
  • 1/8 tsp. ground cloves
  • 1/8 tsp. ground allspice
  • 1/8 tsp. cinnamon
  • 1/2 tsp. salt
  • 1/4 tsp. ground pepper (about 6 grinds)
  • 2 tbsp. water
  • 1 egg, beaten
  • 1 tsp. milk

Preparation:

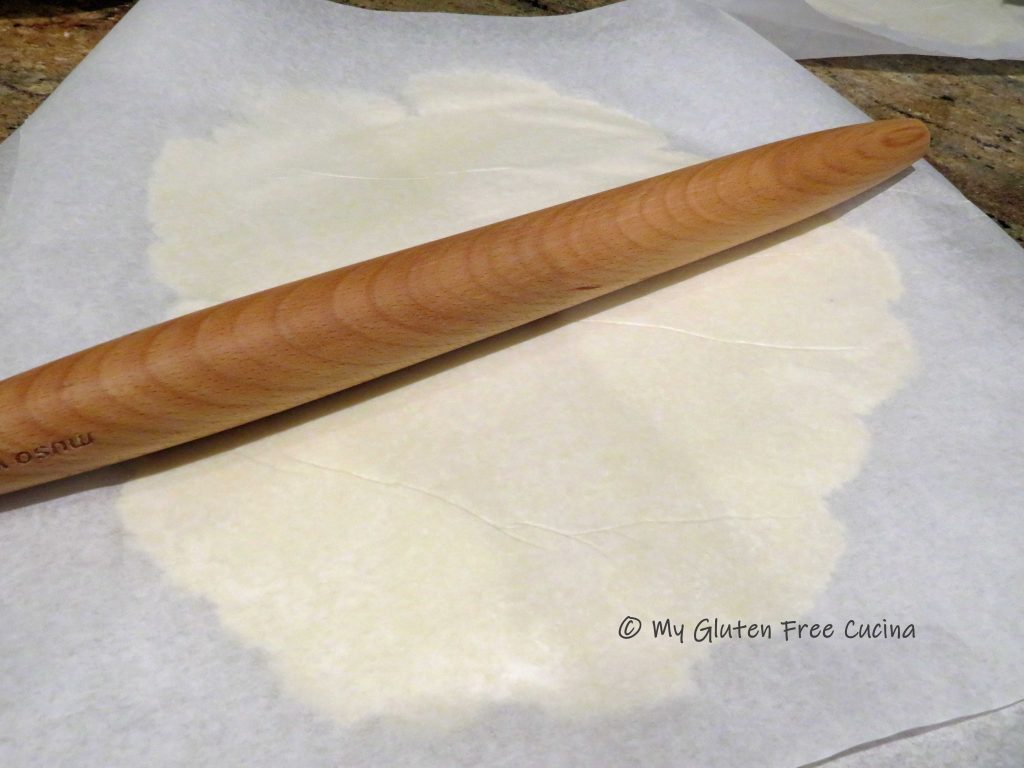
Roll out the pie crusts between 2 sheets of waxed paper.

Place one crust in the pie dish.  Trim away the excess and use it to patch any holes or tears in the dough (it happens!).  Cover with plastic wrap and refrigerate.  Place the other crust, with waxed paper on a baking sheet and refrigerate while you make the filling.

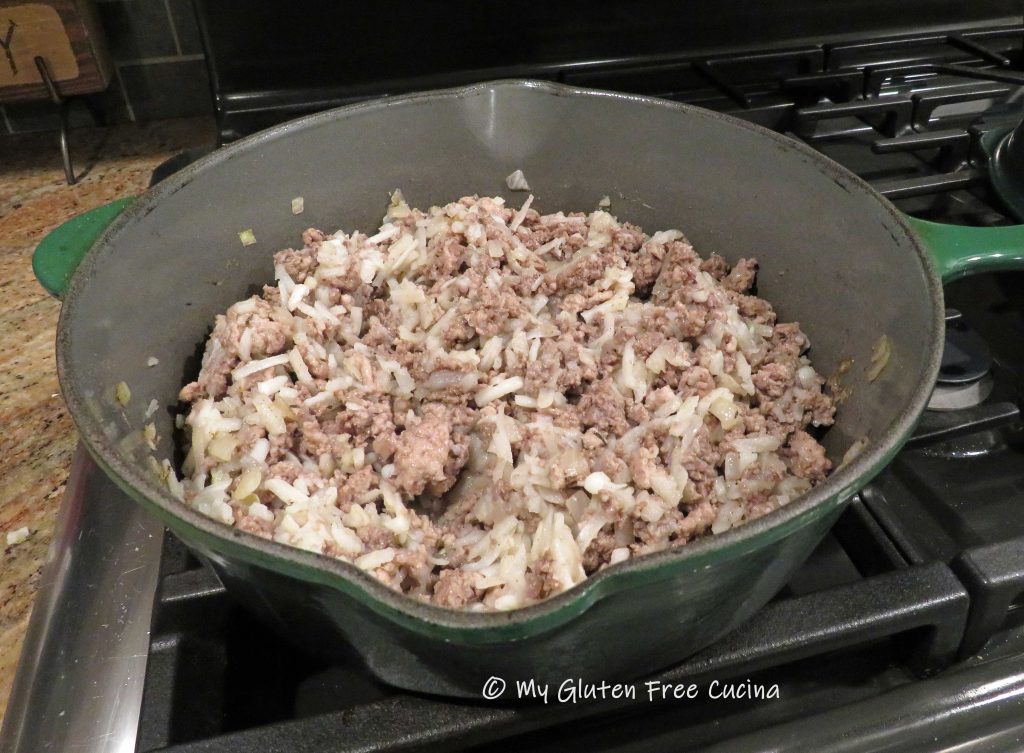
Heat olive oil in a deep heavy skillet over medium low.  Add the onion and cook several minutes until translucent.  Stir in the garlic and cook 30 seconds more.

Next add the ground beef and pork to the skillet and sprinkle with seasonings.  Break up the meat with a spatula and stir frequently until all of the meat is browned.

Stir in the hash browns with 2 tbsp. water and continue cooking on low 2-3 minutes longer.  Turn off the heat and let it cool 20-30 minutes.

Preheat the oven to 375º.  Remove pie crusts from the refrigerator.  Fill the bottom crust with the meat mixture, distributing it evenly.

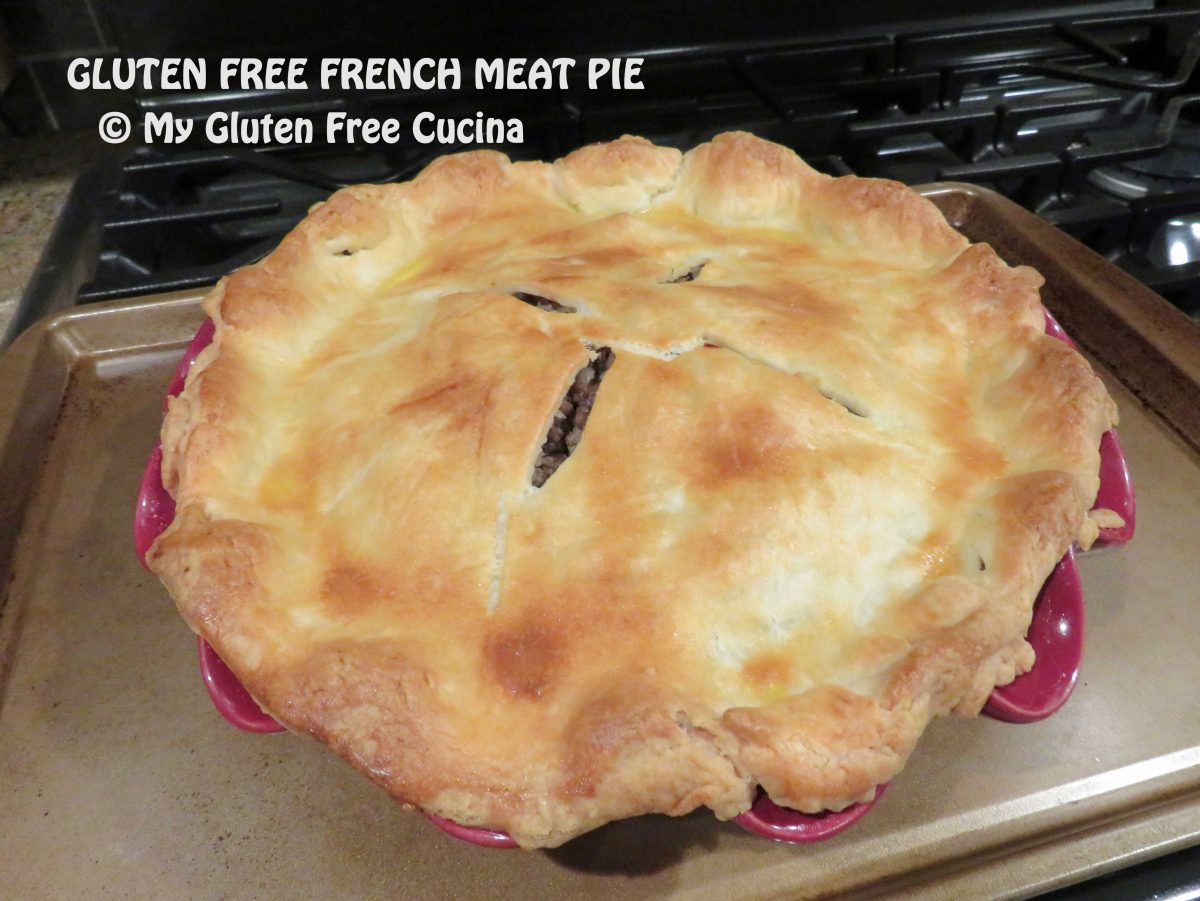
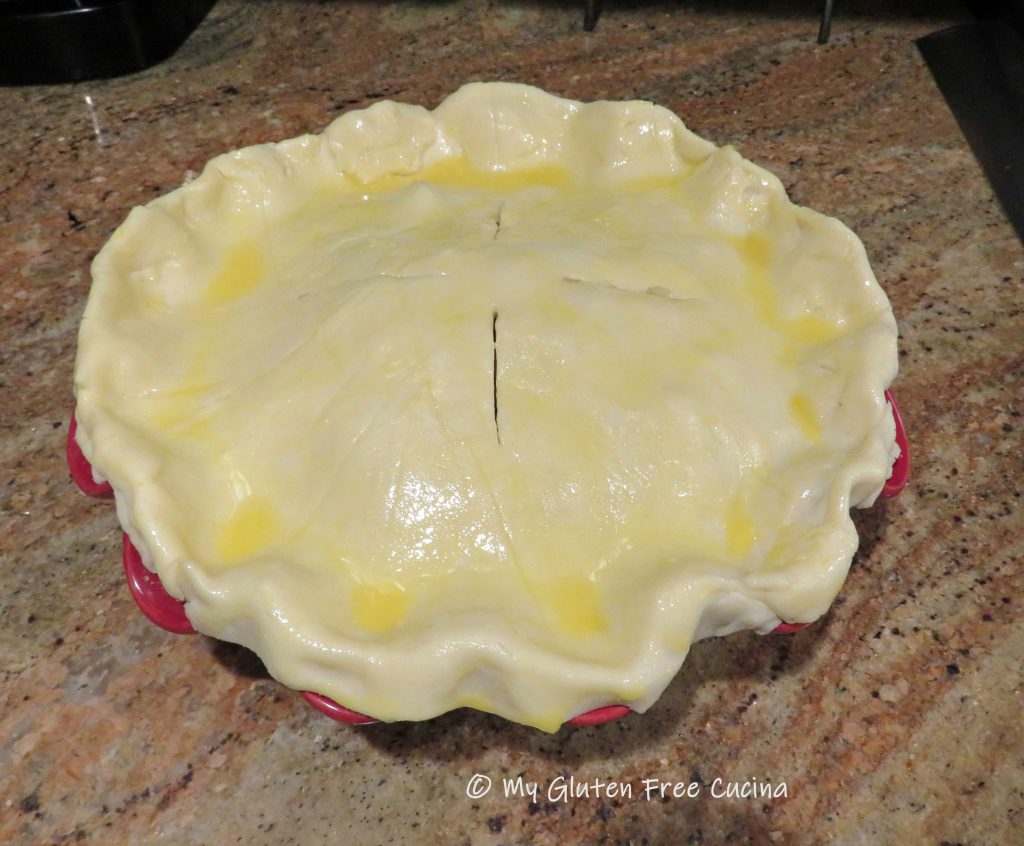
Top with the remaining pie crust, trim the edges and crimp.  It doesn’t have to be fancy (I’m definitely going to work on my crimping skills though)!

Use a sharp knife to cut slits in the top crust to vent steam.  Whisk the egg and milk, and brush over the top crust.

Place the pie dish on a baking sheet (in case anything spills) and bake 20 minutes on the lower rack of your oven.  After 20 minutes, move it to the middle rack and continue cooking 15 minutes longer.

Remove from the oven and let it rest 5 minutes, that is if you can wait!

This was SO good, just like the one I remember from years ago!  I promise your whole family will love it, and no one will know it’s gluten free!

Notes ♪♫ Convenience foods are great as long as you check the ingredients.  I used Ore-Ida frozen hash browns in this recipe, and they are labeled gluten free.

Print This Post Print This Post

Gluten Free Veal Stew with Peas (Spezzatino con Piselli)

This Italian classic is comfort on a plate!  A rich tender veal stew, slowly braised with mushrooms and peas in a light wine sauce.  It pairs beautifully with rice or pasta.

While veal can be quite expensive, veal stew meat is an economical cut that when cooked slowly over low heat becomes melt in your mouth tender.  No wonder this “peasant food” dish is so popular.

This post contains affiliate links. 

I used a 4-quart nonstick sauté pan for this one dish meal.  It was a gift (thank you Santa), but you can get one here!

4 Servings

Ingredients:

  • 3/4 lb. veal stew meat
  • 1/4 cup superfine rice flour
  • salt to taste
  • 4 tbsp. olive oil
  • 1 shallot, minced
  • 1/4 cup white wine (not cooking wine)
  • 1-1/2 cups gluten free broth (chicken or vegetable)
  • 2 tbsp. tomato paste
  • 1 cup sliced mushrooms
  • 1 cup frozen peas

Preparation:

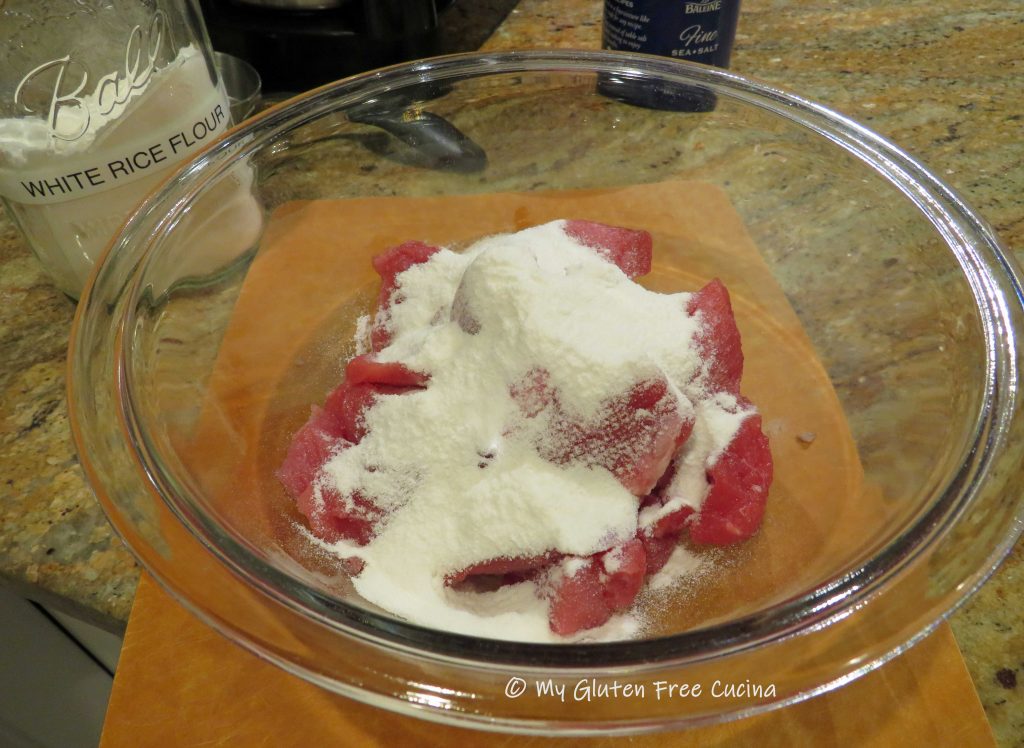
Season the meat and coat with flour.  You can use any gluten free flour, but for browning meat I like superfine white rice flour, (the finer grind assures your dish won’t taste gritty).  Save your expensive gluten free blends for baking.

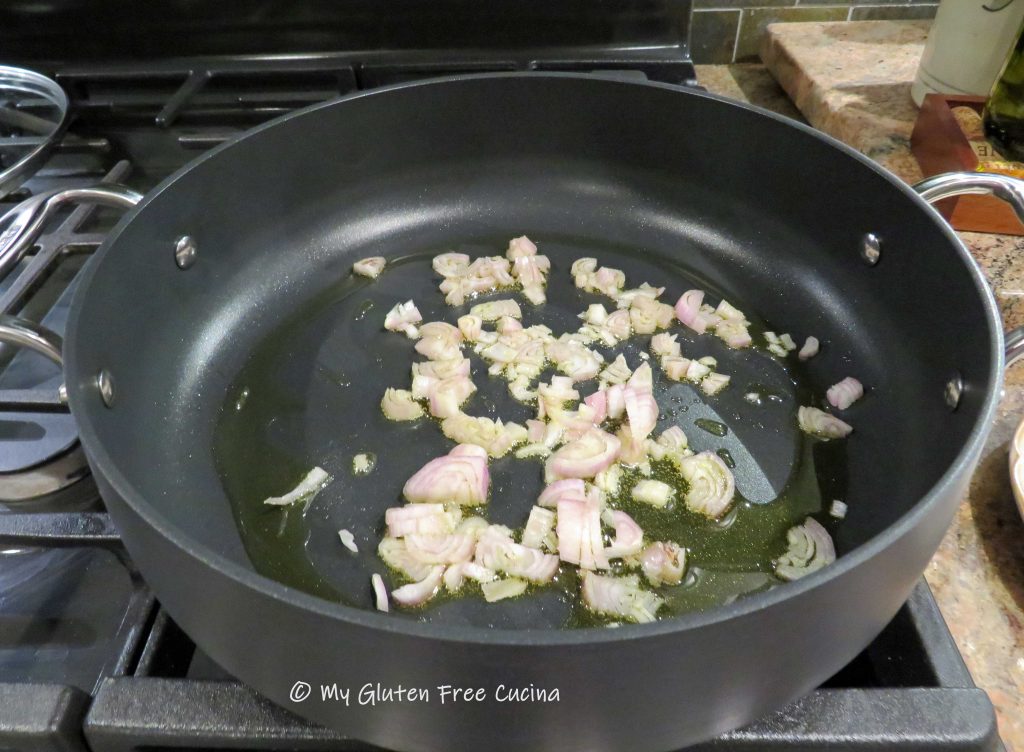
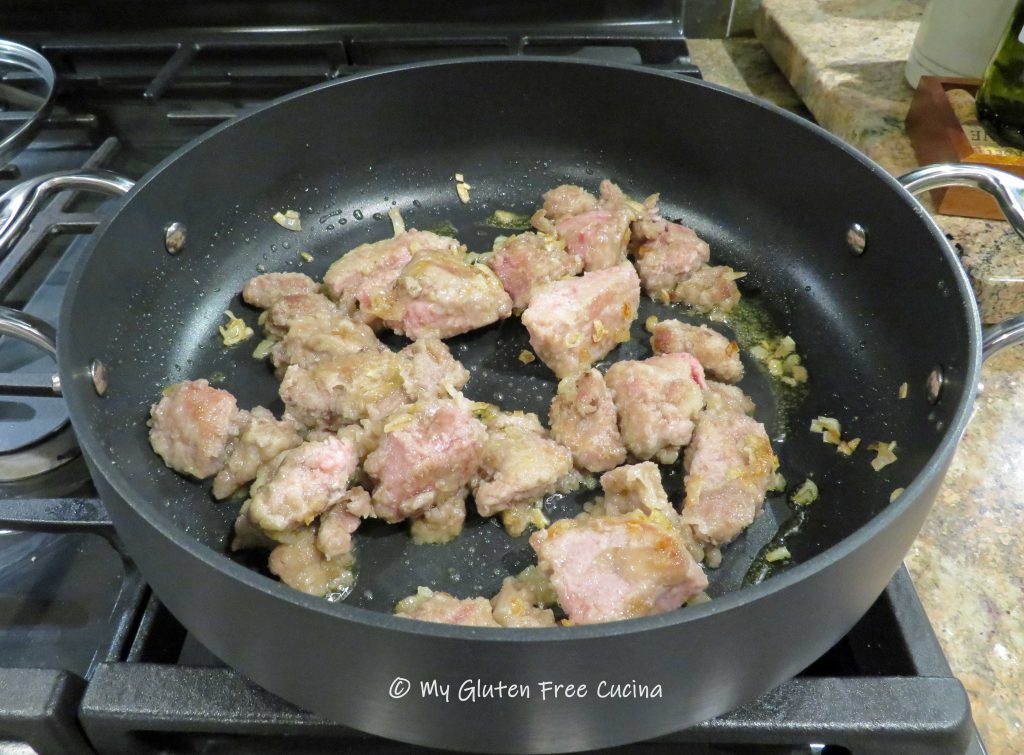
Heat olive oil in a large nonstick sauté pan and begin cooking the shallots.  Add the meat, leaving space in between.  Brown the meat about 5 minutes per side.

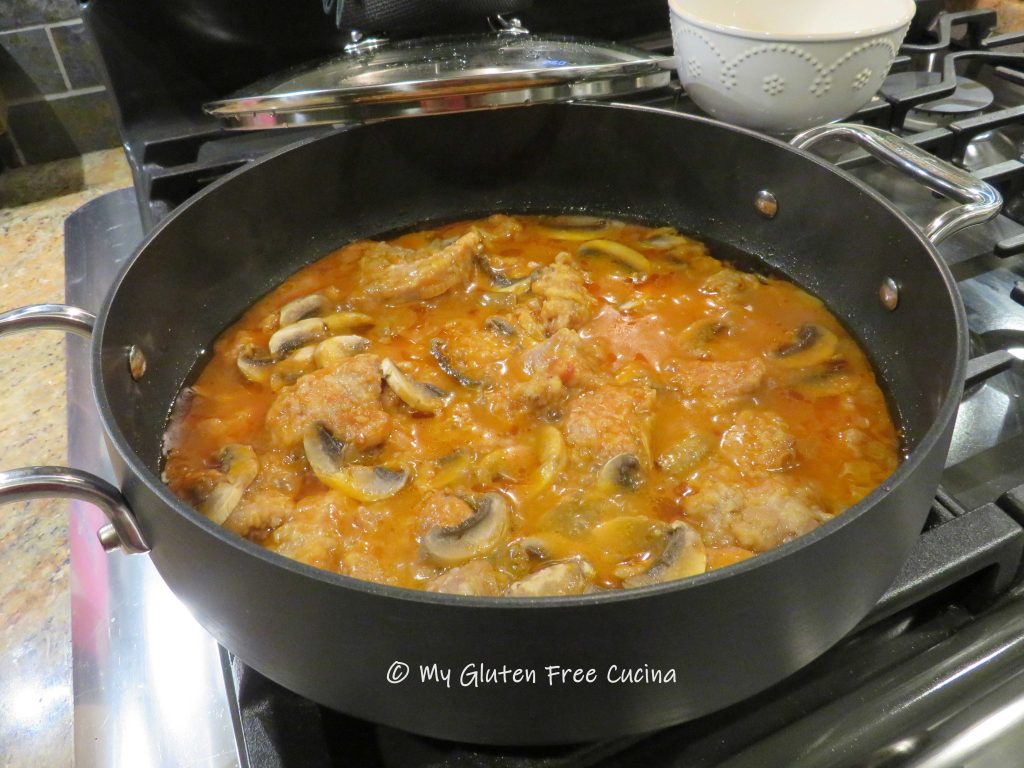
Add 1/4 cup of wine to the pan.  When it has almost evaporated stir in 1-1/2 cups of broth and 2 tbsp. tomato paste.  Cover and simmer on low for 90 minutes.

During the last 20 minutes of cooking add the sliced mushrooms, cover and continue simmering.

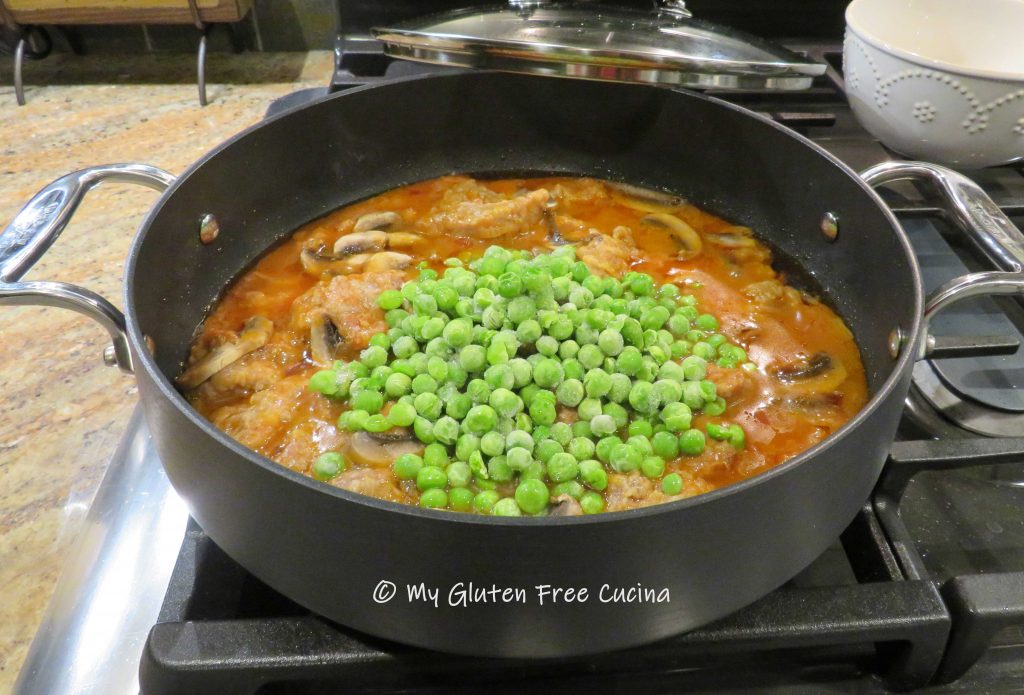
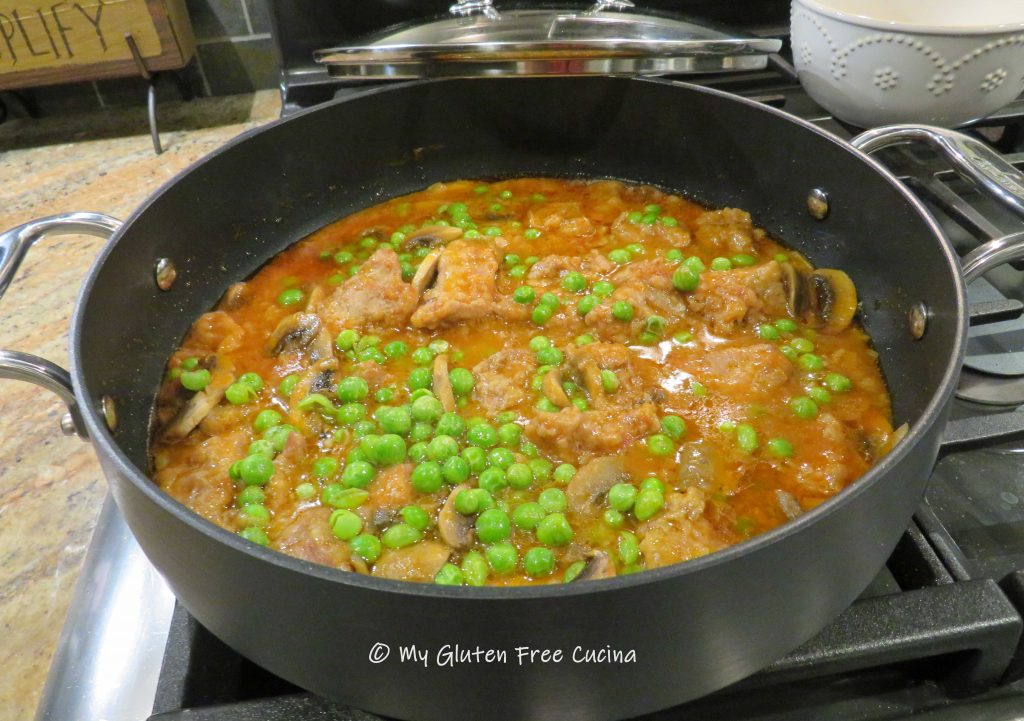
During the last 10 minutes of cooking add the peas, and finish cooking uncovered to thicken.
How to serve

This stew is great served over rice, pasta or polenta.  Here’s mine served over white rice.

Notes ♪♫ Like many of my recipes, this classic Italian dish required only one ingredient change to make it gluten free.  You don’t have to reinvent the wheel to follow a gluten free diet and still enjoy healthy, delicious food.

Print This Post Print This Post

Gluten Free Cream Cheese Pie Crust

Pie crust has always been my nemeses.  Gluten free or not, I just could never get the hang of it!  Before my Celiac diagnosis, when I wanted to make a pie, I would buy the refrigerated double pie crust dough in the red box (remember those?) and pretend that I made it myself! 🙂

Today, until someone comes up with a gluten free alternative that doesn’t cost a fortune, we need to make our own.

This beauty of a pie crust was made with my favorite little miracle in a bag, Better Batter Original Gluten Free Flour.  If you have not tried this flour, seriously go and get yourself a bag and be sure to use my Promo code MGFC30 for 30% off any non-sale item!

The recipe is an adaptation of a mainstream cream cheese pie crust made with wheat flour.  The only ingredient I changed is the flour.

You can make one crust, two, three or four at a time.  Use them right away or keep them in the refrigerator or freezer for when you want to bake.  Our own gluten free version of the red box!

Adapted from 12 Tomatoes

This post contains affiliate links.

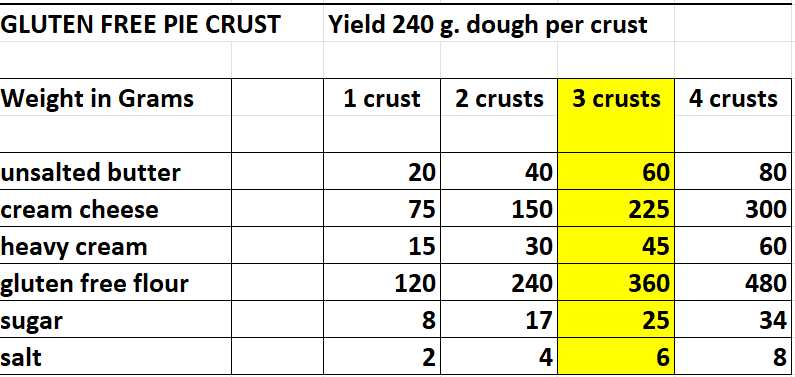
Ingredients:

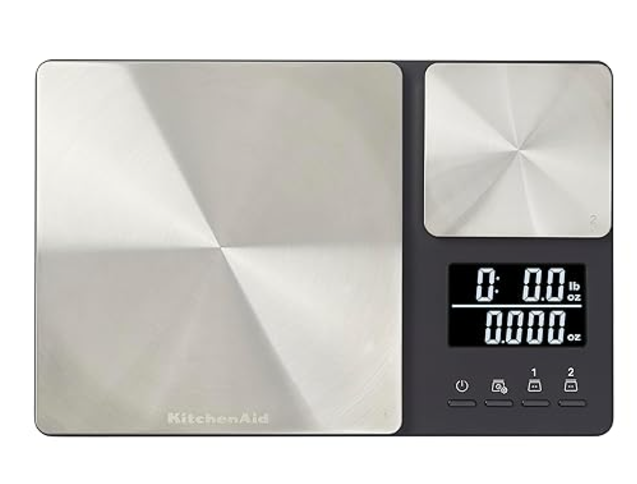
All ingredient weights are in grams.  USE A SCALE! *See notes

Preparation:

I like to make 3 crusts at a time, mostly because it uses up exactly one 8 oz. package of cream cheese.  I usually make one double crust pie and use the single crust for quiche.  At holiday time this is a win!

Let the butter and cream cheese soften at room temperature until you can mash them together with a fork (don’t microwave!).

In the bowl of a stand mixer, combine the softened butter, cream cheese and heavy cream.  Beat on low speed with the paddle attachment.  Add the flour, sugar and salt, and mix until well combined.

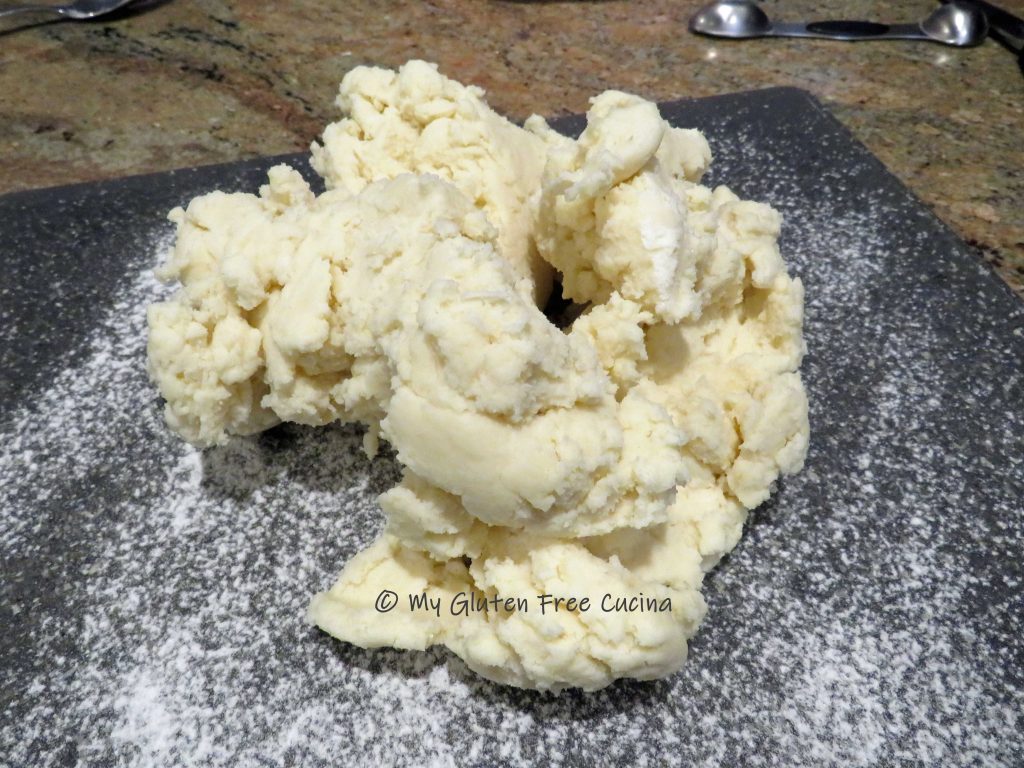
Turn the dough out onto a floured cutting board.

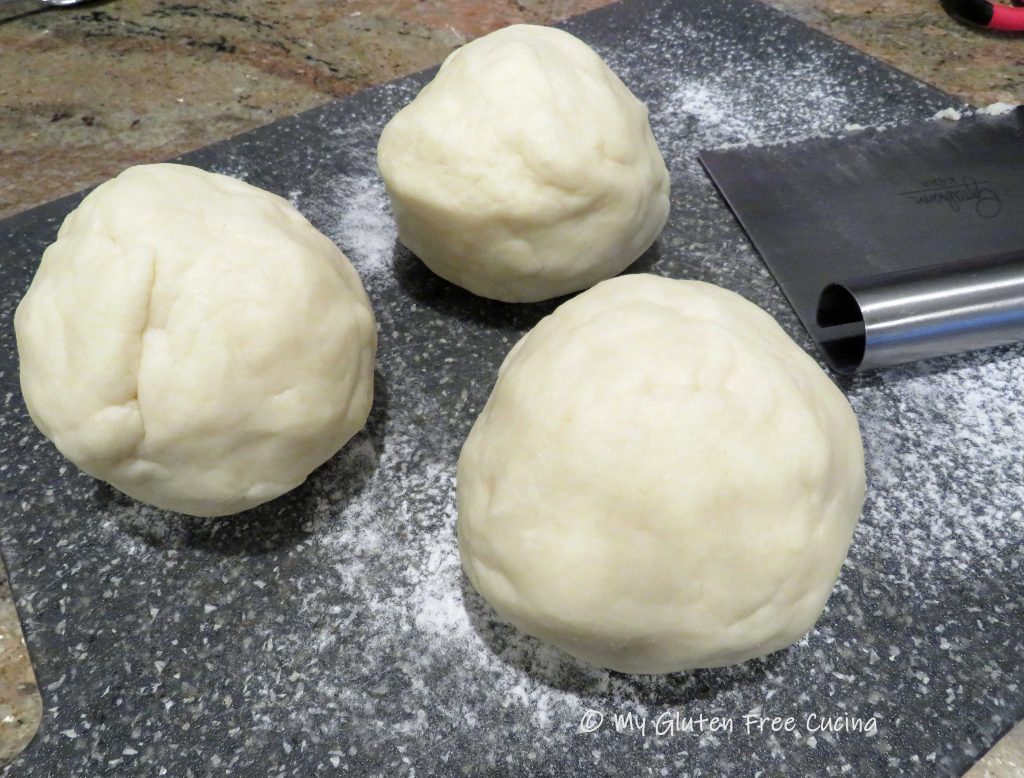
Bring the dough together into a ball.  If making more than one crust, use a bench knife to divide it into even portions, 240g. each.

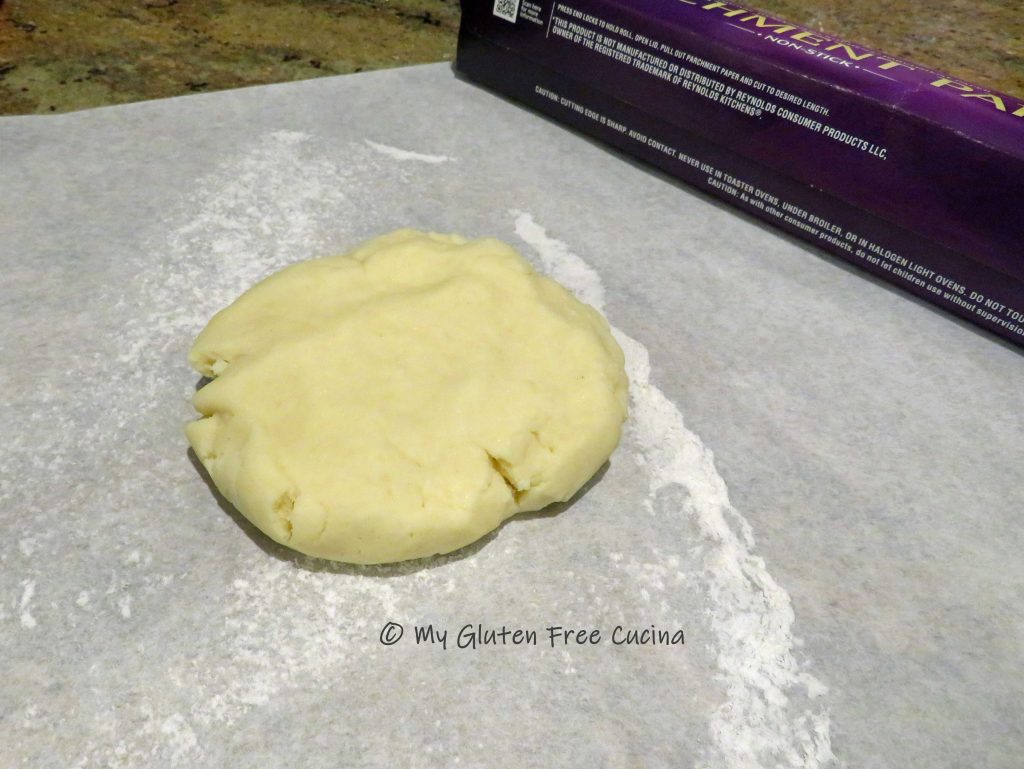
Press each portion into a disk.  That’s it!

Now you can either refrigerate or freeze your pie dough.  Wrap each portion in plastic wrap and store in freezer safe bags.

When you are ready to bake, take refrigerated dough out 30 minutes early (if frozen, defrost it in the refrigerator first).

Place on a sheet of lightly floured parchment and roll into a circle.

This dough rolls like a dream, but if you feel more comfortable, you can place a second sheet of parchment on top before rolling, this makes it easier to flip.

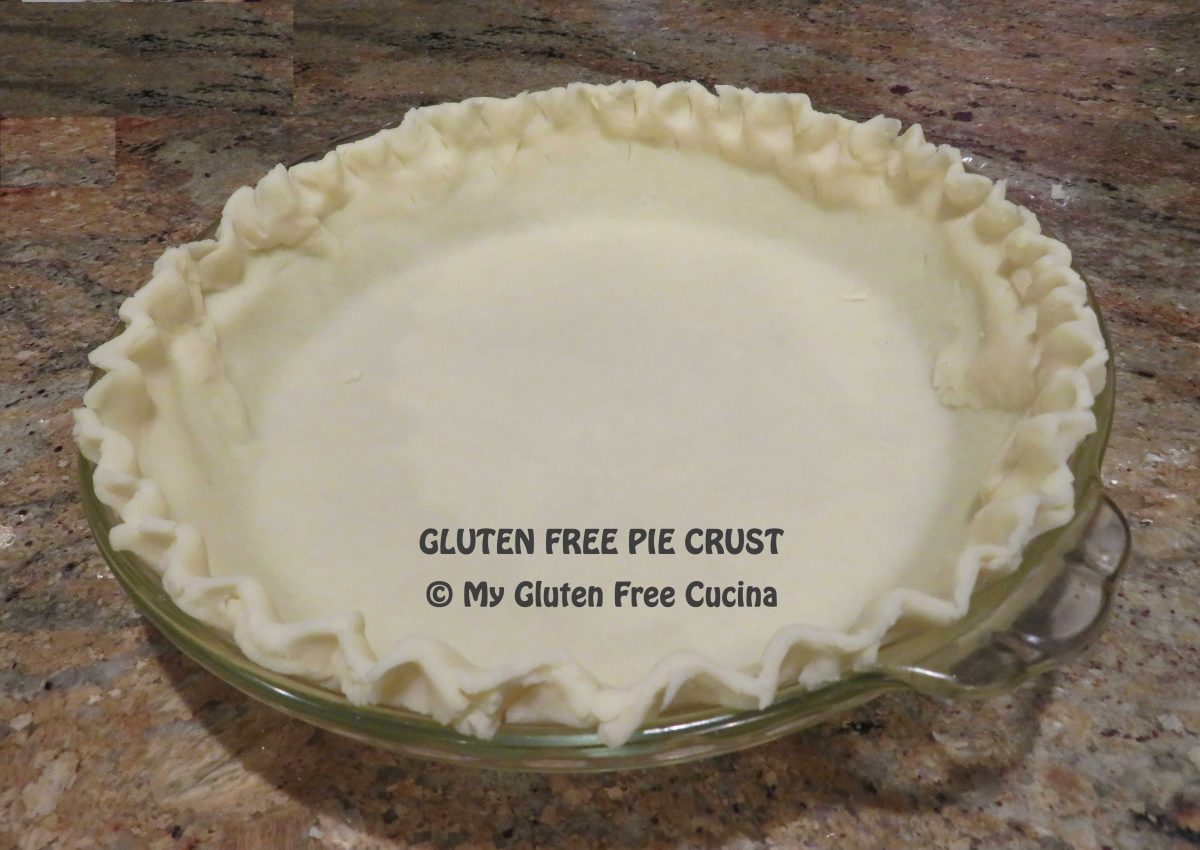
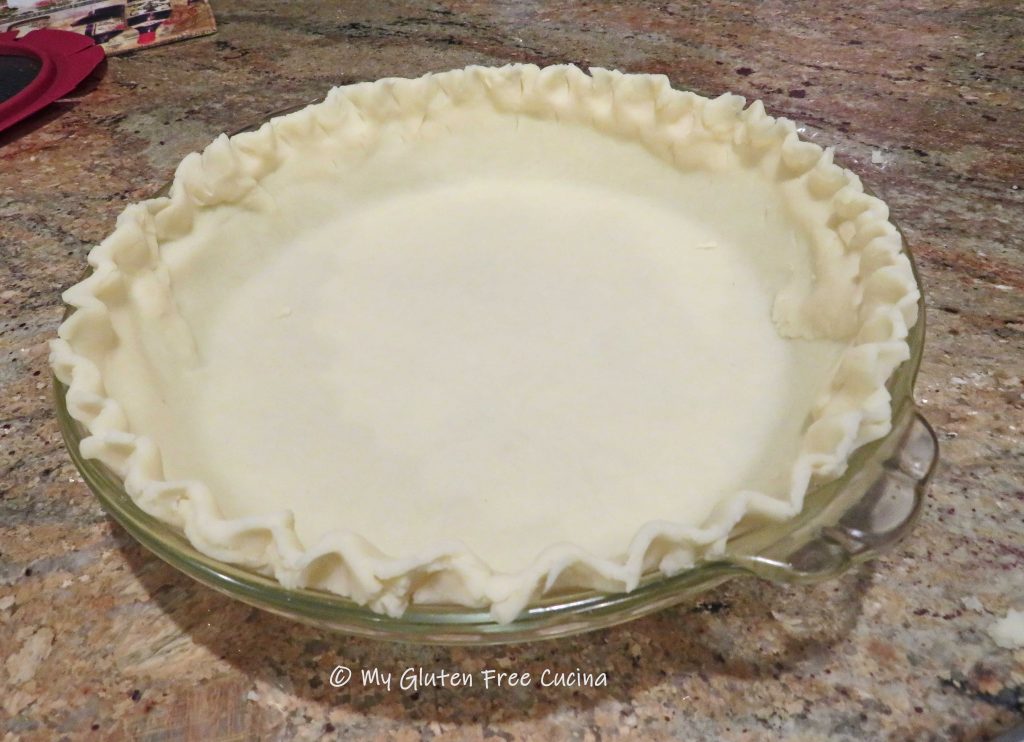
Remove one side of the parchment, turn and place your dough into a pie dish, trimming any excess around the edges.  It doesn’t have to be perfect, if the dough cracks you can pinch it together or use excess dough to patch any holes.

Now fold the edges under and crimp!

Imagine what you can do with an easy to make gluten free pie crust.  Dessert pies, savory pies, galettes, crostata, quiche, tarts?  My mind is racing, what will I make first?

Notes ♪♫ Some readers commented that my original measurements per pie crust were too confusing, so I have converted everything to weight in grams.  I hope this will simplify the process and make it easier to follow.

Print This Post Print This Post