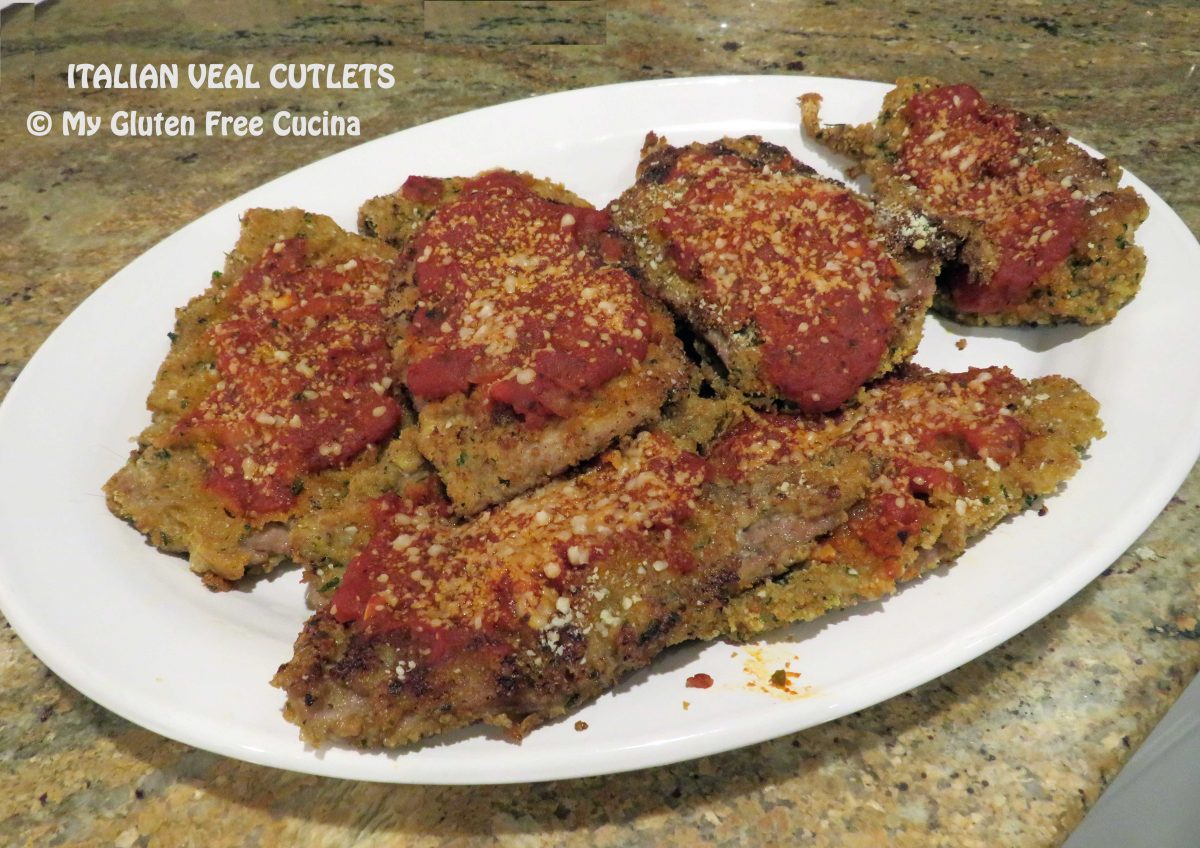
For a special Sunday Dinner, make your family a nice platter of Italian Veal Cutlets. This was one of my dad’s favorite meals, I especially remember how he loved to order a veal cutlet sandwich at one of the local restaurants. So be sure to make enough for dinner and leftovers for sandwiches the next day!
This post contains affiliate links.
I am fortunate to live in an Italian neighborhood where we can find thin sliced veal cutlets at the market. At today’s prices, it’s a splurge but if you are making a nice dinner for two you can get away with less than a pound. Serve with gluten free pasta and extra marinara sauce.
Ingredients:
- 1 lb. thin slice veal cutlets
- 3 cups warmed marinara sauce (homemade or use a good jar sauce)
- 1/3 cup white rice flour
- 1 egg, beaten with 1 tbsp. water.
- 1 cup gluten free seasoned breadcrumbs
- olive oil
- grated cheese (use parmesan, Romano, mozzarella etc.)
Preparation:
Set up 3 breading trays (or use plates), one with rice flour, one with beaten egg and one with breadcrumbs. Preheat the oven to 350º.

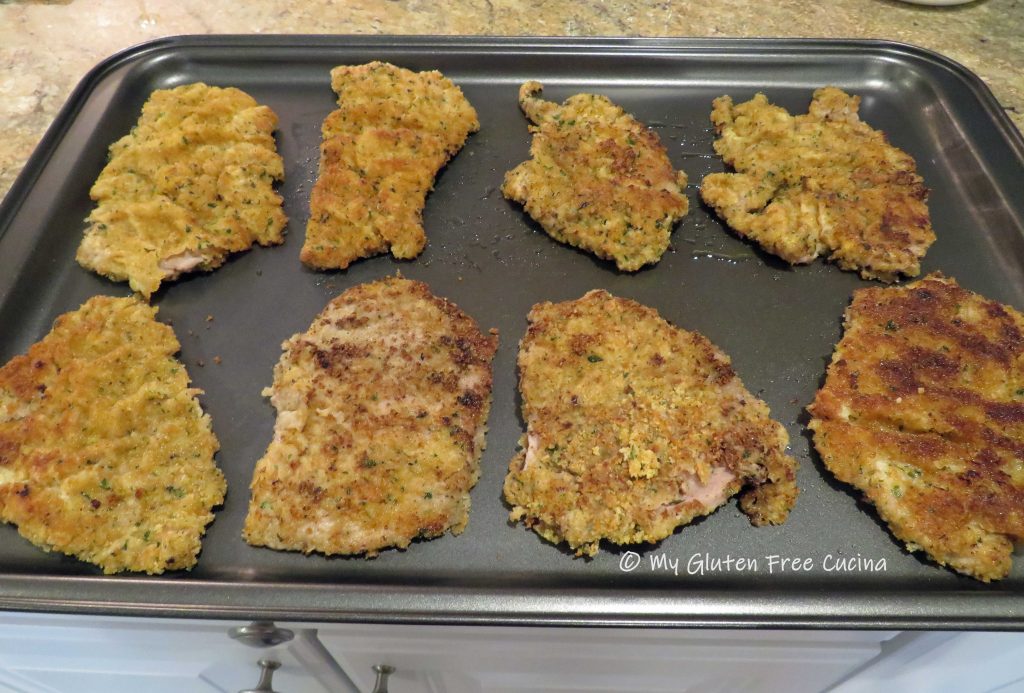
Heat a large nonstick skillet with several tablespoons of olive oil. Keep the heat on medium low. Working quickly, dredge each piece of veal in the flour, then dip in the egg mixture. Shake off the excess egg and dredge in the breadcrumbs. As you finish coating each piece add it to the skillet. Cook 2 minutes per side until nicely browned, then transfer to a baking sheet. Continue with the remaining slices, adding more olive oil to the pan as needed. The cutlets do not have to be cooked through at this point, they will finish in the oven.
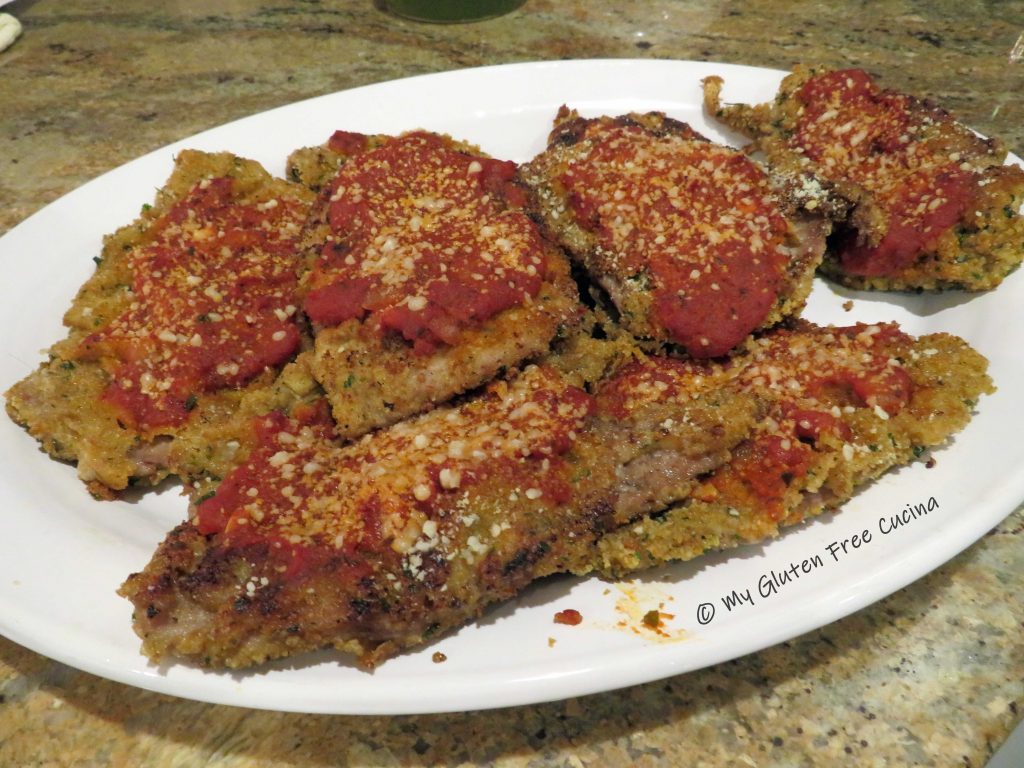
 Ladle marinara over each slice and top with grated cheese, as much as you like.
 Place in the oven for 15-20 minutes, just enough to melt the cheese.
That’s it. Not complicated at all. Serve with a nice plate of pasta and some good gluten free bread to soak up the sauce and you’ve got a fine meal on the table in under an hour (they’ll think you’ve been cooking all day though).
Notes ♪♫ Veal cutlets need to be sliced very thin. If you can’t get them this way at the store you will need to place the meat between 2 sheets of plastic wrap and pound to 1/4″ thickness with a meat mallet. If veal is not in the budget, you will be happy to know you can also make this recipe with chicken!





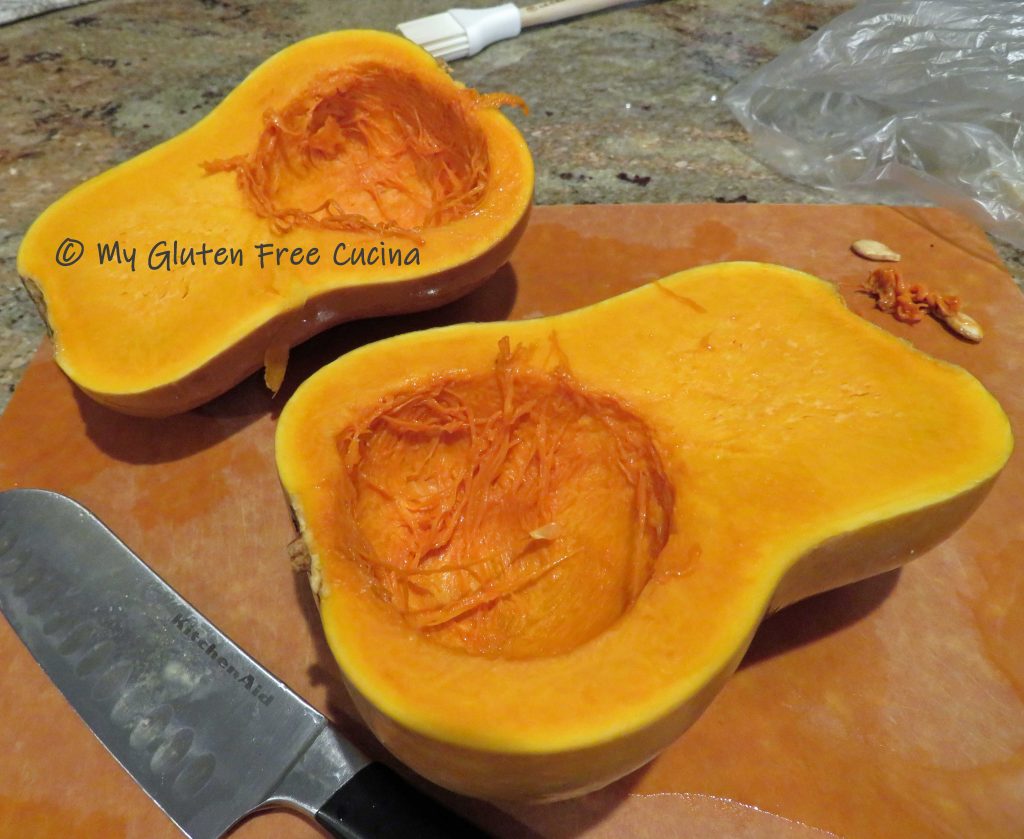
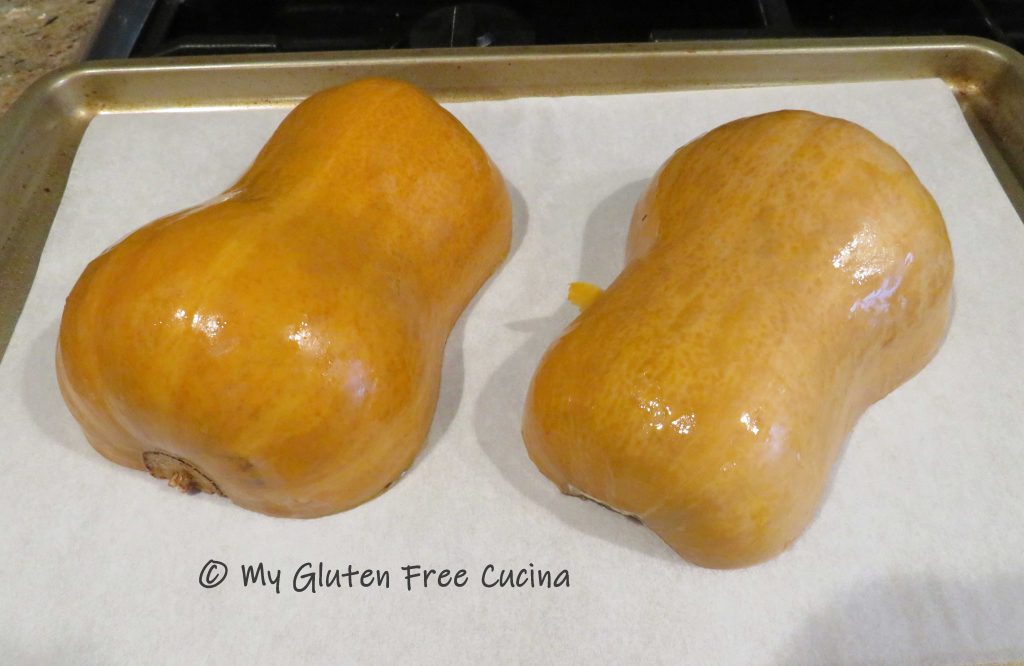
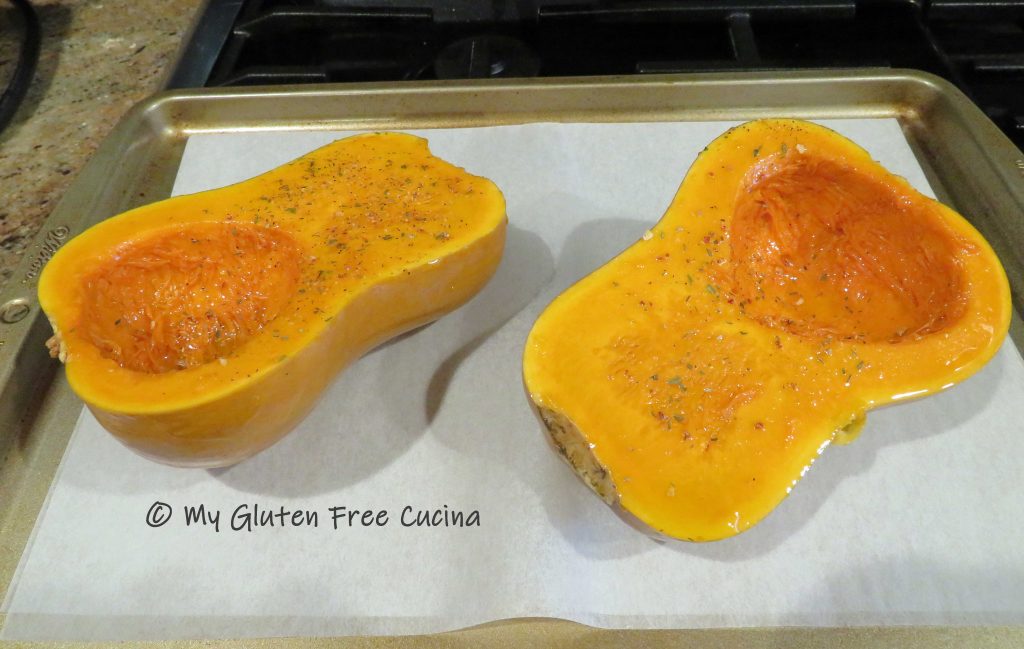 Arrange cut side down on a baking sheet lined with parchment or foil and bake for 35 minutes at 375º.
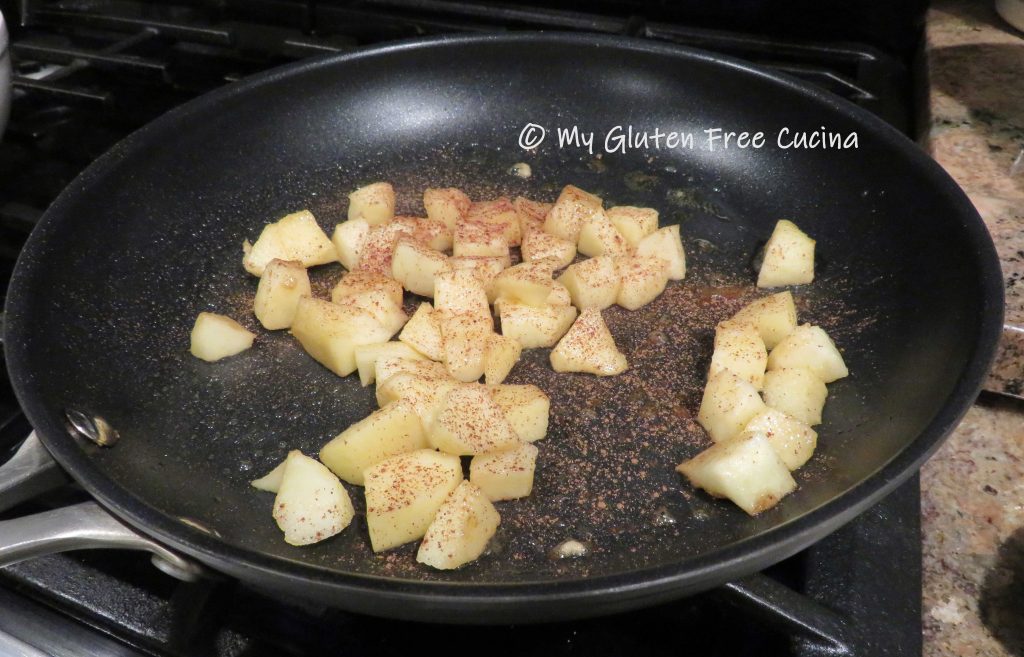
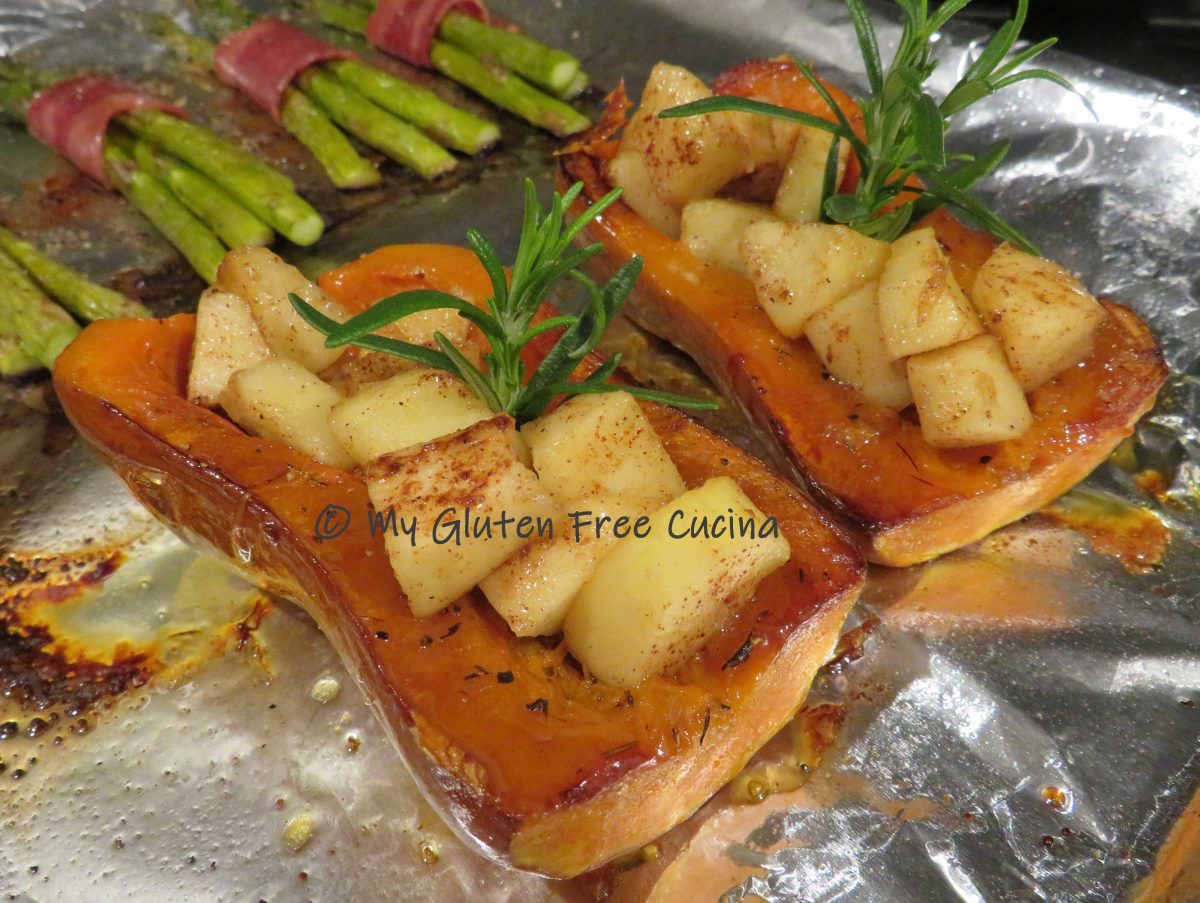
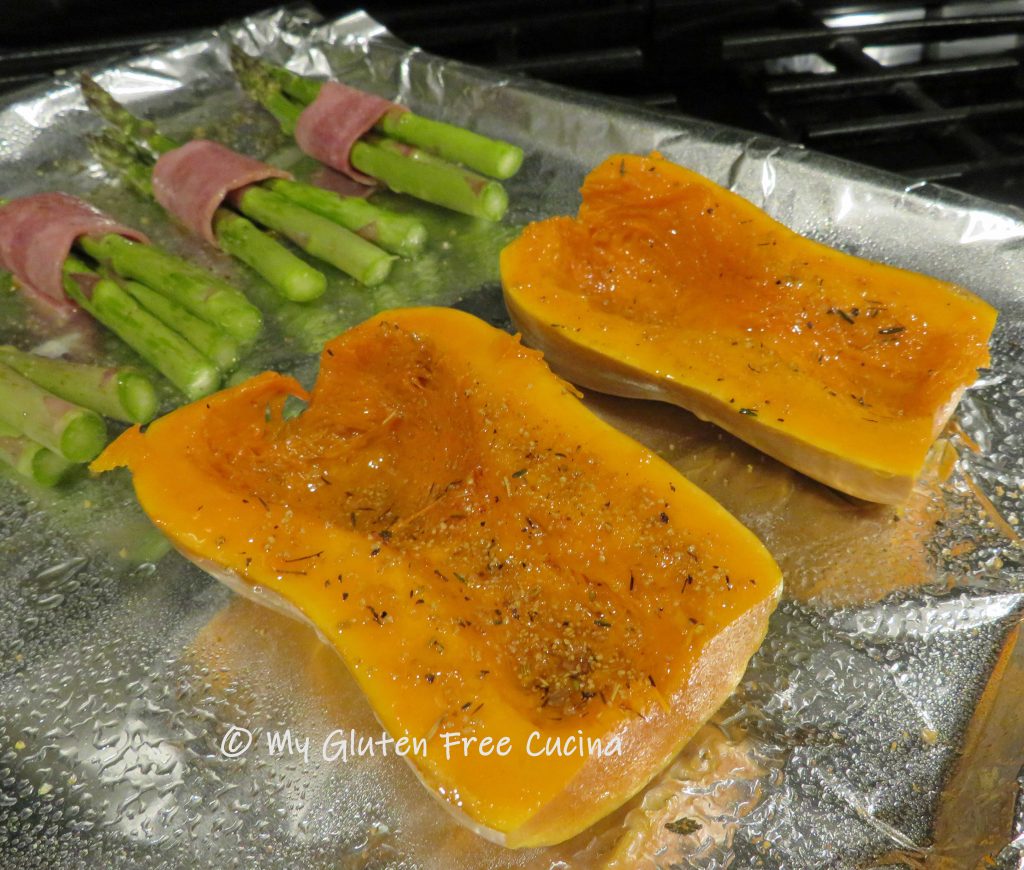 While the squash is baking, peel and dice the apple. I used a Honeycrisp apple. Heat a small skillet on medium low. Add the apples with a pat of butter and toss to combine. Cook 3 minutes, stirring frequently. Sprinkle with cinnamon.