Ever since I got my air fryer, I’ve been adapting some of my favorite recipes that I usually make in the oven. Cook time in the air fryer is less than in a traditional oven, so a recipe that would normally be relegated to a Sunday afternoon is now possible any day of the week!
I especially love using the rotisserie! Cornish Hens come out so moist and juicy and a 2 lb. hen is just the right size for my air fryer.

But really, in the end it’s all about taste. Try this and I think you will agree, an air fried Cornish Hen is juicier and tastier than the oven version!
A possible drawback of some air fryers, you will only be able to cook one hen at a time. But if you only cook for one or two, this is a great option. A 2 lb. hen is enough for 2 servings.

2 servings, dinner for 2
This post contains affiliate links.
Ingredients:
- 1 Cornish Hen (mine weighed 2.3 lbs.)
- 2 tbsp. butter, softened
- 1 tbsp. olive oil
- 1 tsp. gluten free chicken seasoning (I used Grill Mates Montreal Chicken)
- paprika
Preparation:
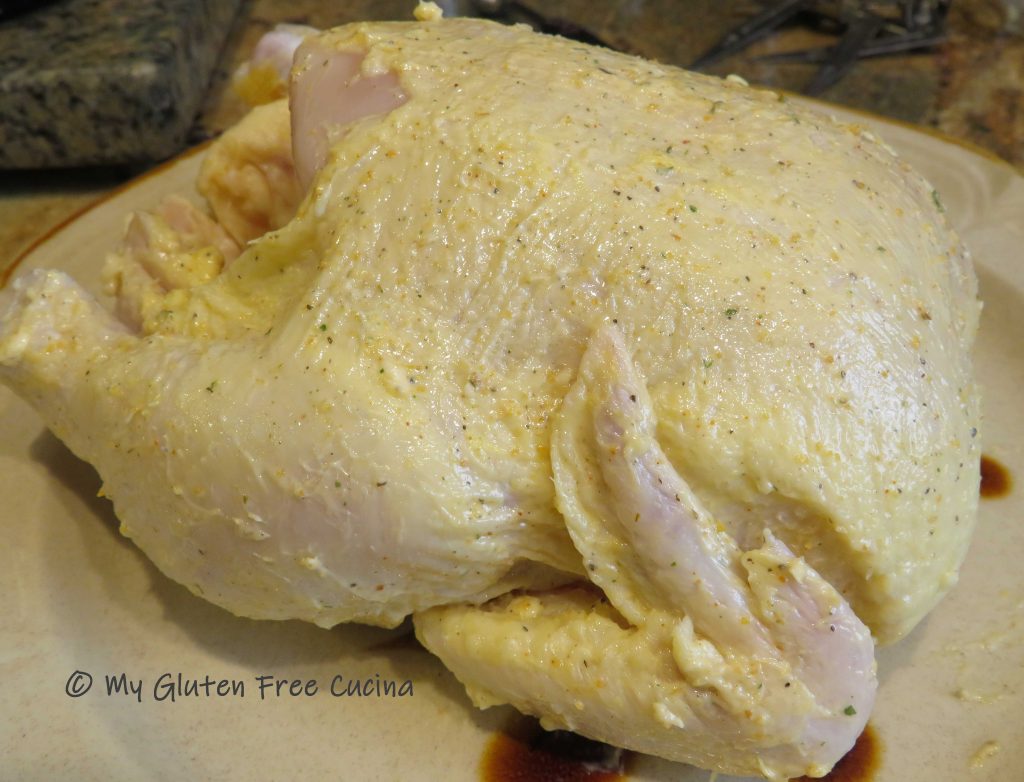
Soften (don’t melt) the butter by leaving it at room temperature or carefully microwaving 10-20 seconds. Combine it with the olive oil and seasoning.
 Remove the neck and giblets from the hen and discard. Rinse and pat dry.
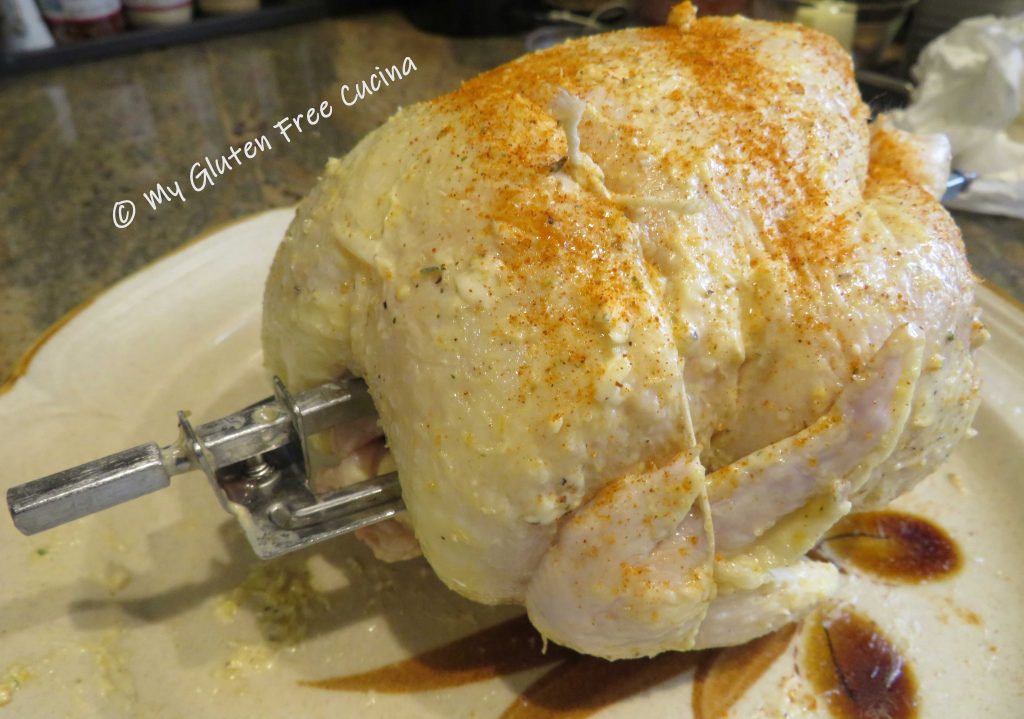
 Next rub the butter mixture all over the hen, be sure to get under the legs and wings.
 Insert the rotisserie spit and secure the ends with clips, then tie the legs and wings with twine. Sprinkle all over with paprika.
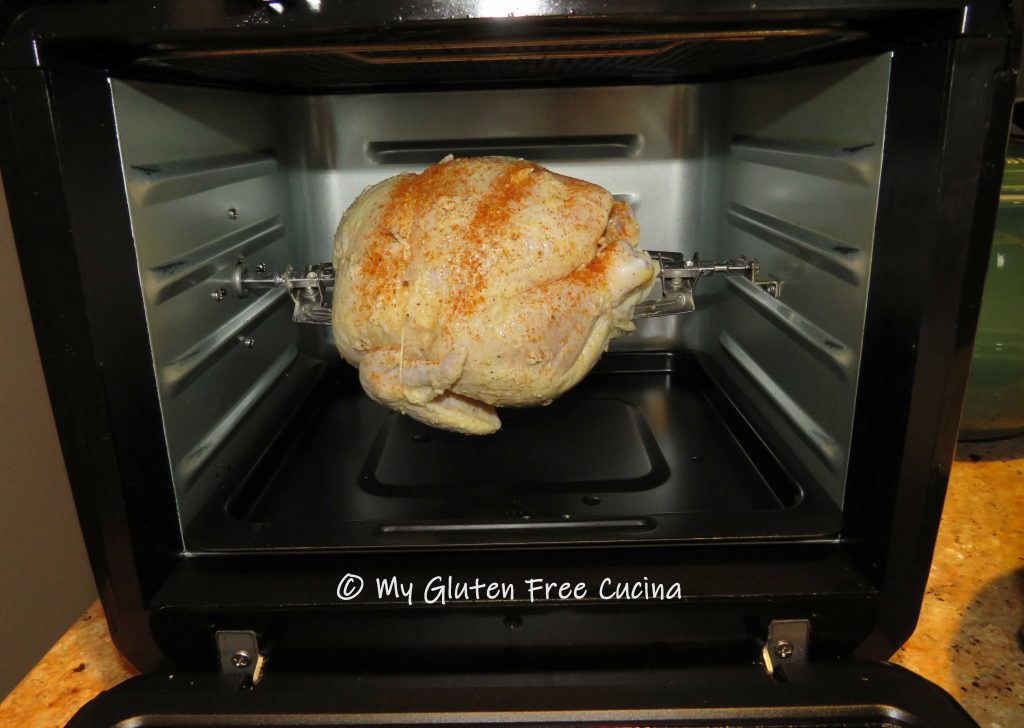
 Place the hen in the air fryer for 45 minutes at 375º.
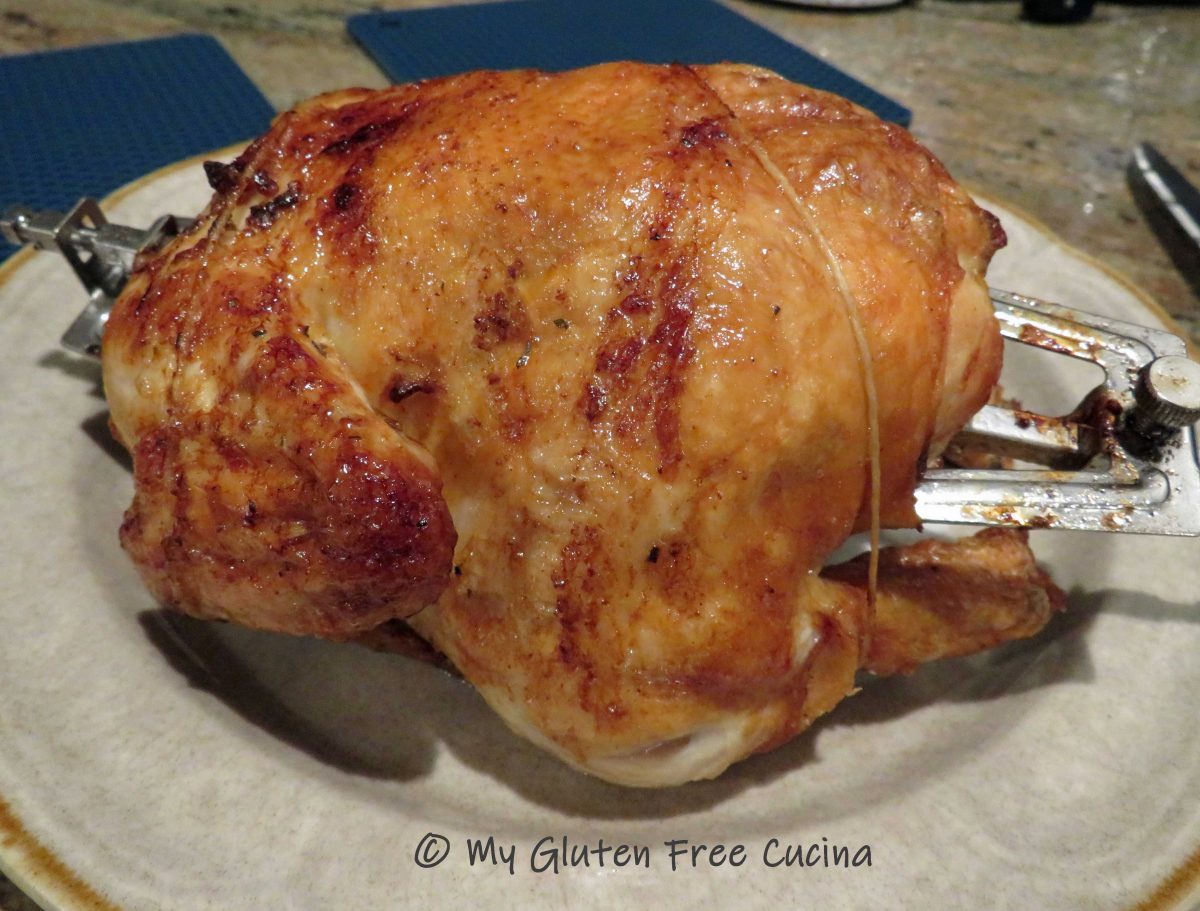
 When finished, check with a meat thermometer. The internal temperature should be between 165º-170º.

Remove to a plate and let it rest a few minutes, then carefully remove the twine and rotisserie spit.


Use a sharp knife and/or kitchen scissors to cut through the backbone and divide the hen into 2 portions.

Notes ♪♫ Every air fryer is different, if yours doesn’t have a rotisserie then you will need to turn the hen every so often for even browning. Cook time for this recipe was based on a single Cornish hen weighing 2.3 lbs. Use this as a guide but always check the internal temperature with a thermometer.



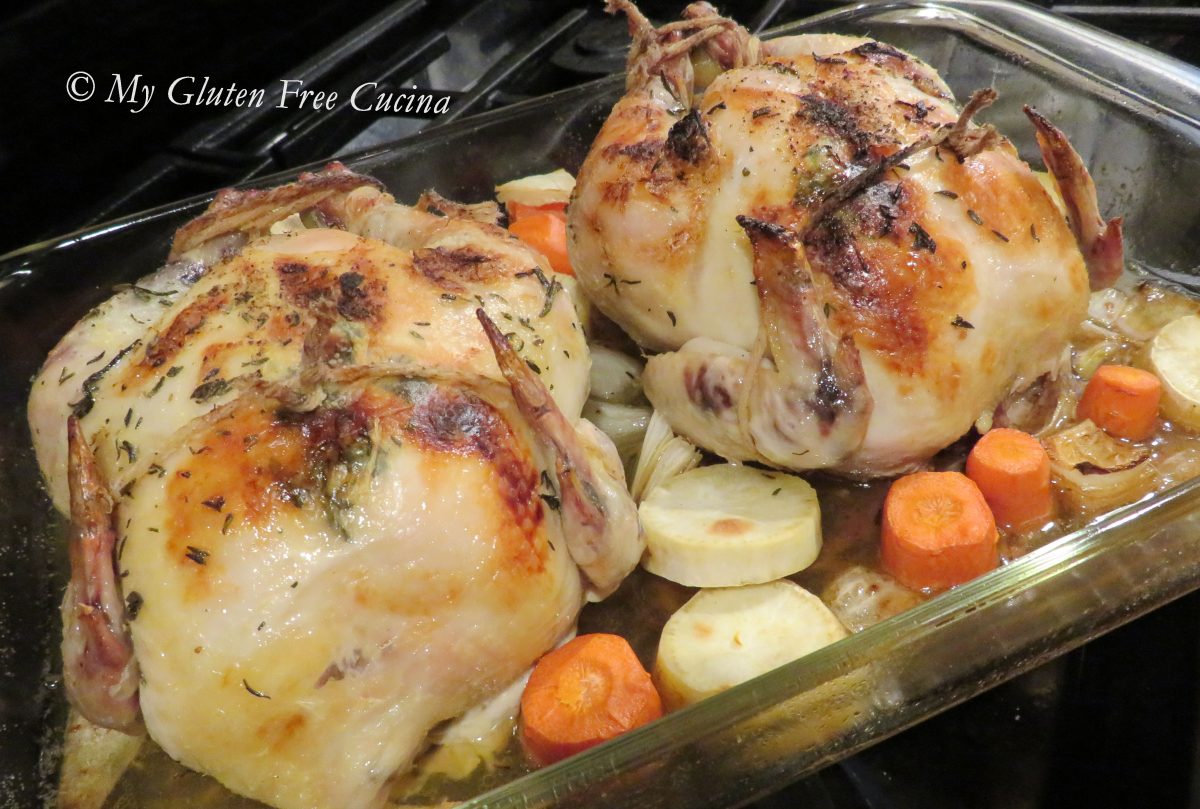
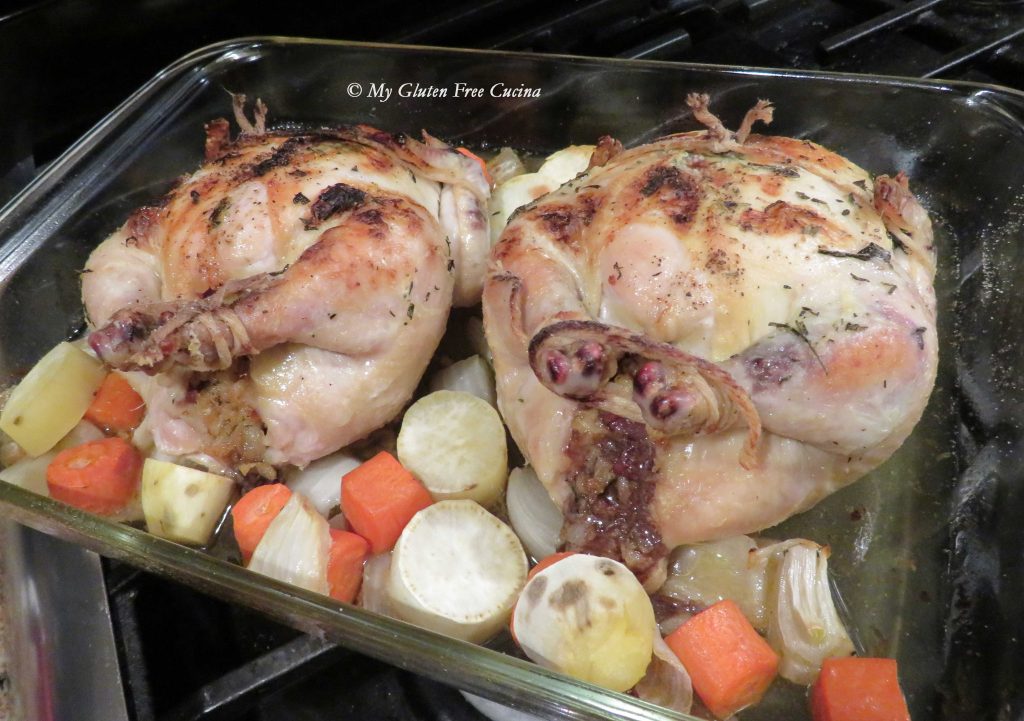 A single Cornish Hen (2 lb.) should yield 2 servings, or for hearty appetites plan on one hen each. Your gatherings may be smaller, but they can still be delicious!
