Today I made a gluten free version of another old favorite. This yeasted sweet bread with swirls of brown sugar and cinnamon was adapted from a recipe originally appearing in Better Homes and Gardens. Before my Celiac diagnosis I used to make it all the time.
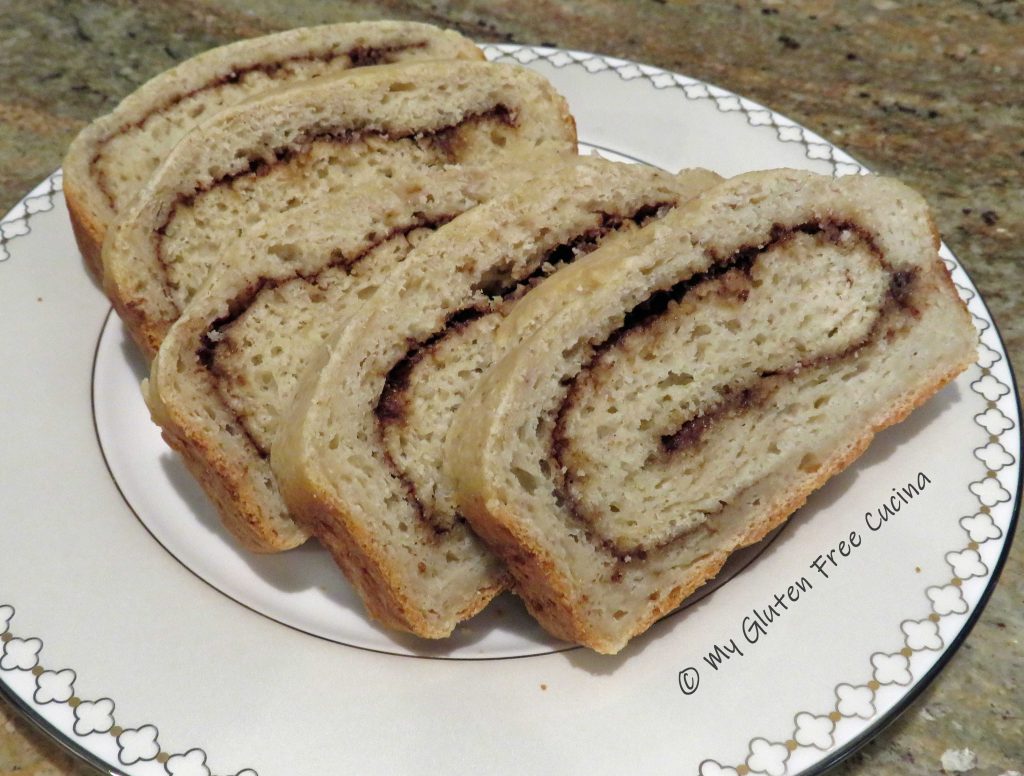 Both adults and kids loved it, even the picky eaters! I can’t tell you how pleased I was to be making this bread again, it turned out great!
This post contains affiliate links.
When you work with the right gluten free flour, this Cinnamon Swirl Bread is so easy to make! If you are a fan of Better Batter like me, you probably have all of the ingredients in your pantry!
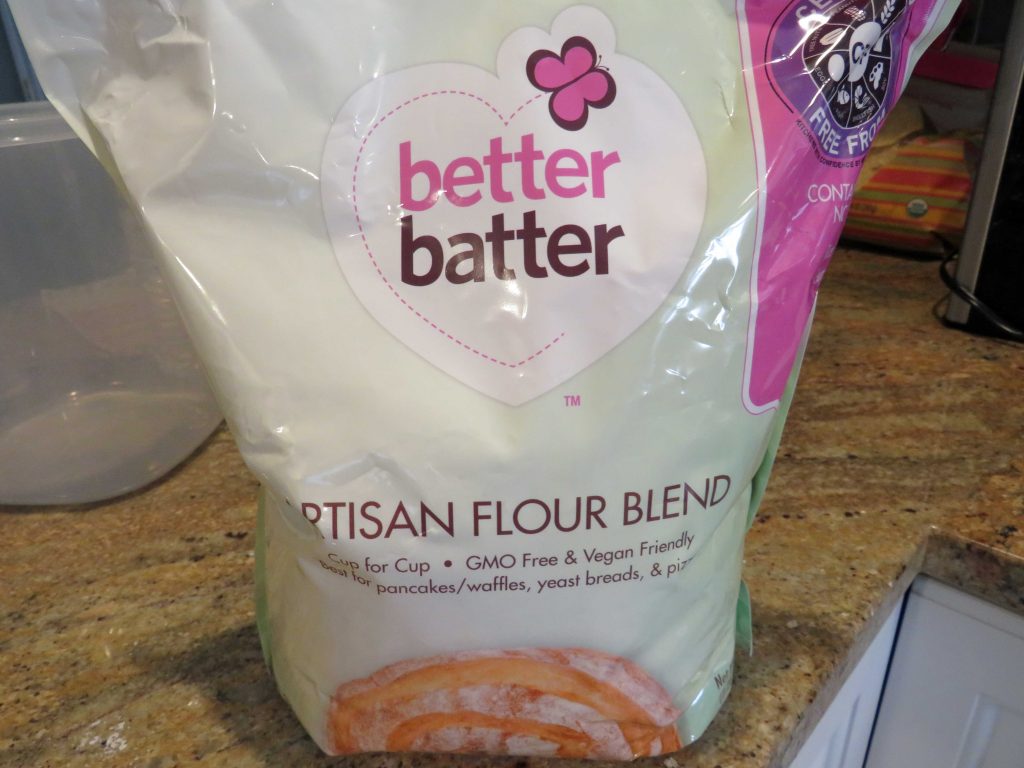
If you haven’t tried Better Batter yet, I cannot recommend their flour blends enough. Use my Promo Code MGFC30 for 30% off! You will not be disappointed!
Ingredients:
- Dough:
- 405g. Better Batter Artisan Blend flour *see notes
- 1-1/4 tsp. instant yeast
- 3/4 tsp. salt
- 3 tbsp. unsalted butter, softened
- 1-1/2 cups warm milk (I used 2%)
- 1 egg room temperature
- 3 tbsp. granulated sugar
- Filling:
- 1/3 cup packed brown sugar
- 1-1/2 tsp. cinnamon
- 1 tbsp. melted butter
- Egg Wash:
- 2 tbsp. egg whites
- 1 tbsp. water
- Finishing:
- 1 tbsp. melted butter, for brushing
Preparation:
I used a 13 x 4″ pullman loaf pan for a long skinny loaf with smaller, diet friendly slices. You can get the pan here.
Whisk together the flour and salt. Combine the warmed milk, sugar and yeast in a separate bowl or measuring cup and let it stand 15 minutes.
Add the egg and softened butter to the bowl of a stand mixer and whisk to combine. Add the milk mixture and whisk until well blended.
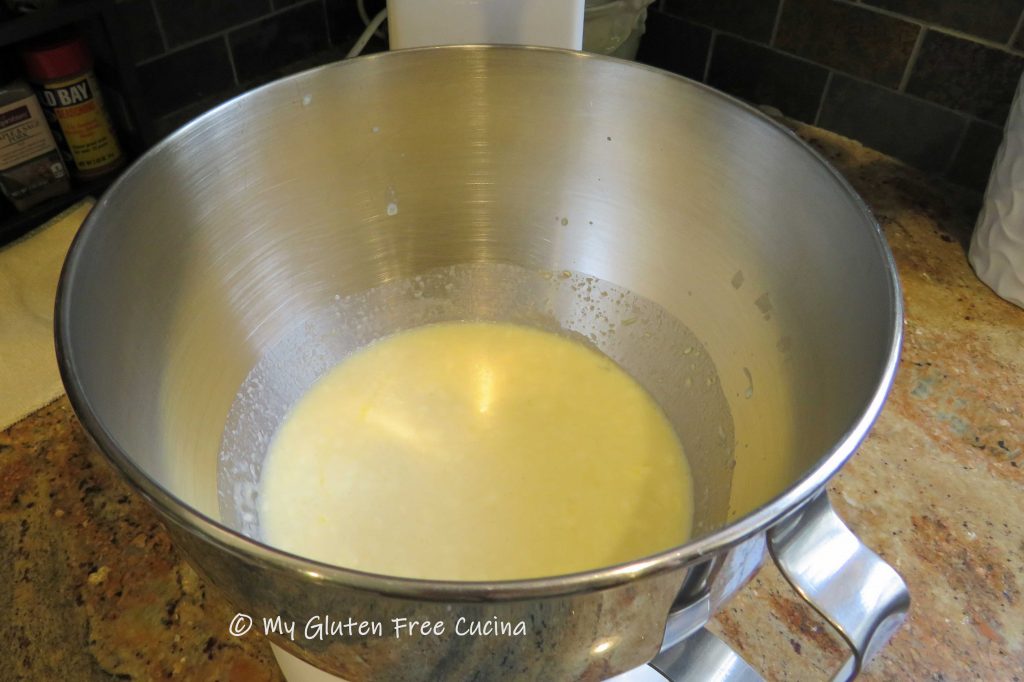
Switch to the paddle attachment and add the flour and salt to the bowl, mixing on low to combine. Increase speed and beat for 5 minutes to form a dough, occasionally scraping down the sides with a spatula. Dough will be sticky at this point.
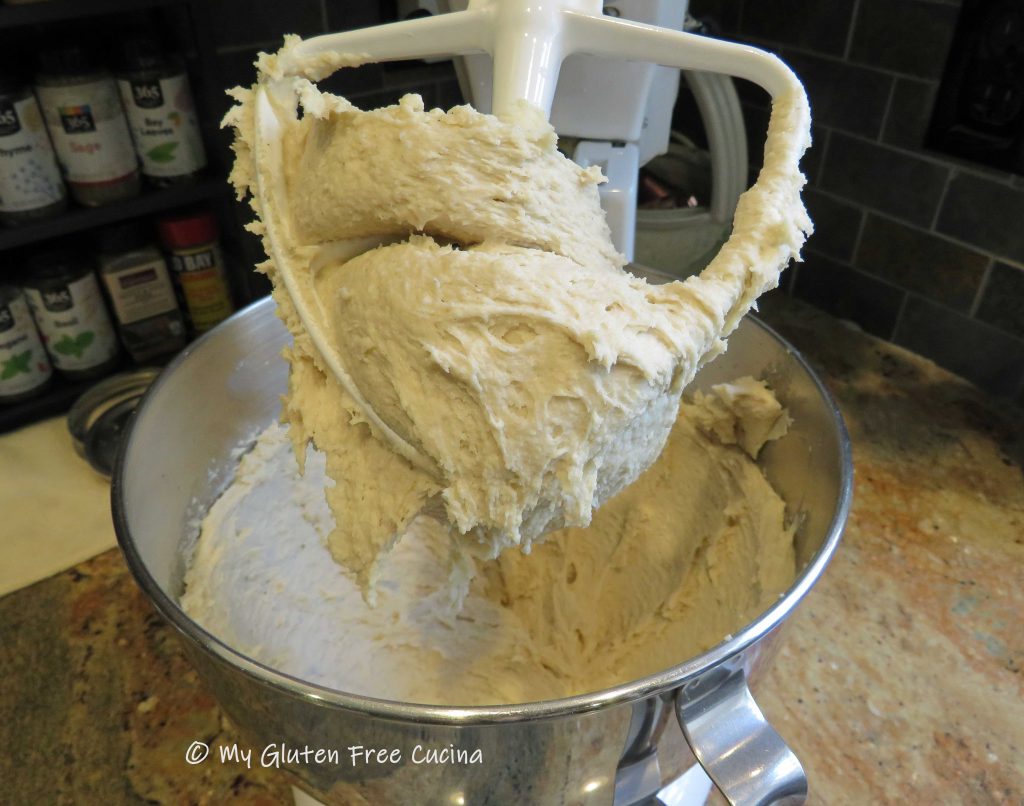
Bring the dough together, cover with plastic wrap and let it rest for 20 minutes.

Cut a sheet of parchment to fit the length of the loaf pan (this will help with rolling and transferring the dough). Mist the parchment lightly with cooking spray and transfer the dough. Roll and pat the dough into a rectangle, about 14 x 10” and 1/2″ thick. (Note- after a 20-minute rest, this dough rolls like a dream, but if you have any sticking just mist your rolling pin with cooking spray.)
Brush the dough with 1 tbsp. melted butter.
 Spread the brown sugar and cinnamon mixture evenly over the dough, leaving a 1″ border all around.
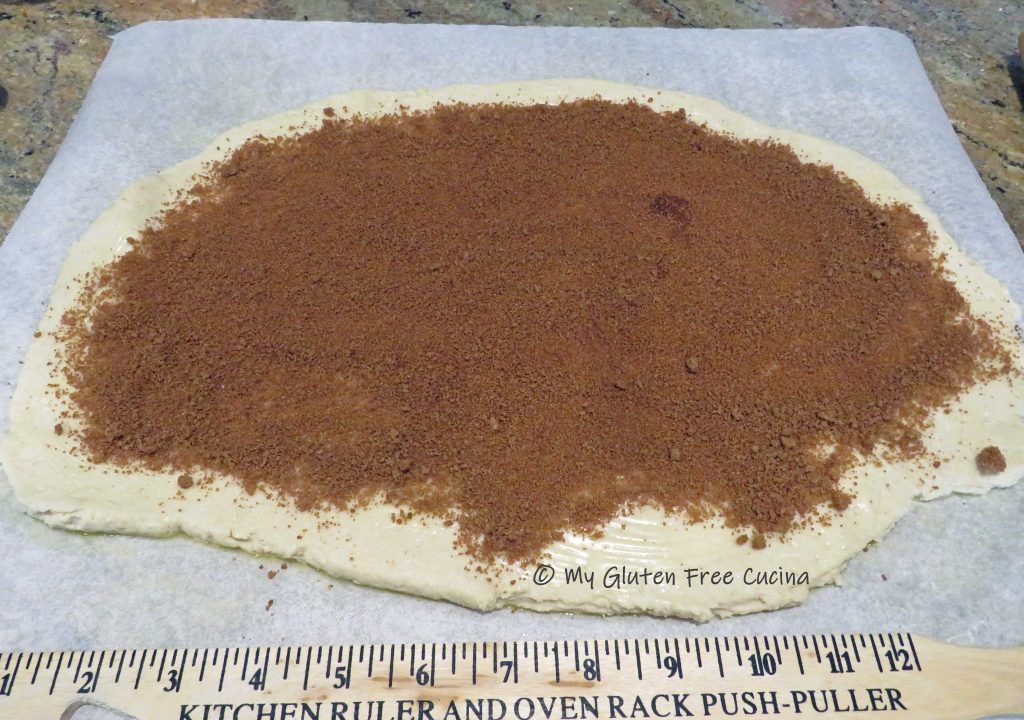
Starting with the long side, use the parchment to lift the dough and begin rolling it up.
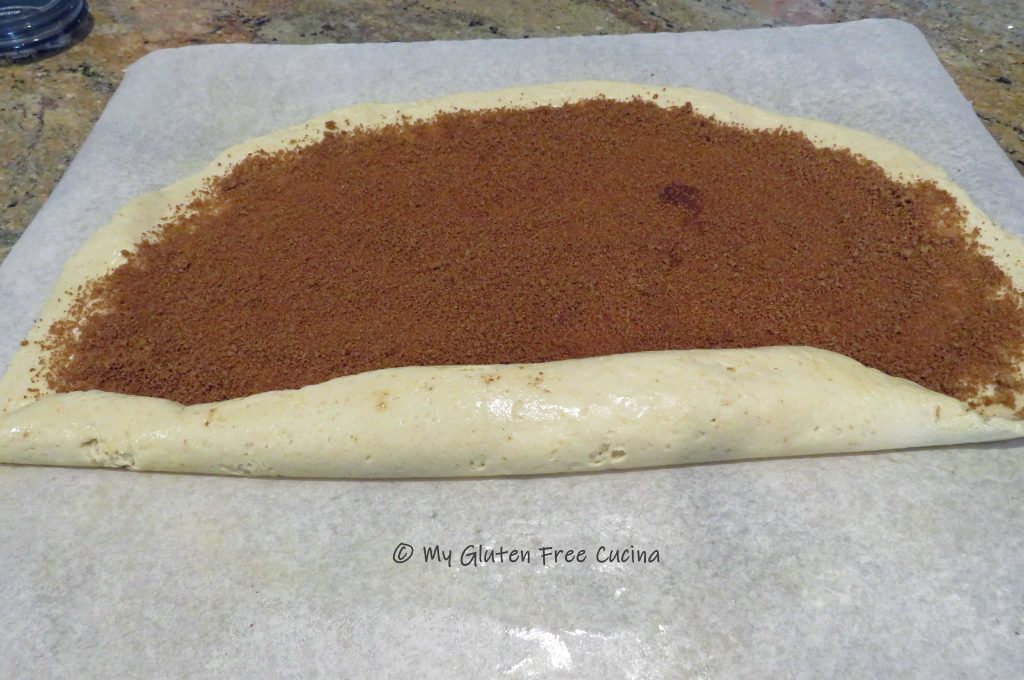
Continue rolling and pinch the seam to seal.
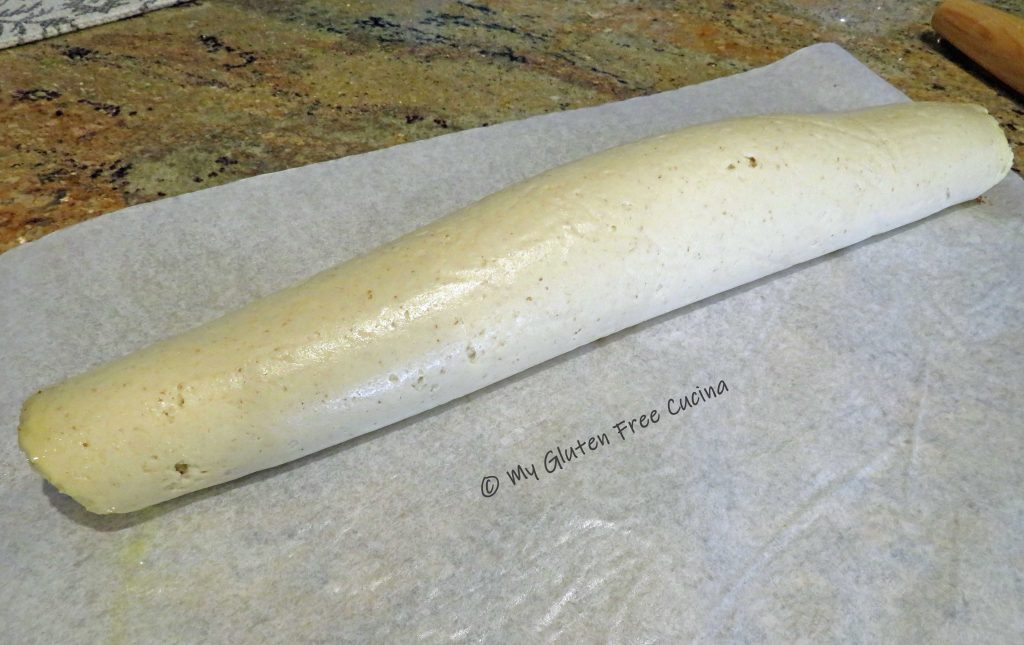
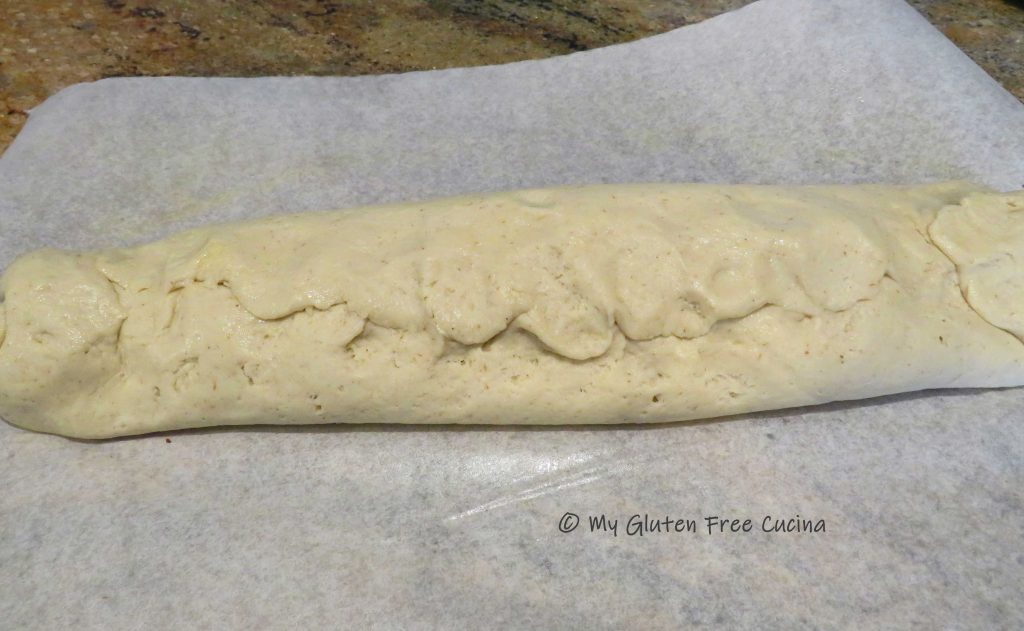
Tuck in the ends like this and turn the dough seam side down.
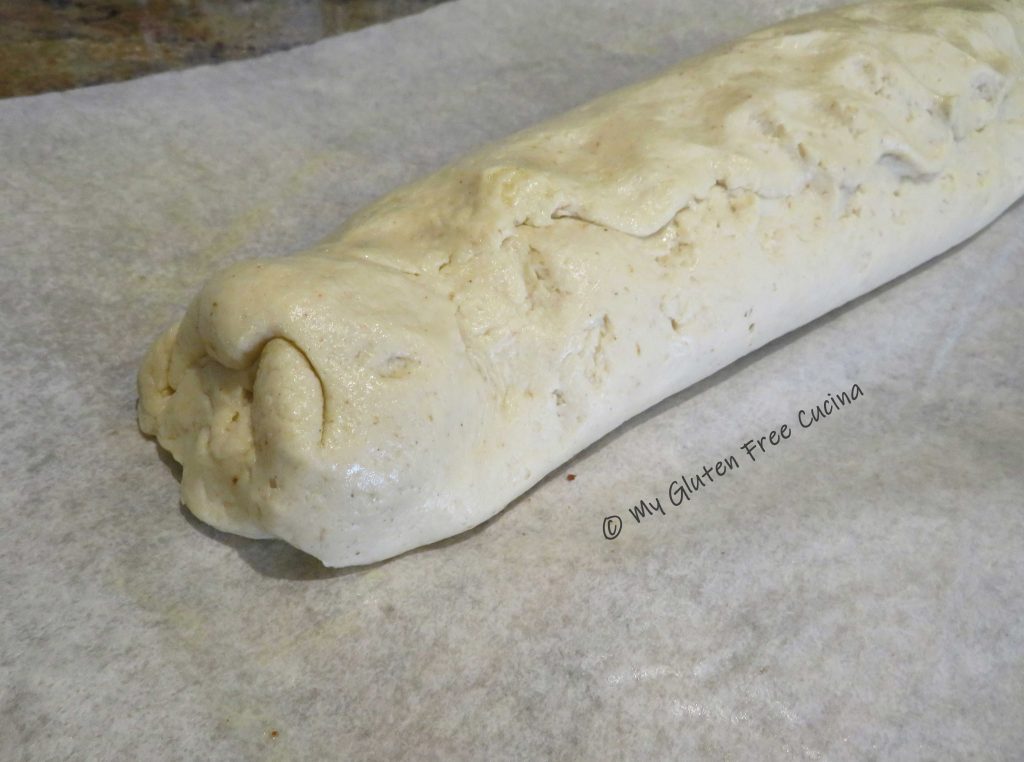
Lift the dough (with parchment) into the pan, cover with plastic wrap and let it rise in a warm place for 30 minutes. Dough will be puffy but not doubled in size.
Preheat the oven to 350º and whisk together the egg whites and water. Brush the loaf well with the egg wash. Pierce the top of the loaf with a fork or docking tool to allow steam to escape.
 Bake for 40 minutes or until the internal temperature reaches 200º. Remove from the oven and brush the top with 1 tbsp. melted butter.
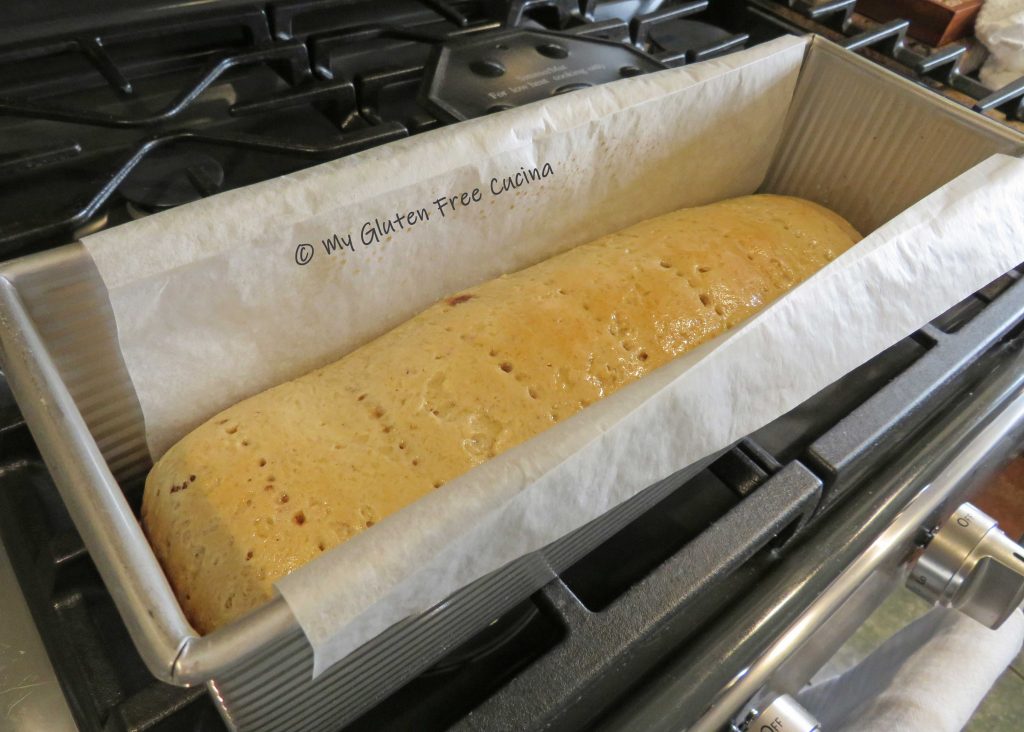 Grasp both sides of the parchment to lift the loaf out of the pan to a cooling rack.
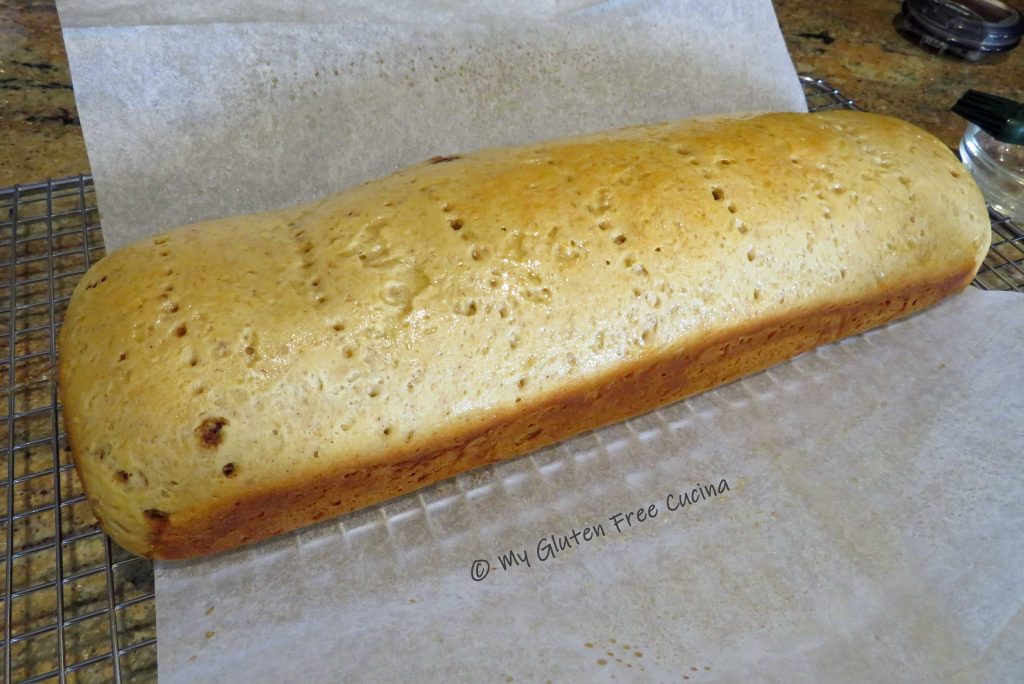 Slide the parchment out and let the loaf cool completely before slicing.
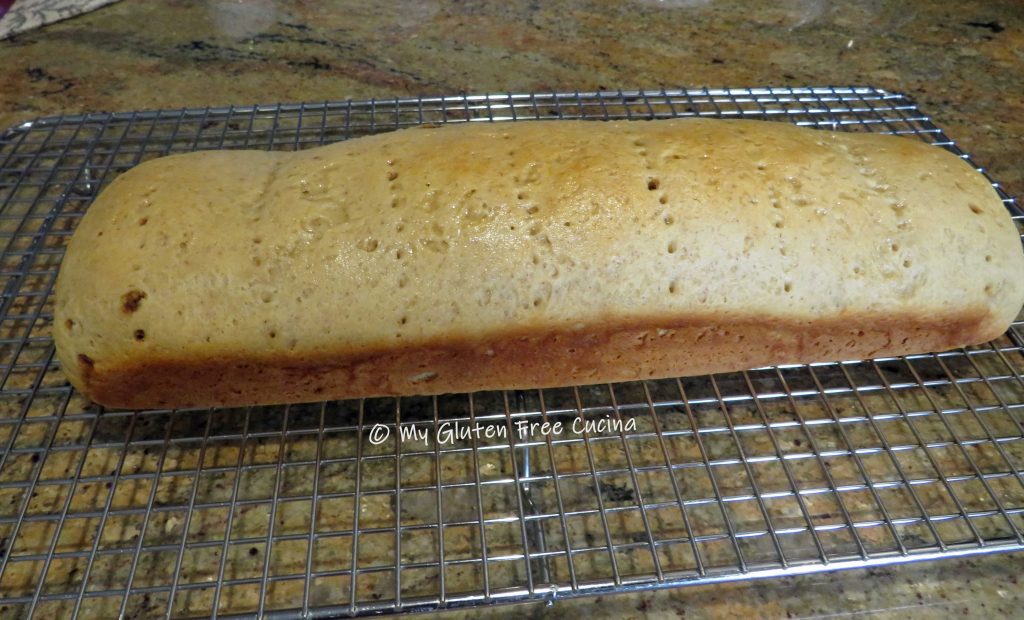
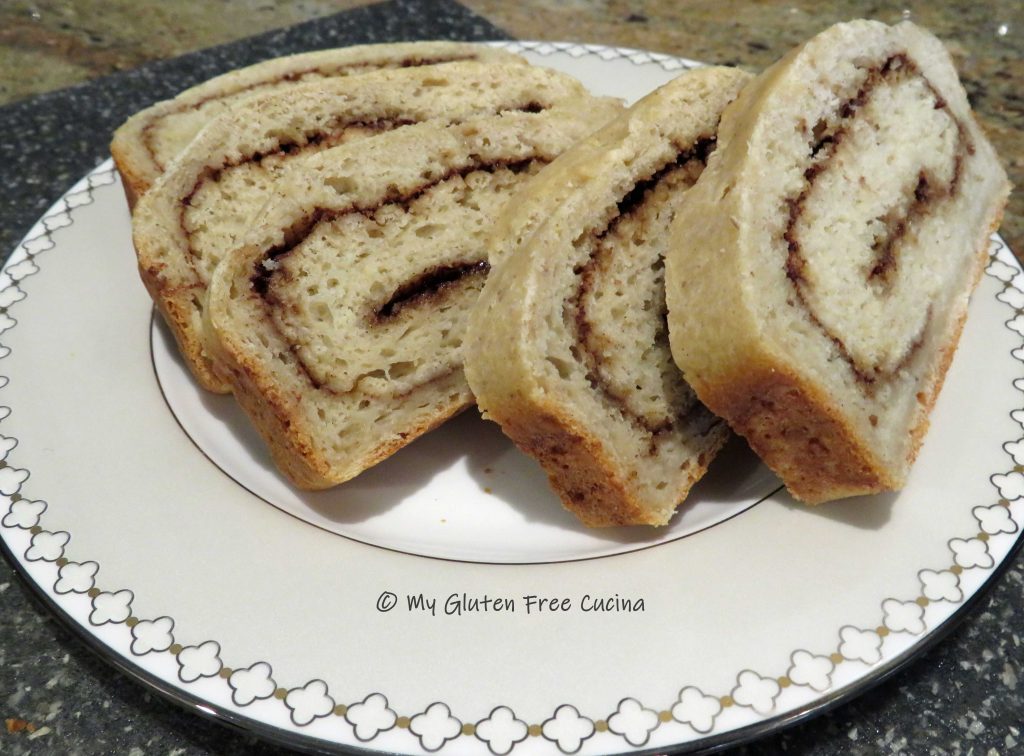
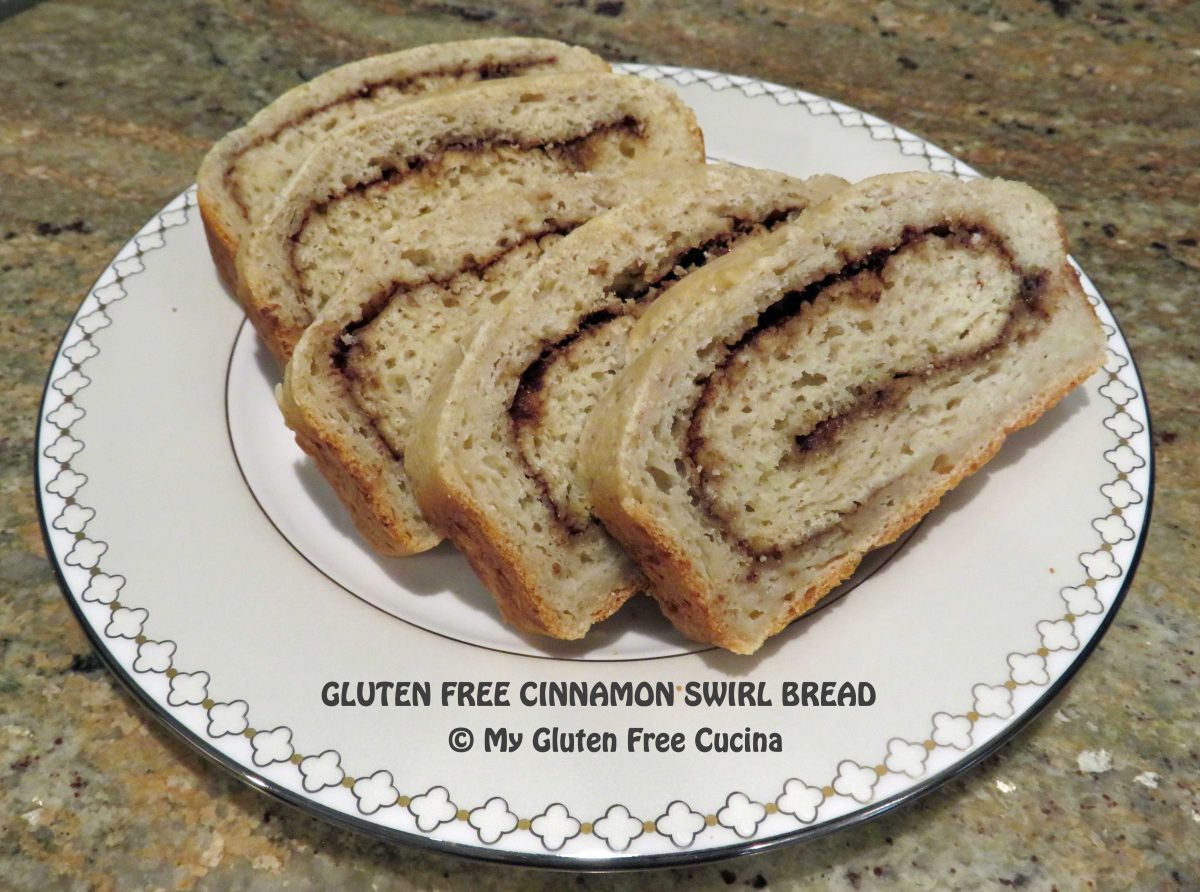
If you like, you can drizzle the top with icing made of 3 tbsp. powdered sugar and 1 tbsp. milk. I made this loaf for company, and we served it with coffee, just like this. It was a hit!

Slice and toast, or just add to your breadbasket! It freezes beautifully, so you can wrap up the extra slices in plastic wrap, store in a freezer safe bag and it will be good for several months.
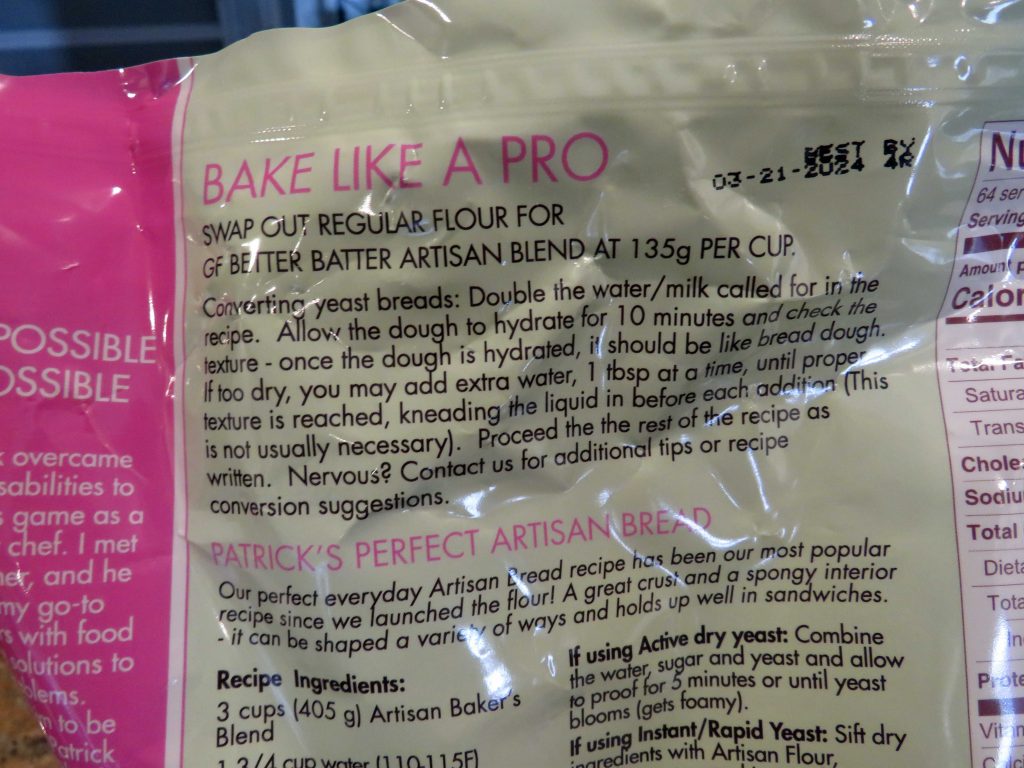
Notes ♪♫ I used and recommend Better Batter Artisan Flour Blend for this recipe. This flour requires twice the liquid of typical recipes, so if you use another flour, you will need to adjust the liquid to flour ratio. Start with half the milk (3/4 cup) and only add more if needed, 1 tbsp. at a time.



Leslie, this looks delicious! Thanks for sharing with us at SSPS.
Melynda, Thank you!
Your cinnamon bread looks yummy!
Also,, could you use a regular loaf pan. if so, how long would you bake it for? thank you.
Tammy, yes! You can definitely use a regular loaf pan. Bake time should be increased, I’m guessing at least an extra 5-10 minutes. However, the best way to tell if the loaf is done is by checking the internal temperature with a thermometer – the internal temperature should reach 200 degrees. Remember to cool the loaf completely before slicing!
Hi I was wondering if this recipe would work with dairy free options.
Hi Tammy, I have not tried the recipe with dairy free options, but I’m sure you can substitute as long as you keep the same dry to liquid measures.
Let me know if you make it!