
How are you feeling about oats these days? As someone with Celiac Disease, I am comfortable with consuming oats that are both certified gluten free and purity protocol (see notes). If you are one who can have oats, then this bread needs to be in your breakfast rotation! It is a hearty, dense loaf that toasts up like a dream. It is so good, everyone in your family will love it, gluten free or not!
This post contains affiliate links.
Ingredients:
- 140 g. sorghum flour
- 100 g. gluten free rolled oats, processed into flour
- 120 g. tapioca flour
- 75 g. gluten free rolled oats, left whole + 1 tbsp. for topping
- 1-1/2 tsp. salt
- 2 cups milk (I used 2%)
- 3 tbsp. honey
- 3 tsp. instant yeast
- 1/4 cup cider vinegar
- 3 tbsp. whole psyllium husks
Hint-I always have gluten free old fashioned rolled oats (not instant) in my pantry, so that when I need oat flour, I can just process a little in my coffee grinder and voila, fresh flour!
Preparation:
Place a pizza stone on the shelf just below the middle of the oven and preheat to 450º. Line a 9 x 5 loaf pan (1.25 lb.) with parchment and/or mist the bottom and sides with cooking spray (using parchment will give you a lighter colored loaf).
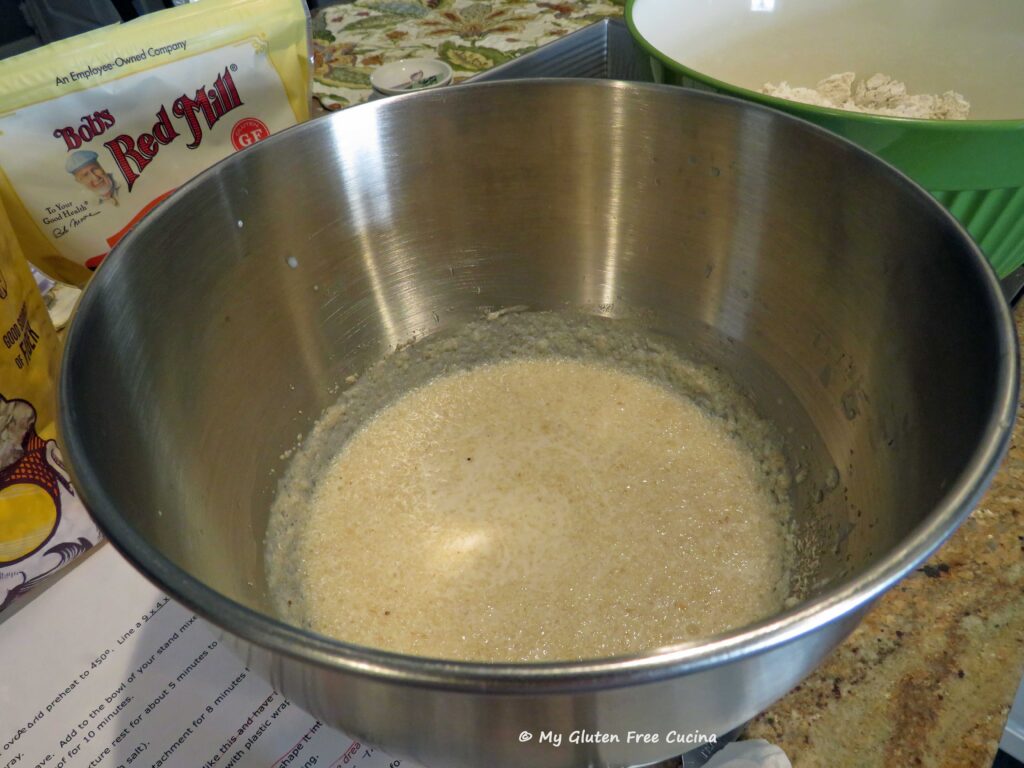
Warm the milk for 60 seconds in the microwave. Add to the bowl of your stand mixer then whisk in the honey and yeast. Cover and let it stand for 10 minutes then whisk in the vinegar and psyllium husk. Let the mixture rest for about 5 more minutes to thicken.
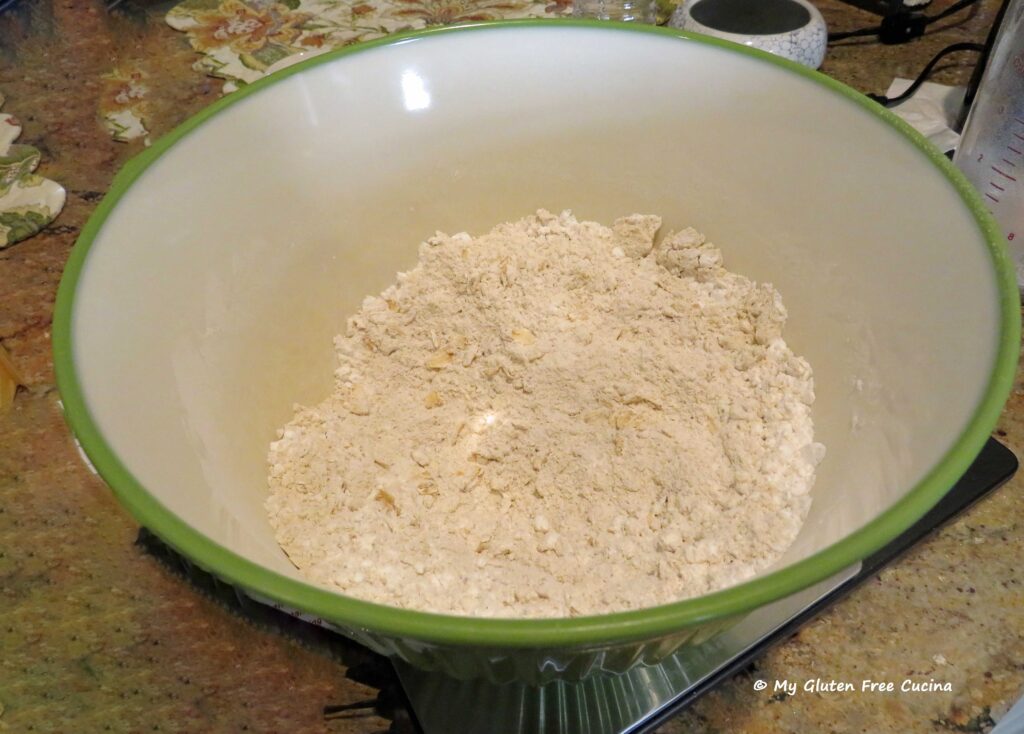
 Whisk together the dry ingredients (sorghum flour through salt).
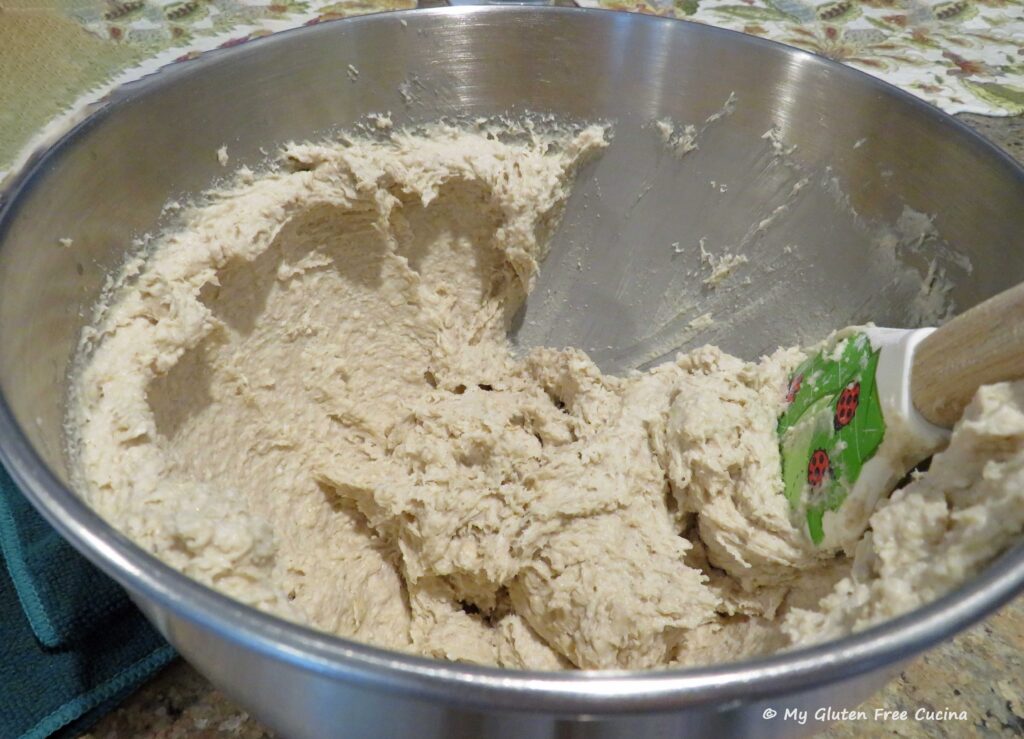
 Add the dry ingredients to the wet and mix with the paddle attachment for 8 minutes to form a thick batter.
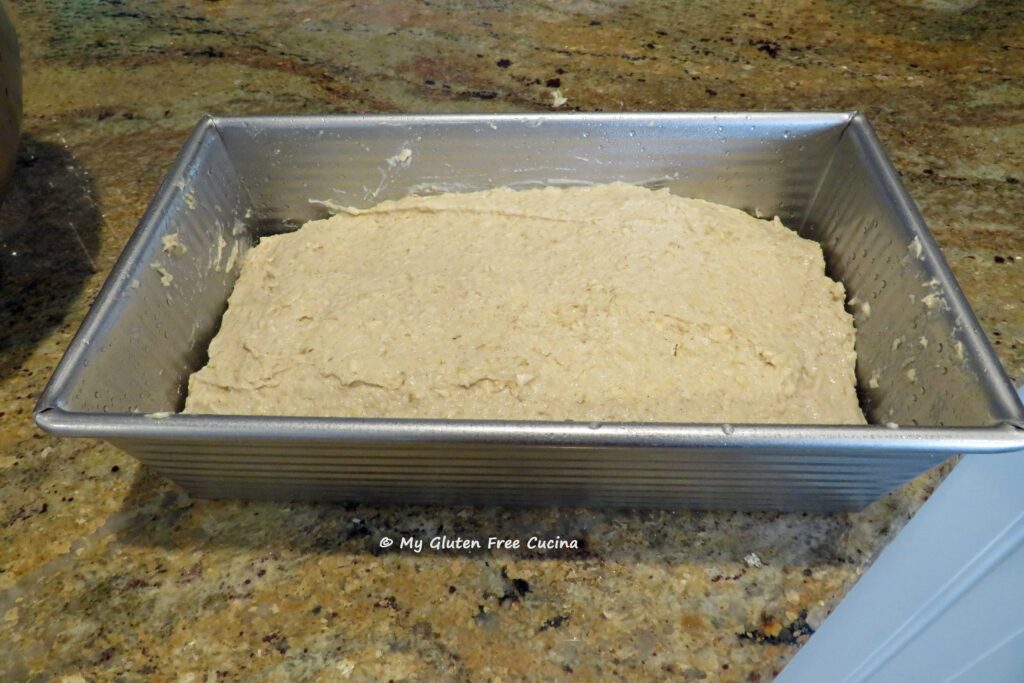
Carefully scrape the dough into the prepared pan and smooth the top with a spatula dipped in warm water. Be sure to spread it out evenly into the corners. Cover with plastic wrap and proof for about 30 minutes.
Remove the plastic wrap and liberally spray the top of the bread with water. Sprinkle rolled oats over the top and mist with water again to help them adhere. Notice the dough hasn’t risen much. That is normal for this recipe, but you should get a nice oven spring.
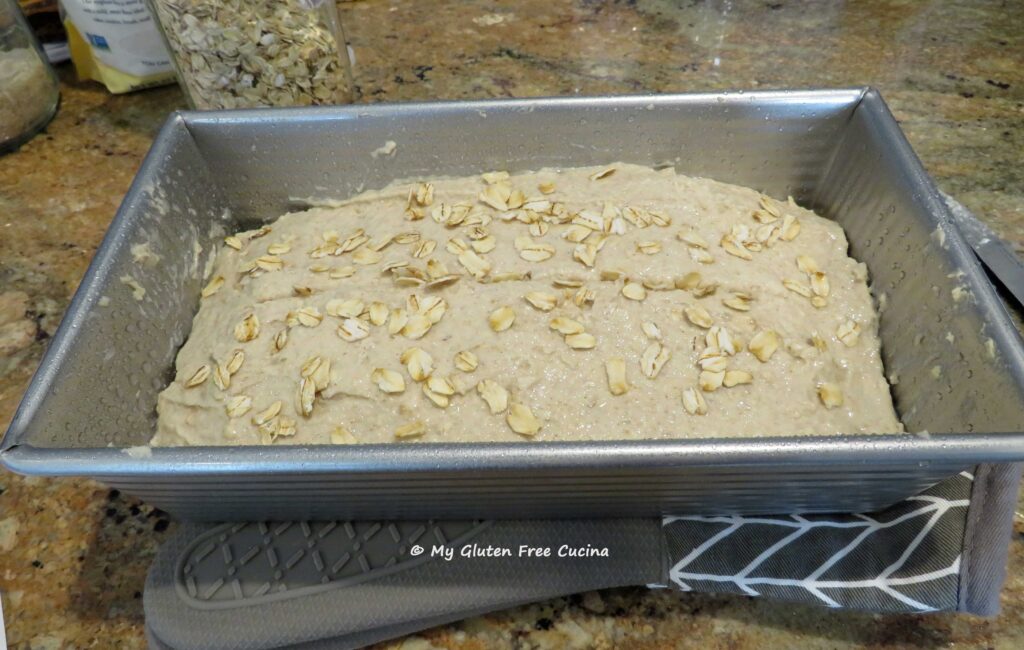
Score the dough. I like to make one long slash down the center. Place in the oven on the preheated pizza stone and bake for 20 minutes.
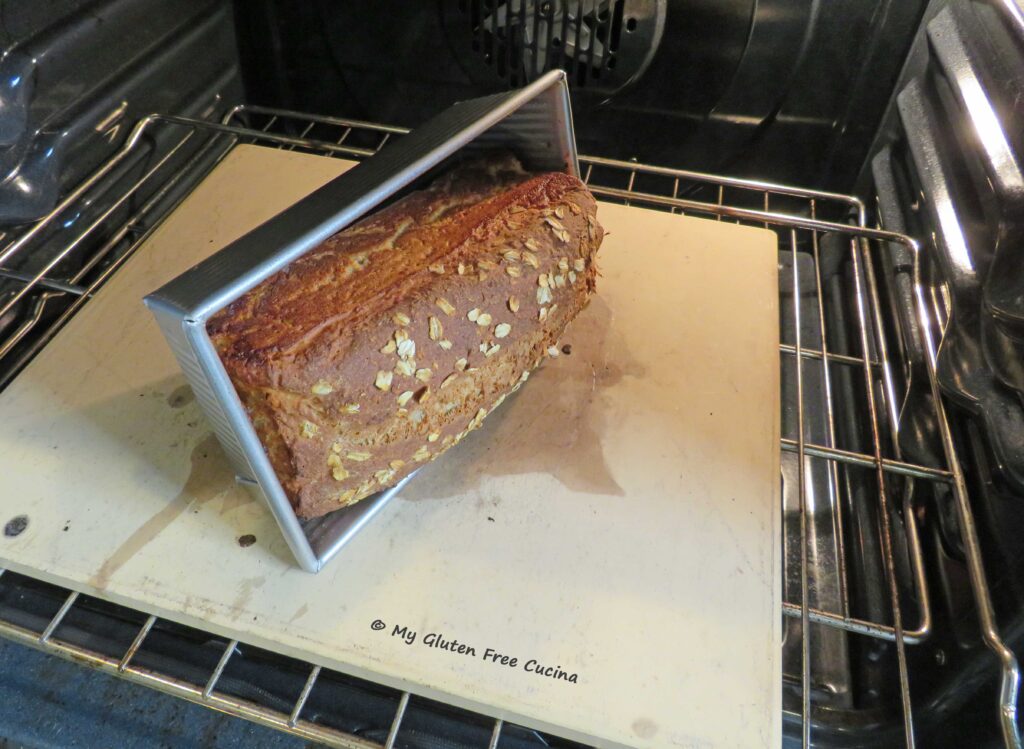
After 20 minutes, carefully turn the pan on its side. Continue baking for another 10 minutes. Lower the oven temperature to 400º then reverse the pan to the other side. Continue baking for another 10 minutes.
Hint: This bread is prone to the dreaded “tunneling effect”, where the loaf separates and leaves a large gaping hole through the top or center of the loaf. The simple technique of rotating the pan from side to side during baking eliminates this problem. *See notes.
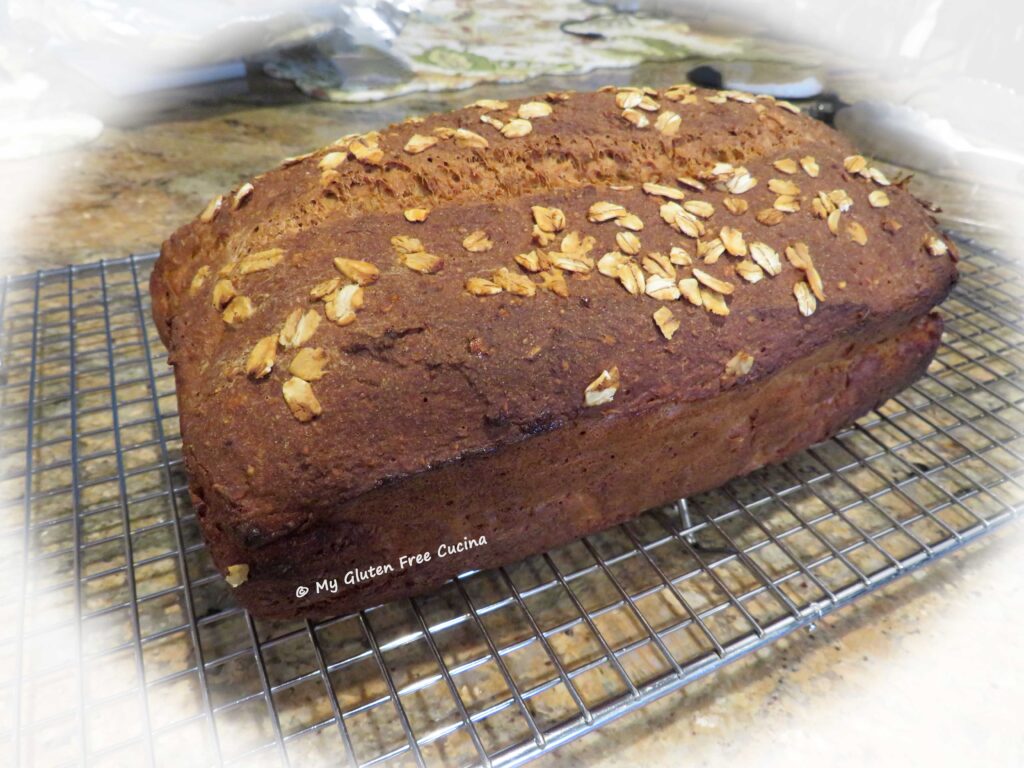
Return the pan to the original position. If browning too quickly, cover the top with foil. Bake 10 more minutes (total bake time is 50 minutes) or until the internal temperature reaches 210º.
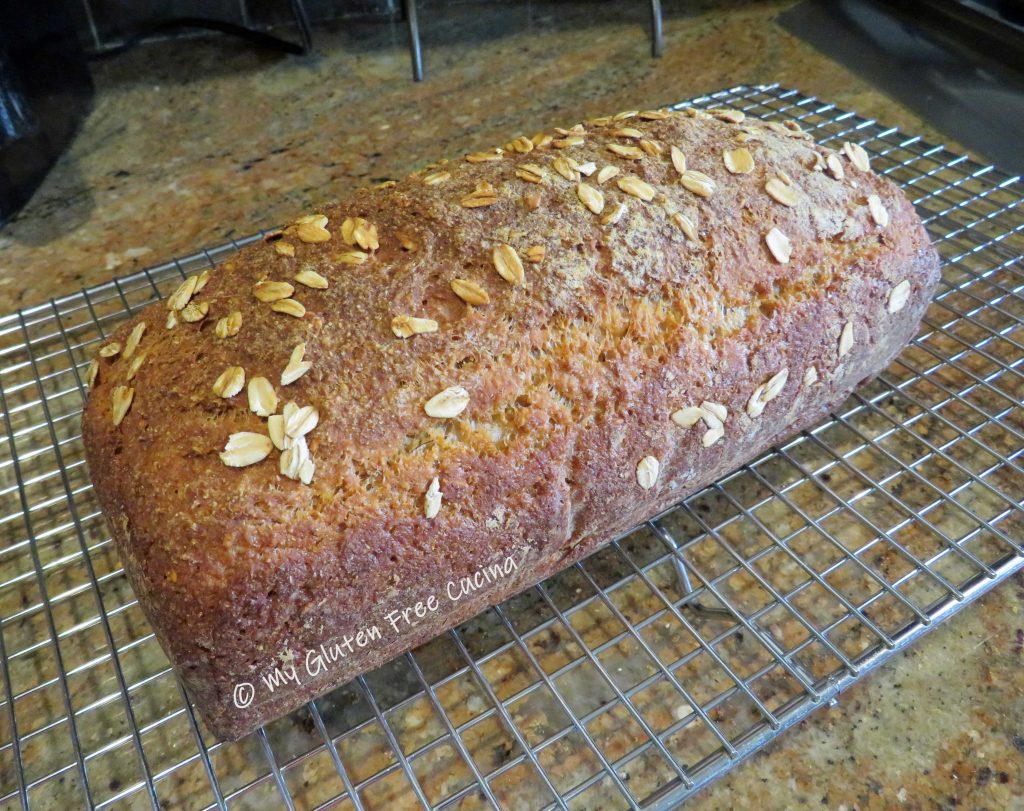
Remove from the oven and place the loaf on a cooling rack. If you used parchment paper, let it cool down for 10 minutes then gently peel it off.
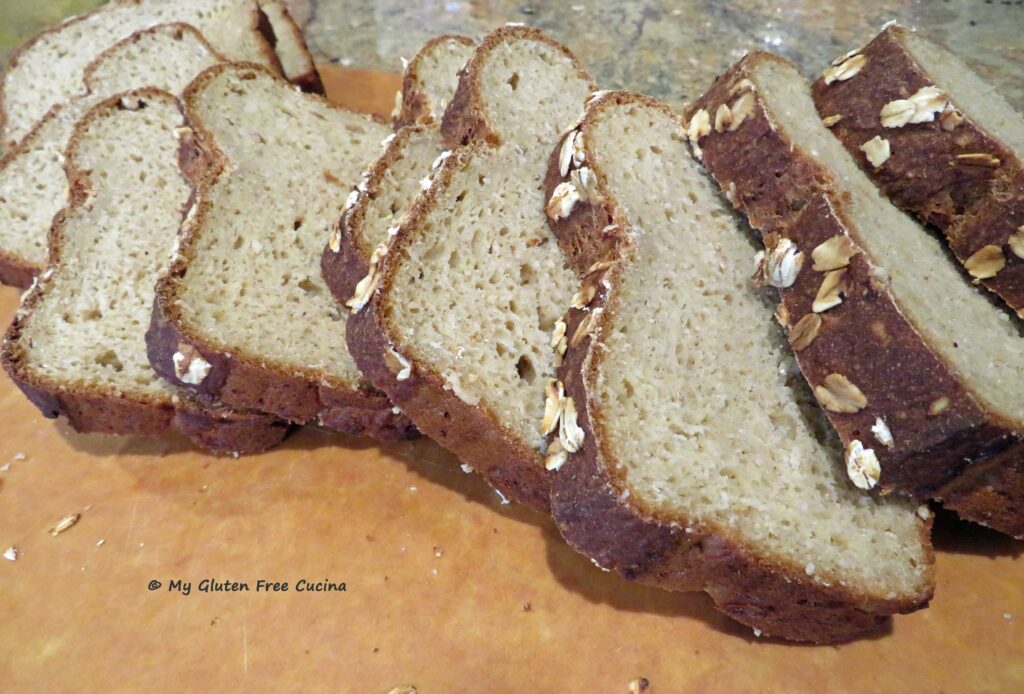
This bread needs plenty of time to set, at least 8 hours! Even better, leave it covered at room temperature overnight and slice in the morning. Resist the urge to cut into it right away, or the bread will be gummy in the center.
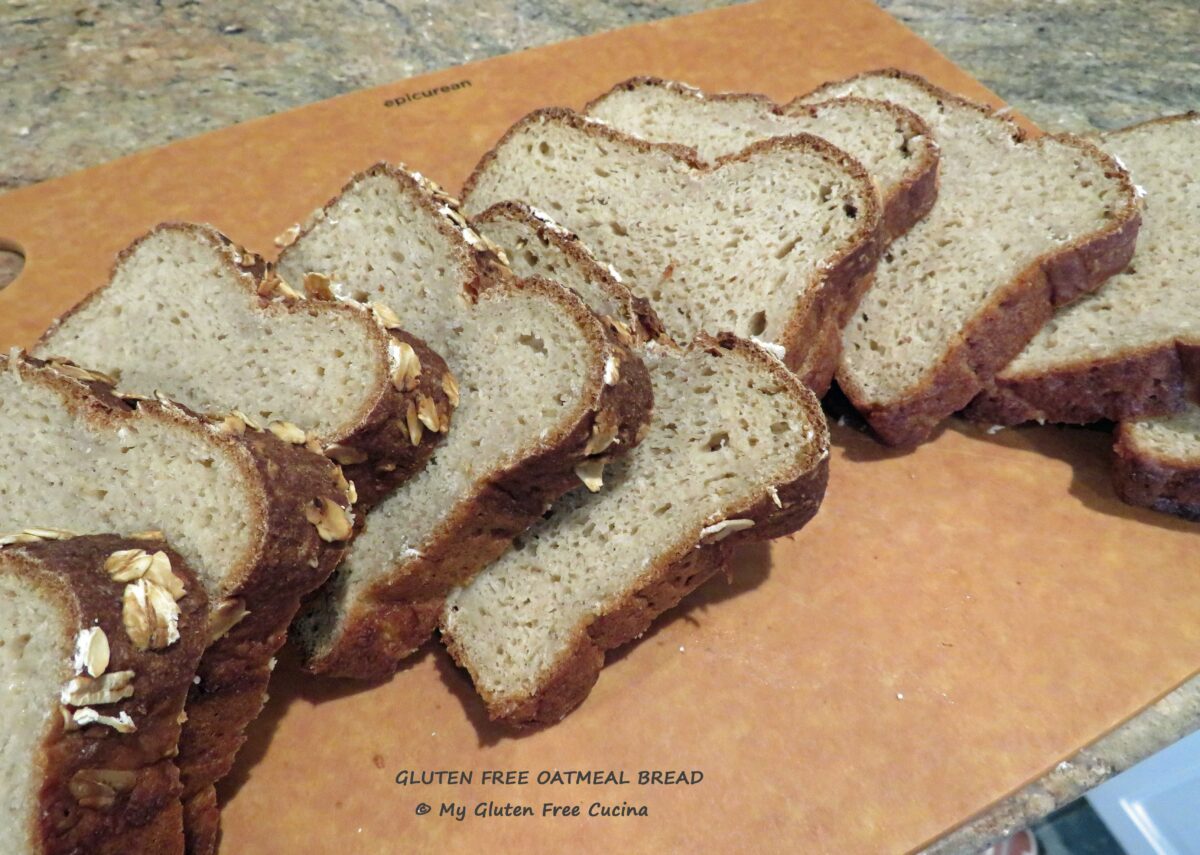
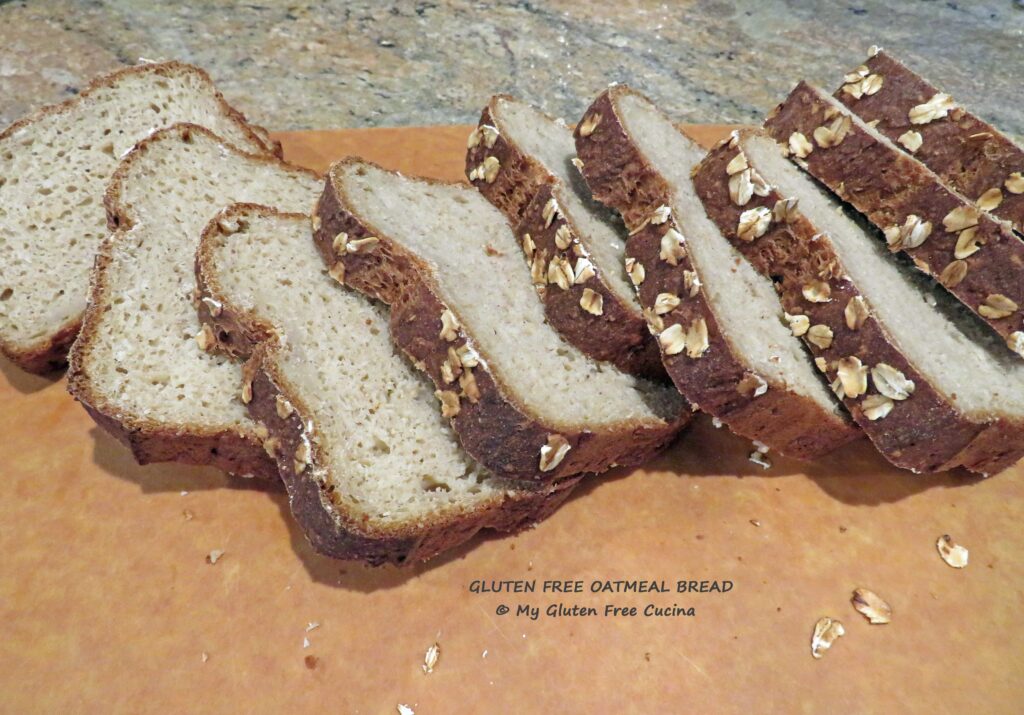
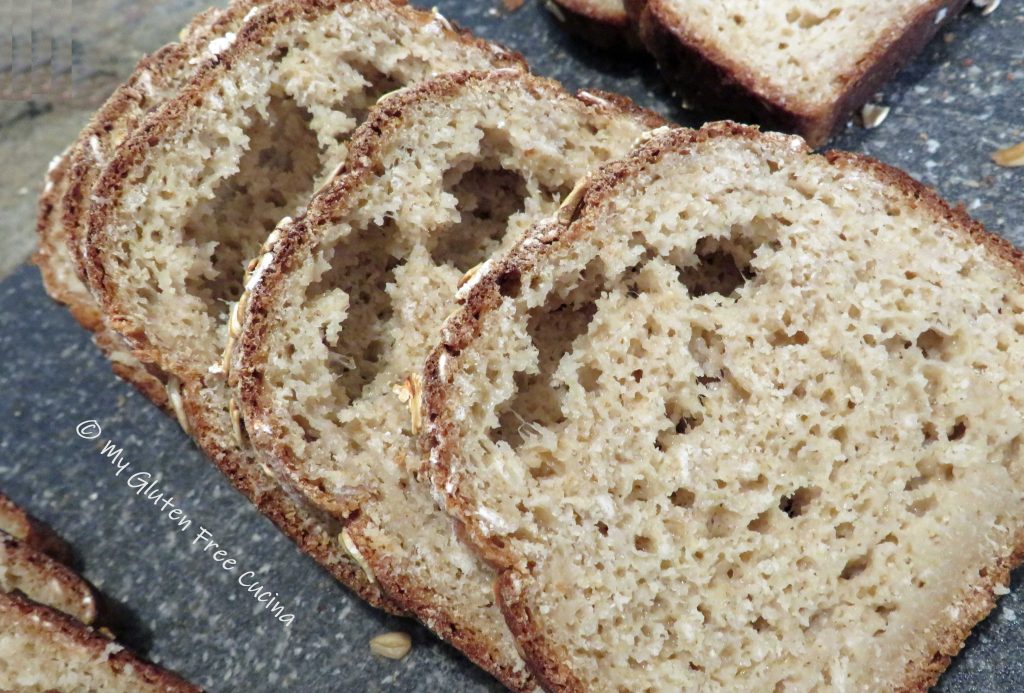
Your patience will be rewarded. Here’s the crumb shot!
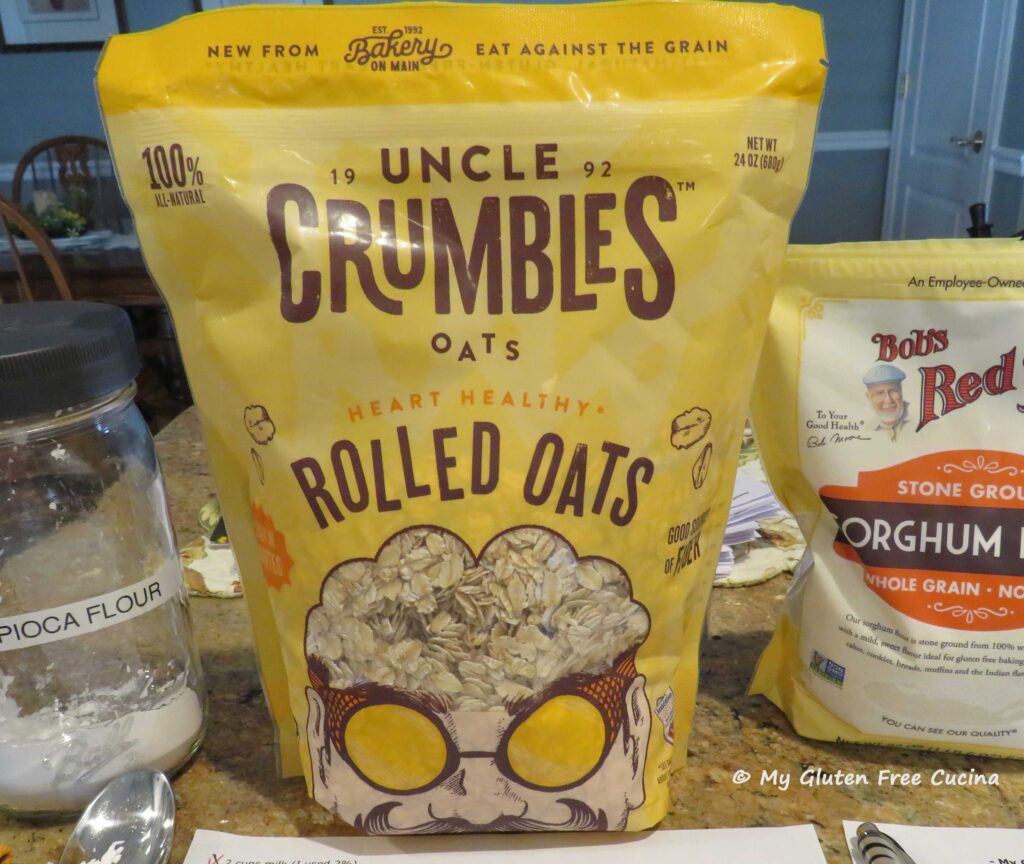
Notes ♪ I am one of those people with Celiac who is able to tolerate oats. I realize that not everyone can and that this bread may just not be for you. Whether or not you choose to consume oats is a personal choice. If you do, always use Purity Protocol oats, meaning oats that have been grown, harvested, transported, produced and packaged under strict standards to prevent contamination with gluten. When the Bakery on Main was recently rebranded as Uncle Crumbles, I reached out to them to confirm that their oats would still be purity protocol, and I was happy to receive their response that “that all Uncle Crumbles products do in fact use Purity Protocol Oats”.
Notes ♫ In ‘bread-speak’ this is what is referred to as “tunneling”. Huge holes running through a loaf of bread, usually along the top. By rotating the pan from side to side during baking, the dough distributes evenly, and you will have a nice consistent crumb throughout.
Originally posted 09/02/2022, Updated 09/18/2025

