Growing up in an Italian family I have fond memories of our Sunday dinners with my parents, grandparents, my sister and I. There was always a huge pot of sauce on the stove with meatballs, sausage, sometimes a roast or even bracciole. My mother made her “gravy” in generous amounts and froze the leftovers, enough for several more meals. Then, on Wednesday we would have spaghetti with leftover meatballs and sauce for an easy weeknight meal.
Today, over 50 years later I still love a Spaghetti and Meatball dinner. At first it was a struggle to make my meatballs gluten free. I had a foolproof recipe my entire adult life and thought that I could just swap out the breadcrumbs. The result was a mushy mess. So, I had to reinvent my Italian meatballs to a new and improved gluten free version.
If your gluten free meatballs are too mushy and fall apart in the sauce, try this recipe. You will have perfect meatballs every time and no one will know they are gluten free! Double or triple the recipe for a large family.
*This recipe contains oats (see notes)
4 Servings

This post contains affiliate links.
Ingredients:
- 8 oz. lean ground beef
- 6 oz. gluten free Italian sausage
- 1/4 cup of gluten free tomato sauce
- 1 large egg
- ½ tsp. gluten free Italian seasoning
- 1/4 cup gluten free seasoned breadcrumbs
- 1/4 cup gluten free potato flakes
- 1/4 cup gluten free rolled oats (not instant)
- Marinara Sauce, for serving

Preparation:
Whisk together the egg and the Italian seasoning.
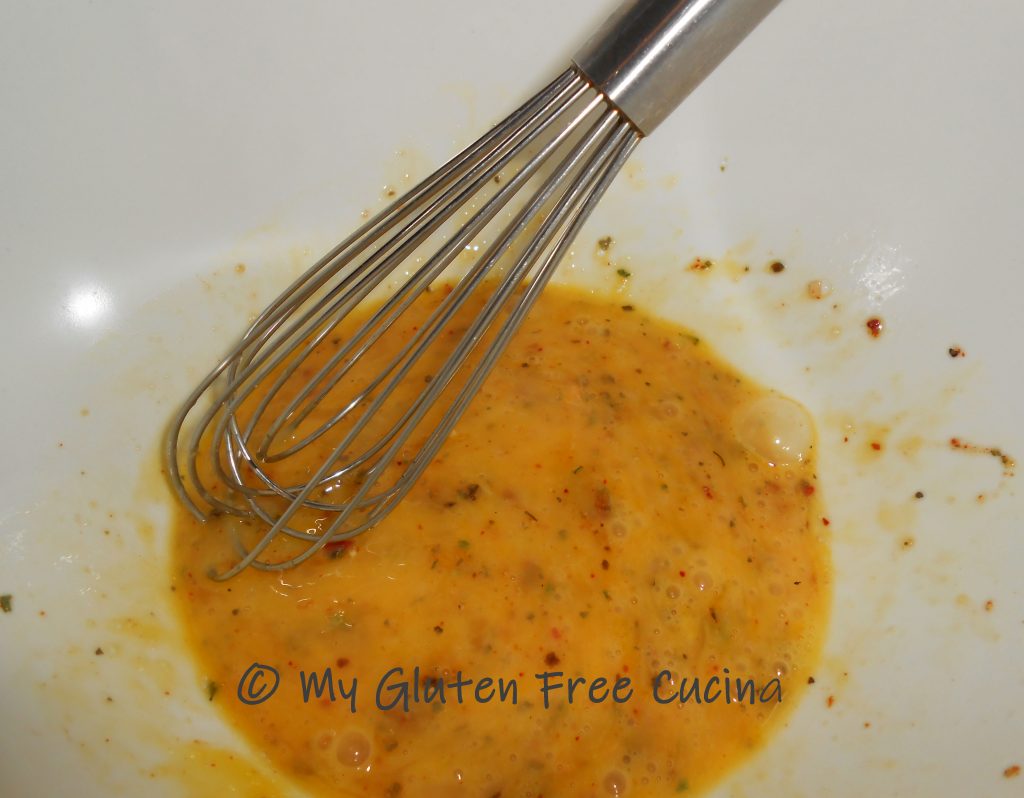
Add 1/4 cup tomato sauce, the ground beef and sausage followed by the breadcrumbs, potato flakes and rolled oats. Mix thoroughly (use your hands).

Line a baking sheet with aluminum foil and coat lightly with cooking spray. Form 9 meatballs and arrange them on the baking sheet, leaving space in between. Broil on high for 4-5 minutes on each side, turning once. Remove from the oven and let them rest at room temperature while you make the sauce. This will allow the meatballs to set up and hold together.
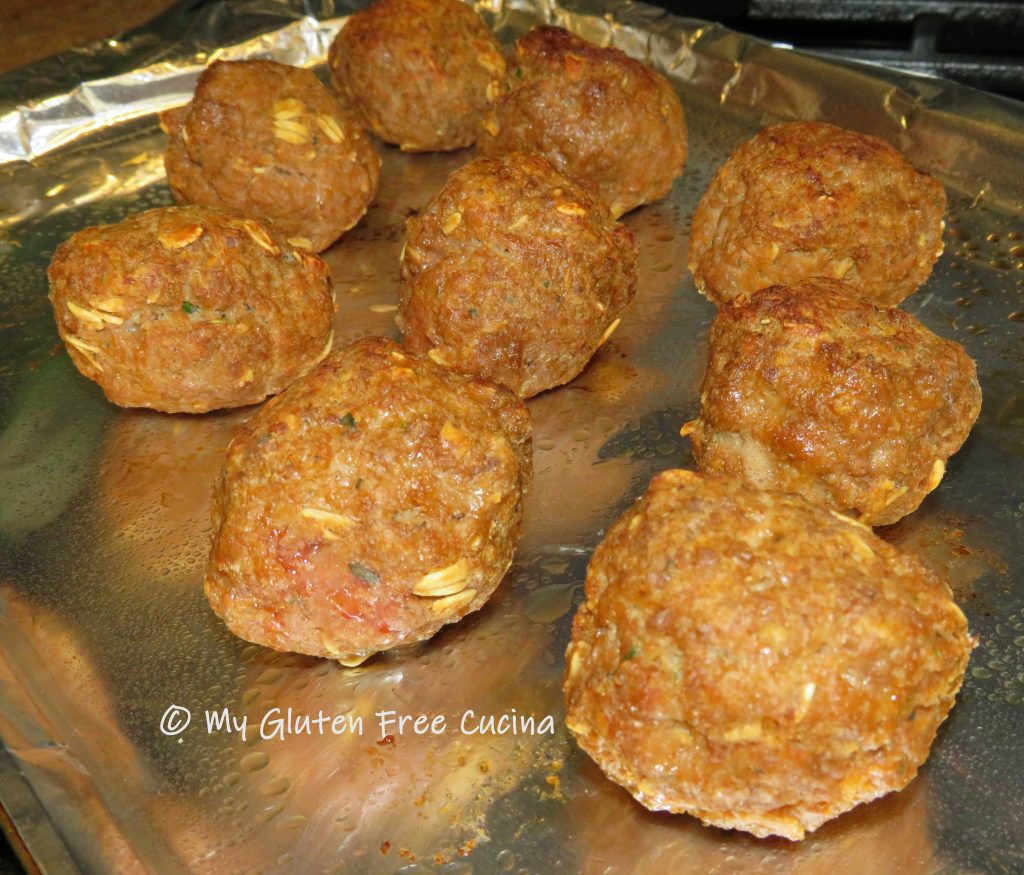
Heat the marinara sauce in a deep skillet or braising pan. Add the meatballs to the sauce 15-20 minutes before serving. Keep warm but do not allow the sauce to come to a boil.

Serve with your favorite gluten free pasta and grated cheese. With so many brands of gluten free pasta, you have more than a few options to choose from. Rumo, Jovial and Barilla are some of my favorites.

Notes ♪♫ As you are probably aware, oats continue to be controversial as far as being safe for those with Celiac disease. Whether or not you consume oats is a personal choice. I personally still include oats in my diet, provided they are certified gluten free and purity protocol. Bakery on Main is the brand that I currently use.


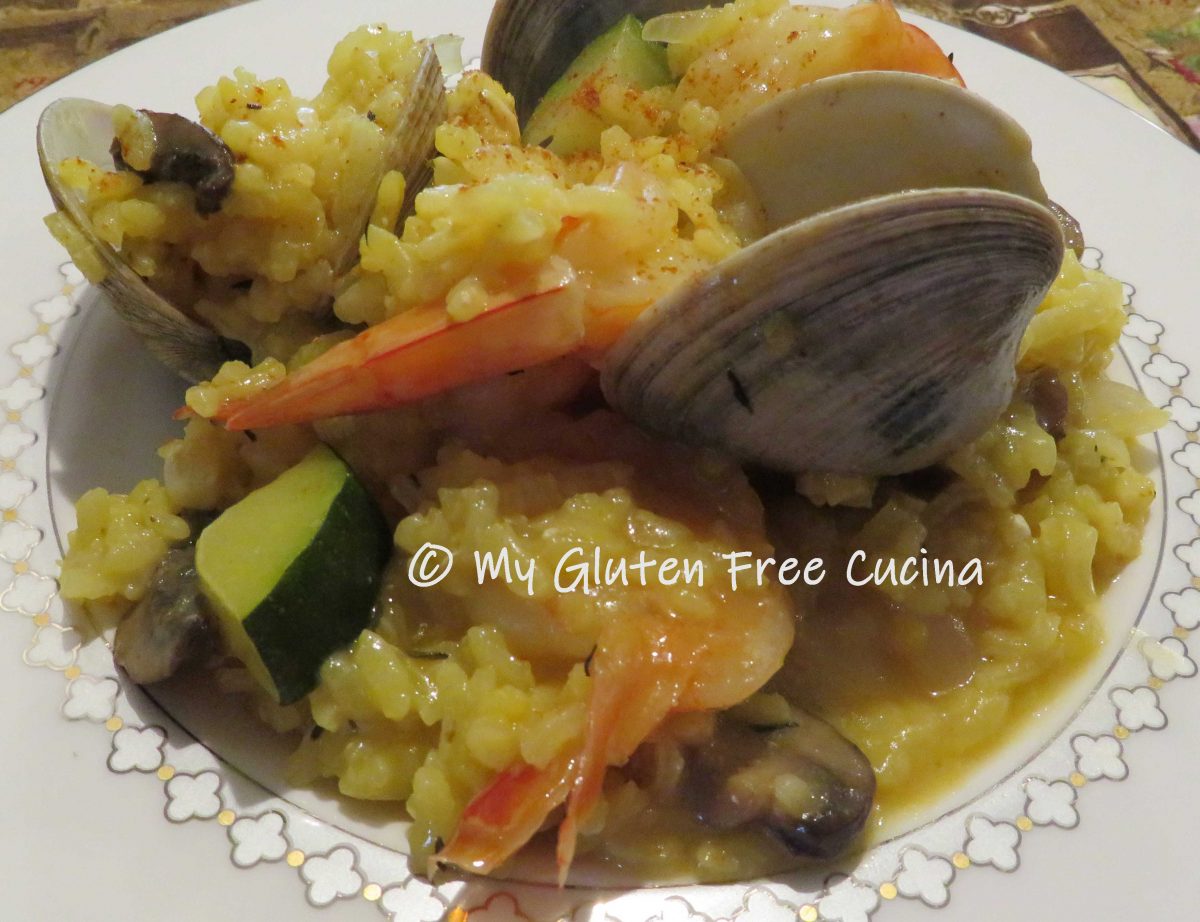
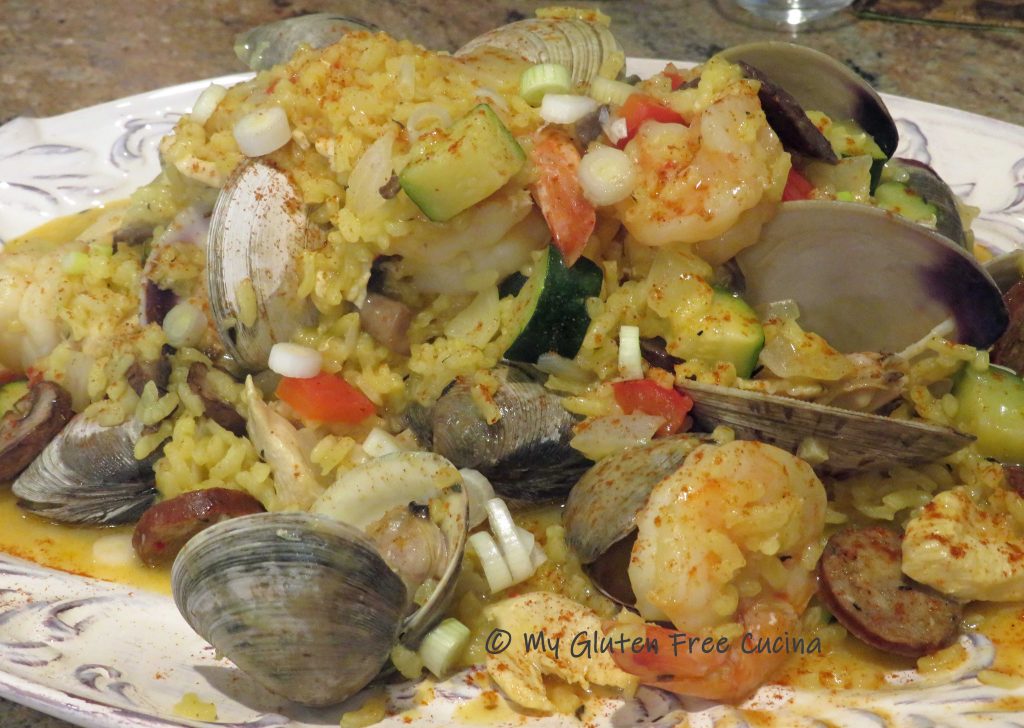
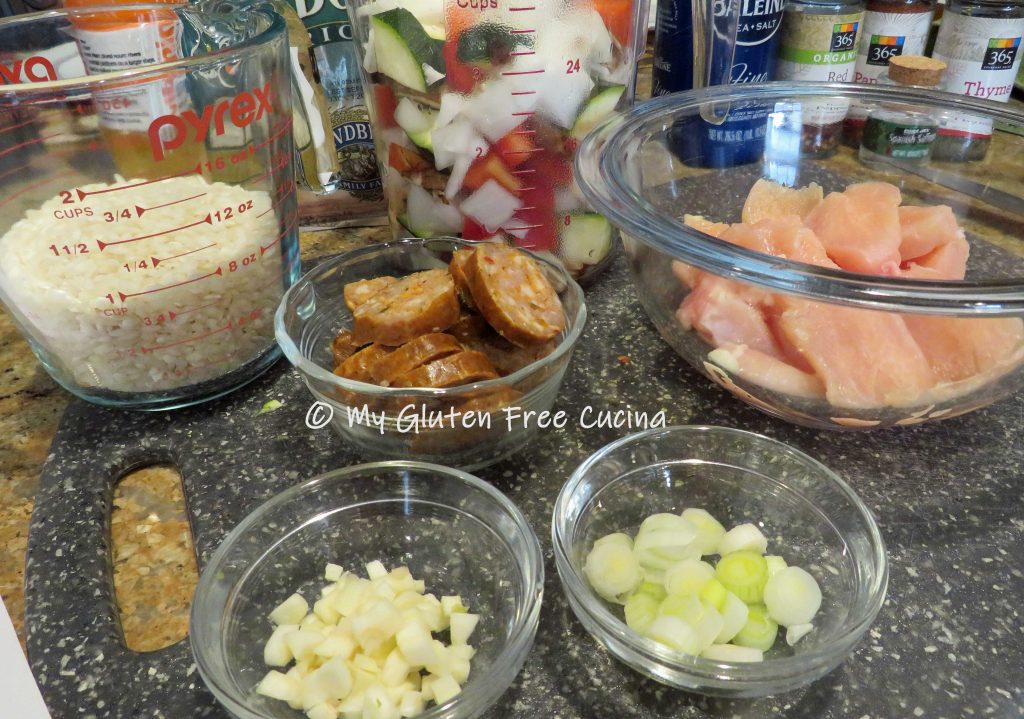


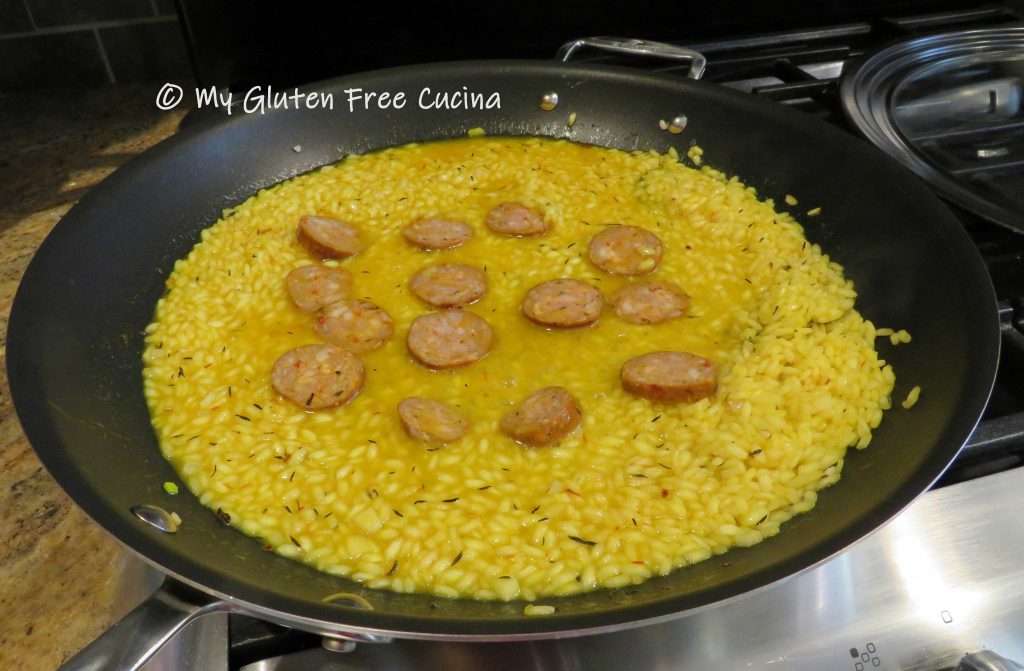



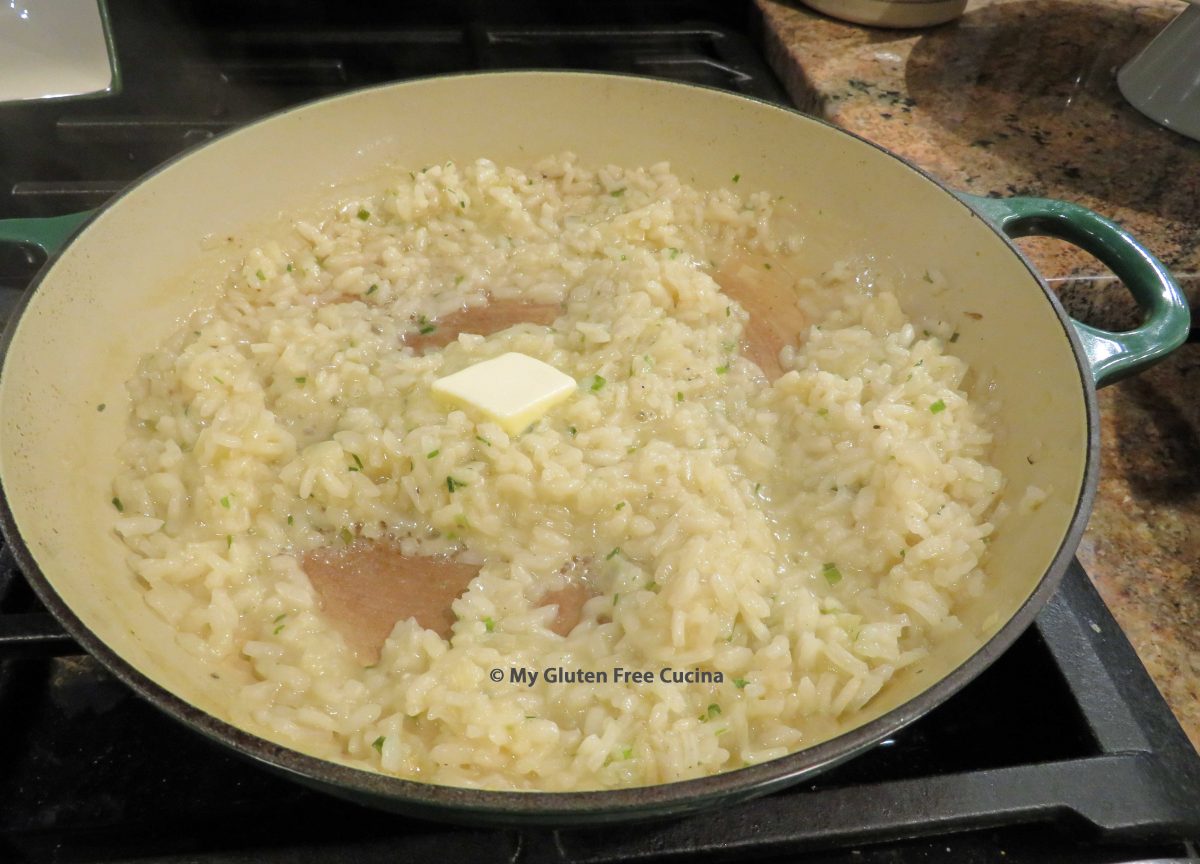
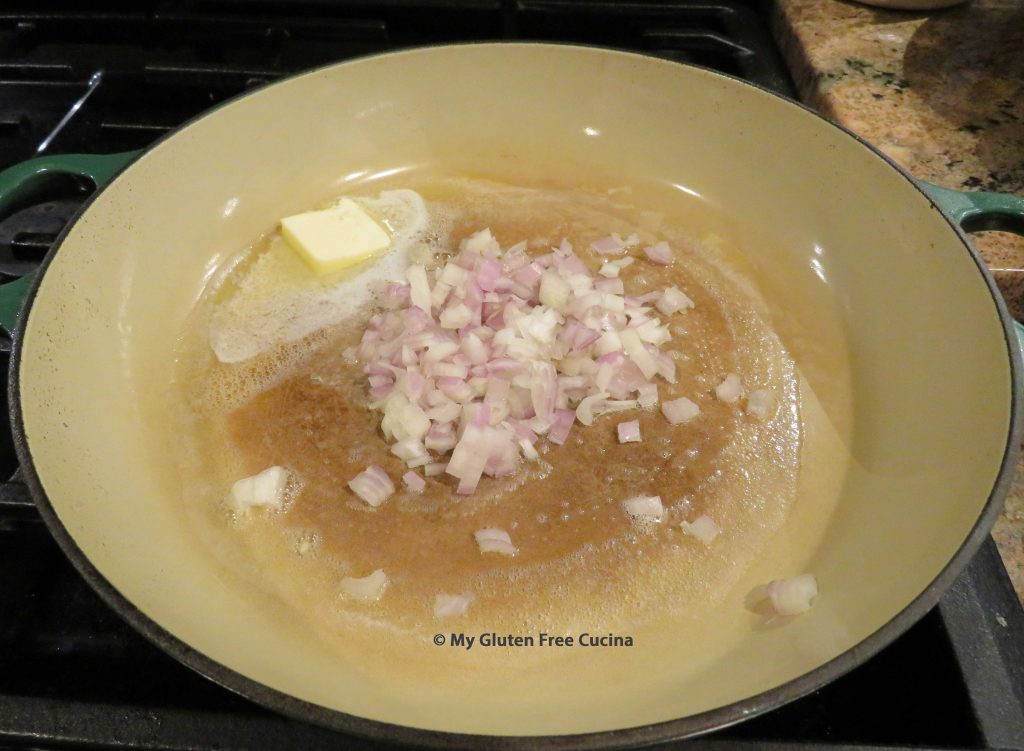


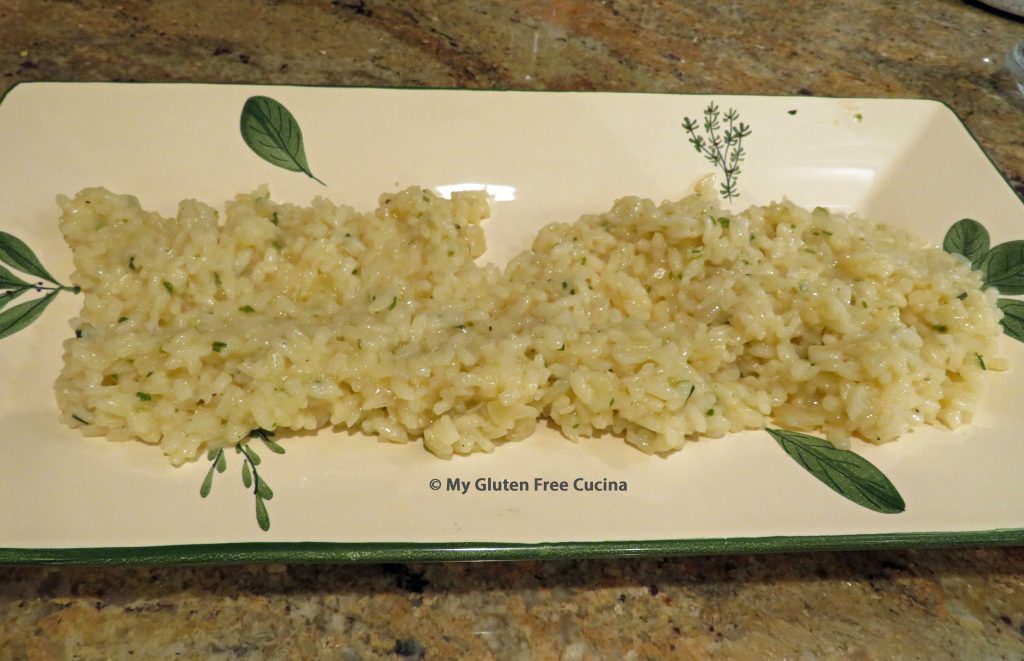
 This basic recipe is a great jumping off place for some amazing risotto dishes. You can stir in grated cheese, sauteed mushrooms, even butternut squash puree!
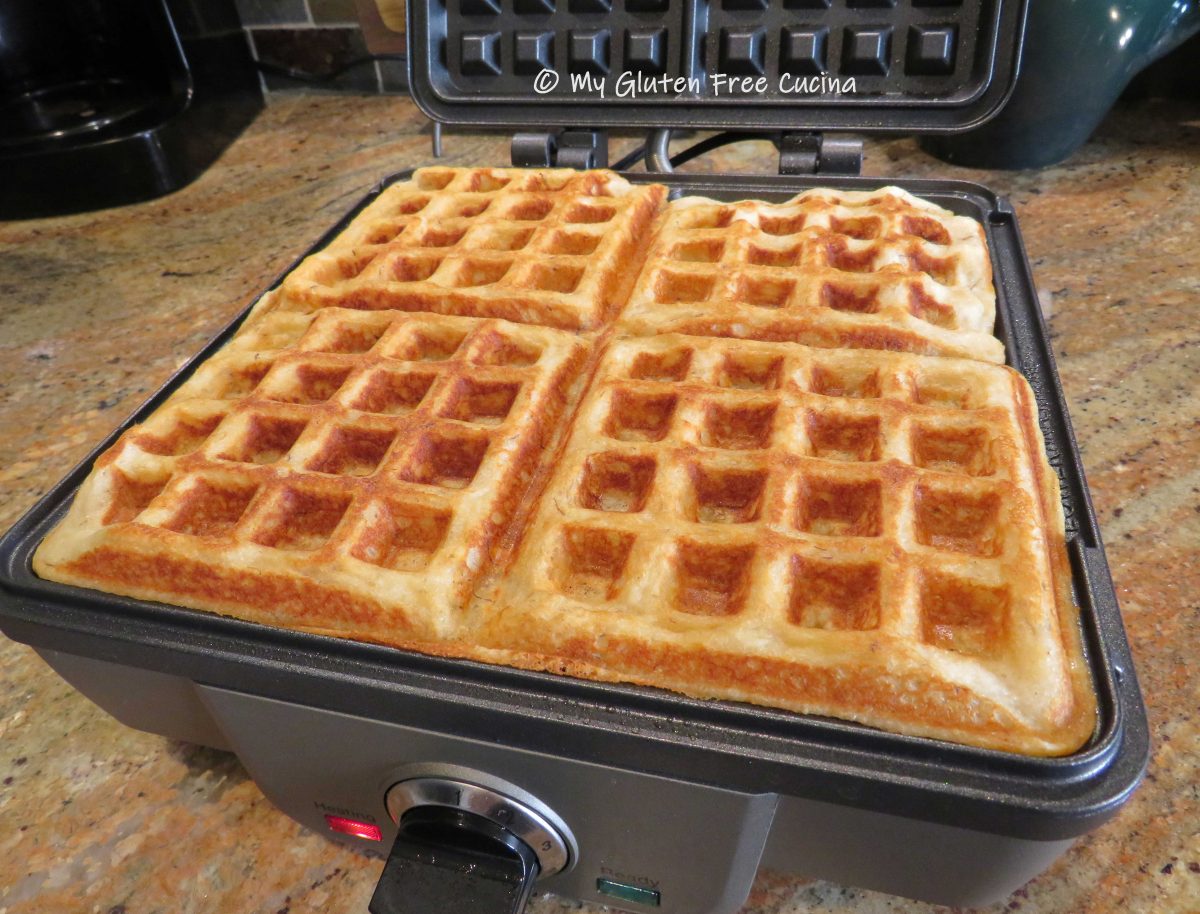


 Before you begin, preheat your
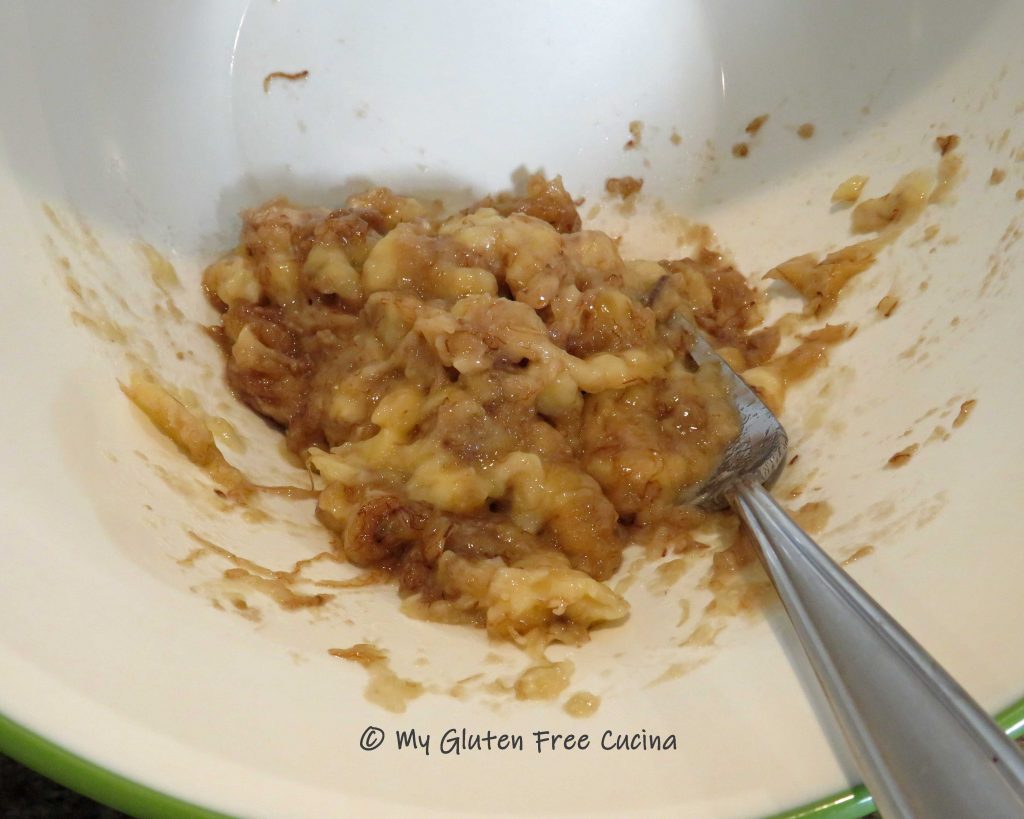
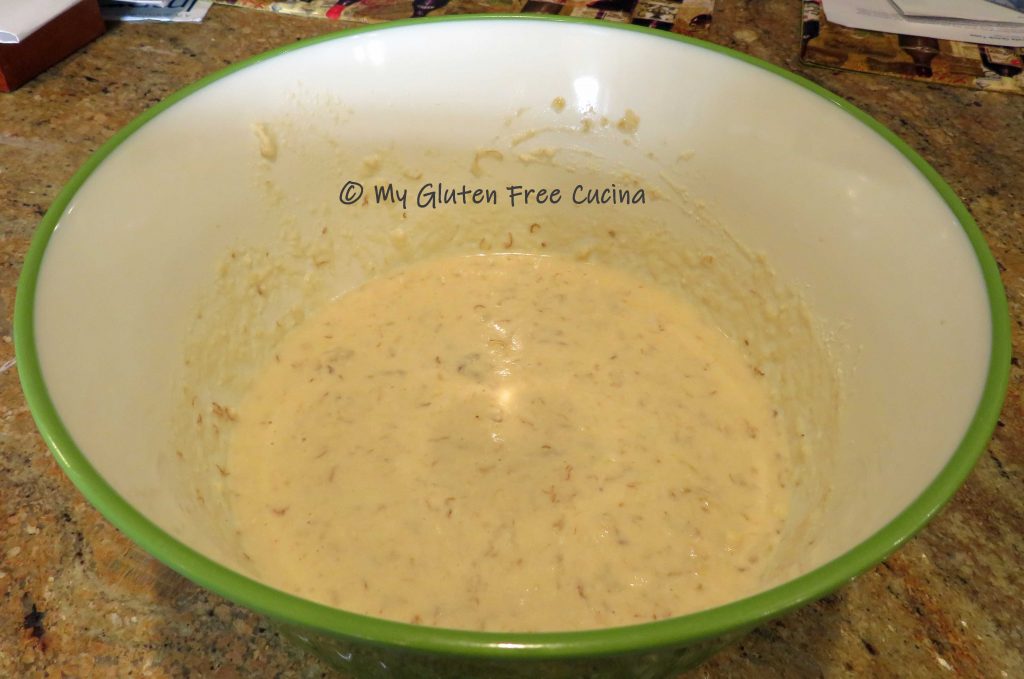
  In a separate bowl, mash the banana with a fork and add the egg, oil, vanilla and milk. Whisk well to combine.


 Always use real maple syrup!